Articles
How To Install Wire Shelves In Closet
Modified: September 1, 2024
Learn the step-by-step process of installing wire shelves in your closet for efficient home maintenance. Transform your space with these easy DIY instructions.
(Many of the links in this article redirect to a specific reviewed product. Your purchase of these products through affiliate links helps to generate commission for Storables.com, at no extra cost. Learn more)
Introduction
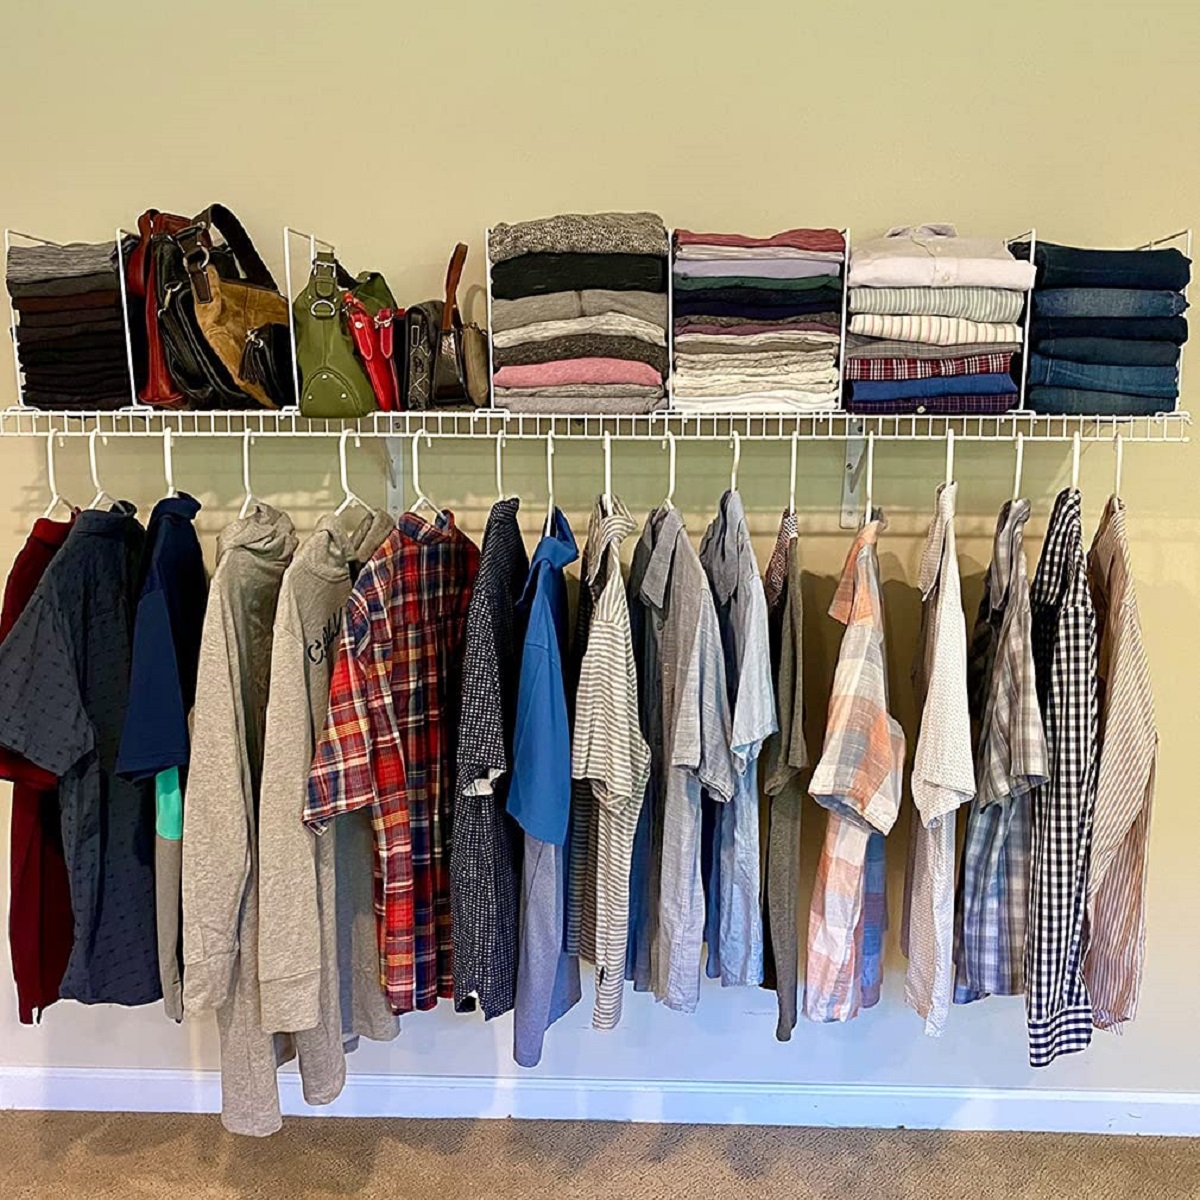
Having wire shelves in your closet can significantly increase the storage space and help keep your belongings organized. Whether you’re looking to install wire shelves in a walk-in closet, a pantry, or a linen closet, the process is relatively straightforward.
In this guide, we will take you through a step-by-step process of installing wire shelves in your closet. We will cover everything from determining the placement of the shelves to securing them in place. By following these instructions, you’ll be able to transform your closet into a functional and tidy space.
Before we dive into the installation process, let’s quickly go through the list of tools and materials you’ll need:
- Wire shelves
- Wall clips or brackets (depending on your closet walls)
- Shelf support brackets
- Tape measure
- Pencil
- Level
- Power drill
- Screwdriver
- Wall anchors (if necessary)
- Screws
Once you have these tools and materials ready, let’s move on to the first step: determining the placement of wire shelves in your closet.
Key Takeaways:
- Transform your closet into a functional and tidy space by following the step-by-step process to install wire shelves. Consider factors like layout, storage needs, and accessibility for an organized and efficient closet.
- Maximize your closet space and keep belongings organized with wire shelves. From measuring and marking walls to securing shelves in place, create a visually appealing and efficient storage solution for your closet.
Read more: How To Organize Closet With Wire Shelves
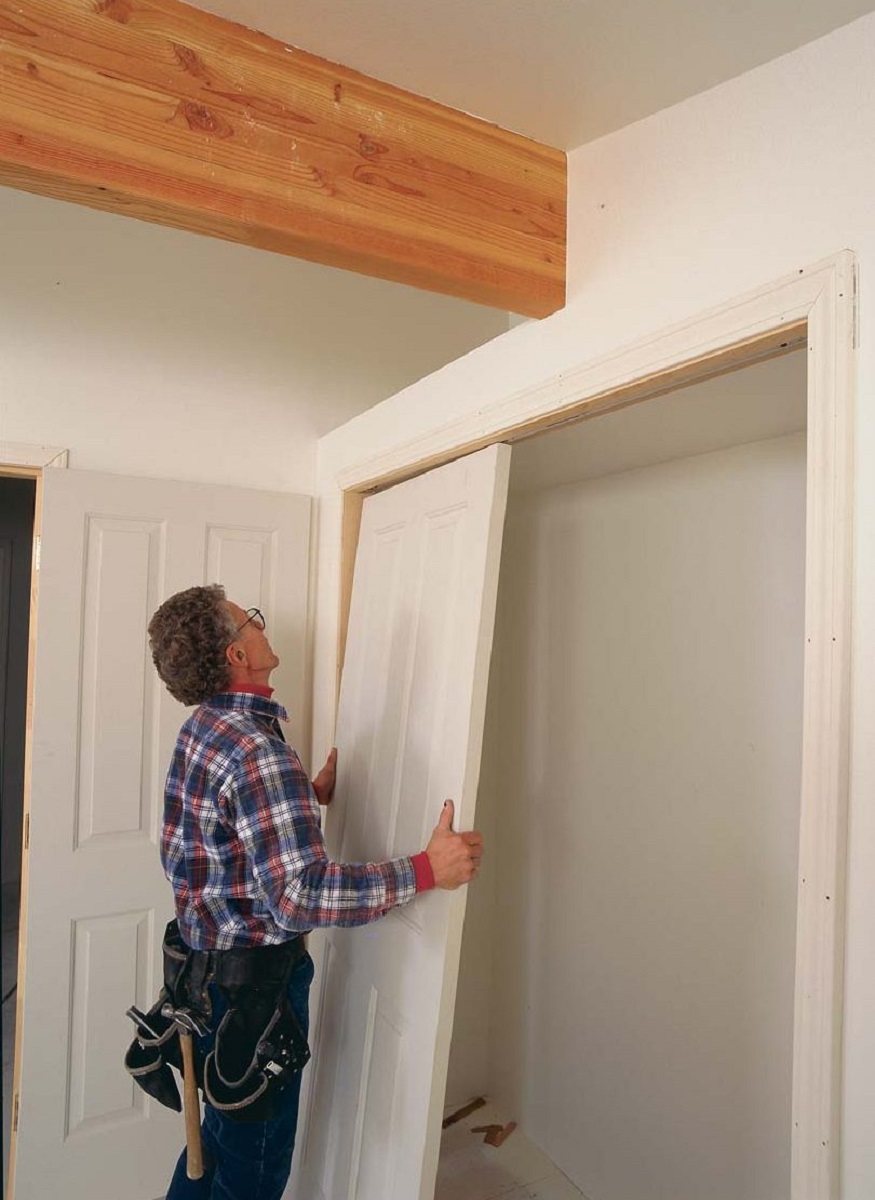
Step 1: Determine the Placement of Wire Shelves
Before you start installing wire shelves in your closet, it’s crucial to determine the best placement for them. This will ensure that the shelves are not only functional but also maximally utilized.
Here are some factors to consider when deciding the placement:
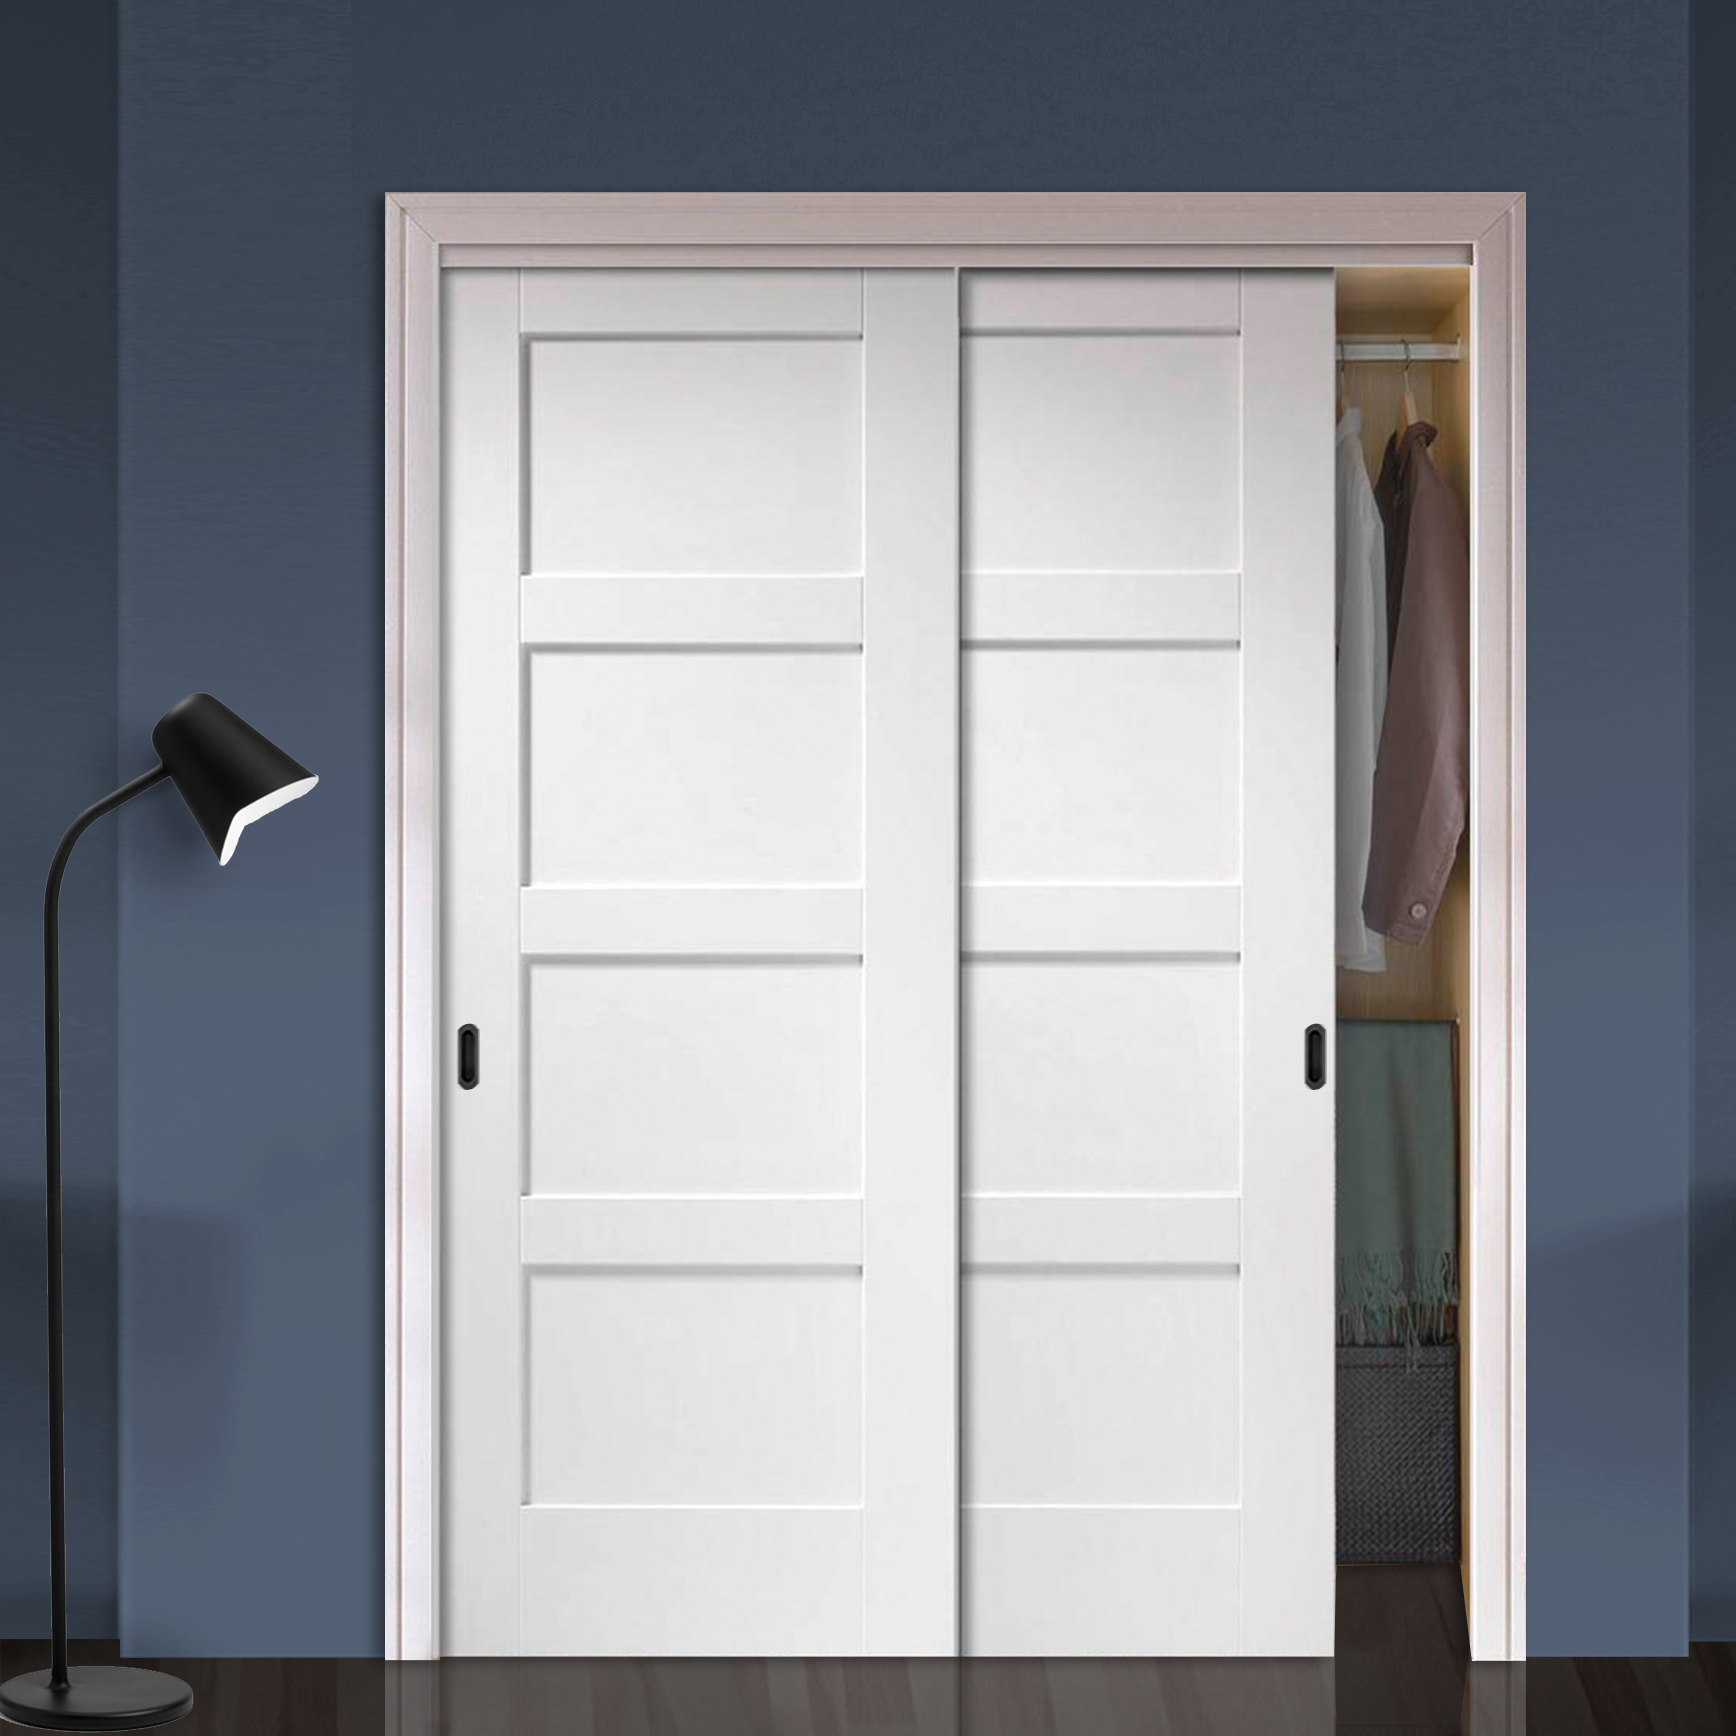
- Closet Layout: Take a good look at the size and shape of your closet. Consider the available wall space and any obstructions like doors or windows. This will help you determine the number of shelves and their configuration.
- Storage Needs: Assess your storage needs and the types of items you plan to store on the wire shelves. If you have a lot of folded clothes, you may need more shelves at a lower height. If you plan to store tall items like vacuum cleaners or brooms, leave enough space between shelves.
- Accessibility: Think about how easily you want to access the items on the shelves. Consider the height of individuals who will be using the closet. Lower shelves are more accessible for children or individuals with mobility limitations.
- Weight Capacity: Take into account the weight capacity of the wire shelves you have or plan to purchase. Heavier items like books or storage boxes may require additional support, so plan the shelf placement accordingly.
Once you have considered these factors, use a tape measure, pencil, and level to mark the desired height and locations for the shelves on the closet walls. Make sure to measure and mark both the side walls and the back wall of the closet, ensuring that they are level and aligned.
It’s a good idea to use a laser level to ensure precise horizontal alignment. This will help you achieve a professional-looking installation. If you don’t have a laser level, you can use a traditional bubble level and take your time to ensure accuracy.
Once you have determined the placement and made the necessary measurements and markings, you’re ready to move onto the next step: gathering the necessary tools and materials.
Step 2: Gather the Necessary Tools and Materials
Now that you have determined the placement of the wire shelves in your closet, it’s time to gather the tools and materials you’ll need for the installation process.
Here’s a quick recap of the essential tools and materials:
- Wire shelves: These are the actual shelves that will provide the storage space in your closet. Ensure that you select the correct size and style of wire shelves that suit your needs and fit the dimensions of your closet.
- Wall clips or brackets: The choice between wall clips or brackets depends on the type of walls in your closet. Wall clips are suitable for drywall or plaster walls, while brackets are ideal for solid or wooden walls. Choose the appropriate option to securely attach the wire shelves to your closet walls.
- Shelf support brackets: These brackets provide additional support for the wire shelves, especially for heavier items. Make sure you have enough shelf support brackets to match the number of shelves you plan to install.
- Tape measure: A tape measure is essential for accurately measuring and marking the placement of the shelves on the closet walls.
- Pencil: A pencil is used to mark the measurements and locations on the walls. It’s a good idea to use a pencil as it can easily be erased or adjusted if needed.
- Level: A level is crucial for ensuring that the shelves are installed straight and level. It helps in achieving a professional-looking installation.
- Power drill: A power drill will be needed to create holes for the wall clips or brackets, as well as to secure the shelf support brackets in place.
- Screwdriver: A screwdriver is used to tighten screws and fasten the wall clips or brackets to the walls and the shelf support brackets to the shelves.
- Wall anchors (if necessary): Depending on the type of walls in your closet, you may need wall anchors to provide additional support and stability for the shelves.
- Screws: Make sure you have an adequate supply of screws that are compatible with your chosen wall clips or brackets and shelf support brackets.
Before you begin the installation process, double-check that you have all the necessary tools and materials at hand. This will ensure a smooth and efficient installation.
With everything ready, you can now move on to the next step: measuring and marking the closet walls.
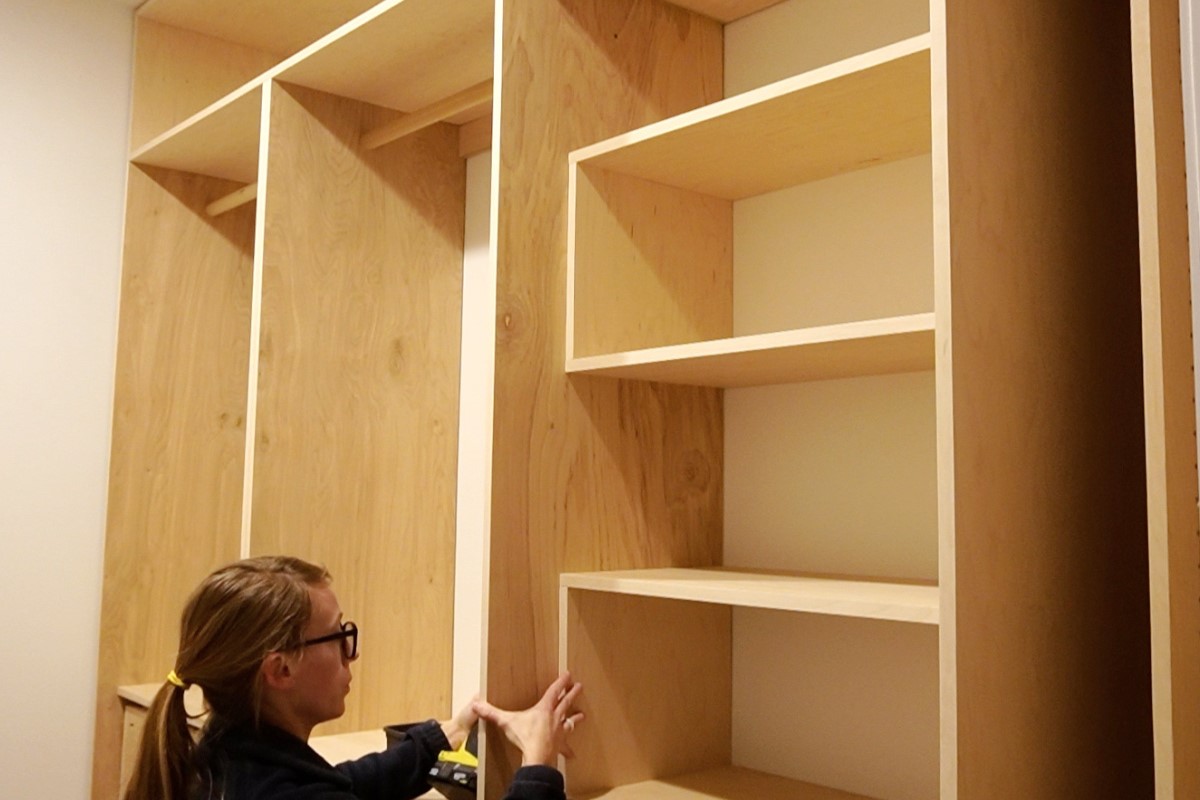
Step 3: Measure and Mark the Closet Walls
Now that you have gathered all the necessary tools and materials, it’s time to measure and mark the closet walls to ensure accurate placement of the wire shelves.
Follow these steps to measure and mark the closet walls:
- Clear the Closet: Remove any items from the closet that might obstruct your measurements and markings. This will ensure you have a clear and unobstructed view of the walls.
- Start with Side Walls: Begin by measuring and marking the side walls of the closet. Use a tape measure to determine the desired height for the first shelf. Measure from the floor or any existing shelf if applicable.
- Make Level Marks: Using a level, draw a straight line across the side walls at the determined height. This will serve as a guide for aligning the wall clips or brackets.
- Measure and Mark Additional Shelf Heights: Repeat the measurement and marking process for any additional shelves you plan to install. Ensure that there is enough vertical space between each shelf to accommodate your storage items.
- Move to the Back Wall: Measure and mark the desired height for the wire shelves on the back wall of the closet. Use the same method of leveling and drawing straight lines to maintain consistency.
- Double-Check Measurements: Take a moment to double-check the accuracy of your measurements and markings. Ensure that the lines are level and aligned properly.
It’s important to be precise and accurate when measuring and marking the closet walls. This will help you achieve a balanced and visually appealing layout for your wire shelves.
Now that you have completed the measurement and marking process, it’s time to move on to the next step: installing the wall clips or brackets.
Step 4: Install the Wall Clips or Brackets
With the measurements and markings in place, the next step is to install the wall clips or brackets. These will provide the foundation for supporting the wire shelves in your closet.
Follow these steps to install the wall clips or brackets:
- Locate Studs: Use a stud finder or tap on the wall to locate the studs. Ideally, you want to attach the wall clips or brackets to the studs for maximum stability. If studs are not available at the desired location, you’ll need to use wall anchors for added support.
- Position the Clips or Brackets: Place the wall clips or brackets on the marked lines, ensuring they are level with each other. Use a pencil to mark the screw holes on the walls through the mounting slots of the clips or brackets.
- Pre-Drill Holes: Remove the wall clips or brackets and use a power drill with the appropriate size drill bit to pre-drill holes on the marked locations. This will make it easier to secure the clips or brackets in place.
- Attach the Clips or Brackets: Place the wall clips or brackets back on the marked lines, aligning the screw holes with the pre-drilled holes. Secure the clips or brackets to the walls using screws and a screwdriver. Repeat this process for all the clips or brackets.
- Check Stability: Give the installed wall clips or brackets a gentle tug to ensure they are securely attached to the walls. If any clips or brackets feel loose, adjust them or use additional screws for reinforcement.
Remember to follow the manufacturer’s instructions for the specific wall clips or brackets you are using. Some products may have slight variations in installation procedures.
Once the wall clips or brackets are securely in place, you’re ready to move on to the next step: attaching the shelf support brackets.
When installing wire shelves in a closet, make sure to measure the space accurately before purchasing the shelves. Use a level to ensure the shelves are installed straight and secure them to the wall studs for stability.
Read more: Install Simple Closet Shelves
Step 5: Attach the Shelf Support Brackets
With the wall clips or brackets installed, it’s time to attach the shelf support brackets. These brackets will provide additional support and stability for the wire shelves in your closet.
Follow these steps to attach the shelf support brackets:
- Determine Bracket Placement: Take a look at the markings on the closet walls. These markings indicate the desired height and location for each shelf. Based on these markings, determine where the shelf support brackets should be positioned.
- Place the Brackets: Set the shelf support brackets in the desired locations on the side walls, aligning them with the corresponding markings. Ensure that the brackets are level with each other.
- Mark Screw Holes: Use a pencil to mark the screw holes on the walls through the mounting holes of the shelf support brackets.
- Pre-Drill Holes: Remove the shelf support brackets and use a power drill with the appropriate size drill bit to pre-drill holes on the marked locations. This will make it easier to secure the brackets in place.
- Attach the Brackets: Place the shelf support brackets back on the marked lines, aligning the screw holes with the pre-drilled holes. Secure the brackets to the walls using screws and a screwdriver. Repeat this process for all the brackets.
- Check Stability: Give each installed shelf support bracket a gentle shake to ensure they are securely attached to the walls. Make any necessary adjustments or use additional screws for reinforcement if needed.
It’s important to evenly space the shelf support brackets along the desired shelf locations. This will provide balanced support for the wire shelves and prevent sagging or instability.
Once all the shelf support brackets are securely attached, you’re ready to move on to the next step: placing the wire shelves on the brackets.
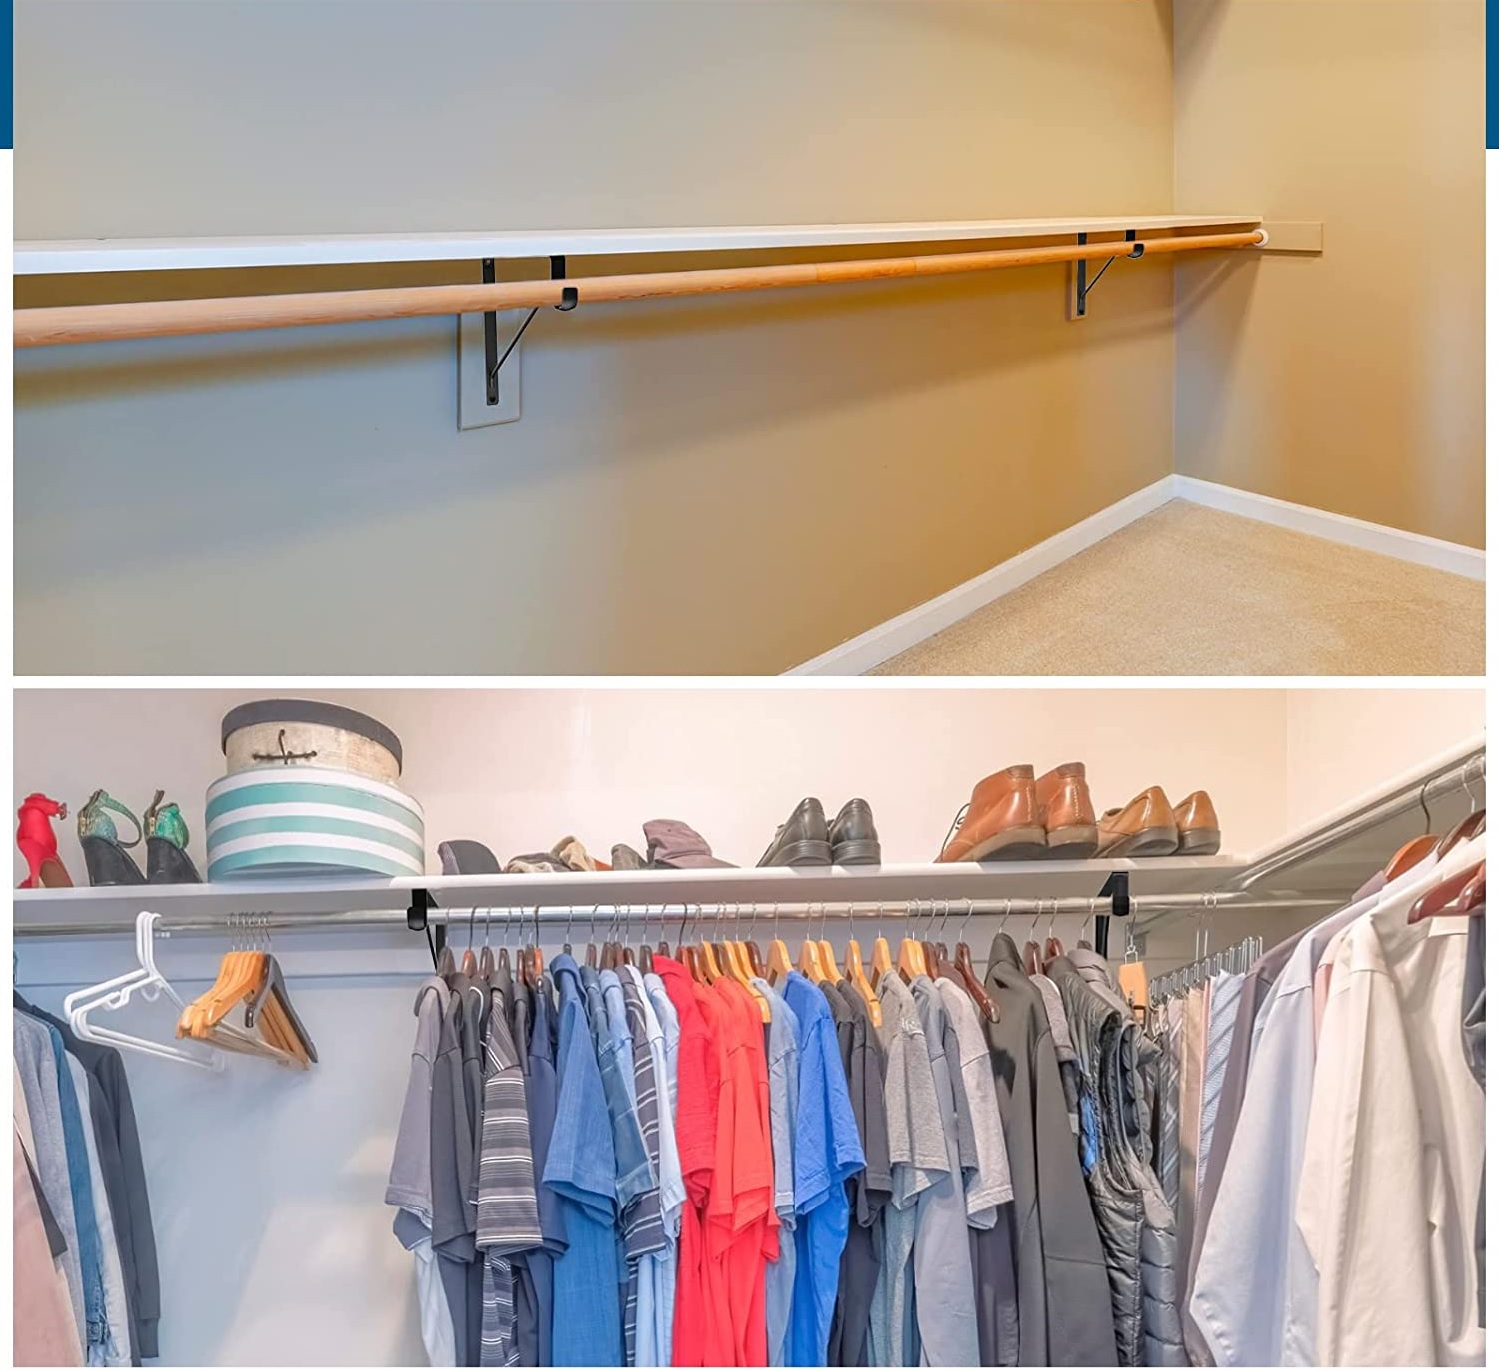
Step 6: Place the Wire Shelves on the Brackets
With the wall clips or brackets and shelf support brackets in place, it’s time to position and attach the wire shelves onto the brackets.
Follow these steps to place the wire shelves on the brackets:
- Prepare the Shelves: Take the wire shelves and ensure they are clean and free of any dirt or debris. If necessary, wipe them down with a damp cloth to remove any dust.
- Align the Shelves: Hold one end of the wire shelf and align it with the corresponding shelf support bracket. Gently slide the shelf onto the bracket, making sure it rests securely in place.
- Level the Shelves: Place a level across the width of the wire shelf to ensure it is level. Adjust the position of the shelf on the bracket if needed to achieve a straight and balanced placement.
- Repeat for Additional Shelves: If you have multiple wire shelves, repeat the process for each shelf, aligning them with their corresponding support brackets and leveling them as you go.
- Check Stability: Once all the wire shelves are in place, gently push and test their stability. Ensure that they are securely seated on the support brackets and don’t wobble or shift under light pressure.
It’s important to be careful when placing the wire shelves on the brackets to avoid scratching or damaging the shelves or the walls. Take your time to ensure a proper and secure fit.
Once the wire shelves are in position and stable, you’re ready to move on to the next step: securing the shelves in place.
Step 7: Secure the Shelves in Place
After placing the wire shelves on the support brackets, the next step is to secure them in place to ensure they remain stable and safe for use.
Follow these steps to securely fasten the wire shelves:
- Locate Anchor Points: Examine the design of the wire shelves and identify the anchor points or holes on the underside of the shelves.
- Align the Shelves: Ensure that the wire shelves are still level and properly aligned with the support brackets.
- Attach Screws: Using a screwdriver, insert screws through the anchor points or holes on the underside of the wire shelves. Align the screws with the holes in the support brackets.
- Tighten the Screws: Carefully tighten the screws until the wire shelves are firmly secured to the support brackets. Be cautious not to overtighten and damage the shelves or brackets.
- Test Stability: Give the wire shelves a gentle push and ensure they remain stable and secure. If any shelves feel loose, tighten the screws further or make any necessary adjustments.
Securing the wire shelves in place provides added stability and prevents them from accidentally dislodging or falling. This step is crucial for the safety of your belongings and to maintain the integrity of the installation.
Once you are confident the wire shelves are securely fastened, you can move on to the final step: organizing and arranging items on the shelves.
Step 8: Organize and Arrange Items on the Wire Shelves
Now that your wire shelves are installed and securely in place, it’s time to organize and arrange your belongings on the shelves to make the most of your closet space.
Follow these steps to effectively organize and arrange items on your wire shelves:
- Sort and Declutter: Before placing items on the shelves, sort through your belongings and declutter. Remove any items that you no longer use or need to create extra space and improve organization.
- Categorize Items: Group similar items together to make them easier to find and access. You can categorize by clothing type, item function, or any other system that works well for you.
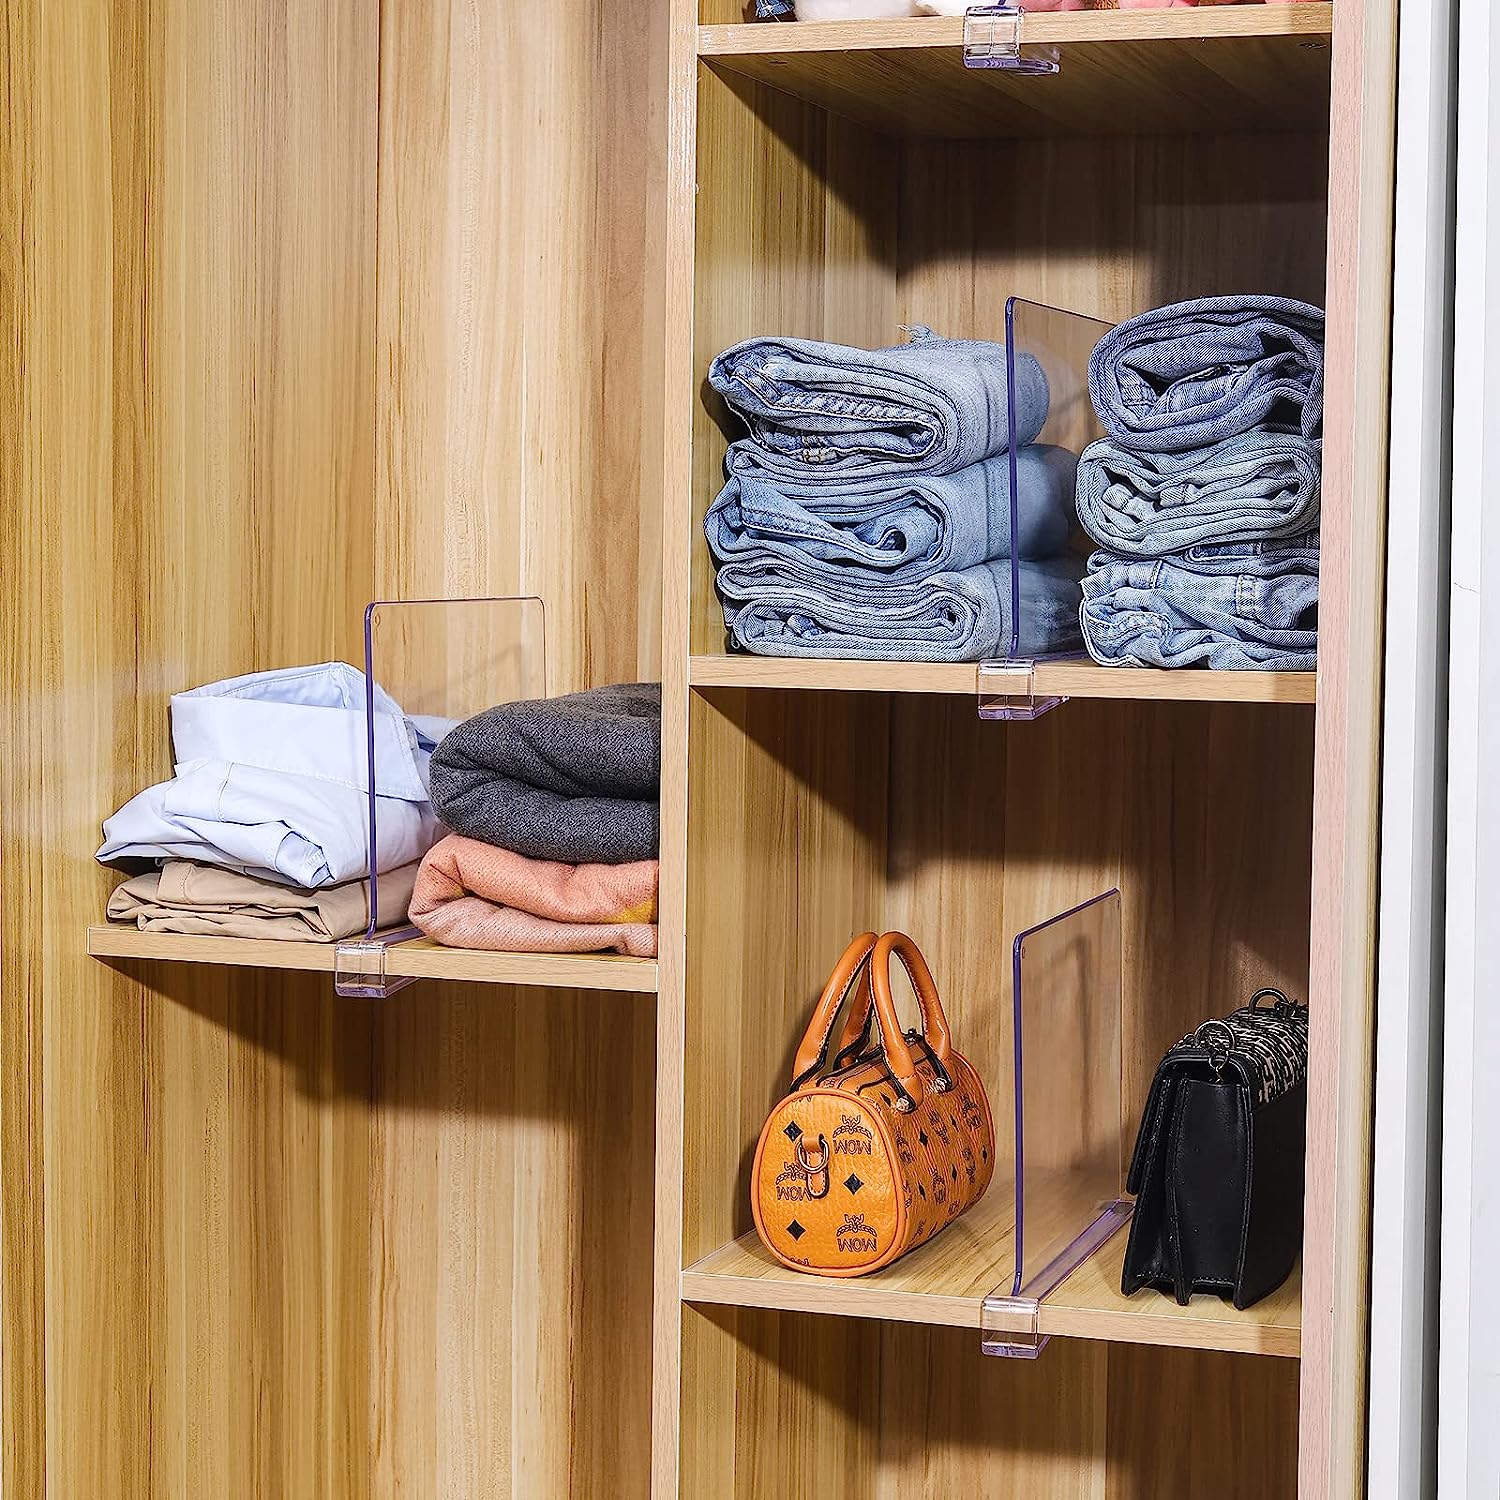
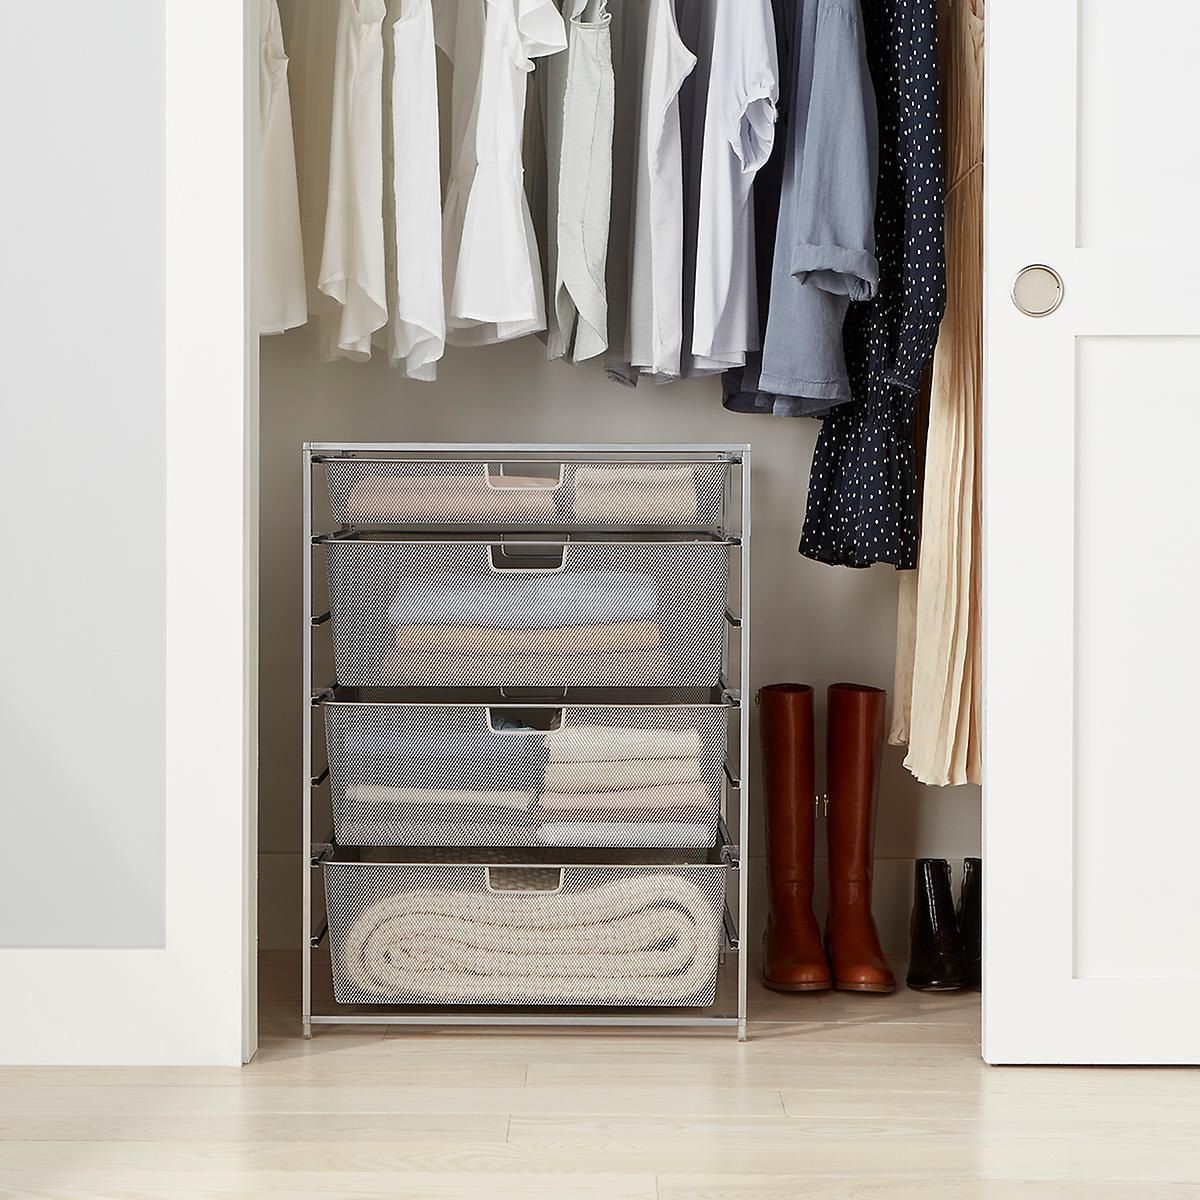
- Utilize Containers or Baskets: To keep smaller items organized, consider using containers or baskets on the wire shelves. These can help prevent items from toppling over and provide a neat and organized appearance.
- Maximize Vertical Space: Take advantage of the height of the wire shelves by using stackable storage bins or utilizing vertical dividers to create separate compartments.
- Label and Prioritize: Label containers or shelf sections to easily identify the contents. Prioritize frequently used items by placing them at eye level or within easy reach.
- Leave Open Space: Avoid overcrowding the shelves to maintain a tidy and organized appearance. Leave some open space for future additions or to keep items easily accessible.
- Maintain Regular Maintenance: Regularly assess and rearrange items on the wire shelves to keep them organized. This will prevent clutter build-up and ensure efficient use of the storage space.
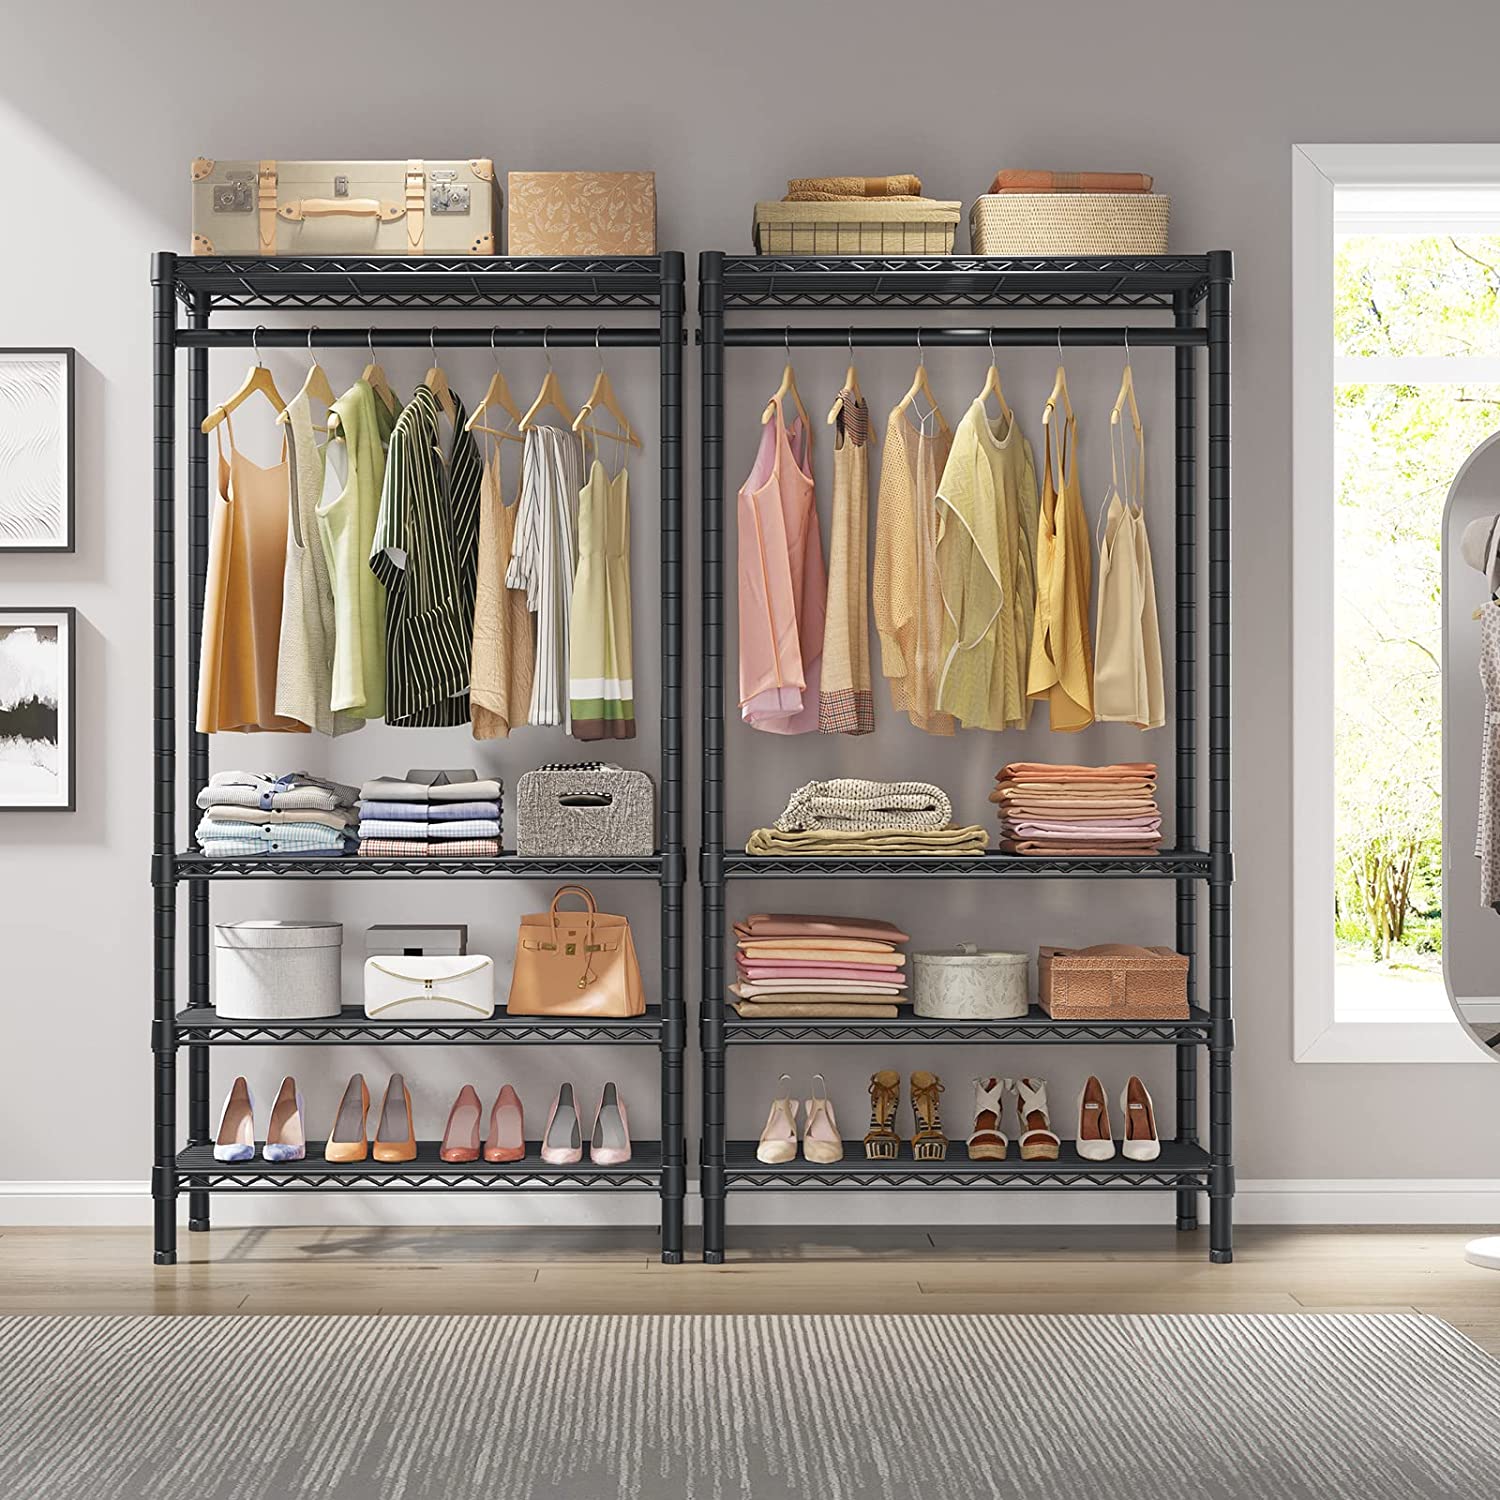
By following these organizational techniques, you can transform your wire shelves into an efficient and visually pleasing storage solution. The key is to find a system that works for you and makes it easy to locate and access your belongings.
Congratulations! You have successfully installed and organized your wire shelves. Enjoy the newfound organization and maximized storage space in your closet.
This concludes the installation process and organization tips. We hope this guide has been helpful in creating an organized and functional closet space with wire shelves. Happy organizing!
Read more: How To Put Shelves In Closet
Conclusion
Installing wire shelves in your closet is a fantastic way to increase storage space and keep your belongings organized. By following the step-by-step process outlined in this guide, you can transform your closet into a functional and tidy space.
We began by determining the placement of the wire shelves, considering factors such as closet layout, storage needs, accessibility, and weight capacity. Next, we gathered all the necessary tools and materials, including wire shelves, wall clips or brackets, shelf support brackets, tape measure, pencil, level, power drill, screwdriver, wall anchors (if necessary), and screws.
We then moved on to measuring and marking the closet walls, ensuring precise placement of the shelves. With the measurements in place, we installed the wall clips or brackets, securely attaching them to the closet walls.
After that, we attached the shelf support brackets, providing additional support for the wire shelves. The shelves were carefully placed on the brackets, ensuring they were level and stable.
To further secure the shelves, we used screws to fasten them in place through the anchor points or holes on the underside of the shelves.
Once the wire shelves were securely installed, we organized and arranged our belongings on the shelves, utilizing containers or baskets, maximizing vertical space, and labeling items for easy identification.
By following these steps, you can achieve an organized, efficient, and visually appealing closet space. Regular maintenance and periodic reassessment of your storage needs will help you maintain an organized closet in the long run.
Now that you have successfully installed wire shelves in your closet, enjoy the benefits of increased storage space and simplified organization. Say goodbye to clutter and hello to a well-organized closet!
Thank you for following this guide, and we hope it has been helpful in your journey to create a functional and organized closet. Happy organizing!
Now that you've mastered installing wire shelves, why not enhance your closet's functionality even more? Dive into our guide on the top shirt folding boards to streamline closet organization. These handy tools simplify keeping clothes neatly stored and easily accessible, turning closet chaos into structured serenity. Perfect for those who value both efficiency and order in their personal space, this guide is a must-read for anyone looking to elevate their storage solutions.
Frequently Asked Questions about How To Install Wire Shelves In Closet
Was this page helpful?
At Storables.com, we guarantee accurate and reliable information. Our content, validated by Expert Board Contributors, is crafted following stringent Editorial Policies. We're committed to providing you with well-researched, expert-backed insights for all your informational needs.


0 thoughts on “How To Install Wire Shelves In Closet”