Articles
How To Install Closet Shelf
Modified: March 22, 2024
Learn how to install a closet shelf in your home with this step-by-step guide. Enhance your home maintenance skills and create organized storage space with ease.
(Many of the links in this article redirect to a specific reviewed product. Your purchase of these products through affiliate links helps to generate commission for Storables.com, at no extra cost. Learn more)
Introduction
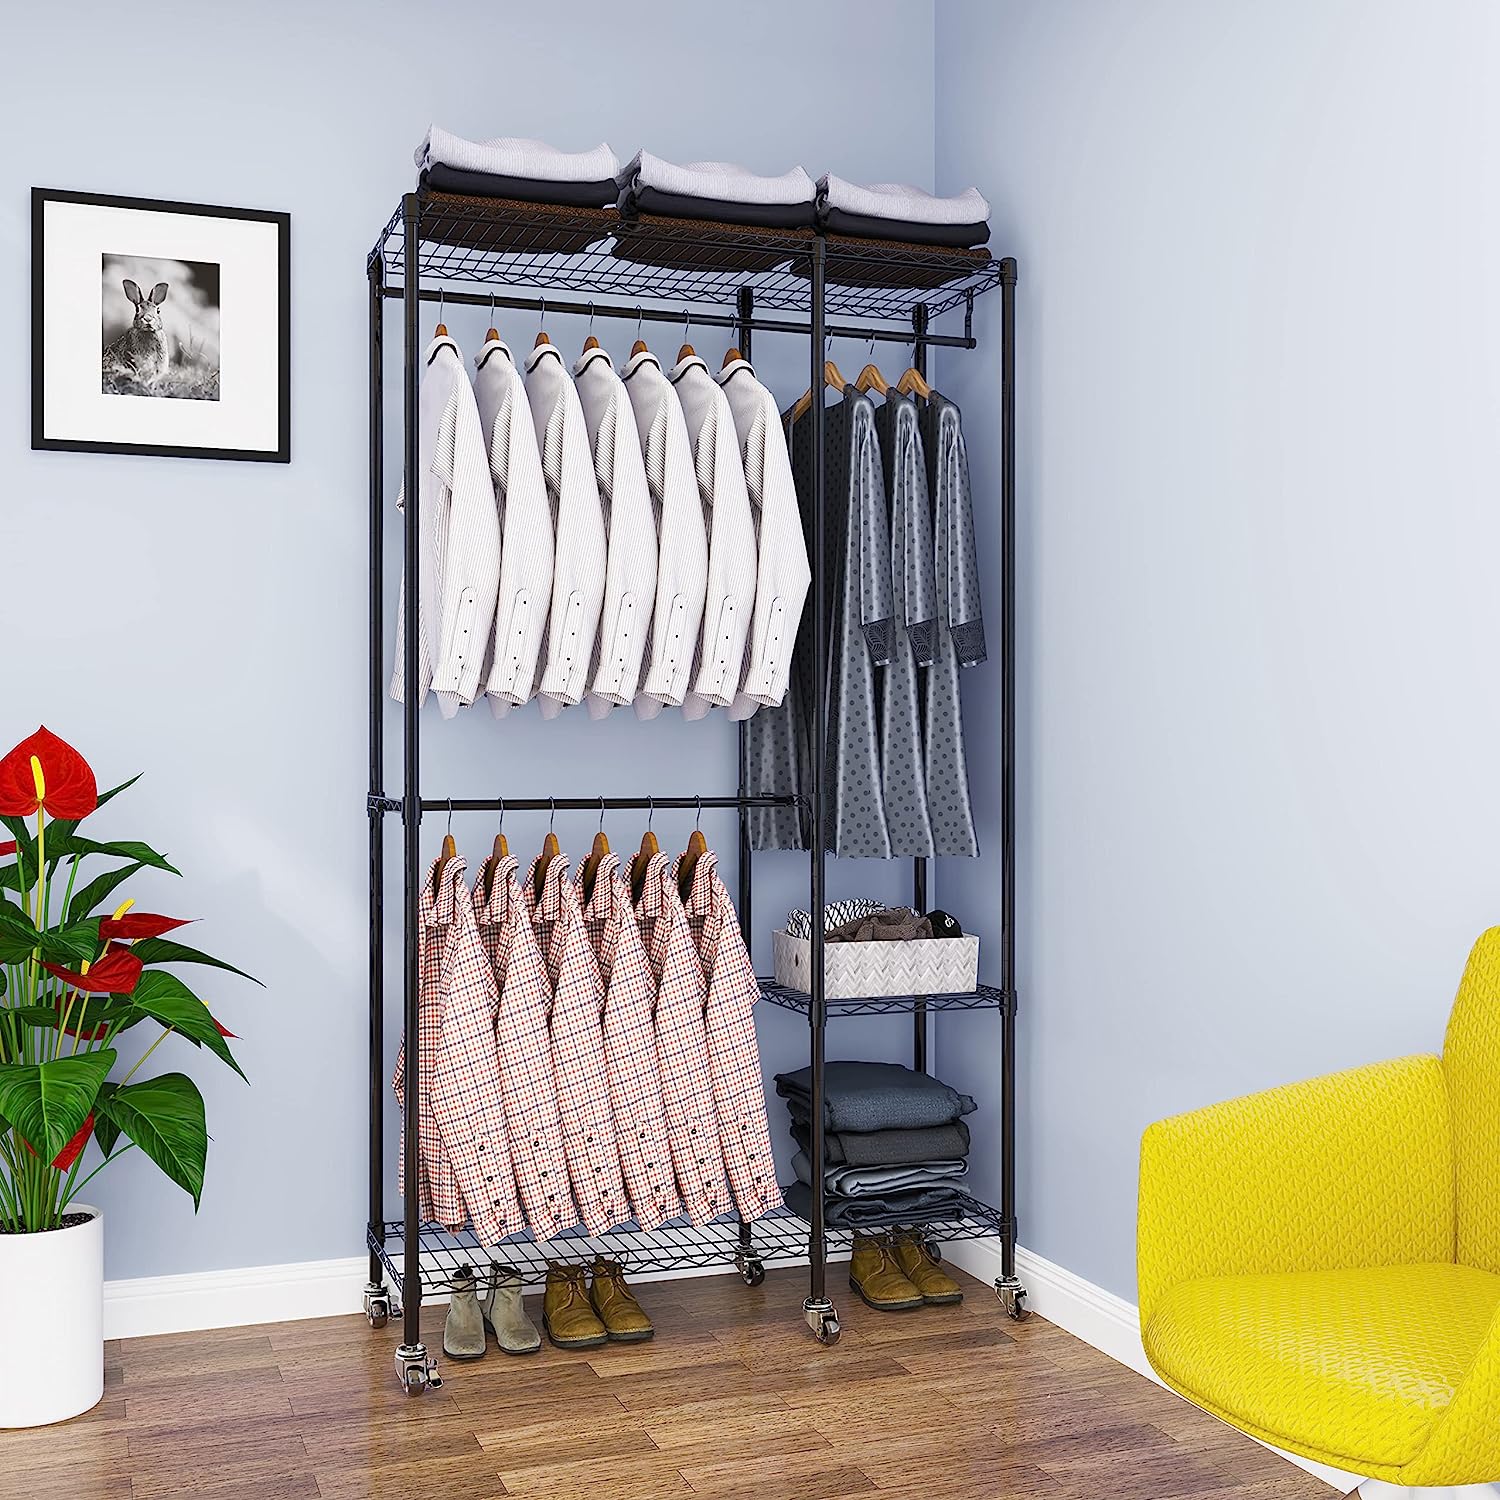
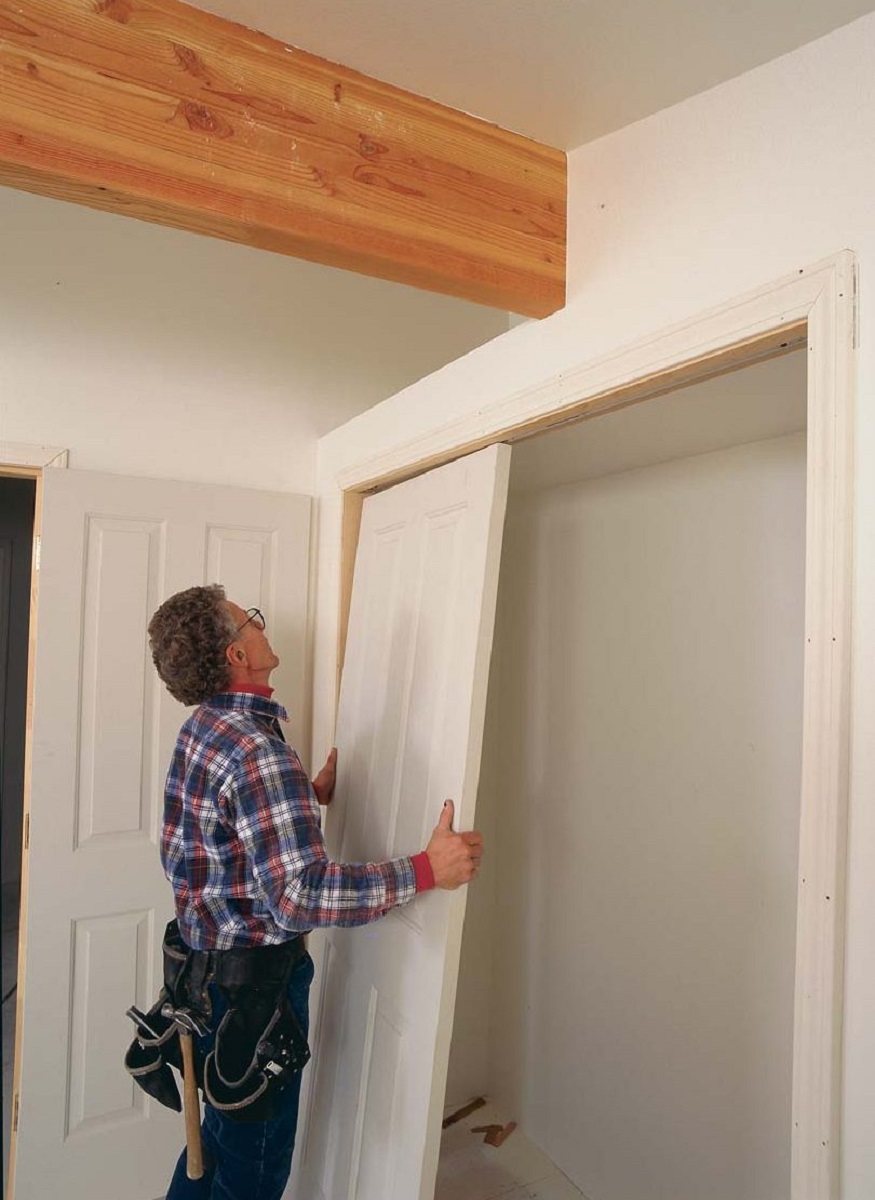
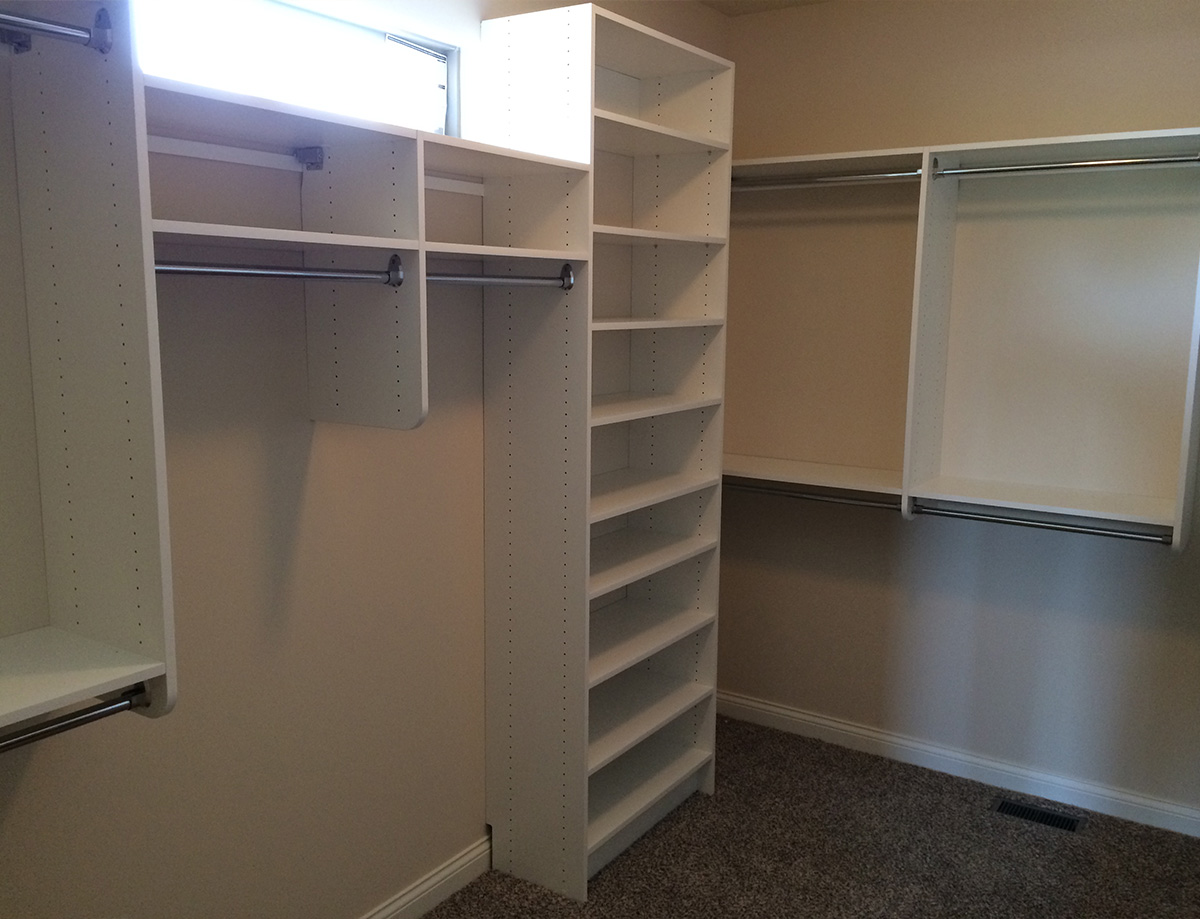
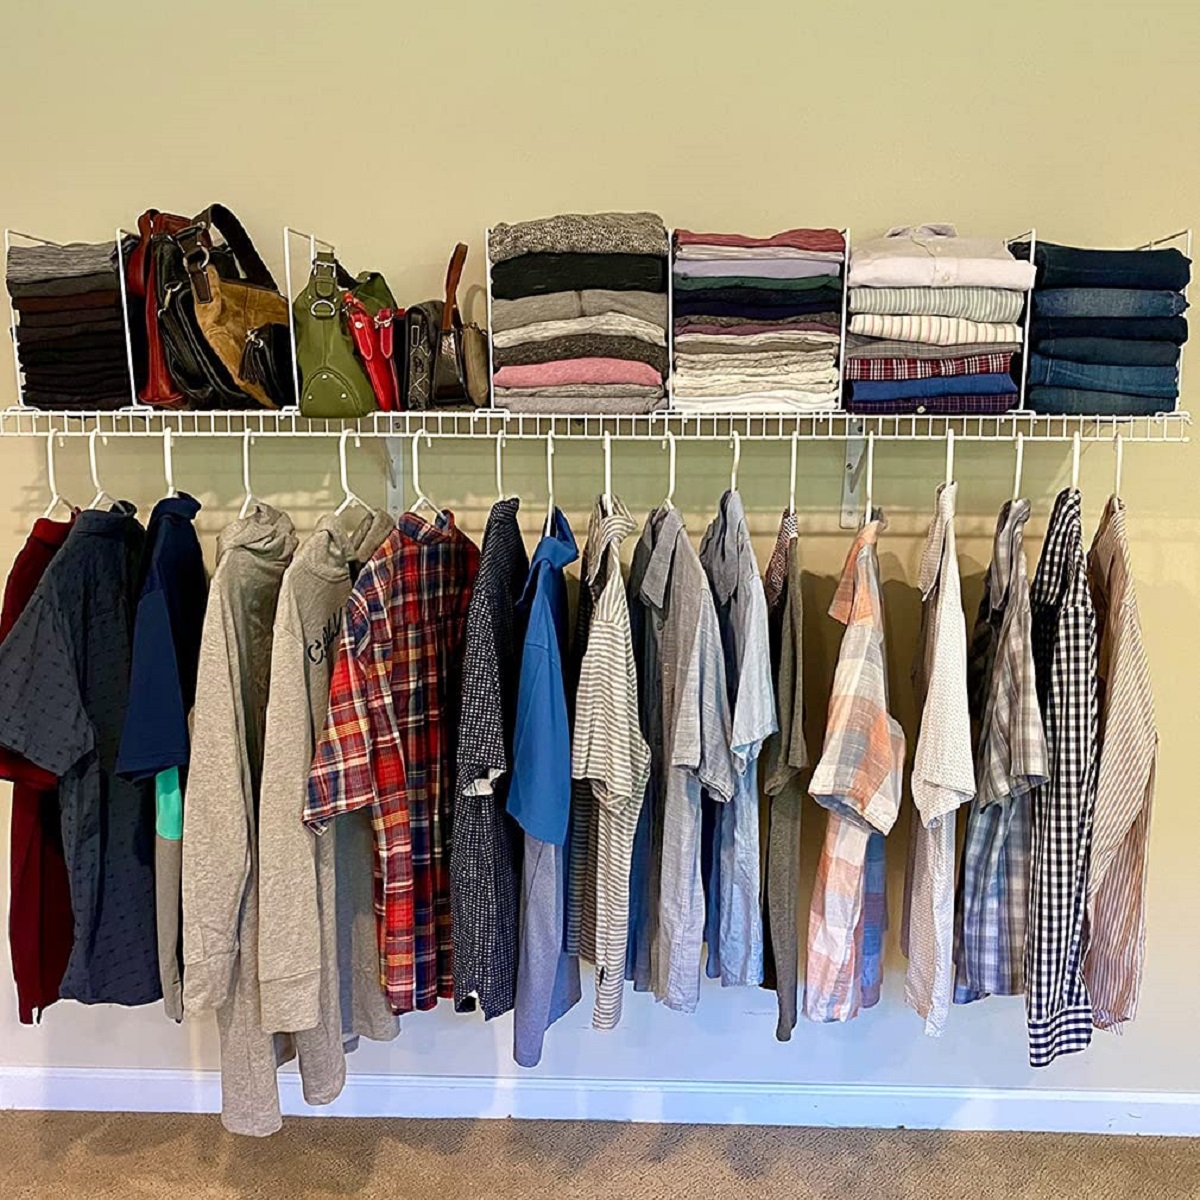
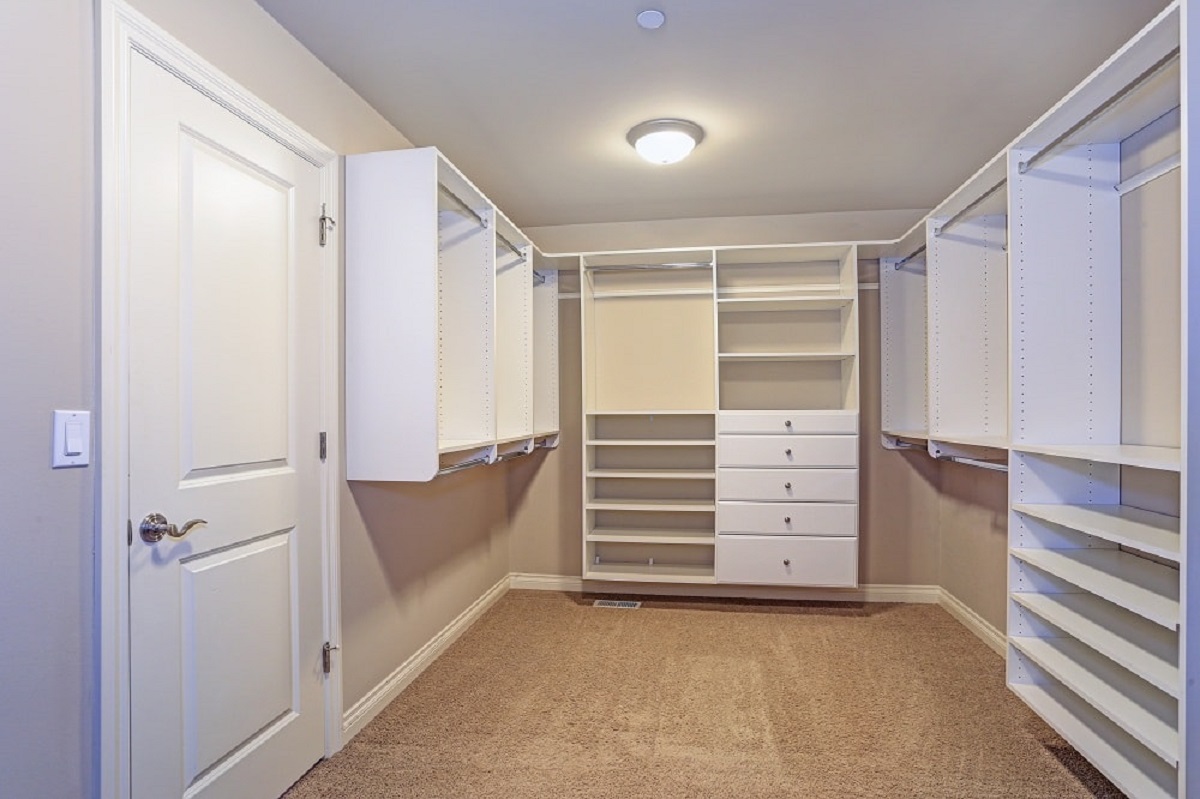
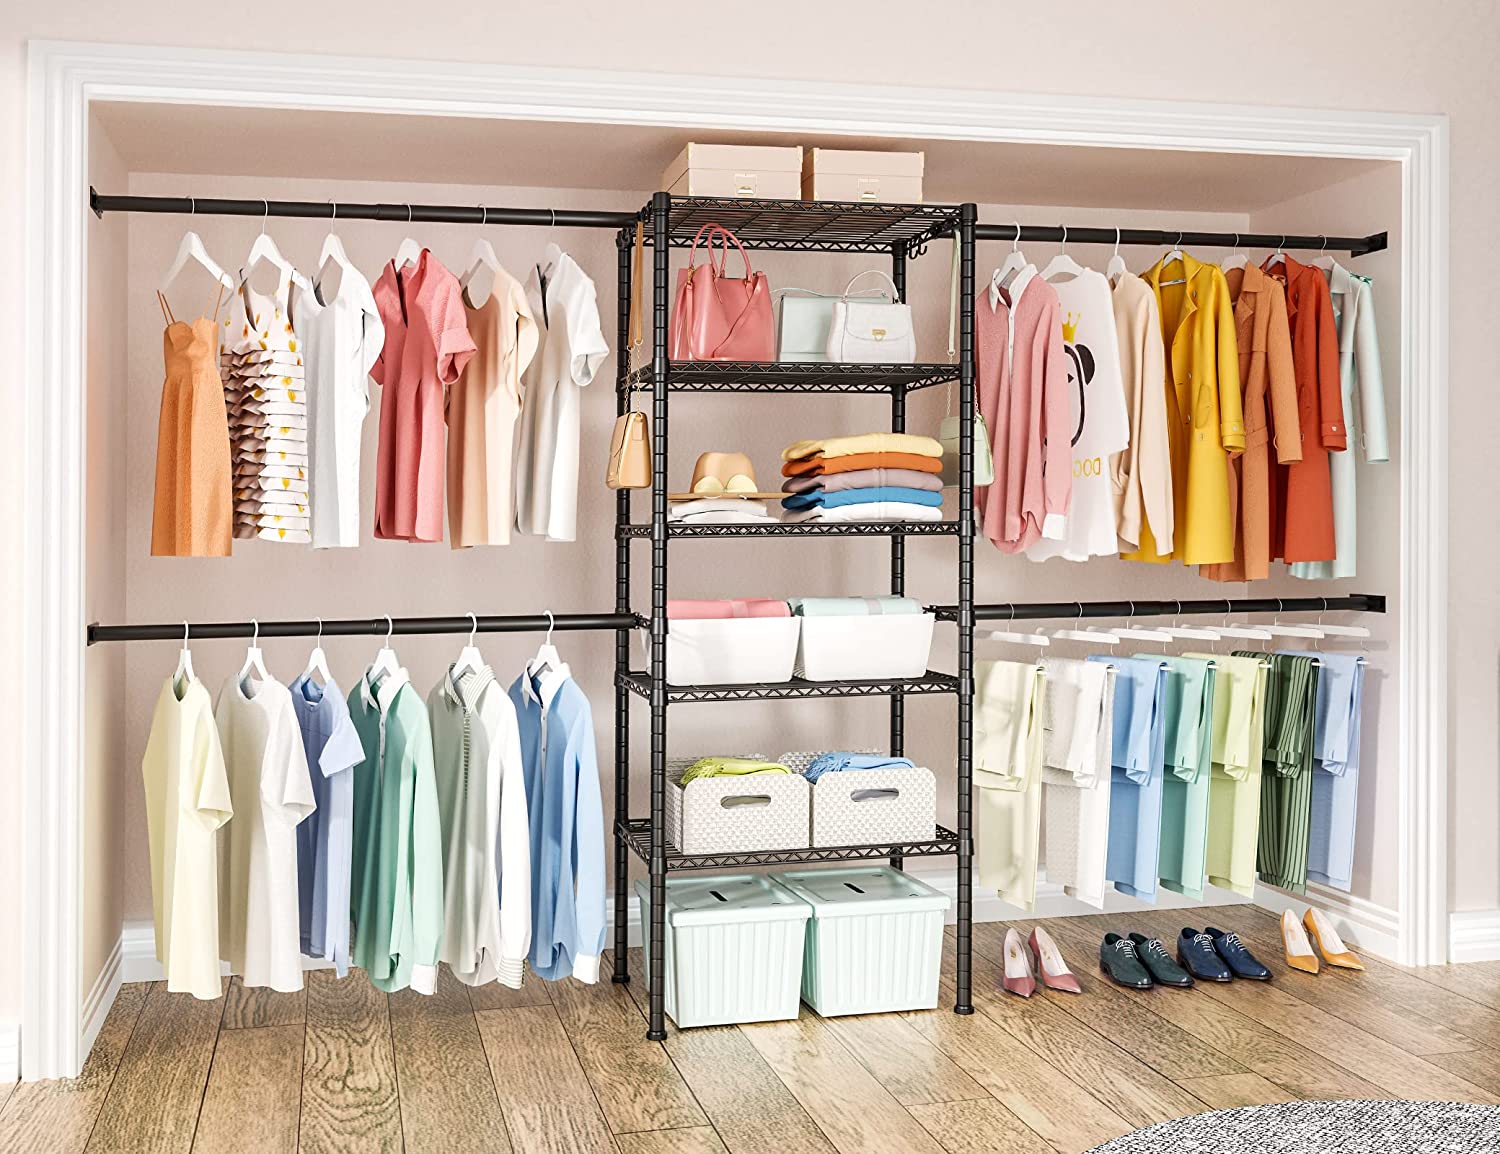
Welcome to our guide on how to install a closet shelf! If you often find yourself struggling to keep your closet organized and clutter-free, installing a shelf can be a game-changer. A closet shelf provides valuable storage space for folded clothes, shoes, accessories, or even bins and boxes. Whether you’re a DIY enthusiast or a beginner, this step-by-step guide will help you tackle this project with ease.
Before we delve into the installation process, it’s important to gather the necessary tools and materials. Investing a little time and effort upfront will ensure a smooth installation and a sturdy shelf that will last for years to come. So, let’s get started!
Key Takeaways:
- Transform your closet into an organized oasis by following our step-by-step guide to installing a sturdy and functional shelf. With the right tools and careful measurements, you can create a clutter-free space for your belongings.
- Ensure long-lasting stability by testing the shelf’s weight-bearing capacity and making necessary adjustments. A well-installed closet shelf provides a convenient and efficient storage solution for your everyday items.
Read more: How To Install Closet Shelf And Rod
Step 1: Gather the necessary tools and materials
Before you begin installing a closet shelf, it’s essential to have all the required tools and materials at hand. This will save you time and frustration during the installation process. Here’s a list of what you’ll need:
1. Measuring Tape: An accurate measuring tape is essential for determining the shelf height, length, and spacing.
2. Pencil: A pencil will help you mark the positions for the shelf brackets and ensure accurate measurements.
3. Stud Finder: If you’re planning to attach the shelf to the wall, a stud finder will help you locate the wall studs for maximum stability.
4. Level: To ensure that your shelf is installed straight and level, a level tool is a must-have.
5. Electric Drill: An electric drill with various drill bits will make the installation process faster and easier.
6. Screwdriver: Keep a screwdriver handy, as you may need it for attaching screws or brackets.
7. Shelf Brackets: Choose sturdy and durable brackets that can support the weight of the items you’ll place on the shelf.
8. Shelf Boards: Select shelf boards that are suitable for your project, considering size, material, and desired aesthetic.
9. Wall Anchors (if necessary): If you’re not able to attach the shelf brackets directly to wall studs, wall anchors will provide additional support.
10. Safety Equipment: Don’t forget to prioritize safety! Wear protective gear such as safety goggles and gloves to prevent injuries during the installation process.
Once you have gathered all the necessary tools and materials, you’re ready to move on to the next step: measuring and marking the desired shelf height.
Step 2: Measure and mark the desired shelf height
Now that you have all your tools and materials ready, it’s time to measure and mark the desired height for your closet shelf. Here’s a step-by-step guide:
1. Clear the area: Remove any items or clothing from the area where you plan to install the shelf. This will give you a clear workspace and prevent any potential obstructions.
2. Decide on the shelf height: Consider the items you’ll be placing on the shelf and determine the appropriate height. If you’re planning to store folded clothes, allow enough space for them to fit comfortably. Also, consider any other shelves or hanging rods in the closet to ensure they won’t interfere with the placement of your new shelf.
3. Measure the wall: Use a measuring tape to mark the desired height on the wall. Start from the floor or the bottom of any existing shelves or rods, and make a light pencil mark to indicate the top of your shelf.
4. Check for levelness: Use a level to ensure that your measurement is straight and level. Adjust the mark if necessary.
5. Mark the positions for brackets: Measure and mark the positions on the wall where you’ll be installing the shelf brackets. These marks should align with the edges of the shelf. Make sure to double-check the measurements and mark multiple points to ensure accuracy.
6. Consider wall studs: If you’re planning to attach the shelf brackets directly to wall studs, use a stud finder to locate them. Mark the stud positions on the wall as well, as they will provide the most secure and stable support for your shelf.
7. Determine the spacing: Depending on the length of your shelf and the number of brackets you’re using, decide on the spacing between the brackets for even weight distribution. Make sure to mark the positions for each bracket.
Once you have measured and marked the desired shelf height, as well as the positions for the brackets, you’re now ready to move on to the next step: installing the shelf brackets.
Step 3: Install the shelf brackets
With the measurements and markings in place, it’s time to install the shelf brackets. The brackets are crucial for providing support and stability to your closet shelf. Follow these steps:
1. Position the first bracket: Start with the first bracket and align it with the marked position on the wall. If you’re attaching the brackets directly to wall studs, make sure the bracket lines up with the stud mark. Use a level to ensure that the bracket is perfectly vertical.
2. Mark the screw holes: Once the first bracket is aligned, use a pencil or a small nail to mark the screw hole positions on the wall. These marks indicate where you’ll attach the bracket to the wall.
3. Pre-drill pilot holes: Before attaching the bracket, it’s advisable to pre-drill pilot holes using a drill bit slightly smaller than the diameter of the screws. This will prevent the wall from splitting when you insert the screws.
4. Attach the first bracket: Place the first bracket back on its marked position and align the screw holes with the pilot holes. Using your drill or screwdriver, secure the bracket to the wall by driving the screws through the holes. Ensure the bracket is firmly attached.
5. Repeat for the remaining brackets: Move on to the next bracket and follow the same process. Align it with the marked position and ensure it’s level. Mark the screw hole positions, pre-drill pilot holes, and attach the bracket to the wall. Repeat this step for all the remaining brackets.
6. Check for stability: Once all the brackets are installed, gently shake them to check for stability. They should feel secure and firmly attached to the wall. If there is any wobbling or instability, double-check the alignment and make any necessary adjustments.
With the shelf brackets securely installed, you’re now ready to move on to the next step: attaching the shelves to the brackets.
When installing a closet shelf, make sure to measure the space accurately before purchasing the shelf. Use a level to ensure the shelf is installed straight and secure it to the wall studs for maximum support.
Step 4: Attach the shelves to the brackets
Now that the shelf brackets are securely installed, it’s time to attach the shelves. This step will complete the structure of your closet shelf. Follow these steps for a successful attachment:
1. Measure and cut the shelves: If your shelves are not pre-cut to the desired length, measure and mark the appropriate length for each shelf board. Use a saw or a cutting tool to carefully cut the shelves according to your measurements.
2. Place the first shelf: Starting with the bottom shelf, position it on the installed brackets. Ensure that the shelf is level and sits securely on the brackets. Adjust if necessary.
3. Mark the bracket positions: With the first shelf in place, use a pencil to mark the positions where the brackets touch the bottom surface of the shelf. These marks will guide you in attaching the brackets to the shelves.
4. Attach the brackets to the shelves: Remove the first shelf from the brackets and place it on a stable surface. Align the marked positions with the brackets and use a drill or screwdriver to attach the brackets to the shelves. Make sure to use screws that are appropriate in length and strength for a secure connection.
5. Repeat for the remaining shelves: Follow the same process for each remaining shelf. Position it on the brackets, mark the bracket positions on the shelf, and attach the brackets securely. Check for levelness and stability after attaching each shelf.
6. Double-check the alignment: Once all the shelves are attached, carefully place them back onto the brackets. Ensure that they are properly aligned and level. Make any necessary adjustments or tightening of screws if needed.
With the shelves securely attached to the brackets, your closet shelf structure is now complete. The next step will focus on securing the shelves in place for added stability.
Read more: How To Remove Closet Shelf
Step 5: Secure the shelves in place
After attaching the shelves to the brackets, it’s important to secure them in place to ensure stability and prevent any shifting or movement. Follow these steps to securely fix the shelves:
1. Locate the bracket holes: On the underside of each shelf, you will find holes that align with the brackets. These holes are typically pre-drilled or can be marked using the brackets as a guide.
2. Mark the screw positions: With the shelf in position, use a pencil or a small nail to mark the screw positions based on the holes in the shelf and the brackets.
3. Pre-drill pilot holes: To prevent the shelves from splitting or cracking, it’s best to pre-drill pilot holes where you’ve marked the screw positions. Use a drill bit slightly smaller than the diameter of the screws to create the pilot holes.
4. Attach the shelves: Place the shelf back on the brackets, aligning the pre-drilled holes with the bracket holes. Insert screws into the pilot holes and tighten them using a drill or screwdriver. Take care not to over tighten, as this can damage the shelf or the bracket.
5. Repeat for each shelf: Repeat the same process for each shelf, ensuring that they are securely attached to the brackets. Double-check the levelness and stability of each shelf as you go.
6. Test the stability: Once all the shelves are secured in place, give them a gentle shake to test their stability. The shelves should feel solid and not wobble or move excessively. If there is any instability, recheck the attachment points or make necessary adjustments.
By securely fixing the shelves in place, you can confidently organize your items without worrying about them shifting or falling. The next step will focus on testing the stability of the installed closet shelf and making any necessary adjustments.
Step 6: Test the stability and adjust if necessary
Before considering your closet shelf installation complete, it’s important to test the stability and make any necessary adjustments to ensure its functionality. Follow these steps to test the stability and make necessary adjustments:
1. Load the shelves: Once the shelves are securely attached, start loading them with items. Gradually add weight and distribute it evenly across the shelves. This will simulate the actual usage of the shelf and allow you to test its weight-bearing capacity.
2. Observe for movement or sagging: As you load the shelves, pay attention to any signs of movement or sagging. If you notice any significant downward bowing or movement, it may indicate that the shelves need additional support or adjustments.
3. Reinforce with additional brackets or supports (if necessary): If you find that the shelves are not as stable as desired, you can reinforce them with additional brackets or supports. Install additional brackets at suitable intervals along the length of the shelf to provide extra support.
4. Make leveling adjustments: Use a level to check if the shelves are still level. If you notice any unevenness, make necessary adjustments by loosening the screws slightly and repositioning the shelf until it’s level. Then, re-tighten the screws to secure the shelf in its new position.
5. Recheck all attachment points: Once adjustments are made, double-check all the attachment points, including the brackets, shelf boards, and screws. Ensure that everything is securely fastened to prevent any potential hazards.
6. Retest the stability: After making any necessary adjustments, load the shelves again and test their stability. They should now be able to handle the weight without significant movement or sagging.
By thoroughly testing the stability and making any necessary adjustments, you can ensure that your closet shelf is safe and sturdy. With the installation process complete, you can now enjoy the benefits of a functional and organized closet!
Conclusion
Congratulations! You have successfully learned how to install a closet shelf. By following the step-by-step guide provided, you have transformed your closet into a more organized and efficient space. Now, you can enjoy the convenience of having a dedicated area for storing folded clothes, shoes, accessories, and more.
Remember, the key to a successful closet shelf installation is careful planning, accurate measurements, and using the right tools and materials. Taking the time to gather the necessary tools, measuring and marking the desired shelf height, installing the brackets securely, attaching the shelves, and testing the stability are all crucial steps in creating a long-lasting and functional closet shelf.
As you use your new closet shelf, it’s important to periodically check for stability and make adjustments if needed. Over time, as your storage needs may change, you might need to rearrange the shelves, add additional supports, or even consider expanding your shelving system.
Organizing your closet not only makes it easier to find and access your belongings but also helps create a visually appealing and clutter-free space. With the proper installation of a closet shelf, you can maximize the available space in your closet and transform it into an area that suits your needs and enhances your daily routine.
We hope this guide has been helpful to you, and we wish you the best of luck with your closet shelf installation project. Enjoy your newly organized space!
Frequently Asked Questions about How To Install Closet Shelf
Was this page helpful?
At Storables.com, we guarantee accurate and reliable information. Our content, validated by Expert Board Contributors, is crafted following stringent Editorial Policies. We're committed to providing you with well-researched, expert-backed insights for all your informational needs.


0 thoughts on “How To Install Closet Shelf”