
Articles
What Is A Light Kit For Ceiling Fan
Modified: October 18, 2024
Discover the benefits of using a light kit for your ceiling fan in our informative articles. Enhance your home lighting and improve air circulation with this practical accessory.
(Many of the links in this article redirect to a specific reviewed product. Your purchase of these products through affiliate links helps to generate commission for Storables.com, at no extra cost. Learn more)
Introduction
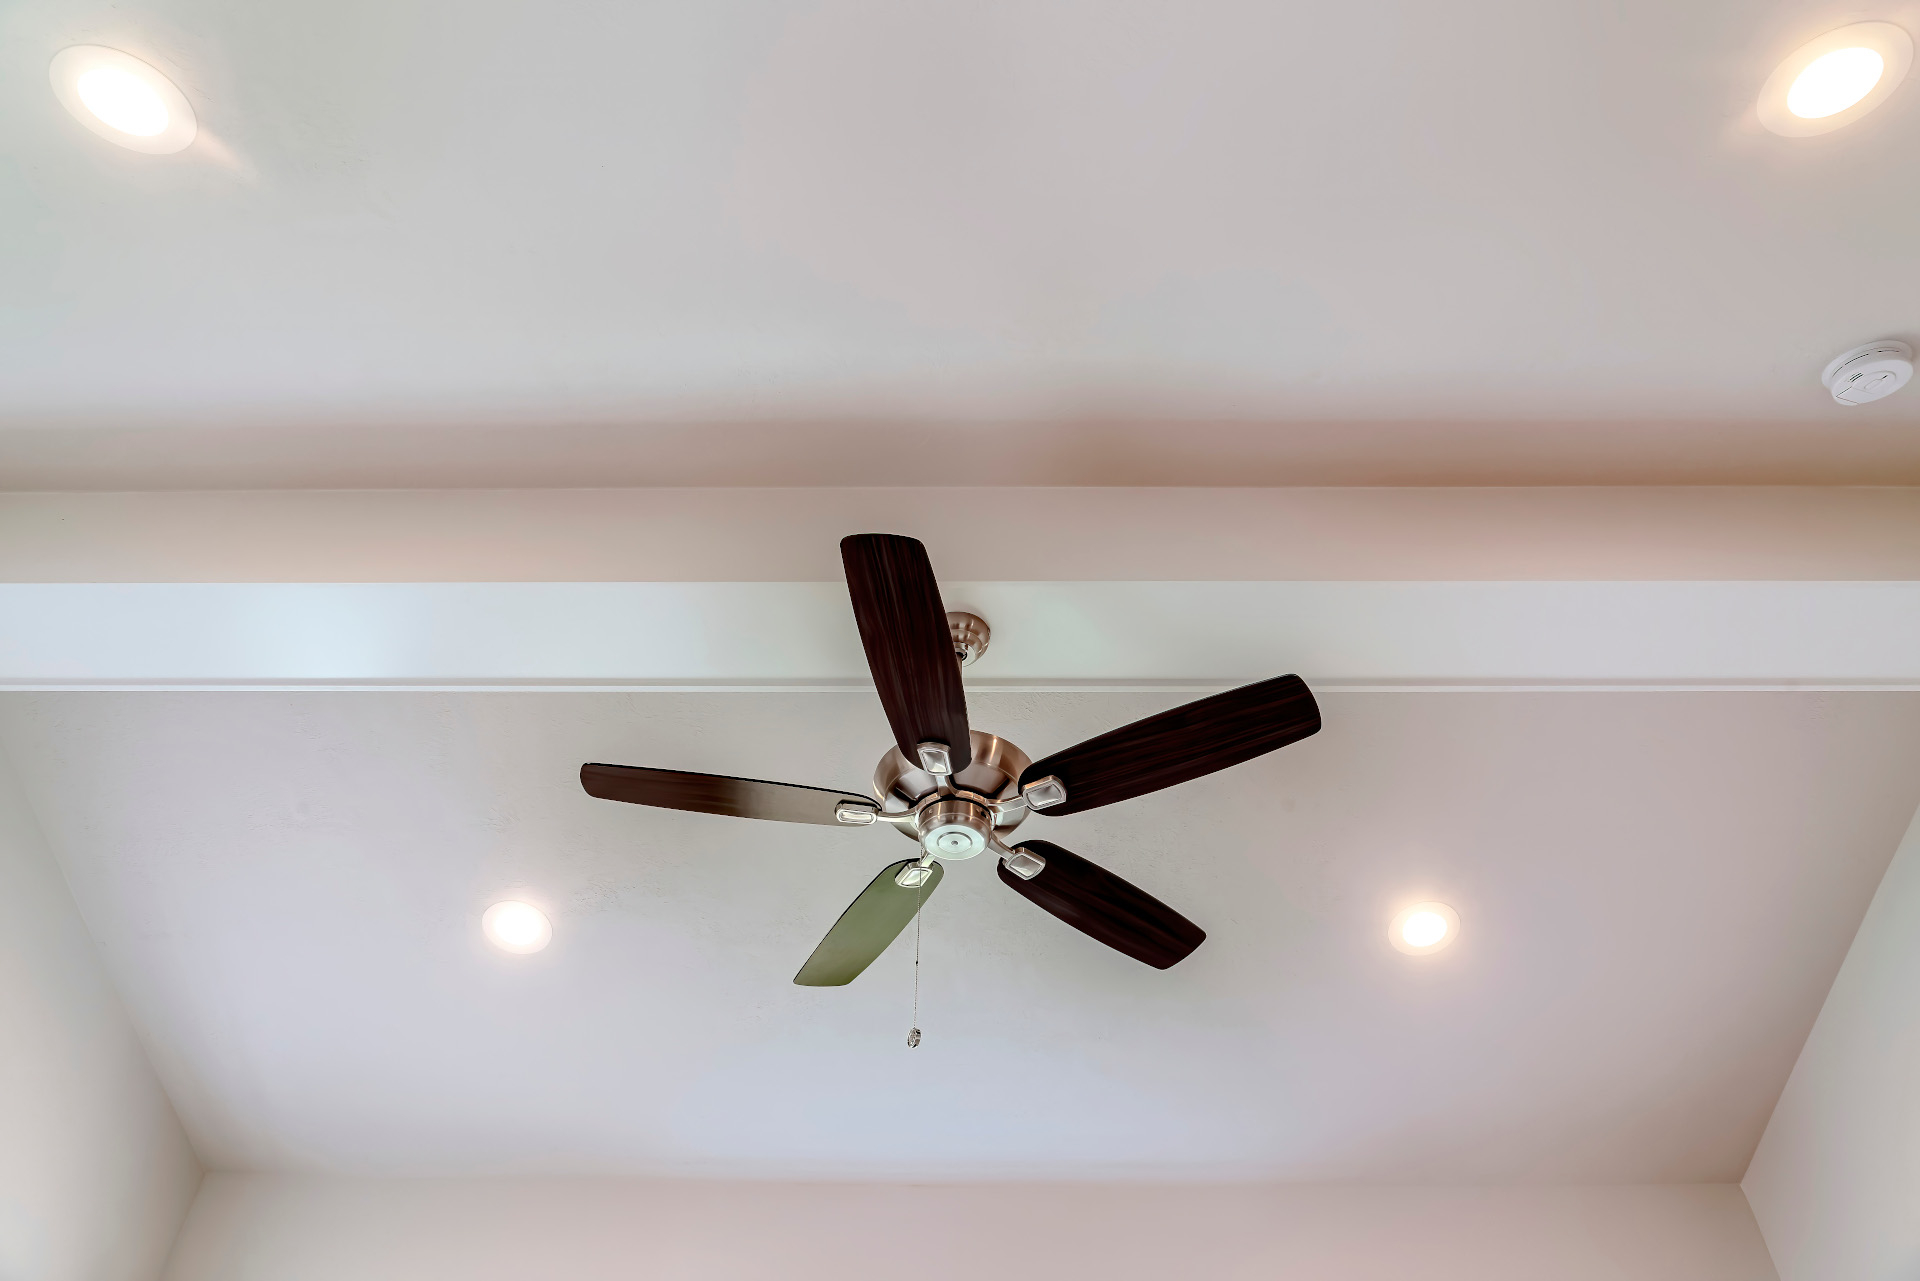
In today’s modern homes, ceiling fans are a popular and essential feature. They not only help to circulate air and maintain a comfortable environment, but they can also add a touch of style to any room. One important accessory that can enhance the functionality and aesthetics of a ceiling fan is a light kit. A light kit for a ceiling fan is a separate attachment that adds an additional lighting source to the fan. It is a convenient and practical solution for illuminating a room while providing air circulation.
A light kit typically consists of several components, including a light fixture, bulbs, wiring, and sometimes a remote control or pull chains for easy operation. These components work together to provide an efficient and effective lighting solution for your space. Light kits come in a variety of styles and designs to complement different ceiling fan models and suit a range of interior decors.
There are various types of light kits available for ceiling fans, including integrated light kits, universal light kits, and customizable options. Integrated light kits are designed specifically for certain ceiling fan models and typically come pre-installed. Universal light kits, on the other hand, can be attached to most standard ceiling fans, regardless of the brand or model. Customizable light kits allow you to choose the style, finish, and type of bulbs that best suit your preferences.
The benefits of using a light kit for a ceiling fan are numerous. Firstly, it provides additional lighting to a room, eliminating the need for extra lamps or fixtures. This can help enhance the overall illumination and create a more functional and inviting space. Lighting kits also offer versatility, allowing you to control the brightness and ambiance of the room with adjustable settings. Additionally, many light kits are energy-efficient, using LED bulbs that consume less energy and have a longer lifespan compared to traditional incandescent bulbs.
Key Takeaways:
- A light kit for a ceiling fan combines air circulation with additional lighting, saving space and enhancing room aesthetics. With various options available, homeowners can choose a kit that suits their style and preferences.
- The benefits of a light kit for a ceiling fan include improved lighting, energy efficiency, versatile options, and dual functionality. Proper maintenance ensures optimal performance and longevity, making it a practical and stylish addition to any room.
Read more: What Ceiling Fan Has The Brightest Light
Definition of a Light Kit for Ceiling Fan
A light kit for a ceiling fan is an accessory that can be attached to a ceiling fan to provide additional lighting in a room. It is a separate component that consists of a light fixture, bulbs, wiring, and controls, offering a convenient and practical solution to combine air circulation with illumination.
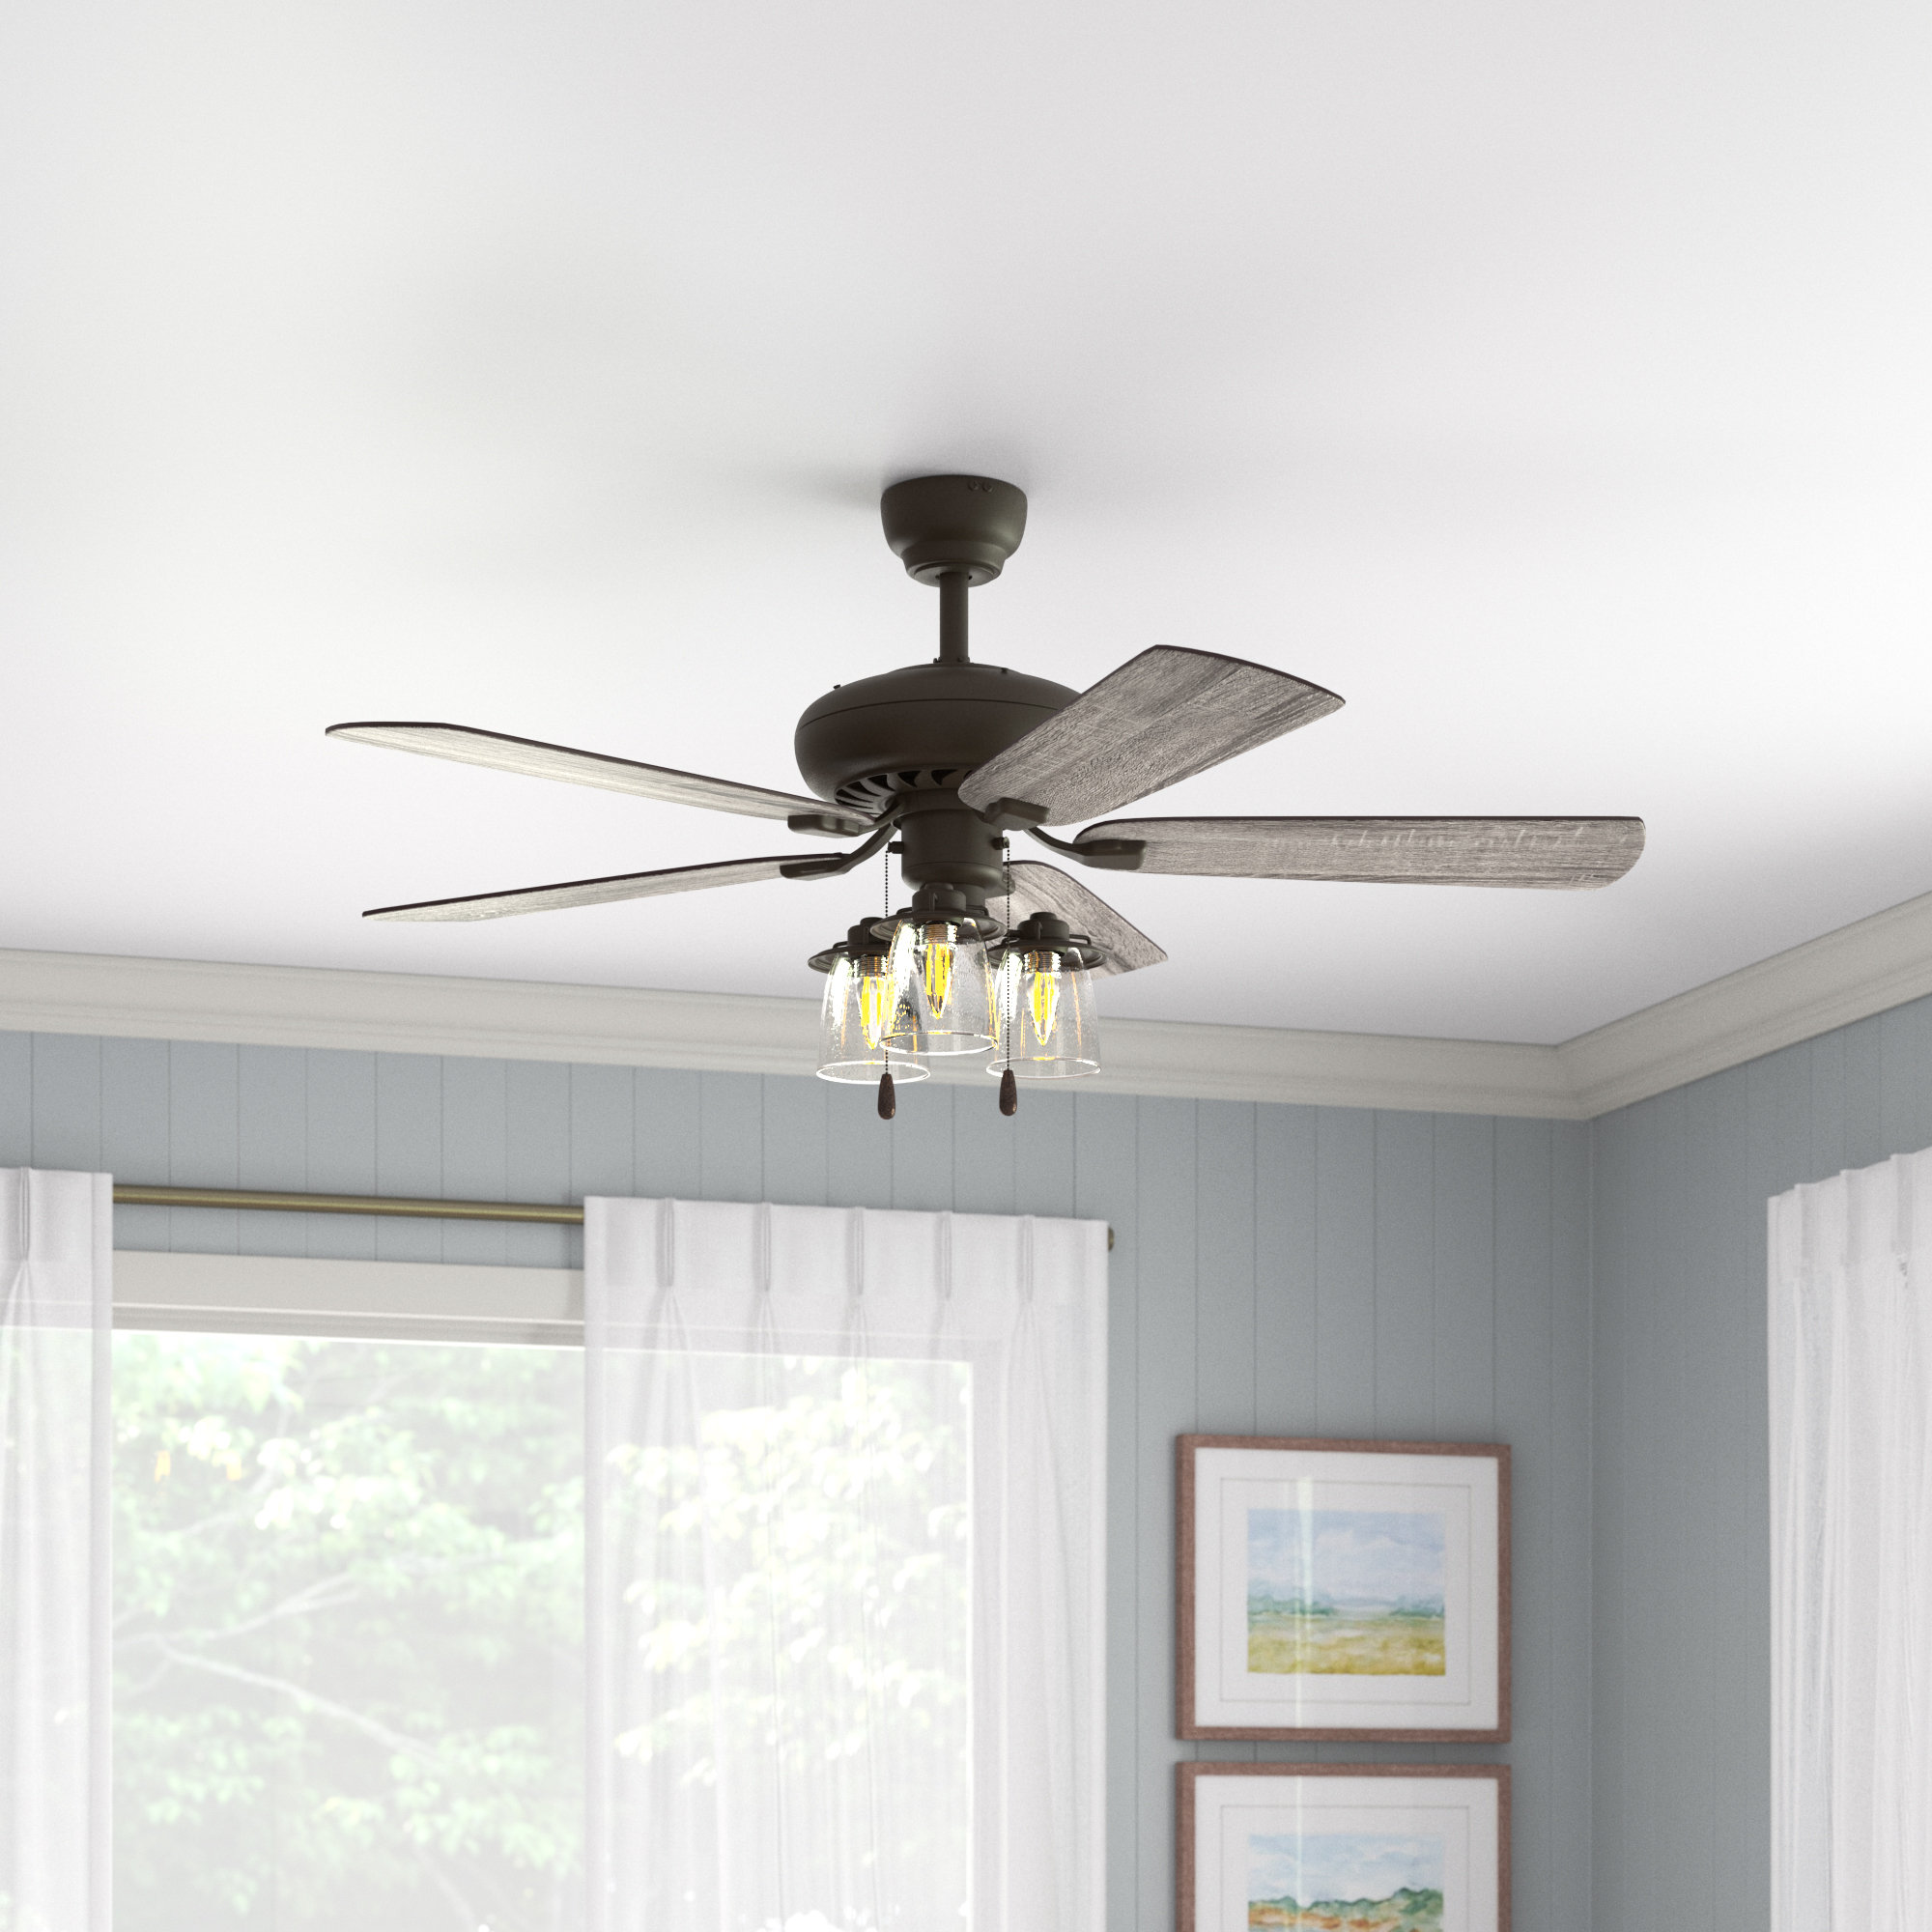
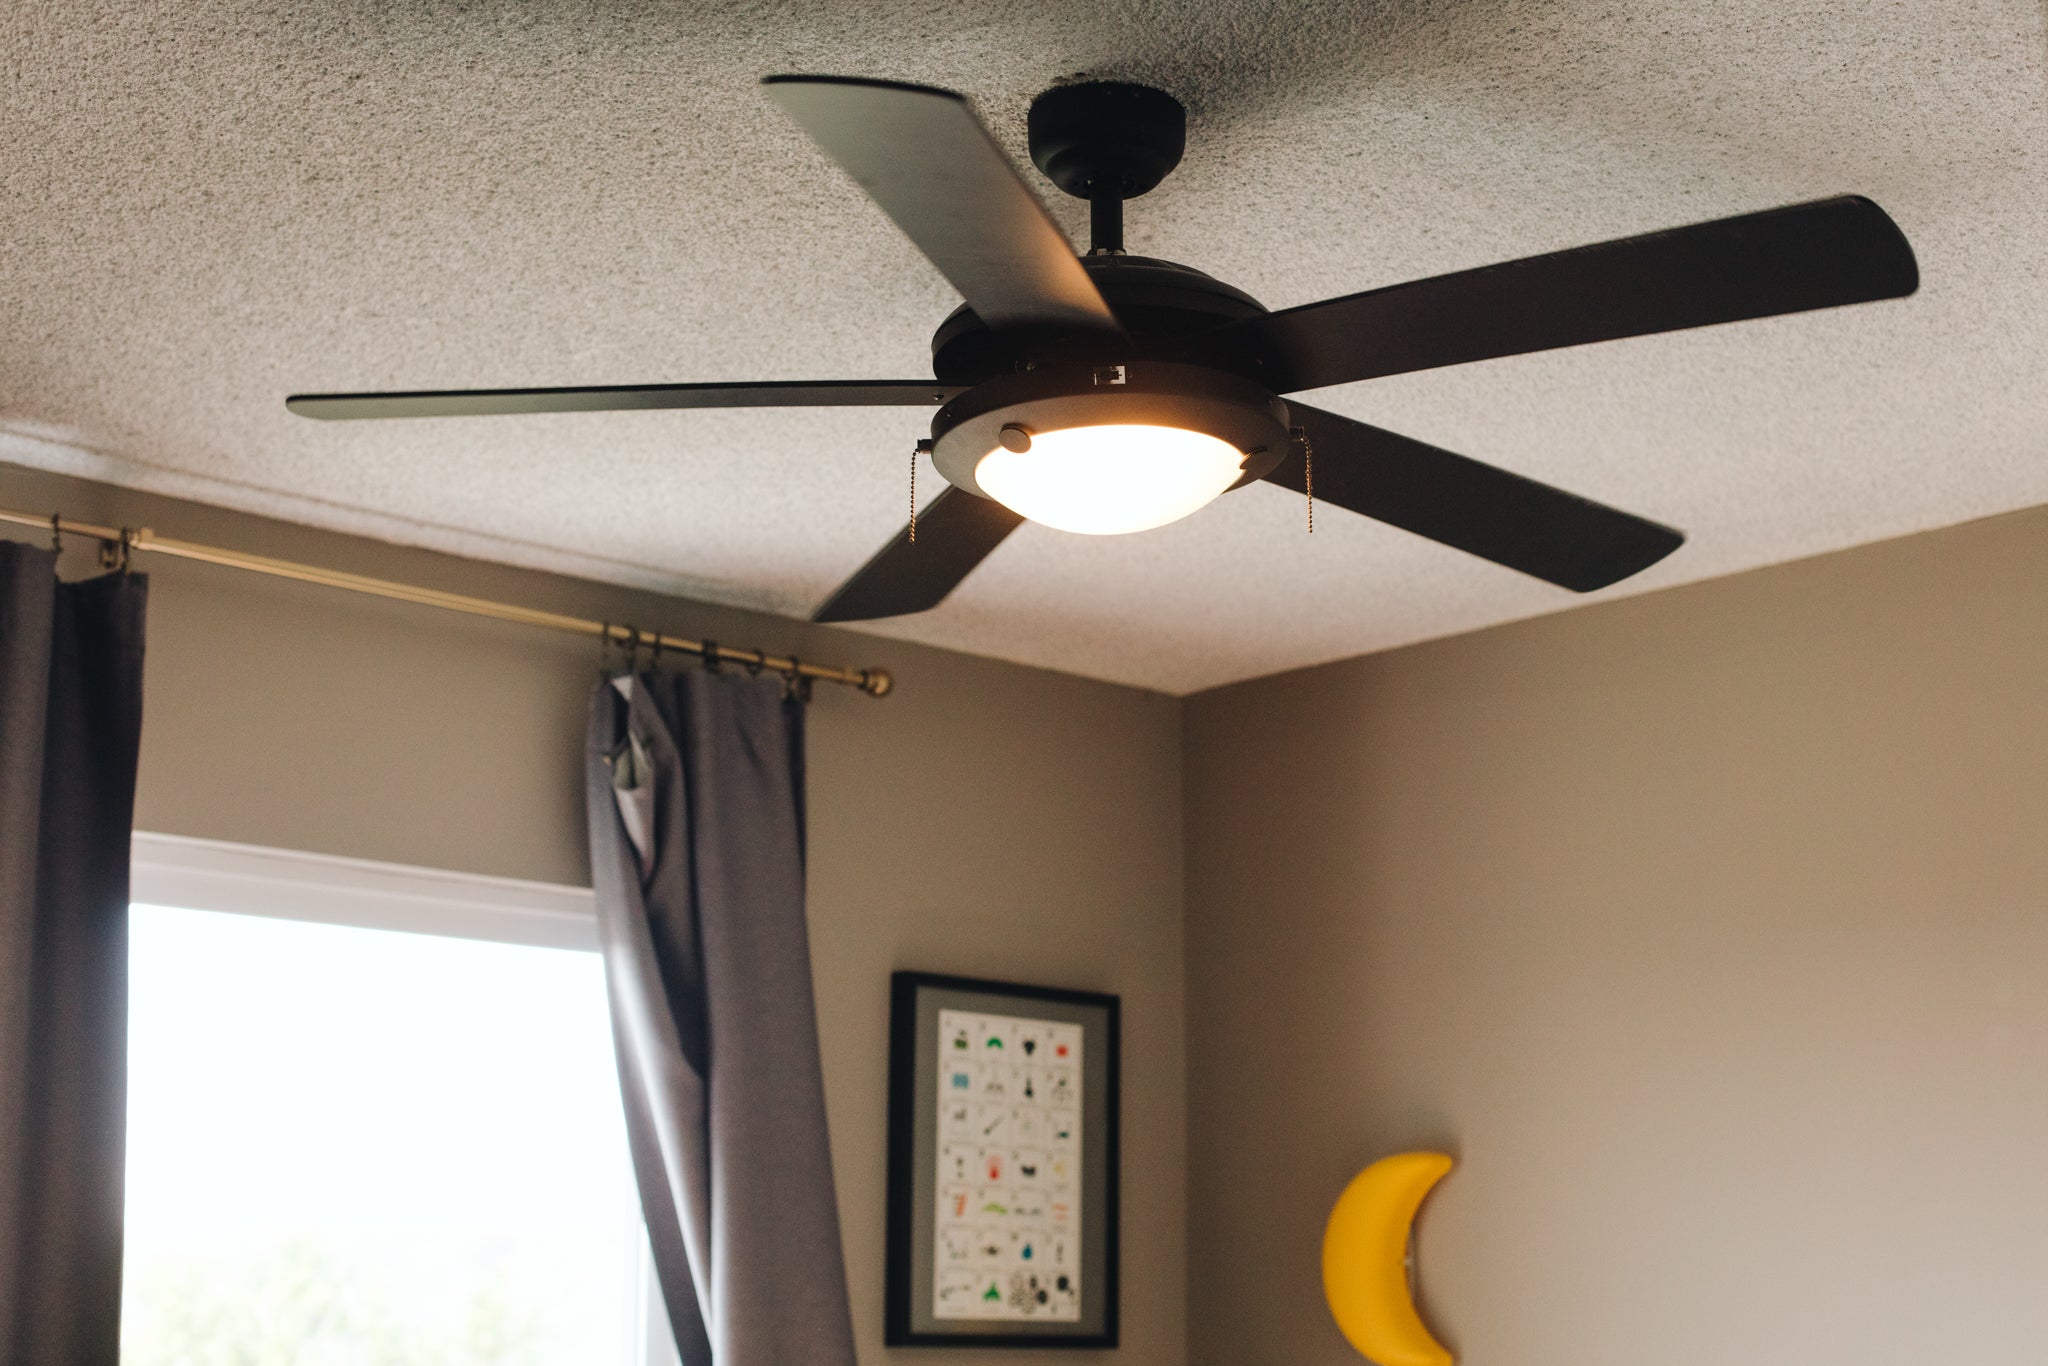
When mounted on a ceiling fan, the light kit is positioned in the center of the fan, directly below the blades. It is designed to integrate seamlessly with the fan’s overall aesthetic, creating a cohesive and functional fixture that serves multiple purposes.
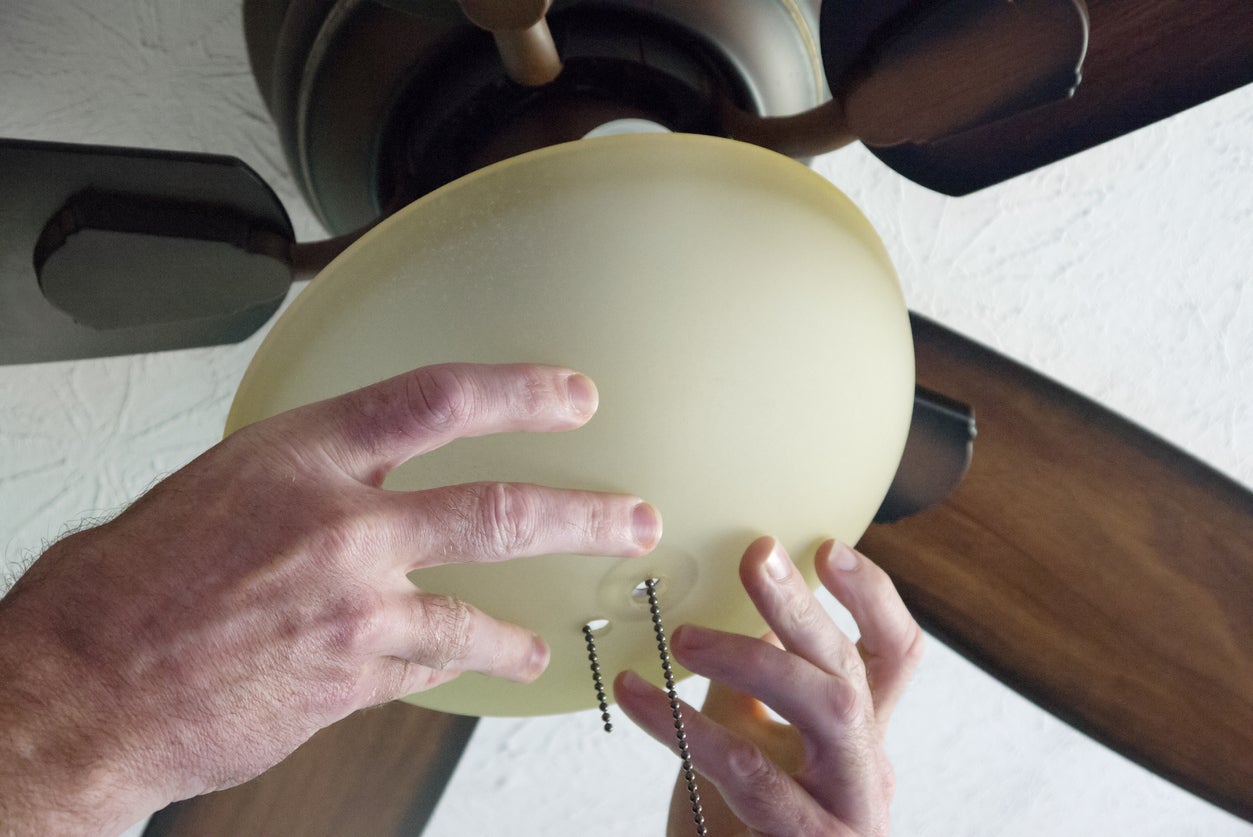
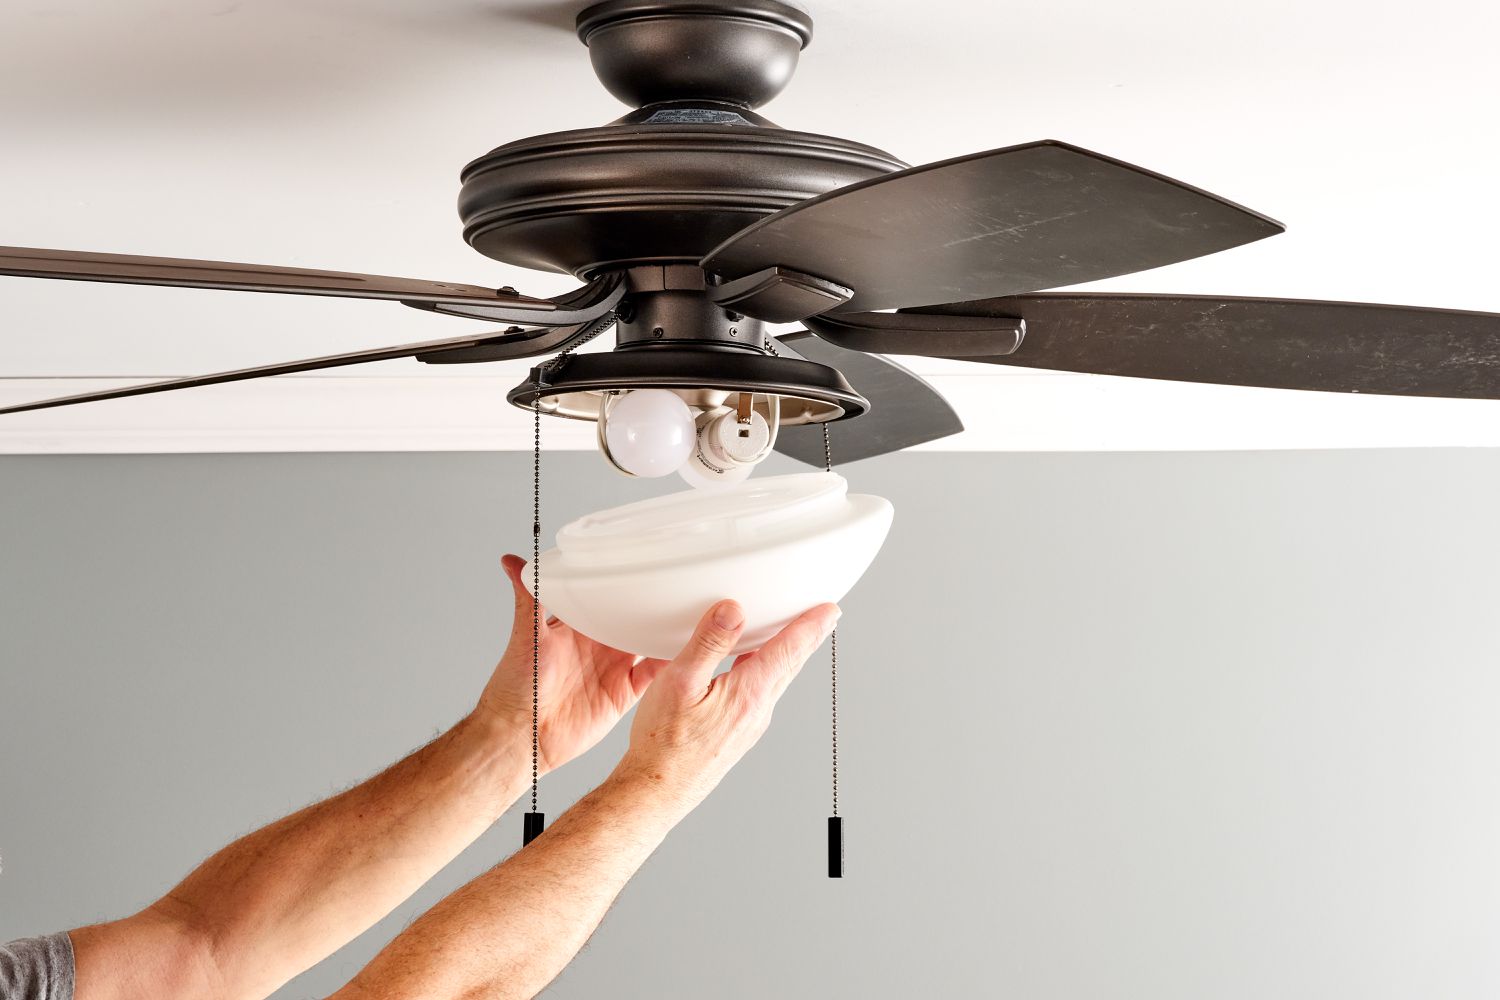
The light fixture in a ceiling fan light kit comes in various designs, such as a dome-shaped or bowl-shaped fixture that diffuses light evenly throughout the room. The choice of materials and finishes for the fixture can vary, allowing homeowners to select one that complements their interior decor. Some light kits also offer the option of multiple light fixtures or the ability to adjust the direction of the light, providing even more flexibility in lighting preferences.
Light kits for ceiling fans typically come with bulbs included, with LED bulbs being a popular choice for their energy efficiency and long lifespan. Depending on the model and design of the light kit, it may support different types and wattage of bulbs, enabling homeowners to customize the level of brightness and the type of lighting they desire.
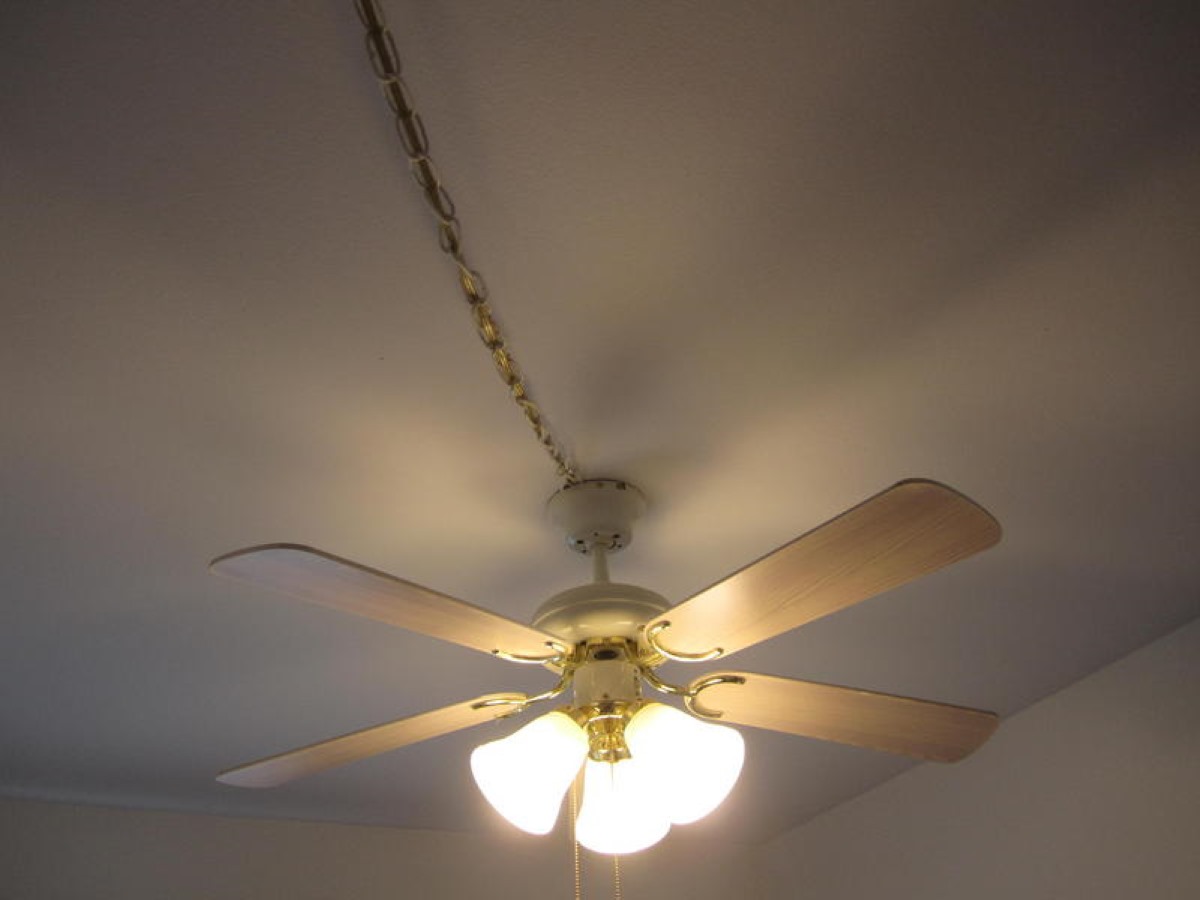
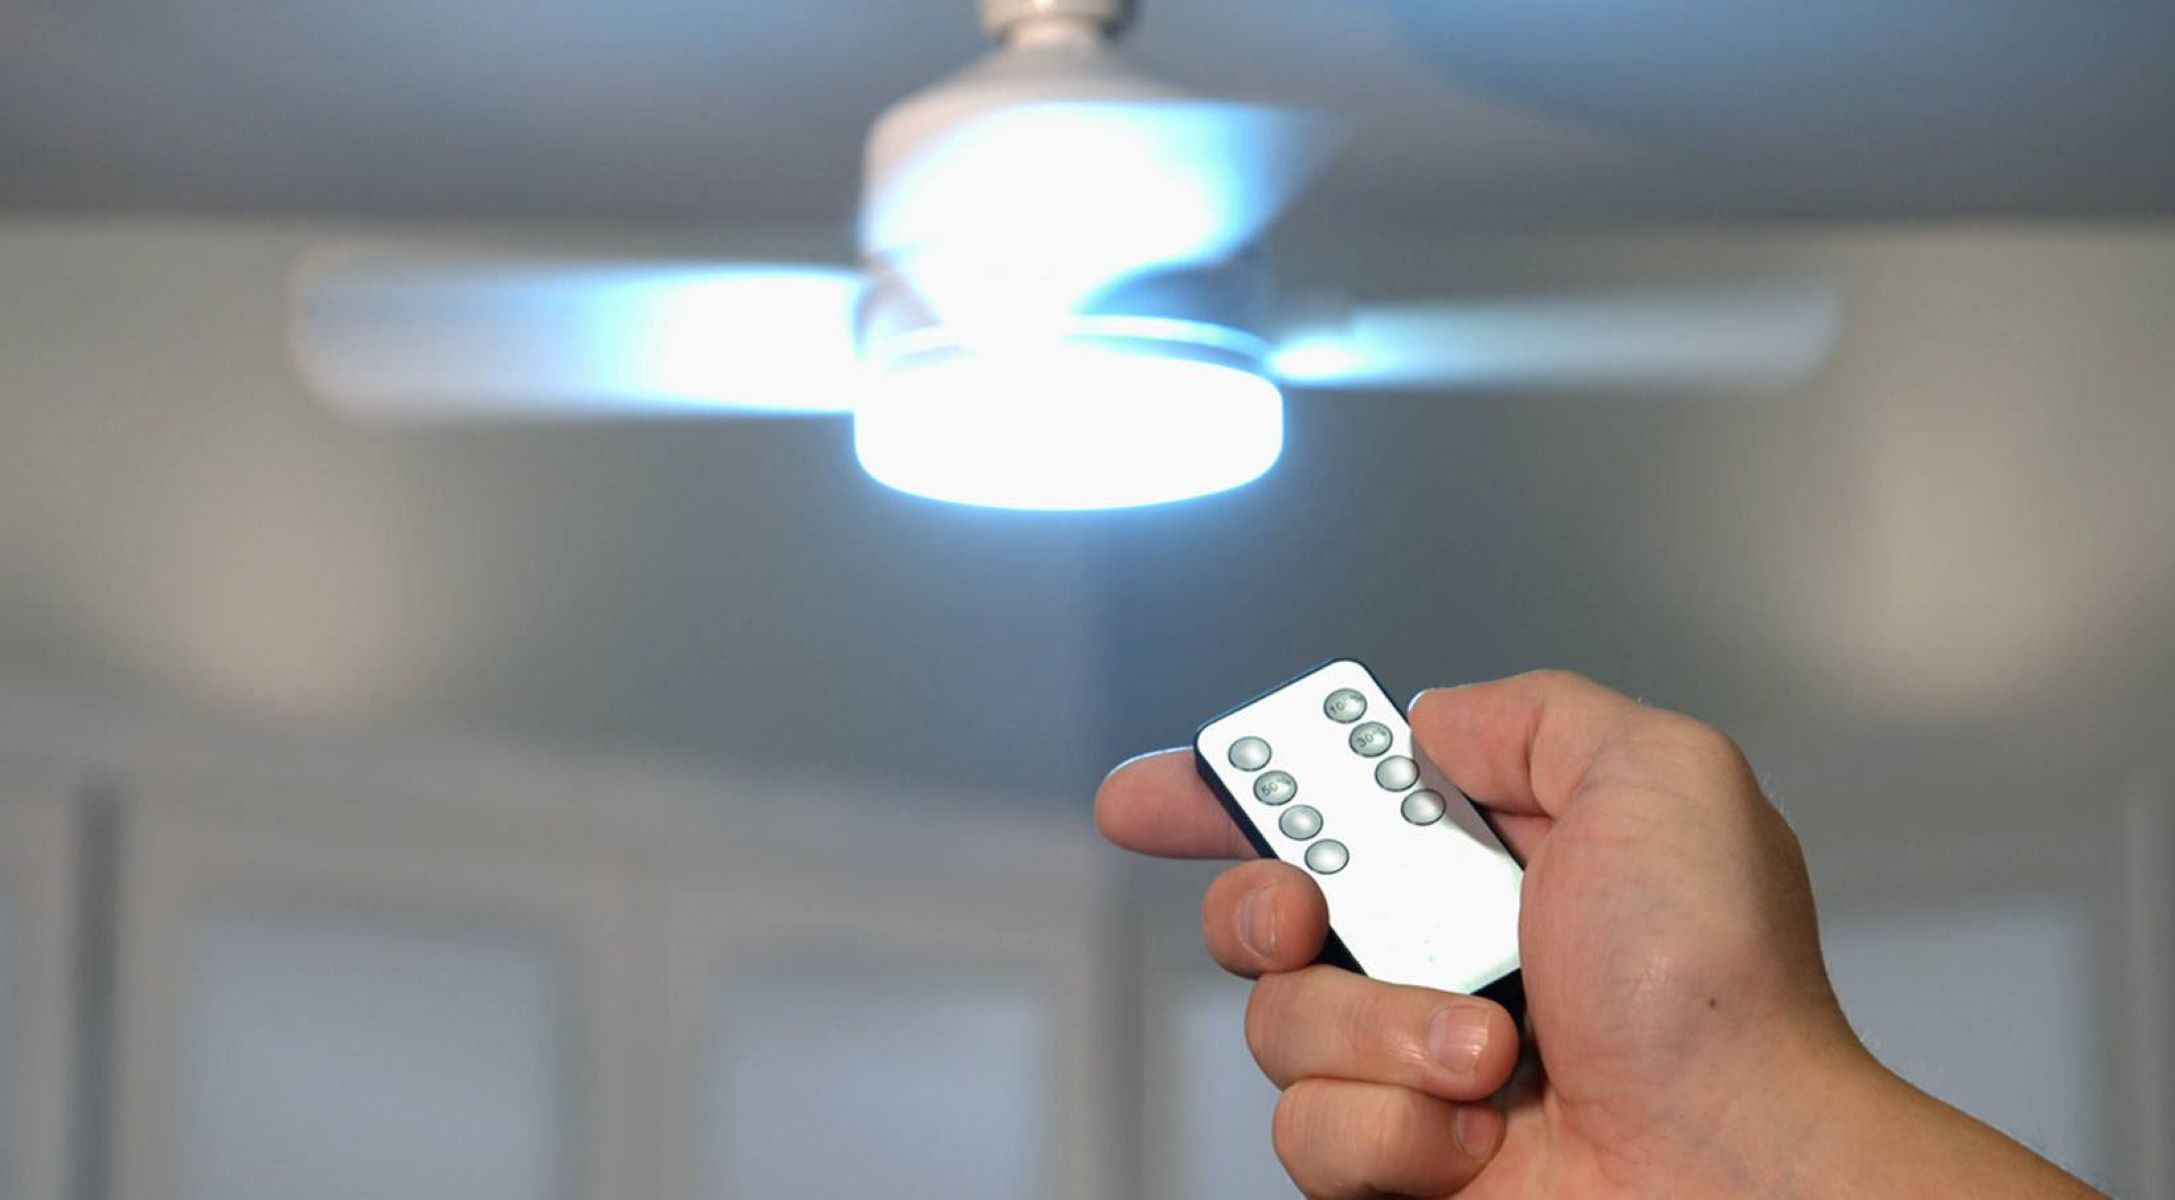
In terms of controls, light kits for ceiling fans can be operated using either pull chains or remote controls. Pull chains are typically attached to the fan and allow for easy toggling between light settings, such as turning the lights on or off and adjusting the brightness. Remote controls, on the other hand, offer more convenience by allowing users to control the lights from a distance, often providing additional features such as dimming or timer functionalities.
Overall, a light kit for a ceiling fan is a versatile and functional accessory that enhances the lighting capabilities of a space while simultaneously providing the benefits of a ceiling fan. By combining the functions of cooling and illumination in one fixture, it offers homeowners a practical and aesthetically pleasing solution for their lighting needs.
Components of a Light Kit
A light kit for a ceiling fan is composed of several components that work together to provide an efficient and effective lighting solution while seamlessly integrating with the fan itself. Understanding the different components that make up a light kit can help homeowners choose the right kit for their needs and ensure a successful installation.
1. Light Fixture: The most notable component of a light kit is the light fixture itself. This is the part that houses the bulbs and directs the light output. Light fixtures can come in a variety of shapes, such as domes, bowls, or even decorative designs, and are typically made of glass or plastic to allow for even light distribution. The choice of light fixture design often depends on personal style preferences and the desired aesthetic impact in the room.
2. Bulbs: Light kits for ceiling fans usually come with bulbs included, although some kits may require purchasing bulbs separately. The type and wattage of bulbs that are compatible with the light kit can vary. LED bulbs are a popular choice due to their energy efficiency and long lifespan. However, some light kits may support other types of bulbs, such as incandescent or CFL bulbs, allowing homeowners to customize their lighting preferences.
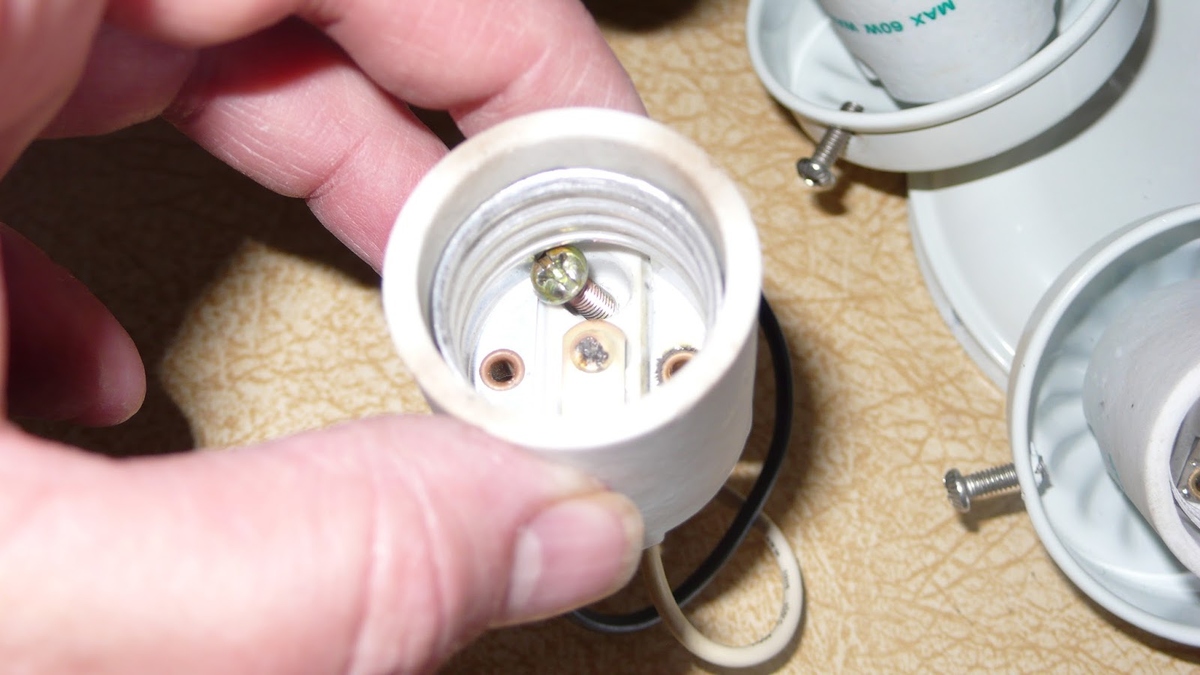
3. Wiring: Wiring is an essential component of a light kit, as it allows for the electrical connection between the ceiling fan and the light fixture. The wiring typically consists of insulated electrical wires that connect the light fixture to the power source. It is crucial to ensure that the wiring is properly installed and connected according to the manufacturer’s instructions to ensure the safe and efficient operation of the light kit.
4. Controls: Light kits for ceiling fans may be operated using either pull chains or remote controls. Pull chains are typically attached to the fan and allow for easy toggling between light settings, such as turning the lights on or off and adjusting the brightness. Remote controls offer more convenience by allowing users to control the lights from a distance, often providing additional features like dimming or timer functionalities.
5. Mounting Hardware: Mounting hardware is necessary for attaching the light kit to the ceiling fan. This typically includes screws, brackets, or other hardware specific to the fan model and light kit design. Properly securing the light kit to the fan ensures stability and reduces the risk of the kit becoming loose or detached over time.
In summary, the components of a light kit for a ceiling fan include the light fixture, bulbs, wiring, controls, and mounting hardware. Each component plays a vital role in providing functional and aesthetically pleasing lighting while integrating seamlessly with the ceiling fan. Understanding these components can help homeowners select the right light kit and ensure a successful installation process.
Types of Light Kits for Ceiling Fans
When it comes to choosing a light kit for a ceiling fan, there are various types available to suit different fan models, styles, and personal preferences. Understanding the different types can help homeowners select the right light kit that enhances both the functionality and aesthetics of their ceiling fan.
1. Integrated Light Kits: Integrated light kits are specifically designed for certain ceiling fan models. These light kits come pre-installed and are seamlessly integrated into the fan’s design. They offer a cohesive and streamlined look, as if the light kit is an inherent part of the fan itself. Integrated light kits are often customizable, allowing homeowners to choose the style and type of bulbs that best suit their needs.
2. Universal Light Kits: Universal light kits are versatile and can be attached to most standard ceiling fans, regardless of the brand or model. These light kits provide flexibility in terms of compatibility and allow homeowners to add lighting functionality to their existing ceiling fans. Universal light kits typically come with a mounting bracket and hardware that can be adjusted to fit various fan models.
3. Bowl Light Kits: Bowl light kits feature a bowl-shaped light fixture that is attached to the bottom of the fan. The bowl can be made of glass or plastic and is designed to distribute light evenly throughout the room. Bowl kits are available in a range of styles and finishes, allowing homeowners to choose one that complements their interior decor. These light kits are popular for their versatile and timeless aesthetic appeal.
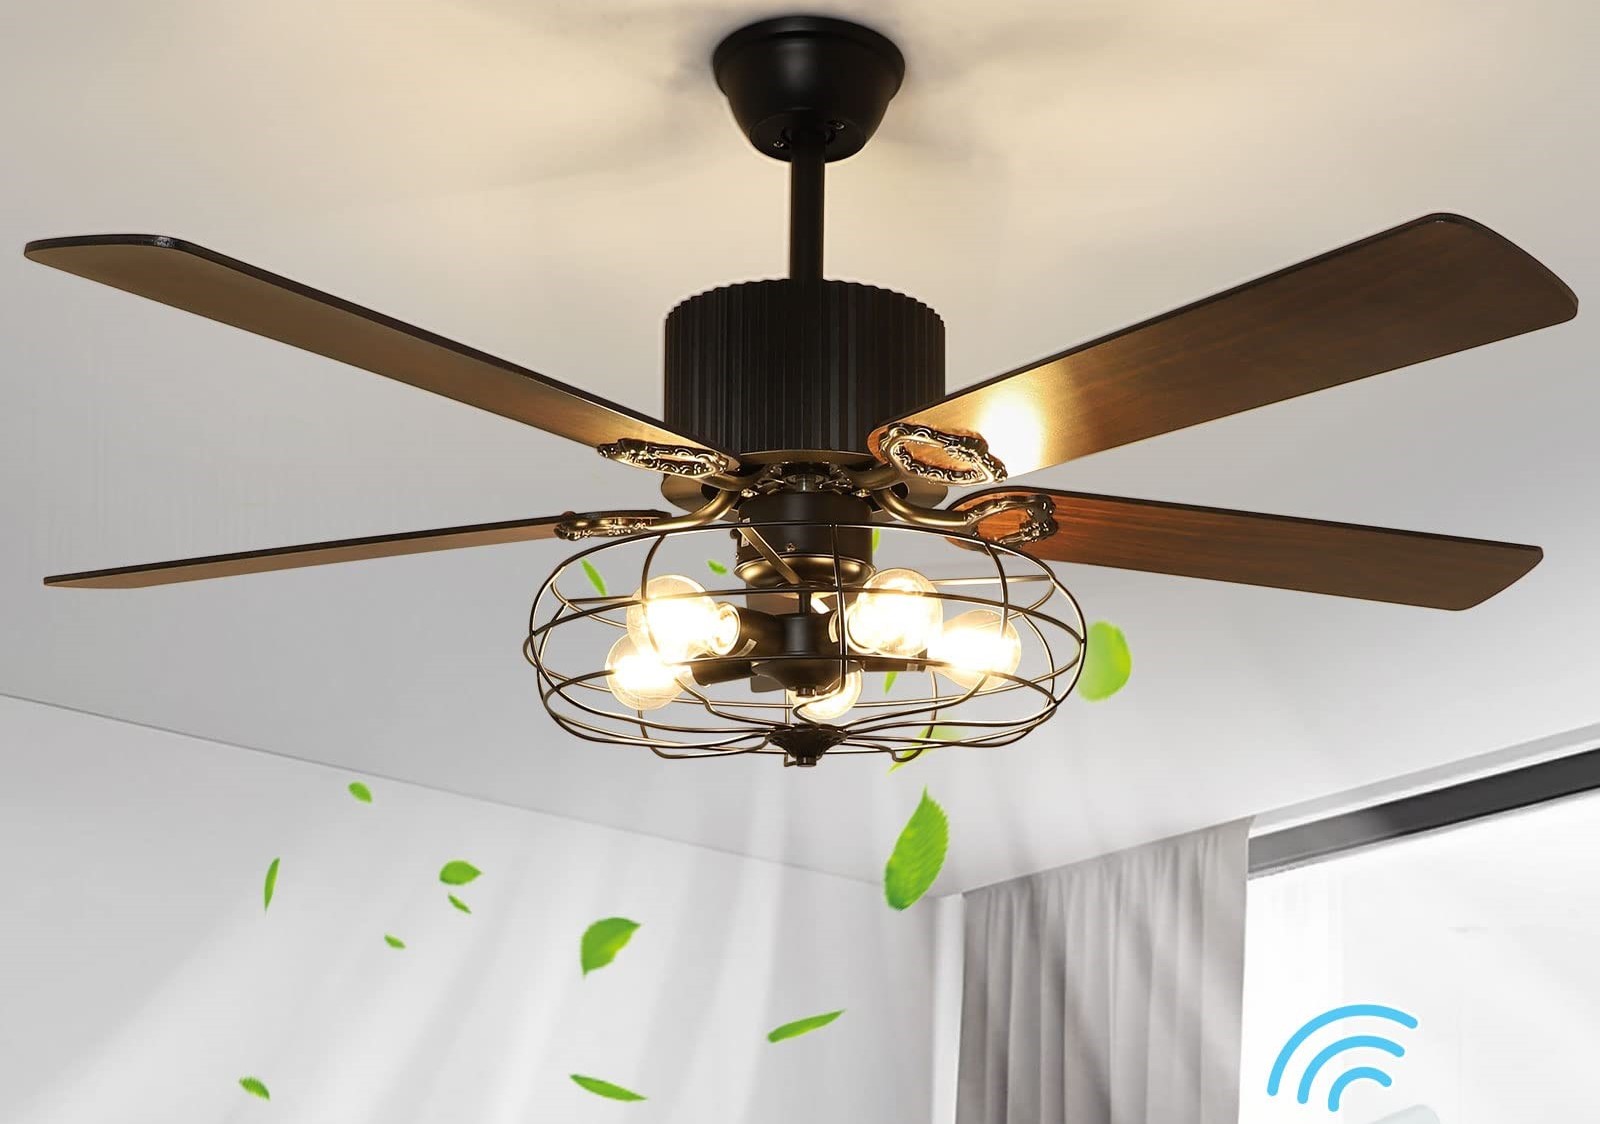
4. Branched Light Kits: Branched light kits feature multiple light fixtures attached to the bottom of the fan, typically in a branching arrangement. These kits provide ample lighting and are suitable for larger rooms or areas that require extra illumination. Branched light kits offer a decorative and visually appealing option, adding an elegant touch to the ceiling fan.
5. Customizable Light Kits: Some light kits offer a customizable design, allowing homeowners to personalize their lighting solution. These kits may include options to choose different styles and finishes for the light fixture, as well as the ability to select the type and wattage of bulbs. Customizable light kits provide flexibility in creating a lighting solution that aligns with personal preferences and room decor.
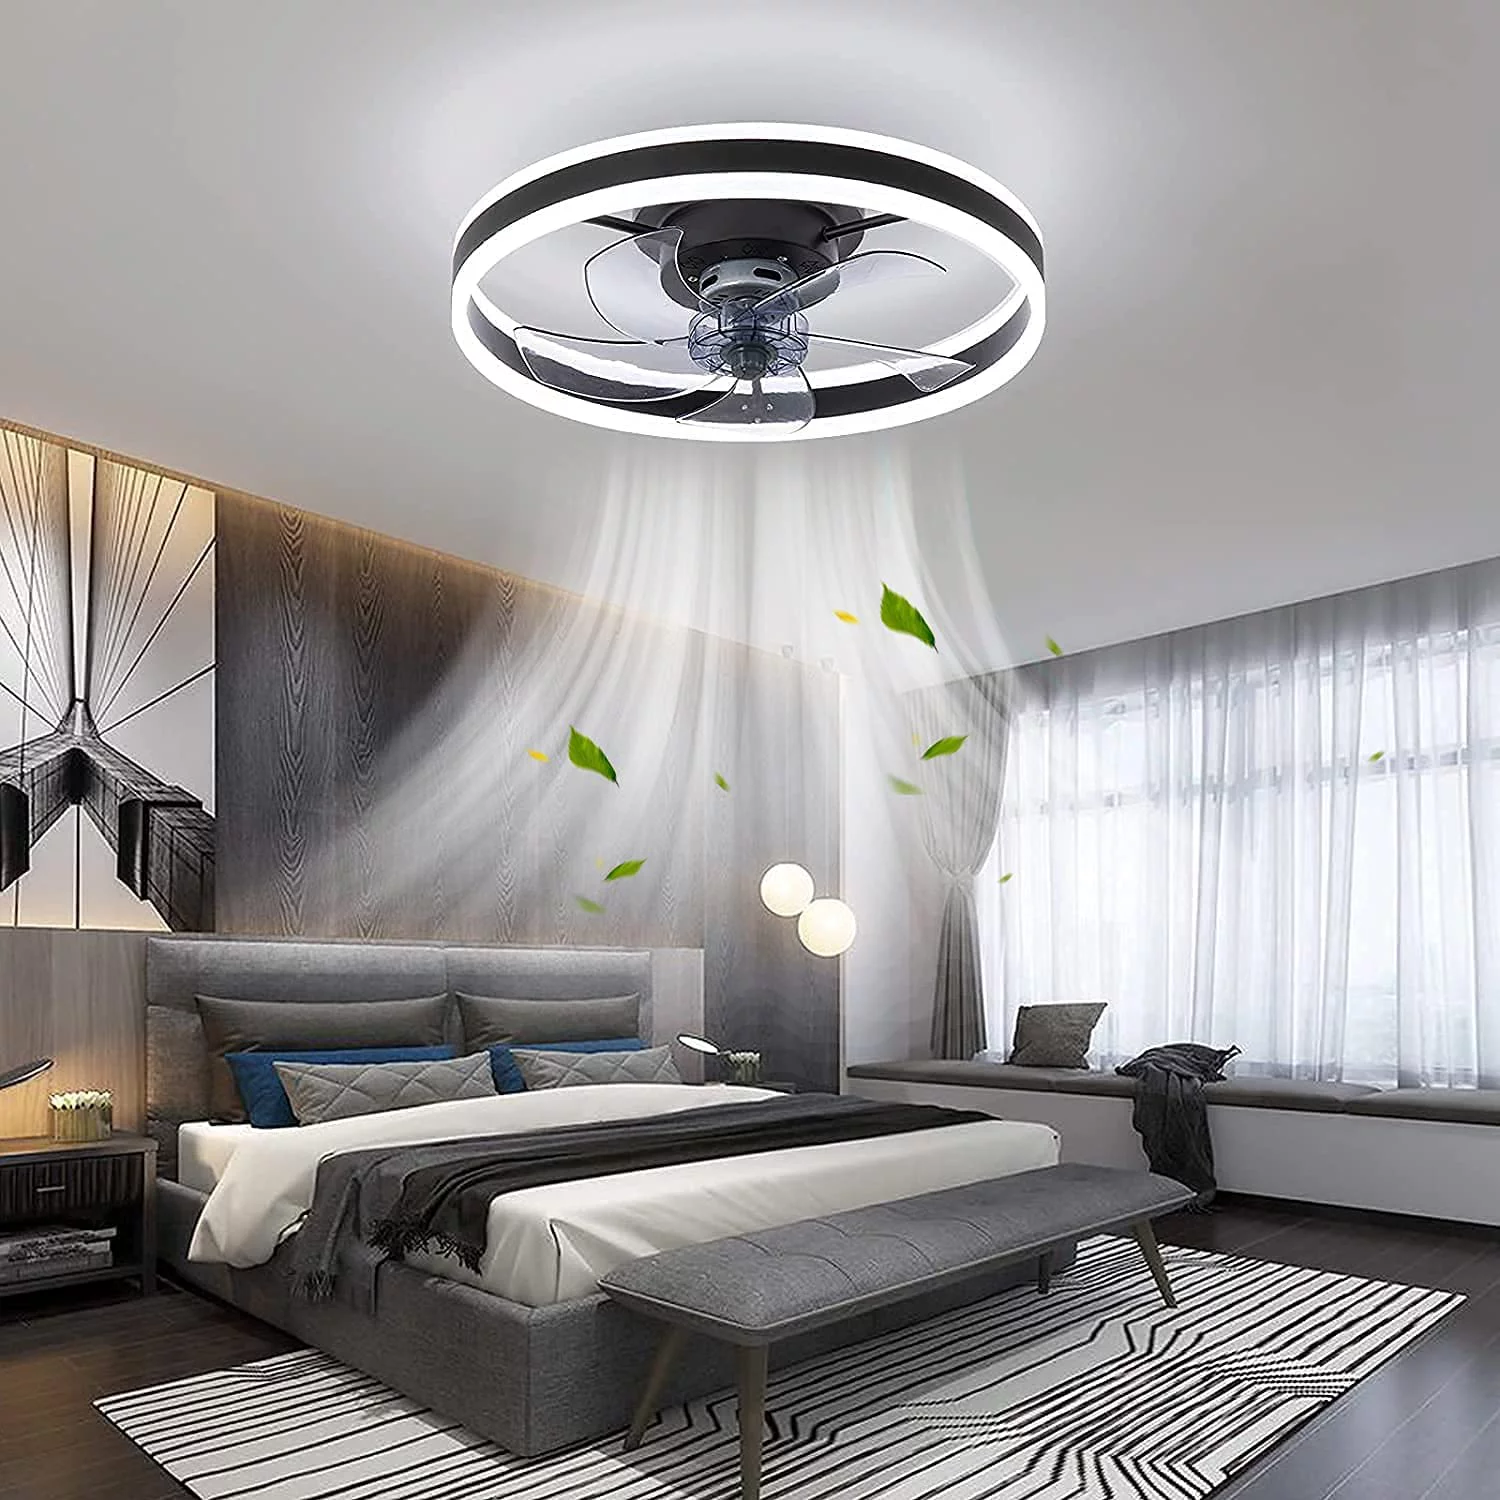
6. Low Profile Light Kits: Low profile light kits are specifically designed for ceiling fans with low ceilings or limited clearance. These kits have a compact and streamlined design to ensure that the fan and light kit combination does not hang too low. Low profile light kits are an ideal choice for rooms with lower ceilings where space is a concern.
7. LED Light Kits: LED light kits are gaining popularity for their energy efficiency and long lifespan. These kits come with LED bulbs included that consume less energy compared to traditional incandescent bulbs. LED light kits provide a bright and focused illumination, making them suitable for task lighting or areas where a higher level of brightness is desired.
When selecting a light kit for a ceiling fan, it’s important to consider the compatibility with the fan model, the desired aesthetics, and the desired level of illumination. Whether choosing an integrated, universal, bowl, branched, customizable, low profile, or LED light kit, homeowners have options to enhance both the functionality and style of their ceiling fans.
Benefits of Using a Light Kit for Ceiling Fan
Adding a light kit to your ceiling fan offers several benefits that can enhance the functionality and aesthetics of your space. Here are some key advantages of using a light kit for a ceiling fan:
1. Improved Lighting: One of the primary benefits of a light kit is the additional lighting it provides to a room. Ceiling fans with integrated lights or attached light kits offer a convenient way to illuminate your space without the need for extra lamps or fixtures. The light produced by the kit can help create a well-lit environment, making it easier to perform tasks, read, or simply enjoy the ambiance.
2. Space-Saving Solution: By combining a ceiling fan with a light source, you eliminate the need for separate fixtures, saving valuable space in your room. This is particularly beneficial in smaller areas or rooms with low ceilings where space is limited. The compact design of a light kit allows you to maximize the functionality of your ceiling fan without sacrificing style or practicality.
3. Energy Efficiency: Many light kits are designed to be energy-efficient, helping you lower your electricity consumption and reduce your energy bills. Light kits with LED bulbs are especially energy-efficient as they use significantly less energy than traditional incandescent bulbs. LED bulbs also have a longer lifespan, minimizing the need for frequent bulb replacements and further reducing energy waste.
4. Versatile Lighting Options: Light kits for ceiling fans offer a range of lighting options to suit your preferences and needs. Some kits allow you to adjust the brightness or dim the lights, giving you control over the ambiance of your space. Additionally, you can choose from different types of bulbs, such as warm or cool white, to create the desired mood and lighting effect in your room.
5. Dual Functionality: A light kit provides both air circulation and lighting in one fixture, allowing you to enjoy the benefits of a ceiling fan and a lighting source simultaneously. With the ability to switch between the fan and light functions, you can optimize your comfort and convenience by adjusting the settings according to your needs throughout the day.
6. Enhances Room Design: Light kits come in a variety of styles, finishes, and designs, allowing you to customize your ceiling fan to complement your room décor. Whether you prefer a modern, rustic, or traditional look, you can find a light kit that matches your aesthetic preferences and adds a decorative element to your space. It serves as a functional and stylish addition to the overall design of your room.
7. Easy Installation: Installing a light kit onto your existing ceiling fan is typically a straightforward process. Most light kits come with detailed instructions, and with basic electrical knowledge, you can easily attach the kit to the fan. Adding a light kit is a cost-effective way to upgrade your ceiling fan, providing added functionality and style without the need for hiring a professional.
Overall, a light kit for a ceiling fan offers numerous benefits, including improved lighting, energy efficiency, space-saving, versatile options, dual functionality, room enhancement, and easy installation. By incorporating a light kit into your ceiling fan, you can enjoy a well-lit and comfortable space while adding a touch of style to your room’s design.
When purchasing a light kit for a ceiling fan, make sure to check the compatibility with your specific fan model. Look for a kit that provides sufficient lighting and is easy to install.
Factors to Consider When Choosing a Light Kit
When selecting a light kit for your ceiling fan, there are several factors to consider to ensure that you choose the right kit that meets your needs and preferences. Here are some key factors to keep in mind:
1. Compatibility: Ensure that the light kit you choose is compatible with your ceiling fan. Some light kits are specifically designed for certain fan models, so it’s essential to check if the kit is compatible with your fan’s make and model. Universal light kits are a versatile option that can be attached to most standard ceiling fans, regardless of the brand or model.
2. Design and Aesthetics: Consider the design and aesthetics of the light kit to ensure that it complements your room’s decor. Light kits are available in various styles, finishes, and designs. You can choose from options such as traditional, contemporary, rustic, or modern, depending on your personal preferences and the existing style of your room. Consider the shape and material of the light fixture, as well as the finish and color that will best match your ceiling fan and overall room design.
3. Lighting Type and Bulbs: Determine the type of lighting and bulbs you prefer for your space. LED bulbs are popular for their energy efficiency and long lifespan. They consume less energy and produce less heat compared to traditional incandescent bulbs. Some light kits also support other types of bulbs, such as CFL or incandescent, providing flexibility in choosing the type of lighting that suits your needs. Consider the brightness level and color temperature of the bulbs to achieve the desired ambiance and functionality in your room.
4. Dimming and Control Options: If you prefer to have control over the lighting brightness, look for a light kit that offers dimming capabilities. Some light kits come with built-in dimmer switches or are compatible with dimmer switches, allowing you to adjust the brightness according to your preferences. Additionally, consider whether you prefer pull chain controls or remote controls for operating the light kit. Remote controls offer convenience, allowing you to control the lighting settings from anywhere in the room.
5. Installation: Consider the ease of installation when choosing a light kit. Look for a kit that comes with clear instructions and all the necessary mounting hardware. Ensure that you have the necessary tools and basic electrical knowledge to install the light kit properly. If you are not confident in your installation skills, you may want to consider hiring a professional electrician to ensure a safe and secure installation.
6. Budget: Determine your budget for the light kit. Light kits come in a range of prices, so it’s important to set a budget and look for options within your price range. Consider the features, quality, and design you desire when determining how much you are willing to invest in a light kit for your ceiling fan.
By considering these factors, you can choose a light kit that is compatible with your ceiling fan, aligns with your design preferences, provides the desired lighting type, offers control options, and fits within your budget. Taking the time to select the right light kit will ensure that you enhance both the functionality and aesthetics of your space.
Installation Process of a Light Kit for Ceiling Fan
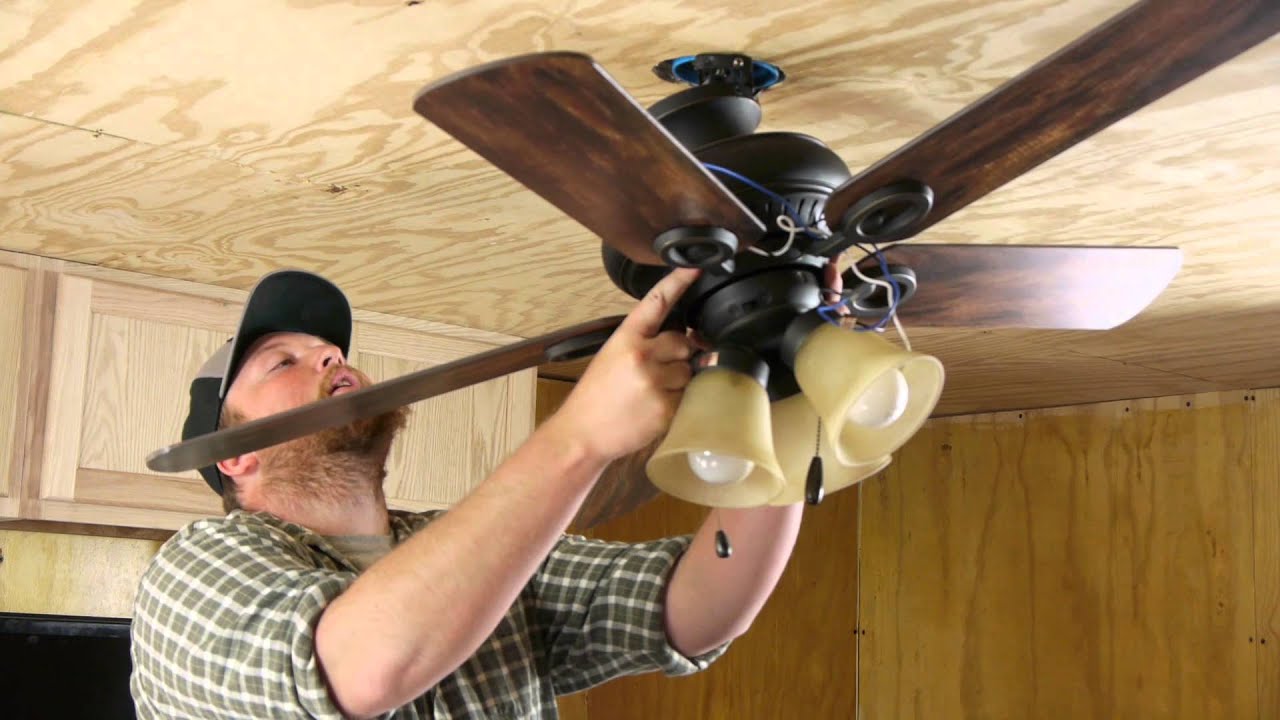
Installing a light kit for your ceiling fan allows you to combine the functionality of a fan with an additional lighting source. While the specific steps may vary depending on the manufacturer and model of your fan and light kit, here is a general guide to help you through the installation process:
1. Turn off the Power: Before beginning the installation, ensure that the power to the ceiling fan is turned off. Locate the circuit breaker or fuse that controls the fan and switch it off to prevent any electrical accidents during the installation process.
2. Gather the Tools and Materials: Make sure you have all the necessary tools and materials for the installation. This typically includes a screwdriver (Phillips or flathead), wire connectors, electrical tape, and any additional hardware provided with the light kit.
3. Remove the Existing Light Fixture or Cap: If your ceiling fan already has a light fixture installed, you will need to remove it before installing the new light kit. This may involve unscrewing the screws or nuts that hold the old fixture in place, disconnecting the wiring, and carefully removing the fixture from the fan. If there is a cap covering the wiring at the bottom of the fan, remove it to expose the wiring and mounting bracket.
4. Attach the Mounting Bracket: Most light kits come with a mounting bracket that needs to be attached to the fan. Align the bracket with the existing holes or slots on the fan and secure it using the provided screws. Make sure the bracket is tight and properly aligned for stability.
5. Connect the Wiring: Once the mounting bracket is in place, it’s time to connect the wiring for the light kit. This typically involves connecting the corresponding wires from the light kit to the wires from the fan. Match the color-coded wires (black to black, white to white, etc.), twist them together, and secure them with wire connectors. Use electrical tape to cover the connectors for added insulation and protection.
6. Secure the Light Kit: Once the wiring is connected, carefully lift the light kit and align it with the mounting bracket. Insert the screws and tighten them to secure the light kit to the fan. Make sure the light kit is securely attached and does not wobble or move when the fan is turned on.
7. Install the Light Bulbs: Depending on the design of the light kit, it may require the installation of light bulbs. Follow the manufacturer’s instructions to insert the appropriate bulbs into the light fixture. Be cautious not to overtighten the bulbs to avoid damaging them.
8. Test the Light Kit: Before fully completing the installation, restore power to the ceiling fan by turning on the circuit breaker or fuse. Flip the switch to test the light kit and ensure that it functions properly. If the light does not turn on, double-check the wiring connections and troubleshoot any potential issues.
9. Attach Any Included Accessories: Some light kits may come with additional accessories, such as pull chains or remote control receivers. Follow the manufacturer’s instructions to properly install these accessories if applicable.
10. Finalize and Secure: Once everything is in place and the light kit is functioning correctly, make sure all the screws and connections are tightened and secured. Check for any loose wires or parts and fix them as needed. Replace any covers or caps that were removed during the installation process.
It’s important to note that this is a general installation guide, and specific instructions may vary depending on the manufacturer and model of your ceiling fan and light kit. Always refer to the manufacturer’s instructions for the most accurate and detailed installation steps.
If you are unsure or uncomfortable with the installation process, it’s always recommended to hire a professional electrician to ensure a safe and proper installation of the light kit for your ceiling fan.
Maintenance Tips for a Light Kit
Proper maintenance of your ceiling fan’s light kit is essential to keep it functioning efficiently and prolong its lifespan. Here are some maintenance tips to ensure optimal performance and longevity:
1. Regular Cleaning: Dust and dirt can accumulate on the light fixture and bulbs over time, diminishing the quality of the light and reducing the overall attractiveness of the fixture. To maintain a clean and bright light kit, regularly dust the fixture and wipe it down with a soft cloth or a duster. Be sure to turn off the power to the fan before cleaning to ensure safety.
2. Cleaning the Blades: If the light kit is attached to a ceiling fan with blades, ensure that the fan blades are also regularly cleaned. Dust and debris can accumulate on the blades, which can affect the overall air circulation and can potentially lead to unbalanced operation. This can be done by using a soft brush or a vacuum cleaner with a brush attachment to gently remove dust from the blades.
3. Inspect and Tighten Connections: Periodically check the connections of the light kit, including wiring connections and screws, to ensure they are secure. Over time, vibrations from the fan can loosen connections, potentially causing flickering lights or other issues. If you notice any loose connections, tighten them using a screwdriver or appropriate tools. Ensure that the power to the fan is turned off before working on the electrical components.
4. Replace Bulbs as Needed: Regularly check the bulbs in the light kit and replace any that are burnt out or not functioning properly. Follow the manufacturer’s guidelines for the type and wattage of bulbs recommended for the light kit. It’s a good idea to keep spare bulbs on hand to promptly replace any that need changing, ensuring that your light kit continues to provide proper illumination.
5. Check for Damage: Periodically inspect the light kit for any visible damage, such as cracks or loose parts. If you notice any significant damage, it’s important to address it promptly. Contact the manufacturer or a professional electrician for assistance, especially if the damage affects the electrical components or the stability of the light kit.
6. Adjust Lighting Settings: If your light kit offers adjustable lighting settings, such as dimming options, take advantage of them to customize the lighting to your desired level. This not only allows you to create the desired ambiance but also helps to conserve energy by using lower brightness when appropriate.
7. Follow Manufacturer’s Instructions: Always refer to the manufacturer’s instructions for specific maintenance guidelines and recommendations for your light kit. Different light kits may have unique requirements or specifications, so it’s important to follow the manufacturer’s guidelines to ensure proper care and maintenance.
By following these maintenance tips, you can keep your light kit for the ceiling fan in excellent condition, ensuring optimal performance and extending its lifespan. Regular cleaning, checking connections, replacing bulbs as needed, and addressing any damage promptly will help to keep your light kit functioning efficiently and enhance the overall enjoyment and functionality of your ceiling fan.
Conclusion
A light kit for a ceiling fan is a valuable and versatile accessory that combines the functionality of air circulation with the convenience of additional lighting in a room. By attaching a light kit to your ceiling fan, you can enjoy improved illumination, save space, and enhance the overall aesthetics of your space.
With a variety of light kit options available, including integrated light kits, universal light kits, bowl kits, branched kits, customizable kits, low profile kits, and LED kits, there is a solution to suit every style and preference. Consider factors such as compatibility, design, lighting type, control options, installation process, and budget when selecting a light kit for your ceiling fan.
Adding a light kit to your ceiling fan comes with numerous benefits. Not only does it provide additional lighting to the room, but it also offers energy efficiency, versatility, and the convenience of dual functionality. With the right light kit, you can create a well-lit and inviting space while adding a decorative element to your room’s design.
Proper maintenance of your light kit is crucial for optimal performance and longevity. Regular cleaning, checking connections, replacing bulbs, and addressing any damage promptly contribute to the efficient operation of the light kit. By following manufacturer’s instructions and guidelines, you can ensure the longevity and functionality of your light kit.
In conclusion, a light kit for a ceiling fan is a practical and stylish addition to any room. It enhances the lighting and functionality of your ceiling fan while adding an attractive element to your space. By choosing the right light kit, installing it correctly, and maintaining it properly, you can enjoy the benefits of improved illumination and a comfortable environment for years to come.
Frequently Asked Questions about What Is A Light Kit For Ceiling Fan
Was this page helpful?
At Storables.com, we guarantee accurate and reliable information. Our content, validated by Expert Board Contributors, is crafted following stringent Editorial Policies. We're committed to providing you with well-researched, expert-backed insights for all your informational needs.



0 thoughts on “What Is A Light Kit For Ceiling Fan”