Articles
How To Cut Rabbet With Hand Tools
Modified: February 22, 2024
Learn how to cut a rabbet with hand tools in this informative article. Find step-by-step instructions and expert tips for a flawless woodworking project.
(Many of the links in this article redirect to a specific reviewed product. Your purchase of these products through affiliate links helps to generate commission for Storables.com, at no extra cost. Learn more)
Introduction
Welcome to our comprehensive guide on how to cut a rabbet with hand tools. If you are a woodworking enthusiast or a DIYer looking to add a professional touch to your projects, understanding how to cut a rabbet is a crucial skill to have. A rabbet is a type of joint that allows two pieces of wood to fit together seamlessly, creating a flush and sturdy connection.
While there are power tools available that can quickly and efficiently cut rabbets, using hand tools can provide a sense of satisfaction and bring out the artistry in your craft. Hand tools offer greater control and precision, allowing you to create custom and intricate rabbets that perfectly suit your project’s requirements.
In this guide, we will walk you through the step-by-step process of cutting a rabbet using hand tools. Whether you are a beginner or an experienced woodworker, this guide will equip you with the knowledge and techniques needed to achieve clean and accurate rabbet cuts.
Before we dive into the specifics, let’s take a closer look at what exactly a rabbet is and why using hand tools can be a great option for cutting them.
Key Takeaways:
- Master the art of woodworking by learning how to cut rabbets with hand tools, embracing precision, control, and craftsmanship for professional-quality joints.
- Elevate your woodworking projects with the versatility and artistry of hand tools, prioritizing safety, and honing your skills for flawless rabbet joints.
Read more: How To Cut Asphalt With Hand Tools
What is a Rabbet?
A rabbet, also known as a rebate, is a type of joint commonly used in woodworking to create a precise and secure connection between two pieces of wood. It involves cutting out a groove or channel, typically along the edge or end of a piece of wood, to accommodate another piece and create a flush fit.
There are several reasons why you might choose to incorporate a rabbet joint into your woodworking project. Firstly, it provides added strength and stability to the connection between the two pieces of wood. The overlapping design of the joint allows for a larger gluing surface area, increasing the overall integrity of the joint.
Secondly, rabbet joints create a neat and clean finish, as they conceal the raw edges of the wood within the joint itself. This is particularly useful when constructing furniture, cabinetry, or frames, where a seamless appearance is desired.
Rabbets can be cut in various sizes and depths, depending on the specific requirements of your project. They can be either straight or angled, allowing for versatile applications. Straight rabbets are commonly used for joining boards at 90-degree angles, while angled rabbets are used for creating miter joints or for decorative purposes.
Now that we have a clear understanding of what a rabbet is and the benefits it offers, let’s explore why using hand tools can be a preferred method to cut rabbets in woodworking projects.
Why Use Hand Tools?
In a world where power tools dominate the woodworking scene, you might wonder why anyone would choose to use hand tools for cutting rabbets. While power tools certainly offer speed and efficiency, there are several reasons why using hand tools can be advantageous:
Precision and Control: Hand tools provide the woodworker with a greater level of precision and control. With hand tools, you have the ability to make small adjustments and fine-tune your cuts to achieve the perfect fit for your rabbet joint. This level of control is especially important when working on delicate or intricate projects.
Artistry and Craftsmanship: Using hand tools allows you to immerse yourself in the craft and artistry of woodworking. Each cut is made intentionally and thoughtfully, resulting in a piece that reflects your skill and attention to detail. Hand tools allow you to bring out the true beauty and character of the wood.
Less Noise and Dust: Power tools can be noisy and produce a significant amount of dust, requiring additional safety gear and precautions. Hand tools, on the other hand, operate quietly and generate minimal dust, making them a more pleasant option for both your workspace and your well-being.
Portability: Hand tools are portable and do not require electricity, making them ideal for woodworking projects on the go or in locations where power may be limited. Whether you are working in your backyard, a remote workshop, or a client’s home, hand tools offer the flexibility that power tools may not.
Cost-Effective: Investing in hand tools can be a more cost-effective option, especially for beginners or those with a limited budget. While power tools can be expensive, acquiring a basic set of hand tools allows you to gradually build your collection over time.
Overall, using hand tools for cutting rabbets not only allows you to achieve precise and customized results but also celebrates the craftsmanship and artistry of woodworking. Now that we understand the advantages of using hand tools let’s explore the tools and materials needed to cut a rabbet.
Tools and Materials Needed
To cut a rabbet using hand tools, you will need the following tools and materials:
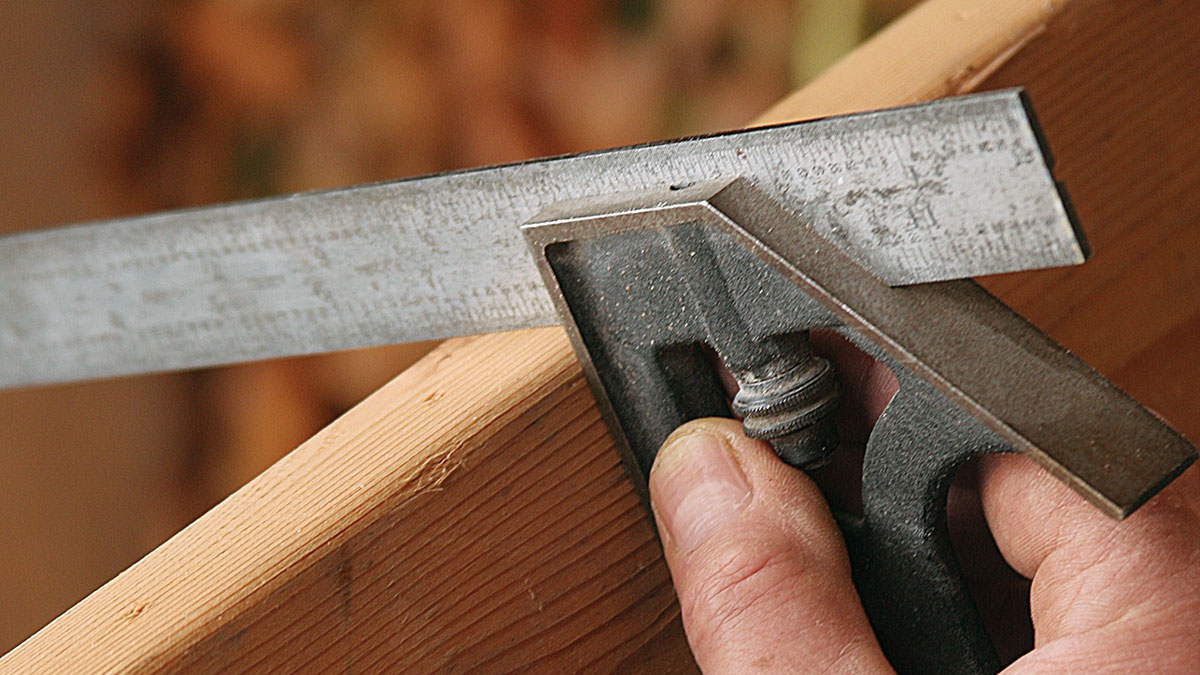
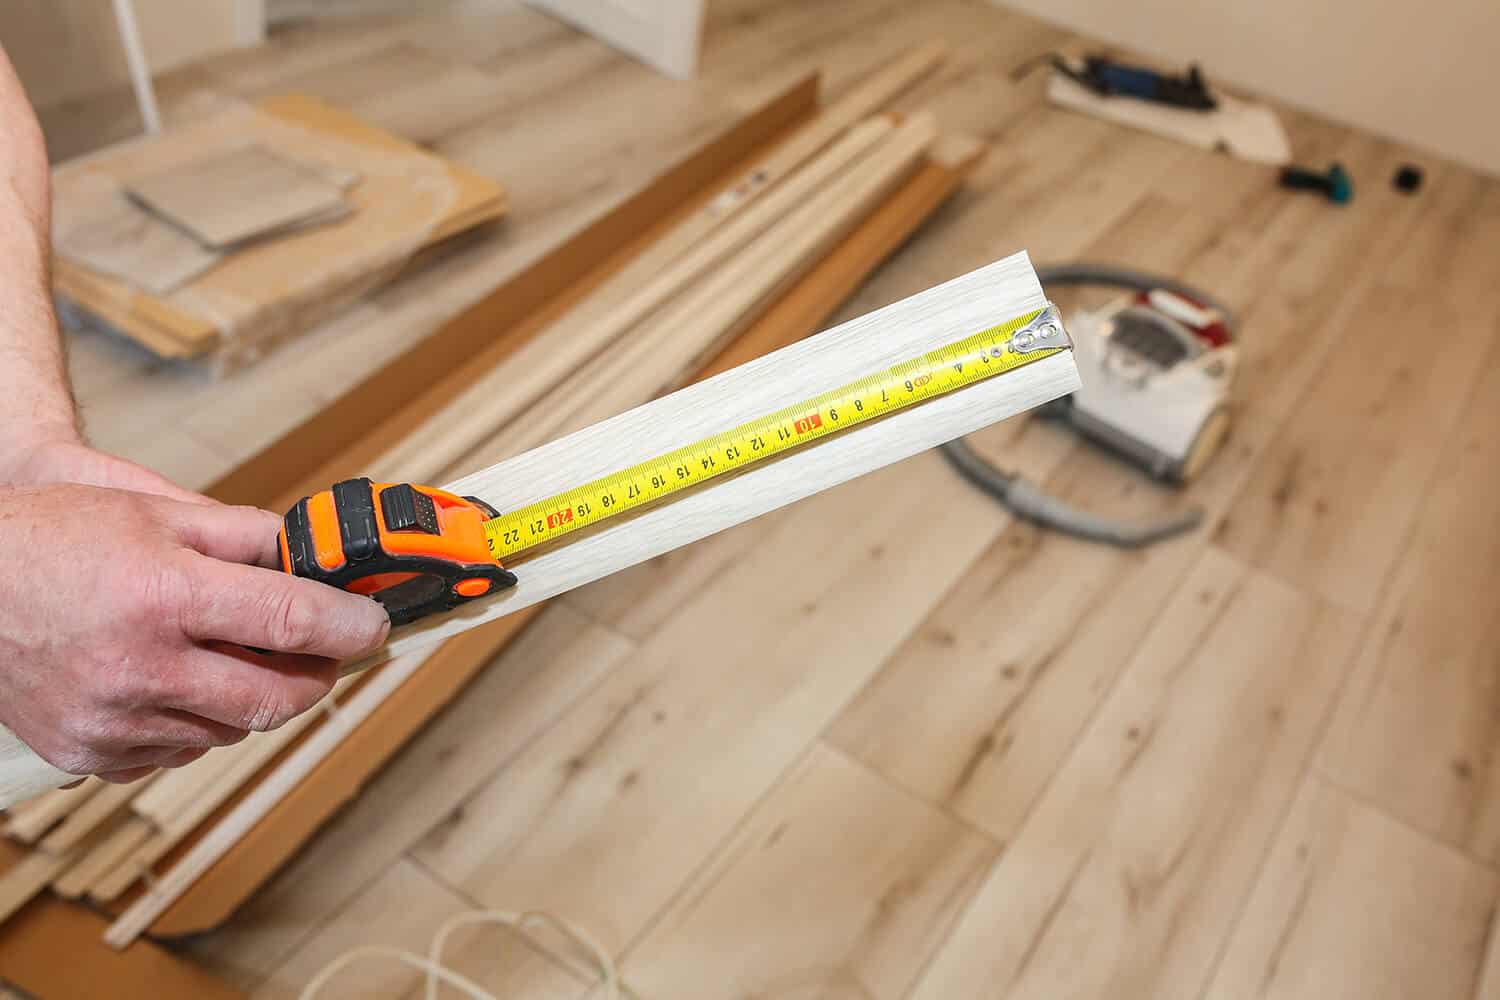
- Marking and Measuring Tools: A ruler, combination square, or measuring tape will help you accurately mark the depth and width of your rabbet.
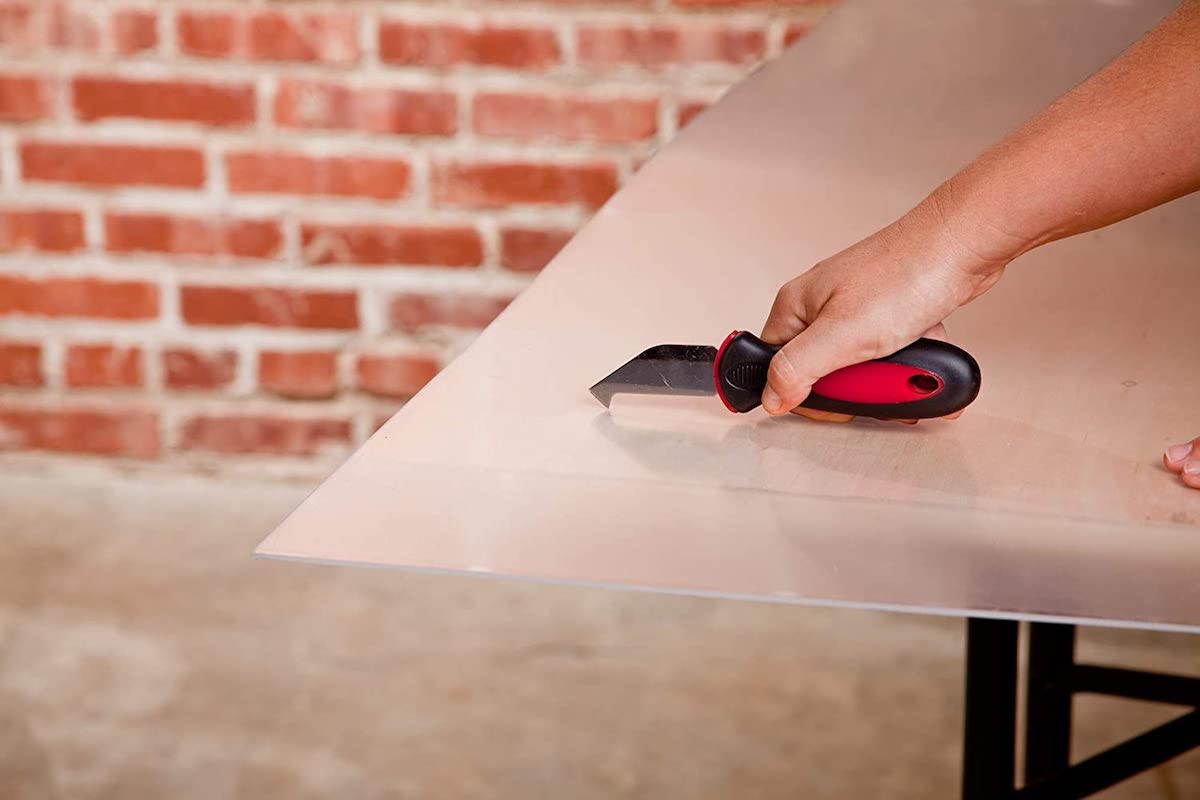
- Marking Knife or Pencil: A marking knife or a pencil is used to mark the outline of the rabbet on the wood surface. This will serve as your cutting guide.
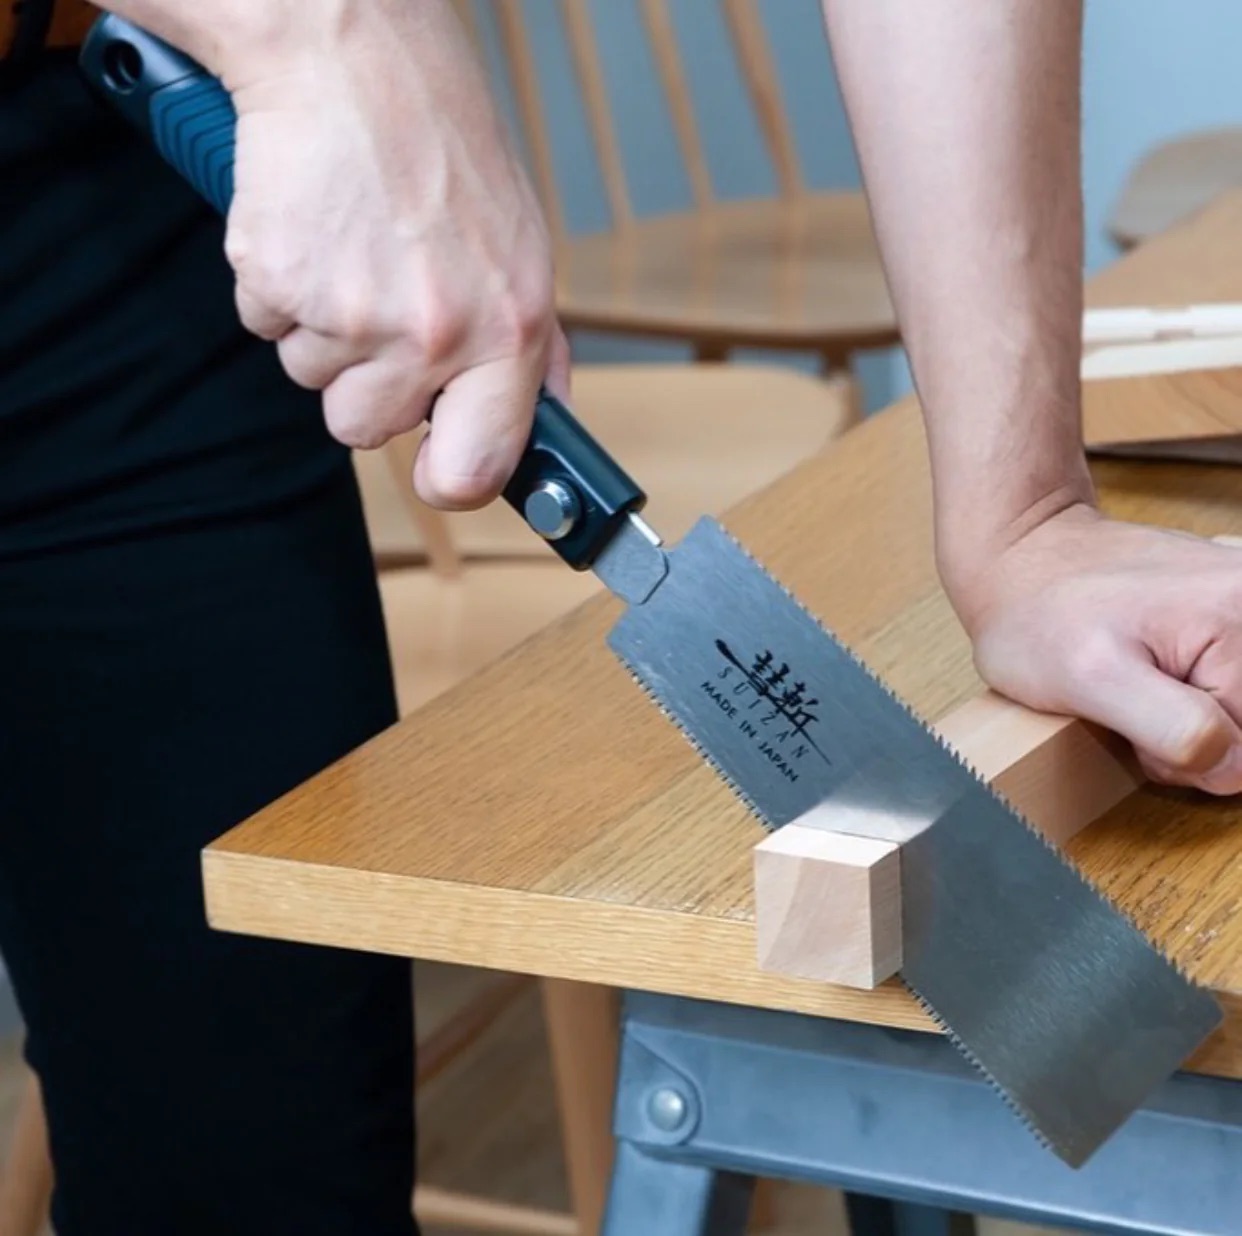
- Backsaw or Dovetail Saw: A backsaw or dovetail saw with a fine-tooth blade is essential for making precise cuts along the marked lines of the rabbet.
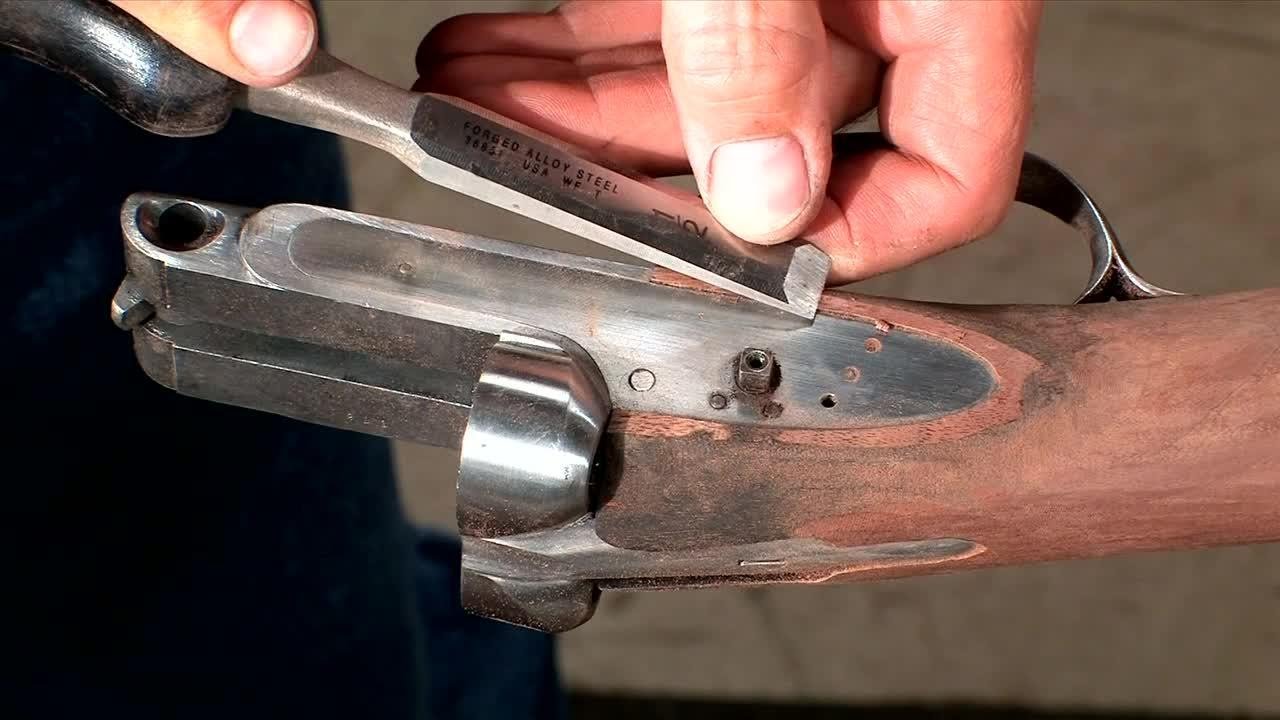
- Chisels: Chisels of various sizes are needed to remove the waste wood from the rabbet. A sharp chisel will help you achieve clean, smooth cuts.
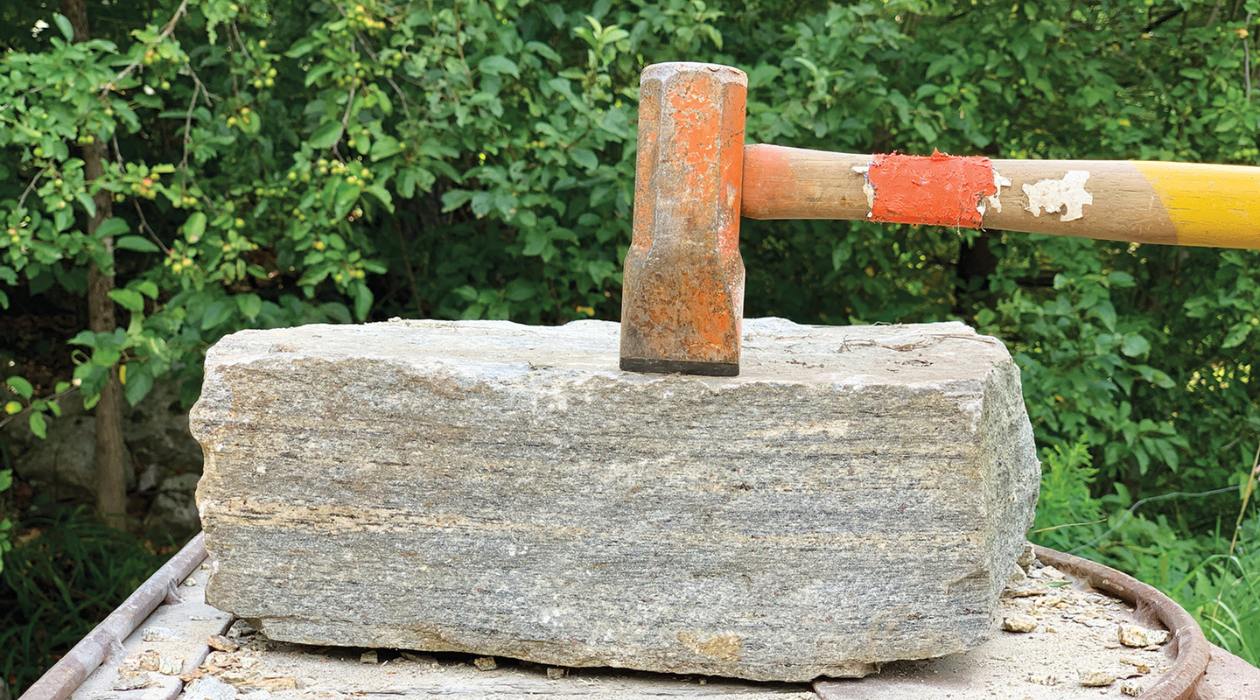
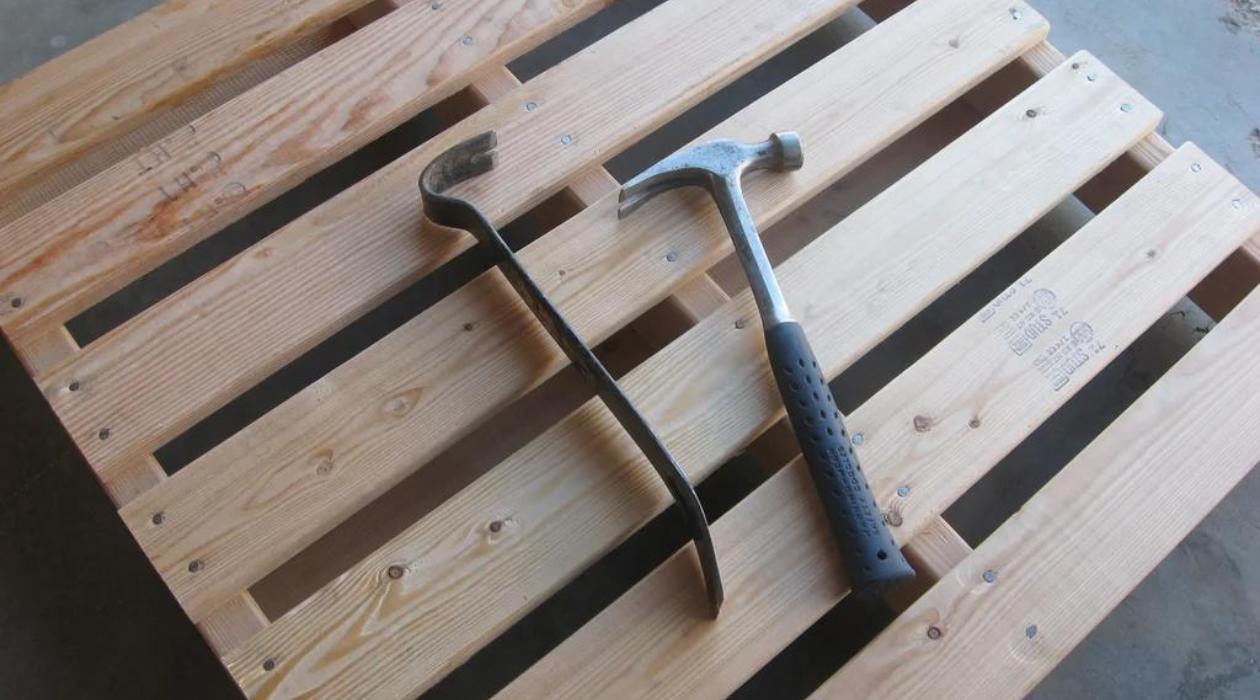
- Mallet or Hammer: A mallet or hammer is used to strike the chisel, allowing you to remove the wood material accurately and efficiently.
- Woodworking Clamps: Woodworking clamps are necessary to secure the wood pieces in place during the cutting process, ensuring stability and preventing any movement.
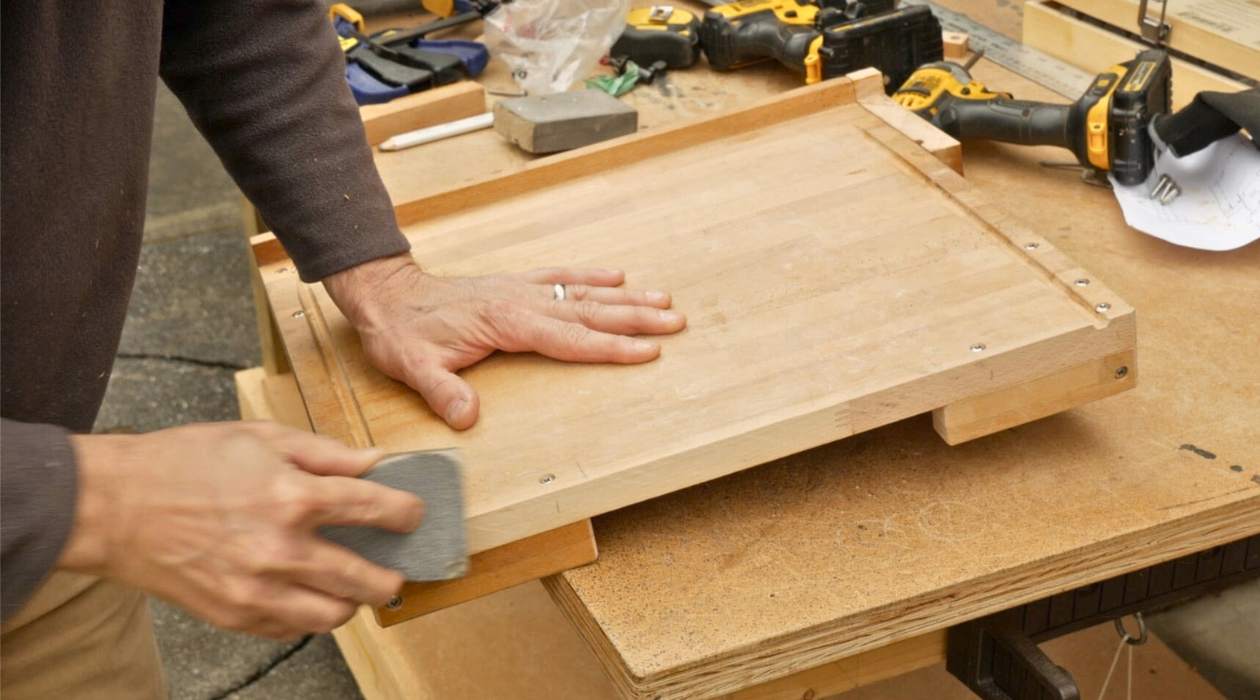
- Sandpaper or a Smoothing Plane: Sandpaper or a smoothing plane will be used to smooth the cut surface of the rabbet, ensuring a snug fit when joining the pieces.
- Safety Gear: Safety should always be a top priority. Wear safety goggles to protect your eyes from wood chips and dust, and consider using ear protection when using mallets or hammers.
Additionally, you will need the appropriate wood for your project, such as hardwood or softwood, and any other materials necessary for securing the joint, such as wood glue, screws, or nails, depending on the specific requirements of your project.
Now that you have gathered your tools and materials, let’s dive into the step-by-step guide for cutting a rabbet with hand tools.
When cutting a rabbet with hand tools, ensure that your marking and cutting are precise to achieve a clean and accurate joint. Use a marking gauge to scribe the shoulder line and a sharp chisel to remove the waste material. Keep your tools sharp for best results.
Step-by-Step Guide to Cutting a Rabbet
Follow these steps to cut a rabbet using hand tools:
- Measure and Mark: Use a ruler, combination square, or measuring tape to measure and mark the desired depth and width of the rabbet on both pieces of wood. Ensure that the measurements are accurate and consistent.
- Secure the Wood: Use woodworking clamps to secure the wood pieces firmly in place, preventing any movement during the cutting process.
- Outline the Rabbet: Use a marking knife or pencil to outline the shape and dimensions of the rabbet on the wood surface. This will serve as your cutting guide.
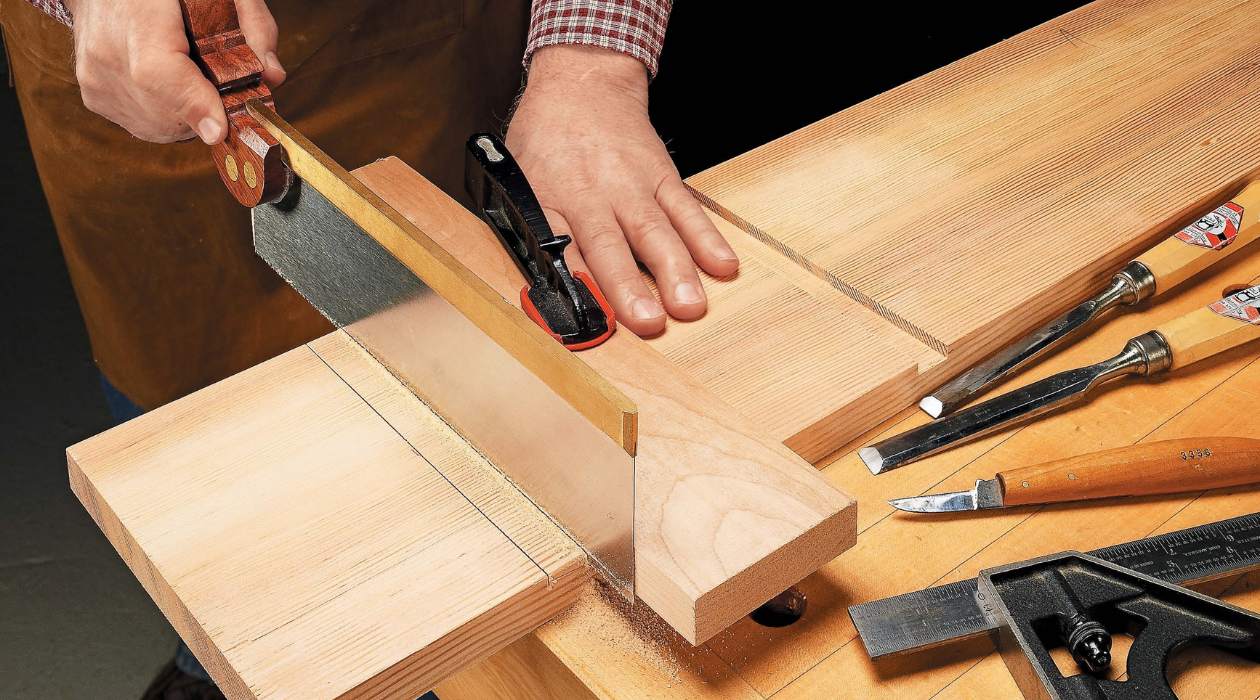
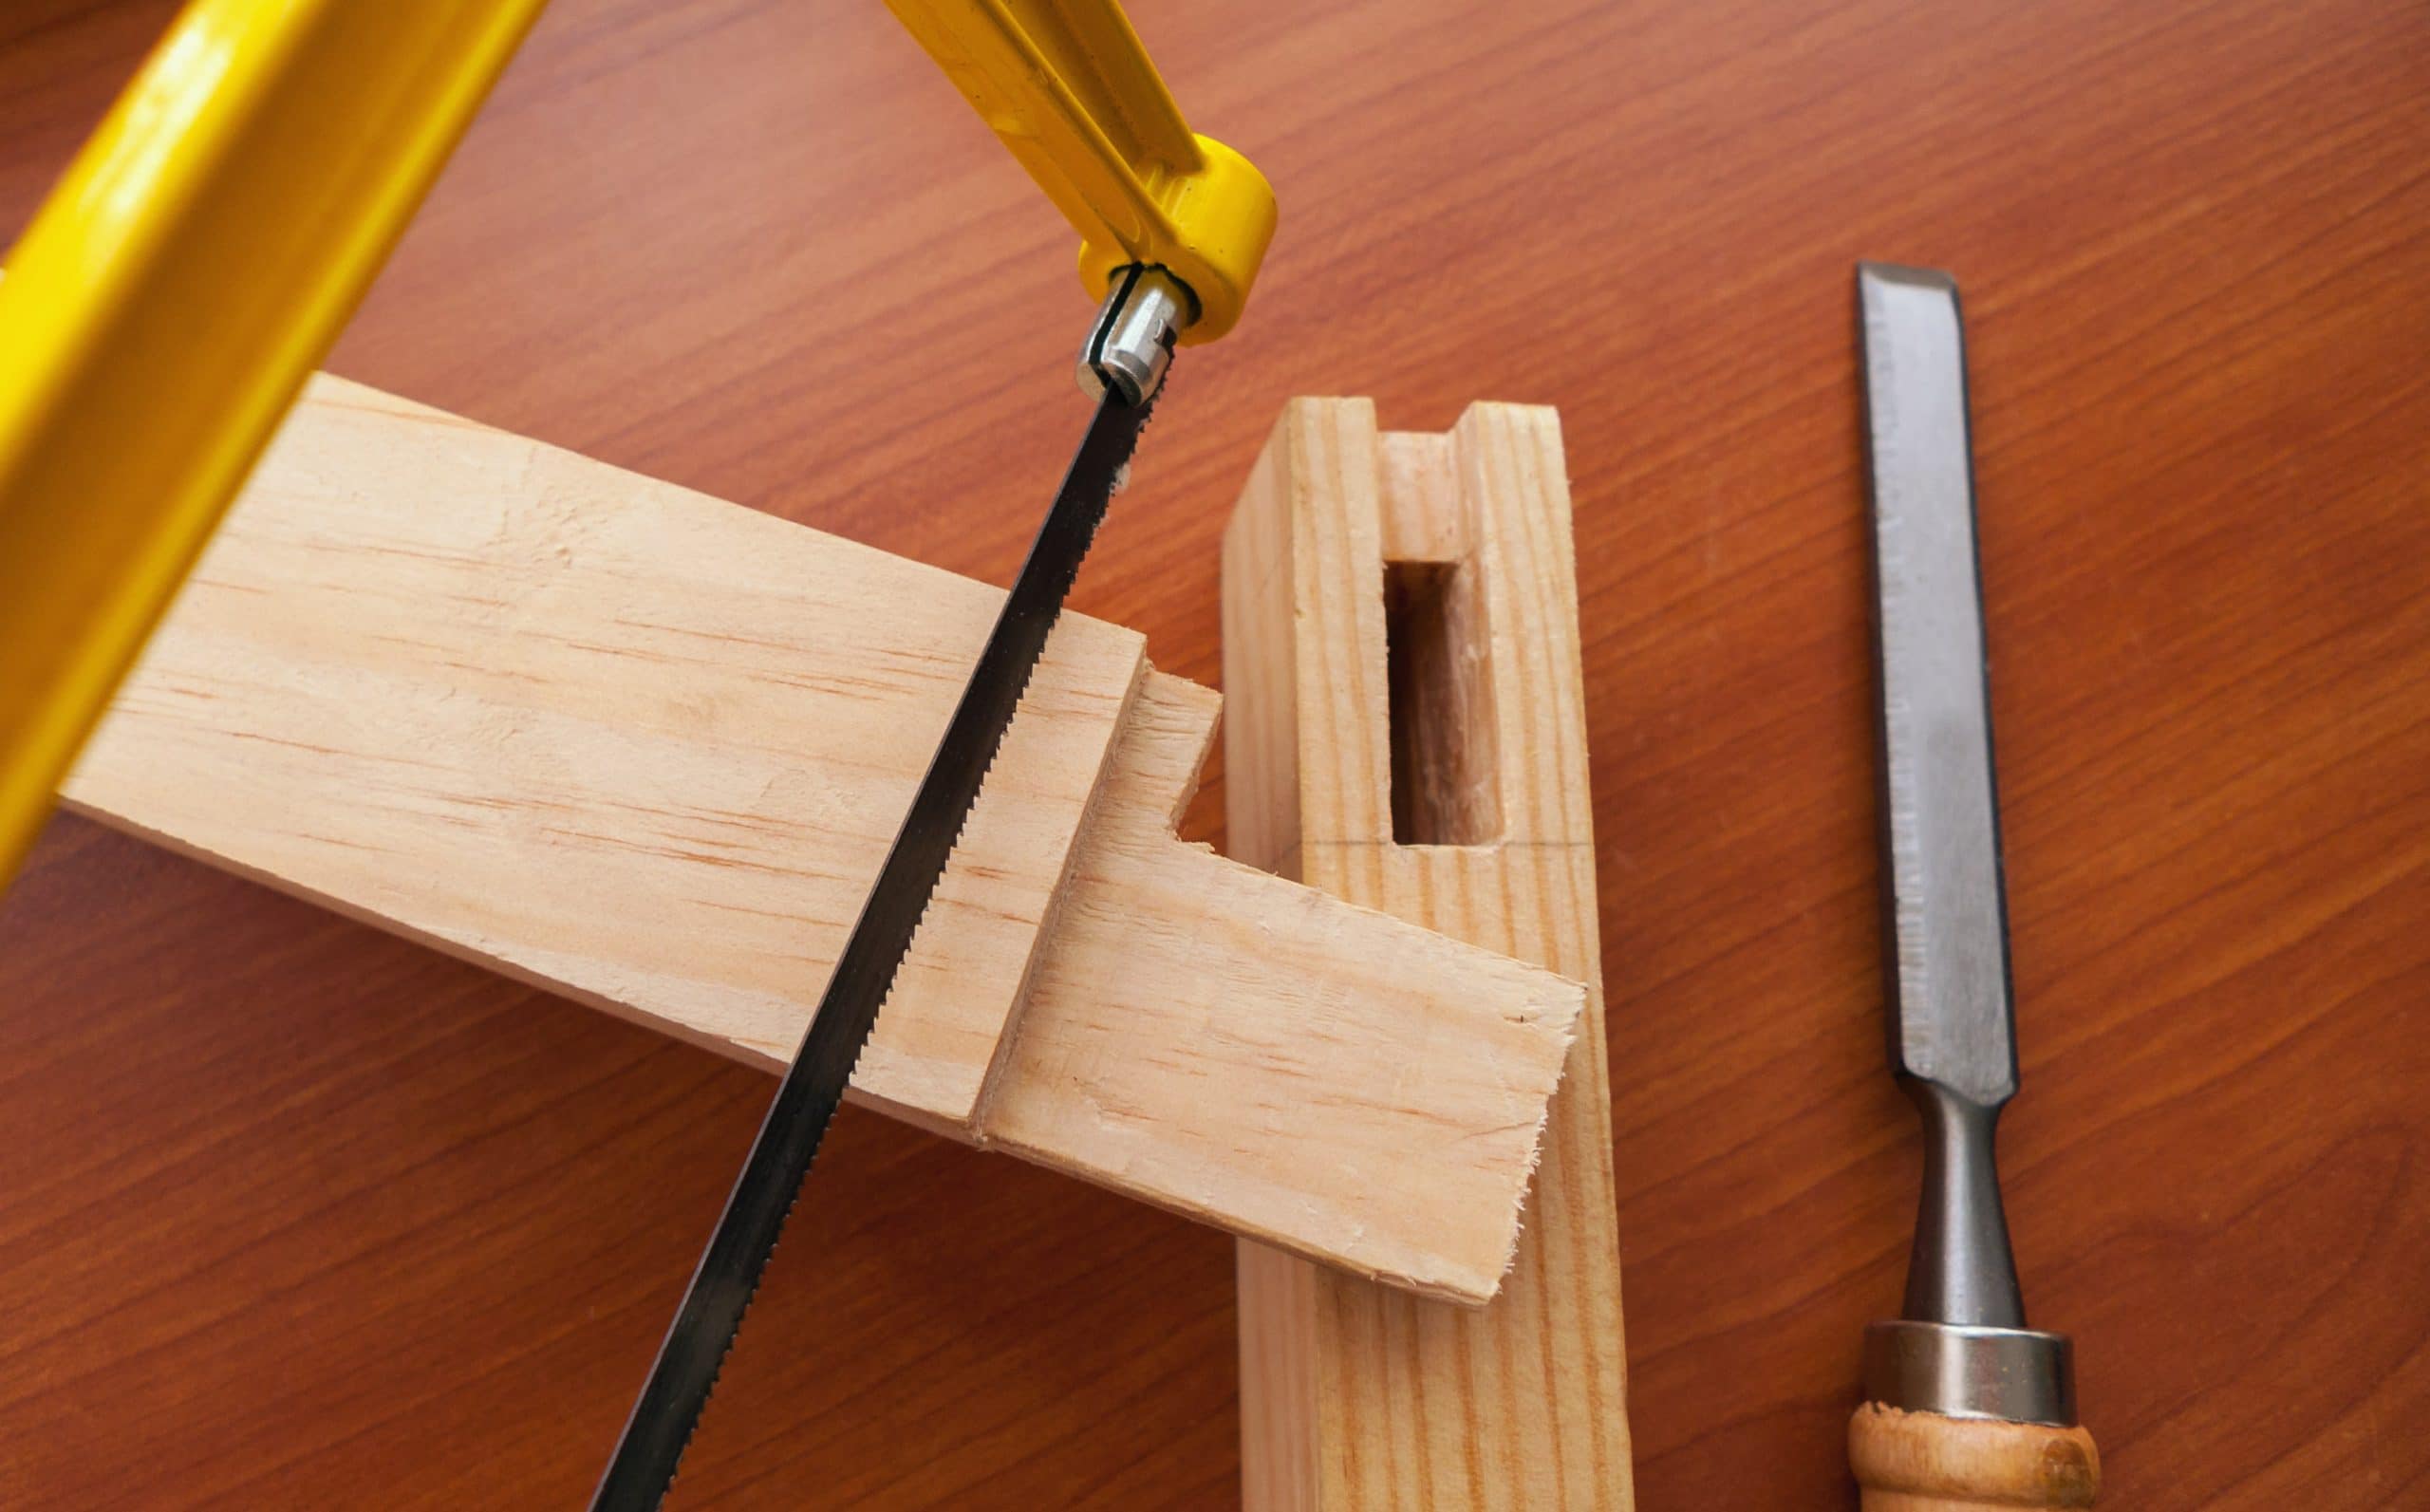
- Cut Along the Marked Lines: Using a backsaw or dovetail saw, carefully cut along the marked lines of the rabbet, making sure to stay within the lines and maintain a straight and accurate cut.
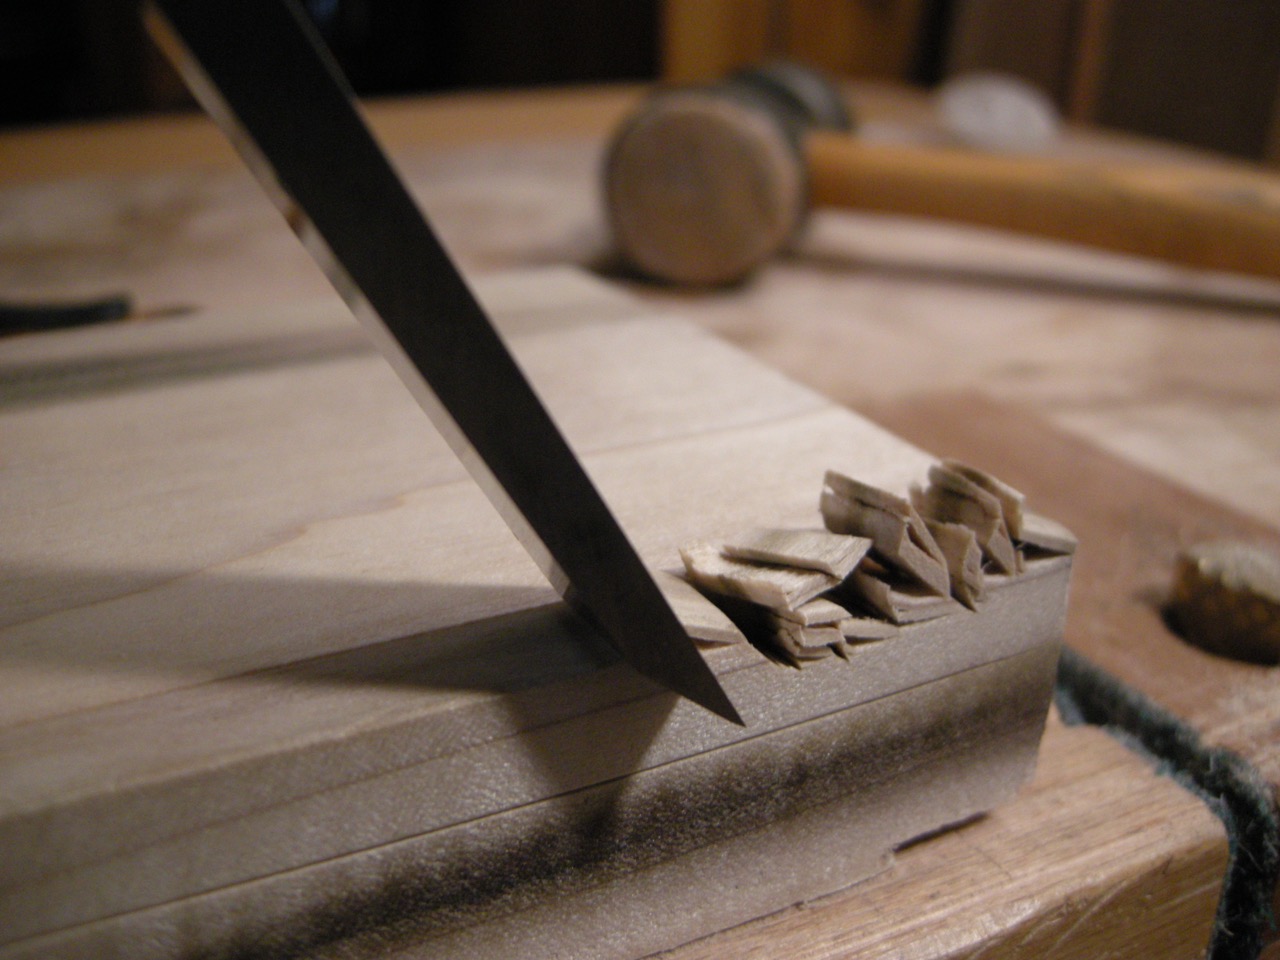
- Remove Waste Wood: With the help of chisels and a mallet or hammer, remove the waste wood from the rabbet. Start by making a series of shallow cuts along the perimeter of the rabbet, gradually deepening the cuts until you reach the desired depth. Be cautious not to remove more wood than necessary.
- Check the Fit: Test the fit of the pieces together to ensure that the rabbet joint aligns properly. Use a chisel or sandpaper to make any minor adjustments if needed, ensuring a snug and flush fit between the two pieces of wood.
- Smooth the Surface: Use sandpaper or a smoothing plane to smooth the cut surface of the rabbet, ensuring a seamless finish. Pay extra attention to the edges and corners to achieve a professional look.
- Clean the Wood: Remove any wood chips or dust from the rabbet and the surrounding area using a brush or a compressed air blower.
- Secure the Joint: Apply wood glue to the mating surfaces of the rabbet joint and firmly press the pieces together. Use clamps to hold the joint in place while the glue dries. Alternatively, you can secure the joint with screws or nails, depending on the requirements of your project.
- Allow the Glue to Dry: Follow the recommended drying time provided by the wood glue manufacturer to ensure a strong and durable bond.
By following these step-by-step instructions, you will be able to successfully cut a rabbet using hand tools. Remember to take your time, work patiently, and make precise cuts for the best results.
Now that you know how to cut a rabbet, it’s important to prioritize safety precautions to ensure a safe working environment. Let’s explore some safety tips in the next section.
Read more: How To Cut Miters With Hand Tools
Safety Precautions
When working with hand tools to cut a rabbet, it is crucial to prioritize safety. Follow these safety precautions to ensure a safe working environment:
- Wear Safety Gear: Always wear safety goggles to protect your eyes from wood chips and any potential flying debris. Consider wearing ear protection when using mallets or hammers to minimize the risk of hearing damage.
- Secure the Wood Properly: Use woodworking clamps to firmly secure the wood pieces in place, preventing any movement during the cutting process. This reduces the risk of accidental slips and injuries.
- Handle Tools with Care: Practice proper tool handling techniques. Keep your fingers away from the cutting edges and make sure the saw or chisel is secure in your grip before making any cuts.
- Keep a Clean and Organized Workspace: Remove any clutter or obstacles from your workspace to prevent trips and falls. Keep your tools organized and easily accessible to minimize the risk of accidents.
- Use Sharp and Well-Maintained Tools: Dull tools can be dangerous and may require more force, increasing the risk of slips or injuries. Keep your tools sharp and in good condition, regularly maintaining and sharpening them as necessary.
- Work in a Well-Lit Area: Ensure that your workspace is well-lit to have a clear view of the cutting lines and prevent any accidental slips or mistakes that could lead to injury.
- Work with Caution: Take your time and work with steady and deliberate movements. Rushing through the process can lead to mistakes and accidents. Be patient and pay attention to your actions.
- Be Mindful of Grain Direction: Before making any cuts, be aware of the direction of the wood grain. Cutting against the grain can be more difficult and increases the risk of the tool slipping or causing tear-out.
- Clean up Properly: After completing your cutting tasks, clean up the workspace and dispose of any wood chips or debris. This not only keeps your workspace tidy but also reduces the risk of slips or falls.
Remember, safety should always be a top priority when working with hand tools. By following these safety precautions and using common sense, you can minimize the risk of accidents and create a safe and enjoyable woodworking experience.
Now that you are equipped with safety knowledge, let’s explore some additional tips and tricks to help you cut rabbets with hand tools more effectively.
Tips and Tricks
When cutting rabbets with hand tools, consider these tips and tricks to enhance your woodworking experience and achieve exceptional results:
- Practice Proper Technique: Take the time to practice each step and familiarize yourself with the proper technique for using each hand tool. This will help you become more comfortable and confident in your cuts.
- Use Light Pencil Lines: When marking the outline of the rabbet, use light pencil lines. This will make it easier to see and follow your cutting guide, and any remaining pencil marks can be easily erased later.
- Do Test Cuts: Before making precise cuts on your workpiece, consider doing test cuts on scrap wood. This will allow you to fine-tune your technique, adjust for any inconsistencies, and ensure that your final cuts are accurate.
- Take Small Chisel Bites: When removing waste wood with a chisel, take small and controlled bites. This helps prevent splintering or overshooting the intended depth of the rabbet.
- Check the Fit Frequently: Throughout the cutting process, regularly test the fit of the rabbet joint. This will help you make any necessary adjustments in a timely manner before moving on to the assembly stage.
- Keep Tools Sharp: Sharp tools are essential for clean and precise cuts. Regularly sharpen your saw blades and chisels to maintain optimal cutting performance.
- Pay Attention to Grain Orientation: Consider the orientation of the wood grain when cutting rabbets. Cutting with the grain will result in smoother cuts, while cutting against the grain may require more care to prevent tear-out.
- Use a Mallet, Not a Hammer: When striking the chisel, use a wooden mallet instead of a metal hammer to prevent damage to the tools and ensure better control over the cutting process.
- Sand and Finish with Care: After cutting the rabbet and assembling the joint, sand the surface of the rabbet joint to achieve a smooth finish. Take care not to round the corners or edges of the rabbet, as this may affect the fit of the joint.
- Experiment and Learn: Every woodworking project is an opportunity to learn and improve your skills. Don’t be afraid to experiment with different techniques and approaches to cutting rabbets. Embrace the learning process and enjoy the journey of mastering this woodworking skill.
By following these tips and tricks, you can enhance your woodworking abilities and achieve professional-quality rabbet joints with hand tools. Remember, practice and patience are key to refining your technique and achieving the desired results.
Now that we have covered the essential tips and tricks, let’s wrap up our guide on cutting rabbets with hand tools.
Conclusion
Cutting a rabbet with hand tools is a valuable skill for any woodworking enthusiast or DIYer. The precision, control, and craftsmanship that hand tools offer can elevate the quality of your woodworking projects and provide a sense of satisfaction that power tools may not replicate. In this comprehensive guide, we have discussed the steps involved in cutting a rabbet with hand tools, emphasized the importance of safety precautions, and provided useful tips and tricks to help you achieve clean and accurate rabbet joints.
By understanding the purpose and benefits of a rabbet joint, you can determine when to implement it in your woodworking projects. With the appropriate tools and materials, such as marking and measuring tools, saws, chisels, and clamps, you can accomplish precise cuts along the marked lines and remove waste wood to create a snug fit. Ensuring safety throughout the process is crucial, and following recommended safety precautions will minimize the risk of accidents.
Remember to take advantage of the versatility and control that hand tools offer. Sharpen your tools regularly, practice proper technique, and test your cuts on scrap wood to enhance your skills. Keep in mind the importance of grain orientation, check the fit frequently, and sand and finish the rabbet joint for a professional look.
Whether you are a beginner looking to improve your woodworking skills or a seasoned woodworker searching for the joy of craftsmanship, learning how to cut a rabbet with hand tools is a valuable addition to your skill set. With practice, patience, and attention to detail, you can achieve flawless rabbet joints that bring your woodworking projects to the next level.
We hope this guide has provided you with the knowledge and inspiration to confidently tackle rabbet joints using hand tools. So, grab your tools, embrace the artistry of woodworking, and enjoy the process of creating precise and beautiful rabbet joints.
Frequently Asked Questions about How To Cut Rabbet With Hand Tools
Was this page helpful?
At Storables.com, we guarantee accurate and reliable information. Our content, validated by Expert Board Contributors, is crafted following stringent Editorial Policies. We're committed to providing you with well-researched, expert-backed insights for all your informational needs.

0 thoughts on “How To Cut Rabbet With Hand Tools”