
Articles
How To Grout Tile Floor
Modified: March 1, 2024
Learn how to effectively grout your tile floor with these helpful articles. Gain expert tips and tricks for a flawless finish.
(Many of the links in this article redirect to a specific reviewed product. Your purchase of these products through affiliate links helps to generate commission for Storables.com, at no extra cost. Learn more)
Introduction
When it comes to flooring options, tile floors are a popular choice due to their durability, versatility, and aesthetic appeal. However, to ensure the longevity and appearance of your tile floor, proper grouting is essential. Grout not only secures the tiles in place but also fills the gaps between them, preventing moisture and dirt from seeping underneath and causing damage.
In this article, we will guide you through the process of grouting a tile floor, providing step-by-step instructions and tips to achieve a professional finish. Whether you are a DIY enthusiast or a homeowner looking to save money on professional services, this article will equip you with the knowledge and skills needed to successfully grout your tile floor.
Before we dive into the grouting process, let’s take a look at the materials you will need to get started.
Key Takeaways:
- Properly grouting a tile floor is essential for durability and aesthetics. Follow step-by-step instructions, use the right materials, and take your time for a professional finish.
- Take necessary precautions, work in small sections, and maintain a consistent grout consistency for successful grouting. Enjoy the satisfaction of a job well done!
Read more: How To Tile And Grout A Floor
Materials Needed
Before beginning the grouting process, it is important to gather all the necessary materials. Here are the items you will need:
- Grout: Choose a grout color that complements your tiles and is suitable for the type of tiles and the location of the floor. There are various grout options available, including sanded grout for wider gaps and non-sanded grout for narrower gaps.
- Grout Sealer: While not always necessary, a grout sealer can help protect the grout from stains and make cleaning easier.
- Bucket and Mixing Tools: A clean bucket and a mixing tool such as a grout float or a margin trowel will be required to mix the grout to the right consistency.
- Water: You will need water to mix the grout. Make sure it is clean and at room temperature.
- Grout Sponge: A grout sponge is essential for cleaning the tiles and removing excess grout after application.
- Grout Float: A grout float is used to spread the grout evenly and fill the gaps between the tiles.
- Grout Brush: A grout brush can be useful in removing any stubborn grout haze or residue after the grout has dried.
- Protective Gear: It is advisable to wear gloves and safety goggles to protect your hands and eyes during the grouting process.
Once you have gathered all the materials listed above, you are ready to prepare the floor for grouting.
Preparing the Floor
Before applying the grout, it is important to ensure that your tile floor is clean and free of any debris or dirt. Follow these steps to prepare your floor for grouting:
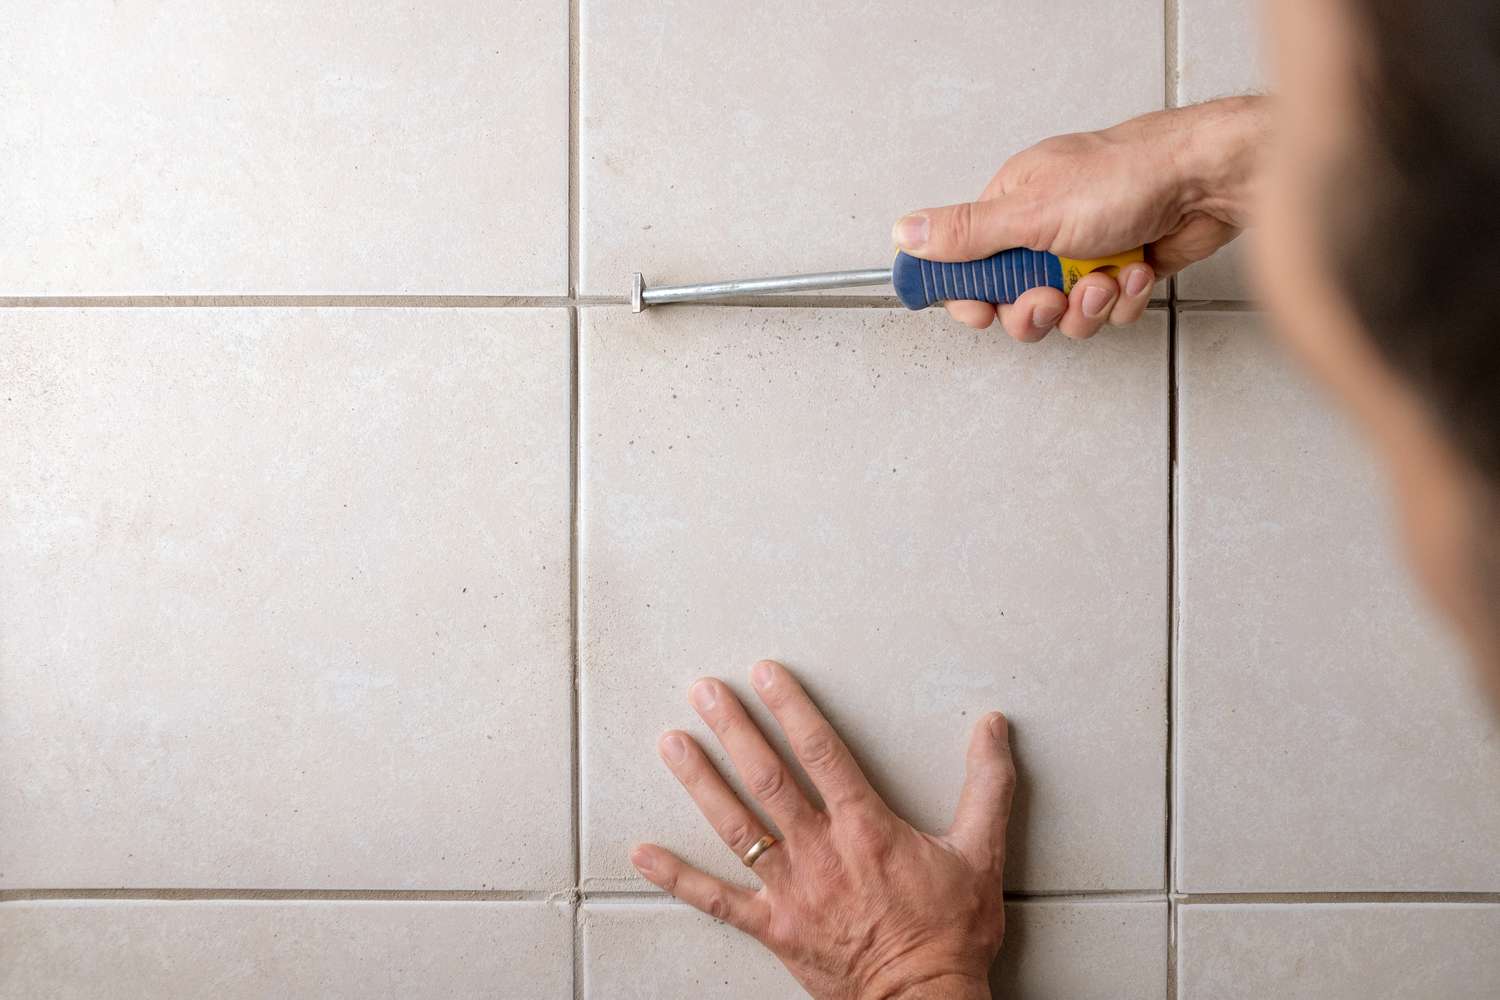
- Remove any loose tiles: Inspect the floor for any loose or damaged tiles. If you come across any, replace them before proceeding with the grouting process.
- Clean the tiles: Use a mild detergent and warm water to clean the tiles thoroughly. Remove any dirt, grease, or grime that may be present on the surface. Make sure to scrub gently to avoid damaging the tiles.
- Allow the floor to dry: After cleaning, give the floor enough time to dry completely. This will ensure proper adhesion of the grout and prevent moisture from getting trapped between the tiles.
- Mask off adjacent surfaces: If you have walls or baseboards adjacent to the tiled floor, use painter’s tape to protect these surfaces from getting stained by the grout.
Once the floor is cleaned and prepared, it is time to mix the grout.
Mixing the Grout
Properly mixing the grout is crucial to achieving a consistent and workable texture. Follow these steps to mix the grout:
- Read the instructions: Start by carefully reading the instructions on the grout packaging. Different grout brands may have slightly different mixing ratios, so it is important to follow manufacturer guidelines.
- Measure the grout and water: Use a clean bucket and measure the appropriate amount of grout powder according to the instructions. Then, add the required amount of water. It is recommended to add the water gradually to avoid adding too much and making the grout too runny.
- Mix the grout: Use a grout float or a margin trowel to mix the grout and water together. Stir the mixture thoroughly until you achieve a smooth, lump-free consistency. The mixture should have the texture of thick, creamy peanut butter.
- Let the grout rest: Once the grout is mixed, let it rest for a few minutes. This is known as the “slaking” process and allows the chemicals in the grout to activate and create a stronger bond.
- Re-mix the grout: After the slaking period, give the grout another gentle stir to ensure it is well mixed and ready for application. Avoid over-mixing, as this can introduce air bubbles into the mixture.
With the grout mixed and ready, it is time to apply it to the tiles.
Applying the Grout
Now that you have prepared the floor and mixed the grout, it’s time to apply it to the tiles. Follow these steps to ensure a smooth and professional grouting process:
- Start in a small area: Begin by applying the grout to a small section of the floor. It’s easier to manage and work with smaller areas rather than tackling the entire floor at once.
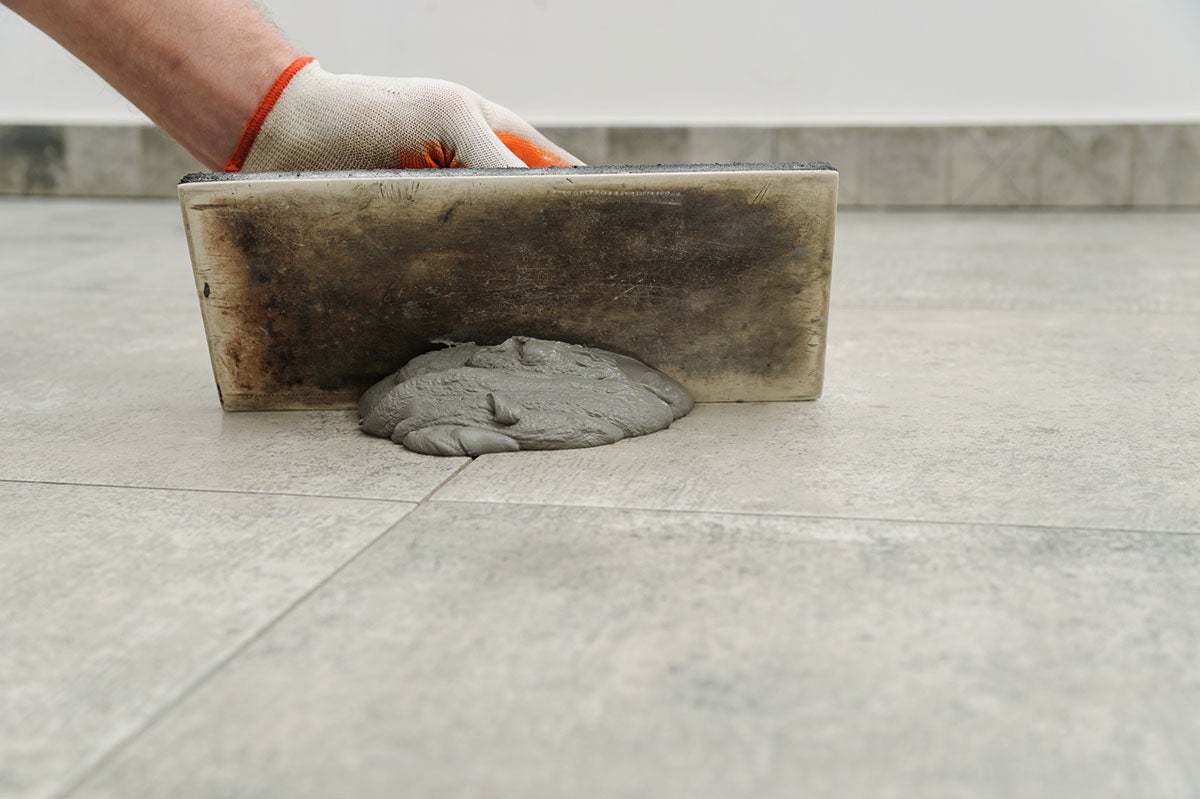
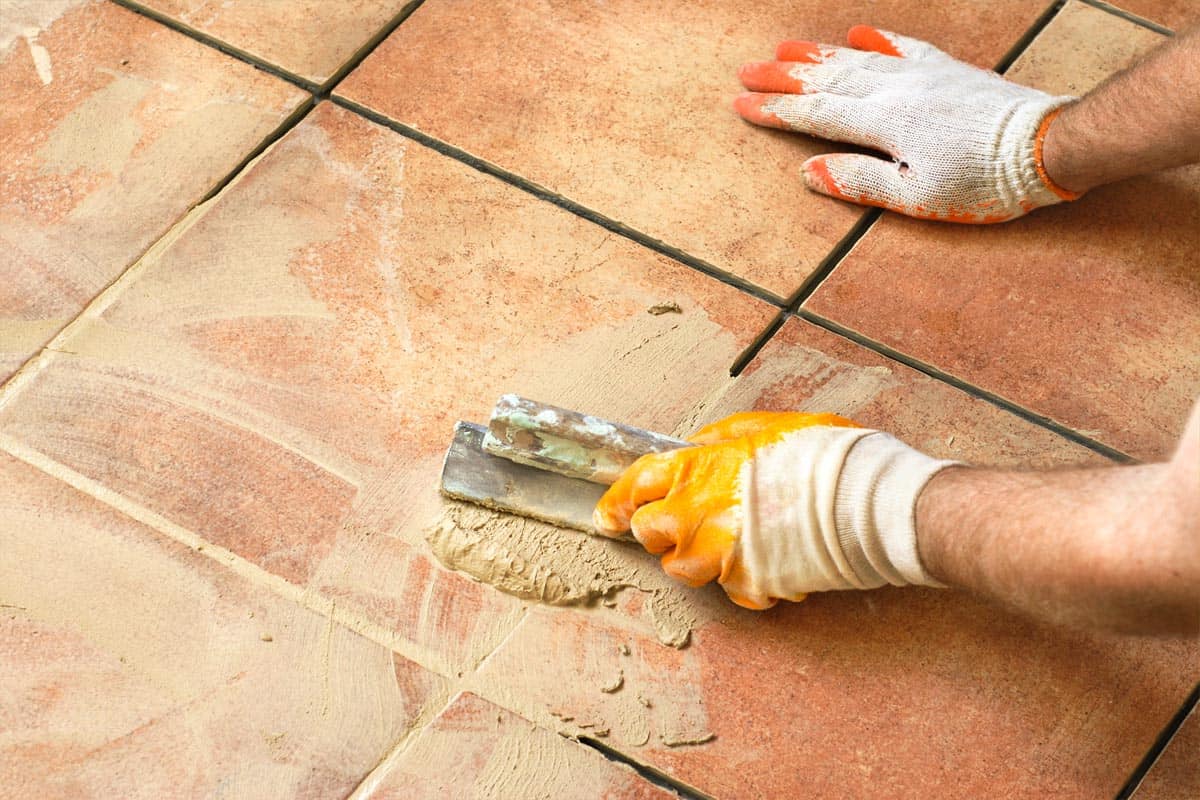
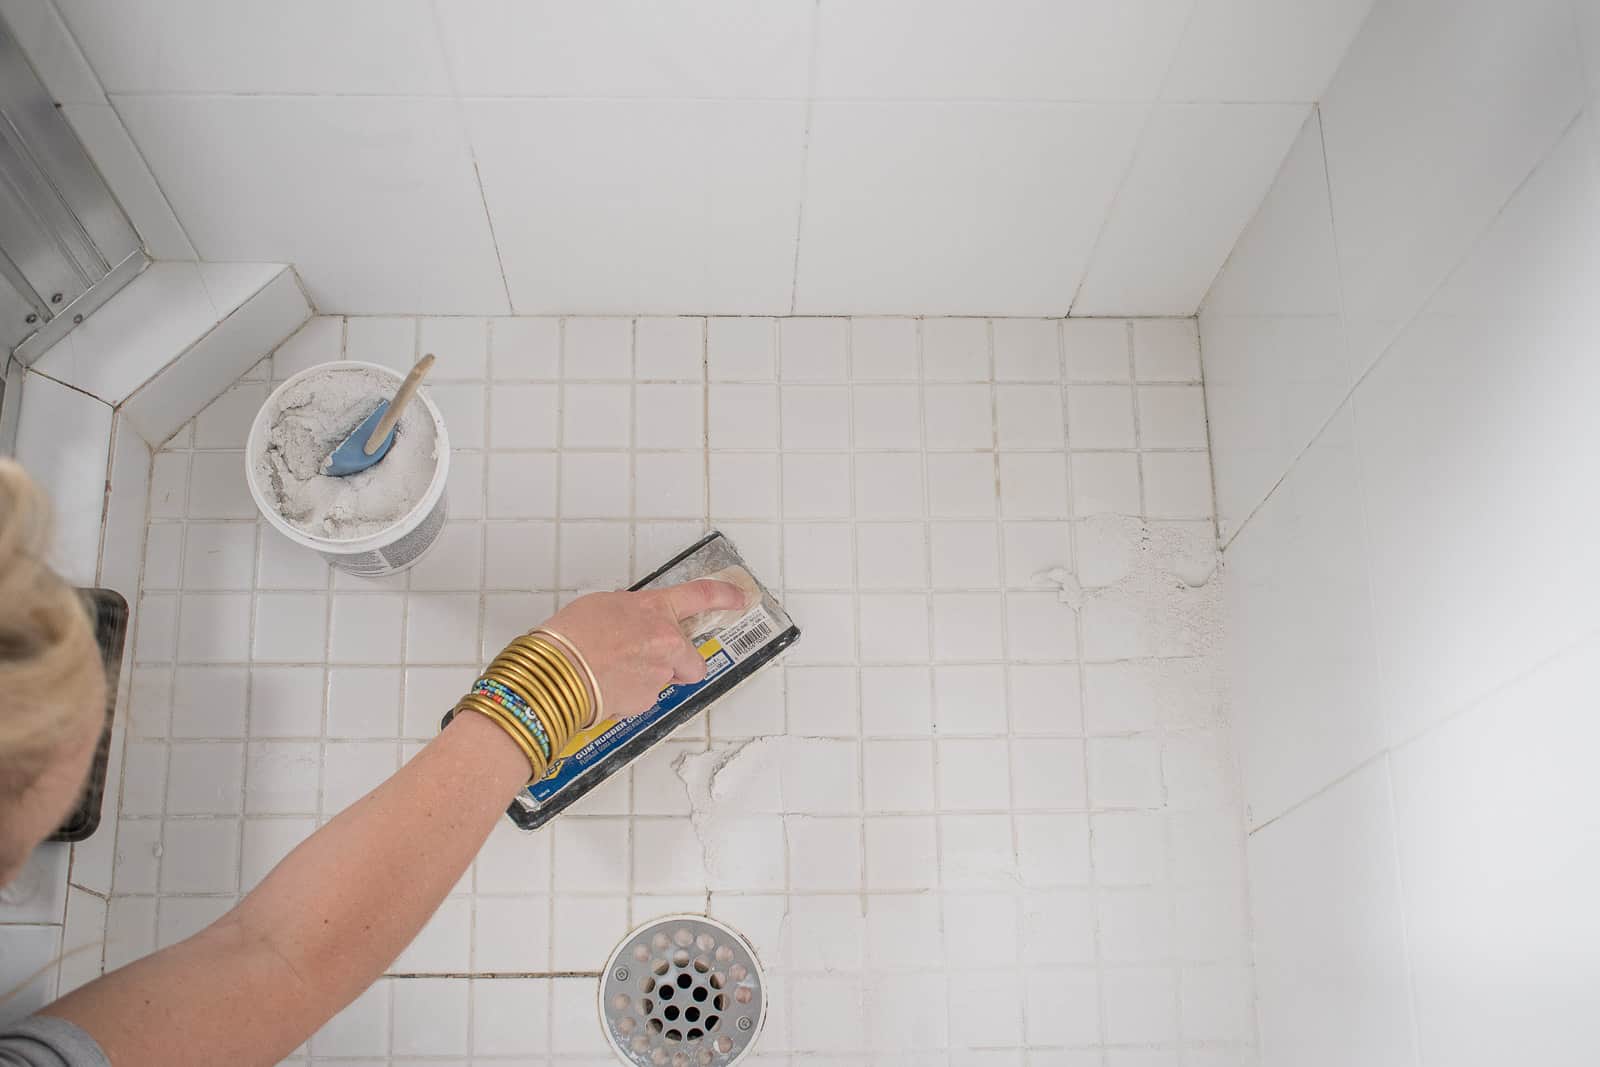
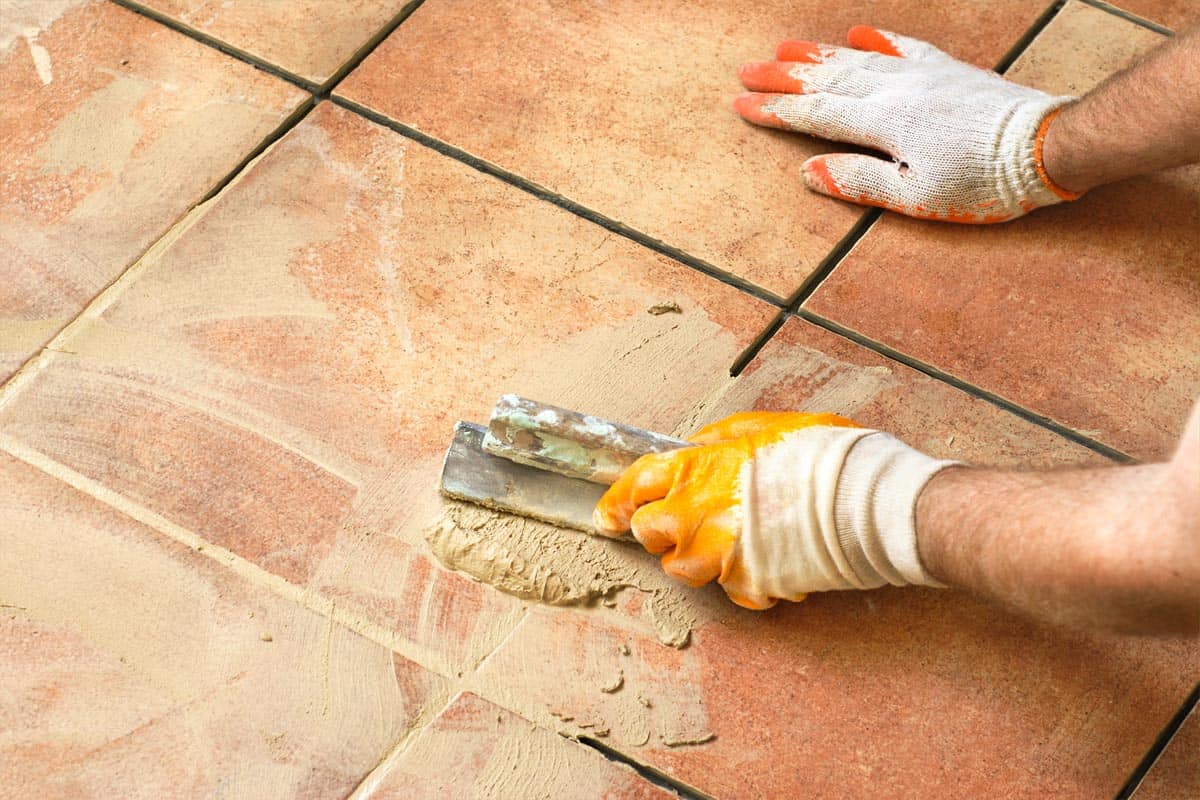
- Hold the grout float at a 45-degree angle: Take a generous amount of grout on the grout float and hold it at a 45-degree angle. Use the float to spread the grout diagonally across the tiles, ensuring that it fills the gaps completely.
- Work in sweeping motions: Use a sweeping motion with the grout float to push the grout into the gaps. Make sure to apply enough pressure to ensure proper adhesion to the tiles.
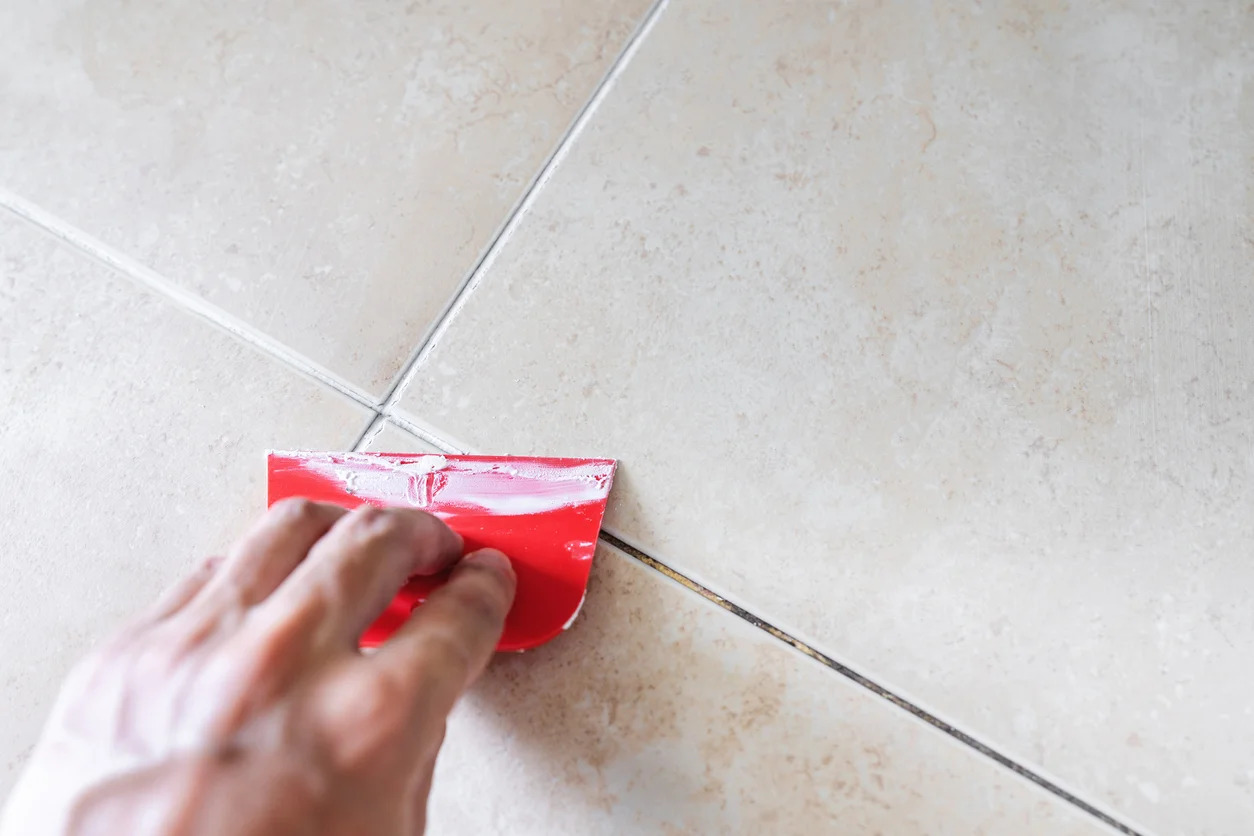
- Remove excess grout: Once you have filled the gaps, use the edge of the grout float to scrape off any excess grout from the surface of the tiles. This will leave behind a smooth grout line.
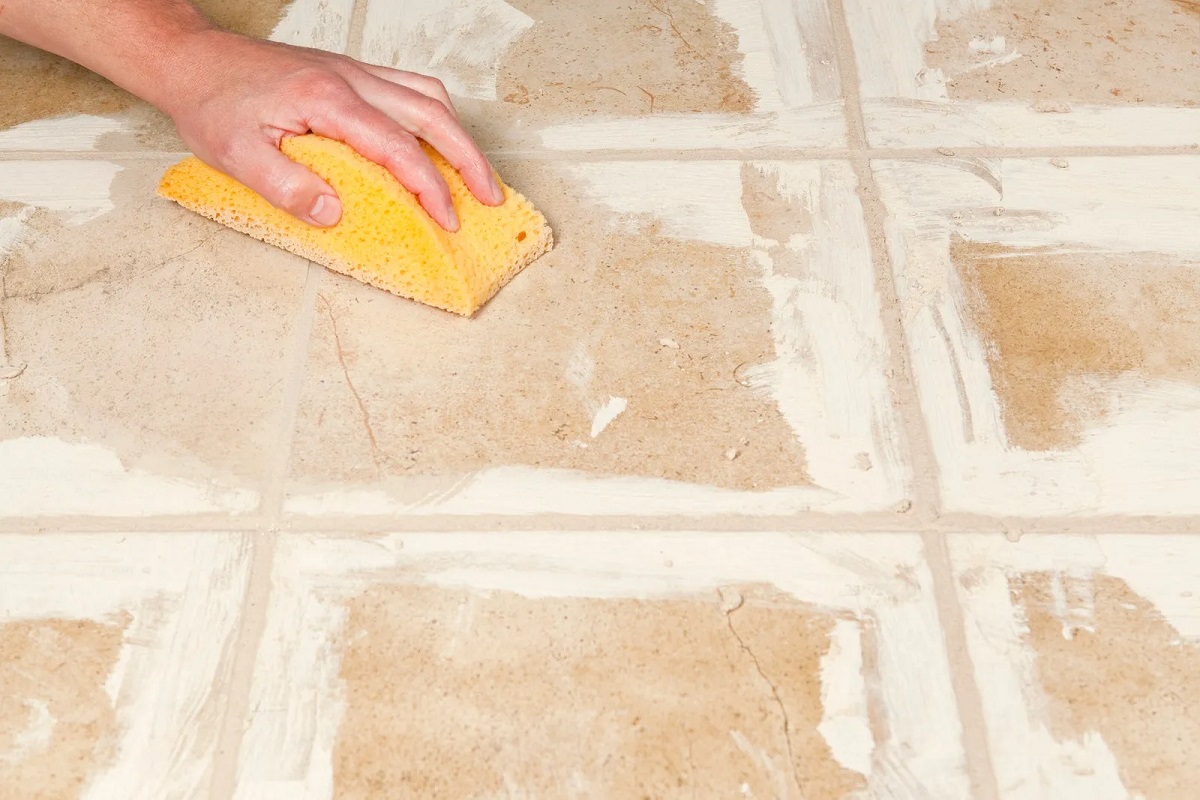
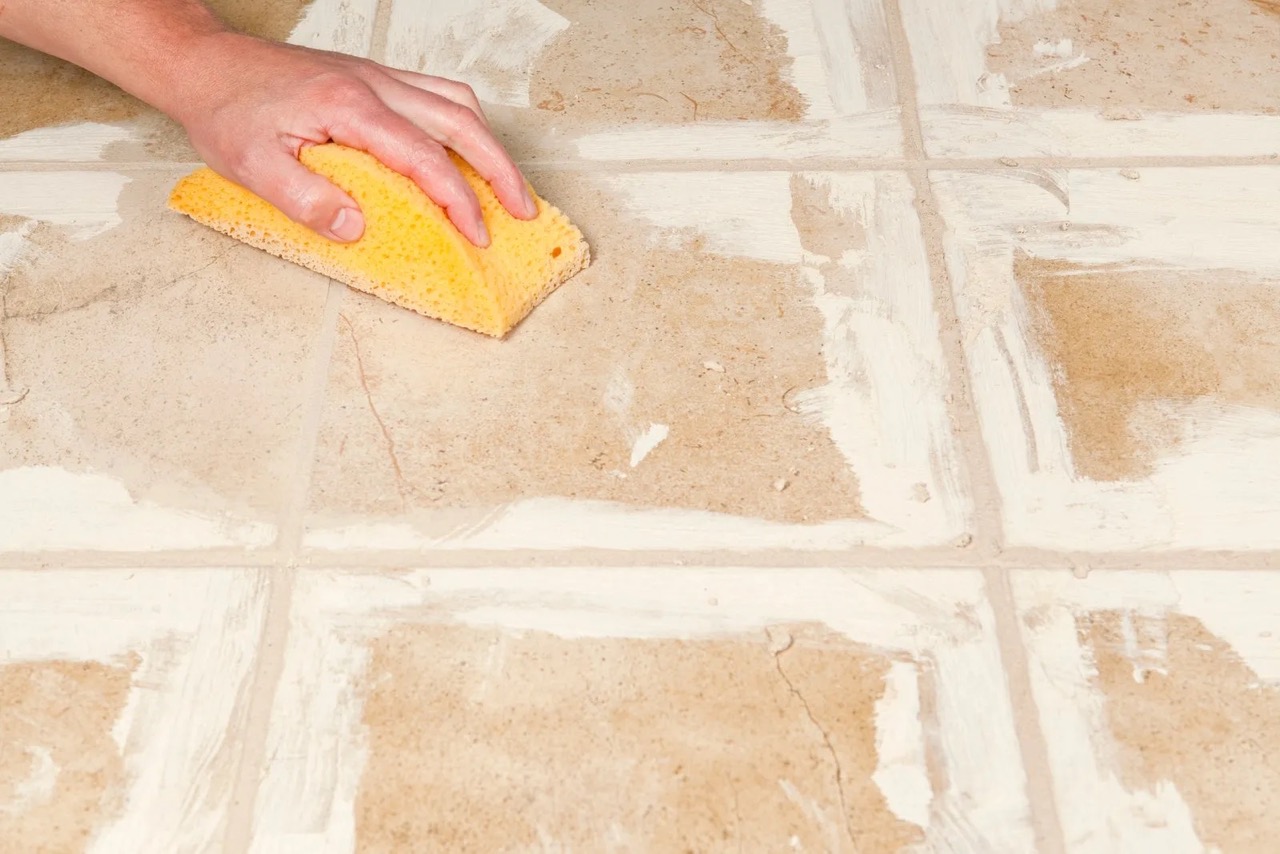
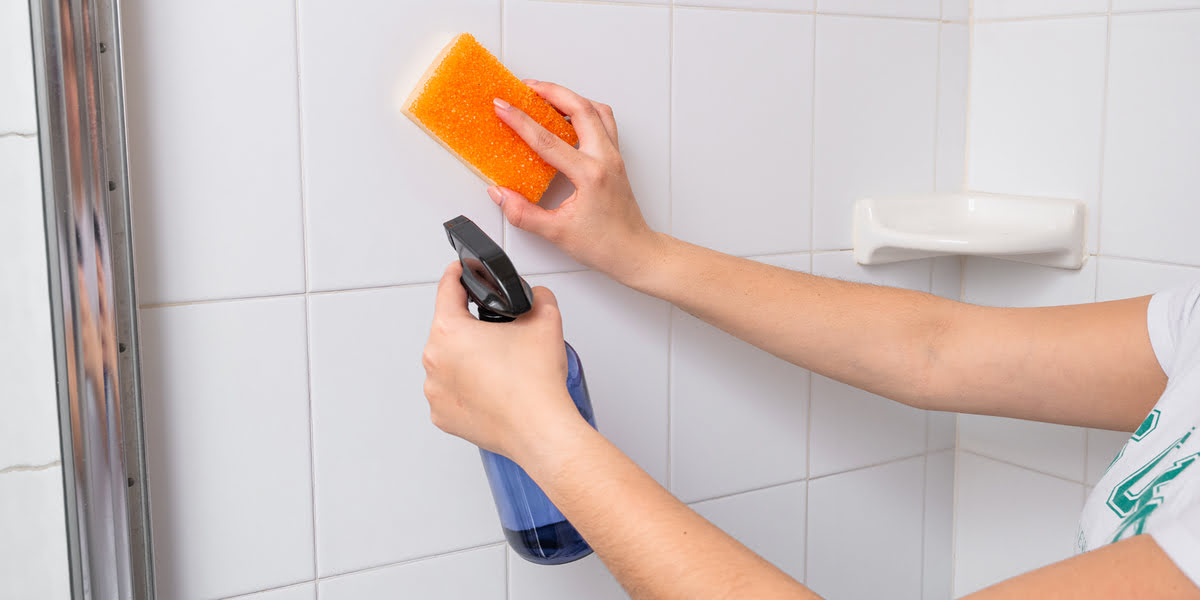
- Clean the tiles: After you have finished grouting a small area, use a slightly damp grout sponge to gently wipe away any grout residue from the surface of the tiles. Rinse the sponge frequently to avoid smearing the grout.
- Continue grouting: Repeat the process of applying the grout, removing excess, and cleaning the tiles section by section until the entire floor is grouted.
Once all the grout has been applied, it’s important to properly clean the tiles to achieve a polished finish.
When grouting a tile floor, make sure to mix the grout to the right consistency and apply it at a 45-degree angle to the tiles. Use a grout float to press the grout into the joints and remove any excess. Finally, use a damp sponge to clean the tiles and smooth out the grout lines.
Read more: How To Clean Floor Tile Grout
Cleaning the Tiles
After the grout has been applied, it’s crucial to clean the tiles properly to remove any grout residue and achieve a clean and polished look. Follow these steps to clean the tiles:
- Wait for the grout to set: Allow the grout to set for the recommended time indicated on the grout packaging. This will typically be around 15-30 minutes.
- Fill a bucket with clean water: Fill a bucket with clean water at room temperature. Make sure it’s not too hot or too cold, as extreme temperatures can affect the grout’s integrity.
- Moisten the grout sponge: Moisten the grout sponge in the bucket of water, ensuring it’s not too wet or dripping excess water.
- Lightly wipe the tiles: Gently wipe the tiles with the moist sponge, making circular motions to remove any grout haze or residue. Rinse the sponge frequently to avoid spreading the grout residue around.
- Repeat the cleaning process: Rinse the sponge, wring out the excess water, and continue wiping the tiles until they are clean. Pay attention to the grout lines to ensure they are clear of any residue.
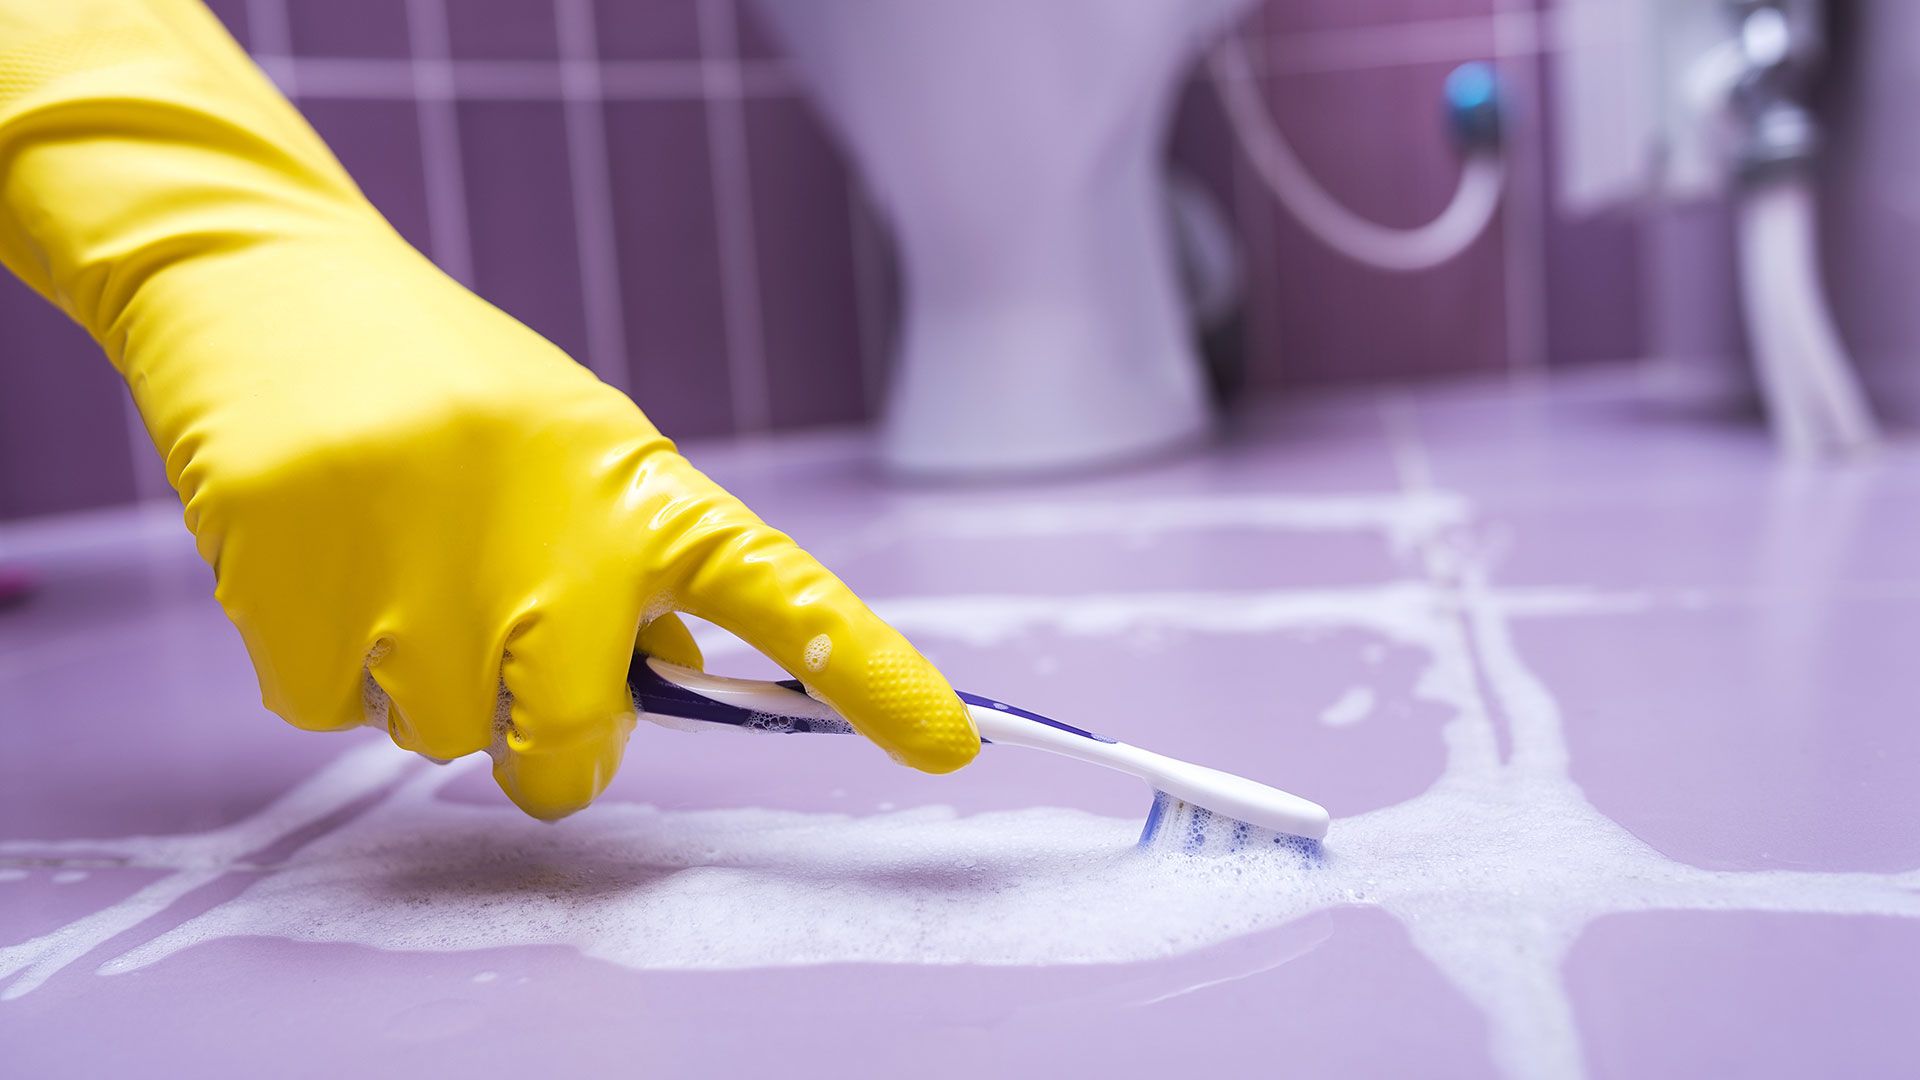
- Inspect the tiles: Once you have cleaned the tiles, carefully inspect them to ensure that they are free of grout residue. If you notice any stubborn stains or haze, you can use a grout brush or a soft-bristle toothbrush to gently scrub the affected areas.
Now that the tiles are clean, it’s time to move on to the final steps of the grouting process.
Final Steps
After cleaning the tiles, there are a few final steps to complete the grouting process and ensure a long-lasting and professional finish. Follow these steps to wrap up the grouting project:
- Allow the grout to cure: Give the grout ample time to cure and dry. Refer to the grout packaging for specific curing times, as they can vary. Avoid walking on the grouted area until the grout has fully cured.
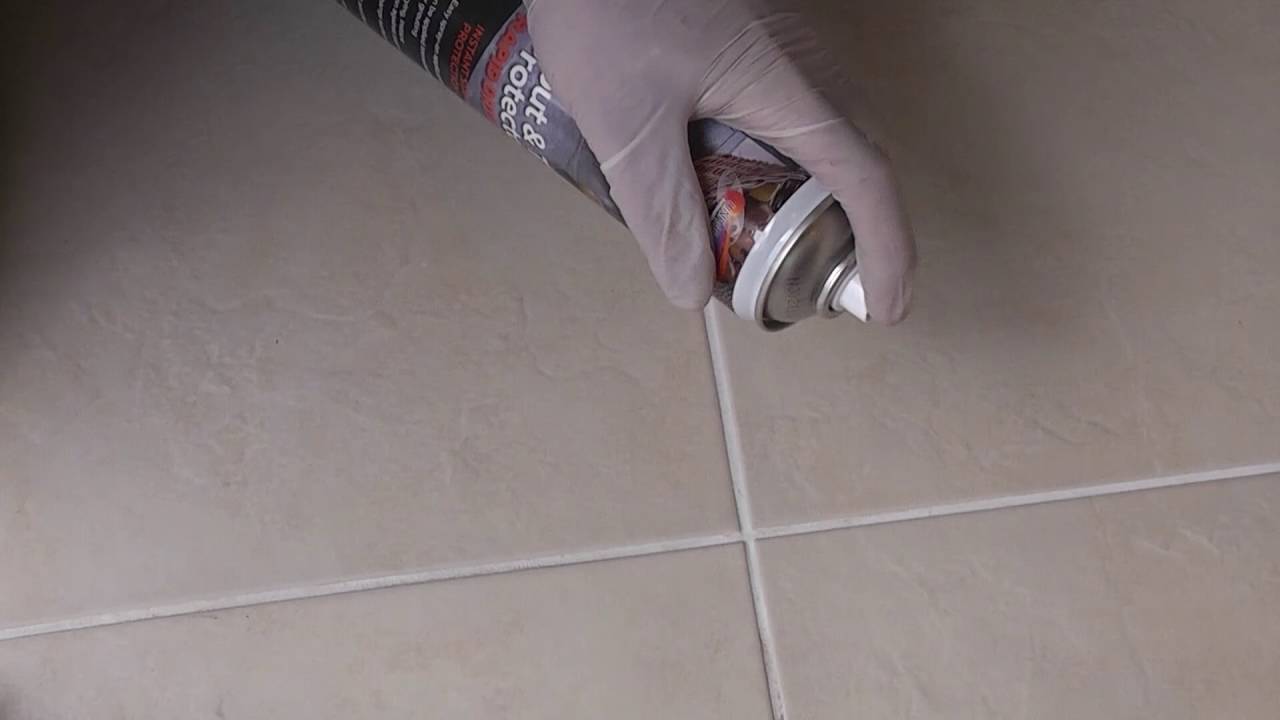
- Apply grout sealer (optional): Depending on the type of grout you used and the recommendations of the manufacturer, you may choose to apply a grout sealer. A grout sealer will help protect the grout from stains and make future cleaning easier. Follow the instructions on the sealer packaging for application guidelines.
- Remove painter’s tape (if applicable): If you had used painter’s tape to protect adjacent surfaces, carefully remove it once the grout has dried. This will ensure a clean and polished look.
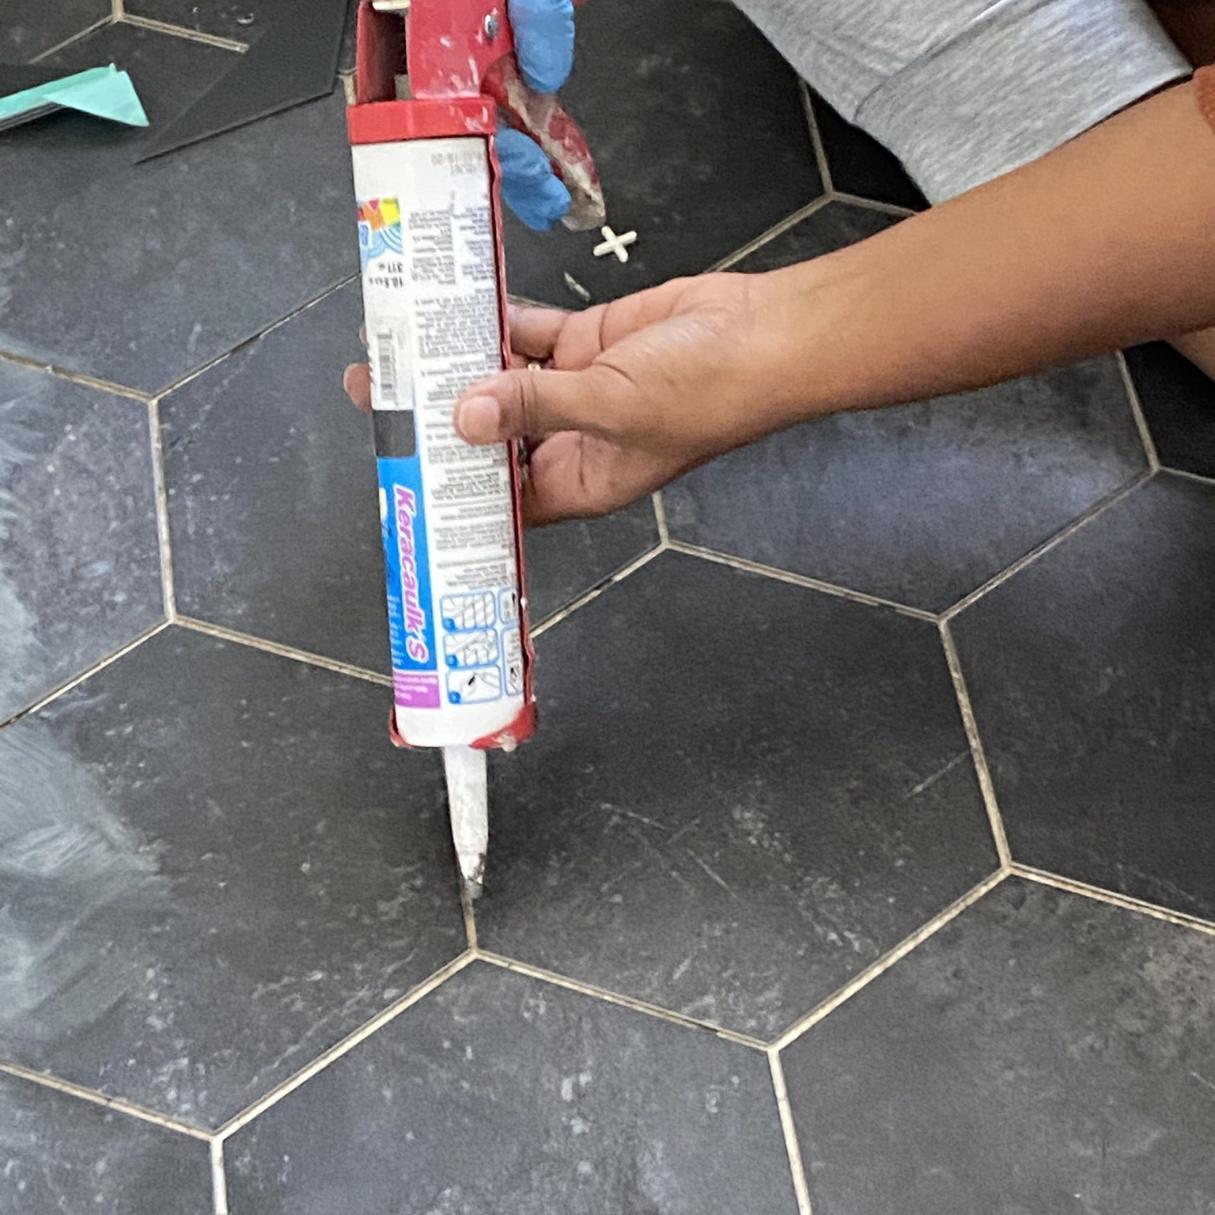
- Inspect the grout lines: Take a close look at the grout lines and check for any spots that might need a touch-up. If you notice any gaps or areas with insufficient grout, use a grout float to fill them in and smooth the surface.
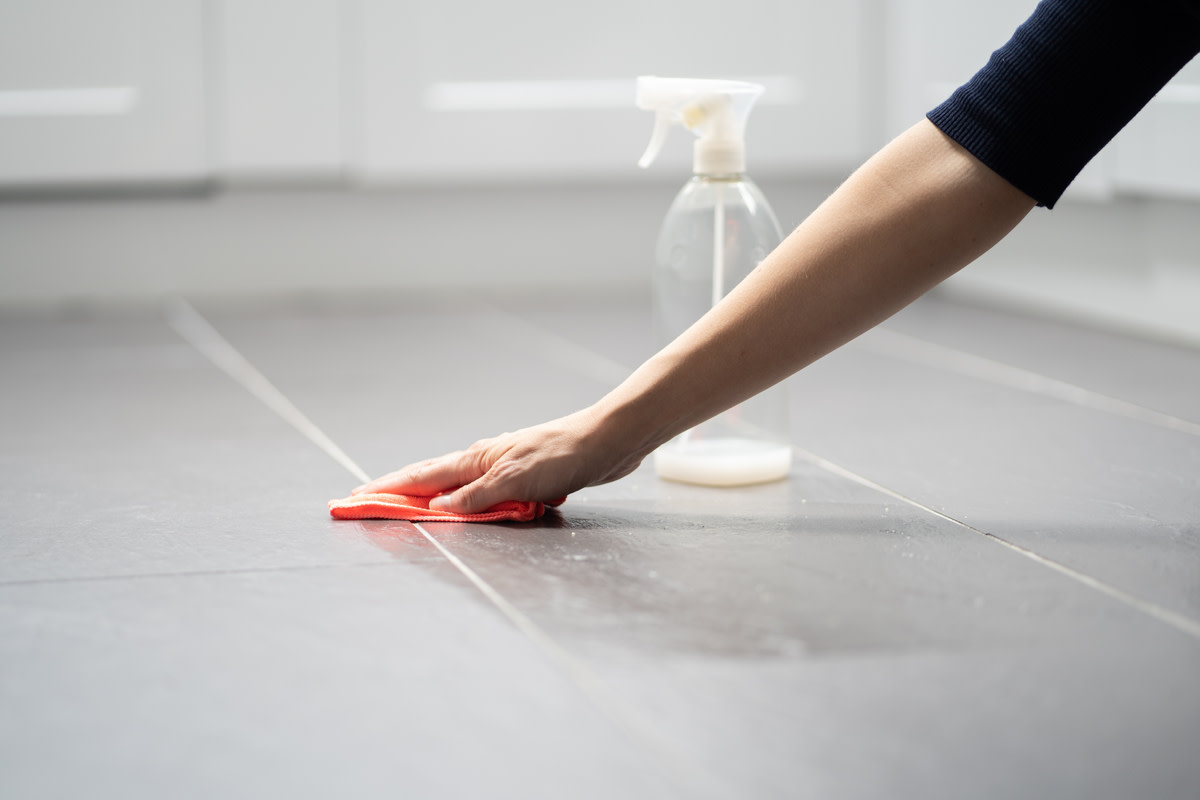
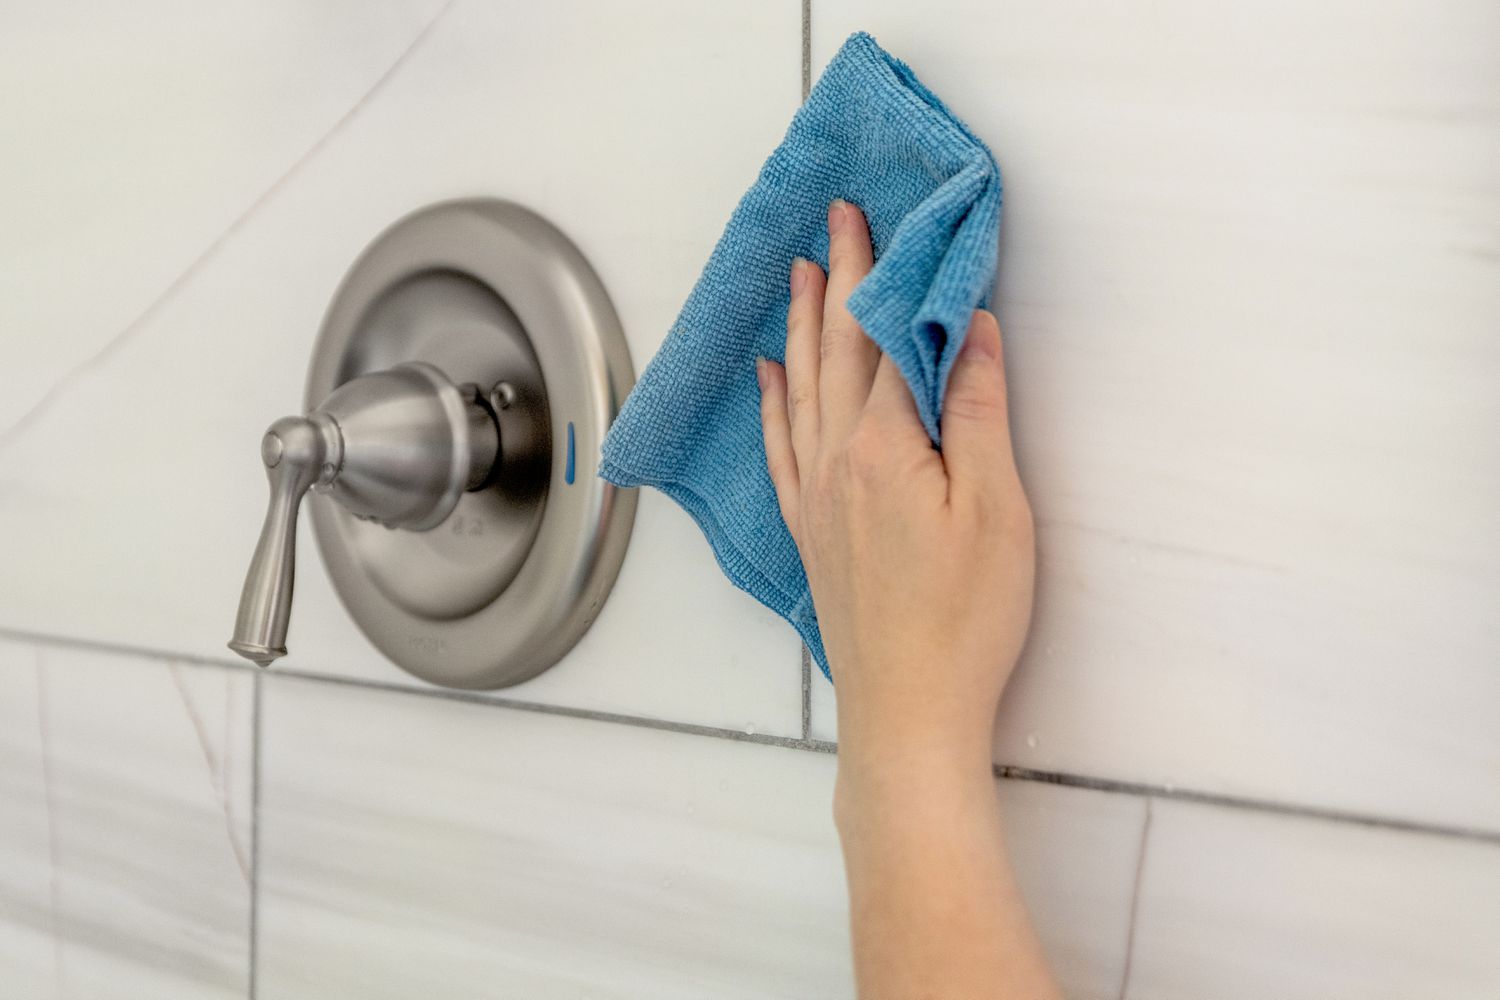
- Give the grout a final clean: Once you have touched up any areas, give the grout lines a final cleaning with a damp sponge. This will help blend in any newly added grout and give the floor a cohesive appearance.
- Enjoy your newly grouted tile floor: With the final steps complete, it’s time to step back and admire your newly grouted tile floor. Take pride in your hard work and enjoy the enhanced beauty and functionality of your tiled space.
Congratulations! You have successfully grouted your tile floor. By following these steps and taking proper care of your grouted floor, you can ensure its longevity and keep it looking great for years to come.
Tips and Precautions
To ensure a successful grouting process and achieve professional results, consider the following tips and precautions:
- Always wear protective gear: When working with grout, it is essential to wear gloves and safety goggles to protect your hands and eyes from any potential irritation or injury.
- Work in small sections: It’s best to work in small sections and complete one area before moving on to the next. This will help you manage the grout application and cleaning process more effectively.
- Maintain a consistent grout consistency: When mixing the grout, aim for a consistent texture throughout. Avoid adding too much water, as this can make the grout runny and weaken its stability.
- Clean as you go: Keep a damp sponge and a bucket of clean water nearby to frequently clean excess grout off the tiles. This will prevent the grout from drying on the surface and becoming difficult to remove.
- Seal the grout (optional): Consider applying a grout sealer after the grout has fully cured. This will provide an extra protective layer and make maintenance easier in the long run.
- Regularly clean and maintain the grout: To keep the grout looking fresh and prevent staining, it’s important to regularly clean and maintain it. Use mild cleaners and avoid abrasive materials that can scratch the grout.
- Take your time and be patient: Grouting can be a time-consuming process, so be patient and allow yourself enough time to complete each step properly. Rushing through the process can lead to unsatisfactory results.
By following these tips and taking necessary precautions, you can ensure a successful grouting experience and achieve a beautifully finished tile floor.
Conclusion
Grouting a tile floor may seem like a daunting task, but with the right materials, preparation, and guidance, it can be accomplished with ease. By properly grouting your tile floor, you are not only ensuring its stability and durability but also adding a polished and professional finish to your space.
In this article, we have provided step-by-step instructions on how to grout a tile floor, from preparing the floor to mixing and applying the grout, as well as cleaning and finalizing the process. We have also shared important tips and precautions to help you achieve the best possible results.
Remember to gather all the materials needed, clean and prepare the floor, and mix the grout to the right consistency. Applying the grout should be done carefully, ensuring complete coverage and removing excess grout for a clean finish. Cleaning the tiles is essential to remove any residue and bring out the beauty of the tiles.
Throughout the grouting process, it is important to take your time, be patient, and pay attention to detail. With proper care and maintenance, your newly grouted tile floor will continue to enhance the aesthetics of your space for years to come.
So, go ahead and tackle your next DIY project with confidence. Grout your tile floor and enjoy the satisfaction of a job well done!
Frequently Asked Questions about How To Grout Tile Floor
Was this page helpful?
At Storables.com, we guarantee accurate and reliable information. Our content, validated by Expert Board Contributors, is crafted following stringent Editorial Policies. We're committed to providing you with well-researched, expert-backed insights for all your informational needs.


0 thoughts on “How To Grout Tile Floor”