
Articles
How To Measure Floor For Tile
Modified: December 7, 2023
Learn the step-by-step process of measuring your floor for tile installation with our informative articles. Avoid errors and ensure accurate measurements for a successful tile project.
(Many of the links in this article redirect to a specific reviewed product. Your purchase of these products through affiliate links helps to generate commission for Storables.com, at no extra cost. Learn more)
Introduction
When it comes to renovating or remodeling your home, installing new tiles can make a significant impact on the overall aesthetic appeal. However, before you begin the tiling process, it is crucial to measure the floor accurately to determine the amount of tile you’ll need. This step is essential to avoid underestimating or overestimating the quantity of tiles required, which can lead to unnecessary delays, additional expenses, and frustration.
In this article, we will guide you through the process of measuring a floor for tile installation. By following these steps, you will be able to calculate the exact amount of tiles needed, account for any obstacles or irregularities on the floor, and ensure a smooth and successful tiling project.
Before we dive into the step-by-step process, let’s start by gathering the tools and materials you’ll need for accurate measurements.
Key Takeaways:
- Accurate floor measurement is crucial for successful tile installation. Clearing the floor, measuring square footage, accounting for obstacles, and ordering extra tiles are essential steps for a smooth tiling project.
- Proper floor preparation is vital for durable and visually appealing tile installation. Inspecting the subfloor, applying primer, laying out tiles, and allowing for curing time ensure a strong and long-lasting finish.
Read more: How To Put Tile On Floor
Tools and Materials Needed
Before you start measuring your floor for tile installation, make sure you have the following tools and materials on hand:
- Measuring tape or laser measuring tool: This will help you accurately measure the dimensions of your floor.
- Pencil or marker: You will need this to mark the measurements on the floor and make any necessary calculations.
- Graph paper or floor plan software: This will allow you to draw a scaled floor plan of your room or area where the tiles will be installed. It will help you visualize the layout and calculate the tile quantities accurately.
- Calculator or smartphone: These tools will assist you in performing the necessary calculations for determining tile quantities.
- Safety goggles: It’s important to ensure your safety by wearing protective eyewear while measuring the floor and handling tools.
- Comfortable clothing and footwear: Wear comfortable clothing and shoes that provide good traction to ensure smooth movement while measuring the floor.
- Dustpan and broom: Clearing the floor of any debris or dust will give you accurate measurements and a clean surface for tile installation.
Having these tools and materials ready will streamline the measurement process and enable you to measure the floor accurately and efficiently.
Step 1: Clearing the Floor
Before you can start measuring the floor for tile installation, it’s essential to clear the area of any furniture, rugs, or obstacles that may obstruct your measurements. Move any movable items out of the way, and if you have any permanent fixtures or appliances that cannot be relocated, make note of their positions on your floor plan.
Once the floor is clear, use a dustpan and broom to sweep away any debris or dirt. A clean surface will ensure accurate measurements and help prepare the floor for tile installation.
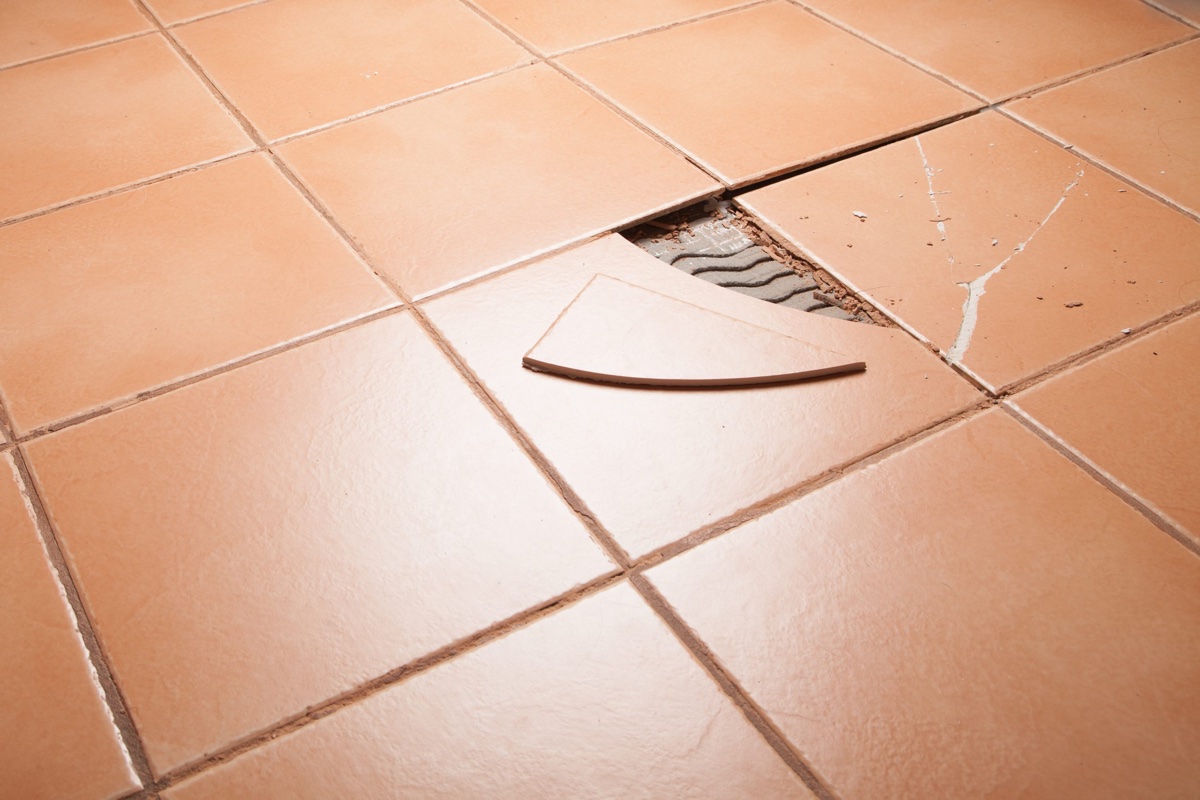
Additionally, inspect the floor for any signs of damage or unevenness. If you notice any significant cracks, dips, or bulges, it’s important to address them before proceeding with tile installation. Uneven surfaces can affect the installation process and result in tiles that are not properly aligned or may crack in the future.
If you encounter any severe damage or unevenness in the floor, it’s recommended to consult a professional contractor or flooring expert who can provide guidance on how to rectify these issues.
Once you have cleared and prepared the floor, you are ready to move on to the next step: measuring the overall square footage of the area.
Step 2: Measuring the Overall Square Footage
Measuring the overall square footage of the area where you plan to install the tiles is an essential step in determining the quantity of tiles needed. Follow these steps to measure the floor accurately:
- Start by selecting a corner of the room as your reference point. This will serve as your starting and ending point for measuring.
- Using a measuring tape or laser measuring tool, measure the length of the wall from the reference point to the opposite end. Make sure to measure along the baseboard or existing tiles.
- Record the measurement in inches or feet, depending on your preference. Repeat this process for all walls in the room, marking down each measurement as you go.
- After measuring all the walls, multiply the length of each wall by its corresponding height. This will give you the total square footage of each wall.
- Add together the square footage of all the walls to find the overall square footage of the area.
It’s important to note that when measuring irregularly shaped rooms, it may be helpful to divide the area into smaller, more manageable sections and measure them individually. Once you have the square footage of each section, add them together to obtain the total square footage.
Remember to measure to the nearest inch or foot for accuracy. These measurements will guide you in calculating the tile quantities and ensure you order enough tiles for your project.
With the overall square footage determined, you can now move on to the next step: accounting for any obstacles and irregularities on the floor.
Step 3: Accounting for Obstacles and Irregularities
When measuring the floor for tile installation, it’s important to account for any obstacles or irregularities that may affect the tile layout. Here are some common obstacles and irregularities to consider:
- Doorways: Take into account the width and height of doorways, as they may require special considerations for tile placement.
- Cabinets and fixtures: Measure the space between cabinets, sinks, and other fixtures to ensure proper tile placement.
- Vents and electrical outlets: Note the location of vents and electrical outlets, as these areas may require additional tile cuts or special trim.
- Fireplace hearths: Measure the dimensions of the fireplace hearth, as it will impact the tile layout and quantity.
- Stairs and steps: If you have stairs or steps in the area, measure the dimensions of each step to determine the tile requirements.
- Uneven surfaces: If the floor has any noticeable slopes or unevenness, make note of these areas as they may require additional preparation before tile installation.
By carefully considering these obstacles and irregularities, you can ensure that your tile installation is precise and visually pleasing. Make sure to mark these areas on your floor plan and take accurate measurements to accommodate for them.
Once you have accounted for any obstacles and irregularities, you are ready to move on to the next step: determining the tile size and pattern.
When measuring a floor for tile, always add 10% to your total square footage to account for cuts and waste. This will ensure you have enough tile for the job.
Read more: How Thick Are Floor Tiles
Step 4: Determining the Tile Size and Pattern
Choosing the right tile size and pattern is crucial for achieving the desired aesthetic and functionality of your tiled floor. Here’s how you can determine the tile size and pattern:
1. Consider the size of the room: The size of the room will play a role in determining the tile size. Larger rooms generally benefit from larger tiles, while smaller rooms may look better with smaller tiles. Keep in mind that larger tiles can make a small room appear bigger, while smaller tiles can create a more intricate and detailed look.
2. Measure the dimensions of the tile: Measure the length and width of the tile you have chosen. It’s important to measure the actual dimensions, as sizes may vary from the stated dimensions.
3. Determine the tile pattern: Decide on the tile pattern you want to achieve. This can be a standard grid pattern, diagonal pattern, herringbone pattern, or any other pattern that suits your preference. Consider the size and shape of the room when choosing the pattern.
4. Calculate the number of tiles needed: Based on the overall square footage of the area, the tile size, and the desired pattern, calculate the number of tiles needed. You can use online tile calculators or consult the manufacturer’s recommendations for tile quantities.
5. Allow for extra tiles: It’s advisable to order extra tiles to account for cuts, breakage, and future repairs. A good rule of thumb is to add around 10% to 15% to the total number of tiles calculated.
Choosing the right tile size and pattern is a personal preference, and it’s important to consider the style and functionality of the space. Take your time to explore different options and visualize how the tiles will look in the room before making a final decision.
Once you have determined the tile size and pattern, it’s time to move on to the next step: calculating the quantity of tiles needed.
Step 5: Calculating the Quantity of Tiles Needed
Accurately calculating the quantity of tiles needed is crucial to ensure that you have enough materials for your tiling project. Follow these steps to calculate the tile quantity:
- Start by multiplying the length and width of the floor in feet to determine the total square footage.
- Next, convert the total square footage into square inches by multiplying it by 144.
- Divide the square inch measurement by the size of one tile in square inches to find the number of tiles needed to cover the entire floor without any wastage.
- If you have chosen a specific tile pattern, take that into account by adjusting the number of tiles needed. For example, if you are using a diagonal pattern, you may need more tiles due to the additional cuts and angles.
It’s important to consider the recommended grout spacing when calculating the tile quantity. The grout spacing affects the overall tile layout and can impact the number of tiles required.
Keep in mind that it’s always better to order slightly more tiles than you think you’ll need to account for cuts, breakage, and future repairs. It’s recommended to add around 10% to 15% to the total number of tiles calculated.
Remember to consult the manufacturer’s recommendations for the specific tile you are using, as they may provide a more accurate calculation or offer online tile calculators to simplify the process.
With the tile quantity calculated, you are one step closer to completing your tiling project. The next step is to order extra tiles for wastage, which we will cover in the next step.
Step 6: Ordering Extra Tiles for Wastage
Ordering extra tiles for wastage is a crucial step to ensure that you have an adequate supply of tiles to complete your project. Here’s how to determine the amount of additional tiles needed:
1. Consider the tile type: Different types of tiles may have varying levels of fragility. Thicker and more durable tiles may require fewer extra tiles compared to thinner and more fragile ones. It’s important to check the manufacturer’s recommendations regarding wastage percentages for the specific tile you are using.
2. Calculate the percentage of wastage: As a general rule, it’s recommended to add around 10% to 15% to the total number of tiles calculated in the previous step. This accounts for potential breakage during the installation process, any mistakes made during cutting, and extra tiles needed for future repairs or replacements.
3. Round up the quantity: Once you have calculated the percentage of wastage, round up the number to the nearest whole tile. It’s better to have a few extra tiles on hand than be left with insufficient tiles in case of emergencies or future repairs.
4. Order additional tiles: With the quantity of extra tiles determined, place an order for the total number of tiles needed, including the additional tiles for wastage. Make sure to consult the supplier or manufacturer for the availability of the tile and estimated delivery time.
By ordering extra tiles, you can ensure that you have enough materials to complete your tiling project without any unnecessary delays or compromises in quality.
Once you have ordered the tiles, you are now ready to move on to the final step: preparing the floor for installation.
Step 7: Preparing the Floor for Installation
Preparing the floor for tile installation is vital to ensure a smooth and successful tiling project. Follow these steps to properly prepare the floor:
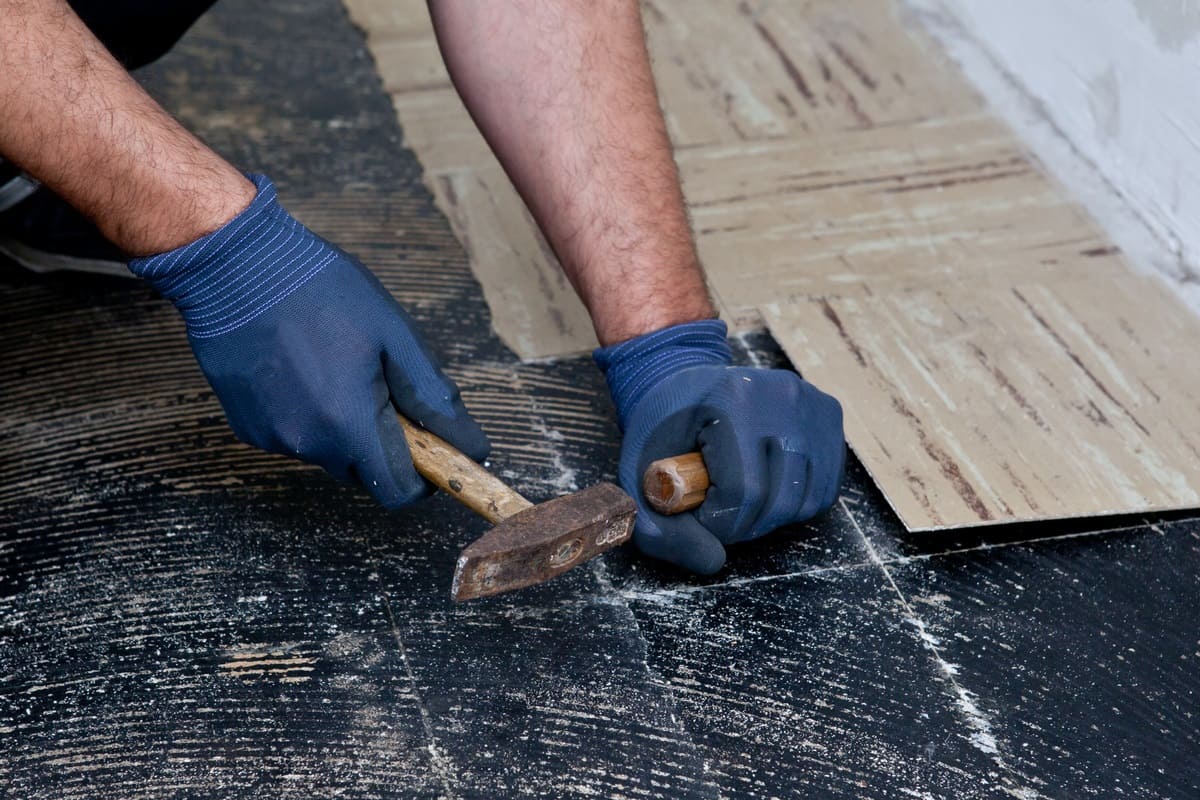
- Inspect the subfloor: Check the condition of the subfloor to ensure that it is clean, dry, and in good condition. Repair any cracks, holes, or uneven areas before proceeding.
- Apply a primer: If necessary, apply a primer to the subfloor before installing the tiles. This helps improve adhesion and prevents moisture from seeping into the tiles.
- Layout the tiles: Before applying adhesive, lay out the tiles on the floor in the desired pattern. This allows you to visualize the final result and make any adjustments as necessary.
- Prepare the adhesive: Follow the manufacturer’s instructions to prepare the adhesive. Mix it thoroughly and allow it to set for the recommended time period.
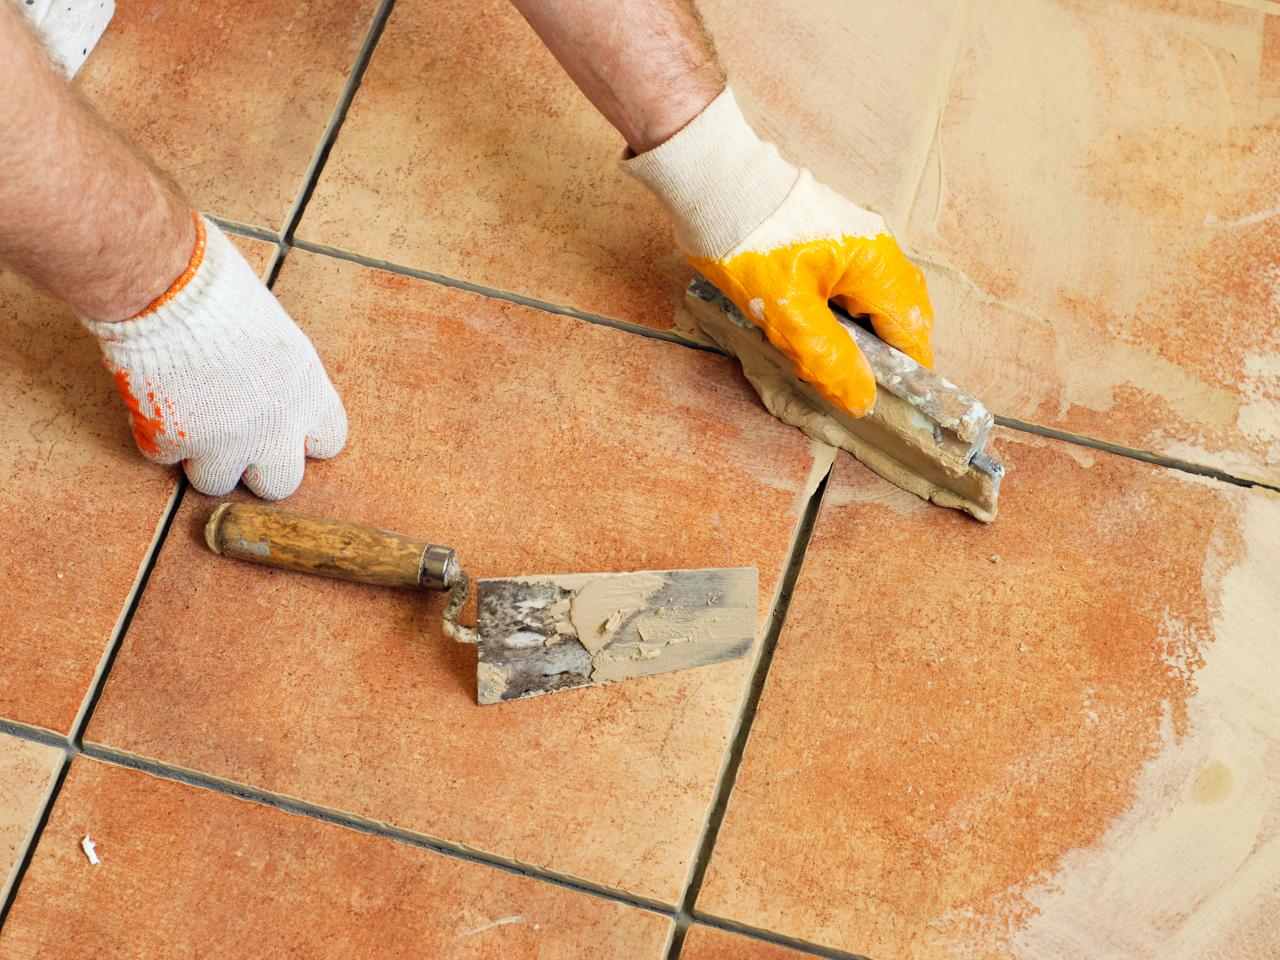
- Apply the adhesive: Begin applying the adhesive to the floor using a trowel, starting from the center and working your way outwards. Make sure to spread the adhesive evenly and achieve a consistent thickness.
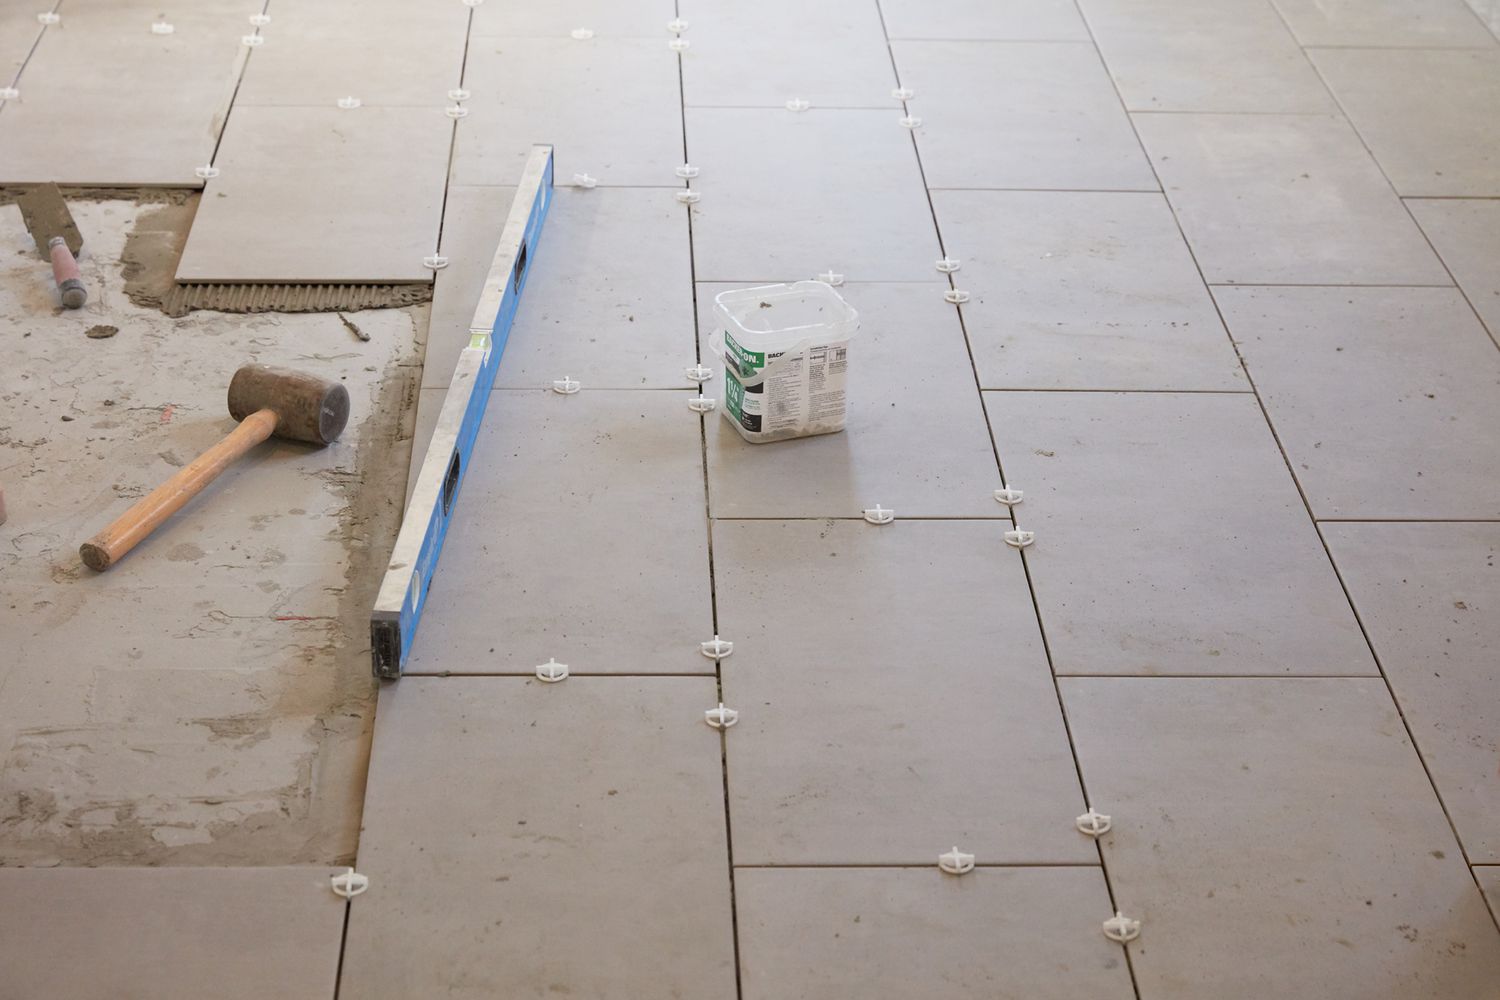
- Install the tiles: Carefully place each tile onto the adhesive, pressing them firmly into place. Use tile spacers to maintain uniform spacing between the tiles. Repeat this process until the entire floor is covered.
- Allow for curing time: After installing the tiles, allow them to cure as per the manufacturer’s instructions. This ensures that the adhesive sets properly, creating a strong bond.
During the installation process, periodically check for any high or low spots and adjust them accordingly. It’s essential to maintain a level and even surface for the tiles.
Once the tiles have completely cured, you can proceed with grouting, sealing, and any additional finishing touches to complete the installation.
By following these steps and properly preparing the floor, you ensure that the tiles will be installed correctly and provide a durable and visually appealing finish for years to come.
With the floor preparation complete, your tiling project is now ready for its final stages.
Read more: How Much To Tile A Floor
Conclusion
Measuring a floor for tile installation is a crucial step in ensuring a successful and visually appealing tiling project. By following the steps outlined in this article, you can accurately measure the floor, determine the tile quantity, and prepare the floor for installation.
Clearing the floor of any obstacles and debris sets the stage for accurate measurements. Measuring the overall square footage of the area provides you with the necessary information to determine tile quantities. Accounting for obstacles and irregularities helps you plan for any adjustments needed for a seamless tile layout.
Choosing the right tile size and pattern is key to achieving the desired aesthetic, and calculating the quantity of tiles needed ensures that you have enough materials for the project. Ordering extra tiles for wastage is essential to account for cuts, breakage, and future repairs.
Once the tiles have been delivered, preparing the floor by inspecting the subfloor, applying primer if necessary, and properly installing the tiles ensures a sturdy and long-lasting foundation. Allowing for curing time and completing any finishing touches, such as grouting and sealing, further enhances the longevity and visual appeal of the tiled floor.
By following these steps and techniques, you can confidently measure a floor for tile installation and achieve professional results. Remember to always consult the manufacturer’s recommendations and seek professional assistance if needed.
With proper planning, accurate measurements, and attention to detail, your tiled floor will become a stunning addition to your home, providing beauty and functionality for years to come.
Frequently Asked Questions about How To Measure Floor For Tile
Was this page helpful?
At Storables.com, we guarantee accurate and reliable information. Our content, validated by Expert Board Contributors, is crafted following stringent Editorial Policies. We're committed to providing you with well-researched, expert-backed insights for all your informational needs.


0 thoughts on “How To Measure Floor For Tile”