Articles
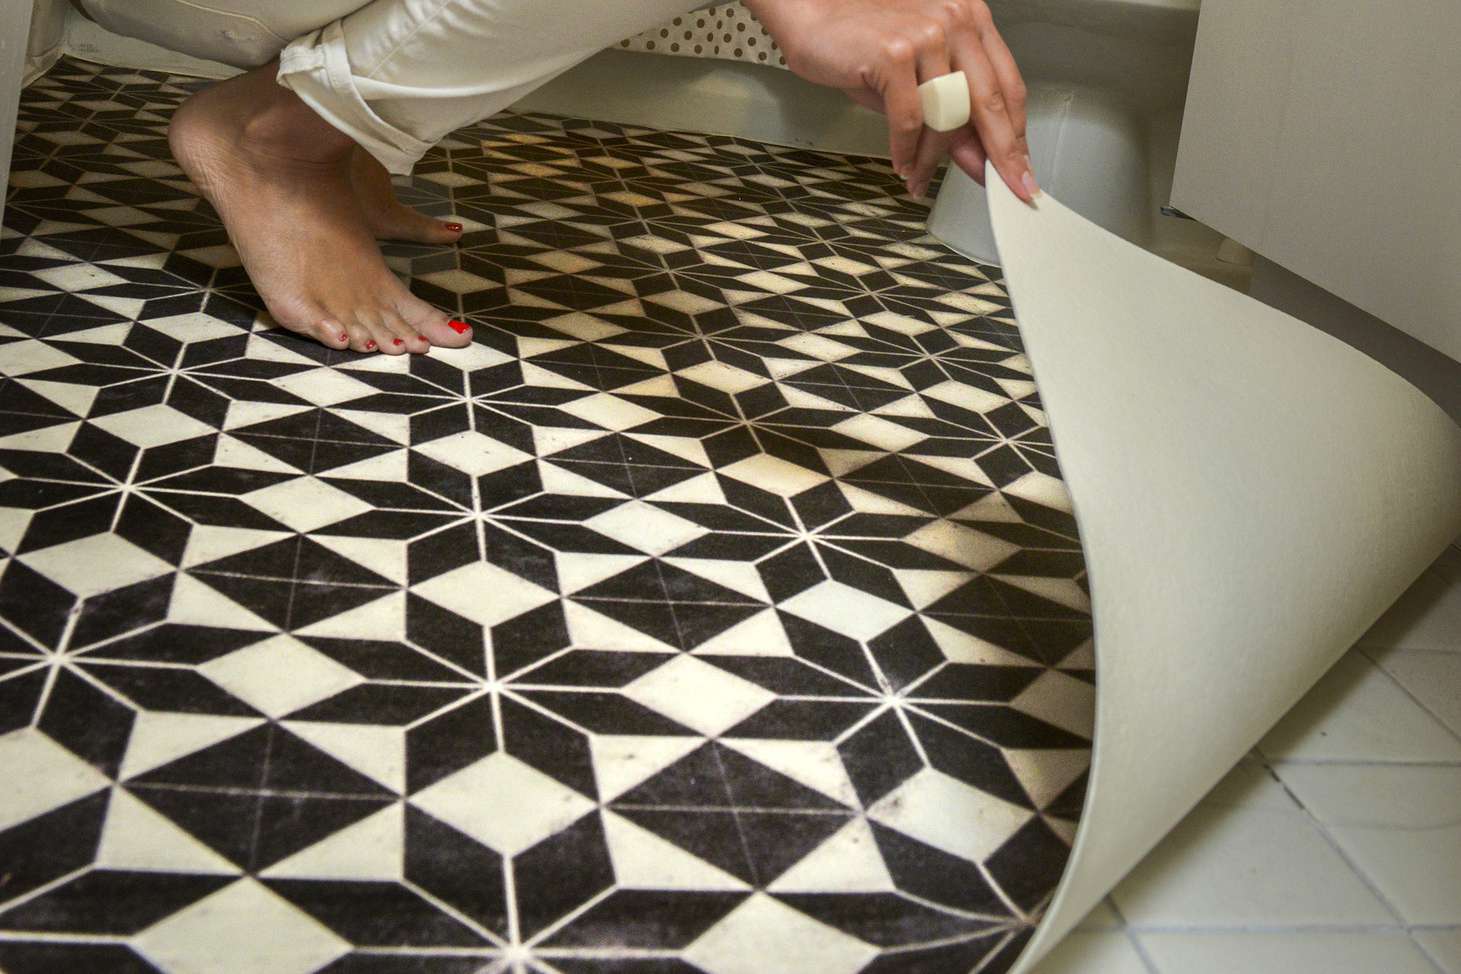
How To Regrout Tile Floor
Modified: August 28, 2024
Learn how to regrout your tile floor with these helpful articles. Get step-by-step instructions and expert tips for successful regrouting.
(Many of the links in this article redirect to a specific reviewed product. Your purchase of these products through affiliate links helps to generate commission for Storables.com, at no extra cost. Learn more)
Introduction
When it comes to maintaining the beauty and functionality of your tile floor, one crucial aspect is ensuring the grout remains in good condition. Over time, grout can become discolored, cracked, or even moldy, detracting from the overall appearance of your floor. Regrouting is a cost-effective way to restore the look of your tile floor and prevent further damage.
Regrouting a tile floor may seem like a daunting task, but with the right tools and a bit of patience, it is a project that can be tackled by homeowners. In this article, we will guide you through the process of regrouting your tile floor, providing step-by-step instructions to help you achieve professional-looking results.
Before starting the regrouting process, it is important to gather all the necessary tools and materials. Here’s a list of what you will need:
- Grout removal tool
- Grout cleaner
- Grout float
- Grout sealer
- Sponge
- Bucket
- Safety goggles
- Gloves
Key Takeaways:
- Revitalize your tile floor by regrouting to restore its beauty and prevent further damage. Gather the right tools, prepare the surface, choose the correct grout, and follow proper mixing and application techniques for professional-looking results.
- Maintain your regrouted tile floor by implementing regular cleaning and maintenance routines. Protect the grout from stains and moisture by sealing it, and follow essential tips to ensure a clean, beautiful, and long-lasting tile floor.
Read more: How To Regrout A Shower Tile
Tools and Materials Needed
Before you begin the regrouting process, it’s important to gather all the necessary tools and materials. Having the right equipment will make the job easier and ensure a successful outcome. Here is a list of what you will need:
- Grout removal tool: This tool is specially designed to remove old grout from between the tiles. It can be a manual tool or an electric one, depending on your preference.
- Grout cleaner: A good quality grout cleaner will help you thoroughly clean the tile surface and remove any dirt or stains. Look for a cleaner that is suitable for your specific tile and grout type.
- Grout float: A grout float is used to apply the new grout. It has a rubber base that allows for smooth and even application, ensuring proper coverage in the grout lines.
- Grout sealer: After regrouting, it’s essential to seal the grout to protect it from stains and moisture. Choose a grout sealer that is compatible with your specific grout type and follow the manufacturer’s instructions for application.
- Sponge: A sponge is used to clean excess grout from the tile surface during the grouting process. Opt for a sponge with a fine texture to avoid scratching or damaging the tiles.
- Bucket: You will need a bucket to mix the grout and water. Make sure it is clean and large enough to comfortably hold the necessary amount of grout mixture.
- Safety goggles: Protect your eyes from any debris or grout particles by wearing safety goggles throughout the regrouting process.
- Gloves: It’s a good idea to wear gloves to protect your hands from any chemicals or irritants in the grout cleaner or sealer.
Once you have gathered all these tools and materials, you will be ready to start the regrouting process and give your tile floor a fresh and renewed look.
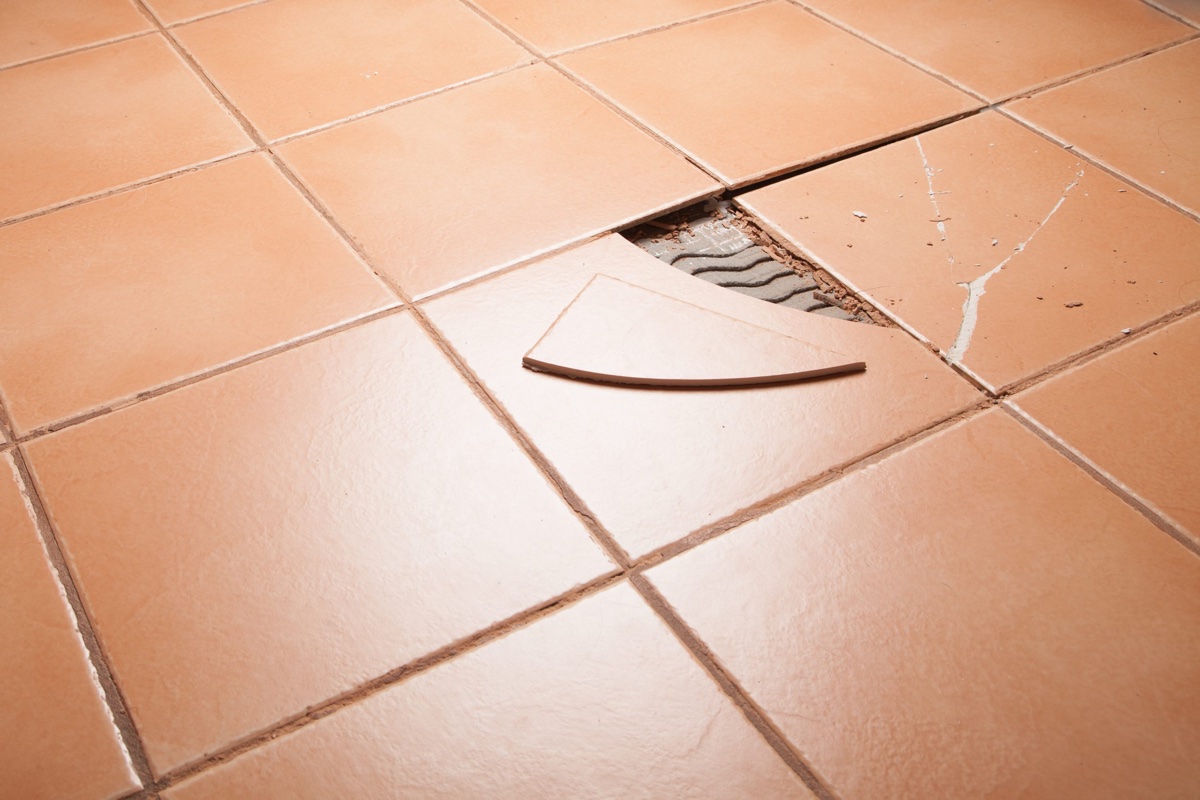
Preparing the Tile Floor
Before you can begin regrouting your tile floor, it is important to properly prepare the surface. This involves removing the old grout and thoroughly cleaning the tiles to ensure a clean and smooth foundation for the new grout. Here are the two key steps in preparing the tile floor:
- Removing old grout: Start by using a grout removal tool to carefully scrape out the old grout from between the tiles. Be sure to follow the manufacturer’s instructions for using the tool and exert gentle pressure to avoid damaging the tiles. Work in small sections at a time and take your time to remove as much of the old grout as possible. Once you have removed the majority of the grout, use a vacuum or a damp cloth to clean up the debris.
- Cleaning the tile surface: After removing the old grout, it’s important to clean the tile surface thoroughly. Mix a solution of warm water and a mild grout cleaner according to the manufacturer’s instructions. Use a sponge or a soft bristle brush to scrub the tiles, paying close attention to the grout lines. Rinse the tiles with clean water to remove any residue and allow them to dry completely before proceeding with the regrouting process. This step ensures that the new grout adheres properly to the tiles and prevents any dirt or debris from affecting the final result.
By adequately preparing the tile floor, you create a clean and even surface for the new grout. This not only enhances the overall appearance of your floor but also ensures the longevity and durability of the regrouting job.
Choosing the Right Grout
When it comes to regrouting your tile floor, choosing the right type of grout is crucial for achieving a successful result. There are a few factors to consider when selecting grout, including whether to use sanded or unsanded grout and matching the grout color to your tiles. Let’s explore these considerations in more detail:
- Sanded or unsanded grout: The choice between sanded and unsanded grout depends on the width of the grout lines. If your grout lines are 1/8 inch wide or larger, sanded grout is recommended. The sand particles in the grout help strengthen and stabilize wider grout lines. On the other hand, if your grout lines are less than 1/8 inch wide, use unsanded grout. Unsanded grout is smoother in texture and easier to work into narrow spaces without scratching the tiles.
- Matching the grout color: The color of the grout has a significant impact on the overall aesthetic of your tile floor. You can choose to match the existing grout color for a seamless look or opt for a contrasting color to make the grout lines stand out. If you are unsure about what color to choose, consider bringing a tile sample or a picture to the hardware store to help you find the closest match. Keep in mind that grout may appear slightly lighter when dry, so it’s a good idea to test a small area before committing to a particular color.
Take your time to carefully consider these factors when choosing the right grout for your regrouting project. Making the appropriate decision will not only ensure proper installation but also enhance the overall aesthetics of your tile floor.
When regrouting a tile floor, make sure to thoroughly clean the existing grout lines before applying new grout. Use a grout saw or rotary tool to remove old grout and ensure a clean, dry surface for the new grout to adhere to.
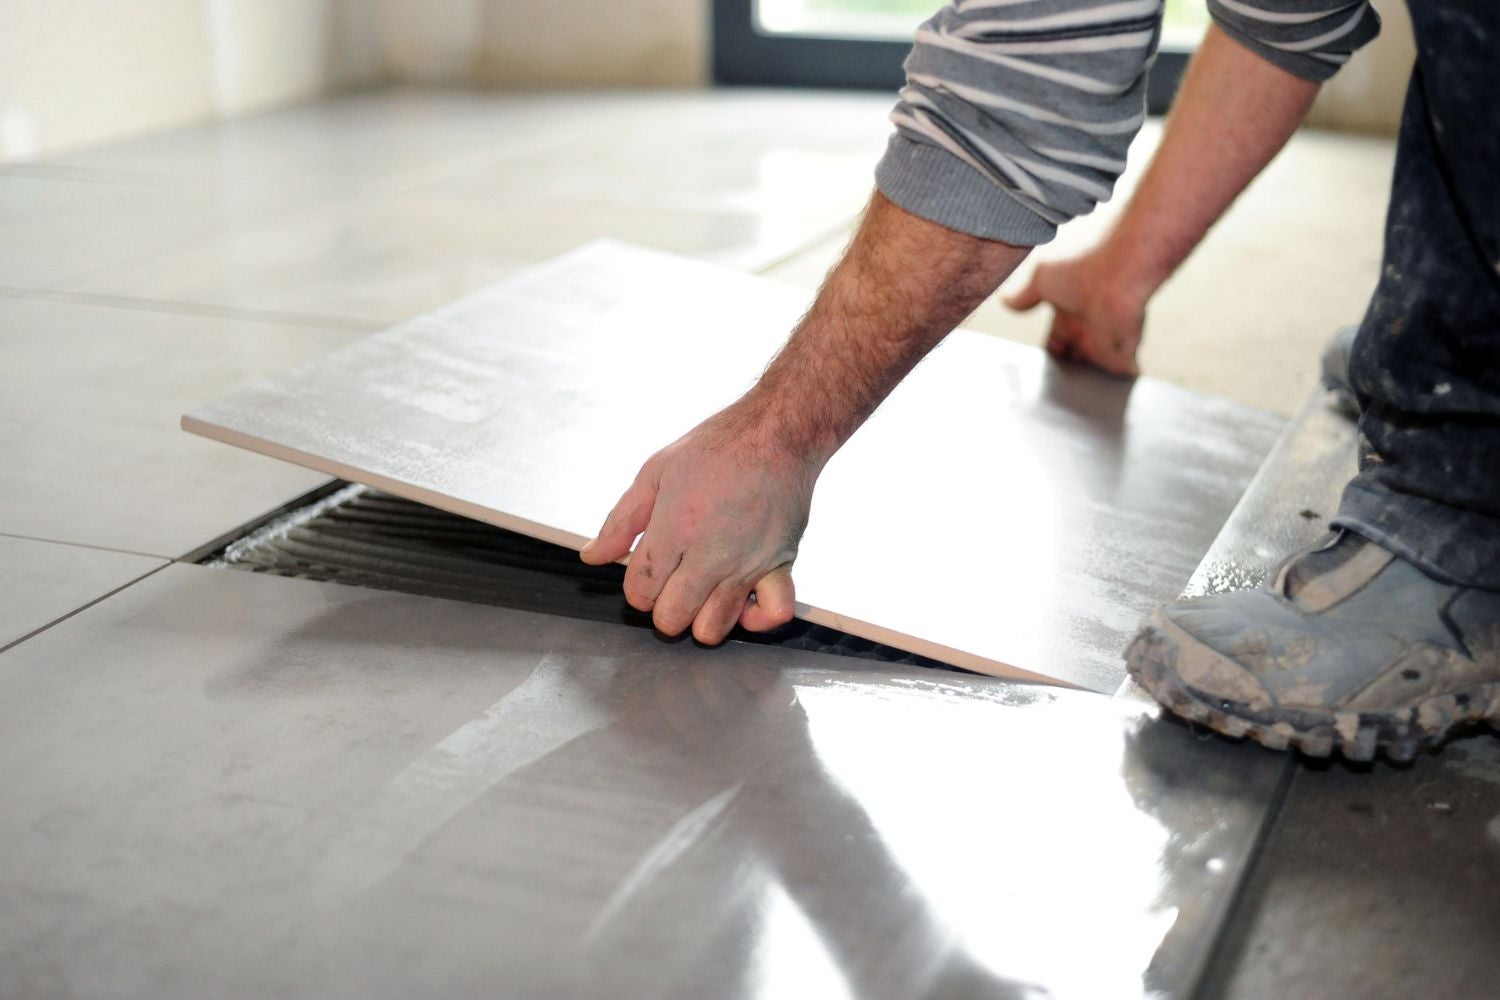
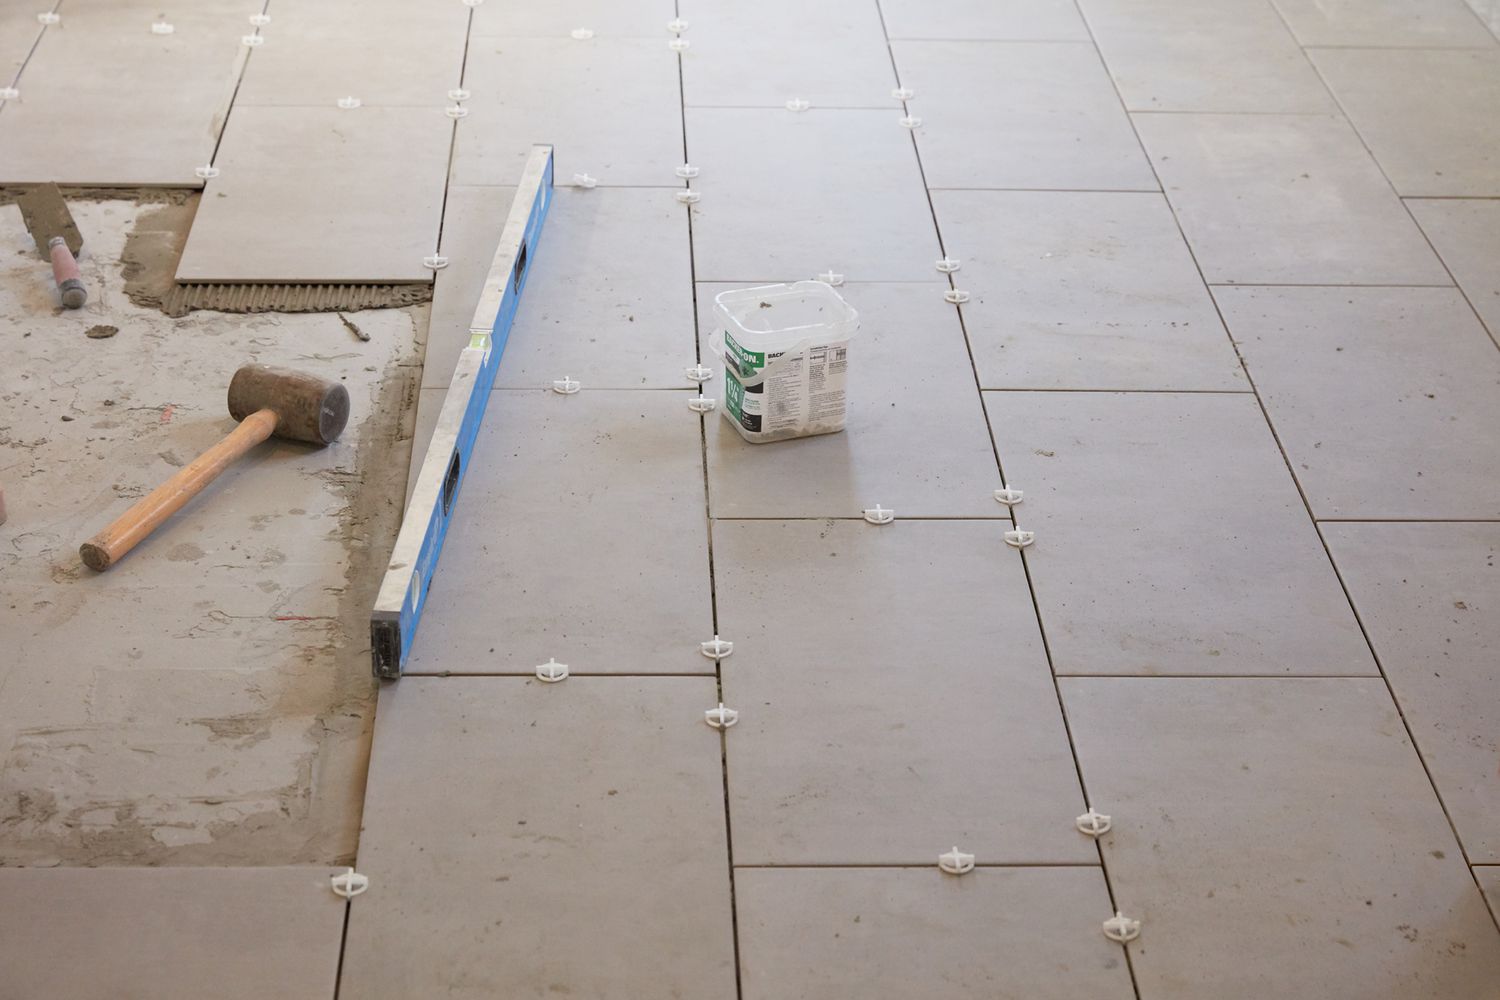
Mixing and Applying Grout
Once you have prepared the tile floor and chosen the right grout, it’s time to mix and apply the grout. This step is crucial as it determines the strength and durability of the grout lines. Here is a breakdown of the process:
- Mixing the grout: Start by carefully reading the manufacturer’s instructions on the grout packaging. Measure out the appropriate amount of grout powder and place it in a clean bucket. Slowly add water to the grout, following the recommended water-to-grout ratio specified by the manufacturer. Use a grout-mixing tool or a trowel to combine the water and grout, making sure to eliminate any lumps. The consistency should be similar to toothpaste – not too runny or too stiff.
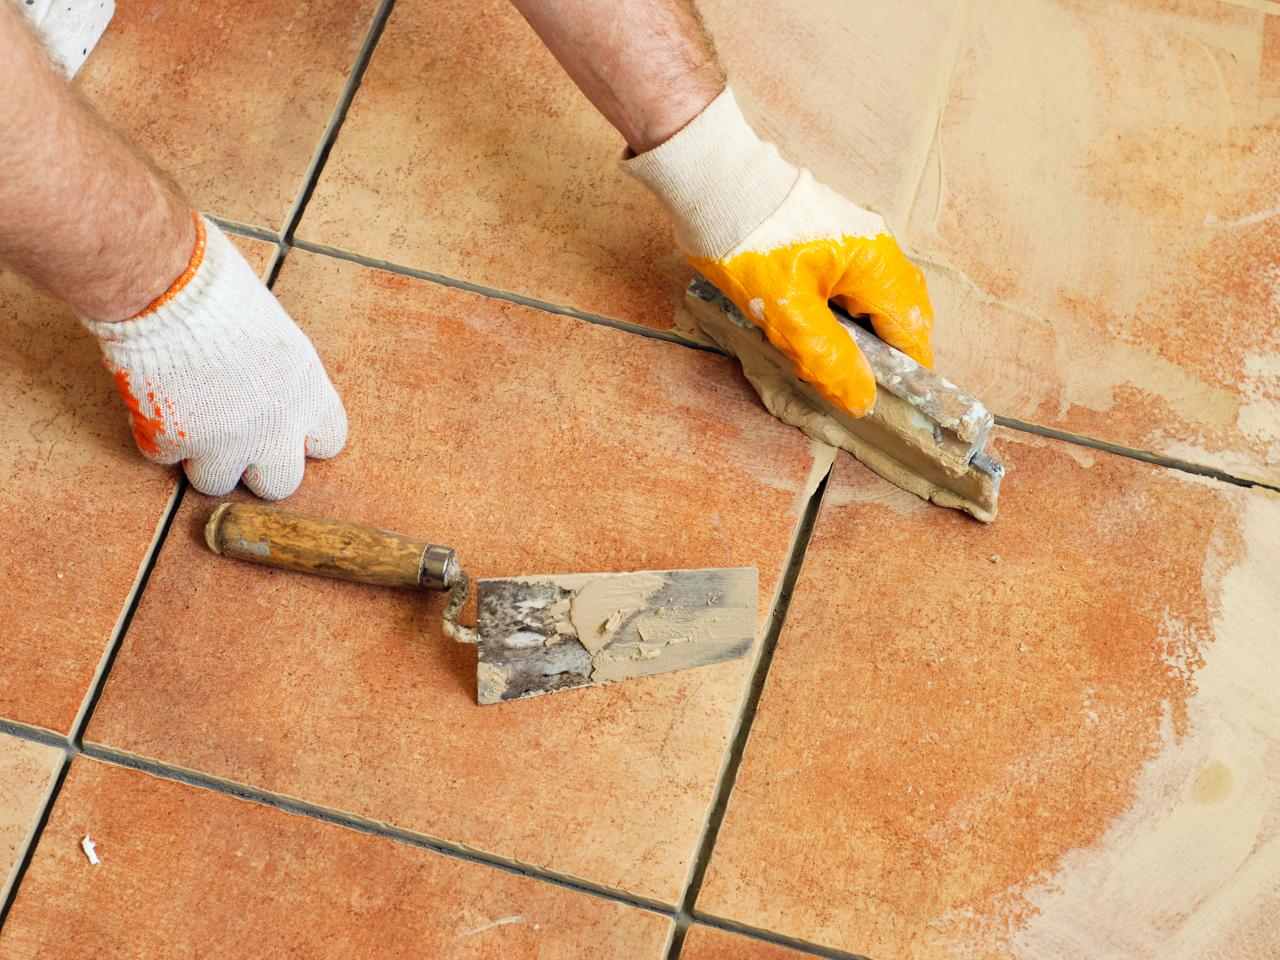
- Applying the grout: With your mixed grout ready, it’s time to start applying it to the tile floor. Using a grout float, scoop a generous amount of grout onto the float and hold it at a 45-degree angle. Firmly push the grout into the grout lines, ensuring complete coverage. Work in small sections at a time, as you want to avoid the grout drying before you can clean it. Once you have filled the grout lines, hold the float at a 90-degree angle and scrape off any excess grout from the tile surface.
As you progress, periodically wipe away any excess grout with a damp sponge. Rinse the sponge frequently in clean water to prevent smearing grout onto the tiles. Gently clean the tile surface, being careful not to dislodge the grout from the grout lines. Allow the grout to set for the recommended amount of time specified by the manufacturer before proceeding to the next step.
It is important to note that working efficiently during the grouting process is essential, as grout dries quickly, especially in warm conditions. Keep the work area well-ventilated and avoid direct sunlight, as it can accelerate the drying time of the grout.
By following these steps and ensuring proper mixing and application, you will achieve clean and well-filled grout lines, resulting in a beautiful and professional-looking tile floor.
Read more: How To Put Tile On Floor
Cleaning and Finishing
Once you have applied the grout to your tile floor, it’s important to clean off any excess grout and finish the process by sealing the grout. This final step will ensure a polished and long-lasting result. Here’s what you need to do:
- Cleaning excess grout: Start by allowing the grout to set for the recommended time specified by the manufacturer. This typically ranges from 15 minutes to an hour. Once the grout has set, take a clean, damp sponge and gently wipe away any haze or residue on the tile surface. Rinse the sponge frequently and continue until you have removed all excess grout. Avoid using too much water or applying too much pressure, as this can remove the grout from the grout lines. Allow the grout to cure completely according to the manufacturer’s instructions before proceeding to the next step.
- Sealing the grout: Applying a grout sealer is essential to protect the grout from stains, dirt, and moisture. Before sealing, ensure that the grout is completely dry. Check the manufacturer’s instructions for the recommended drying time. Once dry, apply the grout sealer using a small brush or a roller applicator, making sure to cover all the grout lines evenly. Allow the sealer to penetrate the grout for the recommended time and then wipe away any excess sealer using a clean cloth. Follow the manufacturer’s instructions for drying and curing time, as this may vary depending on the product.
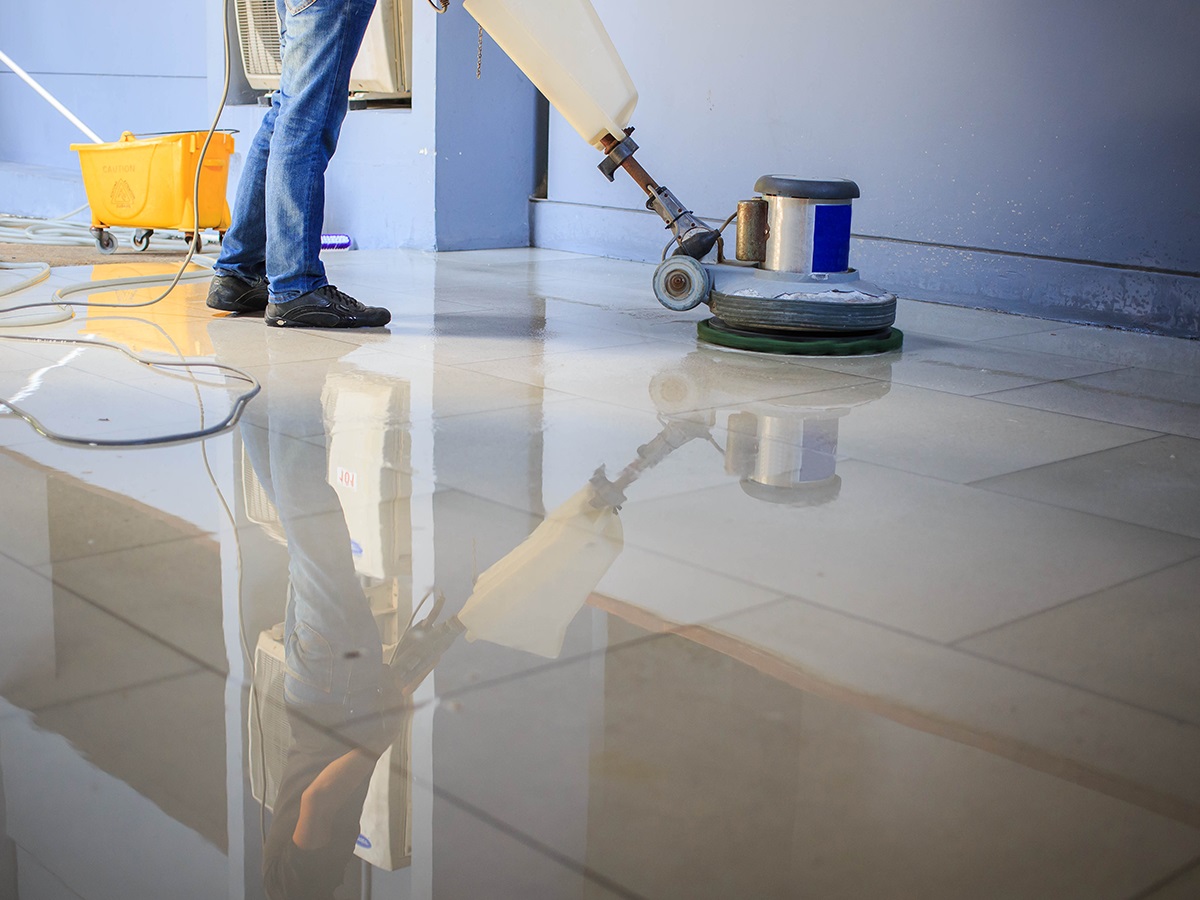
Regularly cleaning and maintaining your regrouted tile floor is key to preserving its appearance and longevity. Use a mild, non-abrasive cleaner specifically designed for tiles and grout to clean the surface regularly. Avoid using harsh chemicals or abrasive materials, as these can damage the grout. Additionally, promptly address any spills or stains to prevent them from setting into the grout.
By cleaning off excess grout and sealing the grout lines, you ensure that your newly regrouted tile floor looks its best and remains protected for years to come.
Maintenance Tips
After regrouting your tile floor, it’s important to establish a regular maintenance routine to keep it clean, fresh, and in good condition. Here are some essential maintenance tips to follow:
- Caring for regrouted tile floors: Avoid putting excessive weight or pressure on the newly regrouted areas for at least 48 hours after completing the project. This allows the grout to fully cure and set. Additionally, be mindful of sharp objects or heavy items that can scratch or chip the tiles or grout. Use furniture pads or felt under furniture legs to protect the floor from any potential damage.
- Regular cleaning and maintenance: Regularly sweeping or vacuuming your tile floor will help prevent dirt, debris, and dust from accumulating and scratching the tiles or grout. For regular cleaning, use a mild, non-abrasive cleaner specifically designed for tiles and grout. Avoid using harsh chemicals or abrasive scrub brushes, as these can damage the grout over time. Instead, opt for a soft-bristled brush or a microfiber mop to gently clean the surface. Wipe up spills as soon as possible to prevent staining the grout.
It’s also a good idea to periodically deep clean your regrouted tile floor to remove any stubborn stains or ingrained dirt. You can do this by using a tile and grout cleaner, following the manufacturer’s instructions for proper application. Scrub the grout lines gently with a soft brush or a grout brush to dislodge any dirt or stains. Rinse the area thoroughly with clean water and allow it to dry completely before resuming regular use.
By incorporating these maintenance tips into your routine, you can ensure that your regrouted tile floor remains clean, beautiful, and in optimal condition for years to come.
Conclusion
Regrouting your tile floor is a worthwhile project that can rejuvenate the appearance of your space and extend the lifespan of your flooring. By following the step-by-step process outlined in this article, you’ll be able to successfully regrout your tile floor and achieve professional-looking results.
Remember to gather all the necessary tools and materials before starting, including a grout removal tool, grout cleaner, grout float, grout sealer, sponge, bucket, safety goggles, and gloves. Carefully prepare the tile floor by removing the old grout and cleaning the surface to ensure a smooth foundation for the new grout.
Choose the right type of grout based on the width of your grout lines and consider matching the grout color to your tiles for a cohesive look. Mix the grout according to the manufacturer’s instructions and apply it evenly using a grout float. Clean off any excess grout and allow it to cure before sealing the grout to protect it from stains and moisture.
Keep your newly regrouted tile floor looking its best by following regular maintenance tips. Avoid placing excessive weight on the regrouted areas during the curing period and implement a regular cleaning routine using mild, non-abrasive cleaners designed for tiles and grout. Periodically deep clean the floor to remove stubborn stains and ingrained dirt.
By following these guidelines and consistently maintaining your regrouted tile floor, you can enjoy a beautiful, refreshed space for years to come. So roll up your sleeves, gather your tools, and let the regrouting process begin!
Frequently Asked Questions about How To Regrout Tile Floor
Was this page helpful?
At Storables.com, we guarantee accurate and reliable information. Our content, validated by Expert Board Contributors, is crafted following stringent Editorial Policies. We're committed to providing you with well-researched, expert-backed insights for all your informational needs.


0 thoughts on “How To Regrout Tile Floor”