Home>Articles>How To Remove Stucco Texture From Exterior Walls
Articles
How To Remove Stucco Texture From Exterior Walls
Modified: May 6, 2024
Learn how to remove stucco texture from exterior walls with our expert articles. Get step-by-step instructions and tips for a smooth renovation.
(Many of the links in this article redirect to a specific reviewed product. Your purchase of these products through affiliate links helps to generate commission for Storables.com, at no extra cost. Learn more)
Introduction
Stucco texture is a popular choice for exterior walls due to its durability and aesthetic appeal. However, there may come a time when you want to remove the stucco texture and give your walls a fresh, new look. Whether it’s because you’re looking to update your home’s exterior or because the stucco has become damaged or worn over time, removing the texture can be a challenging yet rewarding project.
In this article, we will guide you through the process of removing stucco texture from your exterior walls. We will provide you with step-by-step instructions, safety measures, and a list of tools and materials you will need. Additionally, we will offer tips and techniques to ensure a successful and efficient removal process.
Before we dive into the details, let’s first understand what exactly stucco texture is and why you might want to remove it.
Key Takeaways:
- Removing stucco texture from exterior walls allows for damage repair, energy efficiency enhancement, and a fresh new look. Proper preparation, safety measures, and the right tools are essential for a successful removal process.
- After removing stucco texture, patching and repairing the walls, thorough cleanup, and applying final touches are crucial. Following these steps ensures a professional-looking finish and a transformed exterior.
Read more: How To Remove Exterior Stucco
Understanding Stucco Texture
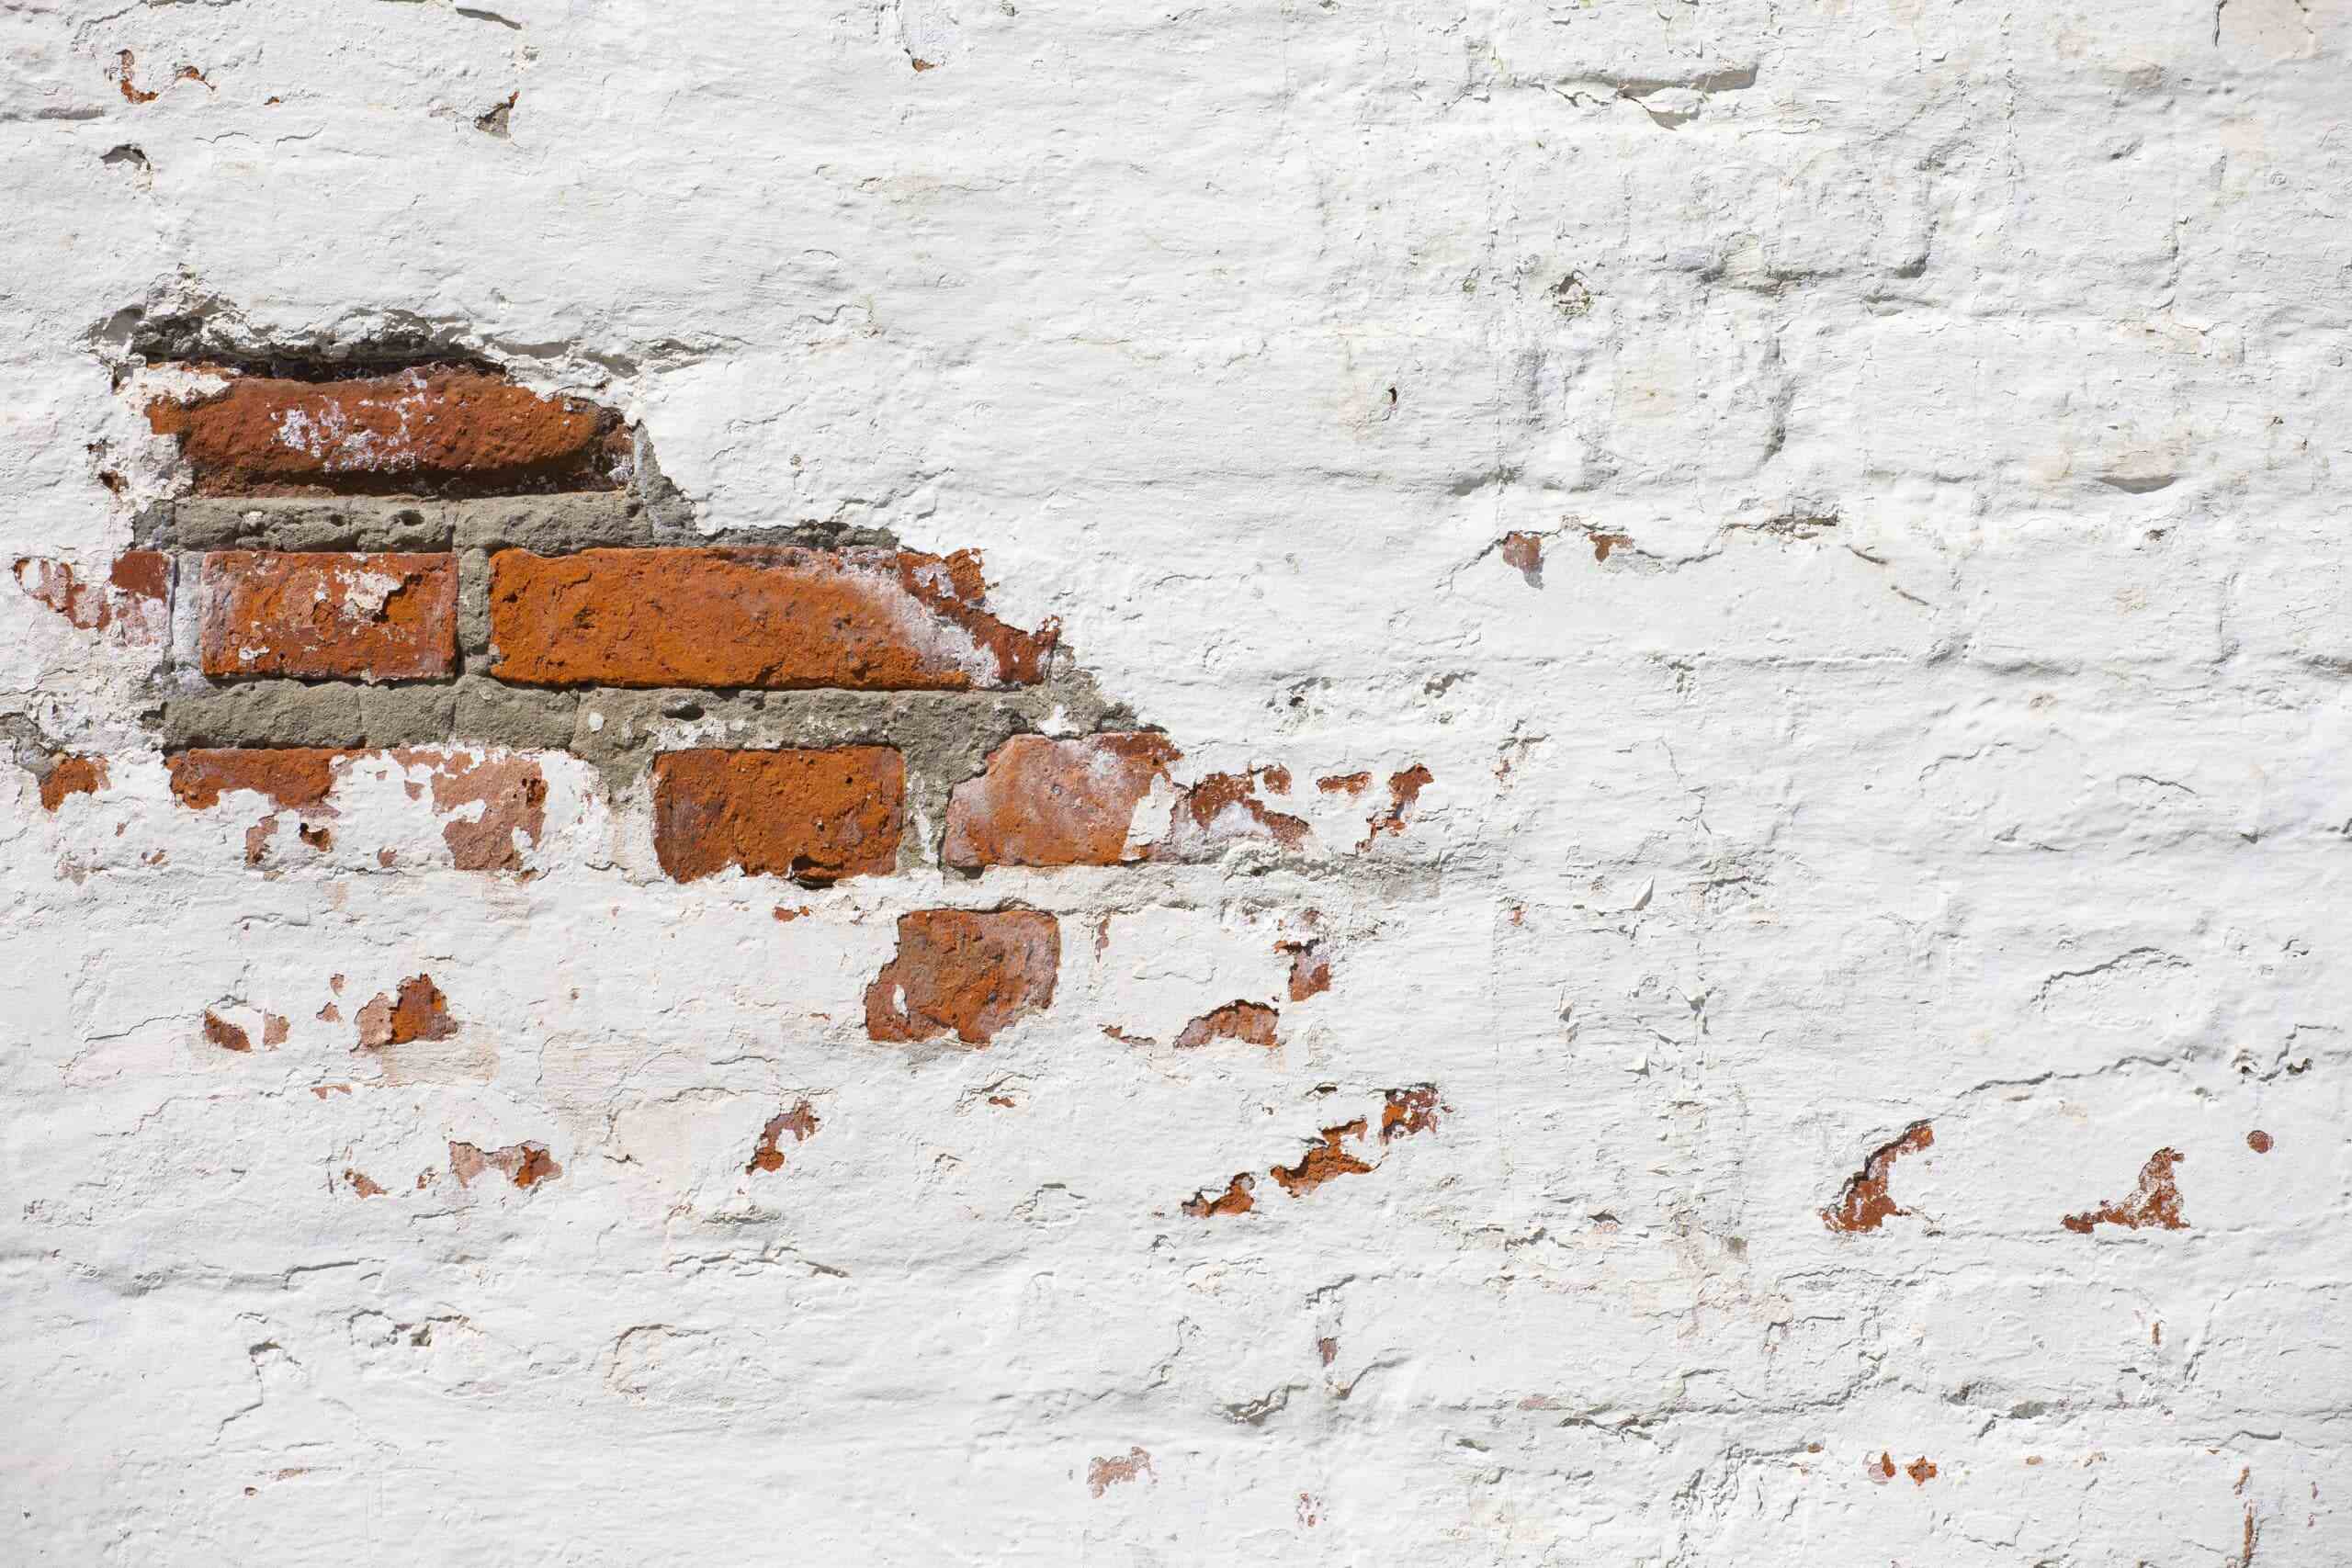
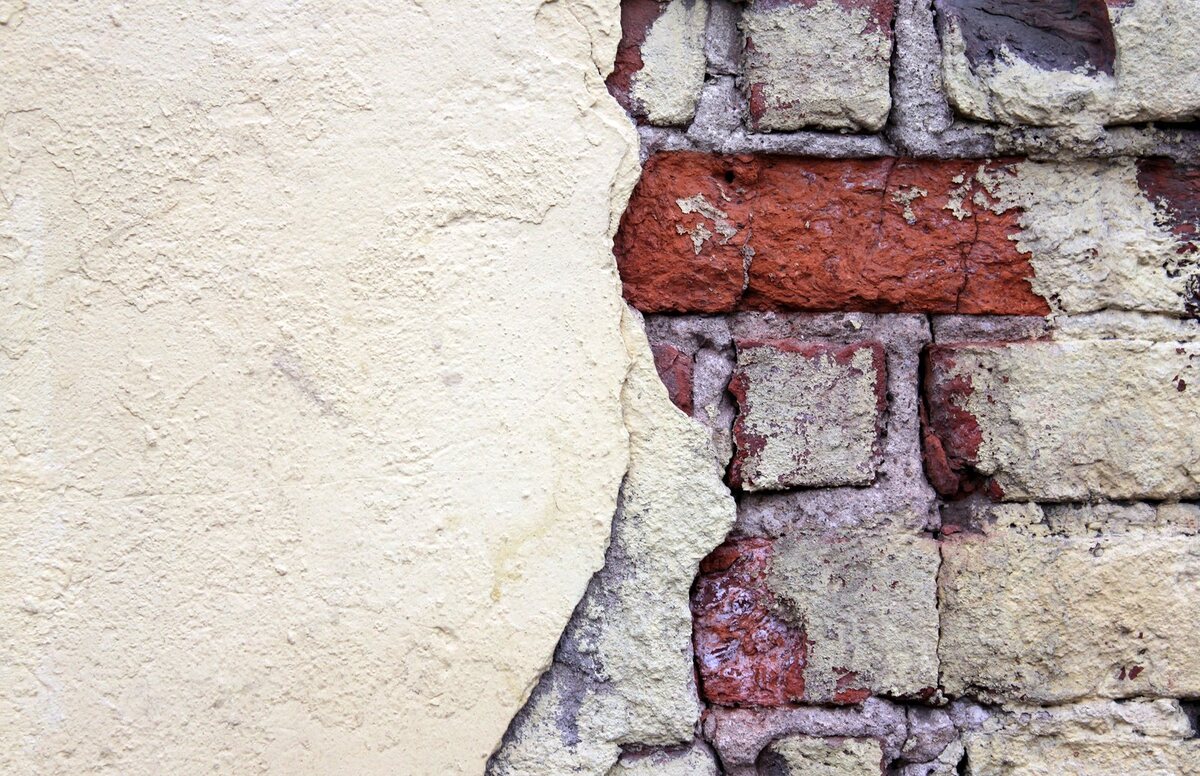
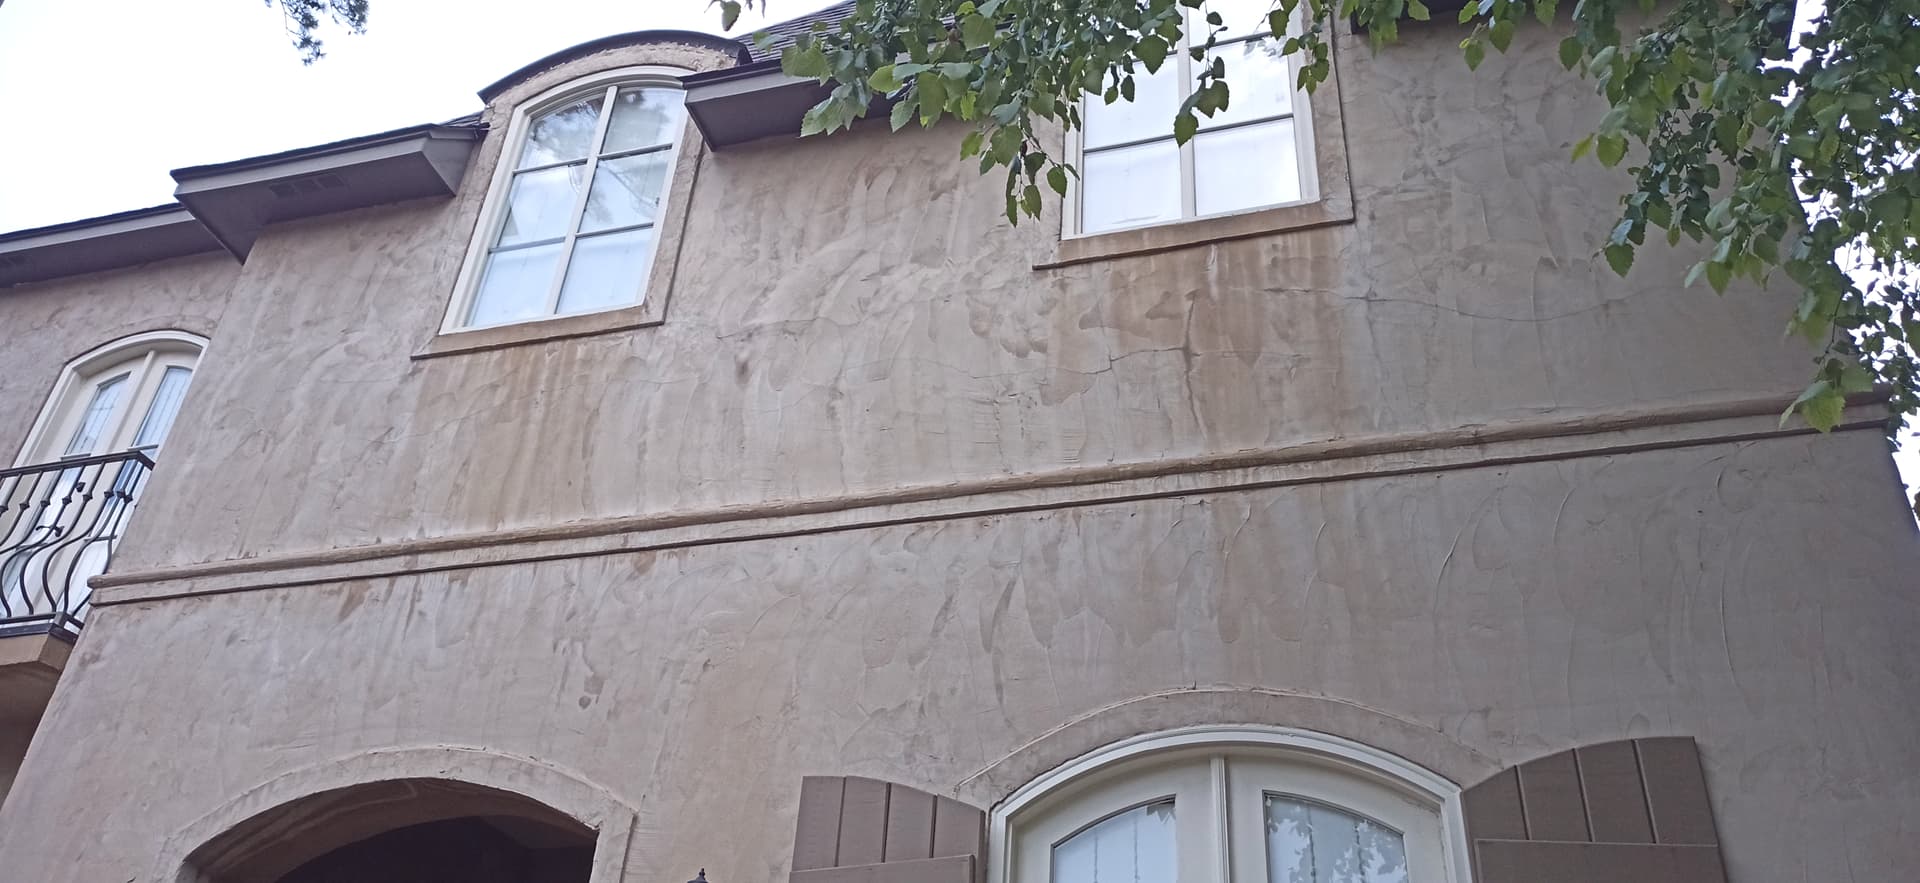
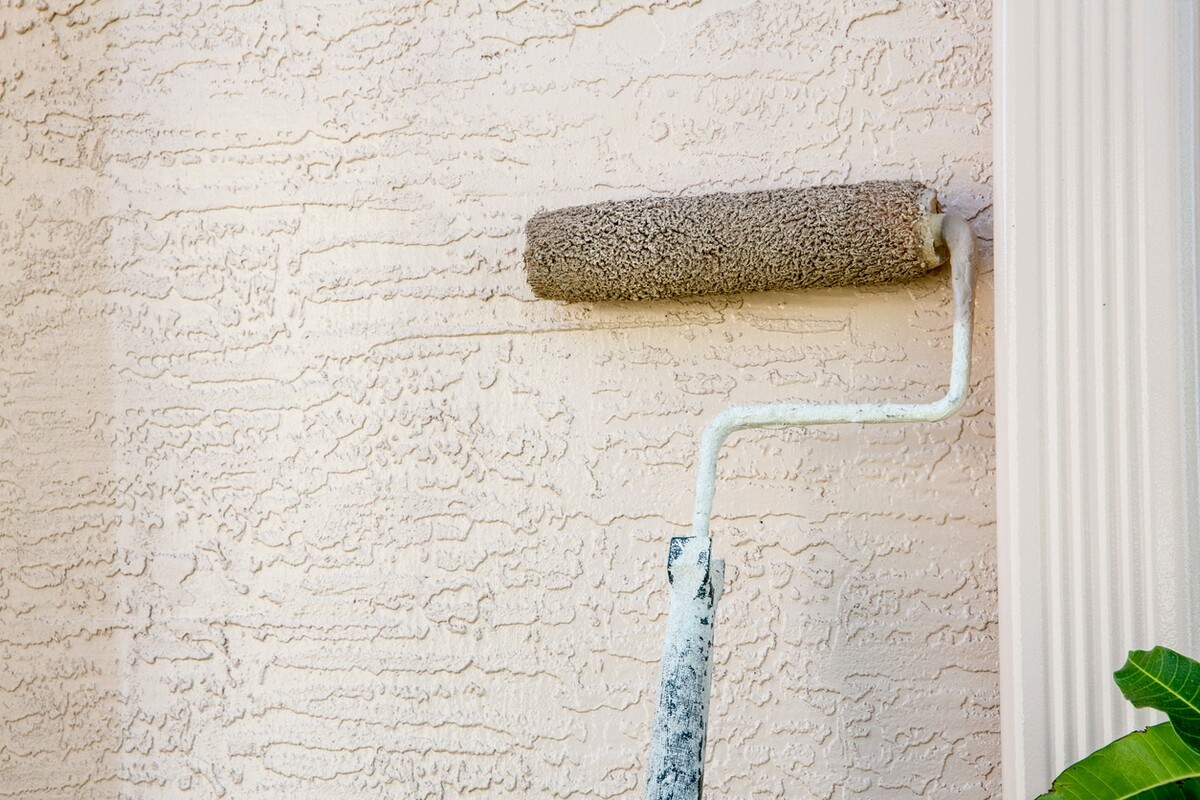
Stucco texture is a type of finish that is applied to exterior walls to create a textured and visually appealing surface. It is a mixture of cement, sand, and water that is spread over a substrate to create a hardened and solid layer. The texture is achieved by manipulating the stucco mixture during application, creating various patterns and designs.
Stucco texture offers several benefits for exterior walls. It is highly durable, able to withstand weather elements such as rain, heat, and cold. It also helps to insulate the walls, providing some degree of thermal protection. Additionally, stucco texture is fire-resistant, making it a safe choice for homes.
There are different types of stucco texture finishes available, ranging from a smooth, subtle texture to more pronounced patterns and designs. Some common stucco textures include sand-finish, dash finish, lace texture, and skip-trowel texture.
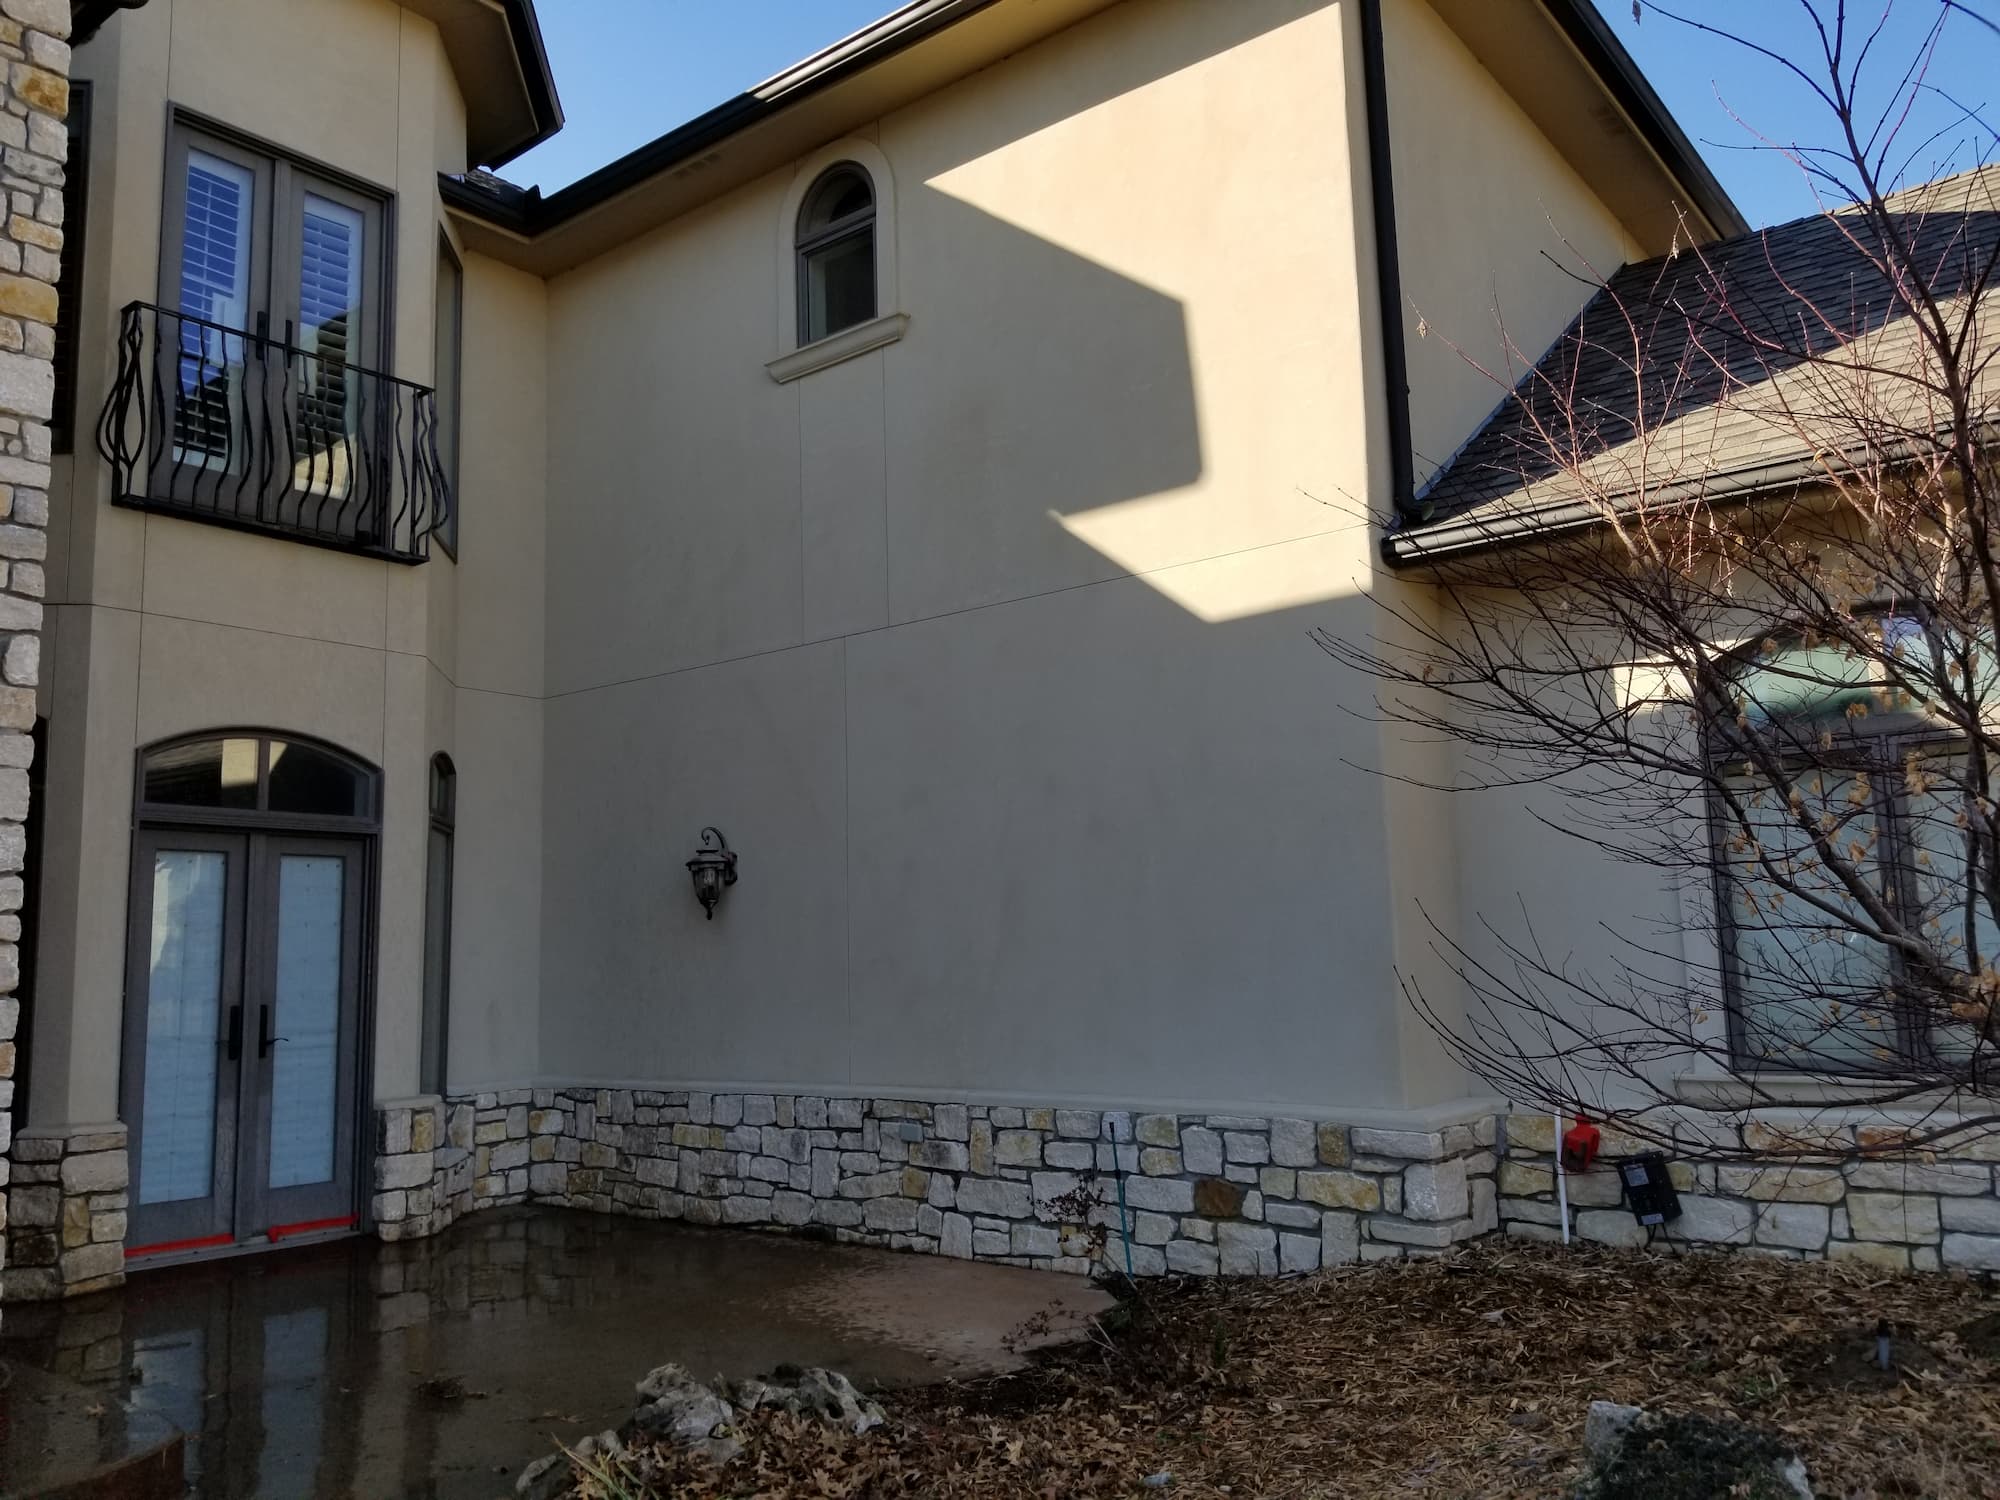
While stucco texture has its advantages, there are situations where you may want to remove it. One of the key reasons for removing stucco texture is when it has become damaged or cracked. Over time, weather conditions, movement in the structure, or improper installation can cause the stucco to develop cracks or chips. Removing the texture allows you to address these issues and repair the underlying surface.
Another reason for removing stucco texture is when you want to update the appearance of your home’s exterior. Stucco texture styles can become dated, and removing it provides a fresh canvas for applying a new finish or exterior cladding material.
Now that we have a better understanding of stucco texture and why you may want to remove it, let’s move on to the preparation and safety measures you need to take before starting the removal process.
Reasons for Removing Stucco Texture
There are several reasons why you might want to remove stucco texture from your exterior walls. Here are some of the main reasons:
- Damage Repair: Over time, stucco texture can become cracked, chipped, or otherwise damaged due to weather, structural movement, or improper installation. Removing the texture allows you to assess and repair the underlying surface, ensuring the integrity of your exterior walls.
- Updating the Look: Stucco texture styles can go in and out of fashion, and you may decide that it’s time for a change. Removing the texture gives you the freedom to apply a different finish or exterior cladding material, allowing you to update the look of your home’s exterior and improve its curb appeal.
- Enhancing Energy Efficiency: Older stucco textures may not provide optimal insulation for your home. By removing the texture, you can add insulation or upgrade to a more energy-efficient exterior cladding system, helping to reduce your energy costs and make your home more comfortable.
- Addressing Mold or Moisture Issues: If you suspect that your stucco texture is harboring mold or moisture problems, removing it can help identify and address the underlying issue. Once the texture is removed, you can repair any water damage and implement preventive measures to ensure a dry and healthy environment.
- Preparing for Renovations: If you have plans for major renovations or additions to your home, removing the stucco texture may be necessary. This allows proper access to the underlying structure and ensures a clean and smooth surface to work with.
It’s important to assess the condition of your stucco texture and determine the specific reasons for removing it. This will help you plan and execute the removal process effectively, ensuring the desired outcome.
Now that we understand the reasons for removing stucco texture, let’s move on to the preparation and safety measures you need to take before starting the removal process.
Preparation and Safety Measures
Before you begin the process of removing stucco texture from your exterior walls, it’s essential to take the necessary preparation steps and follow safety measures. This will help ensure a smooth and safe removal process. Here are some key considerations:
- Assess the Condition: Examine the condition of the stucco texture. Look for any signs of damage, such as cracks, chips, or mold growth. If there are extensive issues, it may be wise to consult with a professional contractor before proceeding.
- Obtain Necessary Permits: Depending on where you live, you may need to obtain permits for exterior renovations or modifications. Check with your local building department to determine if any permits are required for the removal of stucco texture.
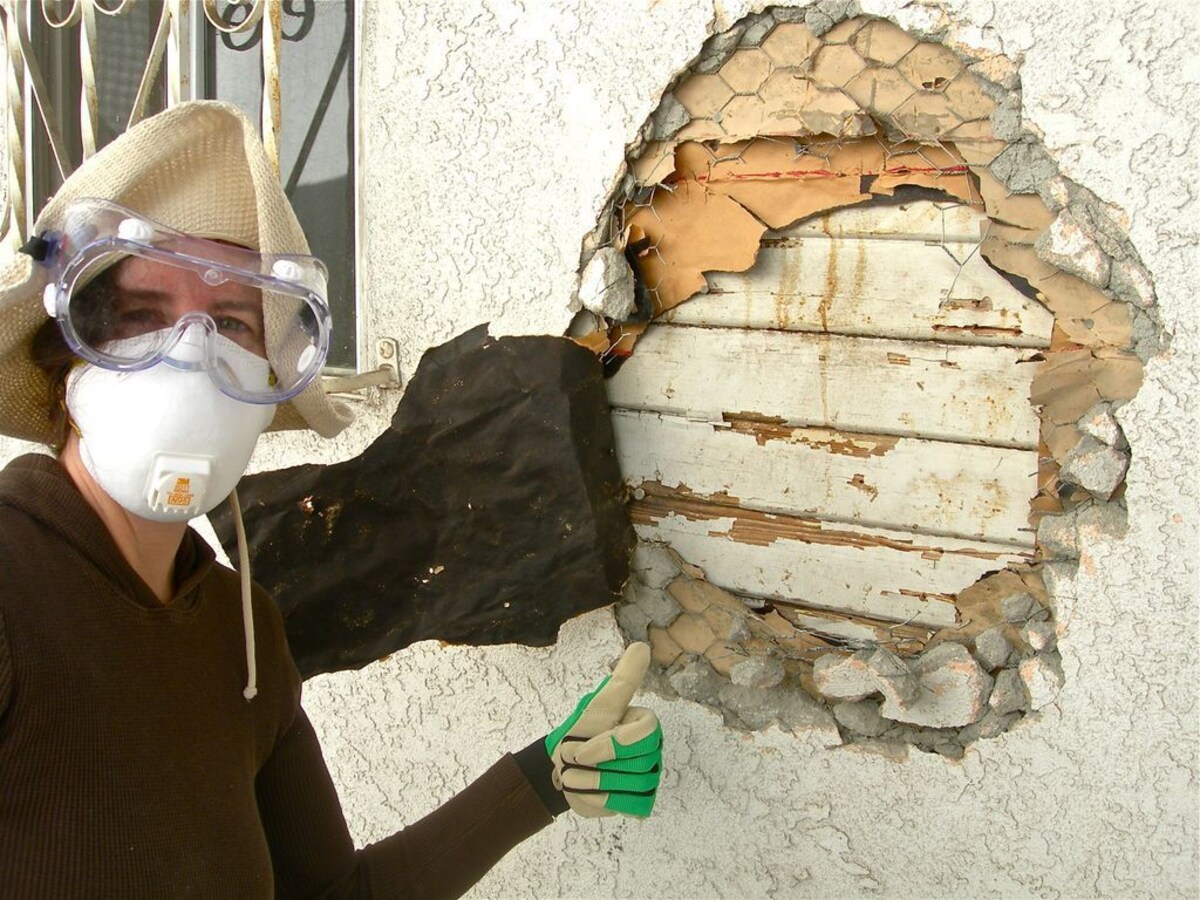
- Protect Yourself: Safety should always be a priority. Wear protective clothing, such as gloves, goggles, and a dust mask, to shield yourself from potential hazards, including dust, debris, and chemicals.
- Secure the Work Area: Clear the work area of any obstacles or potential hazards. Secure or remove loose objects, cover nearby plants or surfaces that you want to protect, and ensure that there is proper ventilation throughout the process.
- Turn Off Utilities: Before you begin, it’s crucial to turn off the utilities connected to the walls you will be working on, including electricity and water. This will minimize the risks of accidents or damages.
- Inform Others: If you live with others, make sure to inform them about the removal project and any potential disruptions it may cause. Advise them to stay clear of the work area to ensure their safety.
- Follow Guidelines: Familiarize yourself with the manufacturer’s guidelines for the stucco texture product that was used. This will provide you with specific instructions on how to remove the texture safely and efficiently.
- Prepare the Surroundings: Lay drop cloths or tarps around the work area to catch any falling debris or stucco texture. This will make the cleanup process easier and protect surrounding surfaces from damage.
By taking these preparation steps and adhering to safety measures, you can minimize potential risks and ensure a smooth and successful stucco texture removal process. Now that you’re prepared, let’s move on to the tools and materials you’ll need for the job.
Tools and Materials Required
Removing stucco texture from exterior walls requires specific tools and materials to ensure a successful and efficient process. Here is a list of essential items you will need:
- Protective Gear: Wear safety goggles, a dust mask, work gloves, and sturdy footwear to protect yourself from dust, debris, and potential injuries.
- Pneumatic Chisel or Hammer Drill: A pneumatic chisel or hammer drill with a chisel bit will help break up the stucco texture and facilitate its removal. This tool allows for more control and precision during the process.
- Grinder with Diamond Blade: A grinder equipped with a diamond blade is useful for cutting through sections of stucco texture or for smoothing rough patches after removal.
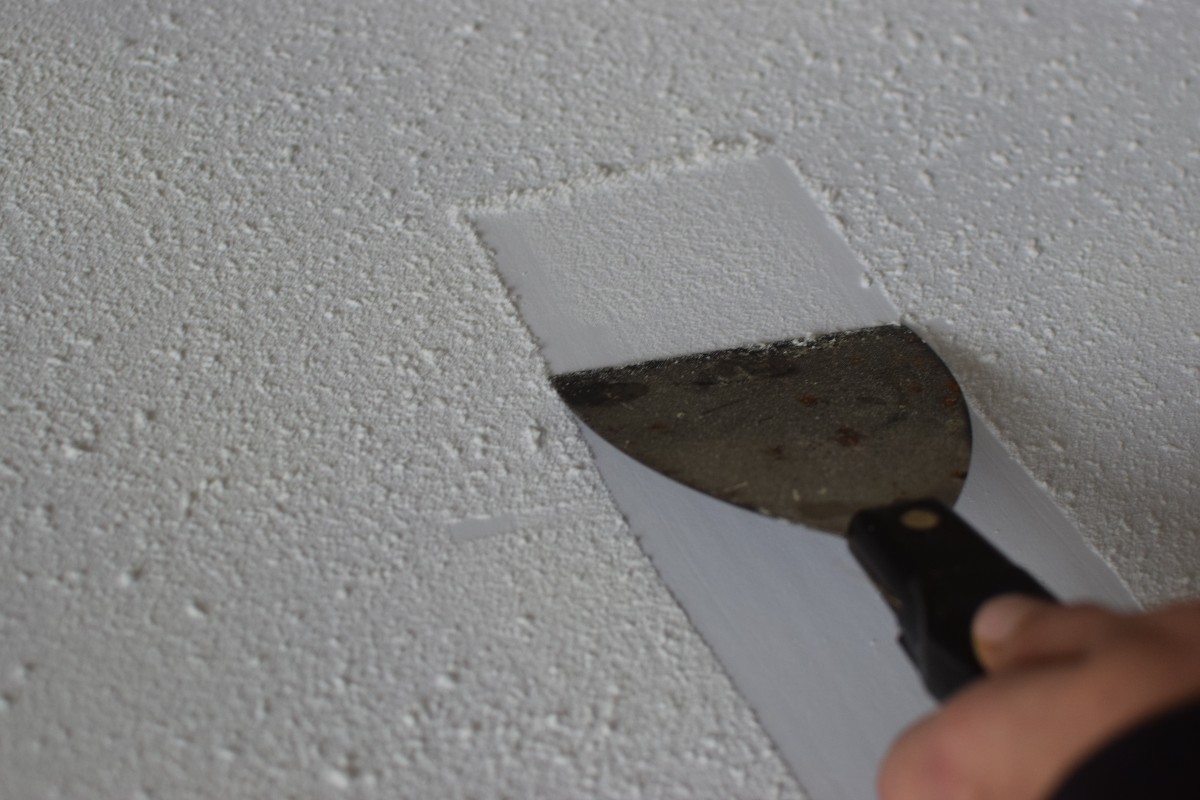
- Scraping Tools: Long-handled scrapers or putty knives will come in handy for scraping off any remaining stucco texture and ensuring a smooth surface.
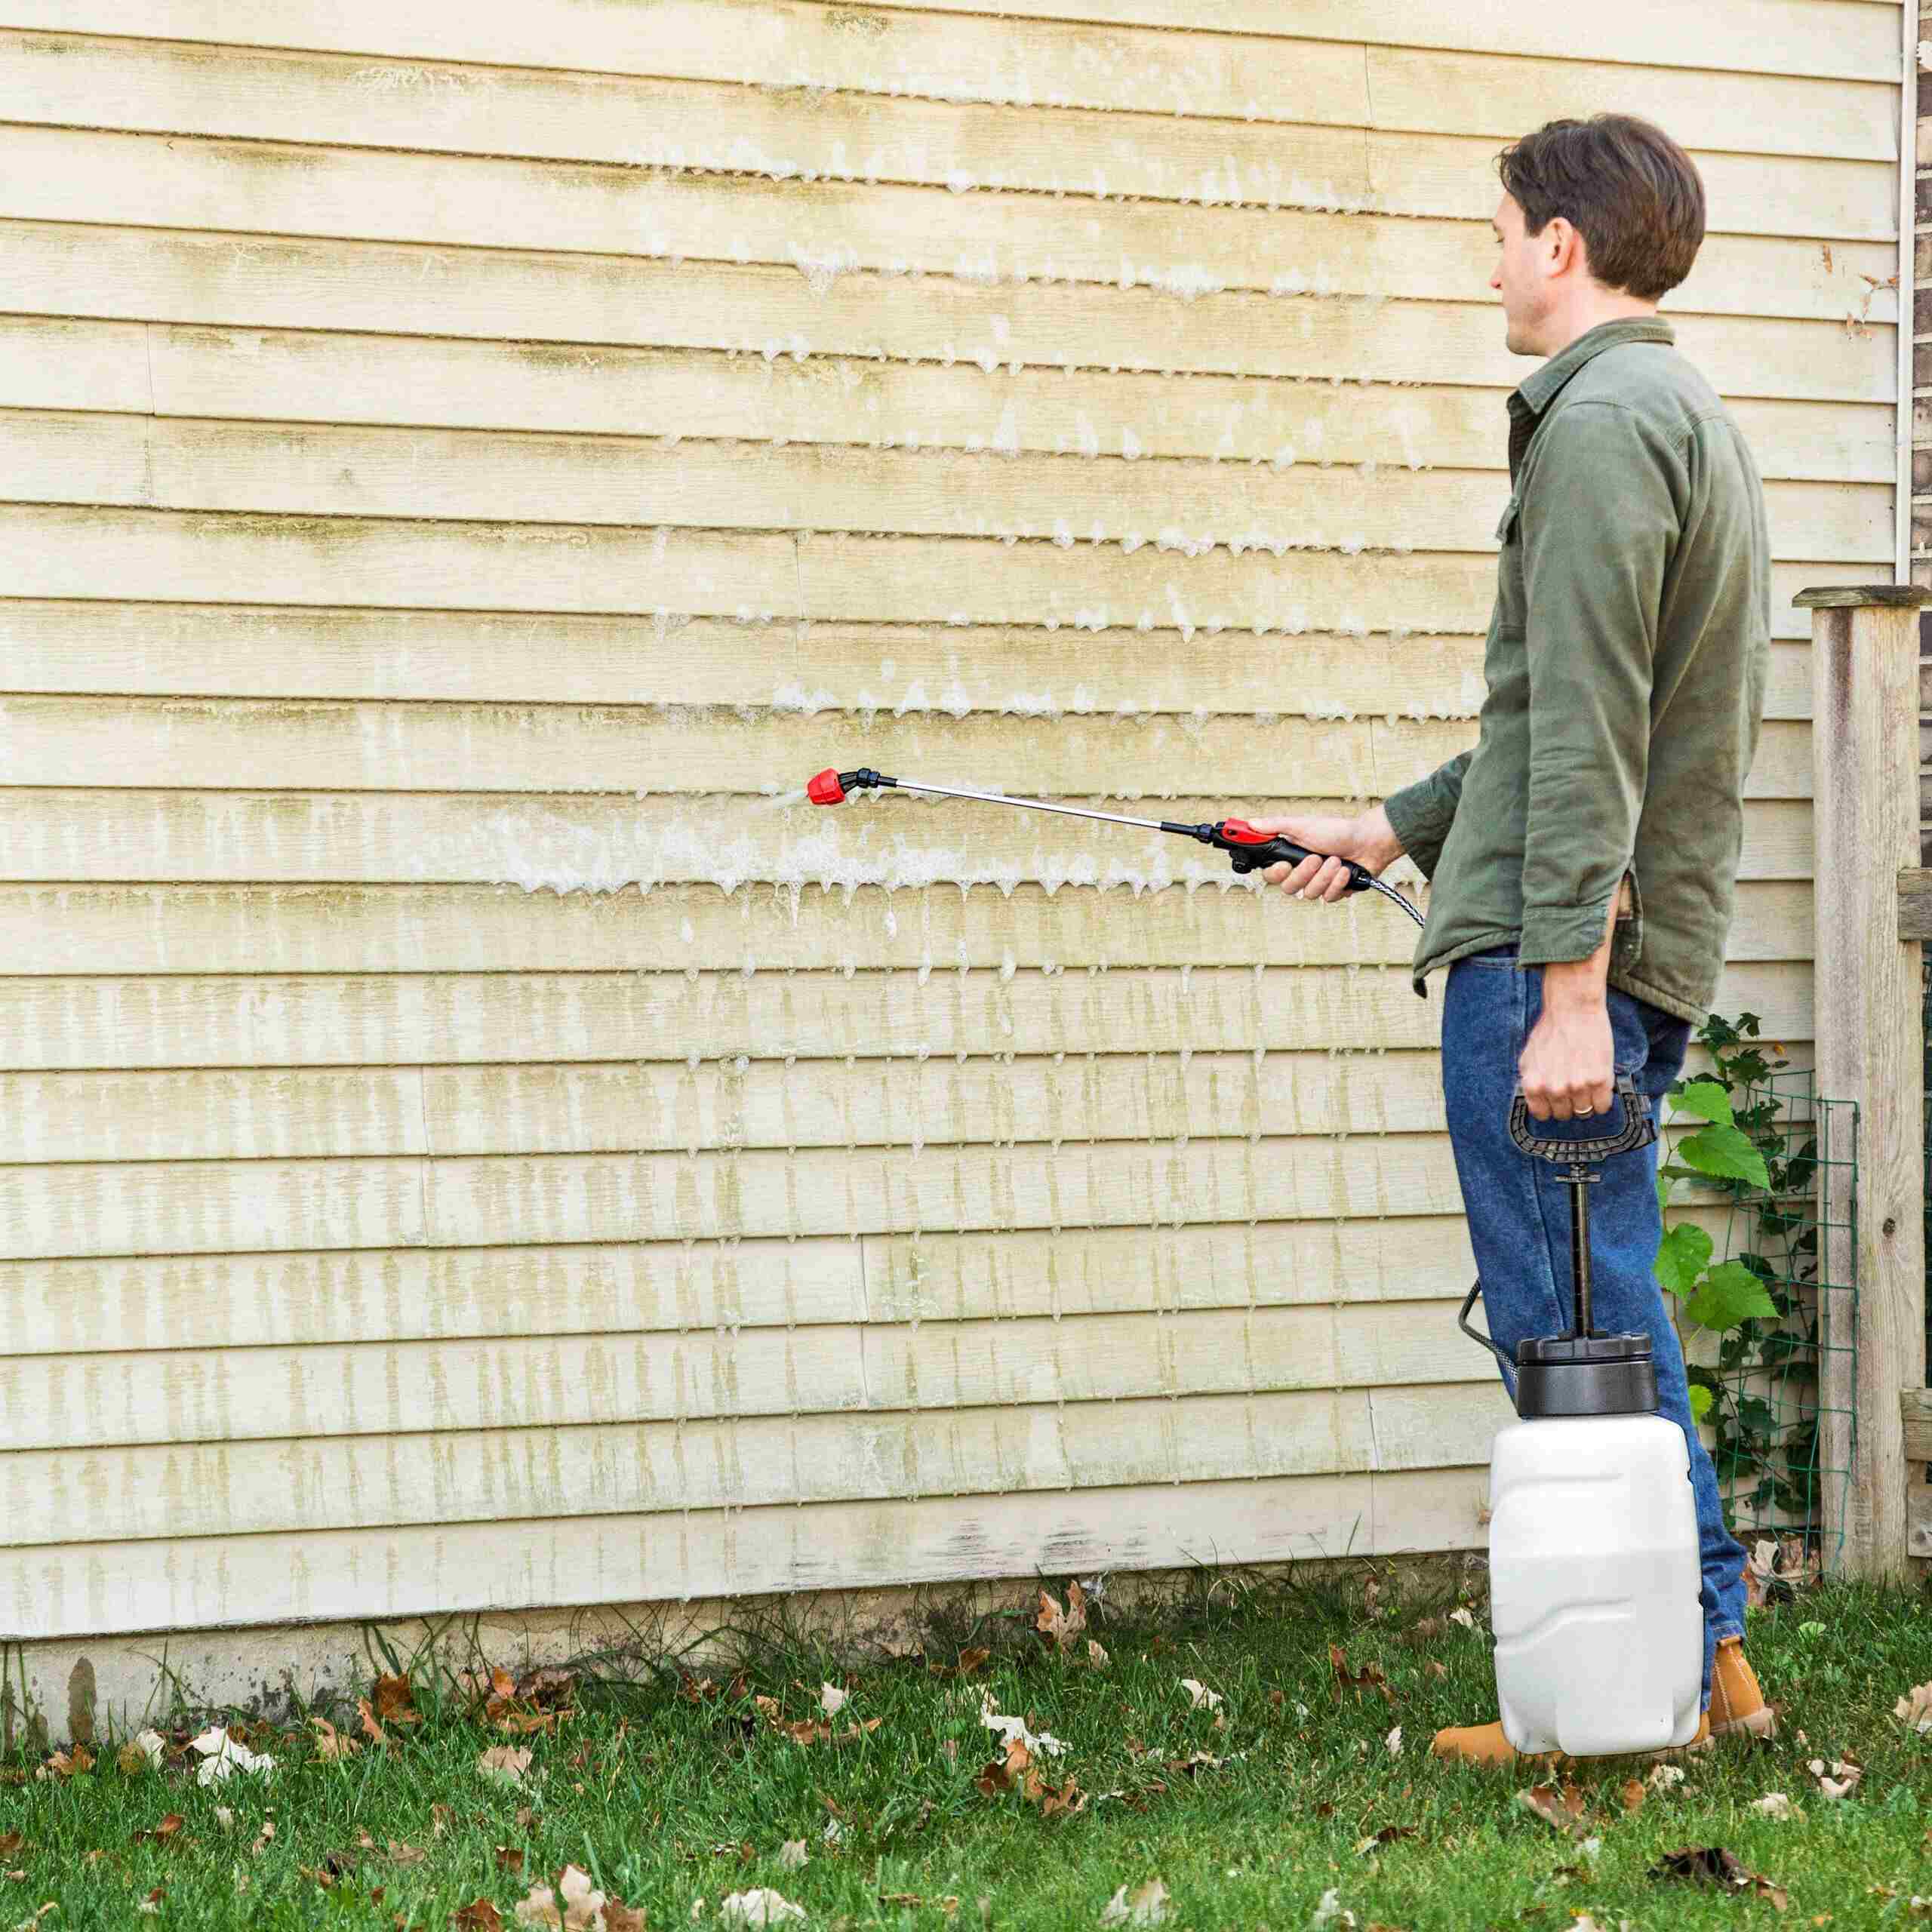
- Power Washer: A power washer with adjustable pressure settings will help remove any loose stucco texture, dirt, or debris from the walls before starting the removal process.
- Tarp or Drop Cloths: Use tarps or drop cloths to cover the ground and protect surrounding surfaces from falling debris or splatters.
- Plastic Sheeting: Hang plastic sheeting to create a barrier between the work area and other parts of the property. This will prevent dust and debris from spreading to unwanted areas.
- Buckets and Cleaning Supplies: Have buckets and cleaning supplies on hand to collect and dispose of removed stucco texture, as well as to clean up the work area after completion.
- Safety Equipment: Fire extinguisher, first aid kit, and a safety ladder should also be readily available in case of emergencies.
Make sure to gather all the necessary tools and materials before starting the stucco texture removal process. Having everything prepared in advance will save time and ensure a more efficient workflow. Now that you’re equipped with the right tools, let’s move on to the step-by-step guide for removing stucco texture from your walls.
Use a power washer with a high-pressure nozzle to remove stucco texture from exterior walls. Start at the top and work your way down, being careful not to damage the underlying surface. Always wear protective gear.
Read more: How To Spray Stucco Exterior Walls
Step-by-Step Guide to Removing Stucco Texture
Removing stucco texture from exterior walls requires careful planning and execution. Follow these step-by-step instructions to ensure a successful removal process:
- Prepare the Work Area: Clear the work area of any obstacles and cover surrounding surfaces with tarps or drop cloths. Hang plastic sheeting to create a barrier and protect other parts of the property.
- Mist the Stucco Texture: Use a garden hose or a spray bottle filled with water to lightly mist the stucco texture. This will help prevent excessive dust during the removal process.
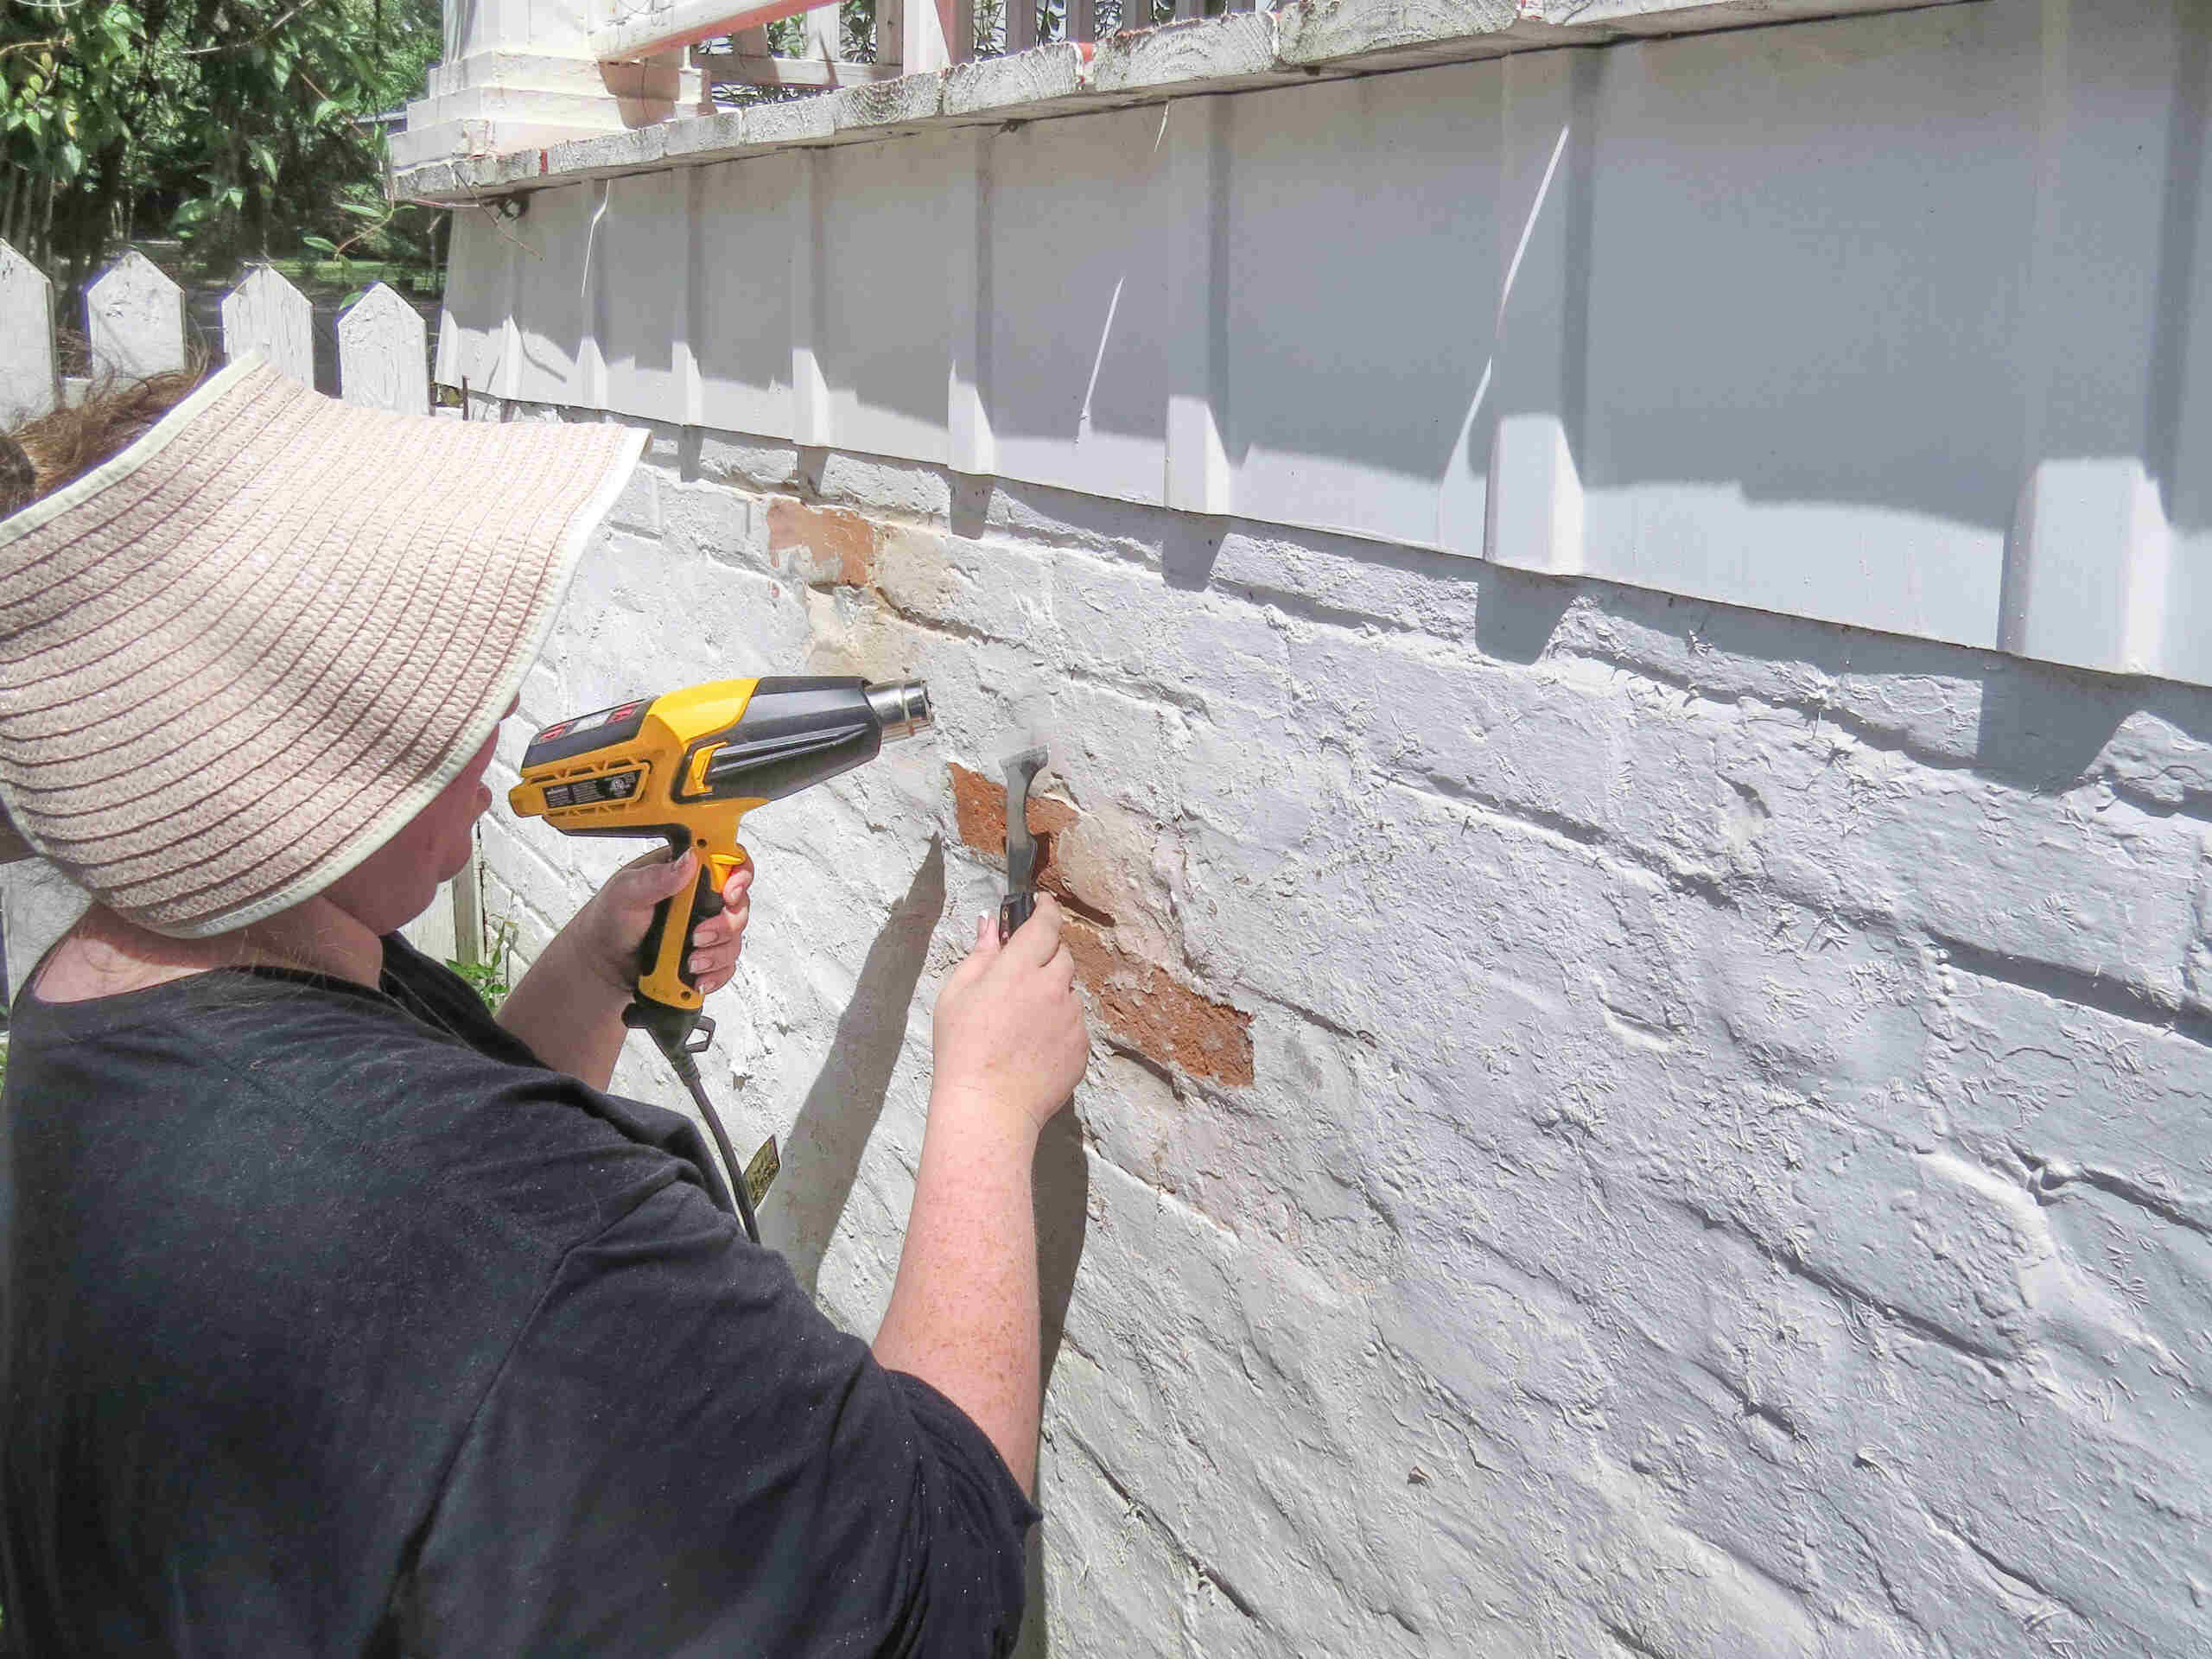
- Begin Breaking up the Texture: Start by using a pneumatic chisel or hammer drill with a chisel bit to break up the stucco texture. Work in small sections, gradually breaking away the texture. Take breaks between sections to avoid overheating the tool.
- Scrape off Loose Texture: After breaking up the texture, use scraping tools to scrape off any loose stucco. Be careful not to damage the underlying surface. Continue this process until the majority of the texture has been removed.
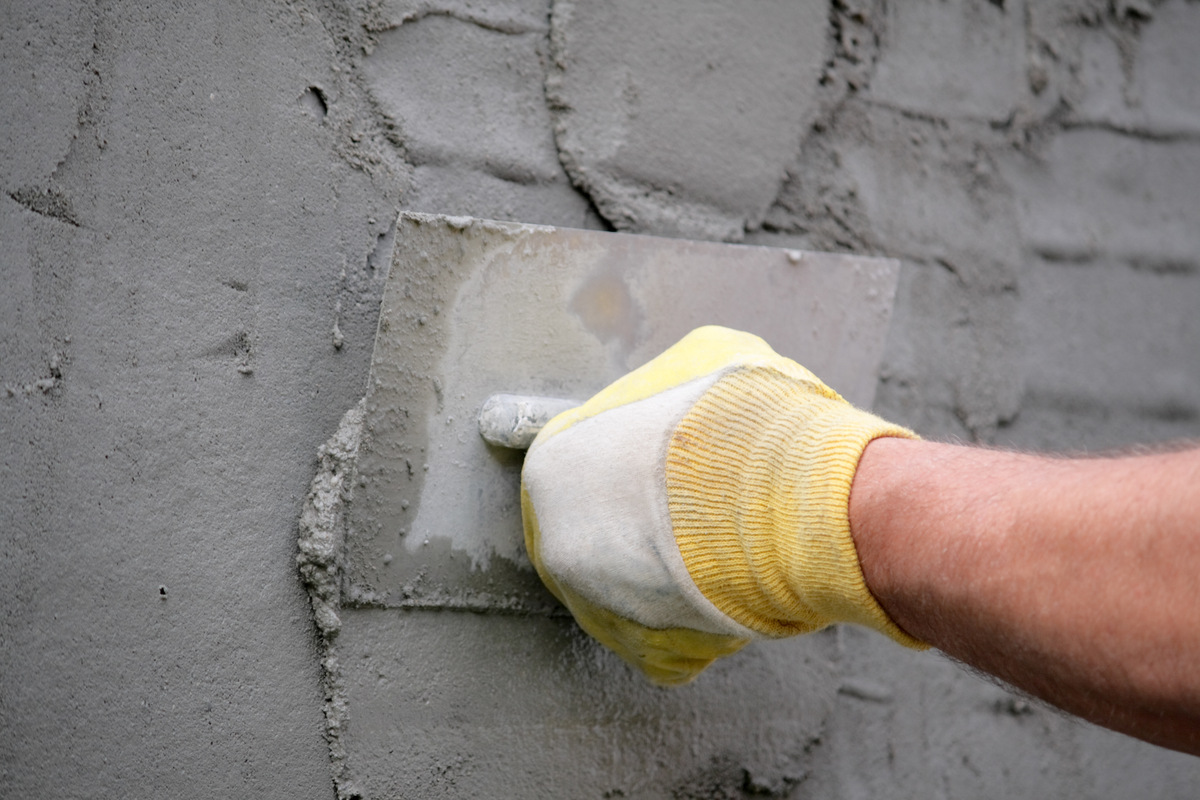
- Smooth the Surface: Use a grinder with a diamond blade to smooth out any rough patches or remaining texture. Take your time and ensure a smooth and even surface.
- Inspect for Damaged Areas: Inspect the walls for any areas that may require additional repairs. Patch up any cracks or holes using a suitable patching compound or stucco repair product. Follow the manufacturer’s instructions for the best results.
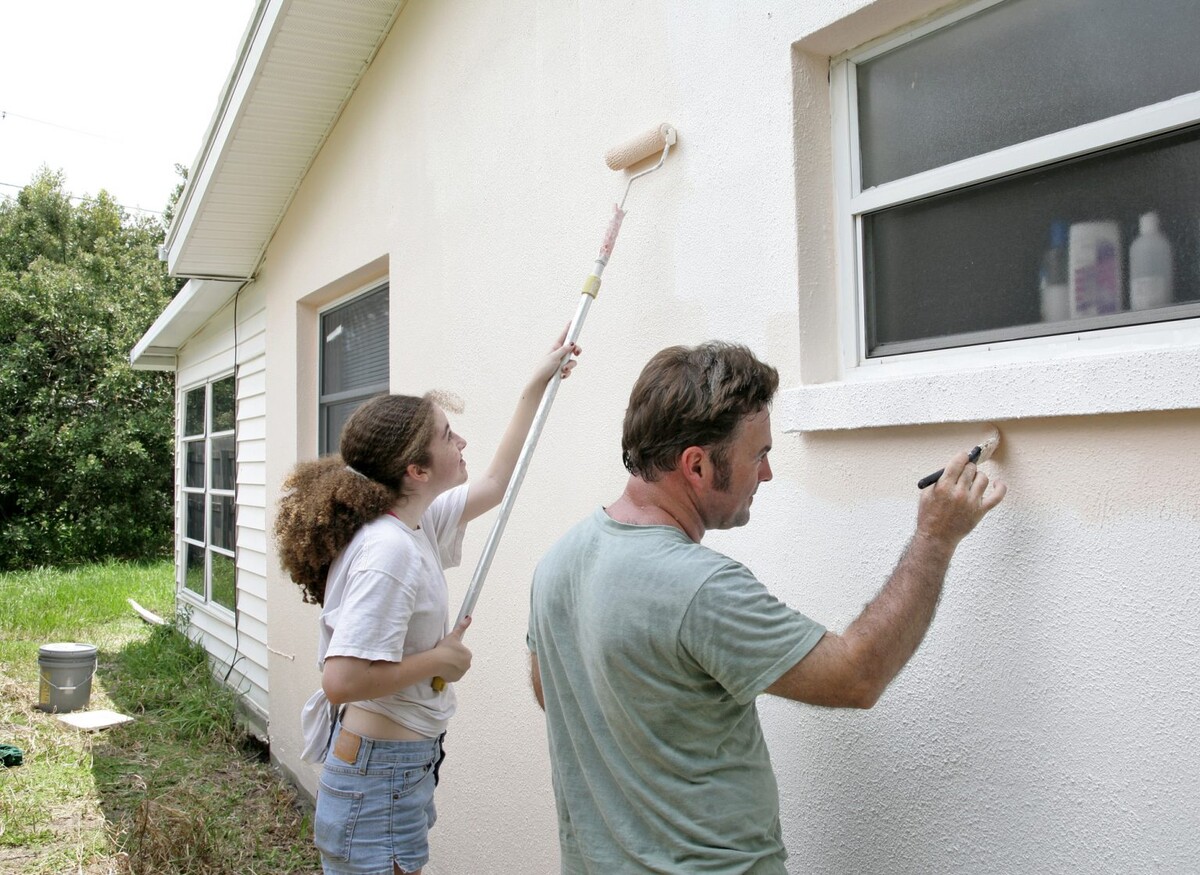
- Clean the Walls: Use a power washer or a hose to clean the walls and remove any dust, debris, or remaining stucco texture. Allow the walls to dry thoroughly before proceeding.
- Apply a Primer: Once the walls are dry, apply a suitable primer to ensure proper adhesion of the new finish or cladding material. Follow the manufacturer’s instructions for the primer application.
- Finish as Desired: Finally, you have the freedom to apply the desired finish to the walls. Whether it’s a new textured paint, siding, or any other exterior cladding, carefully follow the instructions and take your time to achieve the desired outcome.
It’s important to note that the stucco texture removal process can be challenging, depending on the condition and thickness of the texture. If you encounter any difficulties or feel unsure about a specific step, it’s recommended to consult with a professional contractor for guidance.
Once you have successfully removed the stucco texture and applied the desired finish, your home’s exterior will have a fresh and updated appearance. However, there are still a few more steps to consider, such as patching and repairing the walls. We will explore these steps in the next section.
Patching and Repairing the Wall
After removing the stucco texture from your exterior walls, it’s important to address any damaged areas and make necessary repairs before proceeding with further treatments or finishes. Here are the steps to patch and repair the wall:
- Inspect the Walls: Carefully examine the walls for any cracks, holes, or other damage. Pay close attention to corners, edges, and areas where the stucco texture was particularly thick.
- Clean the Damaged Area: Use a brush or a broom to remove any loose debris or dust from the damaged area. For better adhesion, dampen the area with water before proceeding.
- Prepare the Patching Compound: Follow the manufacturer’s instructions to mix an appropriate patching compound or stucco repair product. Ensure that the consistency is correct and free of lumps.
- Apply the Patching Compound: Using a trowel or putty knife, apply the patching compound to the damaged area. Spread it evenly and smooth it out, making sure the patched area is flush with the surrounding wall surface.
- Allow for Drying Time: Give the patching compound ample time to dry according to the manufacturer’s instructions. This typically takes a few hours or overnight. Avoid touching or disturbing the patched area during this time.
- Inspect for Smoothness: Once the patching compound is dry, inspect the repaired area for any unevenness or roughness. Use sandpaper or a sanding block to gently smooth out any imperfections, blending the patch with the surrounding wall surface.
- Prime the Repaired Area: Apply a coat of primer to the patched area to ensure proper adhesion and compatibility with the finish or cladding material you plan to apply. Allow the primer to dry completely before proceeding.
Patching and repairing the wall ensures a seamless and professional-looking finish. It’s important to note that the specific steps and products may vary depending on the extent and nature of the damage. If you’re uncertain about the repair process or if the damage is extensive, it’s recommended to consult with a professional contractor to ensure proper repairs.
Now that you’ve patched and repaired any damaged areas, it’s time to focus on cleaning up and applying final touches to your newly renovated walls. We’ll discuss this and share some additional tips in the next section.
Cleaning Up and Final Tips
Once you have completed the stucco texture removal, patching, and repairs, it’s time to clean up the work area and add those final touches. Here are some important steps to follow for a thorough cleanup and some additional tips to consider:
- Remove Debris: Collect any loose debris, stucco texture remnants, and unused materials from the work area. Dispose of them properly in designated waste containers.
- Clean Tools: Rinse off your tools and equipment, such as the chisel, scraper, or grinder, to remove any remaining stucco texture or debris. Properly store the tools in a safe and dry place for future use.
- Clean the Surroundings: Remove the tarps, plastic sheeting, and drop cloths used to protect the area. Inspect surrounding surfaces for any residual dust or debris and clean them accordingly.
- Dispose of Waste Properly: Follow local regulations and guidelines for the disposal of waste materials. Some cities may require special handling or disposal methods for stucco-related waste. Consult with your local waste management authorities for guidance.
- Inspect the Walls: Take a final look at the walls to ensure they are free of dust, debris, or any imperfections. Use a broom or a brush to gently remove any remaining particles.
- Apply a Paint Primer: If you plan to paint the walls, apply a suitable primer to promote adhesion and enhance the quality of the paint job. Choose a primer that is compatible with both the patched areas and the surrounding wall surface.
- Paint or Apply Desired Finish: Once the primer has dried, proceed with painting the walls or applying the desired finish. Follow the manufacturer’s instructions for the best results, and consider using a textured paint to hide any minor imperfections.
- Maintain the Walls: Regularly inspect and maintain the walls to ensure their longevity. Periodically check for any signs of damage or wear and address them promptly to prevent further issues.
Remember, the stucco texture removal process requires patience, attention to detail, and adherence to safety precautions. If at any point during the process you feel unsure or encounter significant challenges, don’t hesitate to seek professional assistance.
By following these cleaning guidelines and final tips, you can enjoy the fruits of your hard work and admire the refreshed appearance of your exterior walls. Congratulations on successfully removing the stucco texture and transforming your home’s exterior!
If you have any questions or need further assistance, don’t hesitate to reach out to a professional contractor or consult with experts in the field. Happy renovating!
Conclusion
Removing stucco texture from exterior walls can be a challenging yet rewarding project that can truly transform the appearance of your home. Whether you’re looking to update the look of your home’s exterior, repair damaged stucco, or prepare for a renovation, the process requires careful planning, preparation, and execution.
In this article, we have provided you with a comprehensive guide to removing stucco texture from your exterior walls. We started by understanding what stucco texture is and the reasons why you might want to remove it. We then discussed the importance of preparation and safety measures, ensuring you take the necessary precautions for a smooth and safe removal process.
We also provided a list of essential tools and materials you will need, and a step-by-step guide to help you through the process of removing the stucco texture. From breaking up the texture, scraping off loose material, smoothing the surface, to patching and repairing the walls, we covered the key steps to achieve a clean and even wall surface.
Additionally, we shared tips on cleaning up the work area and applying final touches, such as priming and painting the walls to achieve the desired finish. We emphasized the importance of proper cleanup and highlighted the need to dispose of waste materials responsibly.
Remember, safety should always be a priority during any renovation project. If you are unsure about any aspect of the process or encounter significant challenges, it’s advisable to consult with a professional contractor who can provide guidance and ensure the best possible results.
By following the steps and tips outlined in this article, you are well-equipped to successfully remove stucco texture from your exterior walls. The result will be a fresh and updated look that enhances the curb appeal and value of your home.
Good luck with your stucco texture removal project, and enjoy the satisfaction and pride that come with completing a successful renovation!
Now that you've mastered removing stucco texture, why not consider giving your walls a fresh new look? For inspiring ideas, check out our guide on various wall textures. Whether you're aiming for a subtle charm or a dramatic flair, you'll find something that can transform any space. Dive into our detailed exploration of different styles and find the perfect texture to complement your home's unique aesthetic.
Frequently Asked Questions about How To Remove Stucco Texture From Exterior Walls
Was this page helpful?
At Storables.com, we guarantee accurate and reliable information. Our content, validated by Expert Board Contributors, is crafted following stringent Editorial Policies. We're committed to providing you with well-researched, expert-backed insights for all your informational needs.

0 thoughts on “How To Remove Stucco Texture From Exterior Walls”