Articles
How Many Coats Of Primer On Exterior Walls
Modified: December 7, 2023
Ensure a flawless finish for your exterior walls with our informative articles on how many coats of primer to use. Expert tips and step-by-step guide to achieve professional results.
(Many of the links in this article redirect to a specific reviewed product. Your purchase of these products through affiliate links helps to generate commission for Storables.com, at no extra cost. Learn more)
Introduction
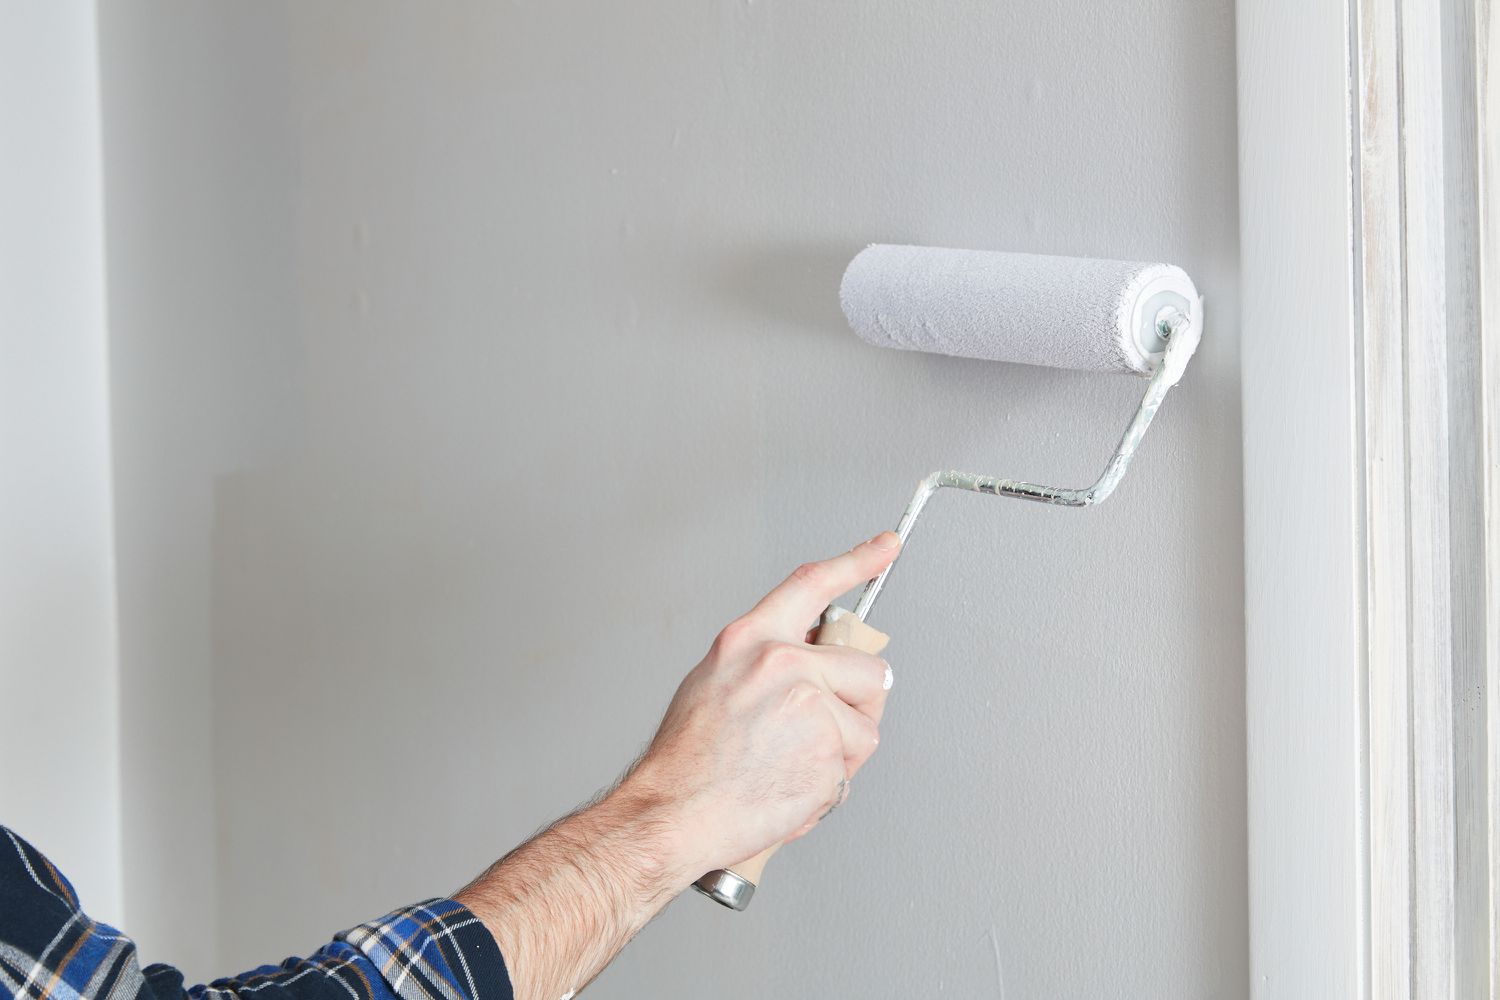
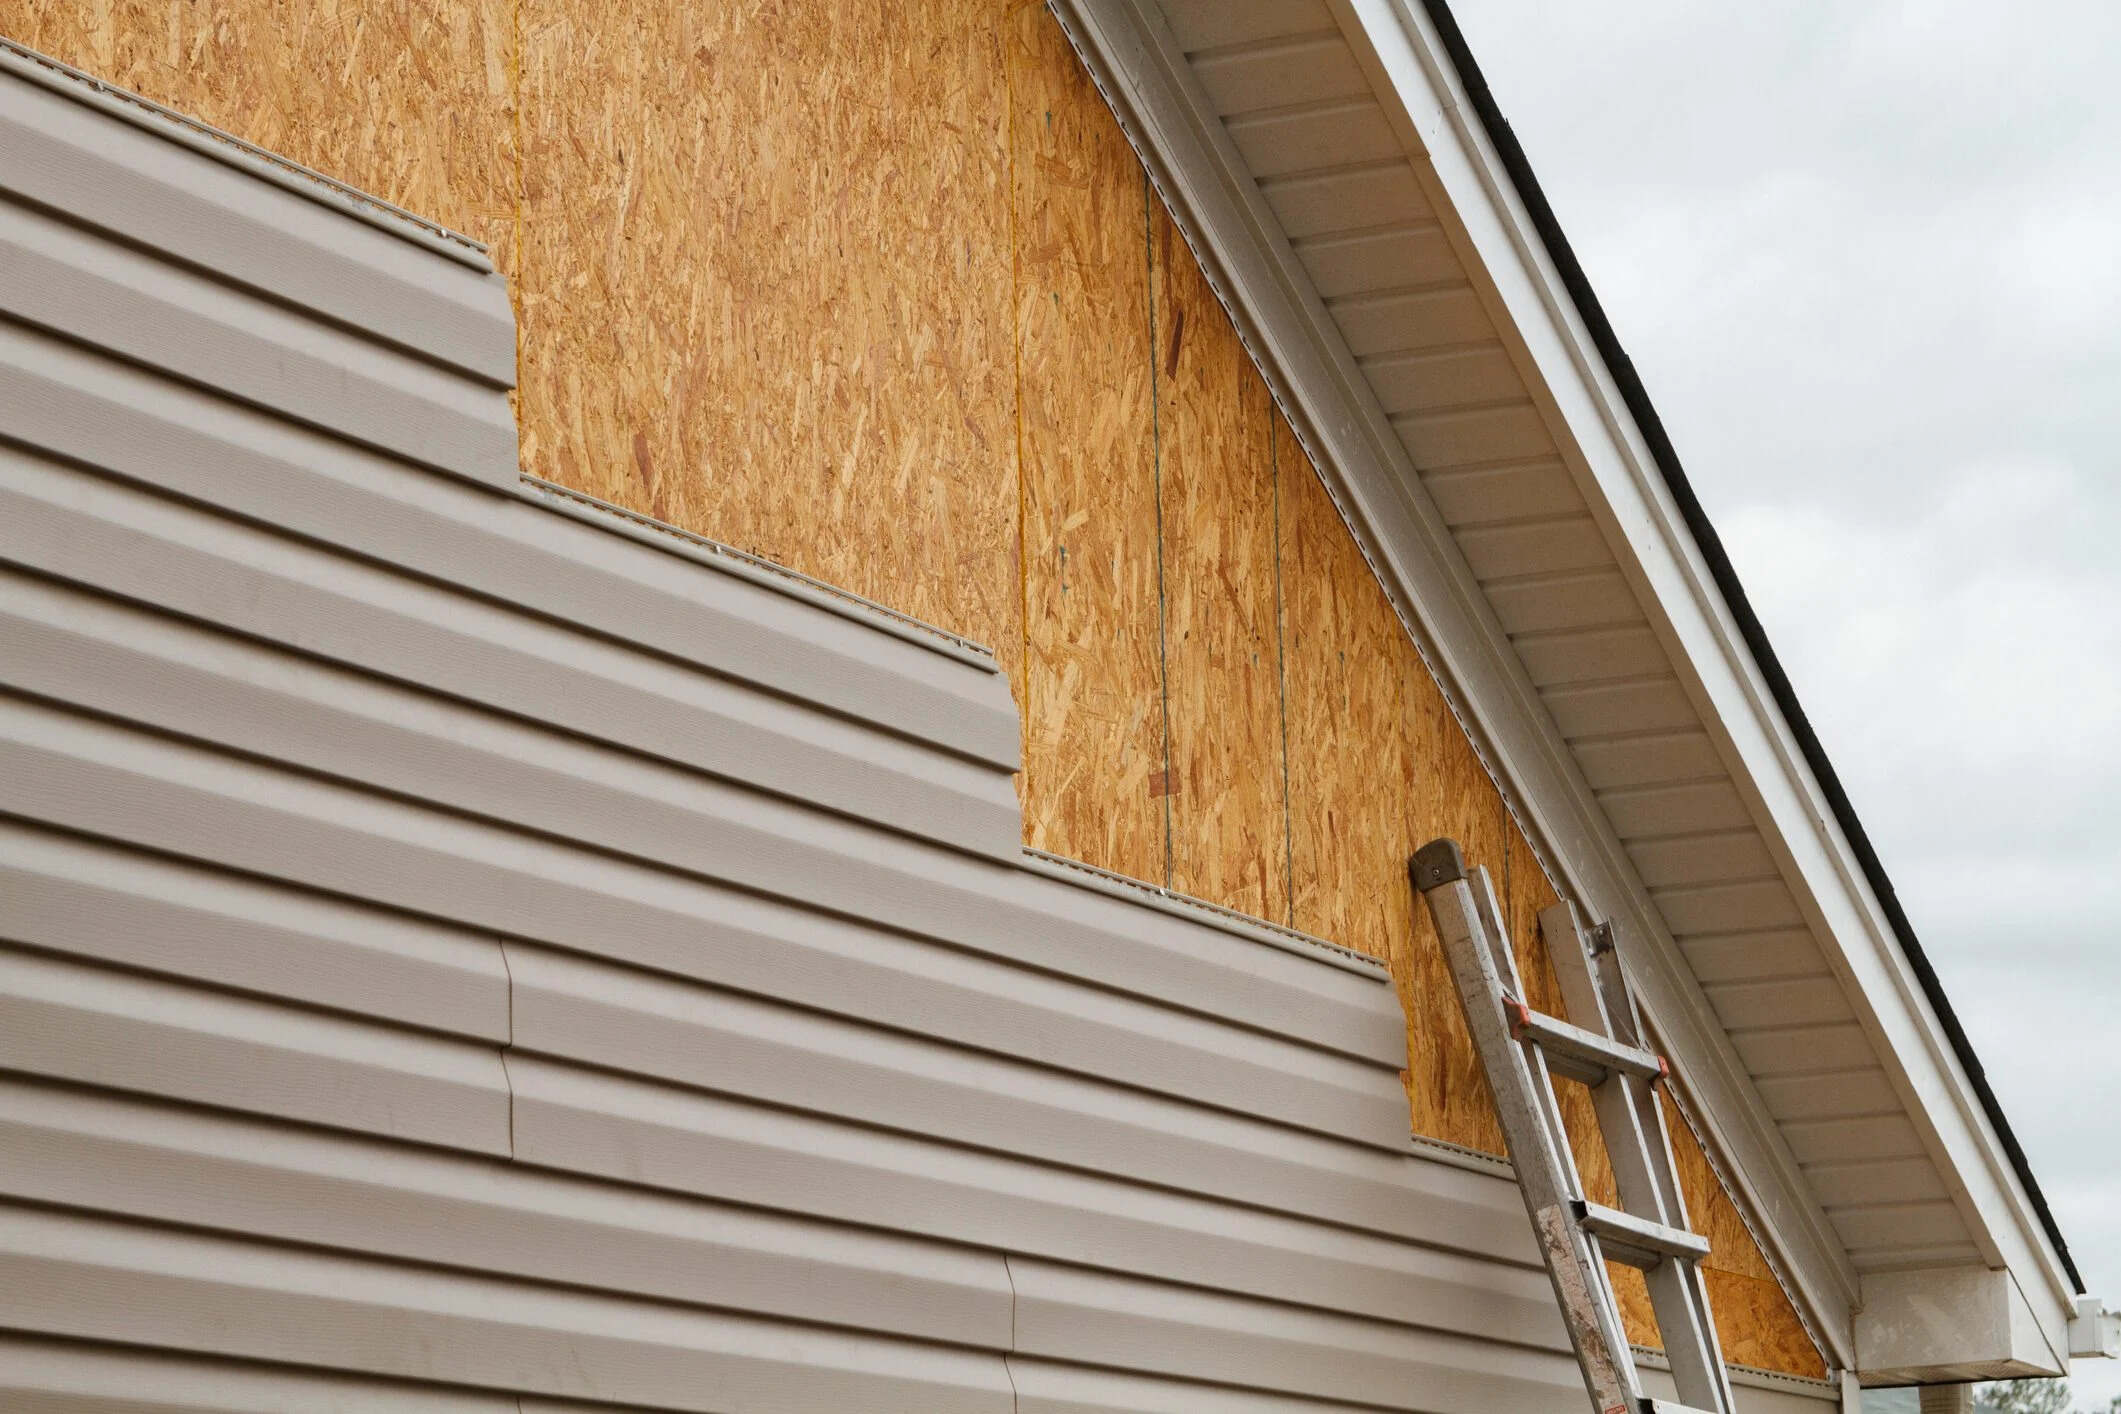
In the process of painting exterior walls, applying primer is a crucial step that should not be overlooked. Primer serves as a preparatory layer that helps to improve the adhesion of paint to the surface, enhances coverage, and provides a smooth and even finish. It acts as a barrier between the bare surface and the paint, preventing moisture from seeping in and reducing the chances of paint peeling or chipping.
When it comes to determining the number of coats of primer to use on exterior walls, there are various factors to consider, such as the condition of the surface, the type of paint being used, and the desired end result. In this article, we will delve deeper into these factors and provide recommendations on the number of coats of primer that are typically needed for optimal results.
Additionally, we will discuss the benefits of using multiple coats of primer, as well as the potential drawbacks of using too many coats. Lastly, we will provide some helpful tips for applying primer to exterior walls to ensure a successful and professional-looking paint job.
So, if you’re ready to learn more about the role of primer on exterior walls and how many coats to use, let’s dive right in!
Key Takeaways:
- Applying multiple coats of primer on exterior walls can enhance adhesion, coverage, and durability of the paint, providing a professional and long-lasting finish.
- Proper surface preparation, choosing the right primer, and applying it in optimal conditions are essential for a successful and visually appealing paint job on exterior walls.
Read more: How Many Coats Of Paint On Interior Walls
What is primer?
Before we delve into the importance of primer on exterior walls, let’s first understand what primer actually is. Primer is a specific type of paint that is designed to adhere well to a variety of surfaces and create a stable base for the application of paint.
It typically contains a blend of binders, pigments, solvents, and additives that work together to provide several key functions. These include promoting adhesion to the surface, sealing pores, and creating a uniform surface for the paint to adhere to.
Primer is commonly available in both oil-based and water-based formulations. Oil-based primers are known for their durability and excellent coverage, making them suitable for a wide range of exterior surfaces. Water-based primers, on the other hand, are more environmentally friendly and offer faster drying times.
When it comes to choosing the right primer for your exterior walls, consider the type of surface you are working with and the paint you will be applying. Different primers are formulated to work best with specific types of surfaces and paints, so it’s important to select a primer that is compatible with your project.
Now that we have a better understanding of what primer is, let’s explore why it plays a crucial role in painting exterior walls.
Importance of primer on exterior walls
Primer plays a vital role in ensuring a successful and long-lasting paint job on exterior walls. Here are some key reasons why using primer is essential:
- Promotes adhesion: One of the primary functions of primer is to create a strong bond between the surface and the paint. It helps the paint adhere more effectively, reducing the chances of peeling, blistering, or flaking over time.
- Seals pores and imperfections: Exterior walls can have various imperfections such as small cracks, holes, or porous areas. Applying primer helps to fill these gaps and seal the surface, creating a smoother canvas for the paint to be applied. This ensures a more even and professional-looking finish.
- Enhances coverage: Primer helps to improve the coverage of the paint, reducing the number of paint coats needed to achieve the desired color and finish. This can save both time and money during the painting process.
- Protects against moisture: Primer acts as a barrier, preventing moisture from penetrating the surface of the walls. This is particularly important for areas with high humidity or exposure to rain and snow. By protecting against moisture, primer helps to prevent paint damage, such as bubbling or discoloration.
- Increases paint durability: By providing a stable and secure foundation, primer helps to enhance the longevity and durability of the paint. It helps the paint withstand harsh weather conditions, UV rays, and other external elements that could cause fading or deterioration.
In essence, using primer on exterior walls is not just an additional step, but an essential part of the painting process. It sets the stage for a smoother and more successful paint application, prolongs the life of the paint job, and ensures a beautiful and professional-looking finish.
Factors to consider when deciding how many coats of primer to use
Determining the number of coats of primer to use on exterior walls is not a one-size-fits-all approach. Several factors should be taken into consideration to ensure optimal results. Here are some key factors to consider:
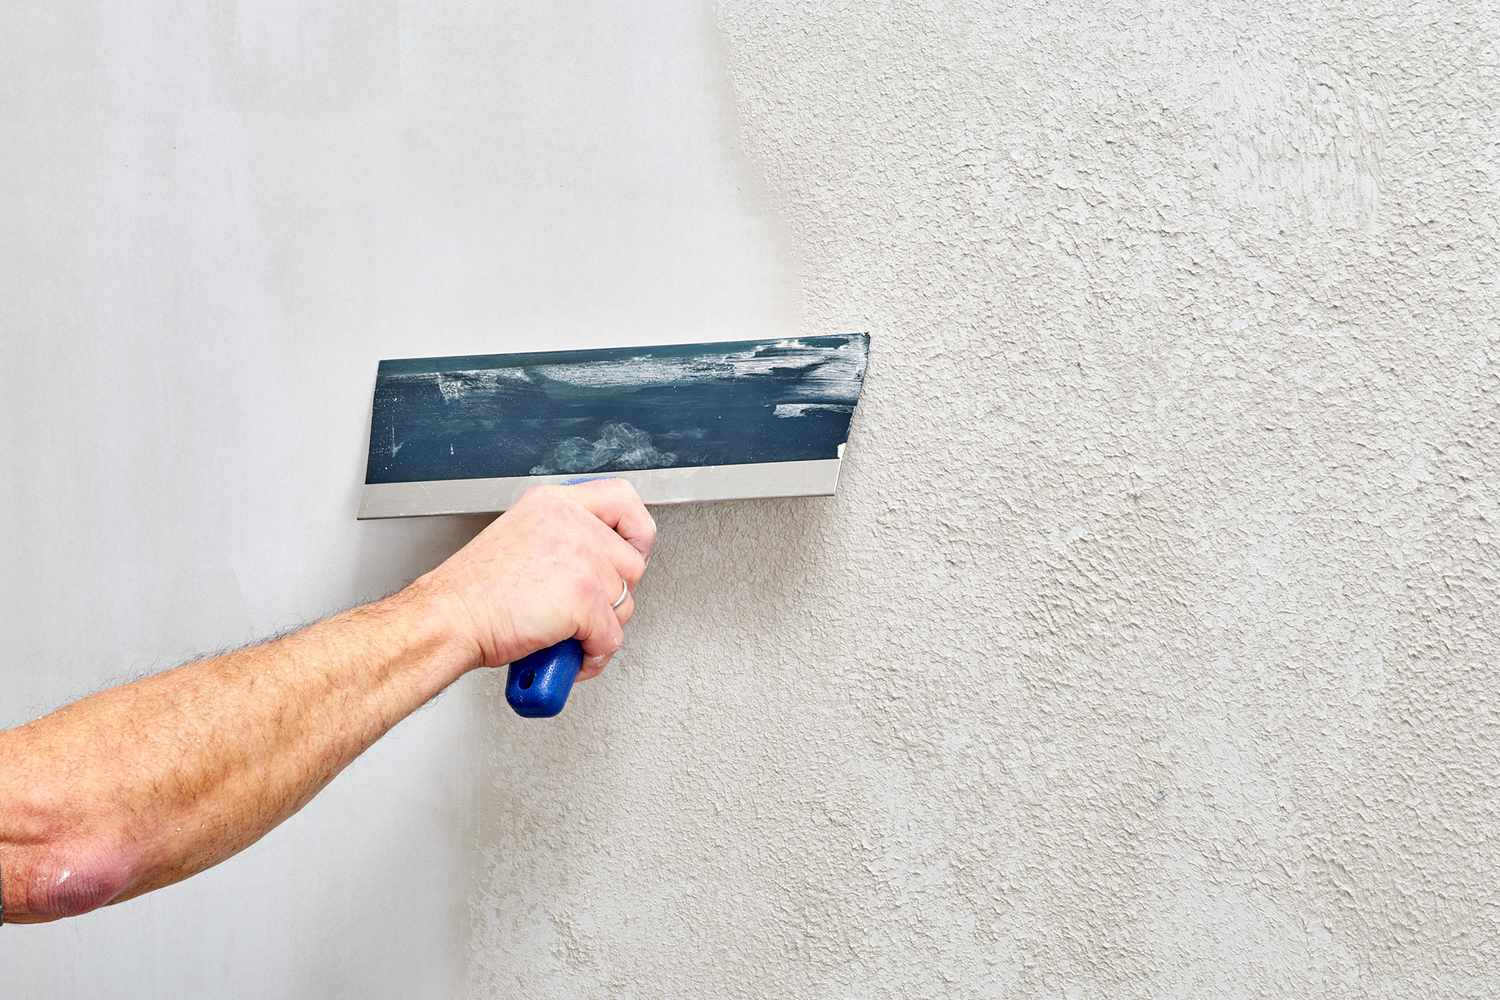
- Condition of the surface: The condition of the surface plays a significant role in determining the number of coats of primer needed. If the walls are in good condition, with no major imperfections or previous paint issues, a single coat of primer may be sufficient. However, if the surface is damaged, porous, or has a lot of previous layers of paint, additional coats may be needed to achieve proper coverage and adhesion.
- Type of paint: The type of paint you plan to use on your exterior walls can also influence the number of primer coats needed. Different paints have different characteristics, such as opacity, thickness, and adhesion properties. If you are using a high-quality paint with excellent coverage, you might be able to get away with fewer coats of primer. On the other hand, if you are using a lighter paint color or a paint with lower coverage ability, additional coats of primer may be necessary to achieve the desired result.
- Desired end result: Consider the final look and finish you want to achieve on your exterior walls. If you are aiming for a flawless, smooth finish, multiple coats of primer can help achieve that. On the other hand, if you are going for a more textured or rustic appearance, fewer coats of primer may be required.
- Environmental factors: Take into account the specific environmental factors that may affect your exterior walls. For instance, if you live in an area with extreme weather conditions, high humidity, or excessive exposure to UV rays, an extra coat of primer can provide added protection and durability.
- Primer quality: The quality of the primer you choose can also impact the number of coats needed. High-quality primers tend to have better coverage and adhesion properties, requiring fewer coats to achieve the desired result. Always opt for a reputable brand and consider consulting with professionals or experts for their recommendations.
It’s important to assess these factors and evaluate your specific project requirements when deciding on the number of coats of primer to apply. While it may require some experimentation or consultation, taking the time to properly prepare the surface with the right amount of primer will ensure a successful and long-lasting paint job.
Recommendations for number of coats of primer on exterior walls
When it comes to determining the number of coats of primer to use on your exterior walls, it’s essential to strike a balance between coverage and efficiency. While the specific number of coats can vary depending on different factors, here are some general recommendations to consider:
- One coat of primer: In some cases, especially when dealing with a surface in good condition or when using high-quality paint with excellent coverage, a single coat of primer may be sufficient. This is often the case when you are repainting an already well-prepared surface with a similar color or when the existing paint is in good shape.
- Two coats of primer: Applying two coats of primer is a common practice for most exterior painting projects. It provides an extra layer of protection, helps to seal the surface more effectively, and enhances the adhesion of the paint. This is particularly recommended when dealing with moderately damaged or porous surfaces, or when using a paint with lower coverage.
- Three or more coats of primer: In situations where the surface is highly damaged, has multiple layers of old paint, or is very porous, you may need to apply three or more coats of primer. Additional coats help to fill in imperfections and create a smooth and consistent surface for the paint. This approach is often necessary when working on older homes or surfaces with extensive wear and tear.
It’s important to note that these recommendations are general guidelines, and the specific number of primer coats needed can vary based on individual circumstances. It’s always best to assess the condition of the surface, the quality of the paint, and consult with professionals or experts in the field for their recommendations.
Furthermore, while applying multiple coats of primer can provide certain benefits, it’s crucial to consider the impact on the overall time, cost, and effort required for the project. Always weigh the advantages of additional coats against the practicality and limitations of your specific situation.
By following these recommendations and tailoring them to your specific project requirements, you can ensure that your exterior walls are properly primed and ready for a successful and long-lasting paint job.
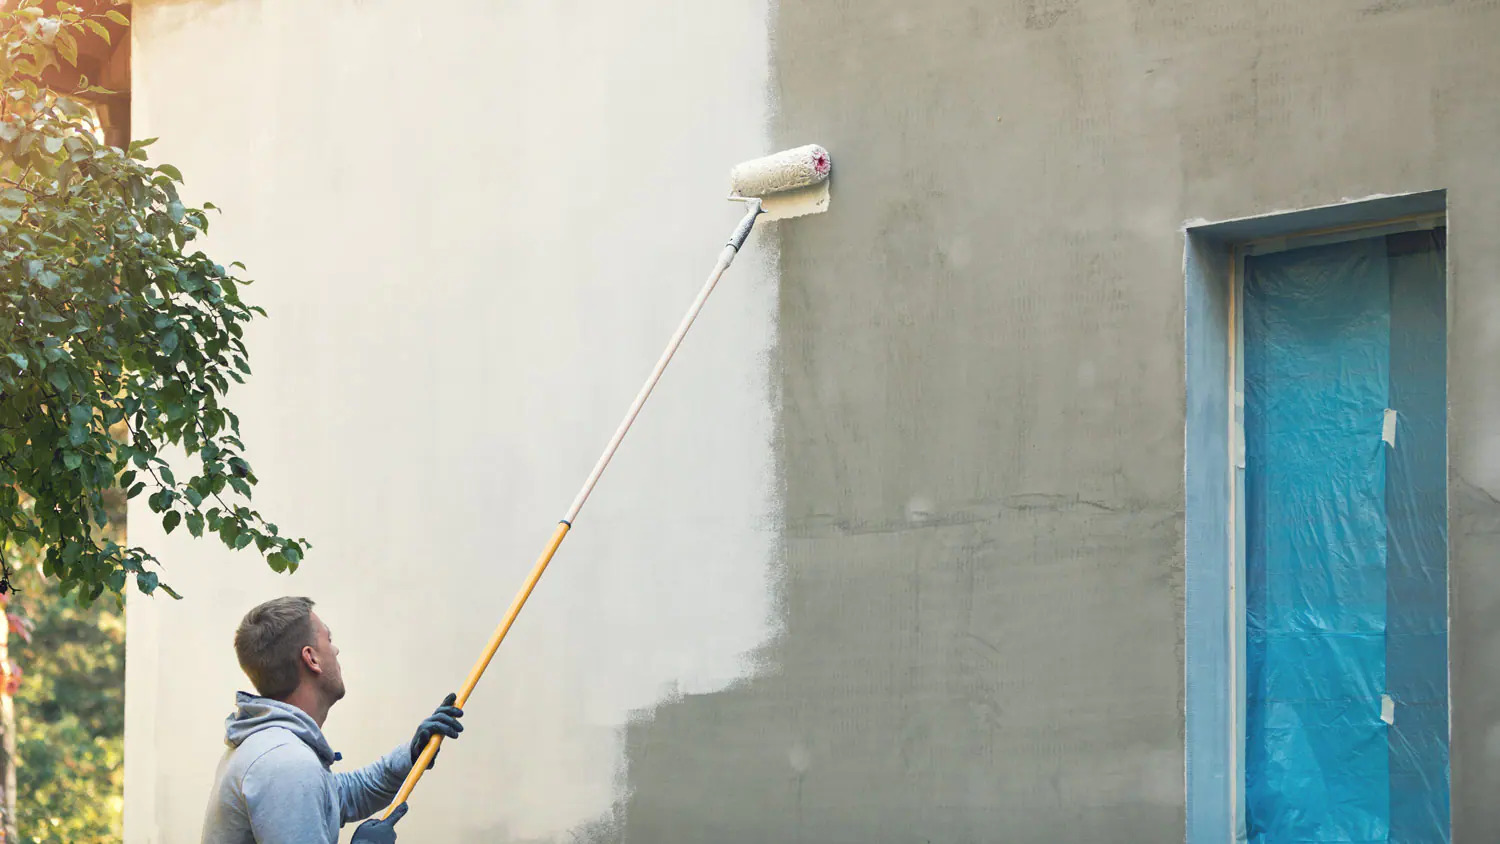
Apply at least two coats of primer on exterior walls for optimal coverage and protection. Make sure to choose a high-quality primer that is suitable for the surface material and climate conditions.
Benefits of using multiple coats of primer
Using multiple coats of primer on exterior walls can provide several advantages that contribute to a superior paint job. Here are some key benefits of applying multiple coats of primer:
- Enhanced adhesion: Multiple coats of primer help to improve the adhesion of the paint to the surface. This is especially important when dealing with challenging or highly porous surfaces. The additional layers of primer create a stronger bond, reducing the risk of paint peeling, blistering, or flaking.
- Optimal coverage: Applying multiple coats of primer ensures better coverage, especially when dealing with lighter paint colors or surfaces with previous paint layers. The extra coats help to mask any underlying colors or imperfections, providing a more even and consistent base for the paint.
- Improved hiding power: Multiple primer coats can increase the hiding power of the paint. This is particularly beneficial when painting over darker or highly contrasting colors. The additional coats of primer help to prevent the previous colors from bleeding through, resulting in a more vibrant and true-to-color paint finish.
- Greater surface sealing: Multiple coats of primer allow for better surface sealing, particularly on damaged or porous surfaces. The additional layers help to fill in small cracks, holes, or imperfections, creating a smoother and more uniform surface. This ensures that the paint goes on evenly and provides a professional-looking finish.
- Enhanced durability: The additional layers of primer contribute to increased paint durability, particularly in harsh weather conditions. The primer acts as a barrier against moisture, UV rays, and other external elements that can cause paint damage. This helps to prolong the life of the paint job and ensures that it remains vibrant and intact for a longer period.
- Professional-looking finish: Applying multiple coats of primer helps to produce a more polished and professional-looking finish. It creates a smooth surface with minimal imperfections, allowing the paint to glide on evenly and resulting in a high-quality, flawless appearance.
While the benefits of using multiple coats of primer are significant, it’s essential to strike a balance and consider the practicality and limitations of your specific project. Assess the condition of the surface, the type of paint being used, and consult with professionals or experts to determine the ideal number of primer coats for optimal results.
Overall, taking the time and effort to apply multiple coats of primer ensures a strong foundation for the paint, enhances the longevity of the paint job, and helps you achieve a professional and visually appealing finish on your exterior walls.
Potential drawbacks of using too many coats of primer
While using multiple coats of primer on exterior walls can offer many benefits, it’s important to be aware of the potential drawbacks of applying too many coats. Here are a few considerations to keep in mind:
- Increased cost: Applying multiple coats of primer can significantly increase the cost of your paint project. Primers can be expensive, and using excessive amounts can quickly add up. Additionally, more coats of primer will require more time and effort, which can also impact the overall cost of the project.
- Extended project timeline: Each additional coat of primer requires drying time before applying the next layer and before moving on to the paint application. This can extend the overall project timeline, leading to delays in completing the painting process. It’s important to factor in the additional time needed when considering how many coats of primer to use.
- Thicker paint buildup: Using too many coats of primer can result in a thicker buildup of paint layers on the surface. This can lead to a less natural or textured finish, especially if you’re aiming for a more rustic or weathered look. Thicker paint layers may also be prone to cracking, flaking, or peeling over time.
- Inadequate curing: Each coat of primer requires proper curing time to ensure its effectiveness. If you apply too many coats of primer without allowing sufficient drying time between layers, it can compromise the adhesion and durability of the paint. This may result in issues such as poor paint adhesion, premature peeling, or an uneven paint finish.
- Compatibility issues: Certain primers may have limitations on the number of coats that can be applied or may not be compatible with excessive layering. It’s essential to read and follow the manufacturer’s specifications and recommendations to avoid potential compatibility issues or adverse reactions between the primer and paint.
It’s crucial to strike a balance and assess the specific needs and condition of your project when deciding on the number of coats of primer to apply. While additional coats can provide benefits, it’s important to consider the potential drawbacks such as increased cost, longer project timelines, and the impact on the final appearance and durability of the paint job.
Consulting with professionals or experts in the field can provide valuable insights and guidance on the ideal number of coats of primer to achieve the desired results while taking into account the limitations and potential drawbacks.
Tips for applying primer to exterior walls
When applying primer to exterior walls, following some essential tips can help you achieve a successful and professional-looking paint job. Consider these guidelines to ensure the best possible results:
- Prepare the surface: Proper surface preparation is key to ensure the primer adheres well and provides a smooth base for the paint. Clean the walls thoroughly, removing any dirt, dust, or debris. Repair any cracks or damaged areas, and sand the surface if necessary to create a clean and even canvas.
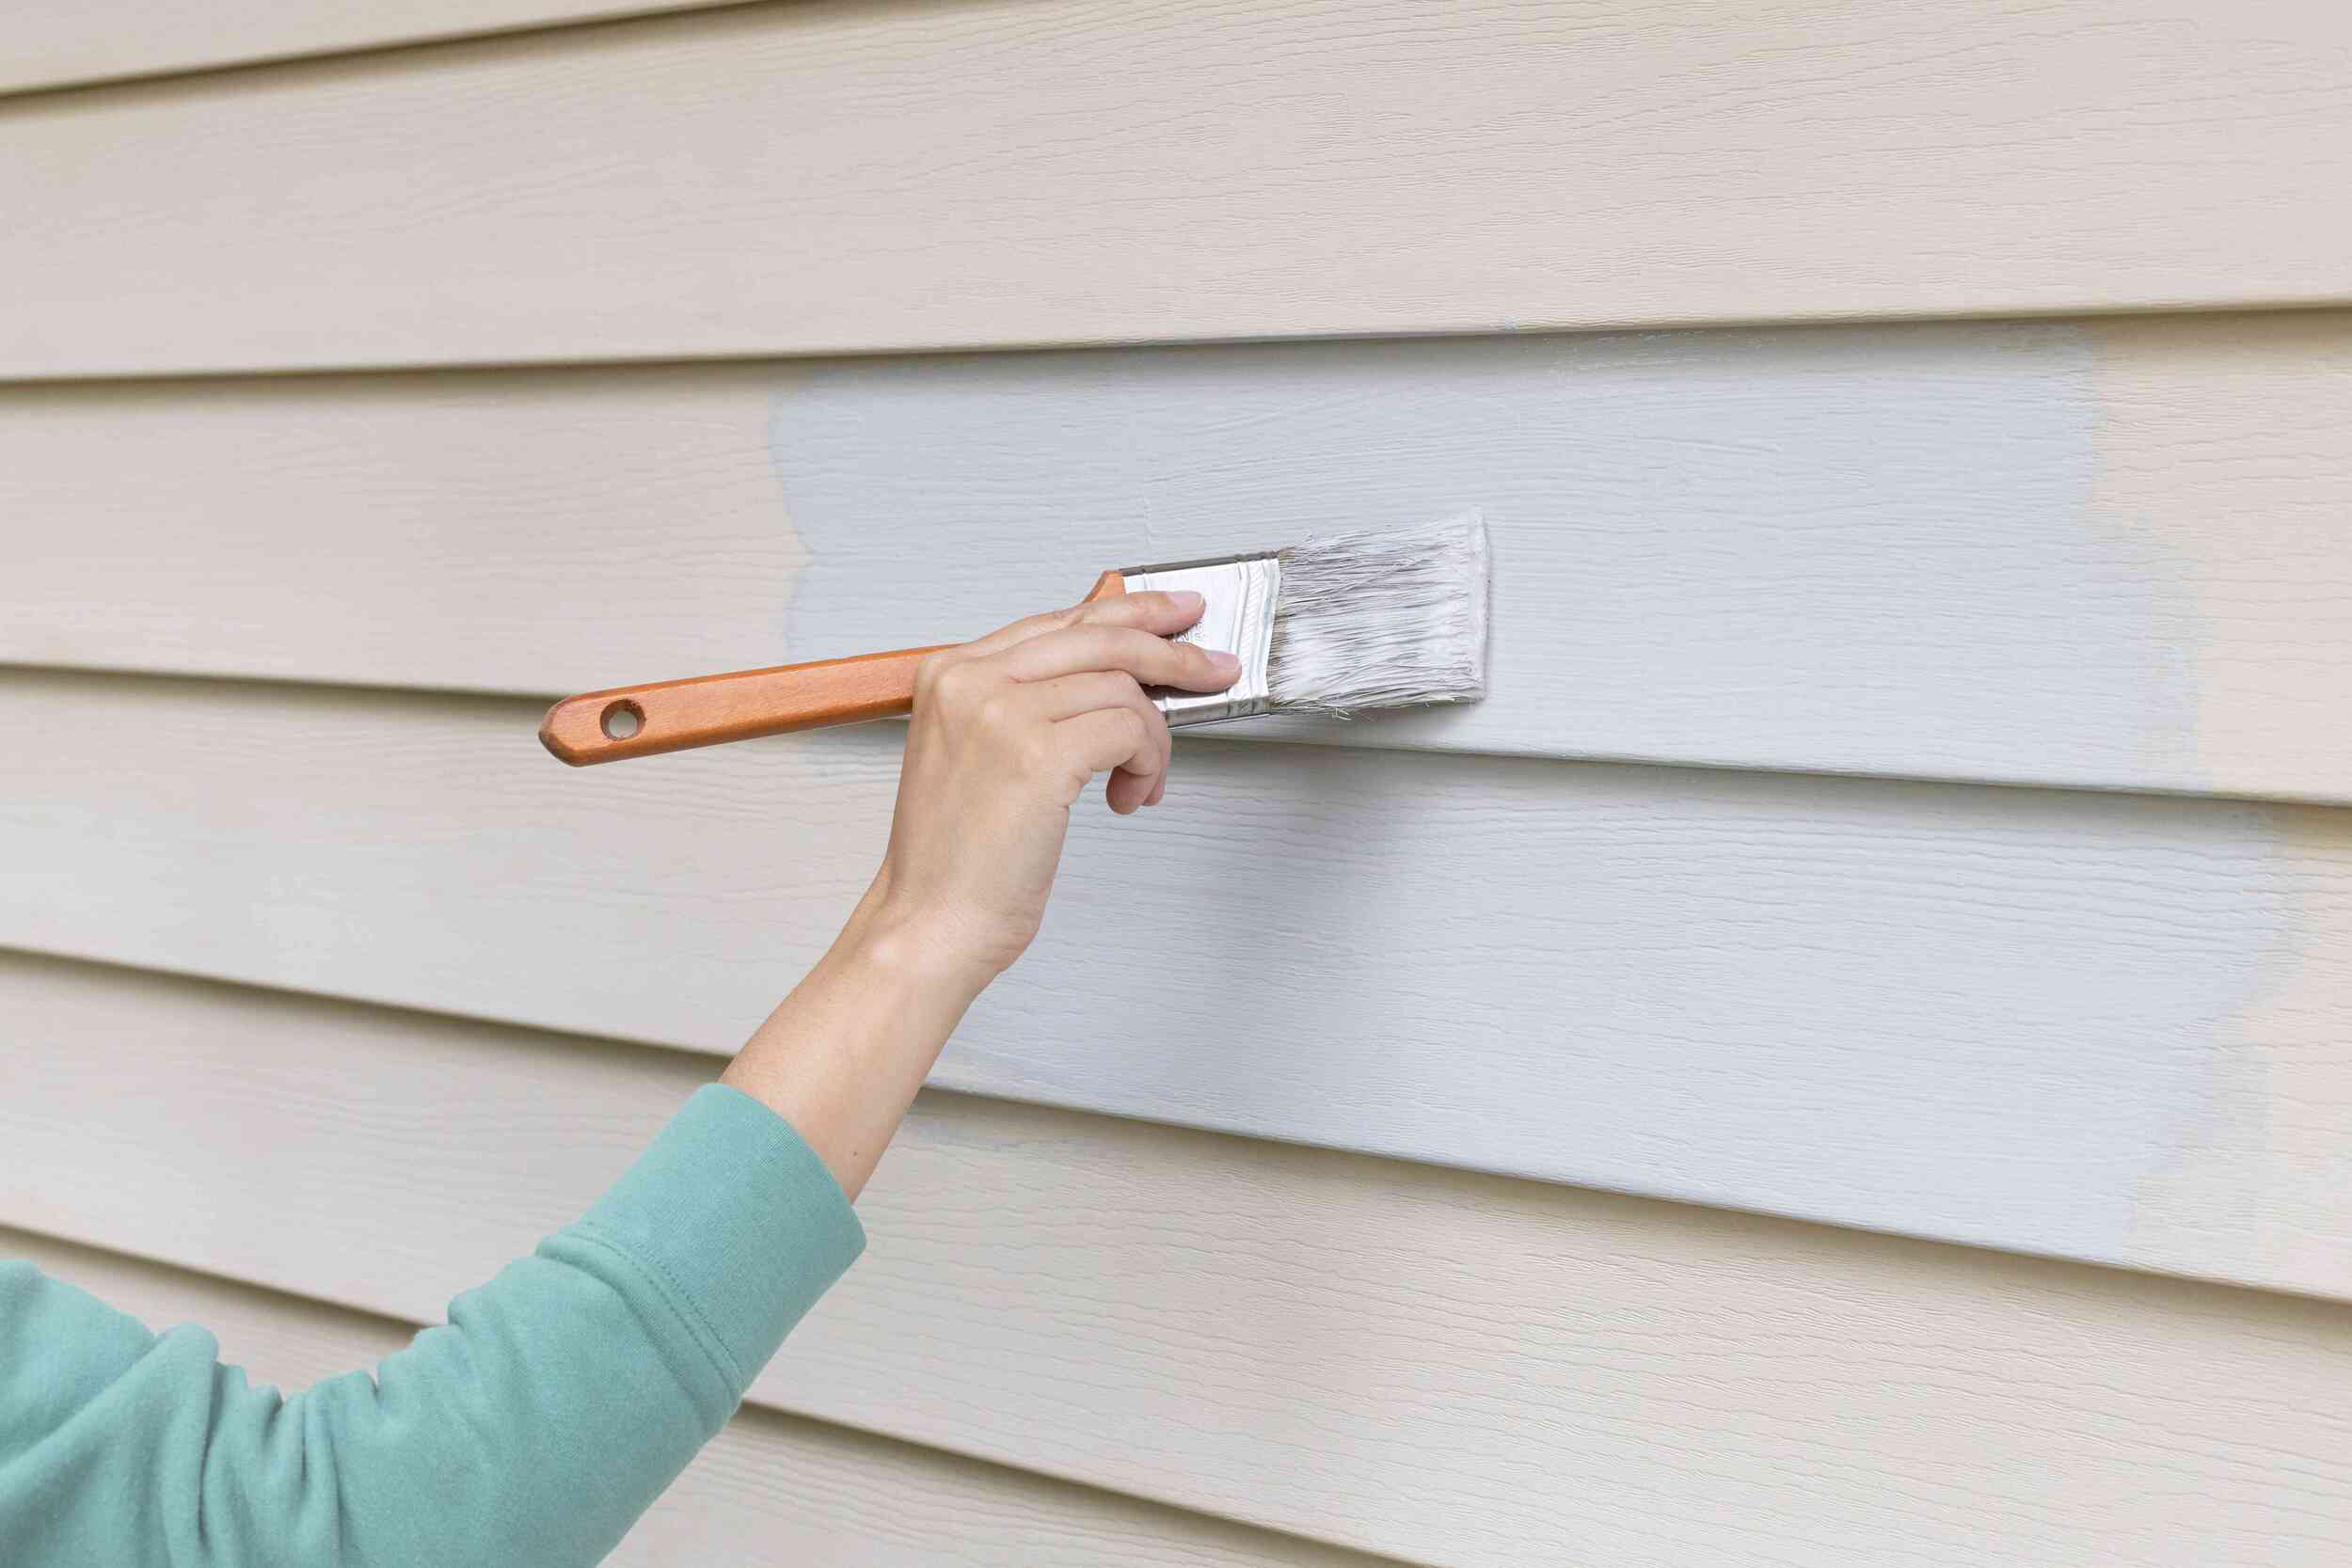
- Choose the right primer: Select a primer that is specifically formulated for exterior use and is compatible with the surface material and the type of paint you will be applying. Take into account any specific requirements or recommendations from the paint manufacturer.
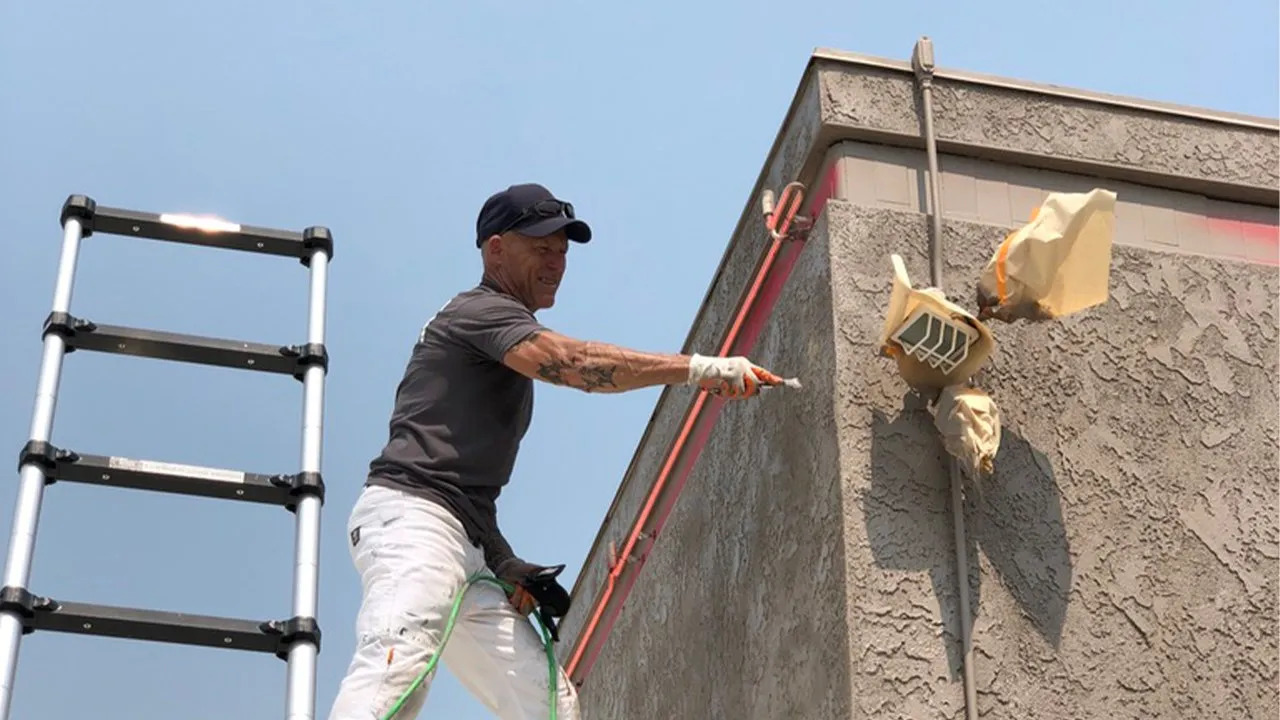
- Apply in optimal conditions: Apply the primer when the weather conditions are optimal. Ideally, choose a dry day with moderate temperatures (not too hot or cold) to ensure proper drying and adhesion. Avoid applying primer in direct sunlight or when rain is forecasted.
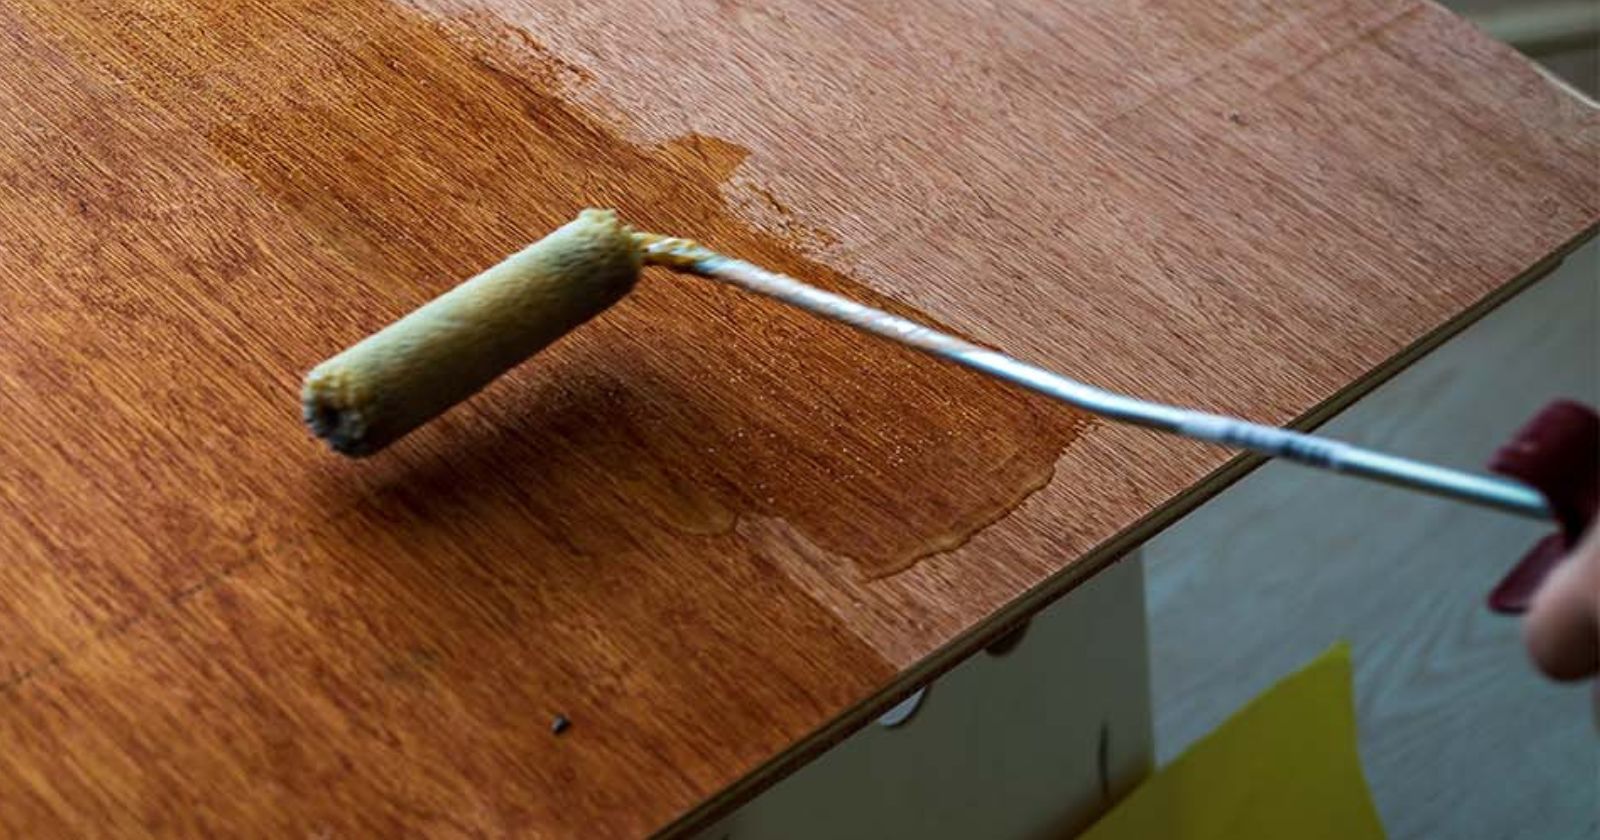
- Use the right tools: Invest in high-quality brushes or rollers that are suitable for your specific project. Brushes with synthetic bristles generally work well for applying primers. Consider using a sprayer for larger areas to achieve a more even coverage.
- Stir the primer thoroughly: Before application, stir the primer well to ensure all the components are properly mixed. This helps to achieve consistent coverage and ensures any settling or separation is evenly distributed.
- Apply thin, even coats: Apply the primer in thin layers, using smooth and even strokes. This helps to avoid drips or excess buildup, allowing for a more uniform and consistent appearance. Aim for complete coverage, but avoid overloading the brush or roller.
- Allow sufficient drying time: Follow the manufacturer’s instructions regarding drying time between coats. It’s crucial to allow each coat of primer to fully dry and cure before applying the next layer or moving on to the paint application. Rushing this step can lead to poor adhesion and compromised results.
- Inspect and touch up: After applying the primer, thoroughly inspect the surface for any missed spots or uneven areas. Touch up as necessary before moving on to the paint application.
- Clean up properly: Clean your brushes, rollers, and other tools immediately after use, following the instructions on the primer’s packaging. Proper cleanup helps to maintain the lifespan of your tools and ensures better performance in future projects.
- Follow up with paint: Once the primer has fully cured, you can proceed with the paint application. Consider applying two or more coats of high-quality exterior paint to achieve the desired color and finish.
By following these tips, you can ensure a smooth and successful application of primer to your exterior walls. Taking the time to prepare the surface, choose the right products, and apply the primer properly will contribute to a long-lasting and visually appealing paint job.
Conclusion
Applying primer to exterior walls is a crucial step in the painting process that should not be overlooked. It serves as a preparatory layer that enhances adhesion, improves coverage, and provides a smooth and durable base for the paint. By carefully considering factors such as the condition of the surface, the type of paint being used, and the desired end result, you can determine the optimal number of coats of primer to apply.
While the specific number of primer coats may vary depending on individual circumstances, following the general recommendations can help guide you towards a successful paint job. Applying multiple coats of primer offers benefits such as enhanced adhesion, optimal coverage, improved hiding power, and increased durability. However, it’s important to be mindful of potential drawbacks including increased cost, extended project timelines, and the risk of a thicker paint buildup.
When applying primer to exterior walls, it’s essential to properly prepare the surface, choose the right primer for the project, and apply it in appropriate weather conditions. Use the right tools, apply thin and even coats, allow sufficient drying time, and inspect for any touch-ups before proceeding with the paint application. Following these tips will help you achieve a professional and long-lasting finish.
Ultimately, by taking the time and care to apply primer to your exterior walls, you are setting the stage for a successful paint job that not only enhances the aesthetic appeal of your home but also ensures durability and protection against the elements. So, whether you’re embarking on a DIY project or seeking professional assistance, remember the importance of primer and the impact it can have on the overall outcome of your exterior painting project.
Frequently Asked Questions about How Many Coats Of Primer On Exterior Walls
Was this page helpful?
At Storables.com, we guarantee accurate and reliable information. Our content, validated by Expert Board Contributors, is crafted following stringent Editorial Policies. We're committed to providing you with well-researched, expert-backed insights for all your informational needs.

0 thoughts on “How Many Coats Of Primer On Exterior Walls”