Articles
How Do I Fix A Leaky Faucet
Modified: March 1, 2024
Learn how to fix a leaky faucet with our informative articles. Find step-by-step guides and expert tips to stop the annoying drip.
(Many of the links in this article redirect to a specific reviewed product. Your purchase of these products through affiliate links helps to generate commission for Storables.com, at no extra cost. Learn more)
Introduction
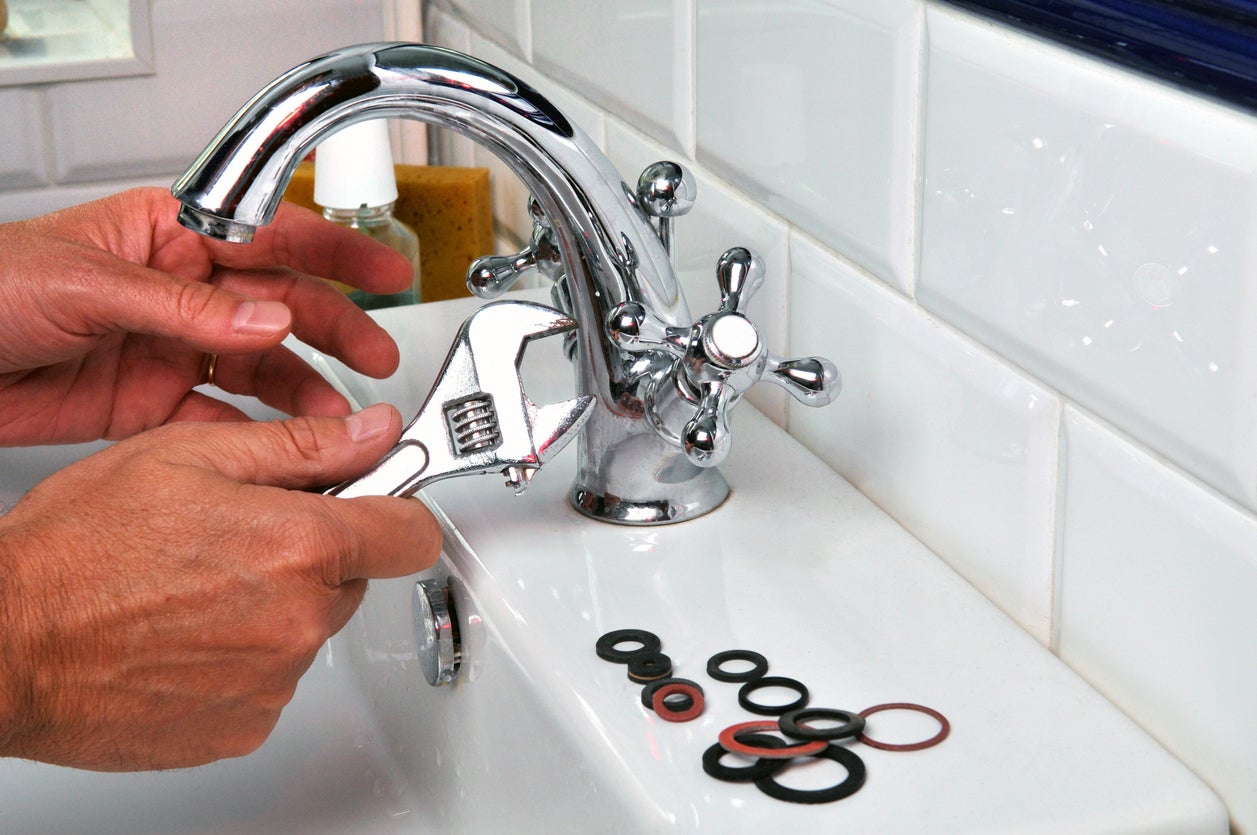
Dealing with a leaky faucet can be quite frustrating. Not only does it waste water and increase your water bill, but the constant dripping sound can also drive you crazy. Luckily, fixing a leaky faucet is a relatively simple task that you can tackle on your own without calling in a plumber.
In this article, we will guide you through the step-by-step process of fixing a leaky faucet. We will cover the different types of faucet leaks, the tools and materials you will need, and provide detailed instructions to help you successfully repair your faucet. So, let’s get started and put an end to that annoying drip!

Key Takeaways:
- Identify the type of faucet leak and gather the necessary tools and materials before starting the repair process. Shut off the water supply and take your time to disassemble, identify, replace, and reassemble the faulty parts for a successful fix.
- Remember to turn off the water supply, keep an organized work area, and seek professional assistance if needed. By following the step-by-step process and taking necessary precautions, you can save money and successfully repair your leaky faucet.
Read more: How To Fix A Leaky Faucet
Types of Faucet Leaks
Before we dive into the repair process, it’s important to first understand the different types of faucet leaks. By identifying the specific type of leak, you’ll be better equipped to fix it.
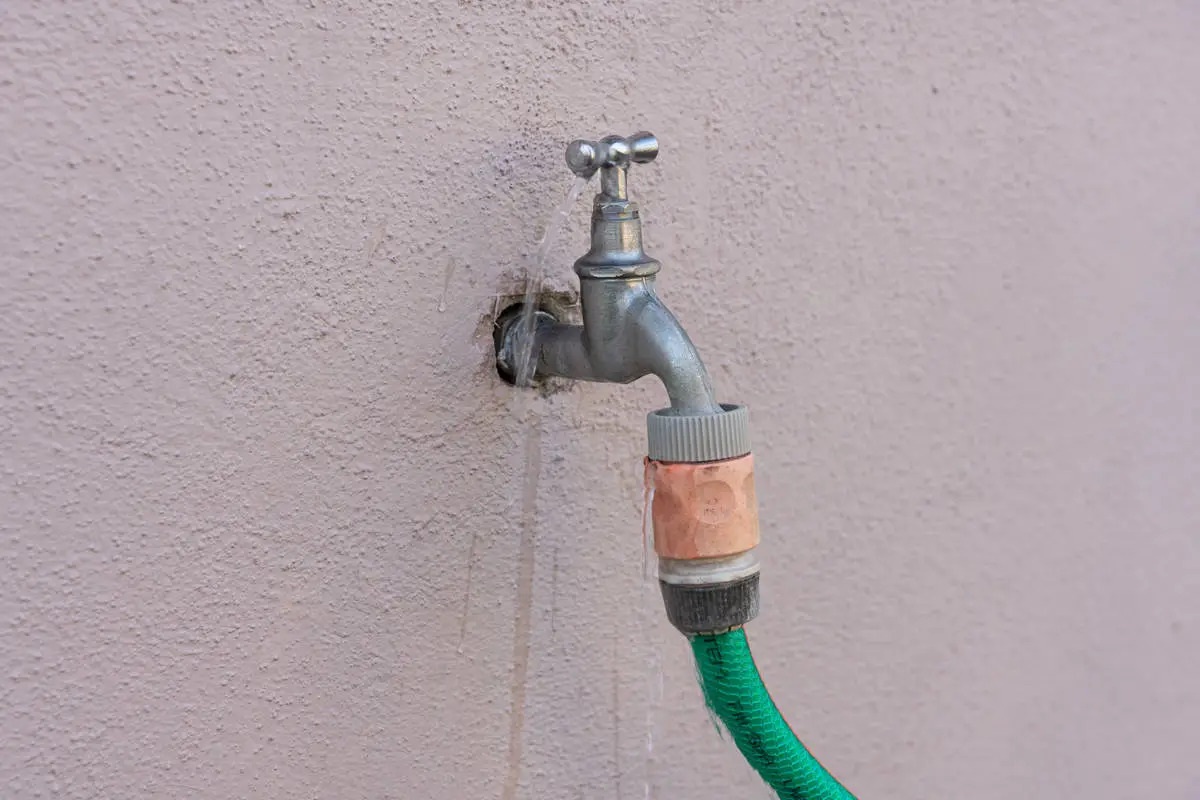
1. Dripping Faucet: This is the most common type of faucet leak where water continuously drips from the spout even when the faucet is turned off. The cause of this leak is usually a worn-out rubber washer or O-ring.
2. Leaking Base: If there is water pooling around the base of the faucet, it indicates a leak in the body of the faucet. This can be caused by loose or worn-out connections, cracked pipes, or damaged seals.
3. Spraying Faucet: When water sprays out from around the handle or spout, it indicates a broken or faulty cartridge. This is typically found in single-handle faucets.
4. Squeaking Faucet: If your faucet makes a squeaking sound when you turn it on or off, there may be a problem with the rubber or metal components inside. This can cause friction and noise when operating the faucet.
Now that you’re familiar with the different types of faucet leaks, let’s move on to the next step: gathering the necessary tools and materials.
Tools and Materials Needed
Before you begin repairing your leaky faucet, it’s important to gather the necessary tools and materials. Here’s a list of what you’ll need:
- Adjustable wrench
- Phillips and flathead screwdrivers
- Allen wrench set
- Replacement parts (such as washers, O-rings, cartridges)
- Plumber’s tape
- Rag or towel
- Bucket or container
- Pen and paper (for taking notes)
Having these tools and materials on hand will make the repair process smoother and more efficient. It’s always a good idea to have some extra replacement parts available in case you need to replace damaged or worn-out components.
Now that you have everything you need, let’s move on to the step-by-step process of fixing your leaky faucet.
Step 1: Shut off the Water Supply
Before you begin working on your leaky faucet, it’s crucial to shut off the water supply to prevent any accidents or further damage. Follow these steps:
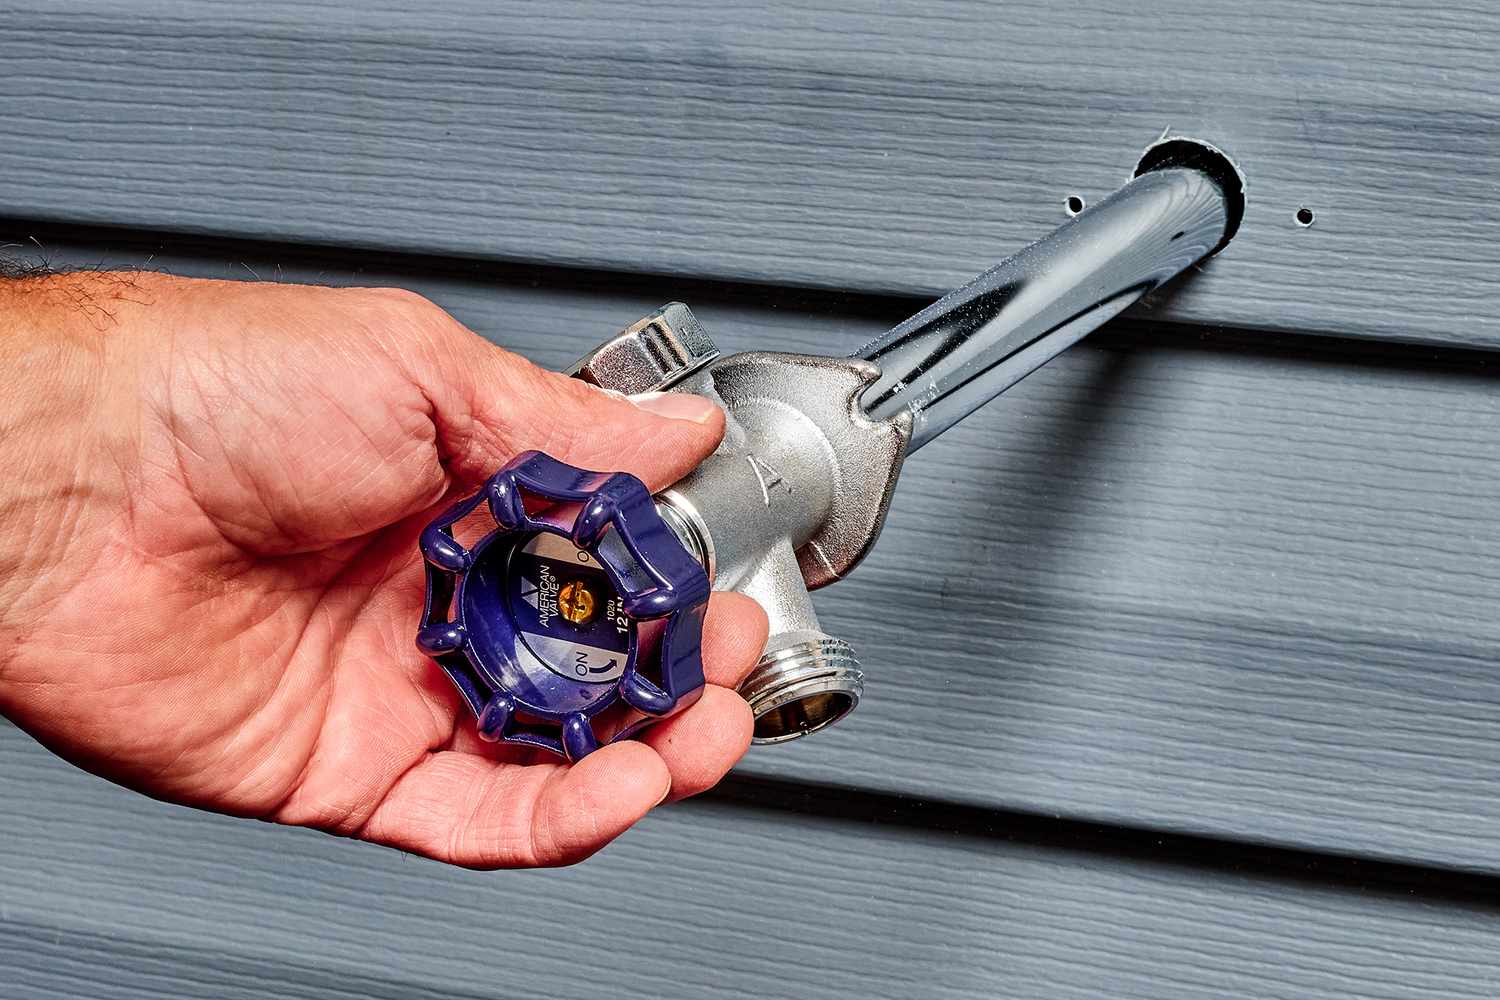
- Locate the water shut-off valve under your sink or in the basement.
- Turn the valve clockwise to shut off the water supply. If there isn’t a shut-off valve specifically for your faucet, you may need to shut off the main water supply to your house.
- Once the water supply is turned off, open the faucet to relieve any remaining pressure in the lines. This will also help drain any excess water from the pipes.
By shutting off the water supply, you ensure a safe and dry working environment for repairing your faucet. Now, let’s move on to identifying the type of faucet you have in order to proceed with the repairs.
Step 2: Determine the Type of Faucet
Before you can begin repairing your leaky faucet, it’s important to correctly identify the type of faucet you have. Different types of faucets have different mechanisms and require specific repair methods. Here are the most common types of faucets:
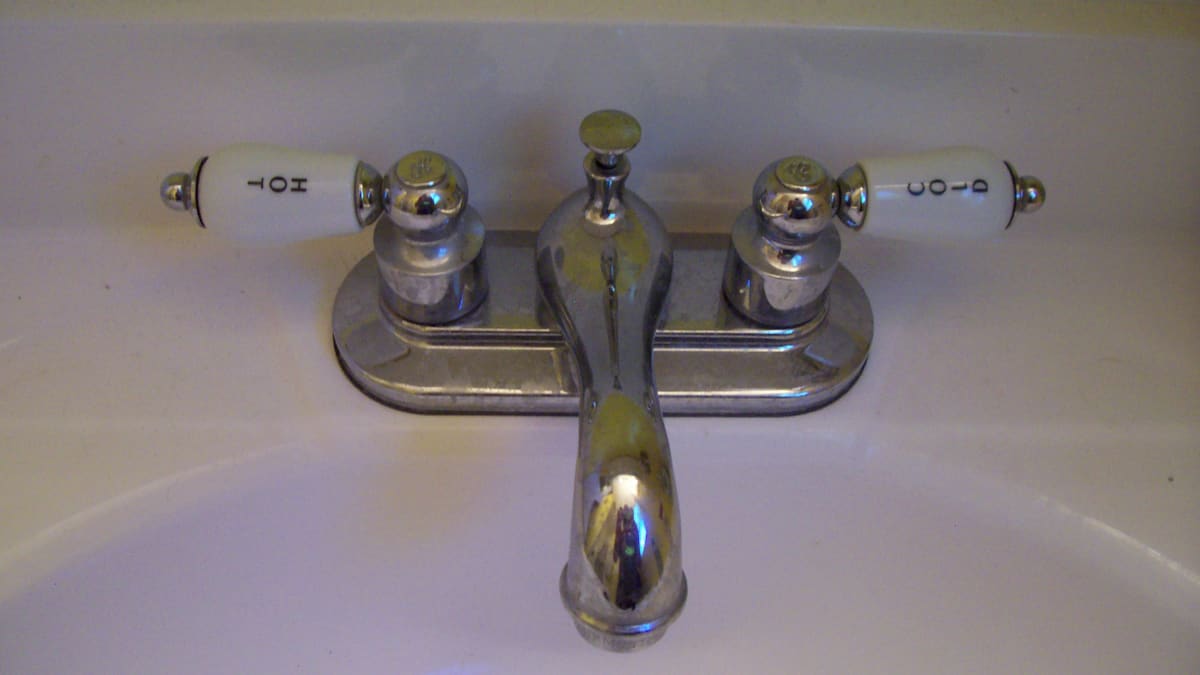
1. Compression Faucet: A compression faucet has separate hot and cold water handles, and you need to turn the handles clockwise to shut off the water flow. This type of faucet is easy to identify because it has two separate knobs or handles.
2. Cartridge Faucet: A cartridge faucet operates with a movable brass or plastic cartridge. To shut off the water flow, you typically need to rotate the handle(s) clockwise. Cartridge faucets are often found in single-handle faucets.
3. Ceramic Disk Faucet: A ceramic disk faucet has a large, ceramic cylinder that controls the flow of water. To shut off the water, you usually need to turn the handle(s) clockwise. Ceramic disk faucets are known for their durability and are commonly found in upscale bathrooms.
4. Ball Faucet: A ball faucet is usually found in older kitchen faucets. It has a rotating metal or plastic ball inside that controls the water flow and temperature. Ball faucets require a certain amount of force to shut off the water flow.
Your faucet type will determine how you proceed with the repair process. If you’re unsure about the type of faucet you have, consult the manufacturer’s documentation or refer to their website for more information.
Now that you’ve determined the type of faucet you’re working with, let’s move on to gathering the necessary tools and materials for the repair.
Read more: How To Fix A Leaky Delta Faucet
Step 3: Gather the Necessary Tools
Now that you have identified the type of faucet you have, it’s time to gather the necessary tools and materials for the repair. The tools you’ll need may vary depending on the type of faucet, but here are some common tools that come in handy for most faucet repairs:
- Adjustable wrench: This tool will help you loosen and tighten various components of the faucet.
- Phillips and flathead screwdrivers: These screwdrivers are essential for removing screws and accessing internal parts.
- Allen wrench set: An Allen wrench set is often needed for removing handle screws or other small components.
- Replacement parts: Depending on the specific issue with your faucet, you may need replacement parts such as washers, O-rings, cartridges, or ceramic disks.
- Plumber’s tape: Plumber’s tape is used to create a watertight seal when reassembling the faucet.
- Rag or towel: Have a rag or towel handy to wipe away any excess water and keep your work area clean.
- Bucket or container: Use a bucket or container to catch any water that may spill out during the repair process.
- Pen and paper: It’s always a good idea to have pen and paper nearby to take notes during the disassembly process. This can help you remember the order in which parts are removed and make reassembly easier.
Make sure you have all the necessary tools and materials within easy reach before you start the repair process. This will save you time and frustration as you won’t have to search for items mid-repair.
Now that you have your tools ready, it’s time to move on to the next step: disassembling the faucet.
One tip for fixing a leaky faucet is to first turn off the water supply to the faucet before attempting any repairs. This will prevent any further water damage and make the repair process easier.
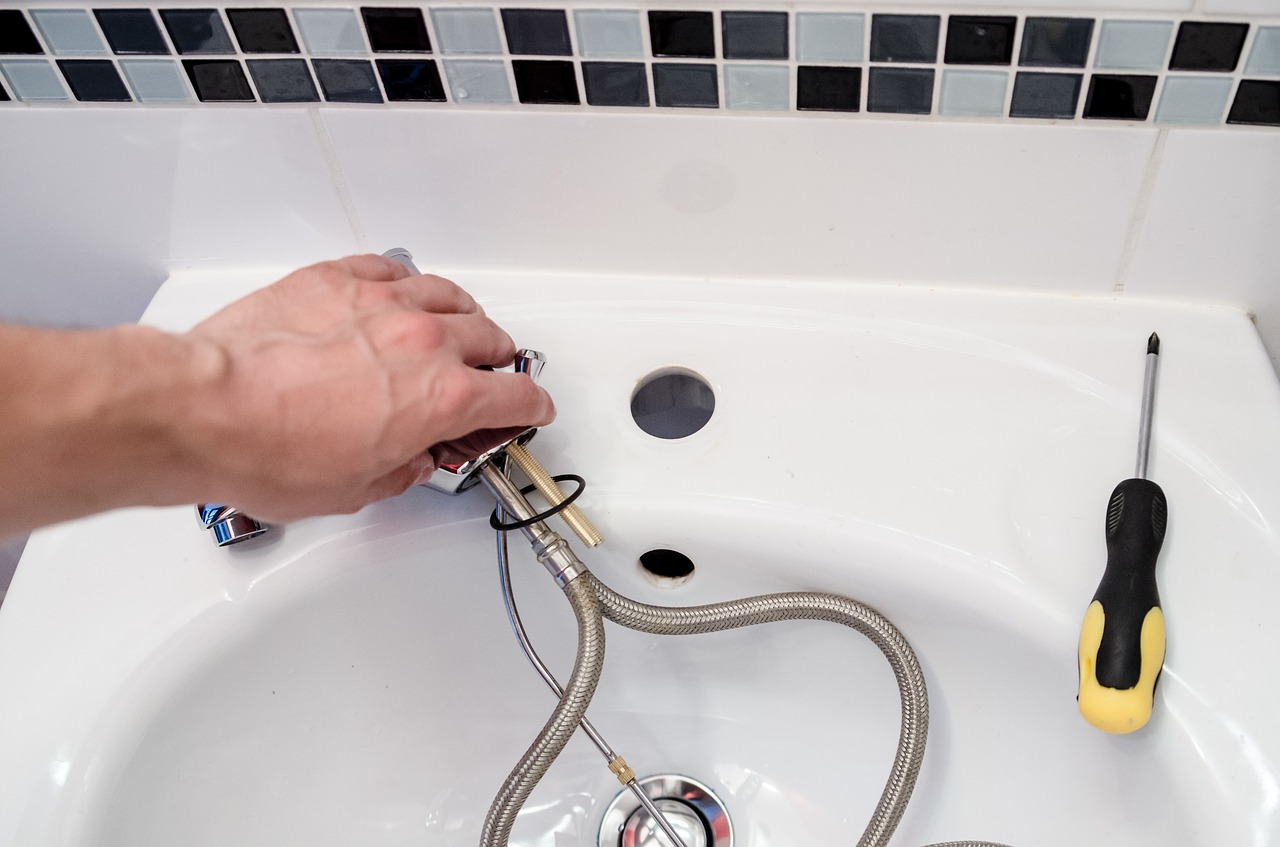
Step 4: Disassemble the Faucet
Now that you have gathered all the necessary tools and materials, it’s time to disassemble the faucet to access the leaky components. Follow these steps to disassemble the faucet:
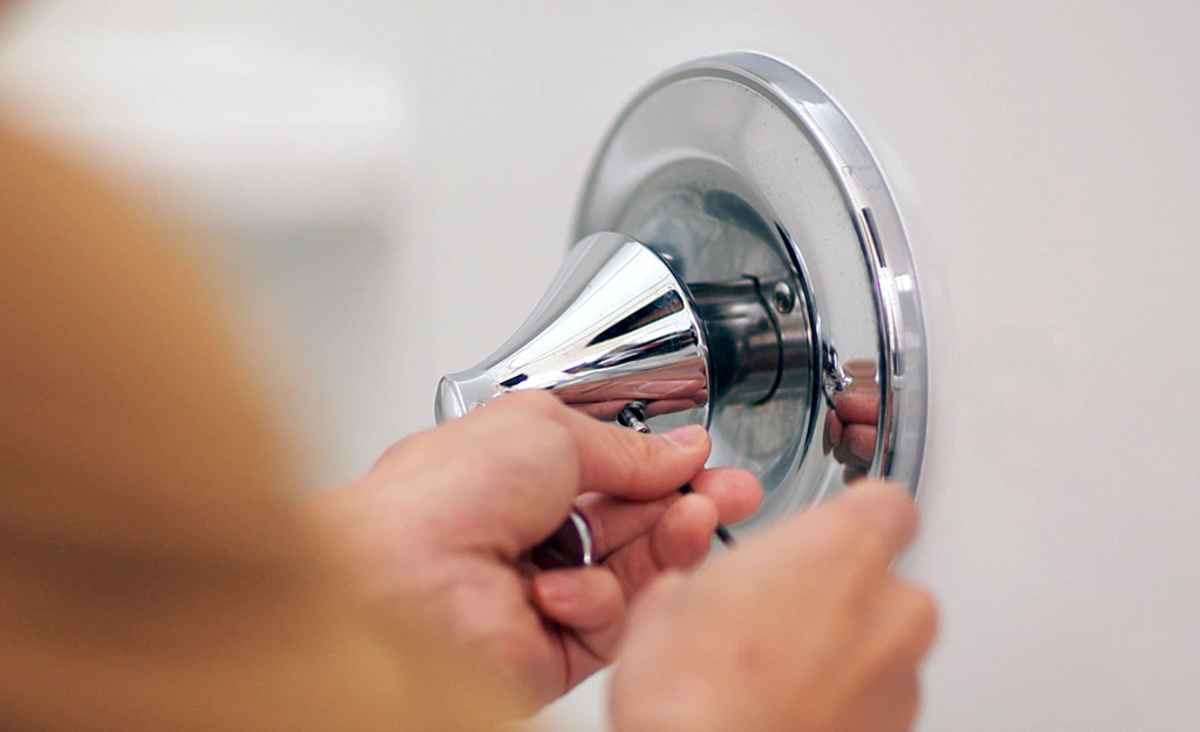
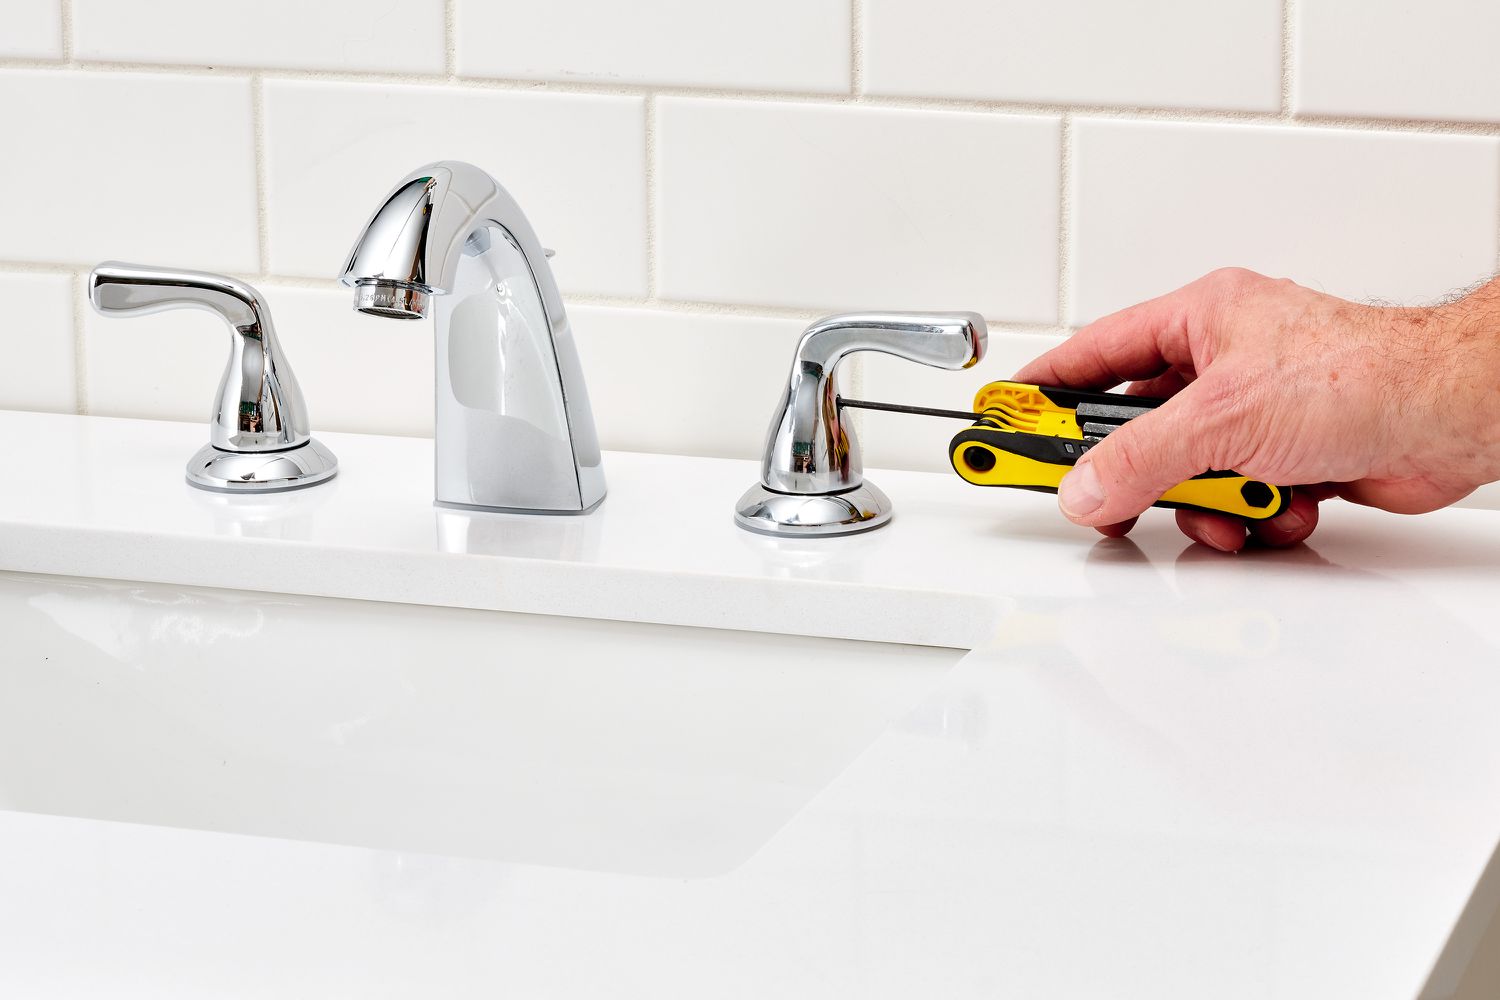
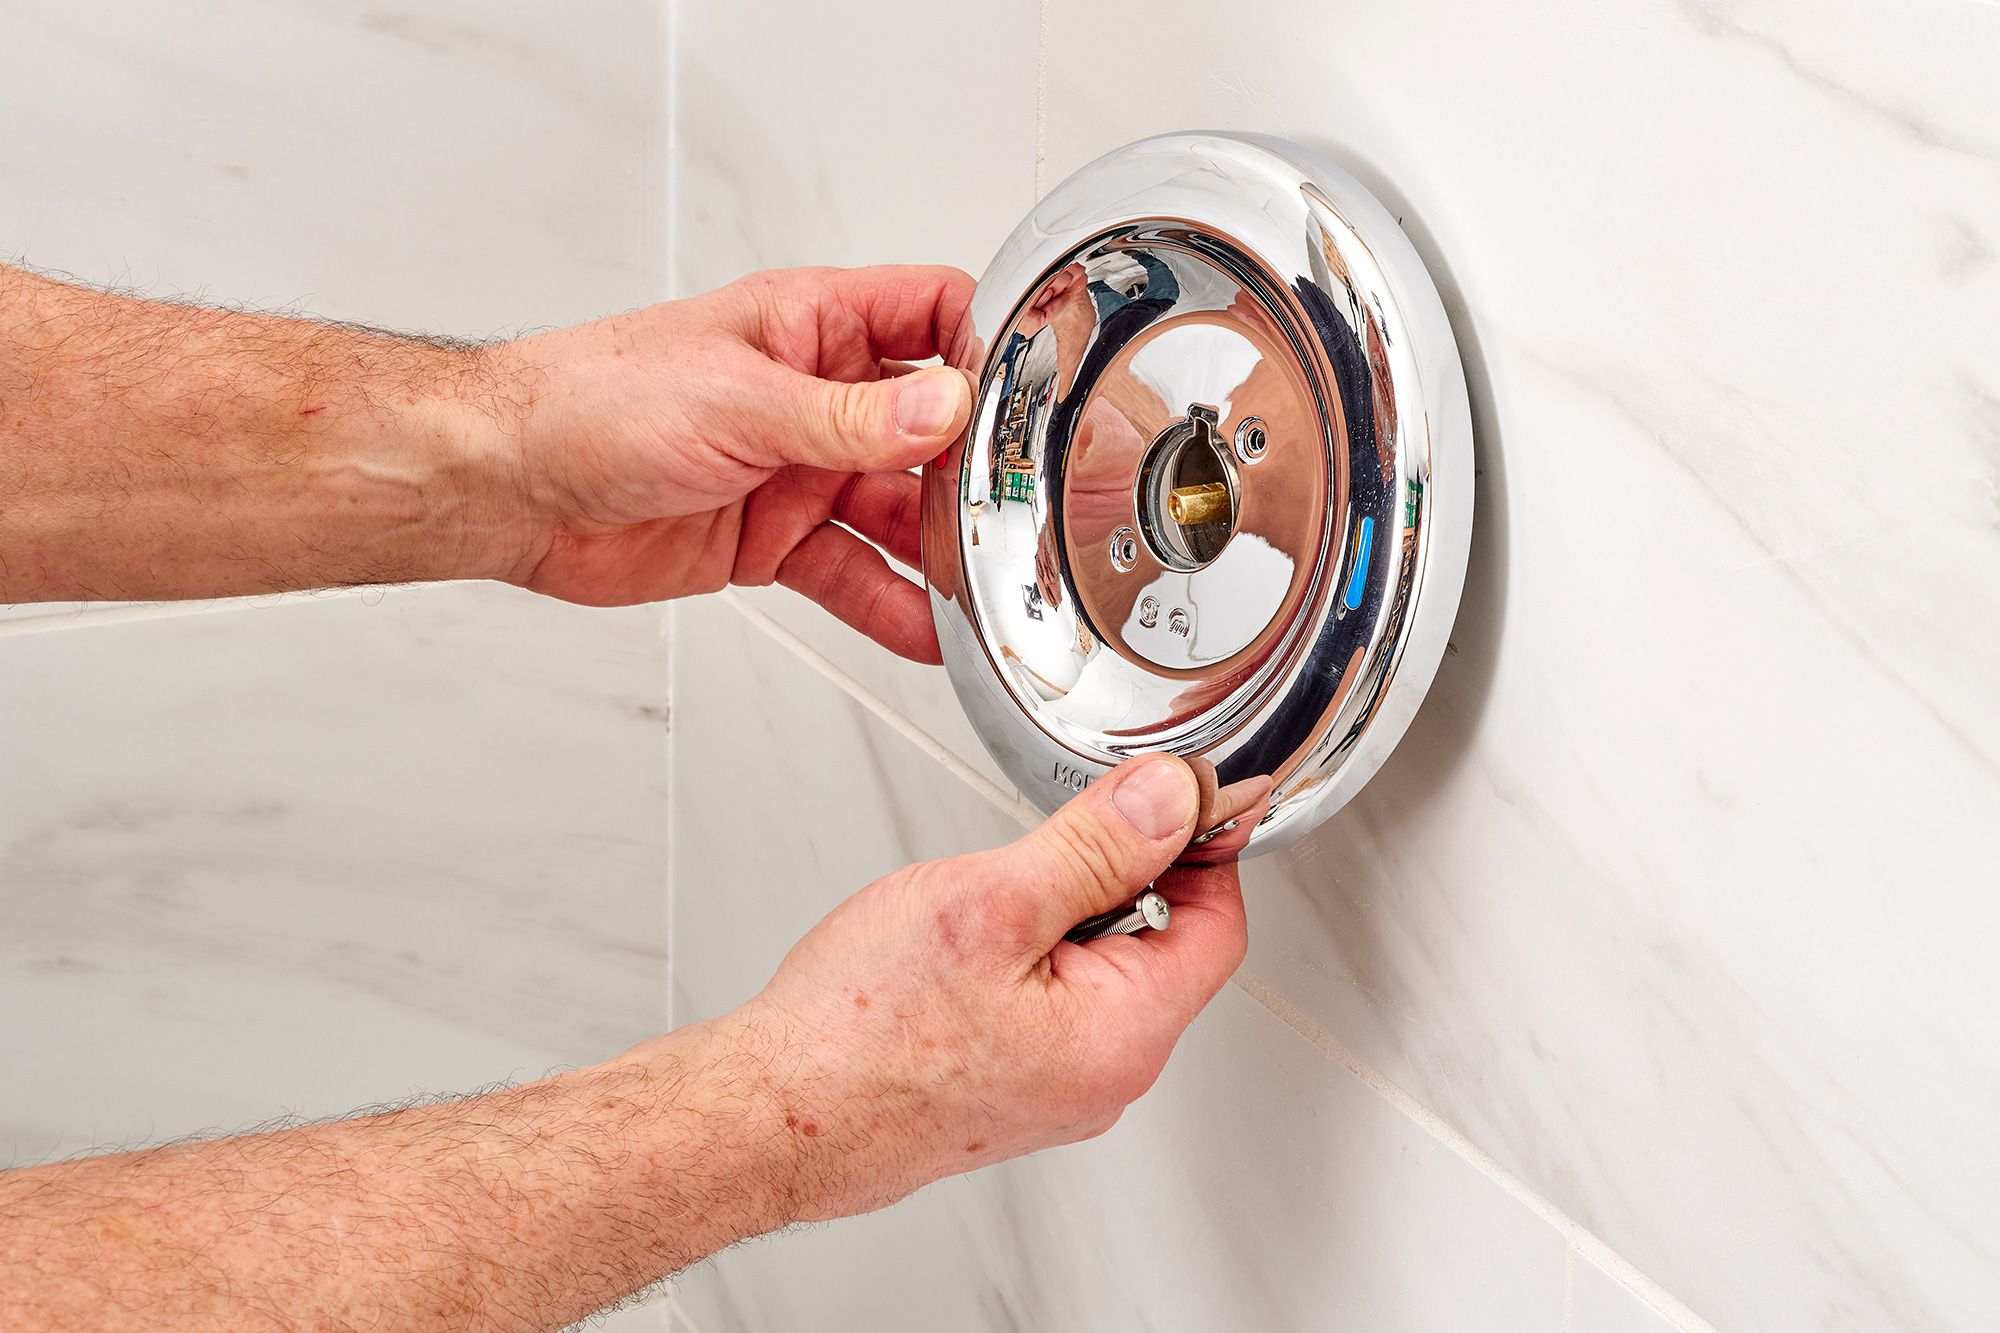
- Start by removing any decorative caps or covers on the handles. These caps can usually be popped off using a small flathead screwdriver.
- Once the caps are removed, you’ll be able to see the handle screws. Use a Phillips or flathead screwdriver (depending on the type of screw) to unscrew and remove the handle(s).
- After removing the handle(s), you’ll find a retaining nut or cartridge that holds the internal components in place. Use an adjustable wrench or pliers to loosen and remove this nut.
- With the retaining nut removed, you can now take out the faulty components from the faucet. Be careful not to lose any small screws or parts, and take note of the order in which you remove the parts for reassembly.
- Inspect the removed components for any signs of wear, damage, or debris. This will help you identify the source of the leak and determine which parts need to be replaced.
Remember to be gentle and take your time during the disassembly process to avoid damaging any components. If you’re unsure about how to proceed or encounter any difficulties, refer to the manufacturer’s documentation or seek professional assistance.
Now that you have successfully disassembled the faucet, it’s time to move on to the next step: identifying and replacing the faulty parts.
Step 5: Identify and Replace Faulty Parts
Now that you have disassembled the faucet and inspected the components, it’s time to identify the faulty parts causing the leak and replace them. Here’s how you can go about it:
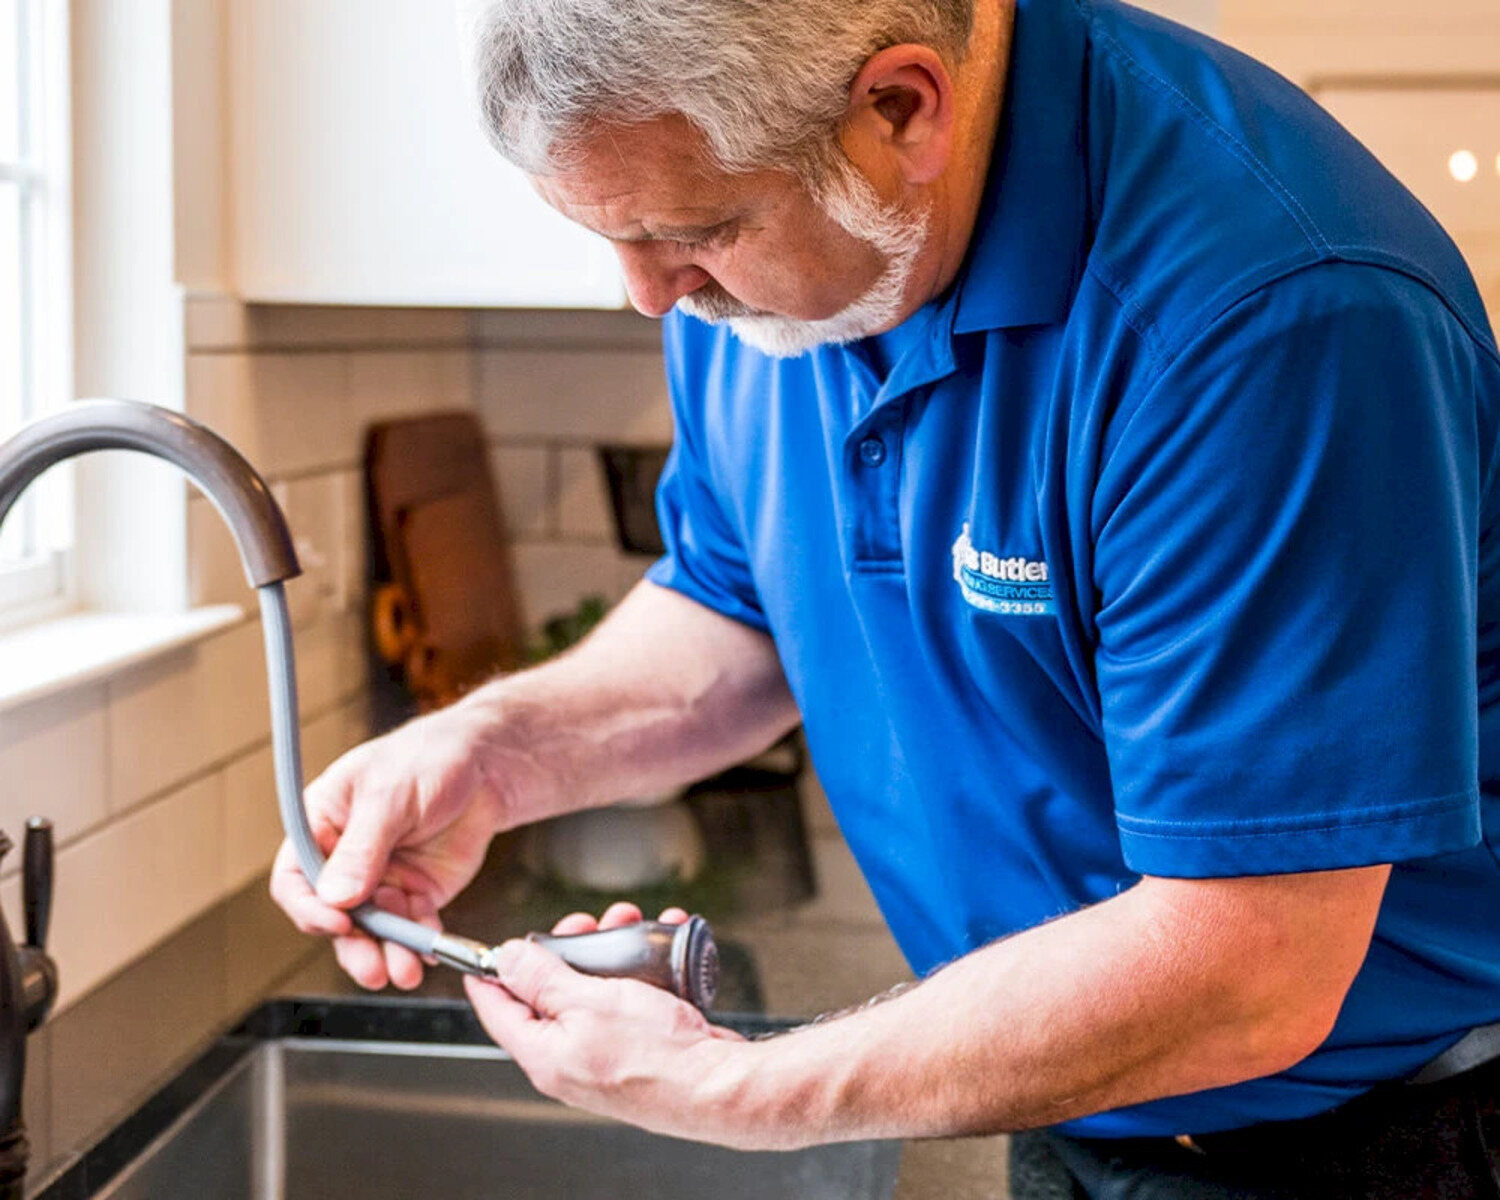
- Examine the rubber washers, O-rings, cartridges, or ceramic disks that you removed from the faucet. Look for any signs of wear, cracks, or tears that may be causing the leak.
- If you notice any damaged or worn-out components, it’s time to replace them. Take note of the specific make, model, and size of the parts you need to ensure you purchase the correct replacements.
- Visit your local hardware or plumbing supply store to purchase the replacement parts. Alternatively, you can also order them online from reputable suppliers.
- Once you have the new parts, follow the manufacturer’s instructions for installation. Carefully insert the new washers, O-rings, cartridges, or ceramic disks in place of the old ones.
- Be sure to lubricate the new parts with plumber’s grease if recommended by the manufacturer. This will ensure smooth functioning and prevent future issues.
During the replacement process, it’s important to handle the new parts with care and ensure they are properly aligned and fitted. Avoid overtightening or forcing any parts, as this can cause damage or lead to leaks in the future.
If you’re unsure about how to correctly replace a particular component, refer to the manufacturer’s instructions or consult a professional plumber for assistance. They can provide guidance to ensure a successful repair.
Now that you have identified and replaced the faulty parts, it’s time to move on to the next step: reassembling the faucet.
Step 6: Reassemble the Faucet
Now that you have replaced the faulty parts, it’s time to reassemble the faucet. Follow these steps to put everything back together:
- Starting with the replaced components, carefully reinsert them into their respective positions. Ensure they fit securely and align properly with the rest of the faucet assembly.
- Using an adjustable wrench or pliers, tighten the retaining nut or cartridge to secure the components in place. Be careful not to overtighten, as this can cause damage.
- Reattach the handle(s) by tightening the handle screws with a screwdriver. Make sure the handle(s) are aligned properly and turn smoothly.
- If you removed any decorative caps or covers, snap them back into place over the handles.
- Check for any remaining loose components or screws and ensure they are tightened securely to prevent leaks later on.
As you reassemble the faucet, refer to any notes or pictures you took during the disassembly process. This will help you remember the correct order and positioning of the various parts.
Once you’ve reassembled the faucet, it’s important to test it to ensure it’s working properly and there are no more leaks. Let’s move on to the next step and turn on the water supply.
Read more: How To Fix A Leaky Faucet Handle
Step 7: Turn on the Water Supply
After successfully reassembling the faucet, it’s time to turn on the water supply and test for any remaining leaks. Here’s what you need to do:
- Locate the shut-off valve that you previously closed and turn it clockwise to gradually restore the water supply.
- Slowly turn on the faucet to allow water to flow through it. Keep an eye on the faucet and check for any signs of leaks.
- If you notice any leaks, turn off the water supply again and double-check that all components are properly aligned and tightened. Make any necessary adjustments or re-tighten any loose parts.
- Once you’re confident that there are no leaks, you can fully open the faucet and let the water flow freely. Observe the faucet for a few minutes to ensure its functionality and absence of any leaks.
Congratulations! If you followed the previous steps carefully, you should have successfully fixed your leaky faucet. Not only have you saved money on potential plumbing expenses, but you have also acquired the skills to handle similar issues in the future.
Remember, regular maintenance and periodic checks can help prevent future leaks and prolong the lifespan of your faucet. It’s recommended to visually inspect your faucets and address any small issues promptly to prevent them from becoming major problems.
Now that you have completed the repair and turned on the water supply, you can enjoy a leak-free and functioning faucet once again.
If you encounter any difficulties during the repair process or are unsure about any steps, it’s always best to consult a professional plumber for assistance and guidance.
With your faucet successfully repaired, you can now enjoy the peace and quiet without the incessant drip and the satisfaction of a job well done!
Thank you for following along with this guide. We hope it has been helpful in resolving your leaky faucet issue.
Additional Tips and Precautions
While fixing a leaky faucet is generally a straightforward process, there are a few additional tips and precautions to keep in mind to ensure a successful repair:
- Always shut off the water supply before attempting to repair a faucet. This will prevent any water damage or accidents during the repair process.
- Take note of the order in which you remove the components during disassembly. This will make reassembly easier and ensure everything is correctly aligned.
- When purchasing replacement parts, make sure to get ones that are compatible with your specific faucet model. Refer to the manufacturer’s documentation or consult a professional if you’re unsure.
- Keep a clean and organized work area. This will help you keep track of small parts and prevent any accidental damage or loss.
- If you’re having difficulty removing a stubborn component, try using penetrating oil or applying gentle heat to loosen it. Avoid excessive force that could lead to breakage.
- Consider using plumber’s tape when reassembling the faucet to create a watertight seal and prevent any future leaks. Wrap the tape around threaded connections before tightening.
- Regularly clean and maintain your faucets to prevent buildup and ensure their longevity. This includes removing mineral deposits and debris from the aerator.
- If you’re unsure about any step of the repair process or encounter unexpected difficulties, don’t hesitate to seek professional assistance. Plumbing experts can provide guidance and ensure the repair is done correctly.
By following these additional tips and taking necessary precautions, you can successfully repair your leaky faucet and extend its lifespan. Remember, proper maintenance and addressing minor issues promptly can save you time, money, and the inconvenience of a major plumbing problem in the future.
Thank you for reading this guide. We hope it has been informative and has empowered you to take on the task of fixing your leaky faucet. Enjoy your freshly repaired faucet and the peace of mind that comes with knowing your water is no longer being wasted!
Conclusion
Fixing a leaky faucet is a task that can be accomplished by anyone with a bit of patience and some basic tools. Not only does it save water and reduce your water bill, but it also restores peace and quiet to your home. By following the step-by-step process outlined in this article, you can successfully repair your leaky faucet and avoid the need for a plumber.
We began by discussing the different types of faucet leaks, including dripping faucets, leaking bases, spraying faucets, and squeaking faucets. Understanding the type of leak you have is crucial in determining the appropriate repair method.
We then covered the tools and materials you will need, such as an adjustable wrench, screwdrivers, replacement parts, plumber’s tape, and more. Having these tools readily available will ensure a smooth repair process.
Next, we walked through each step of the repair process, from shutting off the water supply to disassembling the faucet, identifying and replacing faulty parts, reassembling the faucet, and finally turning the water supply back on. Detailed instructions and additional tips were provided to assist you along the way.
We also highlighted the importance of taking precautions, such as turning off the water supply before starting the repair, keeping an organized work area, and seeking professional assistance if needed. Additionally, we provided helpful tips for maintaining your faucet to prevent future leaks.
By successfully completing the repair and turning on the water supply, you have achieved the goal of fixing your leaky faucet. The skills you have acquired through this process will empower you to tackle similar issues in the future and save money on unnecessary plumber bills.
We hope that this article has been a valuable resource for you and has equipped you with the knowledge and confidence to successfully repair your leaky faucet. Remember, if at any point you feel unsure or encounter unexpected difficulties, it’s always best to seek professional assistance.
Thank you for reading, and we wish you continued success in your DIY plumbing endeavors. Enjoy your leak-free faucet and the savings that come with it!
Frequently Asked Questions about How Do I Fix A Leaky Faucet
Was this page helpful?
At Storables.com, we guarantee accurate and reliable information. Our content, validated by Expert Board Contributors, is crafted following stringent Editorial Policies. We're committed to providing you with well-researched, expert-backed insights for all your informational needs.


0 thoughts on “How Do I Fix A Leaky Faucet”