Articles
Faucet Drips When Off
Modified: March 1, 2024
Discover helpful articles on how to fix a dripping faucet when it's turned off. Explore step-by-step guides and expert tips to solve your faucet leakage issues.
(Many of the links in this article redirect to a specific reviewed product. Your purchase of these products through affiliate links helps to generate commission for Storables.com, at no extra cost. Learn more)
Introduction
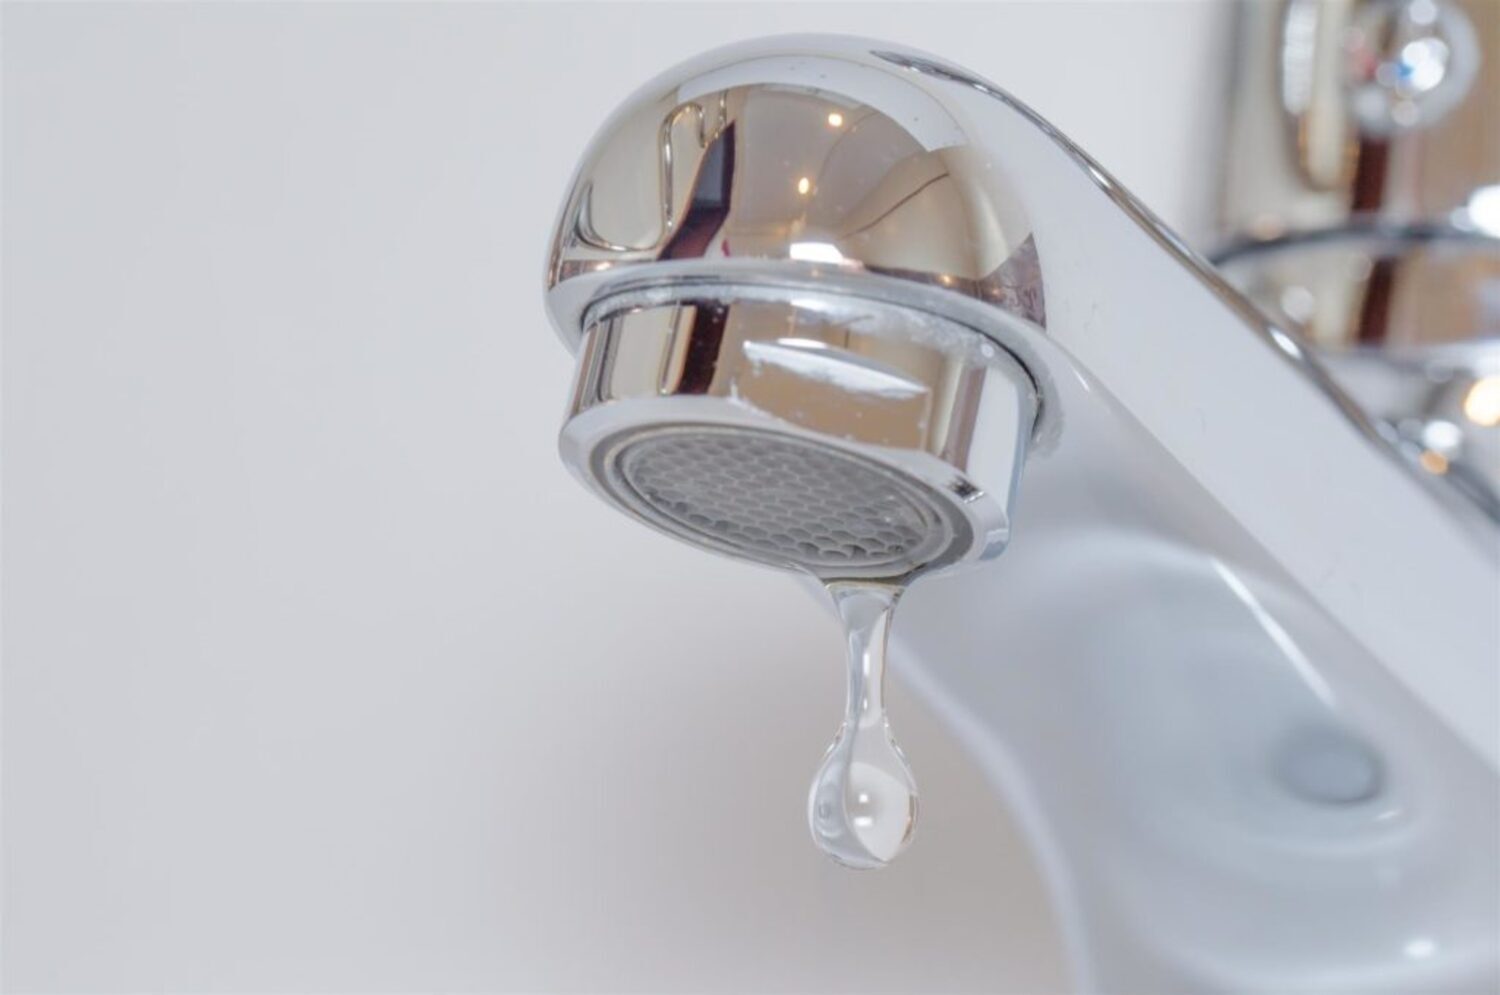
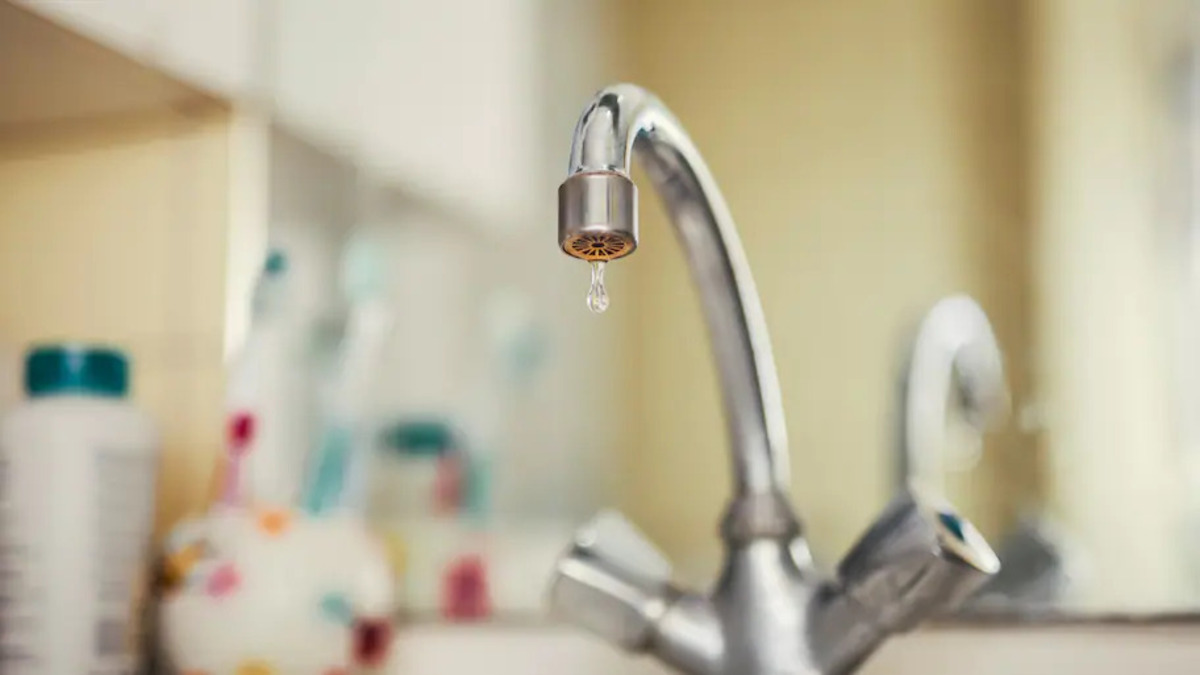
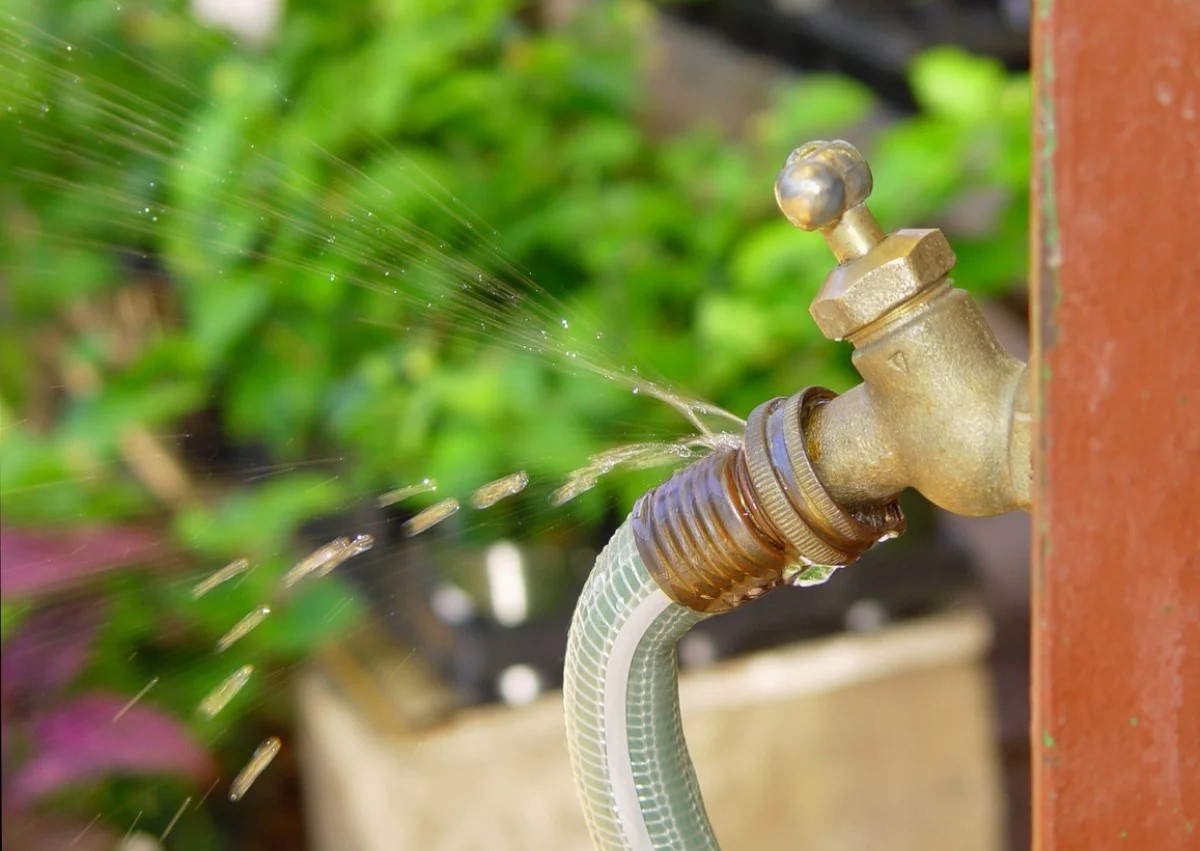
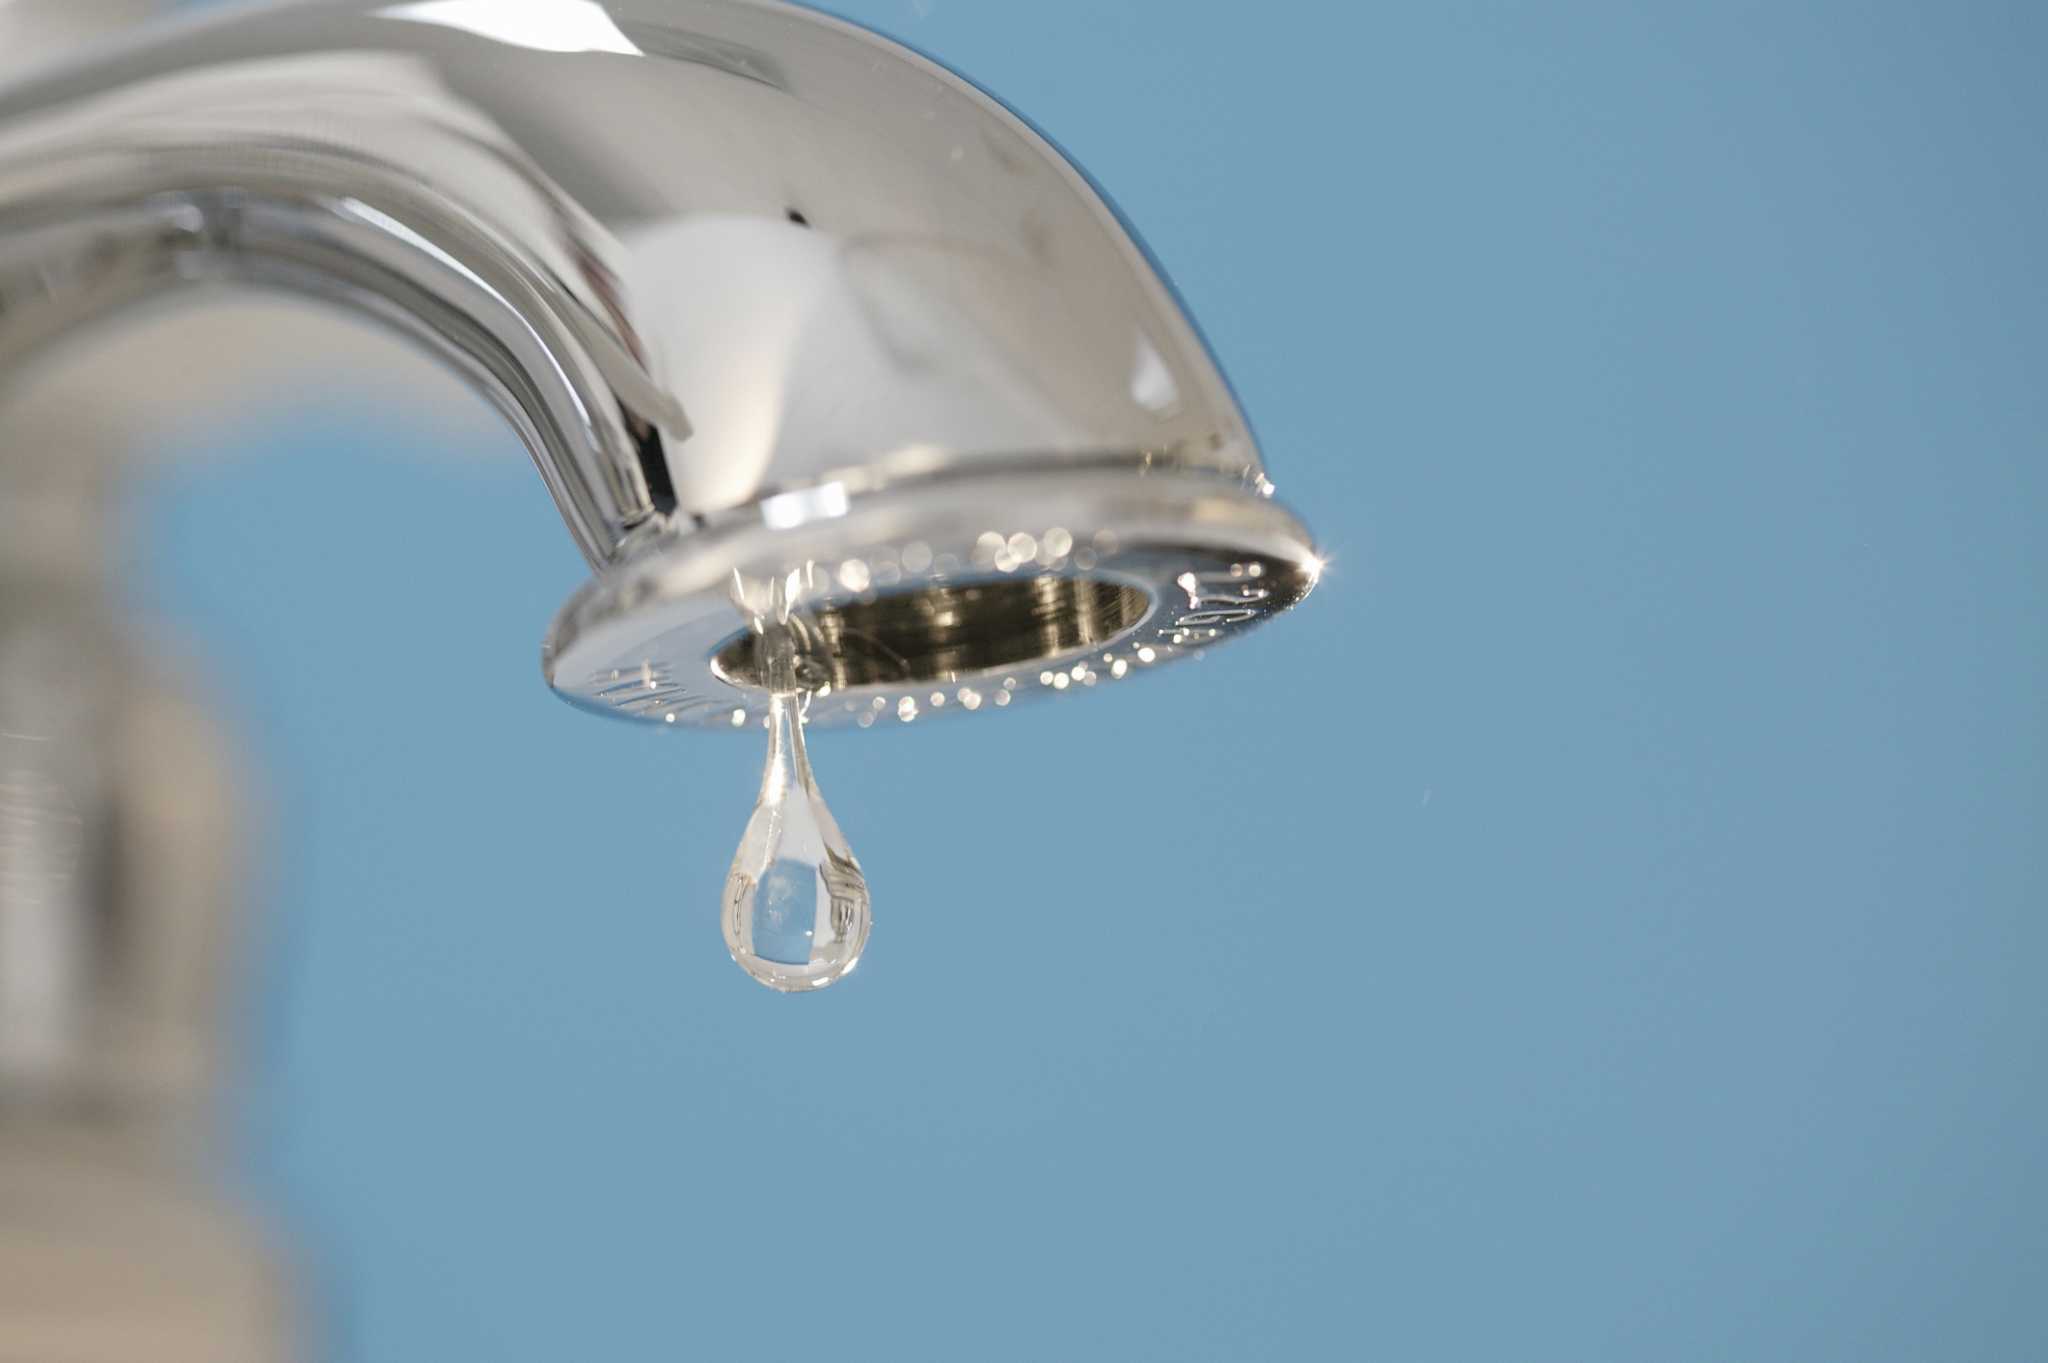
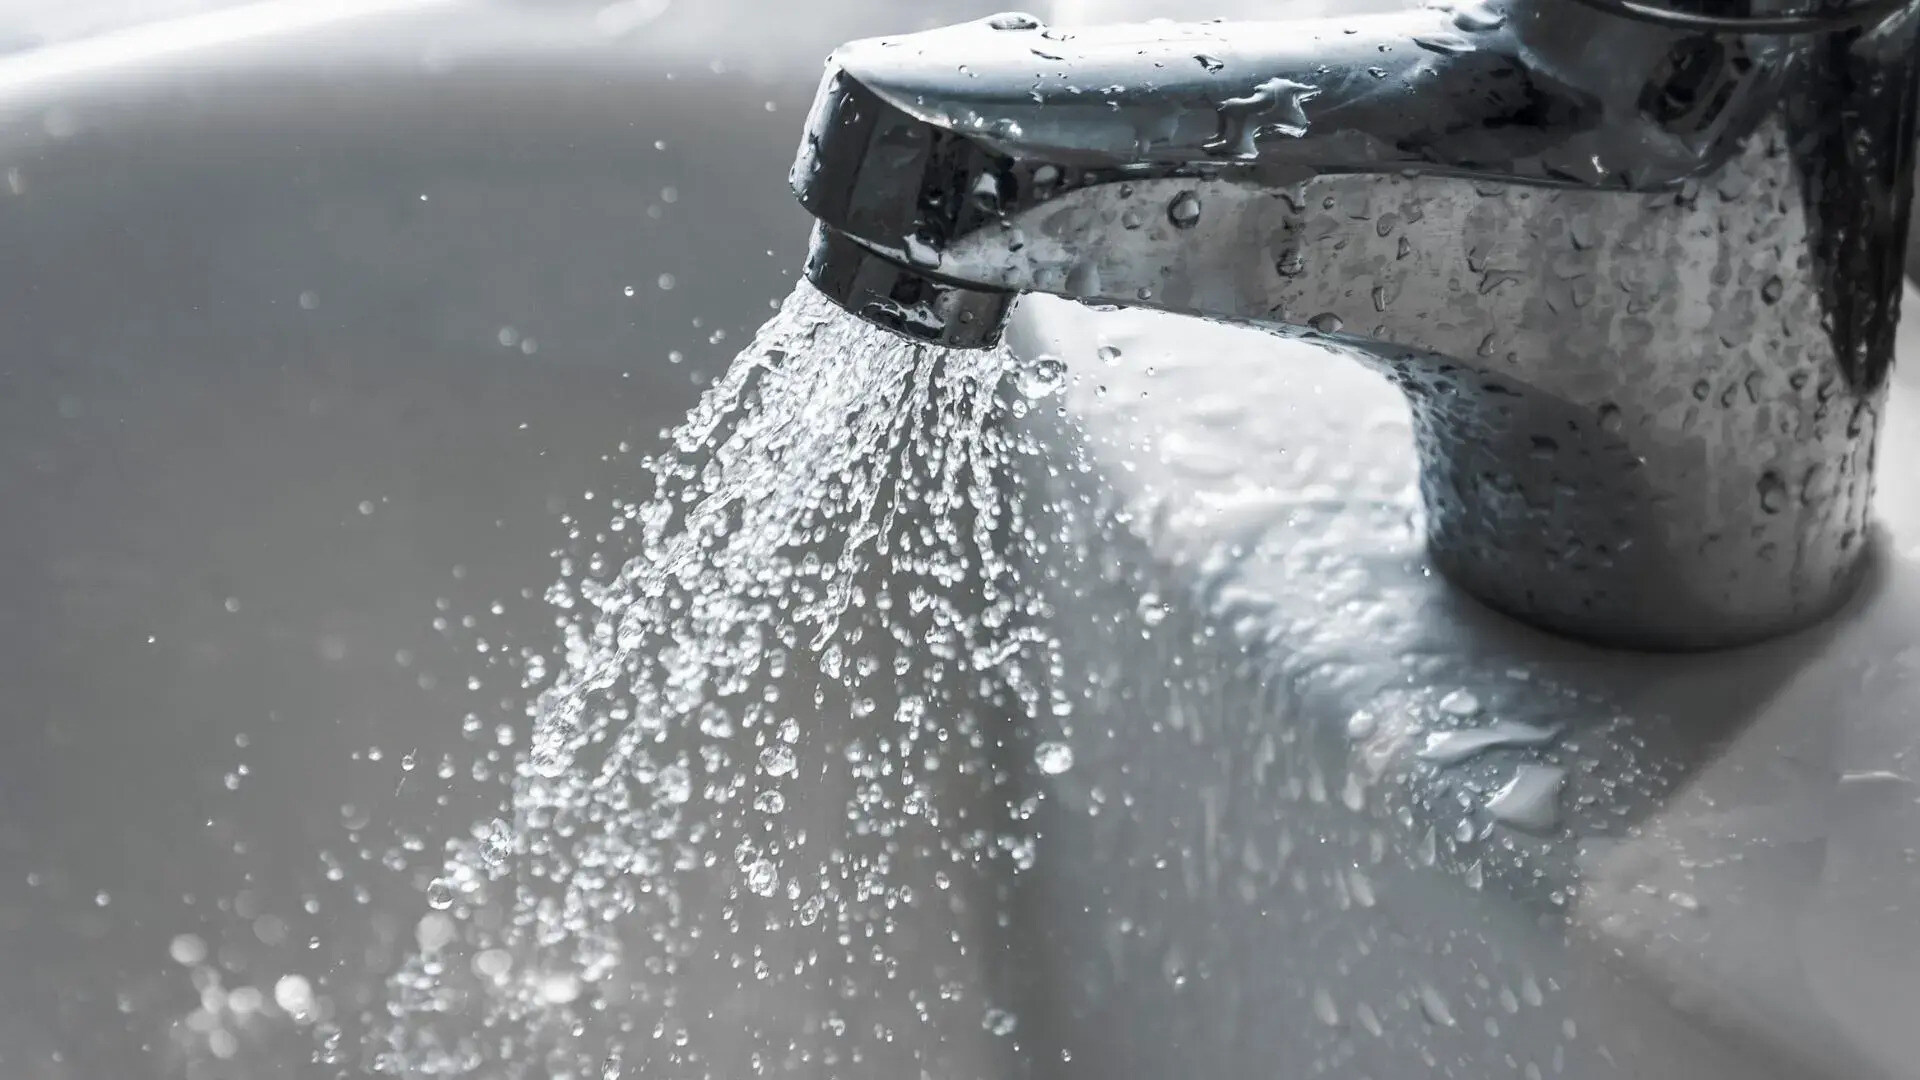
Have you ever been irritated by a constant dripping sound coming from your faucet, even when it’s turned off? Not only can a dripping faucet be incredibly annoying, but it can also waste a significant amount of water over time, leading to higher utility bills and environmental concerns. Understanding the causes of a dripping faucet and learning how to fix it yourself can save you time, money, and frustration.
A dripping faucet is a common plumbing issue that can have several underlying causes. It can occur in both kitchen and bathroom faucets, and the sound of dripping water can be quite distracting, especially when you’re trying to sleep or concentrate. Fortunately, most causes of a dripping faucet can be fixed without the need for professional plumbing services.
In this article, we will explore the common causes of a dripping faucet and provide you with a step-by-step guide to fix it yourself. We’ll also discuss the tools and materials you’ll need for the repair process, ensuring that you’re fully equipped to tackle the problem head-on.
So, if you’re tired of that incessant dripping sound and want to regain control over your water usage and utility bills, let’s dive into the world of faucet repairs and find out how to fix that pesky dripping faucet once and for all.
Key Takeaways:
- Takeaway 1: Don’t let a dripping faucet drive you crazy! Learn to diagnose and fix the issue yourself, saving money, conserving water, and restoring peace and quiet to your home.
- Takeaway 2: Equip yourself with the right tools and materials to confidently tackle the repair process. By taking action, you contribute to water conservation efforts and enjoy the benefits of a leak-free plumbing system.
Read more: How To Drip Faucet
Common Causes of a Dripping Faucet
Understanding the common causes of a dripping faucet is crucial in order to effectively diagnose and fix the issue. Here are some of the most common culprits behind that annoying drip:
- Worn-out or damaged washers: The washers inside the faucet handle can wear out over time, resulting in a dripping faucet. These rubber or silicone washers create a watertight seal when the handle is tightened, but they can deteriorate due to consistent use or mineral buildup. When the washer becomes worn or damaged, water can seep through and cause a drip.
- Loose or damaged O-rings: O-rings, also known as rubber gaskets, are used to seal different parts of the faucet and prevent water from leaking. If the O-rings become loose or damaged, water can escape and cause the faucet to drip. O-rings can deteriorate due to age, frequent usage, or exposure to harsh chemicals in cleaning products.
- Corroded valve seat: The valve seat is a connection point between the faucet and the spout. Over time, it can become corroded due to mineral buildup or water impurities, causing leaks and drips. A corroded valve seat needs to be cleaned or replaced to restore proper functionality.
- High water pressure: Excessively high water pressure can put strain on the faucet’s internal components, leading to leaks and drips. If you notice that the dripping is more pronounced when the water pressure is high, it may be necessary to install a pressure regulator to bring the pressure down to a safe and manageable level.
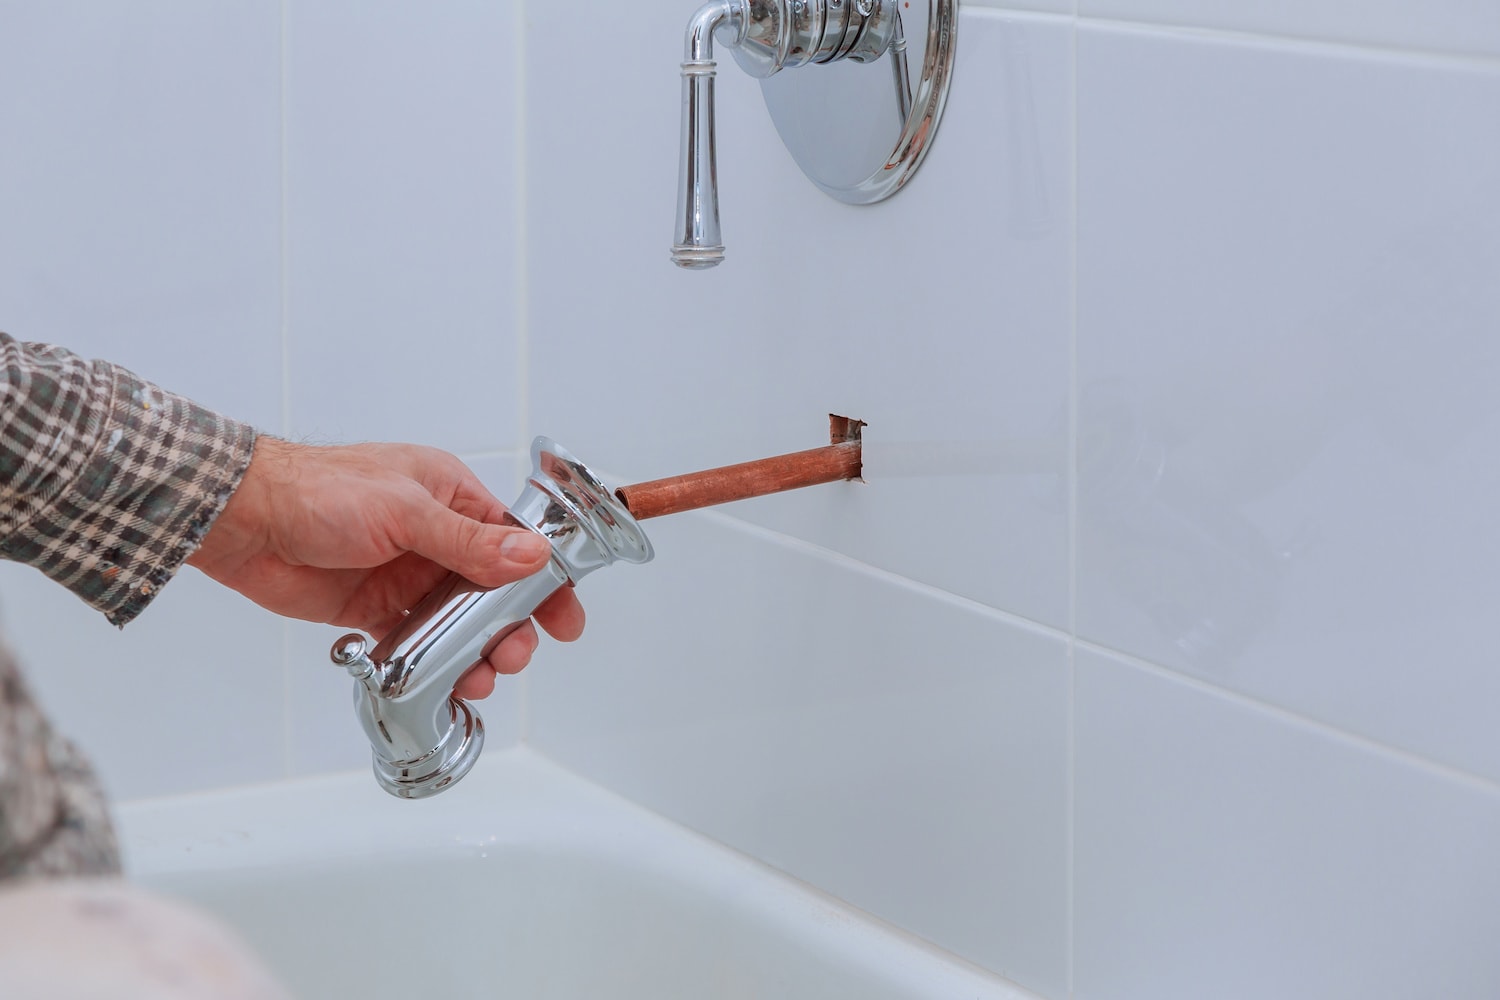
- Improper installation or assembly: If a faucet was not installed or assembled correctly, it can result in issues such as leaks and drips. Faulty connections, loose parts, or missing components can contribute to a dripping faucet. In such cases, it may be necessary to disassemble and reassemble the faucet properly.
Identifying the cause of your dripping faucet can help you determine the appropriate course of action to fix it. In the next section, we will provide you with a step-by-step guide on how to repair a dripping faucet, addressing these common causes and restoring your faucet to its original functionality.
Fixing a Dripping Faucet
Fixing a dripping faucet can save you money on your water bill, prevent water wastage, and restore peace and quiet to your home. While it may seem like a daunting task, it is often a straightforward DIY project that can be completed with the right tools and a little bit of know-how. Here are the general steps involved in fixing a dripping faucet:
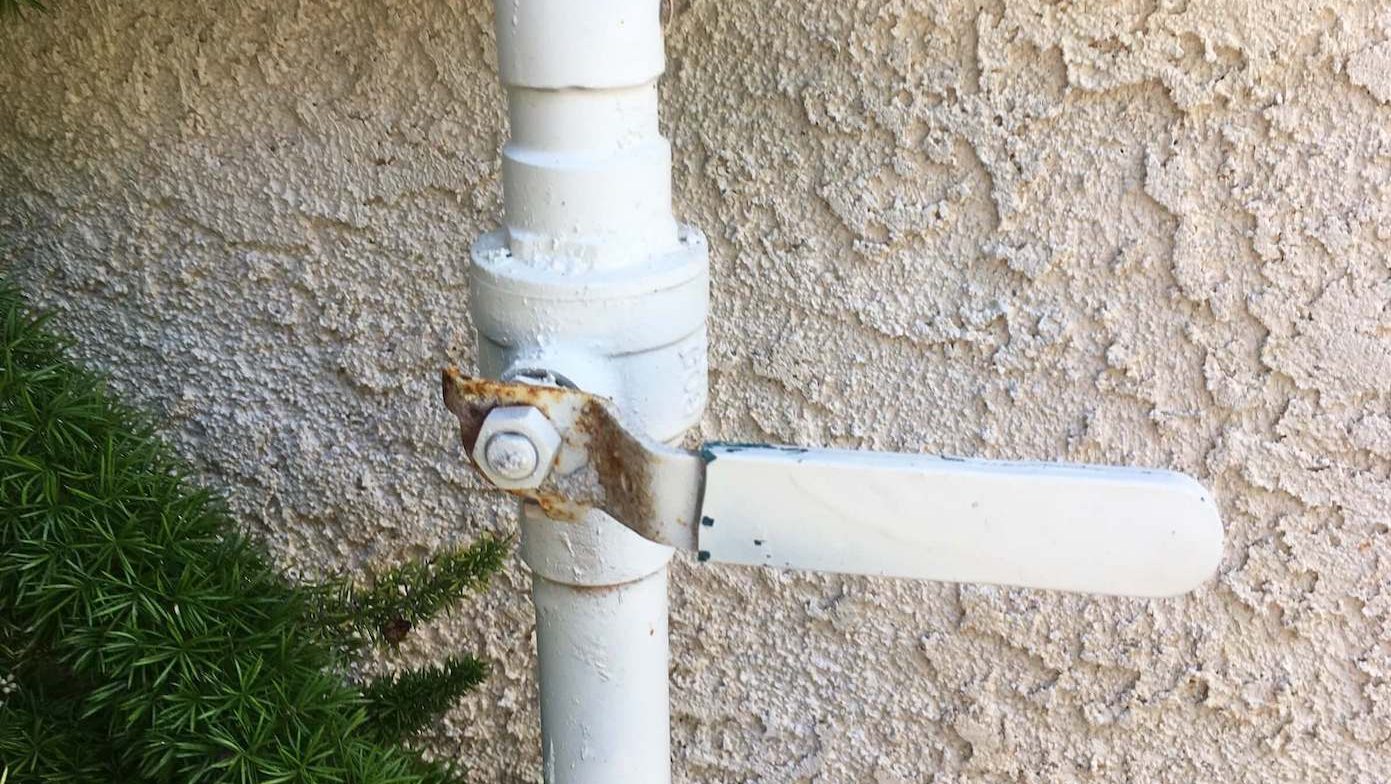
- Turn off the water supply: Before you begin any repair work, it’s important to turn off the water supply to the faucet. Look for the water shut-off valve located beneath the sink or in the main water supply line. Shut off the water to prevent any accidental flooding or water damage.
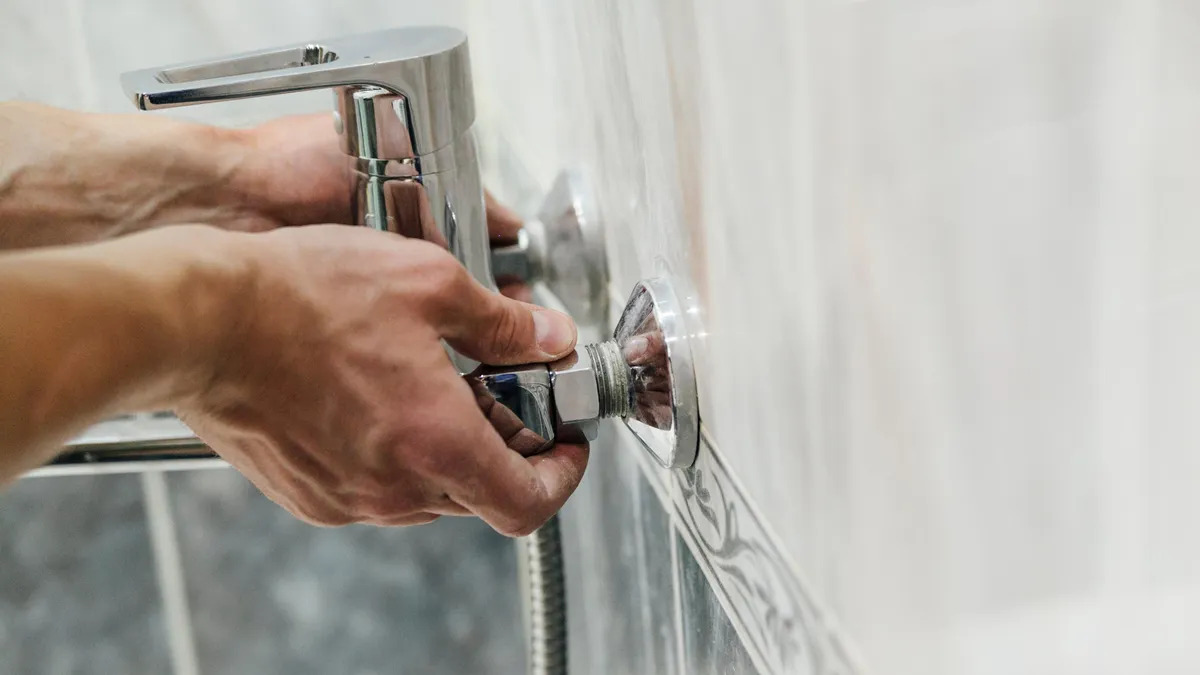
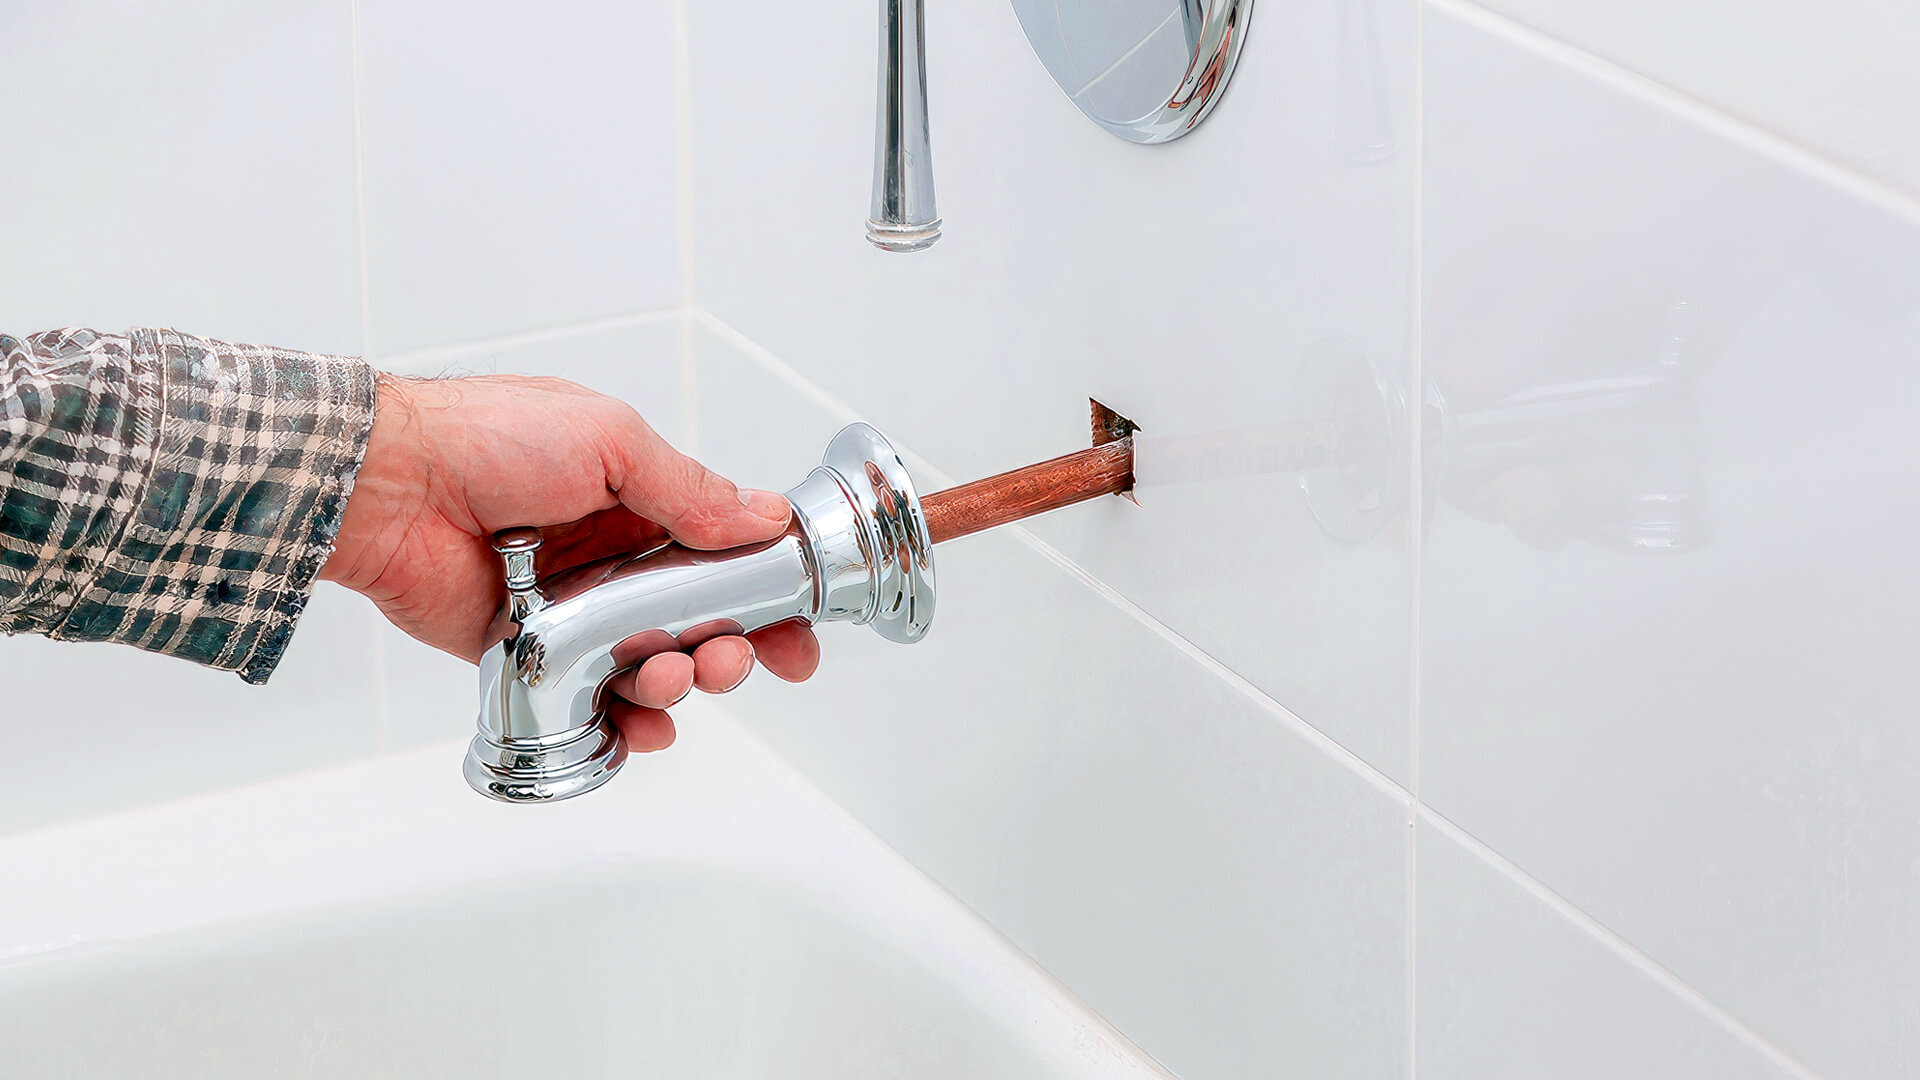
- Remove the faucet handle: Most faucet handles can be removed by locating the screw that holds it in place. Use a screwdriver or Allen wrench to loosen and remove the screw. Once the screw is removed, gently pull the handle away from the faucet.
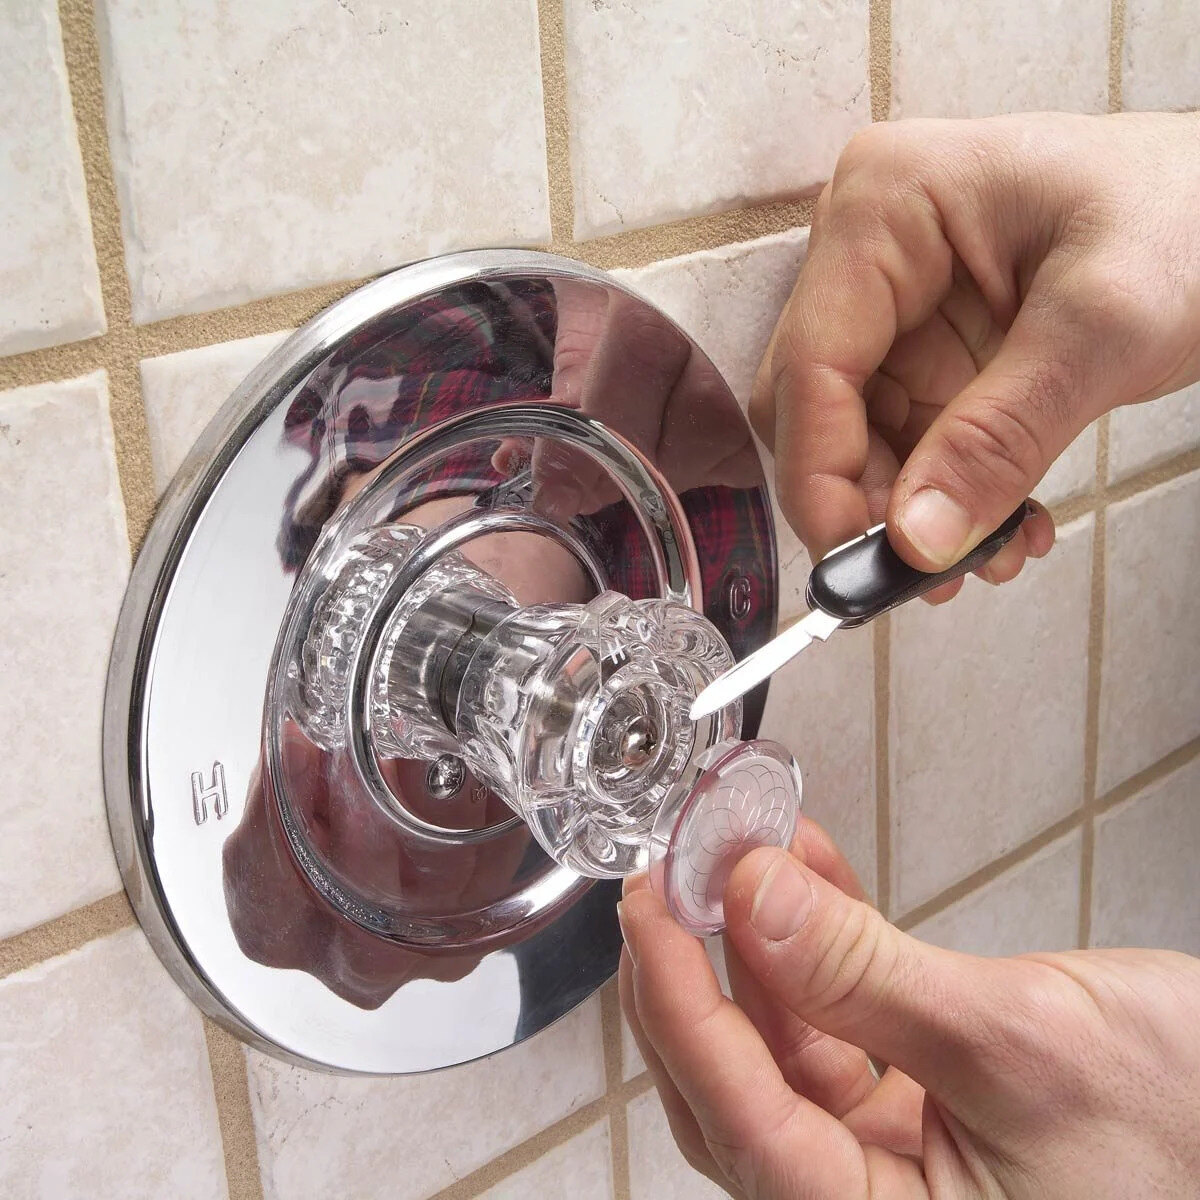
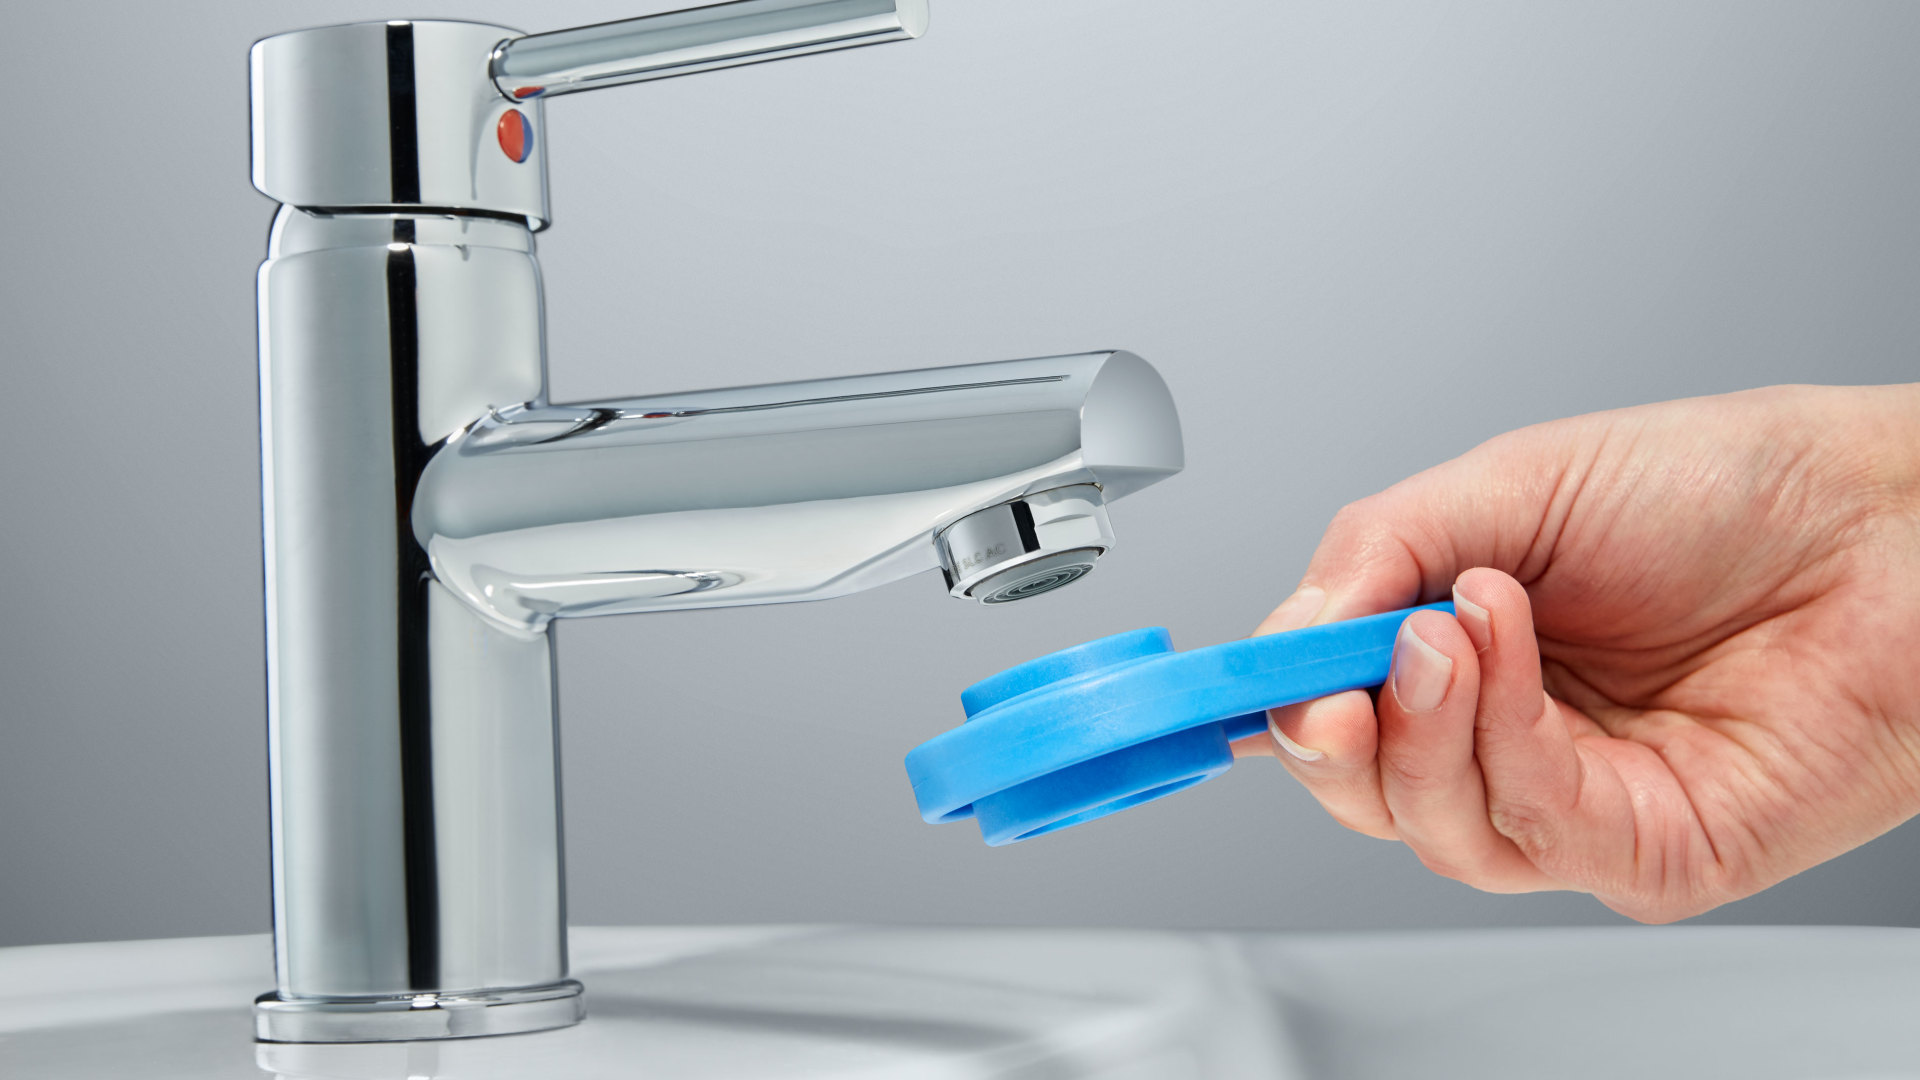
- Inspect the washers and O-rings: With the handle removed, you can now access the washers and O-rings inside the faucet assembly. Examine them for signs of wear, damage, or mineral buildup. If you notice any problems, it’s time to replace these components.
- Replace the washers and O-rings: To replace the washers, unscrew the retaining nut or cartridge and remove the old washer. Replace it with a new washer of the same size and material. For the O-rings, carefully remove the old ones and install the new ones in their place. Ensure they are properly seated and secure.
- Clean or replace the valve seat: If the valve seat is corroded or damaged, it will need to be cleaned or replaced. Use a valve seat wrench or a multipurpose tool to remove the valve seat. Clean it thoroughly with vinegar or a solution recommended by the manufacturer. If the valve seat is severely damaged, it may need to be replaced.
- Reassemble the faucet: Once you’ve replaced the washers, O-rings, and cleaned the valve seat, it’s time to reassemble the faucet. Follow the reverse order of the removal process, ensuring that all the components are properly aligned and tightened.
- Turn on the water supply: With everything reassembled, it’s time to turn on the water supply and check for any leaks. Slowly turn on the water and observe the faucet for any drips or leaks. If everything looks good, congratulations, you have successfully fixed the dripping faucet!
While these steps provide a general guideline for fixing a dripping faucet, it’s important to consult the manufacturer’s instructions or seek professional assistance if you encounter any difficulties or have a complex faucet system. Each faucet may have its own unique design and repair requirements.
Now that you have an understanding of the repair process, let’s delve into the detailed step-by-step guide to repairing a dripping faucet in the next section.
Step-by-Step Guide to Repairing a Dripping Faucet
Repairing a dripping faucet may seem intimidating, but with a step-by-step approach, you can easily tackle the task. Here is a detailed guide to help you fix that pesky drip:
- Turn off the water supply: Locate the water shut-off valve beneath the sink or in the main water supply line. Turn it clockwise to shut off the water flow to the faucet.
- Open the faucet to relieve pressure: To release any remaining water pressure, open the faucet and let the water run until it stops completely.
- Remove the faucet handle: Using a screwdriver or Allen wrench, unscrew and remove the handle from the faucet assembly. Set aside the handle and screws for reassembly later.
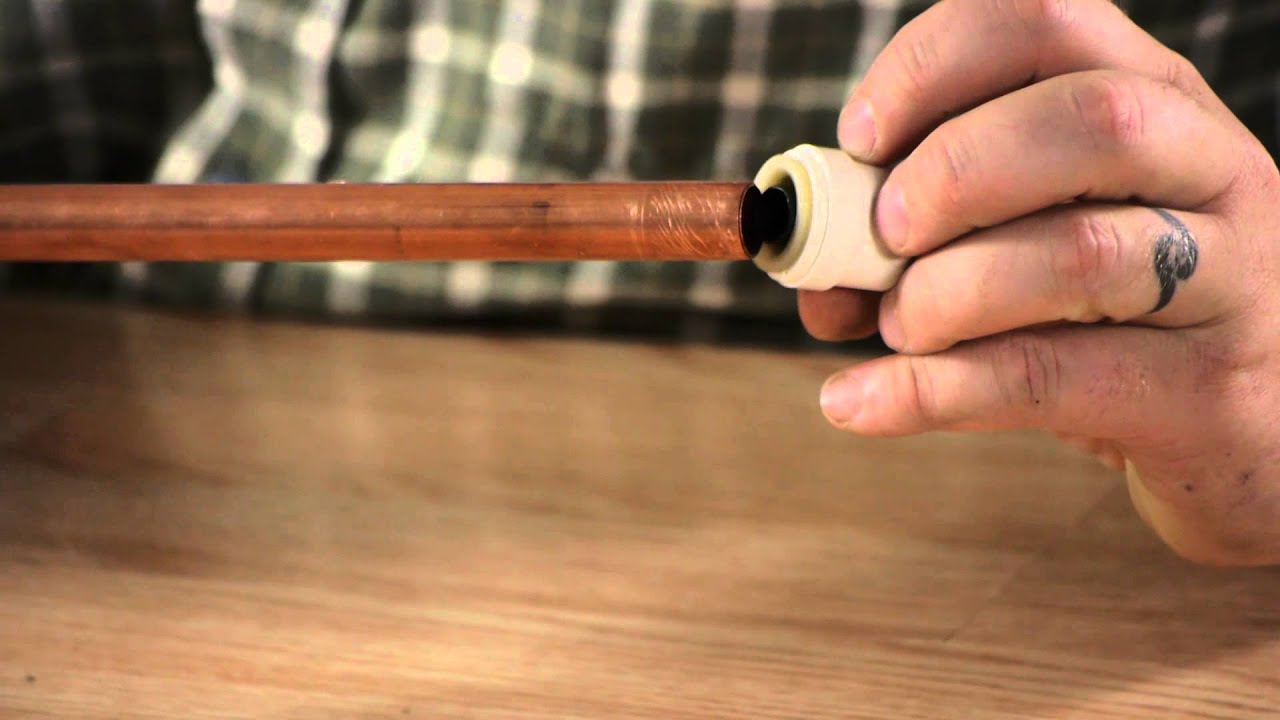
- Remove the stem assembly: After removing the handle, you will see the stem assembly. Depending on the faucet type, you may need to unscrew or pull it out. Use caution to avoid damaging any delicate components.
- Inspect the washers and O-rings: Once the stem assembly is removed, check the washers and O-rings for wear, damage, or mineral buildup. If any of these components are compromised, they will need to be replaced.
- Replace the washers and O-rings: Remove the old washers using a flat-head screwdriver or needle-nose pliers. Install new washers that are the same size and material. Replace any worn or damaged O-rings with new ones. Ensure a snug fit to prevent leaks.
- Clean the valve seat: Using a valve seat wrench or multipurpose tool, carefully clean the valve seat. Remove any mineral deposits or debris that may interfere with a secure seal. Make sure the valve seat is smooth and free from any obstructions.
- Reassemble the faucet: Once the valve seat is clean, reassemble the faucet in reverse order. Place the stem assembly back into the faucet body and secure it. Replace the handle and tighten the screws.
- Turn on the water supply: Slowly turn on the water supply to the faucet. Check for any leaks and drips from the repaired faucet. If there are no issues, congratulations! You’ve successfully repaired your dripping faucet.
- Test the faucet: Test the faucet by turning it on and off repeatedly. Check for any lingering leaks or drips. If everything is functioning properly, you’ve completed the repair process.
It’s important to note that these steps are general guidelines and may vary depending on the type and brand of faucet you have. Consult the manufacturer’s instructions or seek professional assistance if you encounter any difficulties or have a complex faucet system.
With this step-by-step guide, you can confidently fix a dripping faucet and enjoy the benefits of a leak-free and efficient plumbing system.
Check the washer and O-ring for wear and tear. Replace if necessary to stop the drip when the faucet is off.
Tools and Materials Needed
Repairing a dripping faucet requires the use of a few basic tools and materials. Here’s a list of what you’ll need to successfully tackle the task:
Read more: Why Does A Faucet Drip
Tools:
- Adjustable wrench: This versatile tool will help you tighten or loosen various components of the faucet.
- Screwdriver: You’ll need both flat-head and Phillips-head screwdrivers to remove screws and handle various parts of the faucet.
- All-purpose lubricant: Applying lubricant to stubborn or rusted parts will make disassembly and reassembly easier.
- Valve seat wrench: This specialized tool is necessary for removing and cleaning the valve seat, if needed.
- Needle-nose pliers: These pliers are useful for manipulating small parts and reaching tight spaces.
- Allen wrench: If your faucet has hexagonal screws, an Allen wrench will be necessary to loosen and tighten them.
- Multipurpose tool: A multipurpose tool can serve various functions, such as removing handles and adjusting different components.
- Rag or cloth: Have a cloth or rag on hand to clean up any spills or to dry specific parts of the faucet.
Materials:
- Replacement washers: Depending on the type of faucet, you may need rubber or silicone washers in various sizes. Ensure you have the correct ones to replace worn or damaged washers.
- Replacement O-rings: O-rings can deteriorate and cause leaks. Have a set of O-rings available for different sizes and applications.
- Cleaning solution: Use a mild cleaning solution or vinegar to clean the faucet components, such as the valve seat and other metal parts.
- Plumber’s tape: Plumber’s tape, also known as Teflon tape, helps create a watertight seal when reassembling the faucet.
- Replacement parts (if necessary): Depending on the condition of your faucet, you may need to replace specific components like the valve seat or cartridge. Ensure you have the correct replacement parts available.
Having these tools and materials readily available will make the repair process smoother and more efficient. Be sure to gather everything you need before starting the project to avoid any unnecessary delays or frustration.
Now that you’re equipped with the necessary tools and materials, it’s time to put your newfound knowledge into action and fix that dripping faucet once and for all!
Conclusion
A dripping faucet can be a constant source of irritation and wasted water. Fortunately, with a little knowledge and the right tools, you can easily tackle the task of fixing a dripping faucet yourself. By understanding the common causes of a dripping faucet and following a step-by-step repair process, you can save money, conserve water, and restore peace and quiet to your home.
Throughout this article, we discussed the common causes of a dripping faucet, including worn-out washers, loose O-rings, corroded valve seats, high water pressure, and improper installation. We also provided a comprehensive step-by-step guide to repairing a dripping faucet, which involved turning off the water supply, inspecting and replacing washers and O-rings, cleaning or replacing the valve seat, and reassembling the faucet.
Remember to gather the necessary tools and materials before starting the repair process, including adjustable wrenches, screwdrivers, lubricant, a valve seat wrench, pliers, and cleaning solutions. Additionally, having replacement washers, O-rings, plumber’s tape, and potentially other replacement parts on hand will ensure a smoother repair process.
By fixing a dripping faucet, you not only save on water bills but also contribute to water conservation efforts. Every drop counts, and taking the time to address a dripping faucet demonstrates your commitment to being environmentally responsible.
So, the next time you hear that annoying drip, don’t ignore it. Use this comprehensive guide to diagnose and fix the issue yourself. With a little patience and persistence, you can successfully repair your dripping faucet and enjoy the benefits of a leak-free and efficient plumbing system.
Take control of your faucet, save water, and put an end to that constant drip once and for all. Happy repairing!
Frequently Asked Questions about Faucet Drips When Off
Was this page helpful?
At Storables.com, we guarantee accurate and reliable information. Our content, validated by Expert Board Contributors, is crafted following stringent Editorial Policies. We're committed to providing you with well-researched, expert-backed insights for all your informational needs.
0 thoughts on “Faucet Drips When Off”