Articles
How To Fix Dripping Bathroom Faucet
Modified: October 28, 2024
Learn how to fix a dripping bathroom faucet with these helpful articles. Find step-by-step instructions and expert tips to resolve the issue.
(Many of the links in this article redirect to a specific reviewed product. Your purchase of these products through affiliate links helps to generate commission for Storables.com, at no extra cost. Learn more)
Introduction
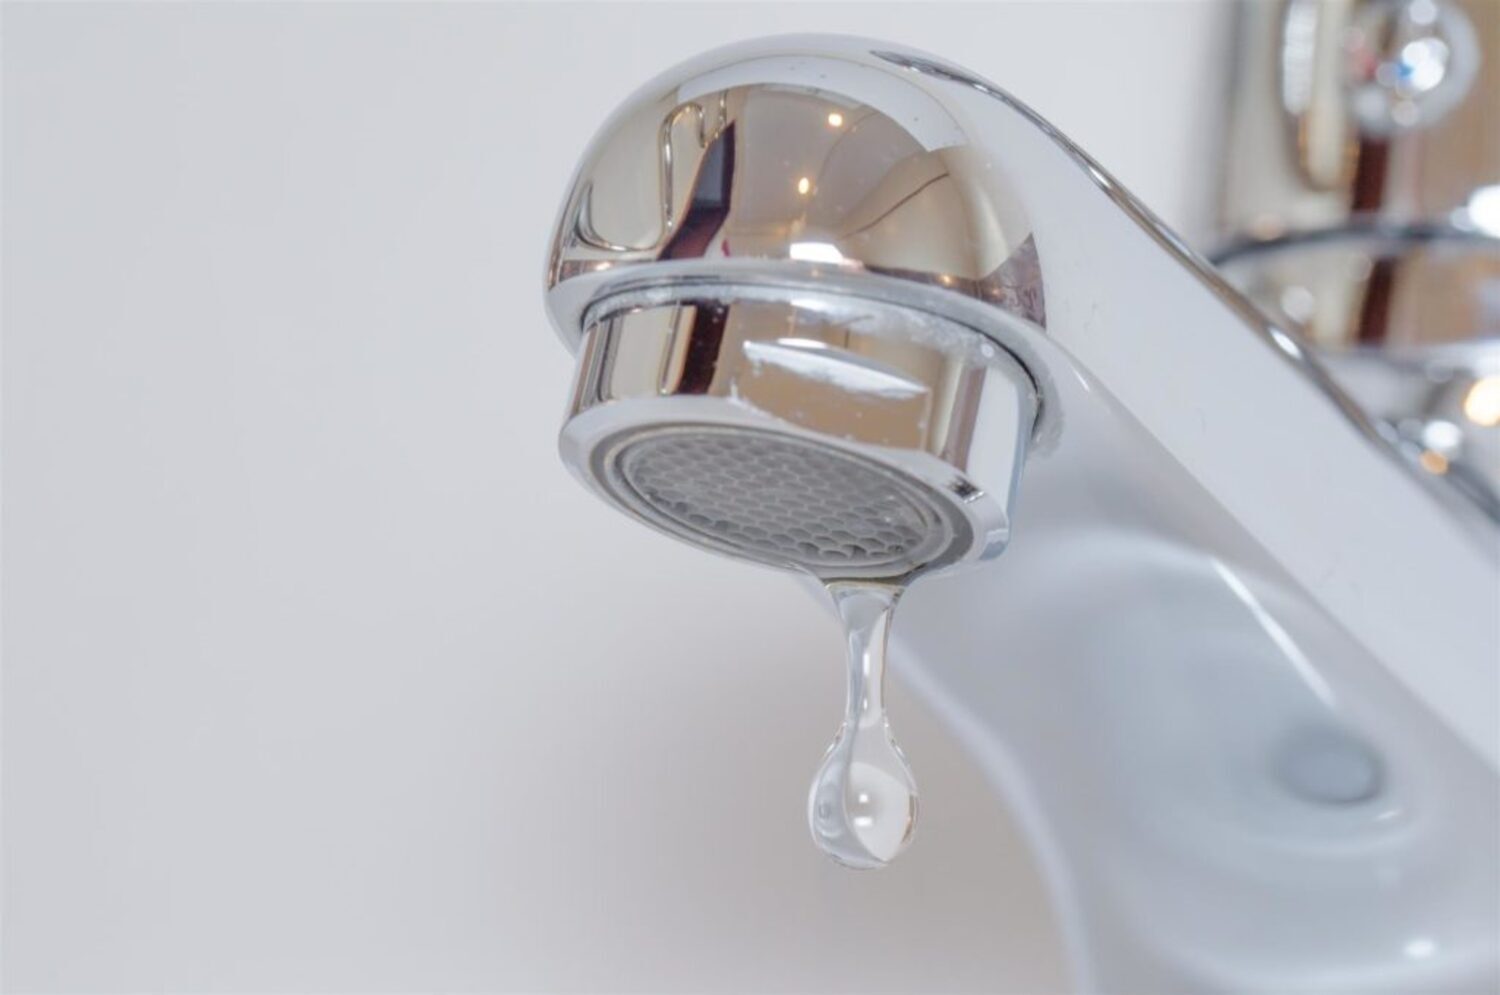
Welcome to this step-by-step guide on how to fix a dripping bathroom faucet. A dripping faucet can be not only annoying but also a waste of water and money. However, with a little bit of time and the right tools, you can easily fix it yourself without the need to call a plumber.
Before we begin, it’s important to understand that there are different types of faucets, including compression faucets, ball faucets, cartridge faucets, and ceramic-disc faucets. In this article, we will focus on the most common type, which is a cartridge faucet.
A cartridge faucet has a cartridge that controls the flow of water. Over time, the cartridge can become worn out or damaged, resulting in a leaky faucet. The good news is that replacing the cartridge is a straightforward process that can be done by most DIY enthusiasts.
So, if you’re tired of the constant drip and want to save water and money, let’s dive into the steps on how to fix a dripping bathroom faucet.
Key Takeaways:
- Don’t let a dripping bathroom faucet annoy you and waste water/money. With the right tools and steps, you can easily fix it yourself, saving time and hassle.
- Replacing a worn-out cartridge or valve is the key to stopping that annoying drip. Enjoy the satisfaction of a DIY fix and contribute to water conservation.
Read more: How To Drip Faucet
Step 1: Gather necessary tools
Before you start fixing your dripping bathroom faucet, it’s important to gather all the necessary tools. This will ensure that you have everything you need within reach and can complete the task efficiently. Here are the tools you’ll need:
- Adjustable wrench: This tool will be used to loosen and tighten nuts and bolts.
- Phillips-head screwdriver: You’ll need this type of screwdriver to remove the screws that hold the faucet handle in place.
- Flat-head screwdriver: This screwdriver is handy for prying off the decorative cap or any other parts of the faucet that need to be removed.
- Replacement cartridge: This is the most crucial item on the list. Ensure you have the correct replacement cartridge for your specific faucet model. You can find this information in the faucet’s manual or by doing some research online.
- Plumber’s tape: This tape is used to create a watertight seal between the faucet components. It will help prevent leaks after you’ve reassembled the faucet.
- Clean cloth or towel: It’s important to have a cloth or towel nearby to wipe away any excess water and to keep the work area clean and dry.
Once you have gathered all the necessary tools, you’re ready to move on to the next step: turning off the water supply.
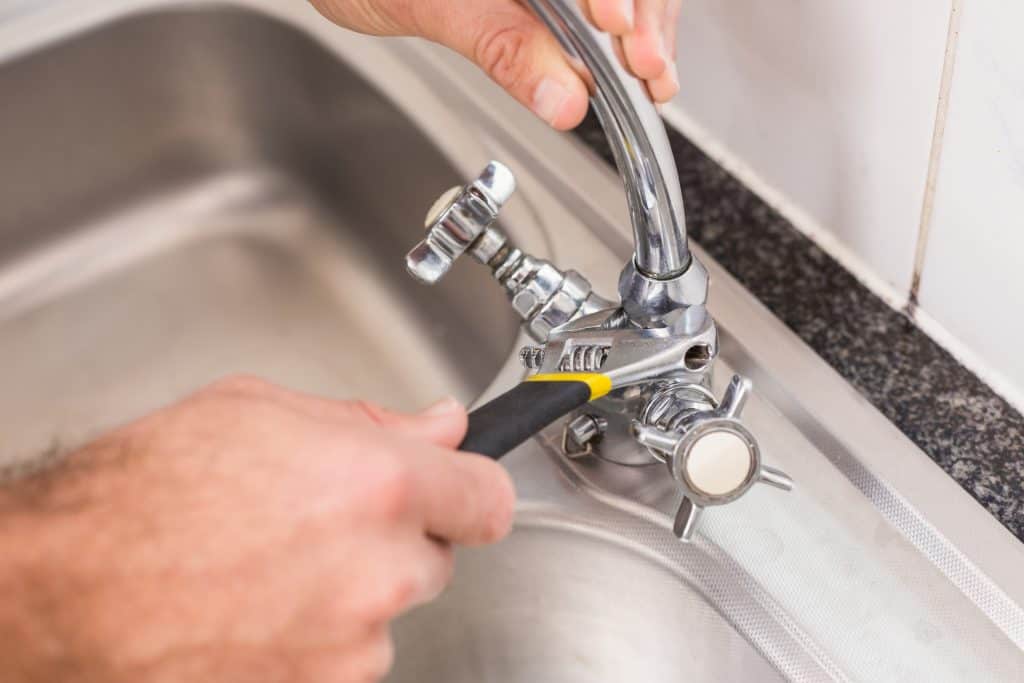
Step 2: Turn off the water supply
Before you can start working on your dripping bathroom faucet, it’s essential to turn off the water supply. This step is crucial to ensure that water doesn’t spray everywhere and cause a mess.
Locate the shut-off valves under the sink or near the main water supply line in your home. In most cases, you’ll find individual shut-off valves for hot and cold water. Turn the valves clockwise (to the right) to shut off the water supply.
After turning off the water supply, open the faucet handle to release any remaining water in the lines. This will help relieve any pressure and make it easier to work on the faucet without water spraying unexpectedly.
If you can’t find the shut-off valves or if turning them off doesn’t stop the water flow, you may need to shut off the main water supply to your house. Locate the main shut-off valve, typically located near your water meter or in the basement, and turn it off to cut off the water supply to the entire house. Remember, shutting off the main water supply should be the last resort, so try to find the individual shut-off valves first.
Now that the water supply is turned off, you can proceed to the next step: removing the handle.
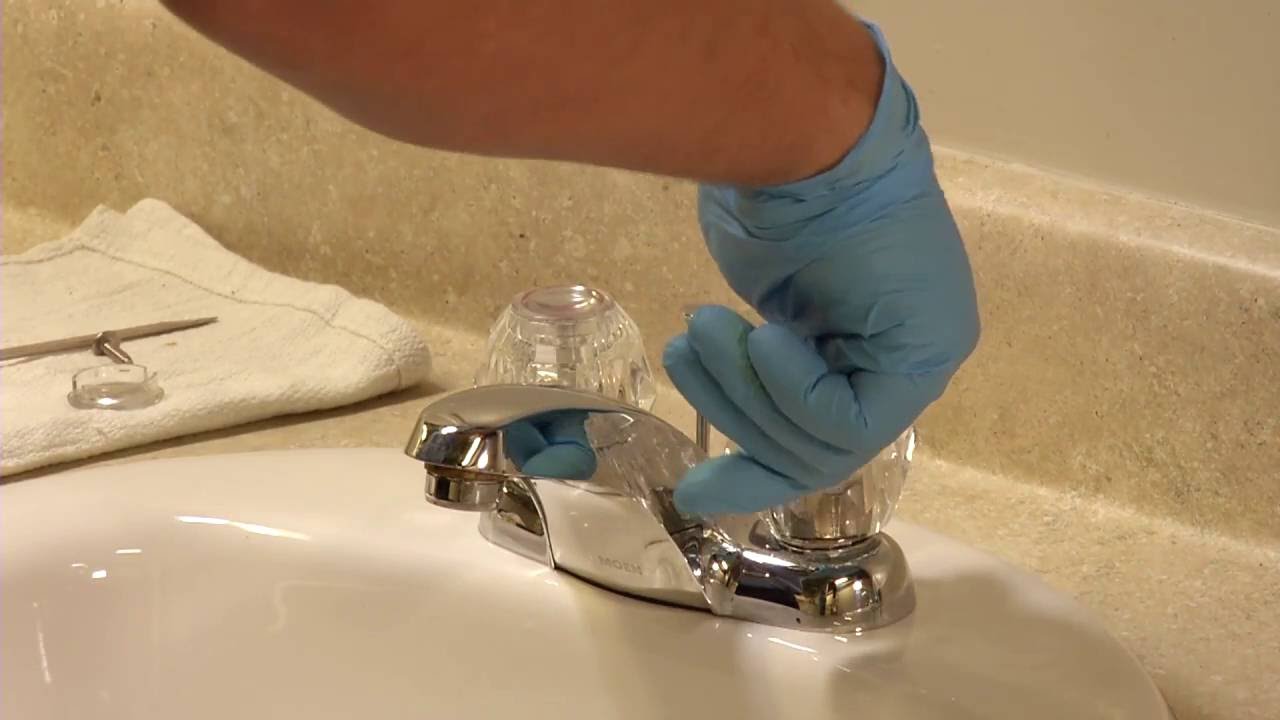
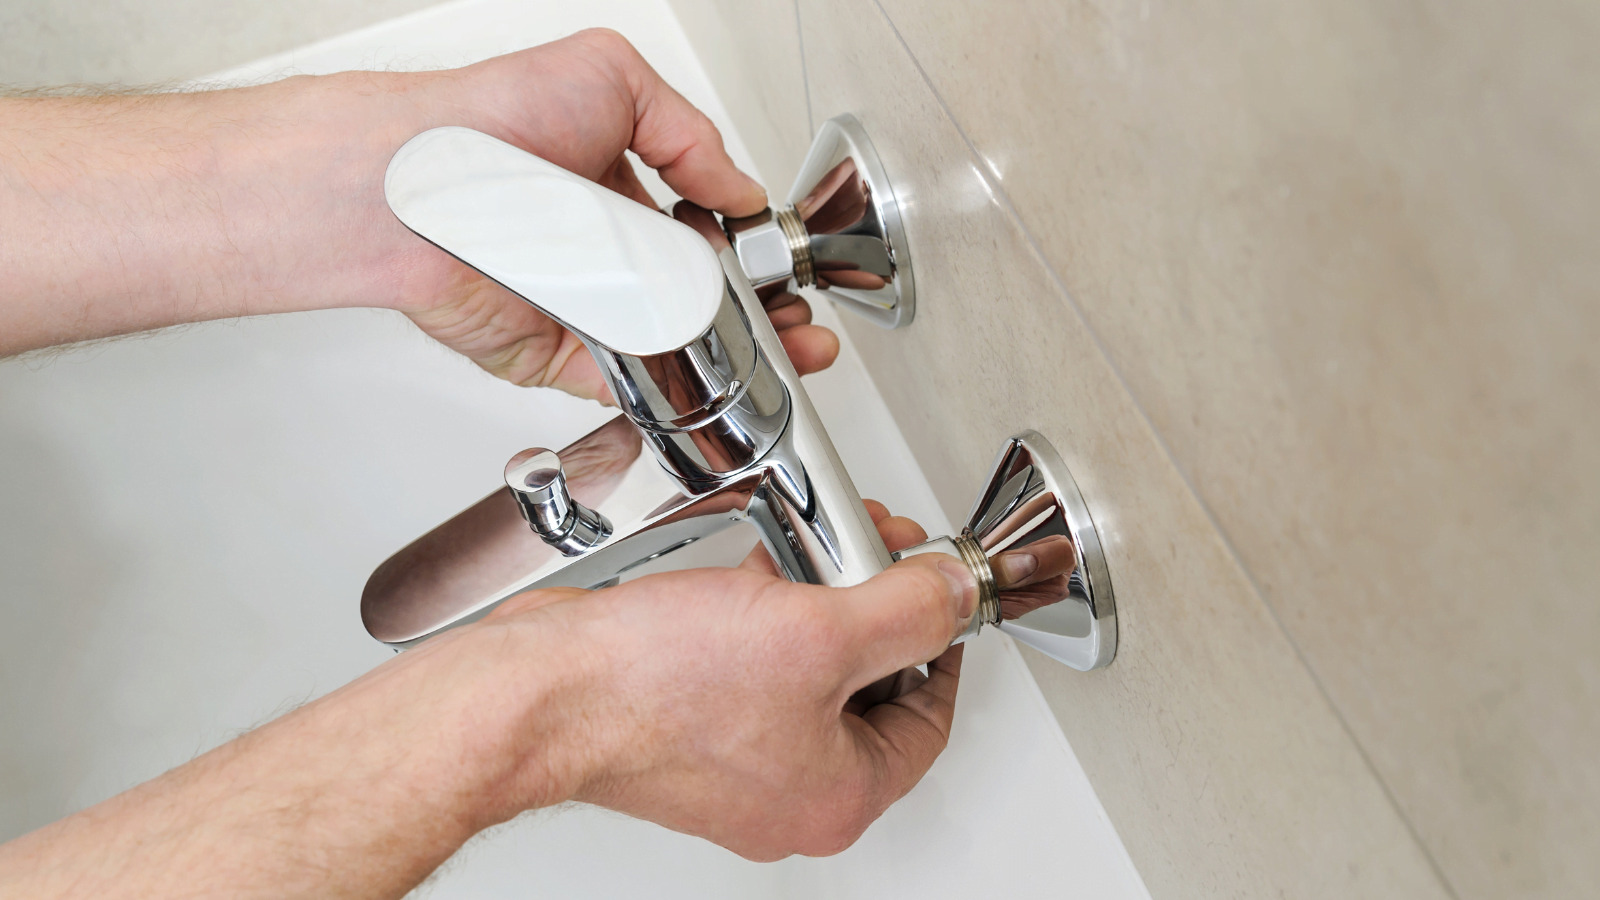
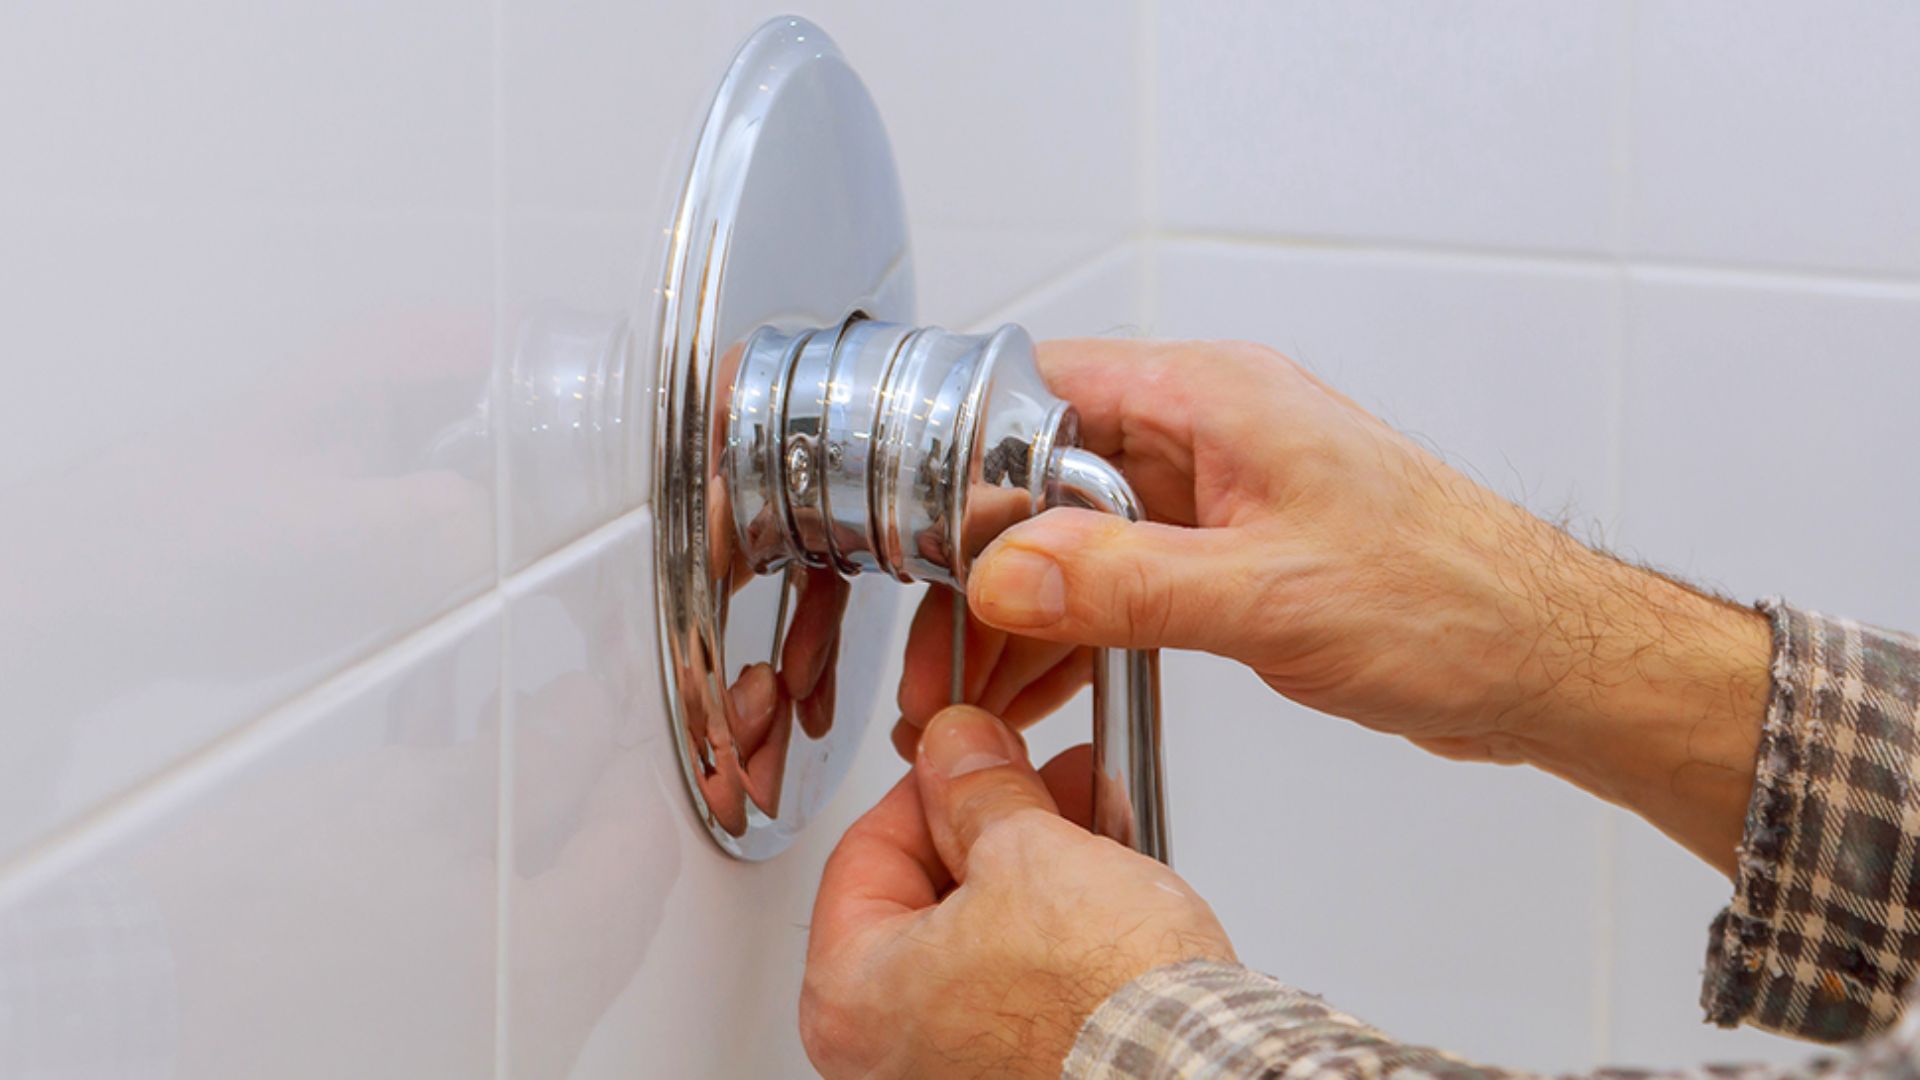
Step 3: Remove the handle
With the water supply turned off, it’s time to remove the handle of your dripping bathroom faucet. The handle is usually held in place by screws or a decorative cap that needs to be removed. Follow these steps to take off the handle:
- Locate the decorative cap: Look for a cap on top of the handle. It could be a small circular cover or a lever that can be popped off with a flat-head screwdriver. Carefully pry off the cap to reveal the screws underneath.
- Remove the screws: Using a Phillips-head screwdriver, unscrew the screws that hold the handle in place. Keep the screws in a safe place as you’ll need them later for reassembly. Once the screws are removed, gently lift the handle off the faucet.
- Inspect the handle: Take a moment to examine the handle for any signs of damage or wear. This is also a good time to clean the handle if it’s dirty or covered in mineral deposits.
Once the handle is removed, you will have access to the cartridge or valve inside the faucet. Proceed to the next step to inspect the cartridge and determine if it needs to be replaced.
Step 4: Inspect the cartridge or valve
With the handle removed, it’s time to inspect the cartridge or valve inside your dripping bathroom faucet. This is an important step to help identify the source of the leak and determine if the cartridge or valve needs to be replaced.
Follow these steps to inspect the cartridge or valve:
- Examine the cartridge: Look for any signs of damage, such as cracks or wear on the surface. If the cartridge is damaged, it is likely causing the faucet to leak.
- Check the valve seats: The valve seats are located inside the faucet body and connect to the cartridge. Inspect them for any signs of wear or corrosion. Damaged valve seats can also lead to leaks.
- Look for mineral deposits: Mineral deposits can accumulate on the cartridge or valve, causing them to malfunction and lead to leaks. If you see any mineral buildup, it’s a good idea to clean or replace the affected parts.
If you notice any damages or issues during inspection, it’s a clear indication that the cartridge or valve needs to be replaced. However, if everything appears to be in good condition, you may only need to clean the parts thoroughly to fix the leaking faucet.
Once you’ve determined the condition of the cartridge or valve, you can move on to the next step: replacing the faulty parts.
You can fix a dripping bathroom faucet by replacing the worn-out O-rings, seals, or cartridges. Turn off the water supply, disassemble the faucet, and replace the faulty parts with new ones.
Read more: How To Fix Tub Faucet Diverter
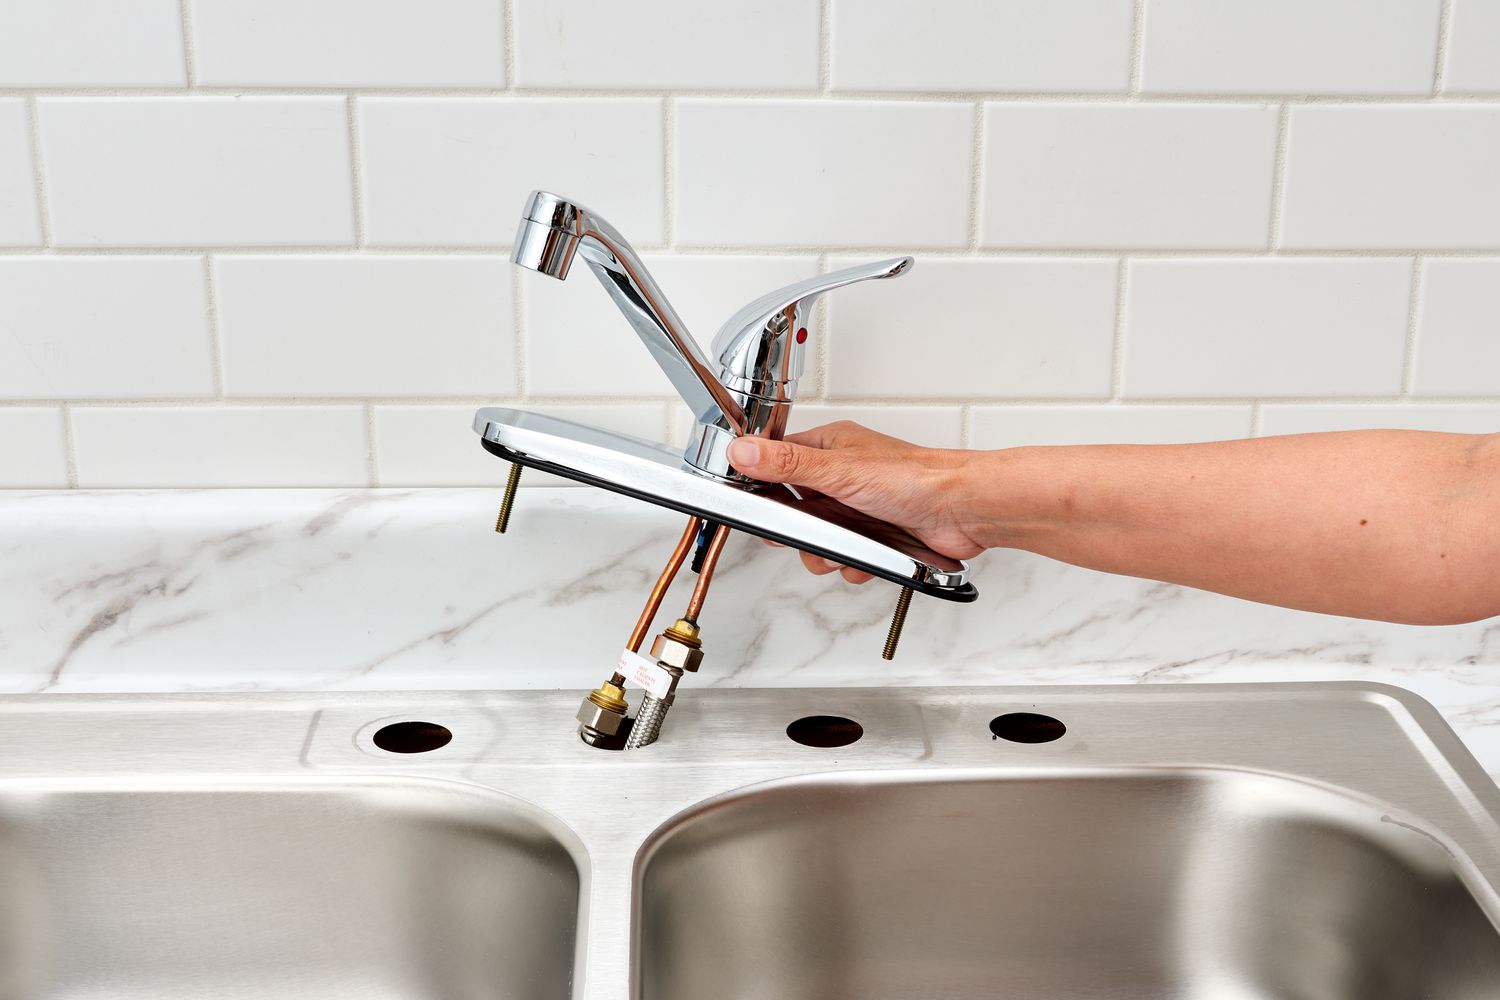
Step 5: Replace the faulty parts
If you’ve inspected the cartridge or valve and found them to be damaged or worn, it’s time to replace the faulty parts. Replacing these components will help fix the leaking bathroom faucet.
Follow these steps to replace the cartridge or valve:
- Remove the old cartridge or valve: Depending on the faucet model, you may need to use pliers or an adjustable wrench to unscrew and remove the old cartridge or valve. Be careful not to damage any surrounding components.
- Install the new cartridge or valve: Take your new cartridge or valve and carefully insert it into the faucet body. Make sure it is aligned properly. If necessary, use pliers or a wrench to tighten it securely. Follow the manufacturer’s instructions for proper installation.
- Apply plumber’s tape: To prevent leaks, wrap plumber’s tape around the threads of the cartridge or valve before reinstalling any screws or fittings. The tape will create a watertight seal.
- Reassemble the faucet: Put the handle back onto the faucet and secure it with the screws you removed earlier. Make sure the handle is aligned properly and tight. If you had a decorative cap, reattach it as well.
With the new cartridge or valve in place and the faucet reassembled, you’ve successfully replaced the faulty parts. Now, it’s time to move on to the next step: reassembling the faucet.
Step 6: Reassemble the faucet
With the faulty parts replaced, it’s time to reassemble your bathroom faucet. Follow these steps to properly put everything back together:
- Place the handle back onto the faucet: Align the handle properly with the stem of the cartridge or valve. Make sure it fits snugly and securely.
- Secure the handle with the screws: Use a Phillips-head screwdriver to reinstall the screws that hold the handle in place. Ensure they are tightened securely but be careful not to over-tighten and strip the threads.
- Attach the decorative cap (if applicable): If your faucet has a decorative cap, carefully snap it back into place. Be gentle to avoid damaging the cap or handle.
Once the faucet is fully reassembled, take a moment to ensure that everything is properly aligned and secure. Double-check that the handle operates smoothly and without any resistance.
Now, you’re one step closer to fixing your dripping bathroom faucet. It’s time to move on to the next step: turning on the water supply.
Step 7: Turn on the water supply
With the faucet reassembled, it’s time to turn on the water supply and test your handy work. Follow these steps to safely restore the water flow:
- Locate the shut-off valves: Find the shut-off valves under the sink or near the main water supply line. Ensure that they are fully in the open position, which is usually counterclockwise (to the left).
- Slowly turn on the water supply: Gradually turn the shut-off valves counterclockwise to slowly restore the water flow. This will help prevent a sudden rush of water that could cause splashing or damage.
- Check for any leaks: As the water flows back into the faucet, carefully inspect the area around the handle and the base of the faucet for any signs of leaks. If you notice any leaks, promptly shut off the water supply and make any necessary adjustments or repairs.
If there are no leaks and the water flows smoothly, congratulations! You’ve successfully fixed your dripping bathroom faucet. Take a moment to enjoy the satisfaction of a job well done.
However, if you do find any leaks, don’t panic. It may just require some additional tightening or adjustment. Refer back to the previous steps to ensure that all components are properly installed and secure. If the problem persists, you may need to seek professional assistance.
With the water supply turned on and any leaks addressed, it’s time to move on to the final step: testing for leaks.
Step 8: Test for leaks
After turning on the water supply, it’s important to test your recently fixed bathroom faucet for any remaining leaks. This step ensures that your repair work was successful and that the faucet is functioning properly.
Follow these steps to test for leaks:
- Observe the faucet: Keep a close eye on the faucet for any signs of dripping or moisture. Check the base, handle, and spout thoroughly.
- Inspect the connections: Pay attention to the connections between the different parts of the faucet, such as the handle and the spout. Look for any signs of water leakage or drips.
- Use a dry cloth: Take a clean cloth or towel and gently wipe the entire faucet, including the base, handle, and spout. If the cloth remains dry after wiping, it’s a good indication that your faucet is leak-free.
- Test the water flow: Turn on the faucet and let the water flow for a few minutes. Check for any irregularities in the water flow or unusual noises.
If you don’t notice any leaks during the testing process, congratulations! You have successfully fixed your dripping bathroom faucet. Give yourself a pat on the back for your DIY skills and water-saving efforts.
However, if you do detect any leaks or issues during the testing phase, it’s important to identify the source of the problem. Double-check the cartridge or valve installation to ensure they are tightly secured. If necessary, disassemble the faucet and inspect the parts once again. If the problem persists, it may be necessary to seek professional assistance or consult the faucet manufacturer.
With the testing complete, you can now enjoy the benefits of a drip-free bathroom faucet. Not only have you saved water and money, but you’ve also gained confidence in tackling basic plumbing repairs. Remember to always follow proper safety precautions and consult professionals if you’re unsure or uncomfortable with the process.
Thank you for following this step-by-step guide on how to fix a dripping bathroom faucet. We hope this has been helpful and that your faucet will continue to function flawlessly for years to come.
Read more: How To Fix A Kitchen Faucet Sprayer
Conclusion
Fixing a dripping bathroom faucet is a practical skill that can save you money, conserve water, and prevent further damage to your plumbing fixtures. With the right tools and a bit of patience, you can tackle this DIY project and enjoy the satisfaction of a leak-free faucet.
In this comprehensive guide, we have walked you through the step-by-step process of fixing a dripping bathroom faucet. From gathering the necessary tools to testing for leaks, each step was outlined to ensure a successful repair.
Remember, the most common cause of a leaky faucet is a worn-out or damaged cartridge or valve. By inspecting these parts and replacing them if necessary, you can put an end to that annoying drip and enjoy a fully functional faucet once again.
Fixing your dripping bathroom faucet not only saves you money on your water bill but also contributes to sustainability by conserving this valuable resource. Additionally, being able to handle basic plumbing repairs gives you a sense of empowerment and self-reliance.
If at any point during the process you feel unsure or uncomfortable, do not hesitate to seek professional assistance. Plumbing can be complex, and it’s always better to err on the side of caution.
We hope that this guide has been helpful to you and that you are now equipped with the knowledge and confidence to fix your dripping bathroom faucet. Remember to take your time, follow the steps carefully, and enjoy the satisfaction of a job well done.
Thank you for reading, and may your faucet remain leak-free for years to come!
Frequently Asked Questions about How To Fix Dripping Bathroom Faucet
Was this page helpful?
At Storables.com, we guarantee accurate and reliable information. Our content, validated by Expert Board Contributors, is crafted following stringent Editorial Policies. We're committed to providing you with well-researched, expert-backed insights for all your informational needs.


0 thoughts on “How To Fix Dripping Bathroom Faucet”