Articles
Why Is My Blender Leaking From The Bottom
Modified: January 20, 2024
Learn how to fix a leaking blender from the bottom with our informative articles. Discover common causes and simple solutions to keep your blender working seamlessly.
(Many of the links in this article redirect to a specific reviewed product. Your purchase of these products through affiliate links helps to generate commission for Storables.com, at no extra cost. Learn more)
Introduction
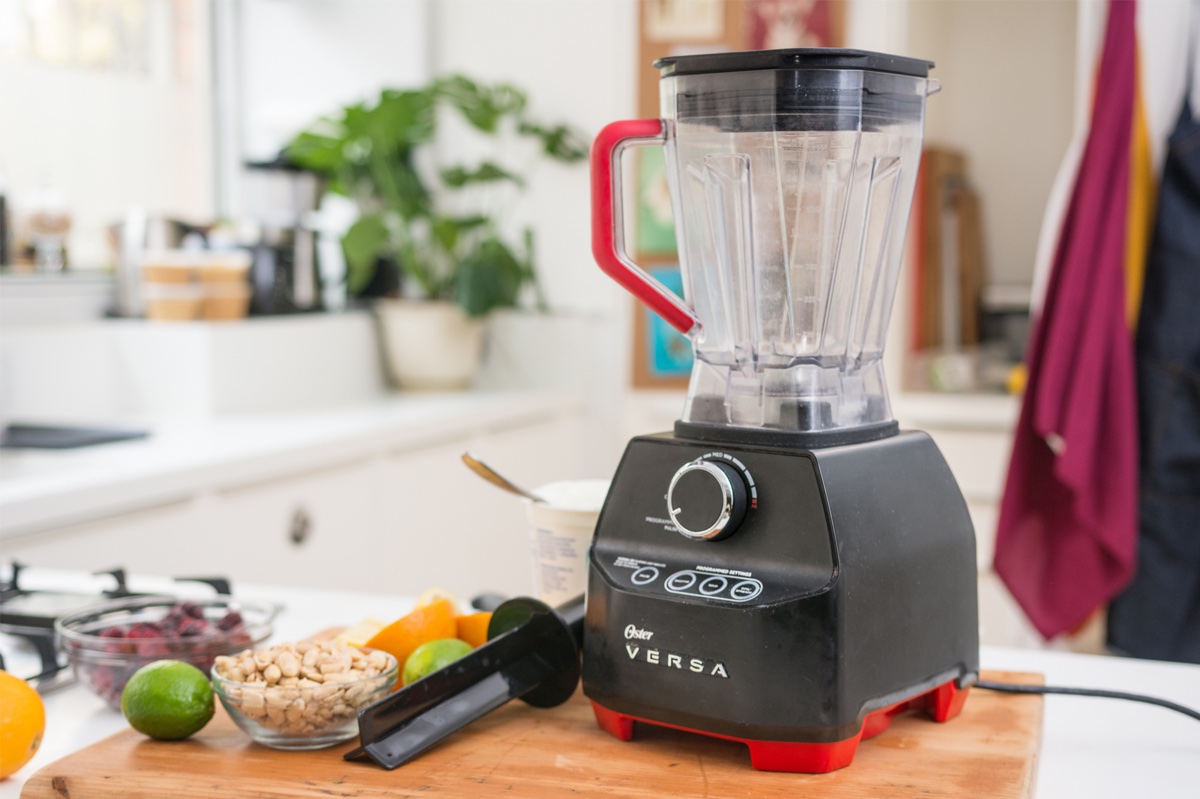
Blenders are versatile kitchen appliances that make food preparation quick and convenient. Whether you’re making smoothies, soups, or sauces, a blender is a handy tool to have in your kitchen. However, if you’ve noticed your blender leaking from the bottom, it can be frustrating and messy.
Understanding the common causes of blender leaks can help you identify the problem and find the appropriate solution. In this article, we will explore the possible reasons for a blender leaking from the bottom and provide troubleshooting steps to fix the issue.
Blender leaks can happen for various reasons, ranging from minor issues to more significant problems. It’s important to address these leaks promptly to avoid damage to the blender motor or potential safety hazards.
Next, we will delve into some of the common causes of blender leaks and discuss the steps you can take to resolve them.
Key Takeaways:
- Regularly inspect and maintain your blender to prevent leaks. Address issues such as faulty gaskets, loose blade assemblies, and cracked jars promptly to ensure hassle-free blending and extend your blender’s lifespan.
- Follow manufacturer guidelines for ingredient levels and heat usage to minimize the risk of leaks. By being mindful of these factors, you can enjoy safe and efficient blending in your kitchen without messy leaks.
Common Causes of Blender Leaks
When your blender starts leaking from the bottom, there could be several potential culprits behind the issue. Understanding these common causes will help you identify and address the problem effectively. Let’s take a look at some of the most frequent reasons for blender leaks:
- Faulty Gasket or Seal: The gasket or seal is a rubber ring that creates a watertight seal between the blender jar and the blade assembly. Over time, the gasket can wear out or become misaligned, causing leaks. Check the condition of the gasket and replace it if necessary.
- Loose or Damaged Blade Assembly: The blade assembly is responsible for blending the ingredients. If it is loose or damaged, it can cause leaks. Ensure that the blade assembly is securely tightened to prevent any leaks. If the blades are damaged, consider replacing them.
- Cracked or Dislodged Jar: The blender jar holds the ingredients during blending. If the jar is cracked or not properly aligned with the base, it can lead to leaks. Inspect the jar for any cracks and ensure that it is fitted securely onto the motor base.
- Overfilling the Blender: Overfilling the blender can put pressure on the seals and cause leaks. Follow the manufacturer’s guidelines and do not exceed the recommended maximum capacity of the blender jar to prevent leaks.
- Excessive Heat or Pressure: Blending hot ingredients or using the blender for a prolonged period can create excessive heat or pressure, causing leaks. Allow the blender to cool down between uses and avoid blending hot liquids to prevent leaks.
These are some of the primary causes of blender leaks. By identifying the specific cause in your case, you can take the necessary steps to resolve the issue and prevent future leaks. In the next section, we will discuss troubleshooting techniques and solutions to address blender leaks effectively.
Faulty Gasket or Seal
A faulty gasket or seal is one of the most common reasons for a blender leaking from the bottom. The gasket or seal is a rubber ring that creates a watertight seal between the blender jar and the blade assembly. Over time, the gasket can wear out, become misaligned, or get damaged, leading to leaks.
To determine if the gasket is the culprit, inspect it closely for any signs of wear, cracks, or misalignment. If you notice any damage, it’s time to replace the gasket. Check the user manual or contact the blender manufacturer to find the appropriate replacement gasket for your blender model.
Here are the steps to replace the faulty gasket:
- Unplug the blender and detach the jar from the motor base.
- Remove the blade assembly from the bottom of the blender jar. This can usually be done by twisting it counterclockwise.
- Remove the old gasket from the blade assembly by pulling it off or using a small tool to pry it off gently.
- Clean the area where the gasket was attached to ensure there is no debris or residue.
- Place the new gasket on the blade assembly, making sure it fits securely and sits flat against the assembly.
- Reattach the blade assembly to the bottom of the blender jar by twisting it clockwise.
- Ensure that the gasket is properly aligned with the jar and that the blade assembly is tightly secured.
- Reattach the blender jar to the motor base, making sure it is aligned correctly.
Once you have replaced the faulty gasket, test the blender to ensure that it no longer leaks. If the problem persists, move on to the next troubleshooting step.
Addressing a faulty gasket or seal promptly will help you prevent leaks and extend the lifespan of your blender. Regularly inspecting and replacing the gasket as needed is a good maintenance practice to keep your blender in optimal condition. Continue reading to learn about troubleshooting other possible causes of blender leaks.
Loose or Damaged Blade Assembly
The blade assembly is a crucial component of your blender that is responsible for blending the ingredients to a smooth consistency. If the blade assembly is loose or damaged, it can cause leaks from the bottom of the blender.
To check if the blade assembly is causing the leakage, follow these steps:
- Unplug the blender and remove the blender jar from the motor base.
- Inspect the blade assembly carefully. Look for any signs of damage, such as bent or dull blades, or a loose blade assembly.
- If the blades are damaged, consider replacing the blade assembly with a new one. You can refer to the blender’s user manual or contact the manufacturer for the specific replacement part.
- If the blade assembly is loose, tighten it by holding the base of the blender jar and twisting the blade assembly clockwise until it is secure.
- Reattach the blender jar to the motor base, ensuring it is properly aligned.
Once you have tightened the blade assembly or replaced it with a new one, test the blender to check if the leakage has stopped. If it still leaks, move on to the next troubleshooting step.
It’s important to regularly inspect the blade assembly for any damage and ensure it is securely tightened to prevent leaks. Damaged blades can negatively impact blending performance and may also pose a safety risk, so it’s crucial to address any issues promptly.
In the next section, we will discuss another potential cause of blender leaks and provide troubleshooting steps to address it.
Cracked or Dislodged Jar
If your blender is leaking from the bottom, another possible cause could be a cracked or dislodged blender jar. The blender jar holds the ingredients during blending, and if it is cracked or not properly aligned with the motor base, it can result in leaks.
To check if the blender jar is the source of the leakage, follow these steps:
- Unplug the blender and remove the blender jar from the motor base.
- Carefully examine the blender jar for any visible cracks or damage. Even hairline cracks can lead to leakage.
- If you find any cracks, it is recommended to replace the blender jar to eliminate the issue. Refer to the user manual or contact the manufacturer to find the appropriate replacement jar for your blender model.
- If the blender jar is not cracked, ensure that it is properly aligned with the motor base. The jar should fit securely onto the base without any wobbling or misalignment.
- Reattach the blender jar to the motor base, ensuring it is properly aligned and securely fitted.
After following these steps, test the blender to see if the leakage has stopped. If the problem persists, move on to the next troubleshooting step.
It’s important to note that using a cracked blender jar is unsafe and can result in further damage or accidents. Therefore, replacing a cracked or damaged jar is essential to ensure the proper functioning of your blender.
In the next section, we will cover another possible cause of blender leaks and provide troubleshooting tips to address it effectively.
Overfilling the Blender
Overfilling the blender is a common mistake that can lead to leaks from the bottom. When you exceed the blender’s maximum capacity, it puts pressure on the seals and can cause liquid to seep out.
To avoid overfilling the blender, it’s important to follow the manufacturer’s guidelines and not exceed the recommended capacity. Most blenders have markings on the jar indicating the maximum fill level.
If you’ve been overfilling your blender and experiencing leaks, here are some tips to prevent it:
- Measure ingredients accurately and use the recommended amounts according to your recipe.
- Leave enough space in the blender jar for the ingredients to blend properly, allowing room for expansion during blending.
- If you need to blend a larger quantity of ingredients, consider doing it in batches rather than overfilling the jar.
By adhering to these guidelines and avoiding overfilling, you can prevent unnecessary pressure on the blender’s seals and minimize the risk of leaks.
If you’ve taken these precautions and your blender is still leaking, continue reading for the next possible cause and troubleshooting steps.
Excessive Heat or Pressure
Excessive heat or pressure can also be a cause of blender leaks from the bottom. Blending hot ingredients or using the blender for an extended period can generate excessive heat or pressure, leading to leakage.
To prevent leaks due to heat or pressure, consider the following tips:
- Avoid blending hot ingredients directly from the stovetop. Allow the ingredients to cool down before adding them to the blender.
- If you need to blend hot ingredients, use a blender specifically designed for hot liquids. These blenders are equipped with thermal-resistant materials and safety measures to handle heat.
- Do not overblend or continuously run the blender for an extended period. Give the blender breaks between blending sessions to prevent excessive heat buildup.
By following these precautions, you can minimize the risk of leaks caused by excessive heat or pressure.
In cases where the blender continues to leak even after addressing the above possible causes, it is recommended to contact the blender manufacturer or seek professional assistance for further inspection and repair.
In the next section, we will provide troubleshooting techniques and solutions to help you address blender leaks effectively.
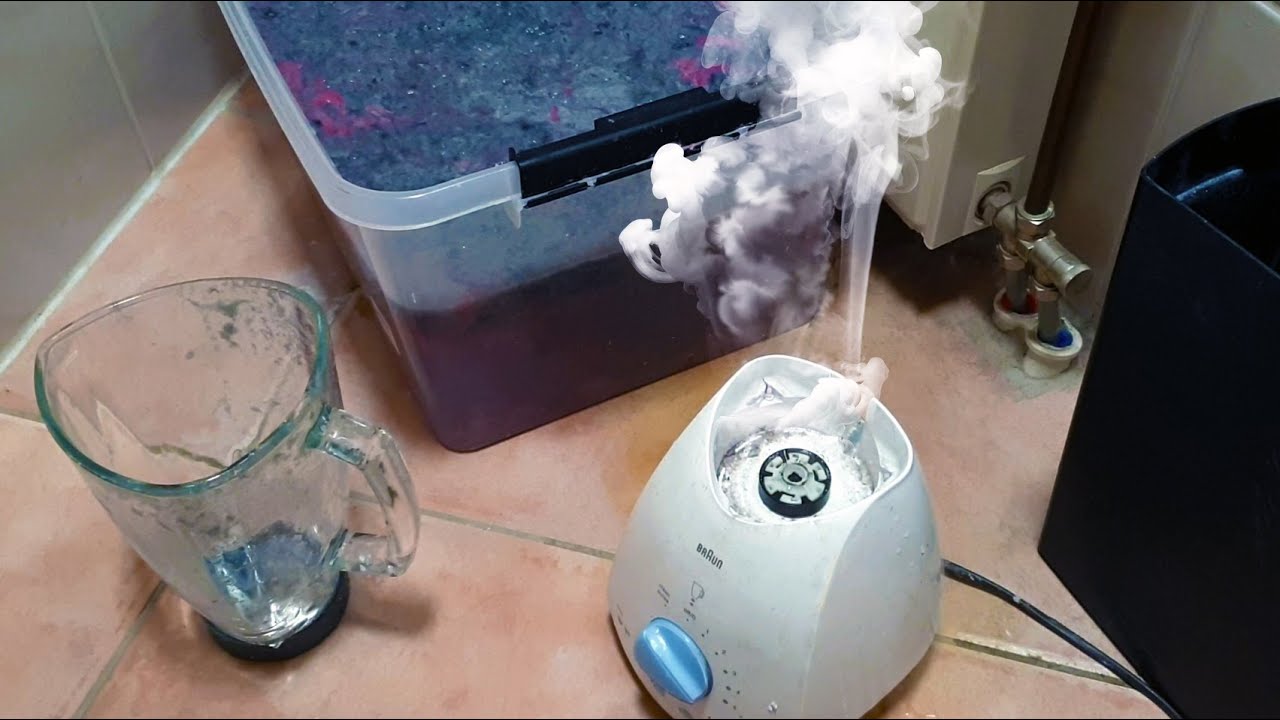
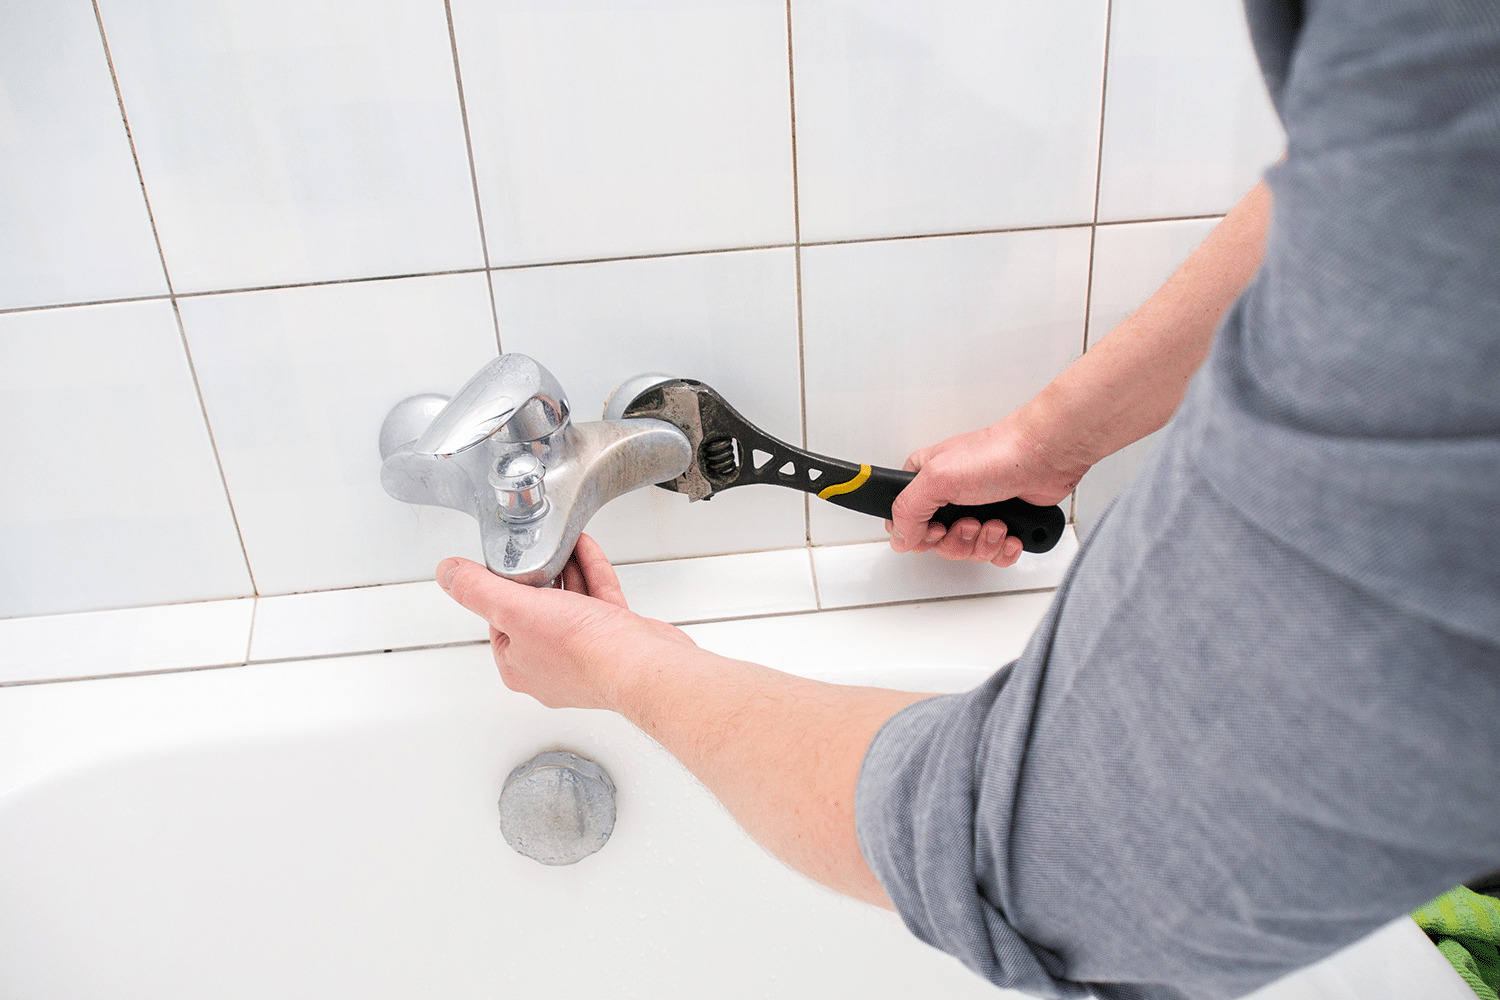
Check the gasket or sealing ring at the base of the blender. If it’s worn or damaged, it can cause leaking. Replace it to prevent further leaks.
Troubleshooting and Solutions
Now that we’ve discussed the common causes of blender leaks, let’s explore some troubleshooting techniques and solutions to address the issue.
If you’re experiencing blender leaks, follow these steps to identify and resolve the problem:
- Inspect and Replace the Gasket or Seal: Check the condition of the gasket or seal between the blender jar and blade assembly. If it is faulty, worn out, or misaligned, replace it with a new one.
- Check and Tighten the Blade Assembly: Ensure that the blade assembly is securely tightened onto the bottom of the blender jar. If it’s loose or damaged, tighten it or consider replacing the blade assembly.
- Examine and Repair or Replace the Blender Jar: Inspect the blender jar for any cracks or misalignment. If it’s cracked, replace it with a new jar that matches your blender model.
- Adjust Ingredient Levels in the Blender: Avoid overfilling the blender and follow the manufacturer’s guidelines for the maximum fill level. Leave enough space for ingredients to blend properly without putting excessive pressure on the seals.
- Monitor Heat and Pressure Levels: Be cautious when blending hot ingredients and ensure the blender is designed for hot liquids. Avoid overblending or continuously running the blender for an extended period to prevent excessive heat buildup.
By following these troubleshooting steps, you can often identify and resolve the cause of blender leaks. However, if the issue persists or you’re unsure about the problem, it’s recommended to consult the blender’s user manual, contact the manufacturer’s customer support, or seek professional assistance.
Remember to perform regular maintenance on your blender, such as cleaning the jar and blade assembly, and inspecting for any signs of wear or damage. This can help prevent leaks and ensure the longevity of your blender.
Now that you have a better understanding of the possible causes and troubleshooting techniques for blender leaks, you can confidently resolve the issue and enjoy hassle-free blending in your kitchen.
Inspect and Replace the Gasket or Seal
The gasket or seal is a crucial component that creates a watertight seal between the blender jar and the blade assembly. Over time, the gasket can wear out, become misaligned, or get damaged, leading to leaks from the bottom of the blender.
To address this issue, follow these steps:
- Unplug the blender and remove the blender jar from the motor base.
- Inspect the gasket or seal closely for any signs of wear, cracks, or misalignment. Even minor damage can compromise the effectiveness of the seal.
- If you notice any damage, it’s important to replace the gasket with a new one specific to your blender model. Refer to the user manual or contact the manufacturer to obtain the correct replacement part.
- Remove the old gasket by gently pulling it off or using a small tool to pry it off. Take care not to damage the blender jar or the blade assembly during this process.
- Clean the area where the gasket was attached, ensuring that it is free from any debris, residue, or remnants of the old gasket.
- Place the new gasket onto the groove or ridge on the blade assembly, ensuring that it fits securely and sits flat against the assembly.
- Reattach the blade assembly to the bottom of the blender jar by twisting it clockwise until it is fully tightened.
- Make sure that the gasket is properly aligned with the jar, and that the blade assembly is securely fastened.
- Reattach the blender jar to the motor base, ensuring it is aligned correctly and securely fitted.
Once you have replaced the gasket, it’s time to test the blender to check if the leakage has been resolved. If the problem persists, proceed to the next troubleshooting step.
Regularly inspecting and replacing the gasket as needed is an essential maintenance practice to prevent leaks and ensure the optimal performance of your blender. By addressing a faulty gasket promptly, you can avoid additional issues and enjoy seamless blending in your kitchen.
In the next sections, we will continue troubleshooting other possible causes of blender leaks and provide solutions to resolve them effectively.
Read more: Why Is My Water Heater Leaking From The Top
Check and Tighten the Blade Assembly
The blade assembly is a vital part of your blender that is responsible for blending ingredients to a smooth consistency. If the blade assembly is loose or damaged, it can cause leaks from the bottom of the blender.
To address this issue, follow these steps:
- Unplug the blender and remove the blender jar from the motor base.
- Inspect the blade assembly carefully for any signs of damage, such as bent or dull blades. Also, check if the assembly is securely attached to the bottom of the blender jar.
- If the blades are damaged, consider replacing the entire blade assembly with a new one. Refer to the user manual or contact the manufacturer for the specific replacement part.
- If the blade assembly is loose, tighten it by holding the base of the blender jar and twisting the assembly clockwise until it is firmly secured.
- Ensure that the blade assembly is properly aligned and flush with the bottom of the blender jar.
- Reattach the blender jar to the motor base, ensuring it is aligned correctly and securely fitted.
After tightening or replacing the blade assembly, test the blender to check if the leakage has been resolved. If the problem persists, move on to the next troubleshooting step.
Regularly inspecting the blade assembly for any signs of damage and ensuring it is tightly secured is important for both safety and optimal blending performance. Damaged blades can negatively affect the blending process and may also pose a safety risk. By addressing blade-related issues promptly, you can prevent leaks and ensure the longevity of your blender.
In the next section, we will cover another possible cause of blender leaks and provide troubleshooting steps to address it effectively.
Examine and Repair or Replace the Blender Jar
If your blender is leaking from the bottom, there’s a possibility that the blender jar itself is the culprit. The blender jar holds the ingredients during blending, and if it is cracked or not properly aligned with the motor base, it can result in leaks.
To address this issue, follow these steps:
- Unplug the blender and remove the blender jar from the motor base.
- Closely examine the blender jar for any visible cracks, chips, or other damage. Even small cracks can lead to leakage.
- If you find any cracks or significant damage, it is recommended to replace the blender jar altogether. Refer to the user manual or contact the manufacturer to find the appropriate replacement jar for your specific blender model.
- If the jar is not cracked, ensure that it is properly aligned with the motor base. The jar should fit snugly onto the base without any wobbling or misalignment.
- Reattach the blender jar to the motor base, making sure it is properly aligned and securely fitted.
After performing these steps, test the blender to see if the leakage has been resolved. If the problem persists, move on to the next troubleshooting step.
Using a cracked or damaged blender jar is not only a potential cause of leaks but also a safety risk. It is important to replace the jar to ensure the proper functioning of your blender and to maintain the integrity of your recipes.
In the next section, we will cover another common cause of blender leaks and provide troubleshooting steps to address it effectively.
Adjust Ingredient Levels in the Blender
Overfilling the blender can put excessive pressure on the seals, causing leaks from the bottom. It’s important to follow the manufacturer’s guidelines and not exceed the recommended capacity of the blender jar to prevent leaks.
To address this issue, consider the following tips:
- Measure ingredients accurately and use the recommended amounts according to your recipe.
- Leave enough space in the blender jar for the ingredients to move and blend properly. Overfilling the jar can lead to spills and leaks.
- If you need to blend a larger quantity of ingredients, consider dividing it into smaller batches rather than overfilling the jar.
By adjusting the ingredient levels in the blender and following these guidelines, you can prevent unnecessary pressure on the blender’s seals and minimize the risk of leaks.
After adjusting the ingredient levels, test the blender to check if the leakage has been resolved. If the problem persists, proceed to the next troubleshooting step.
Maintaining the appropriate ingredient levels in your blender not only helps to prevent leaks but also ensures efficient blending and optimal performance of the appliance. By following these simple tips, you can avoid unnecessary mess and enjoy hassle-free blending in your kitchen.
In the next section, we will cover another possible cause of blender leaks and provide troubleshooting steps to address it effectively.
Monitor Heat and Pressure Levels
Blending hot ingredients or using the blender for a prolonged period can generate excessive heat or pressure, leading to leaks from the bottom. To prevent leaks caused by heat and pressure, consider the following tips:
- Avoid blending hot ingredients directly from the stovetop. Allow the ingredients to cool down before adding them to the blender.
- If you need to blend hot ingredients, use a blender specifically designed for hot liquids. These blenders are equipped with thermal-resistant materials and safety measures to handle heat.
- Do not overblend or continuously run the blender for an extended period. Give the blender breaks between blending sessions to prevent excessive heat buildup.
By following these precautions and being mindful of heat and pressure levels, you can minimize the risk of leaks from the bottom of your blender.
After ensuring that you’re using the appropriate heat-resistant blender and monitoring the blending duration, test the blender to check if the leakage has been resolved. If the problem persists, proceed to the next troubleshooting step.
Monitoring heat and pressure levels not only helps prevent leaks but also protects your blender from potential damage. It’s important to follow these guidelines to ensure safe and efficient blending in your kitchen.
In the next section, we will conclude the troubleshooting steps and summarize the solutions to address blender leaks effectively.
Conclusion
Dealing with a blender that leaks from the bottom can be frustrating and messy. However, by understanding and addressing the common causes of blender leaks, you can resolve the issue and enjoy hassle-free blending in your kitchen.
In this article, we discussed the various reasons why a blender may leak from the bottom. These include a faulty gasket or seal, a loose or damaged blade assembly, a cracked or dislodged blender jar, overfilling the blender, and excessive heat or pressure.
We provided troubleshooting steps for each of these causes, such as inspecting and replacing the gasket or seal, checking and tightening the blade assembly, examining and repairing or replacing the blender jar, adjusting ingredient levels, and monitoring heat and pressure levels.
It’s important to regularly maintain your blender by inspecting and replacing worn-out components and following the manufacturer’s guidelines for capacity and usage. By doing so, you can prevent leaks and ensure the optimal performance and longevity of your blender.
If you have followed all the troubleshooting steps and are still experiencing blender leaks, it is recommended to contact the manufacturer’s customer support or seek professional assistance. They will be able to provide further guidance and solutions specific to your blender model.
Remember, the key to addressing blender leaks is early detection, timely repair or replacement, and proper maintenance. By taking these steps, you can enjoy seamless blending and create delicious recipes without any leakage issues.
We hope this article has provided you with valuable insights and solutions to address blender leaks effectively. Happy blending!
Frequently Asked Questions about Why Is My Blender Leaking From The Bottom
Was this page helpful?
At Storables.com, we guarantee accurate and reliable information. Our content, validated by Expert Board Contributors, is crafted following stringent Editorial Policies. We're committed to providing you with well-researched, expert-backed insights for all your informational needs.
0 thoughts on “Why Is My Blender Leaking From The Bottom”