Home>Articles>Why Is My Washer Leaking Water From The Bottom
Articles
Why Is My Washer Leaking Water From The Bottom
Modified: August 27, 2024
Find valuable articles on why your washer is leaking water from the bottom. Get troubleshooting tips and solutions to fix this common issue and prevent further damage.
(Many of the links in this article redirect to a specific reviewed product. Your purchase of these products through affiliate links helps to generate commission for Storables.com, at no extra cost. Learn more)
Introduction
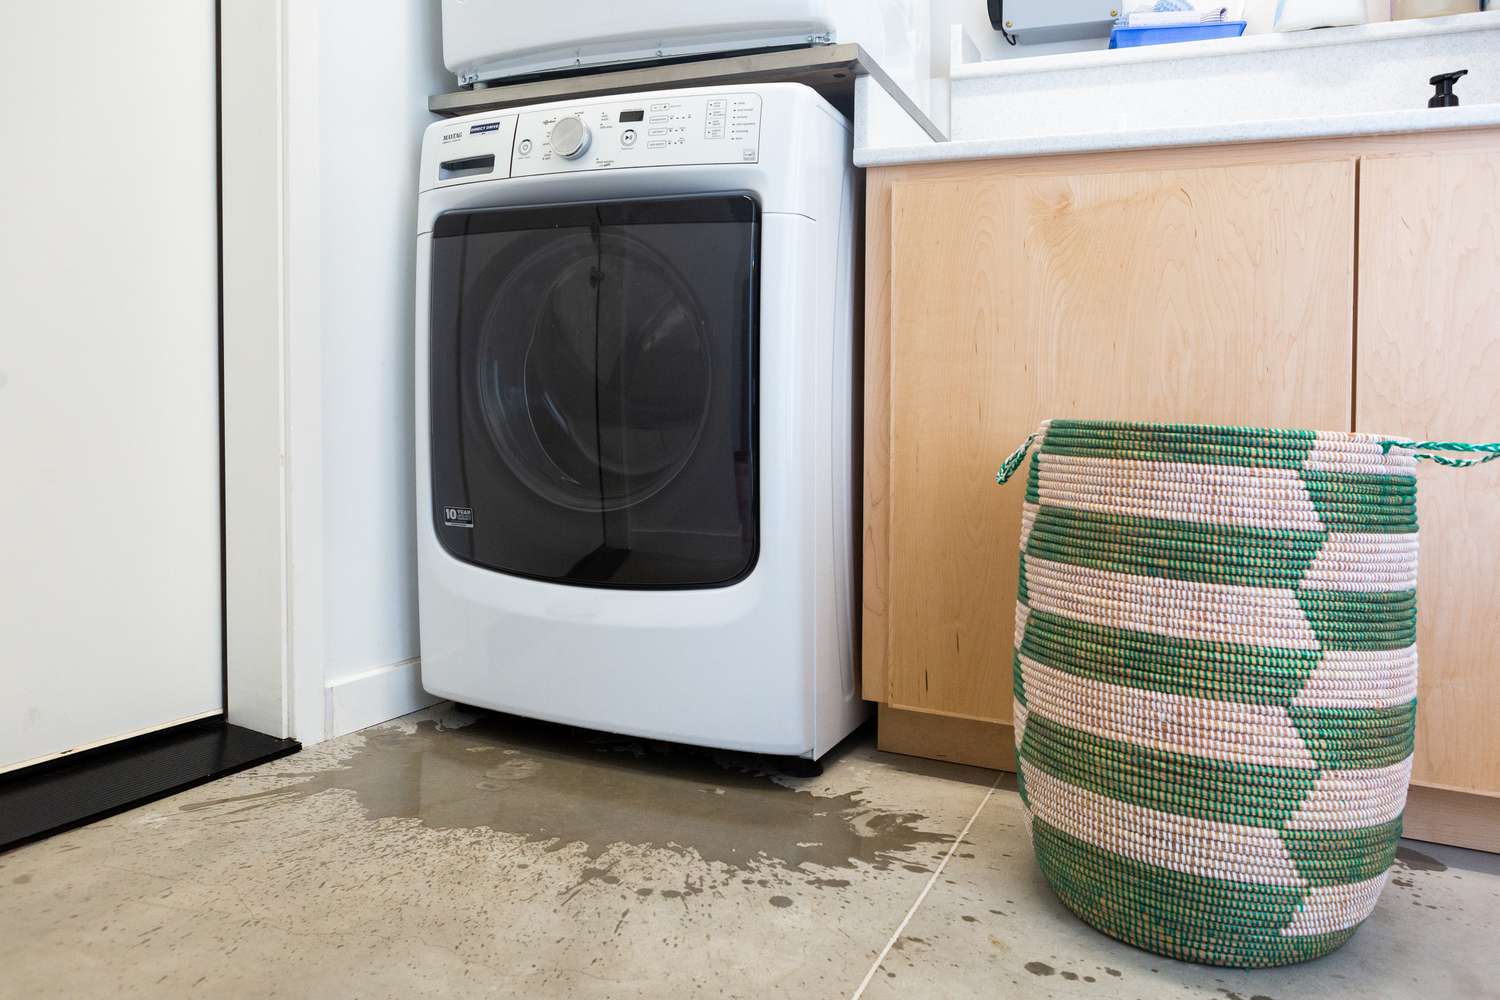
A leaking washer can be a frustrating problem to deal with. Not only can it cause damage to your floors and walls, but it can also disrupt your laundry routine. If you’ve noticed water pooling at the bottom of your washer, it’s important to address the issue promptly to prevent further damage and potential safety hazards.
There are several common causes of washer leaks, ranging from minor issues to more significant problems. In this article, we will explore the various reasons why your washer may be leaking water from the bottom and discuss possible solutions to help you resolve the issue.
Key Takeaways:
- Regular maintenance and prompt attention to common issues such as damaged tub seals, faulty drain pumps, and leaking hoses can prevent water damage and ensure a smooth laundry routine.
- Proper laundry practices, including using the correct detergent amount and distributing loads evenly, can minimize the risk of leaks, while seeking professional help for persistent leaks is crucial for efficient washer operation.
Read more: Why Is My Blender Leaking From The Bottom
Common Causes of Washer Leaks
When it comes to diagnosing a leaking washer, there are several potential culprits to consider. Understanding these common causes can help you pinpoint the issue and take the necessary steps to fix it. Here are some of the most common reasons why your washer may be leaking water from the bottom:
1. Damaged or Worn Out Tub Seal: The tub seal is responsible for preventing water from leaking out of the machine. Over time, the seal may become worn out or damaged, leading to leaks. Inspect the seal for any signs of wear or cracks and replace it if necessary.
2. Faulty Drain Pump: The drain pump is responsible for removing water from the washer. If the pump is damaged or clogged, it may cause water to leak from the bottom. Check the pump for any obstructions or signs of damage and replace it if needed.
3. Leaking Hoses: The hoses that connect your washer to the water supply and drainage system can develop leaks over time. Inspect the hoses for any cracks, holes, or loose connections. Replace any damaged hoses to prevent leaks.
4. Clogged or Damaged Drain Pipe: If the drain pipe is clogged or damaged, it can cause water to overflow and leak from the bottom of the washer. Clear any blockages in the drain pipe or replace it if it’s damaged.
5. Overfilled or Unbalanced Loads: Overloading the washer or not distributing the laundry evenly can cause excessive strain on the machine, leading to leaks. Make sure to follow the manufacturer’s guidelines for load capacity and properly distribute the laundry to prevent leaks.
6. Cracked or Loose Water Inlet Valve: The water inlet valve controls the flow of water into the washer. If it’s cracked or loose, water may leak from the bottom. Inspect the valve for any signs of damage and tighten or replace it as needed.
7. Malfunctioning Pressure Switch: The pressure switch is responsible for regulating the water level in the washer. If it malfunctions, it can cause the washer to overfill and result in leaks. Test the pressure switch or consult a professional for diagnosis and repair.
8. Loose or Faulty Hose Connections: Loose or faulty connections between the hoses and the washer or water supply can cause leaks. Check all hose connections and tighten them if necessary. Replace any damaged hoses or fittings.
9. Defective Door Seal or Gasket: Front-loading washers have a rubber seal or gasket around the door to prevent leaks. If this seal becomes worn or damaged, water may leak from the bottom of the washer. Inspect the seal and replace it if needed.
10. Excessive Detergent Usage: Using too much detergent can create excess suds, leading to leaks. Follow the manufacturer’s guidelines for detergent usage and avoid overloading the washer with detergent.
By understanding these common causes of washer leaks, you’ll be better equipped to identify the source of the problem and take appropriate action to fix it. In the following sections, we will delve deeper into each issue and provide possible solutions to help you resolve the leak efficiently.
Issue 1: Damaged or Worn Out Tub Seal
One of the most common causes of a leaking washer is a damaged or worn-out tub seal. The tub seal is located between the outer tub and the transmission, and it prevents water from leaking out of the machine during the wash cycle. Over time, the seal can become weakened, cracked, or worn out, leading to water leaks from the bottom of the washer.
To determine if a damaged tub seal is the cause of the leak, you can perform a simple visual inspection. Open the washer’s door or lid and check around the inside perimeter of the tub for any signs of wear or cracks in the seal. If you notice any damage, it’s likely that the tub seal needs to be replaced.
Replacing a tub seal requires some disassembly of the washer, so it’s recommended to consult the manufacturer’s instructions or seek the help of a professional appliance repair service. Typically, the process involves removing the agitator, draining the tub, disconnecting the transmission, and accessing the tub seal. Once the new seal is installed, reassemble the washer and test it for leaks.
It’s important to address a damaged or worn-out tub seal promptly, as prolonged water leaks can lead to further damage to the washer’s components and potentially cause electrical issues or safety hazards. Regular maintenance of the tub seal, such as keeping it clean and free from debris, can help extend its lifespan and prevent leaks. Additionally, avoiding overloading the washer and using the recommended amount of detergent can minimize strain on the seal and reduce the risk of damage.
Remember, if you’re unsure about replacing the tub seal or if the leak persists even after replacing it, it’s best to consult a professional technician. They can accurately diagnose the issue and provide the necessary repairs or replacement parts to resolve the leak and ensure your washer is functioning properly.
Issue 2: Faulty Drain Pump
Another common cause of a washer leaking water from the bottom is a faulty drain pump. The drain pump is responsible for removing water from the washer’s tub during the drain cycle. If the drain pump becomes damaged or develops a blockage, it can result in water leaking out of the bottom of the machine.
To determine if the drain pump is the culprit behind the leak, you can follow a few troubleshooting steps. Start by checking for any visible signs of damage, such as cracks or leaks, on the pump itself. Additionally, inspect the pump for any debris or blockages that may be hindering its operation.
If the drain pump is indeed faulty, replacing it is typically the best course of action. Begin by disconnecting the power supply to the washer and shutting off the water supply. Consult the manufacturer’s instructions or seek professional assistance to properly remove and replace the drain pump. It’s important to use the correct replacement part to ensure compatibility and prevent further issues.
Regular maintenance can help prevent drain pump issues. Clean the pump filter regularly to remove any debris or objects that may have accumulated. Additionally, avoid washing items with excessive lint or debris that may clog the pump. Following these maintenance steps can help extend the life of the drain pump and minimize the risk of leaks.
If you’ve replaced the drain pump but are still experiencing leaks, it’s possible that there may be an issue with the pump’s installation or another component of the washer. In such cases, it’s recommended to contact a professional technician for a more thorough diagnosis and repair. They will have the knowledge and expertise to identify the underlying cause of the leak and provide the necessary solutions.
Addressing a faulty drain pump promptly is crucial to prevent further damage and ensure the proper functioning of your washer. By regularly inspecting and maintaining the drain pump, you can minimize the risk of leaks and keep your laundry routine running smoothly.
Issue 3: Leaking Hoses
Leaking hoses are a common culprit when it comes to washer leaks. The hoses that connect your washer to the water supply and drainage system can deteriorate over time, leading to leaks. It’s important to regularly inspect these hoses to ensure they are in good condition and replace them if any signs of damage are present.
To check for leaking hoses, first, turn off the water supply and disconnect the hoses from the washer. Carefully inspect the hoses for any cracks, bulges, or splits. Additionally, look for signs of moisture or water stains, indicating past or ongoing leaks. If you notice any damage or leaks, it’s time to replace the hoses.
When purchasing replacement hoses, make sure to select high-quality, reinforced hoses that are designed to withstand the pressure and demands of your washer. These hoses often feature a durable rubber or stainless steel construction and may also include built-in leak detection systems for added peace of mind.
To replace the hoses, start by turning off the water supply and disconnecting the hoses from the washer and the water source. Follow the manufacturer’s instructions for your specific washer model to safely and correctly install the new hoses. Ensure that the connections are tight and secure to prevent leaks.
Regular maintenance is essential to prevent leaks caused by deteriorated hoses. Routinely inspect the hoses and clean them to remove any debris or buildup that could potentially cause damage. Avoid over-tightening the hose connections, as this can lead to leaks. Instead, tighten them just enough to ensure a secure seal without excessive force.
If you have replaced the hoses and are still experiencing leaks, it’s possible that the issue lies elsewhere, such as a faulty valve or pump. In such cases, it’s best to consult a professional technician to accurately diagnose the problem and provide the necessary repairs.
Taking proactive measures, such as regular inspections and maintenance of your washer’s hoses, can help prevent leaks and prolong the lifespan of your machine. By promptly replacing damaged hoses and following manufacturer guidelines, you can ensure that your washer operates efficiently and effectively without any pesky leaks.
Issue 4: Clogged or Damaged Drain Pipe
A clogged or damaged drain pipe can be another common cause of a washer leaking water from the bottom. The drain pipe is responsible for carrying the wastewater from the washer to the main drainage system. If the drain pipe becomes clogged or damaged, it can result in water overflowing and leaking from the bottom of the washer.
To determine if a clogged or damaged drain pipe is causing the leak, start by inspecting the drain pipe for any visible signs of damage, such as cracks, holes, or loose connections. Additionally, check for any blockages in the pipe, such as built-up debris, lint, or foreign objects.
If the drain pipe is clogged, you can try clearing the blockage using a plumber’s snake or a pipe cleaning solution. Follow the instructions provided with the cleaning product or consult a professional plumber for assistance with clearing the clog. It’s important to use caution and avoid damaging the pipe while attempting to clear the blockage.
In the case of a damaged drain pipe, replacing the pipe may be necessary. Start by turning off the water supply and disconnecting the pipe from the washer. Measure the length and diameter of the pipe to obtain the correct replacement. Carefully install the new pipe, ensuring secure connections and a tight seal to prevent leaks.
Preventing clogs in the drain pipe can help reduce the risk of leaks. Regularly clean the drain pipe by flushing it with hot water or using a drain cleaning solution. Additionally, avoid washing items with excessive lint or debris that can contribute to clogs, and ensure that the drain pipe is properly connected and aligned to allow for smooth water flow.
If you’ve cleared a clog or replaced a damaged drain pipe but the leak persists, it’s possible that there may be another underlying issue. In such cases, it’s recommended to contact a professional plumber or appliance repair technician who can accurately diagnose the problem and provide the necessary repairs.
Addressing a clogged or damaged drain pipe promptly is crucial to prevent further water damage and ensure the proper functioning of your washer. By regularly inspecting and maintaining the drain pipe, you can minimize the risk of leaks and maintain a smooth laundry routine.
Issue 5: Overfilled or Unbalanced Loads
Overfilled or unbalanced loads can be a common cause of a washer leaking water from the bottom. When you overload the washer or fail to distribute the laundry evenly, it can put excessive strain on the machine, leading to leaks.
To prevent leaks caused by overfilled loads, always follow the manufacturer’s guidelines for load capacity. Overloading the washer can cause it to become imbalanced, leading to excessive movement during the spin cycle and potential leaks. Make sure to leave enough space for the clothes to move freely and allow for proper water circulation.
Similarly, uneven distribution of laundry can also cause leaks. Large, heavy items like towels or jeans can throw off the balance of the washer. Make sure to distribute the laundry evenly around the agitator or drum to promote balanced spinning and reduce the risk of leaks.
If you notice that the washer is leaking during the spin cycle, it may indicate an unbalanced load. Stop the washing cycle and redistribute the laundry to ensure an even load distribution. Once the load is properly balanced, restart the cycle and monitor for any potential leaks.
Regular maintenance of the washer can also help prevent leaks caused by overfilled or unbalanced loads. Clean the washing machine drum and agitator regularly to remove any debris or residue that may affect the balance and performance of the machine. Additionally, check for any loose or damaged components, such as the tub springs or shock absorbers, which can contribute to unbalanced loads.
When loading the washer, be mindful of the water level. Avoid overfilling the machine with too much water, as it can lead to leaks from excessive pressure. Follow the recommended water level for the specific load to prevent overflow and leaks.
If you continue to experience leaks despite properly loading and balancing the washer, there may be other underlying issues. It is recommended to consult a professional appliance repair technician who can inspect the machine, diagnose the problem, and provide the necessary repairs or adjustments.
By paying attention to load capacity guidelines, distributing the laundry evenly, and maintaining the washer, you can minimize the risk of leaks caused by overfilled or unbalanced loads. This will not only prevent water damage but also ensure that your washer operates efficiently and effectively.
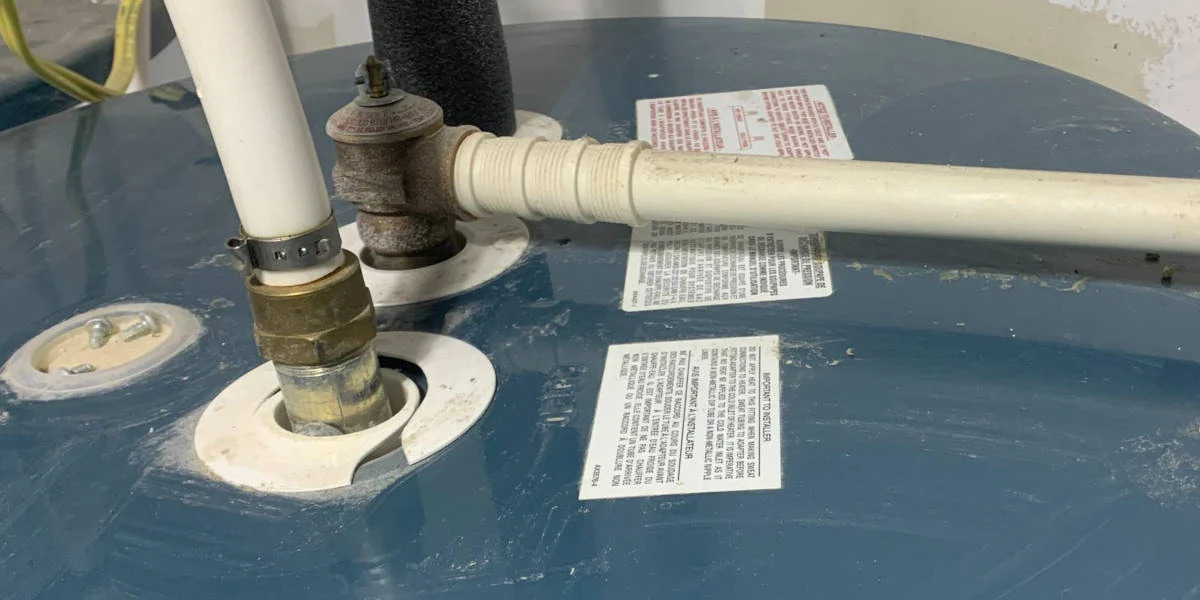
Check the hoses and connections for any leaks or cracks. Also, inspect the door seal for any damage or debris that may be causing the leak.
Issue 6: Cracked or Loose Water Inlet Valve
A cracked or loose water inlet valve can be a potential cause of a washer leaking water from the bottom. The water inlet valve controls the flow of water into the washer during the fill cycle. If the valve becomes cracked or develops any loose connections, it can result in water leakage.
To check if the water inlet valve is the source of the leak, you can perform a visual inspection. Start by turning off the water supply to the washer and unplugging the machine. Locate the water inlet valve, which is usually located at the back of the washer. Inspect the valve for any visible cracks, breaks, or signs of damage. Additionally, check the connections to ensure they are secure and tight.
If you notice any damage to the water inlet valve or loose connections, it’s important to replace or repair the valve promptly. Start by turning off the water supply and unplugging the washer. Depending on the specific model of your washer, the process of replacing the water inlet valve may vary. It is recommended to consult the manufacturer’s instructions or seek the help of a professional appliance technician to ensure proper replacement and avoid any further damage.
Once you have replaced the water inlet valve, it’s important to test the washer for leaks. Turn on the water supply and run a cycle to monitor for any potential leaks. If the leak persists or if you are unsure about replacing the water inlet valve yourself, it is best to seek professional assistance.
Preventing damage to the water inlet valve is crucial to avoid leaks. Be mindful of over-tightening the water supply connections, as it can cause cracks in the valve. Additionally, avoid forcefully moving the washer or placing objects on top of it, as this can dislodge the valve or damage its connections.
Regular maintenance of the water inlet valve can help prevent leaks. Inspect the valve periodically for any signs of wear or damage. Additionally, clean the valve screens to remove any debris that may hinder proper water flow.
If you continue to experience leaks after replacing or repairing the water inlet valve, there may be other underlying issues. It is best to consult a professional technician who can accurately diagnose the problem and provide the necessary repairs or adjustments.
By addressing a cracked or loose water inlet valve promptly and maintaining it regularly, you can prevent water leaks and ensure the proper functioning of your washer. This will help extend the lifespan of your appliance and keep your laundry routine running smoothly.
Issue 7: Malfunctioning Pressure Switch
A malfunctioning pressure switch can be a potential cause of a washer leaking water from the bottom. The pressure switch is responsible for regulating the water level in the washer during the fill cycle. If the pressure switch malfunctions, it may incorrectly detect the water level, causing the washer to overfill and result in leaks.
To determine if the pressure switch is causing the leak, you can perform a simple test. Start by turning off the water supply and unplugging the washer. Locate the pressure switch, which is usually located near the top of the washer’s cabinet or control panel. Check for any loose or disconnected wires leading to the switch. Additionally, inspect the switch for any signs of damage or corrosion.
If you suspect a malfunctioning pressure switch, it’s important to replace the switch or repair it promptly to prevent further leaks. Turn off the water supply and disconnect the power to the washer. Consult the manufacturer’s instructions or seek the help of a professional appliance technician to properly replace the pressure switch. They will have the necessary knowledge and expertise to accurately diagnose the issue and provide the appropriate solution.
Once the pressure switch has been replaced, it’s essential to test the washer to ensure that the leak has been resolved. Turn on the water supply and run a cycle to monitor for any potential leaks. If the leak persists or if you are uncertain about replacing the pressure switch yourself, it is best to seek professional assistance.
Regular maintenance and cleaning of the pressure switch can help prevent malfunctions. Inspect the switch periodically for any debris or blockages that may hinder its proper operation. Additionally, clean the air hose connected to the switch to ensure accurate pressure readings.
If you continue to experience leaks even after replacing or repairing the pressure switch, there may be other underlying issues. It is recommended to consult a professional technician who can accurately diagnose the problem and provide the necessary repairs or adjustments.
By addressing a malfunctioning pressure switch promptly and maintaining it regularly, you can prevent leaks and ensure the proper functioning of your washer. This will help extend the lifespan of your appliance and keep your laundry routine running smoothly.
Issue 8: Loose or Faulty Hose Connections
Loose or faulty hose connections are a common cause of washer leaks. The hoses that connect your washer to the water supply, both hot and cold, as well as the drain hose, can develop leaks if they are not securely connected or if the connections become worn or damaged over time.
To determine if loose or faulty hose connections are the source of the leak, start by visually inspecting the connections. Check for any signs of moisture, water staining, or dripping around the hose connections. Additionally, firmly touch each connection to test for any looseness or movement. If you notice any leaks, loose connections, or damaged fittings, it’s time to address the issue.
To tighten loose hose connections, first, turn off the water supply and unplug the washer. Carefully tighten each connection with a pair of pliers, being careful not to overtighten and damage the connections. Once the connections are secure, turn on the water supply and run a cycle to check for any potential leaks.
If there are damaged or worn-out fittings, it’s recommended to replace them. Start by turning off the water supply and unplugging the washer. Disconnect the affected hose from both the washer and the water supply. Take the damaged fitting to a hardware store to find an exact replacement. Follow the manufacturer’s instructions or seek the assistance of a professional technician to install the new fitting. Once the new fitting is securely in place, reconnect the hose and test for leaks.
Regular maintenance of the hose connections is essential to prevent leaks. Inspect the connections periodically for any signs of wear or damage. If you notice any cracks, leaks, or deterioration, it’s important to replace the affected hose or fitting promptly. Additionally, check for any kinks or bends in the hoses that may cause restrictions or leaks.
If you’ve tightened or replaced the hose connections and are still experiencing leaks, it’s possible that there may be another underlying issue. In such cases, it’s best to consult a professional technician who can accurately diagnose the problem and provide the necessary repairs or adjustments.
By regularly inspecting and maintaining the hose connections, you can minimize the risk of leaks and ensure the proper functioning of your washer. This will help prevent water damage and allow for a worry-free laundry experience.
Issue 9: Defective Door Seal or Gasket
A defective door seal or gasket is a common cause of washer leaks, especially in front-loading models. The door seal, also known as the door gasket, creates a tight seal between the door and the drum, preventing water from leaking out during the wash cycle. If the seal becomes worn, damaged, or loses its elasticity, it can result in water leaking from the bottom of the washer.
To determine if a defective door seal or gasket is causing the leak, inspect the seal for any visible signs of wear, tears, or gaps. Check for any debris or foreign objects that may be lodged in the seal, preventing it from forming a proper seal. If you identify any issues, it’s time to address the problem.
Replacing a defective door seal or gasket requires some disassembly of the washer and can be a bit more complex compared to other issues. It’s recommended to consult the manufacturer’s instructions or seek the help of a professional appliance technician. They will have the necessary knowledge and expertise to properly remove and replace the door seal or gasket. This ensures that the new seal or gasket is installed correctly, providing an effective barrier against leaks.
Regular maintenance of the door seal or gasket can help prolong its lifespan and prevent leaks. Clean the seal regularly to remove any detergent residue, mold, or mildew buildup that may affect its effectiveness. Use a mild soap and water solution and a soft brush to gently clean the seal. Additionally, wipe down the door and drum after each use to remove any excess water or debris.
When loading the washer, be cautious not to overload the machine or place excessive pressure on the door seal or gasket. This can cause unnecessary strain and potentially damage the seal. Follow the manufacturer’s guidelines for load capacity and evenly distribute the laundry inside the drum to avoid imbalance and leaks.
If you’ve replaced the door seal or gasket and are still experiencing leaks, it’s possible that there may be other underlying issues. It is best to consult a professional technician who can accurately diagnose the problem and provide the necessary repairs or adjustments.
By addressing a defective door seal or gasket promptly and properly maintaining it, you can prevent leaks and ensure the proper functioning of your washer. This will help extend the lifespan of your appliance and keep your laundry routine running smoothly without any pesky leaks.
Issue 10: Excessive Detergent Usage
Excessive detergent usage is a lesser-known but potential cause of washer leaks. Using too much detergent can create excessive suds, leading to leaks from the bottom of the washer. Excessive suds can cause the washer to overflow, overwhelm the drainage system, and result in water escaping from the machine.
To determine if excessive detergent usage is causing the leak, evaluate your laundry practices. Reflect on the amount of detergent you have been using and consider if it exceeds the recommended guidelines provided by the detergent manufacturer and the washer’s instructions. If you suspect excessive detergent usage, it’s time to make some adjustments.
Start by carefully measuring the recommended amount of detergent for each load. Be cautious not to exceed the suggested quantity. The appropriate amount of detergent varies depending on the load size, water hardness, and detergent concentration, so following the guidelines provided by the manufacturer is crucial.
Additionally, be mindful of the type of detergent you are using. Different detergents have different concentrations, and some may require smaller dosage amounts. Using high-efficiency (HE) detergents designed for use in today’s modern washers can help prevent excessive sudsing and reduce the chances of leaks.
To address excessive suds and prevent leaks, you may need to run an extra rinse cycle. This will help ensure that all the excess detergent and suds are properly removed from the laundry and the washer, minimizing the risk of overflow and leaks. Some modern washers even have a special “extra rinse” option, which can be selected to further remove excessive suds.
Regular maintenance of the washer can also contribute to preventing leaks caused by excessive detergent usage. Clean the detergent dispenser drawer regularly to remove any residue or build-up that may interfere with the proper dispensing of detergent. Additionally, wipe down the drum and door seal periodically to remove any detergent residue.
If you’ve adjusted your detergent usage and still experience leaks, it’s possible that the issue may stem from other causes. In such cases, it’s best to consult a professional technician who can accurately diagnose the problem and provide the necessary repairs or adjustments.
By using the appropriate amount of detergent, using high-efficiency detergents, and following proper laundry practices, you can prevent excessive sudsing and minimize the risk of leaks. This will ensure a more efficient and effective washing process while keeping your washer in good working condition.
Conclusion
Dealing with a leaking washer can be a frustrating experience. Understanding the common causes of washer leaks and taking appropriate steps to resolve them can help you regain control over your laundry routine. In this article, we have explored ten possible issues that can lead to water leaking from the bottom of your washer, including:
- Damaged or worn-out tub seal
- Faulty drain pump
- Leaking hoses
- Clogged or damaged drain pipe
- Overfilled or unbalanced loads
- Cracked or loose water inlet valve
- Malfunctioning pressure switch
- Loose or faulty hose connections
- Defective door seal or gasket
- Excessive detergent usage
Resolving these issues involves a combination of inspection, maintenance, and potentially replacing or repairing various components of your washer. It is important to address these problems promptly to prevent further damage, minimize the risk of safety hazards, and ensure the proper functioning of your washer.
Remember, regular maintenance and good laundry practices can go a long way in preventing leaks. This includes cleaning and inspecting the washer regularly, using the recommended amount and type of detergent, distributing the laundry evenly, and being mindful of the water level and load capacity.
If you encounter persistent leaks or if you are unsure about performing repairs yourself, it is best to consult a professional appliance technician. They have the expertise and knowledge to accurately diagnose the issue and provide the necessary solutions, ensuring that your washer operates efficiently and effectively.
By addressing washer leaks promptly and maintaining your machine properly, you can prevent water damage, extend the lifespan of your appliance, and enjoy a seamless laundry experience.
Frequently Asked Questions about Why Is My Washer Leaking Water From The Bottom
Was this page helpful?
At Storables.com, we guarantee accurate and reliable information. Our content, validated by Expert Board Contributors, is crafted following stringent Editorial Policies. We're committed to providing you with well-researched, expert-backed insights for all your informational needs.
0 thoughts on “Why Is My Washer Leaking Water From The Bottom”