
Articles
Why Is My Ice Maker Not Making
Modified: October 19, 2024
Discover why your ice maker is not making ice with our informative articles. Get troubleshooting tips and solutions to fix the problem.
(Many of the links in this article redirect to a specific reviewed product. Your purchase of these products through affiliate links helps to generate commission for Storables.com, at no extra cost. Learn more)
Introduction
Having a functional ice maker in your home can be a convenient and refreshing way to beat the summer heat or enjoy your favorite cold beverages. However, it can be frustrating when your ice maker suddenly stops working and fails to produce ice. There can be several reasons behind this issue, and in this article, we will explore some common troubleshooting steps to help you identify the problem and get your ice maker back up and running.
Before we dive into the troubleshooting steps, it’s important to understand that different ice maker models may have varying mechanisms and troubleshooting methods. It’s always a good idea to consult the manufacturer’s manual or seek professional assistance if you are unsure about any specific instructions.
Now, let’s explore some common reasons why your ice maker might not be making ice and learn how to fix them.
Key Takeaways:
- Keep your ice maker running by checking the power supply, water connection, and cleaning the unit regularly. Troubleshoot and replace faulty components to ensure a steady supply of refreshing ice for your beverages.
- Thaw frozen water lines and inspect and replace malfunctioning components to restore your ice maker’s functionality. Don’t panic – follow these troubleshooting steps to keep the ice flowing.
Read more: Why Is My Ice Maker Making Clumps Of Ice
Check the Power Supply
One of the first things you should check when your ice maker is not making ice is the power supply. Ensure that your ice maker is properly plugged into a functioning power outlet. You can also try plugging in another device into the same outlet to verify if it is supplying power.
If the outlet is working fine, but the ice maker is still not turning on, check the power cord for any signs of damage or fraying. A damaged power cord can prevent the ice maker from receiving power. In such cases, it’s important to replace the power cord to restore functionality.
Additionally, some ice makers have a power switch or button that needs to be turned on for the unit to start making ice. Make sure that the switch or button is in the correct position.
If none of these steps resolve the issue, it’s possible that there may be a problem with the internal components of the ice maker. In such cases, it is recommended to consult a professional technician or contact the manufacturer for further assistance.
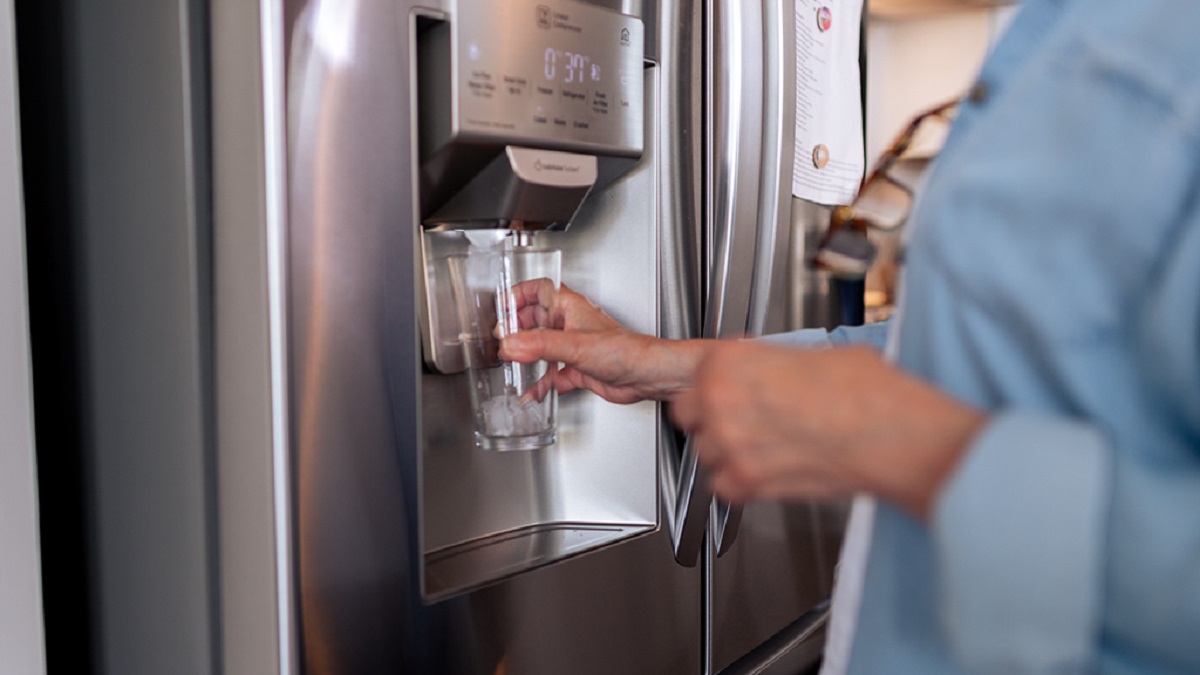
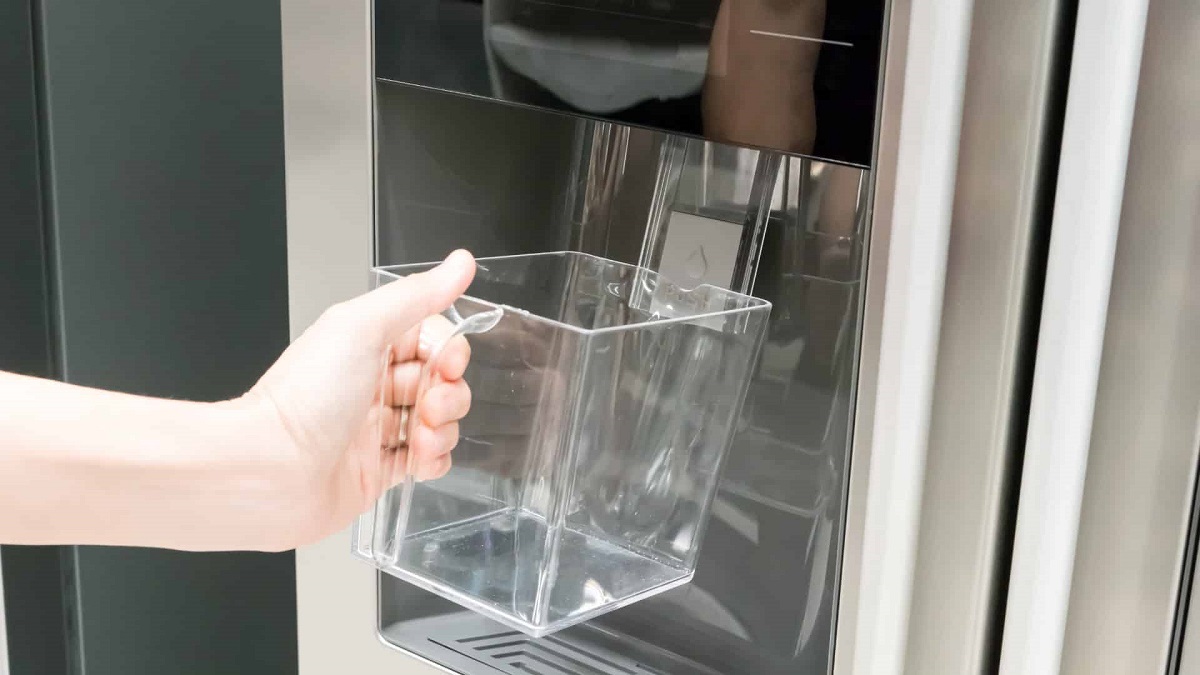
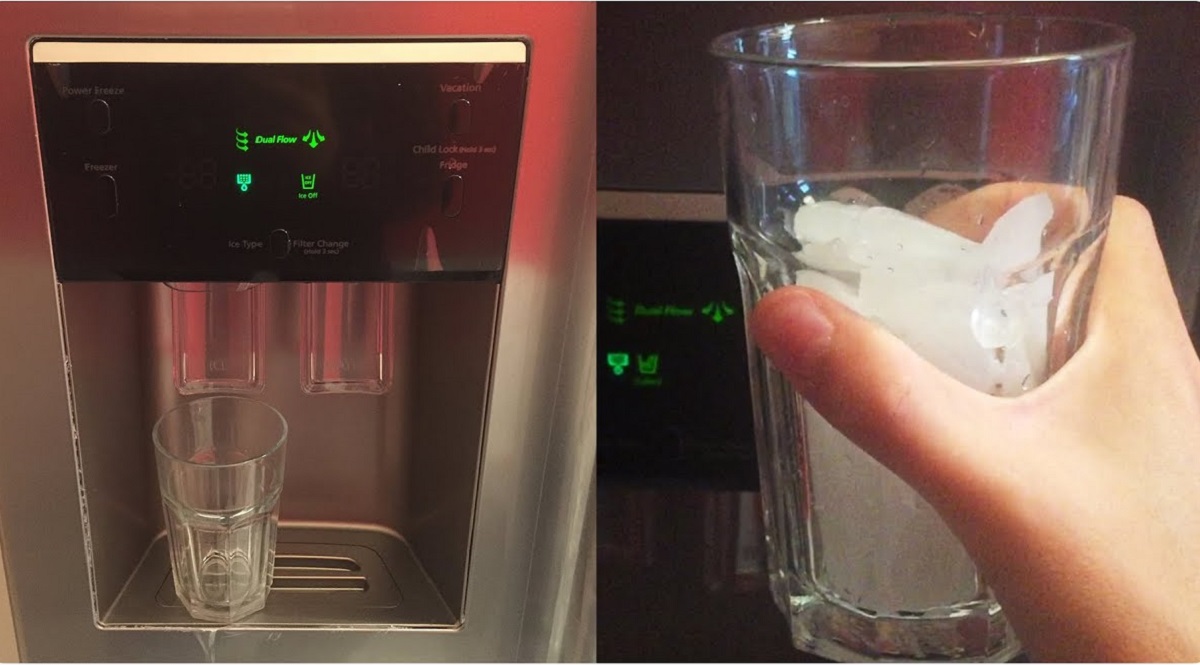
Ensure the Water Supply is Connected
Another common reason why your ice maker may not be making ice is due to a disconnected or improperly connected water supply. Ice makers rely on a constant supply of water to produce ice, so it’s important to ensure that the water supply line is properly connected and functioning.
Start by checking the water supply line connected to your ice maker. Make sure it is securely connected to both the ice maker and the water source. Inspect the line for any signs of damage or leaks, as these can also affect the water supply.
If the water supply line appears to be connected properly, but there is still no water flowing to the ice maker, it’s possible that the water inlet valve or the water filter may be clogged or malfunctioning. In this case, you may need to clean or replace these components.
To clean the water inlet valve, first, ensure that the water supply is turned off. Then, remove the water inlet valve from the ice maker and carefully clean it with warm water and a mild detergent. Pay special attention to any clogs or debris that may be blocking the valve.
If cleaning the water inlet valve does not resolve the issue, it may be necessary to replace it. Consult your ice maker’s instruction manual or contact the manufacturer for guidance on locating and installing a new water inlet valve.
In addition, if your ice maker has a water filter, check if it is dirty or clogged. A dirty filter can restrict water flow and prevent the ice maker from functioning properly. Replace the water filter as recommended by the manufacturer to ensure a continuous flow of clean water to your ice maker.
By verifying that the water supply is properly connected and resolving any issues with the water inlet valve or water filter, you can ensure that your ice maker has the necessary water supply to produce ice.
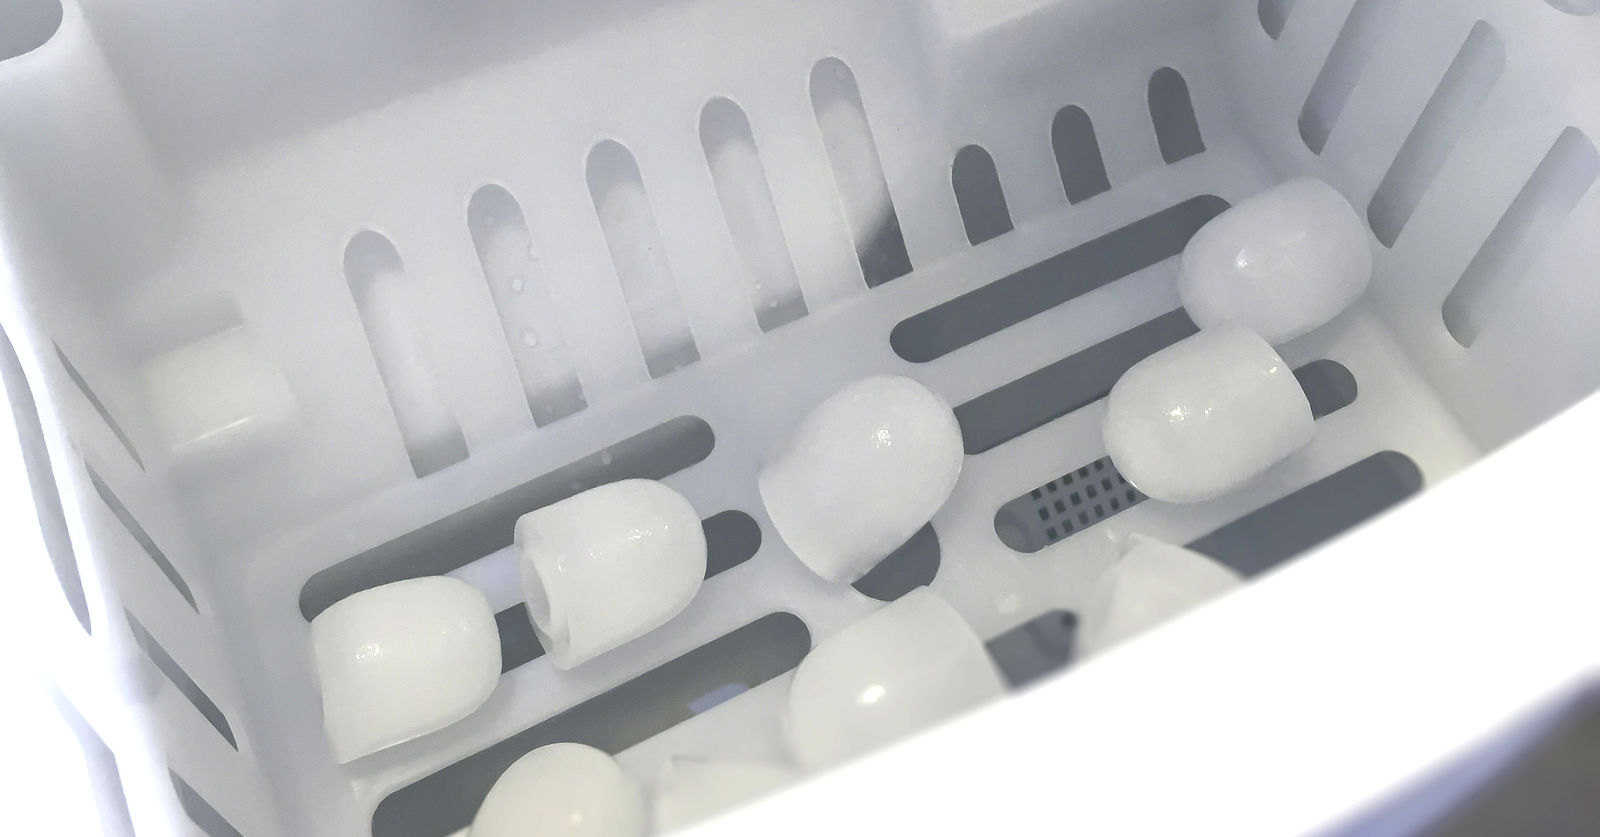
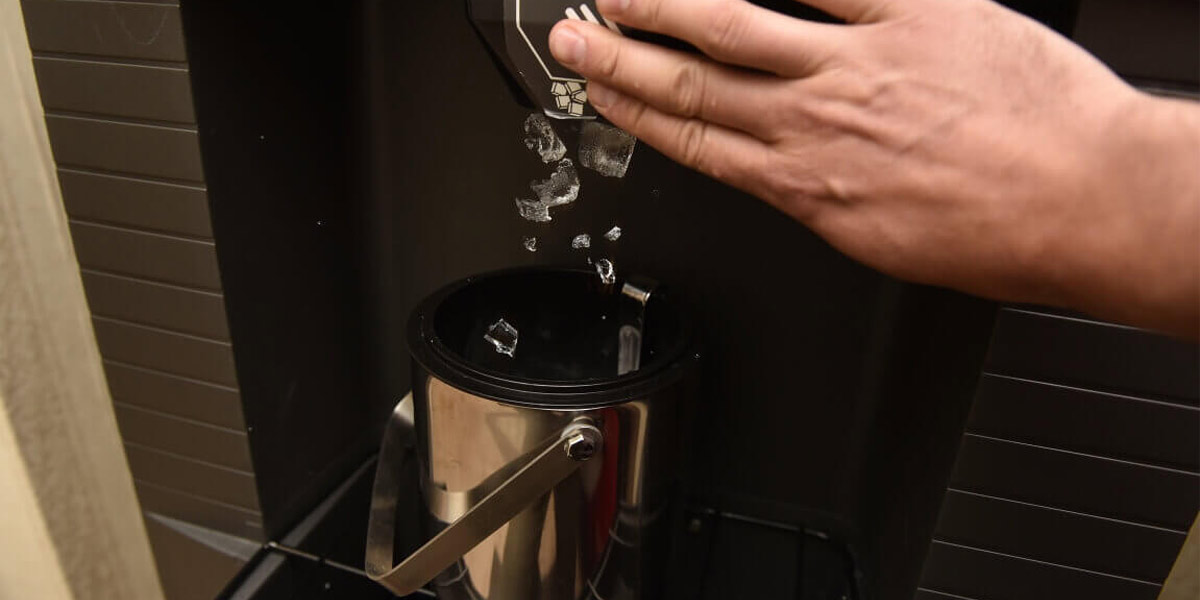
Clean the Ice Maker and Water Filter
Regular cleaning of your ice maker and water filter is essential for maintaining its efficiency and preventing potential blockages that can hinder ice production. Over time, minerals, debris, and bacteria can accumulate within the ice maker and water filter, leading to reduced ice production or impurities in the ice.
Before cleaning your ice maker, ensure that it is unplugged or turned off to avoid any electrical accidents. Start by removing any ice cubes or leftover ice from the ice maker bin. You can use warm water and a mild detergent to clean the interior surfaces of the ice maker, including the ice bin, ice mold, and ice chute.
Take care to thoroughly rinse off any detergent residue to prevent it from affecting the taste and quality of the ice. Use a soft cloth or sponge to wipe down the exterior surfaces of the ice maker, removing any dust or dirt that may have accumulated.
As for the water filter, it is important to follow the manufacturer’s instructions on how to clean or replace it. Some water filters can be cleaned by rinsing them under running water, while others may need to be replaced entirely. Refer to the instruction manual to determine the proper maintenance procedure for your specific water filter.
In cases where the water filter is clogged or past its recommended lifespan, replacing it is often necessary. This ensures that clean and filtered water is supplied to the ice maker, resulting in clearer and better-tasting ice.
Regularly cleaning your ice maker and replacing the water filter will not only improve the quality and quantity of ice production but also extend the lifespan of your ice maker, preventing potential issues caused by buildup and contamination.
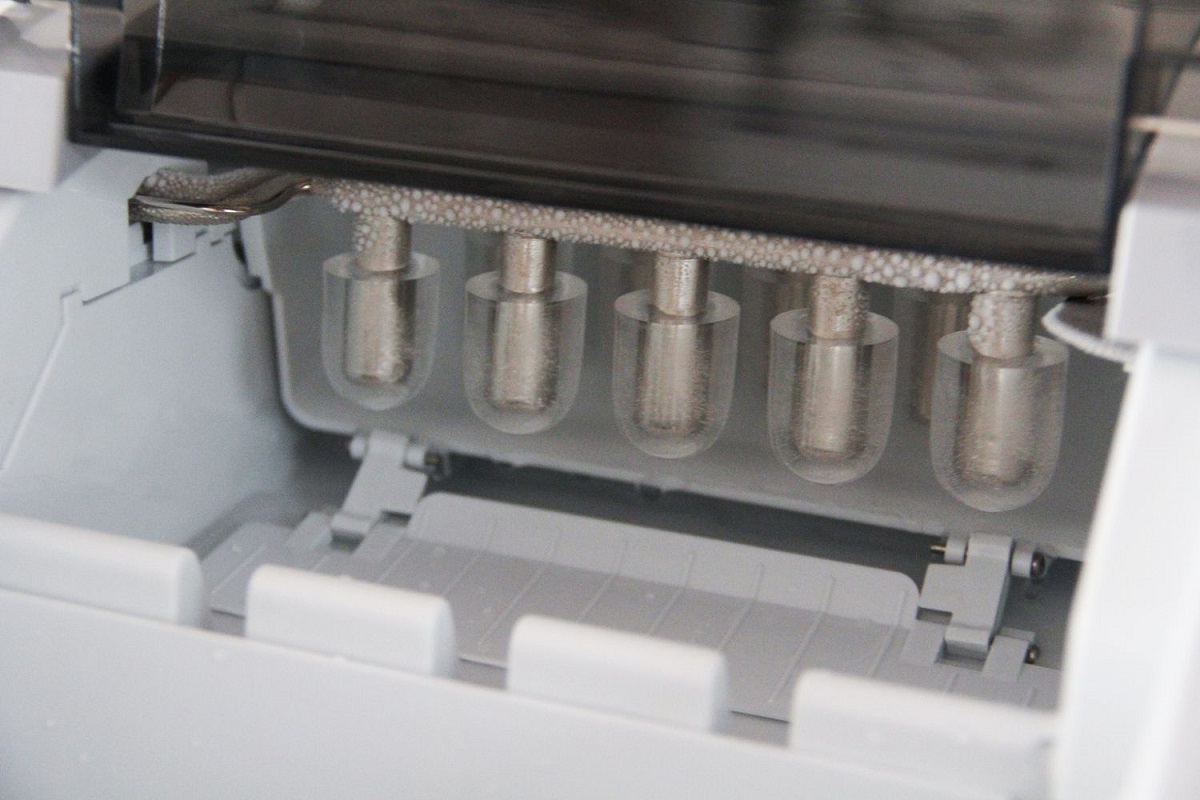
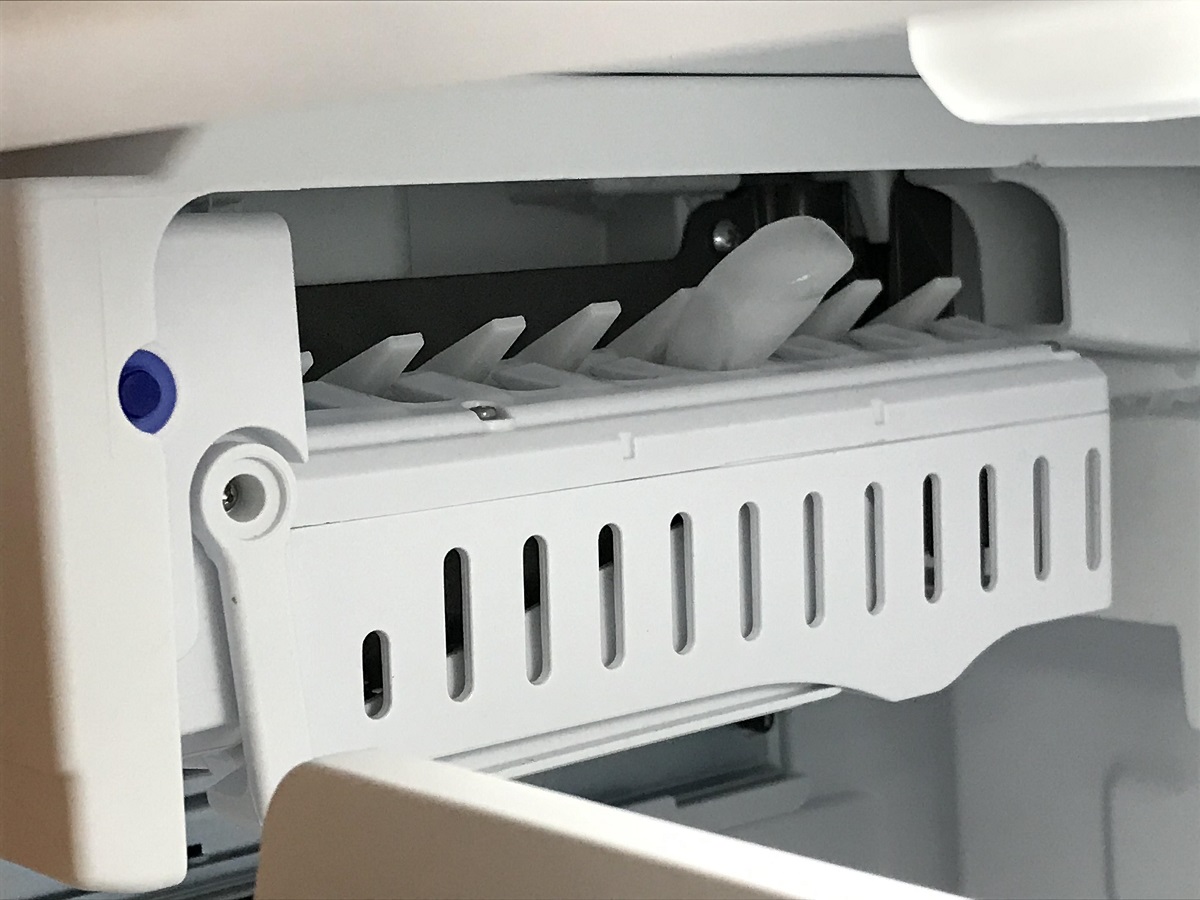
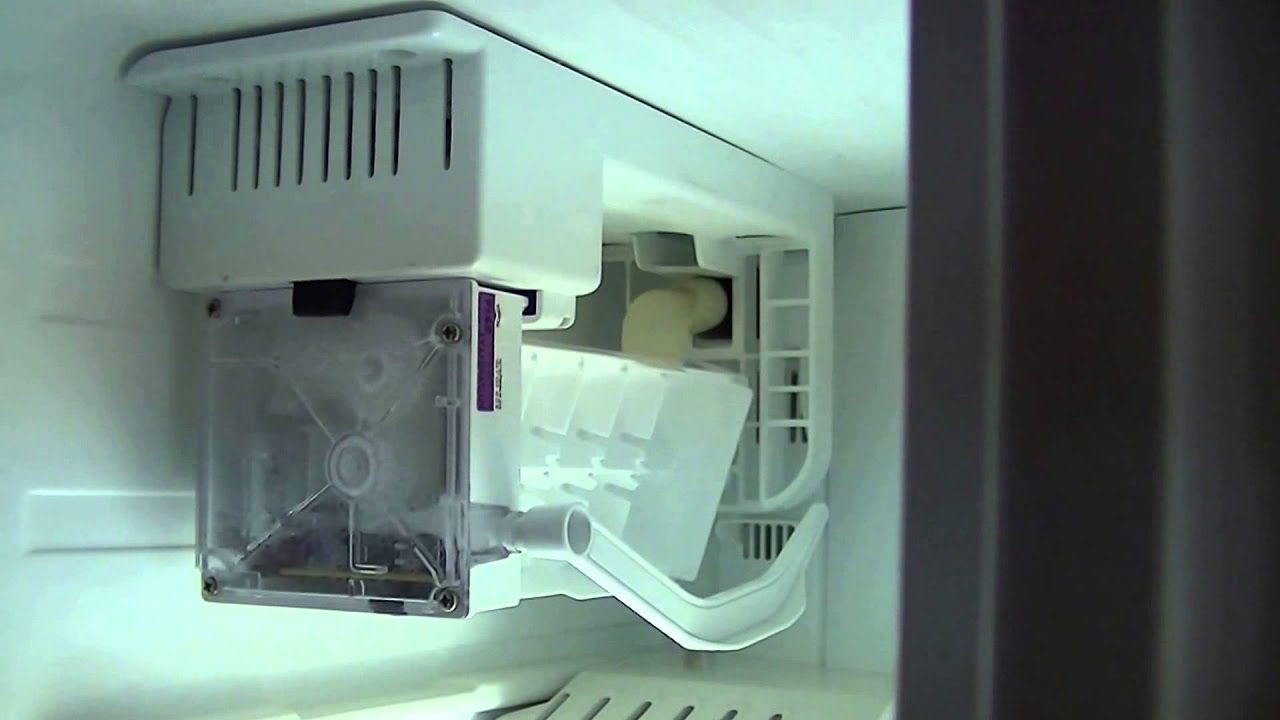
Check the Ice Maker Arm Position
The ice maker arm, also known as the ice maker shut-off arm or ice maker control arm, plays a crucial role in the ice-making process. It is responsible for sensing when the ice bin is full and halting the production of ice to prevent overflow.
If the ice maker arm is in the “up” or “off” position, it will prevent the ice maker from making ice. Therefore, it’s important to check the position of the ice maker arm and ensure that it is in the correct placement.
Start by locating the ice maker arm, which is typically located on the side or top of the ice maker unit. If the arm is in the “up” position, gently push it down until it is in the “down” or “on” position. This should activate the ice maker and allow it to start making ice again.
However, if the ice maker arm is already in the “down” position and the ice maker is still not making ice, it’s possible that the arm is stuck or blocked. Inspect the area around the ice maker arm for any obstacles, such as ice cubes or debris, that may be preventing it from moving freely.
If you find any obstructions, carefully remove them to ensure the smooth operation of the ice maker arm. In some cases, the ice maker arm may have become damaged or misaligned, preventing it from properly activating the ice maker. If this is the case, it may be necessary to replace the ice maker arm to restore proper functionality.
By checking the position of the ice maker arm and ensuring that it is in the correct placement, you can eliminate a common issue that may be preventing your ice maker from making ice.
Check if the water supply to the ice maker is connected and turned on. Sometimes a simple issue like a disconnected water line can prevent the ice maker from making ice.
Read more: Why Is My Ice Maker Making Noise
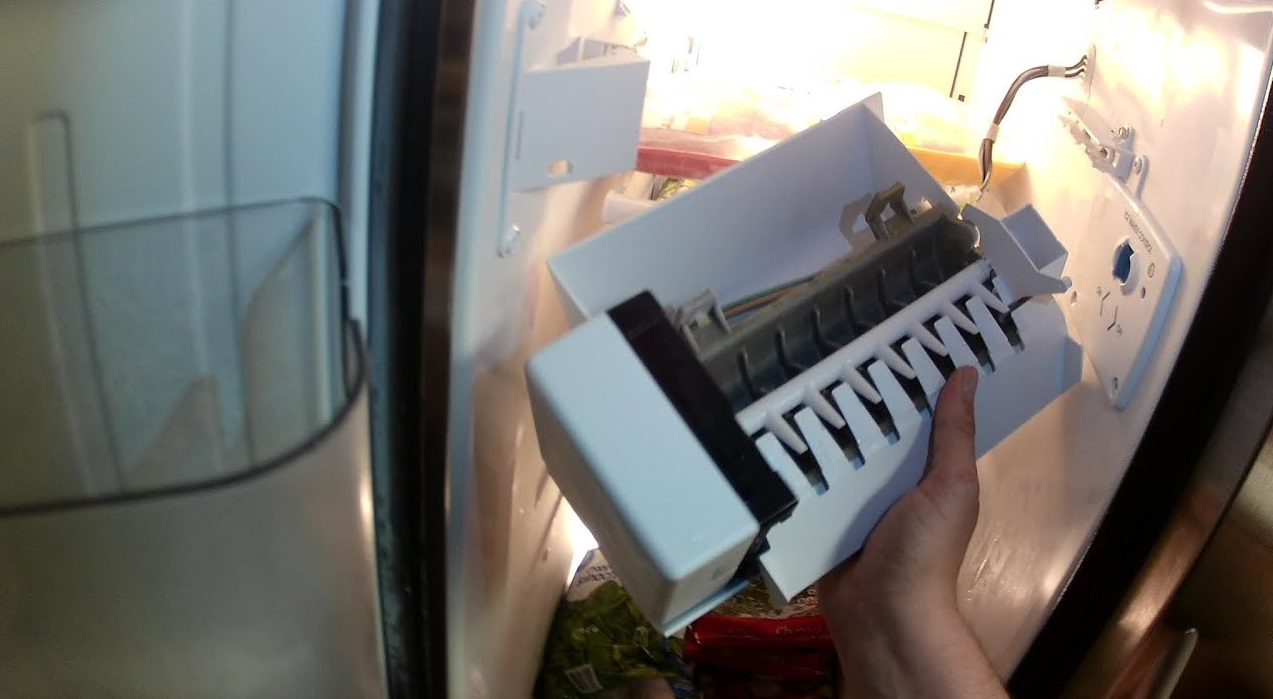
Inspect and Replace the Water Inlet Valve
The water inlet valve is a crucial component of your ice maker that controls the flow of water into the ice maker’s ice mold. If the water inlet valve is malfunctioning or clogged, it can prevent the ice maker from receiving an adequate water supply, resulting in a lack of ice production.
To inspect the water inlet valve, start by turning off the water supply to the ice maker. Locate the water inlet valve, which is usually located at the back of the ice maker or behind the refrigerator. Check for any signs of damage, such as cracks or leaks, on the valve itself or the surrounding connections.
If there are no visible signs of damage, the next step is to test the functionality of the water inlet valve. This can be done by using a multimeter to check for continuity. Follow the manufacturer’s instructions or consult a professional to properly perform this test.
If the water inlet valve fails the continuity test or is visibly damaged, it may be necessary to replace it. Before doing so, make sure to consult the ice maker’s instruction manual or contact the manufacturer for the correct replacement part number and specific instructions on how to replace the water inlet valve.
Replacing the water inlet valve is generally a straightforward process, but it may require some basic plumbing skills. If you’re not comfortable doing it yourself, it’s recommended to hire a professional technician to ensure a proper installation.
By inspecting and replacing the water inlet valve if necessary, you can ensure that your ice maker receives the proper water flow it needs to produce ice effectively.
Examine the Ice Mold Thermostat
The ice mold thermostat is a temperature-sensitive component that regulates the ice-making process in your ice maker. If the ice mold thermostat is not functioning correctly, it can disrupt the ice-making cycle and result in a lack of ice production.
To examine the ice mold thermostat, begin by locating it within the ice maker. The ice mold thermostat is typically located near the ice mold itself or inside the ice maker unit.
Inspect the ice mold thermostat for any visible signs of damage, such as corrosion, loose connections, or a cracked casing. These issues can affect its ability to accurately sense the temperature and control the ice-making process.
If the ice mold thermostat appears to be damaged or faulty, it may need to be replaced. Consult the ice maker’s instruction manual or contact the manufacturer for the correct replacement part number and detailed instructions on how to replace the ice mold thermostat.
Keep in mind that testing the functionality of the ice mold thermostat requires specialized tools and knowledge. If you are not confident in performing this task yourself, it is recommended to consult a professional technician.
Replacing a defective ice mold thermostat can help restore proper ice production by ensuring that the temperature inside the ice maker is regulated correctly.
However, it’s important to note that the ice mold thermostat is just one potential cause for the lack of ice production. If replacing the ice mold thermostat does not resolve the issue, further troubleshooting may be required to identify and address any other underlying problems.
Test the Ice Maker Control Module
The ice maker control module, also known as the ice maker control board or circuit board, is responsible for controlling the various functions of the ice maker, including initiating the ice-making cycle and activating the water inlet valve. If the control module is malfunctioning, it can lead to a lack of ice production or other operational issues.
To test the ice maker control module, start by locating it within the ice maker. The control module is typically housed in a plastic or metal box and is connected to the ice maker’s wiring harness.
Before proceeding with the testing process, make sure the ice maker is unplugged or turned off to avoid any electrical accidents. Then, using a multimeter set to the appropriate settings, check for continuity in the control module to determine if it is functioning properly. Follow the manufacturer’s instructions or consult a professional to ensure the correct testing procedure.
If the ice maker control module fails the continuity test or shows other signs of malfunction, it may need to be replaced. Consult the ice maker’s instruction manual or contact the manufacturer for the correct replacement part and detailed instructions on how to replace the control module.
Keep in mind that testing and replacing the ice maker control module can involve handling delicate electronic components, so it is recommended to seek professional assistance if you’re not familiar with these tasks.
By testing and replacing the ice maker control module if necessary, you can restore proper functioning of the ice maker and ensure that it operates smoothly to produce ice.
However, it’s important to note that the control module is just one possible cause for the lack of ice production. If replacing the control module does not resolve the issue, further troubleshooting may be required to identify and address any other underlying problems.
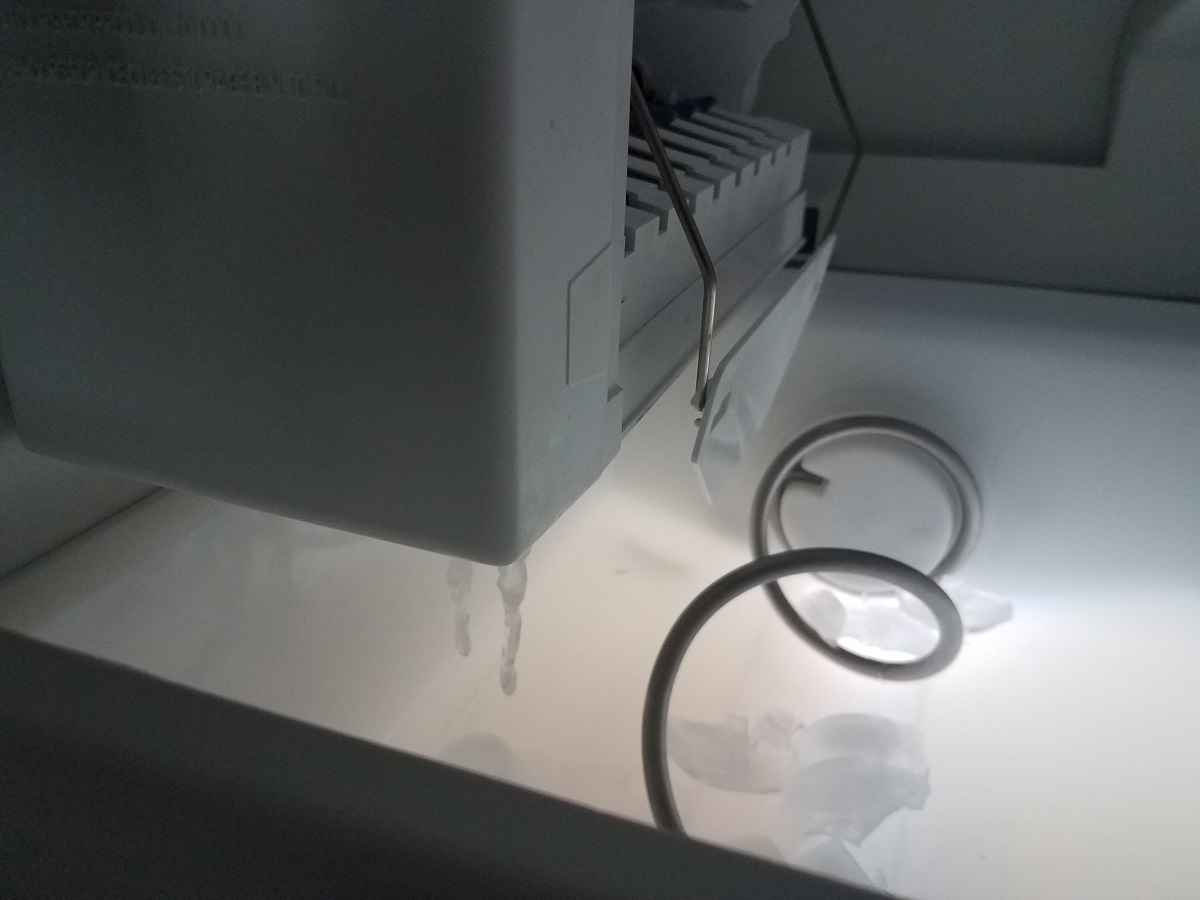
Verify if the Water Line is Frozen
If your ice maker is not making ice, a possible reason could be a frozen water line. When the water line leading to the ice maker freezes, it obstructs the flow of water and prevents the ice maker from producing ice.
To verify if the water line is frozen, start by locating the water line that supplies water to the ice maker. This line is typically located behind or underneath the refrigerator.
Inspect the water line for any visible signs of frost or ice buildup. If you notice any ice on the water line, it indicates that the line is frozen. In such cases, you need to take steps to thaw the line and restore proper water flow to the ice maker.
One method to thaw a frozen water line is to use a hairdryer on a low heat setting to gently warm the affected area. Be cautious not to apply excessive heat or keep the hairdryer too close to plastic or rubber components to avoid damage.
Another way to thaw the water line is to unplug the refrigerator and let it sit for several hours, allowing the ice to melt naturally. Place towels or a shallow pan underneath the affected area to collect any dripping water.
Once the water line is thawed, reconnect the water supply and check if the ice maker starts producing ice. If the ice maker still does not work, it is advisable to consult a professional technician or contact the manufacturer for further assistance.
Preventing future freezing of the water line can be done by insulating the water line with foam pipe insulation or by adjusting the refrigerator’s thermostat to a slightly higher setting.
By verifying and thawing a frozen water line, you can ensure that the ice maker receives a continuous supply of water and resumes its ice-making operations.
Read more: Why Is My Ice Maker Only Making Crushed Ice
Conclusion
An ice maker that is not making ice can be a frustrating issue to deal with. However, by following some troubleshooting steps, you can often identify and resolve the problem. In this article, we explored several common reasons why your ice maker may not be making ice and provided solutions for each:
- Checked the power supply to ensure proper connection and functionality.
- Ensured that the water supply line is properly connected and free from obstructions.
- Cleaned the ice maker and water filter to remove any buildup or contaminants.
- Verified the position of the ice maker arm to ensure proper activation.
- Inspected and replaced the water inlet valve if it was malfunctioning or clogged.
- Examined the ice mold thermostat and replaced it if necessary.
- Tested the ice maker control module to determine if it was functioning correctly.
- Checked if the water line leading to the ice maker was frozen and thawed it if necessary.
It’s important to note that these are general troubleshooting steps, and different ice maker models may have specific requirements or mechanisms. Therefore, always refer to the manufacturer’s manual or consult a professional if you are unsure about any specific instructions.
In conclusion, if your ice maker is not making ice, don’t panic. Take a systematic approach to identify and resolve the issue by checking the power supply, water supply, cleaning the ice maker, and inspecting and testing various components. By doing so, you can often get your ice maker back up and running, providing you with a steady supply of refreshing ice for your beverages and cooling needs.
Frequently Asked Questions about Why Is My Ice Maker Not Making
Was this page helpful?
At Storables.com, we guarantee accurate and reliable information. Our content, validated by Expert Board Contributors, is crafted following stringent Editorial Policies. We're committed to providing you with well-researched, expert-backed insights for all your informational needs.
0 thoughts on “Why Is My Ice Maker Not Making”