Articles
Why Is My Refrigerator Not Making Ice
Modified: October 19, 2024
Looking for articles on why your refrigerator is not making ice? Check out our informative articles for troubleshooting tips and solutions.
(Many of the links in this article redirect to a specific reviewed product. Your purchase of these products through affiliate links helps to generate commission for Storables.com, at no extra cost. Learn more)
Introduction
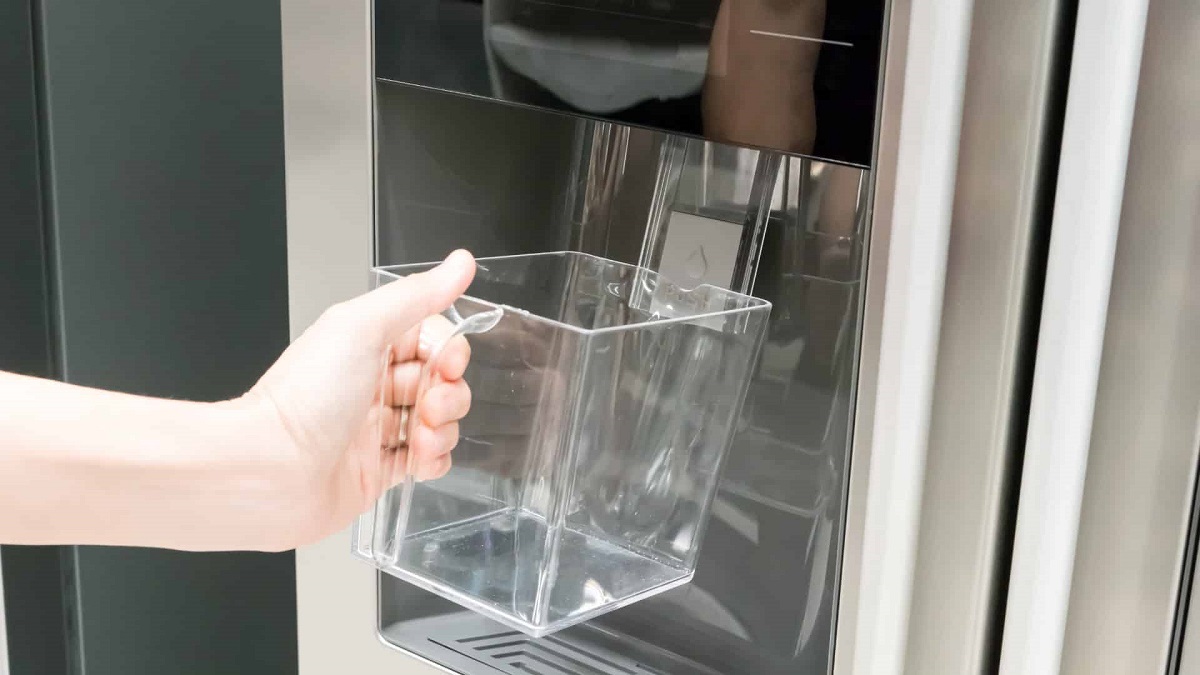
Having a refrigerator that produces ice is a convenience that many homeowners rely on. Whether you enjoy chilled beverages or use ice for cooking, a working ice maker is essential. However, it can be frustrating and puzzling when your refrigerator suddenly stops making ice. There are several potential causes for this issue, ranging from simple fixes to more complex repairs. In this article, we will explore the common reasons why your refrigerator may not be making ice and provide troubleshooting steps to help you resolve the problem.
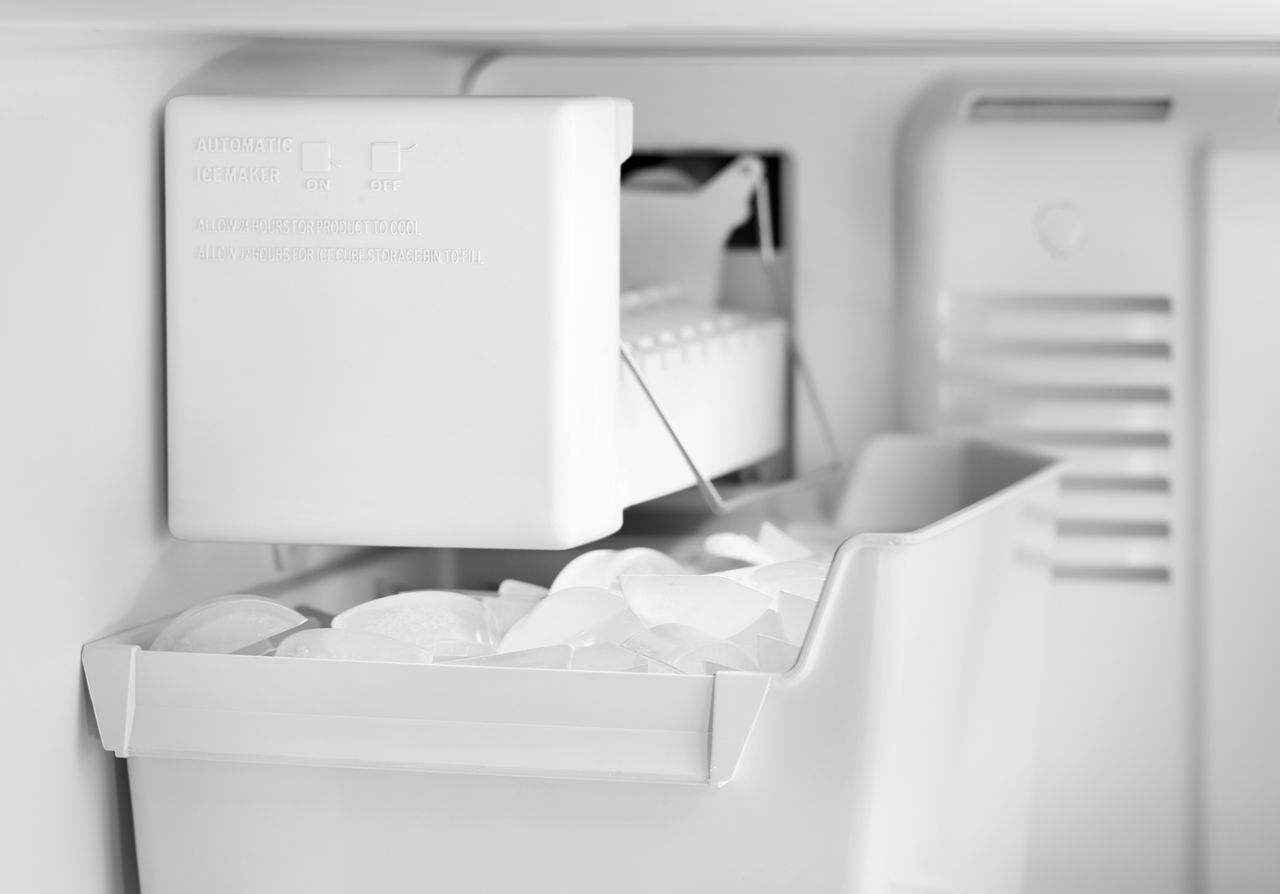
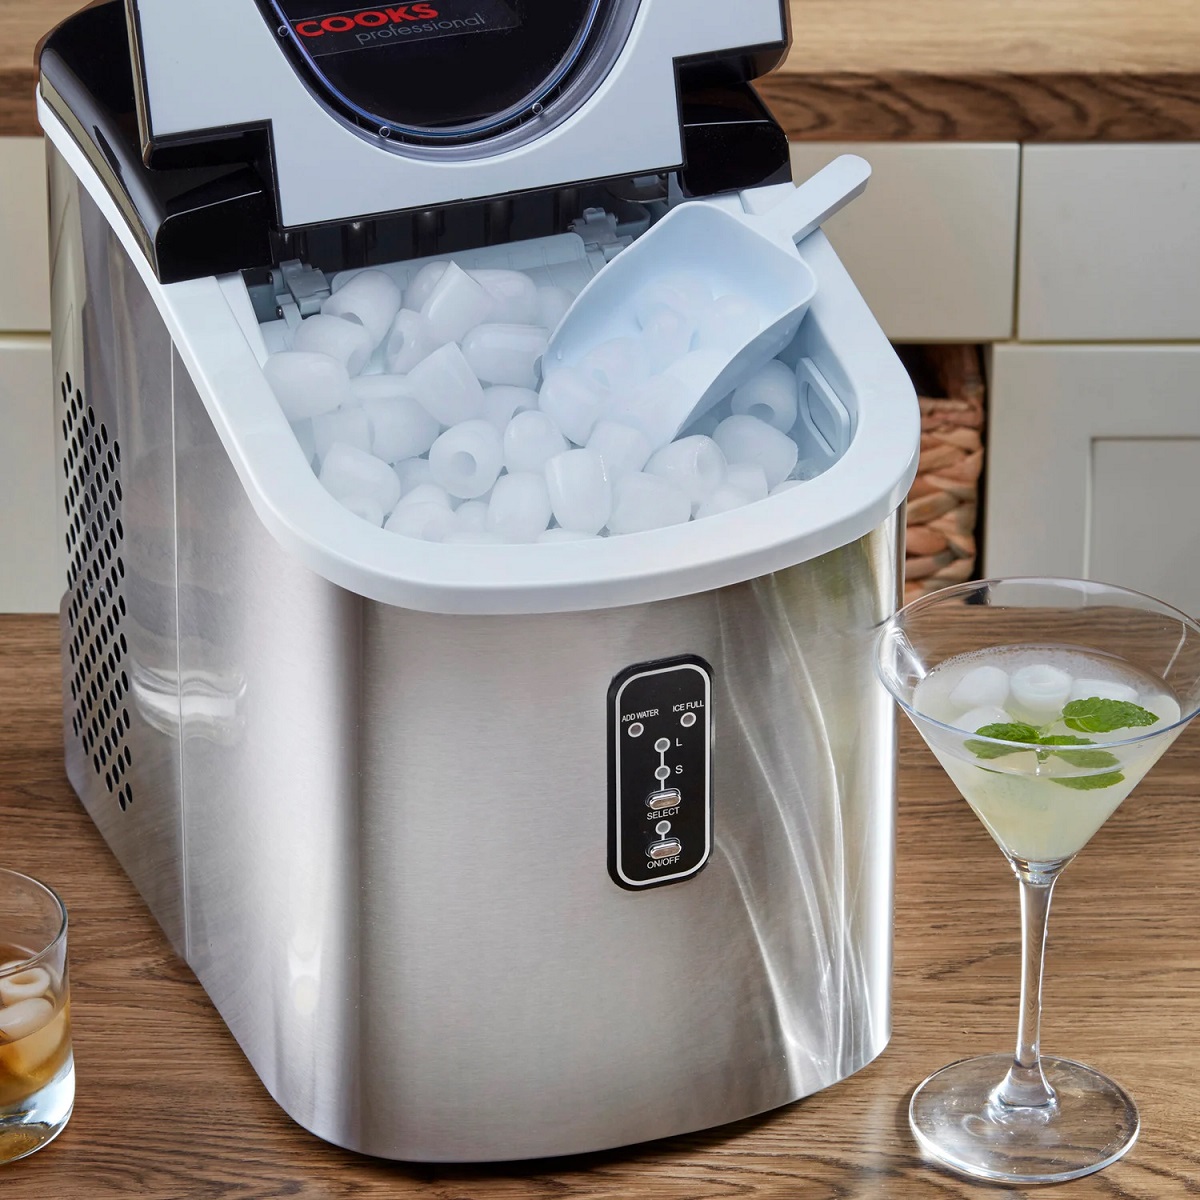
Before diving into the troubleshooting steps, it’s important to understand the basic mechanism of an ice maker. Most modern refrigerators have an automatic ice maker located in the freezer compartment. This ice maker is connected to a water supply line, which allows water to flow into a small tray known as the ice maker mold. Inside the mold, the water is frozen, and once the ice is formed, it is released into a storage bin. The process repeats itself until the bin is full. If your refrigerator is not producing ice, it indicates that there is a disruption or malfunction within this system.
Now, let’s explore the possible causes of your ice maker’s malfunction and the troubleshooting steps to address each issue.
Key Takeaways:
- Troubleshooting your refrigerator’s ice maker can be straightforward and cost-effective, addressing common issues like water supply, temperature settings, and component malfunctions.
- Regular maintenance, such as checking water filters and ensuring proper alignment of components, can help prevent ice maker malfunctions and ensure consistent ice production.
Read more: Why My Lg Refrigerator Is Not Making Ice
Possible Causes
When your refrigerator stops making ice, there can be several potential causes. Understanding these possible causes can help you narrow down the issue and find the appropriate solution. Here are some common reasons why your ice maker may not be working:
- Water supply issue: One of the most common reasons for an ice maker not producing ice is a problem with the water supply. This could be due to a kinked or frozen water line, a closed water supply valve, or a malfunctioning water filter.
- Water inlet valve malfunction: The water inlet valve controls the flow of water into the ice maker mold. If this valve is defective or clogged, it can prevent water from entering the ice maker and therefore inhibit ice production.
- Ice maker assembly problems: The ice maker assembly consists of several components, including the motor, gears, and ejector blades. If any of these parts are faulty or damaged, the ice maker may not function properly.
- Ice maker switch turned off: It may seem obvious, but sometimes the ice maker switch can accidentally be turned off, leading to a lack of ice production. Make sure to check if the switch is in the “on” position.
- Temperature settings: If the freezer temperature is too high, it can prevent the ice from freezing properly. Ensure that the freezer temperature is set to the recommended level, typically between 0 and 5 degrees Fahrenheit (-17 to -15 degrees Celsius).
- Freezer fan issues: The freezer fan is responsible for circulating cold air throughout the freezer. If the fan is not functioning correctly, it can inhibit proper ice production. Common issues include a worn-out motor or a blocked fan blade.
- Ice maker mold thermostat malfunction: The ice maker mold thermostat senses the temperature of the ice mold and determines when to initiate the ice-making cycle. If this thermostat is faulty, it can cause the ice maker to stop producing ice.
- Water filter clog: If your refrigerator has a water filter, it may become clogged over time. A clogged water filter can restrict water flow to the ice maker, resulting in decreased ice production or no ice at all.
These are the primary reasons why your refrigerator’s ice maker may not be working. In the following sections, we will provide detailed troubleshooting steps to address each of these potential causes and help you get your ice maker back up and running.
Troubleshooting Steps
When your refrigerator’s ice maker stops producing ice, it can be frustrating, but it doesn’t always require a professional repair. You can try several troubleshooting steps to identify and resolve the issue. Here are some steps to follow:
- Check the water supply: Begin by verifying that the water supply to your refrigerator is connected and turned on. Inspect the water line for any kinks or obstructions that may be impeding water flow. Ensure that the water supply valve is fully open.
- Inspect the water inlet valve: Locate the water inlet valve, usually situated at the rear of the refrigerator. Check if the valve is functioning properly by listening for a humming sound when the ice maker cycles. If there is no sound or water flow, the valve may be defective and require replacement.
- Examine the ice maker assembly: Remove the ice maker from the freezer and inspect it for any visible signs of damage or malfunction. Look for broken gears or a motor that is not running. If any components are faulty, they may need to be replaced.
- Test the ice maker switch: Ensure that the ice maker switch is in the “on” position. If it is already in the correct position, try toggling the switch off and on to see if it resets the ice maker and prompts ice production.
- Check the temperature settings: Verify that the freezer temperature is set to the recommended level. Adjust the temperature if necessary and allow the freezer to reach the desired temperature before checking for ice production.
- Inspect the freezer fan: Open the freezer compartment and check if the freezer fan is operating correctly. If the fan is not running or is obstructed, it may be preventing proper airflow, which can impact ice production. Clean any debris or replace the fan if necessary.
- Examine the ice maker mold thermostat: Test the ice maker mold thermostat with a multimeter to check for proper functionality. If the reading is outside the expected range, the thermostat may need to be replaced.
- Check the water filter: If your refrigerator has a water filter, inspect it for any clogs or contaminants. Replace the water filter if it is due for a replacement or appears to be obstructed.
By following these troubleshooting steps, you can isolate the potential cause of your ice maker’s malfunction and take the necessary corrective actions. However, if you are uncertain or uncomfortable performing any of these steps, it is always recommended to consult a professional appliance technician for assistance.
Now, let’s dive deeper into each troubleshooting step to understand the details and actions required to troubleshoot and resolve the issue effectively.
Check the Water Supply
One of the most common reasons for an ice maker to stop producing ice is a problem with the water supply. It’s important to ensure that the water supply is properly connected and flowing to the refrigerator. Here’s what you can do to check the water supply:
- Verify the water line: Start by checking the water line that connects your refrigerator to the main water supply. Make sure the water line is not kinked or twisted, as this can restrict water flow. Straighten out any kinks to ensure a smooth water supply.
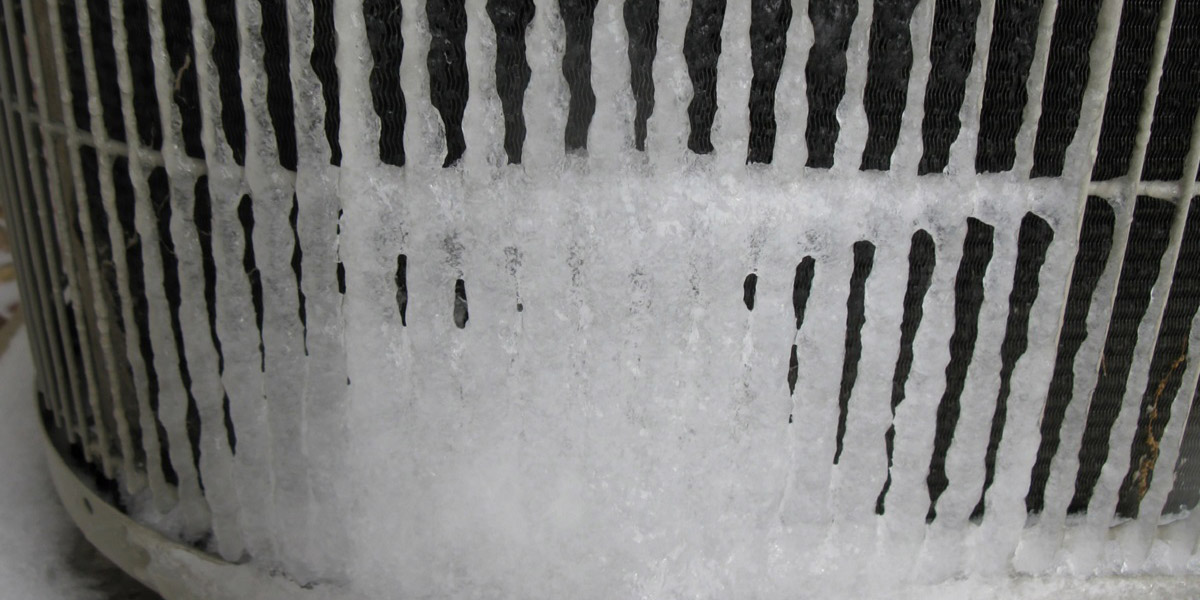
- Check for obstructions: Inspect the water line for any obvious obstructions, such as ice buildup or debris. If you notice any blockages, gently clear them to allow proper water flow.
- Confirm the water supply valve: Locate the water supply valve usually situated behind the refrigerator or under the sink. Ensure that the valve is fully open to allow water to flow into the refrigerator. If the valve is closed, turn it counterclockwise to open it and restore water flow.
Once you have checked the water supply, wait for a few hours to see if the ice maker begins producing ice. It may take some time for the ice maker to refill and produce the first batch of ice.
If you have confirmed that the water supply is not the issue, move on to the next troubleshooting step to inspect the water inlet valve.
Inspect the Water Inlet Valve
The water inlet valve controls the flow of water into the ice maker mold. A malfunctioning or clogged water inlet valve can prevent water from entering the ice maker and inhibit ice production. To inspect the water inlet valve, follow these steps:
- Locate the water inlet valve: The water inlet valve is typically located at the rear of the refrigerator, near the bottom. It may be attached to the water supply line.
- Turn off the water supply: Before proceeding, it is important to turn off the water supply to the refrigerator. This can usually be done by shutting off the water supply valve connected to the refrigerator’s water line.
- Remove the water supply line: Carefully disconnect the water supply line connected to the water inlet valve. Have a towel or bucket ready to catch any water that may spill out.
- Inspect the water inlet valve: Examine the water inlet valve for any signs of damage or debris. Look for signs of clogs or mineral deposits that may be blocking the valve.
- Clean or replace the water inlet valve: If you notice any blockages, use a soft brush or cloth to clean the valve, ensuring that it is clear of debris. If the valve is visibly damaged or clogged beyond repair, it may need to be replaced.
- Reconnect the water supply line: Once the valve has been inspected and cleaned or replaced, reconnect the water supply line. Ensure that it is securely attached to prevent any leakage.
- Turn on the water supply: Once everything is reconnected, turn on the water supply to the refrigerator and check that water is flowing smoothly into the ice maker.
After inspecting and addressing any issues with the water inlet valve, wait several hours to see if the ice maker begins producing ice again. If the issue persists, move on to the next troubleshooting step to examine the ice maker assembly.
Read more: Why Is My Ice Maker Not Making
Examine the Ice Maker Assembly
The ice maker assembly is a crucial component responsible for the ice-making process in your refrigerator. If any part of the ice maker assembly is faulty or damaged, it can hinder ice production. To examine the ice maker assembly, follow these steps:
- Locate the ice maker assembly: Depending on your refrigerator model, the ice maker assembly is typically located in the freezer compartment. You may need to remove any ice bin or storage to access it.
- Inspect the components: Carefully examine the ice maker assembly for any visible signs of damage, such as broken gears, cracks, or misaligned parts.
- Check the motor operation: Activate the ice maker by manually triggering the harvest cycle, if possible. Listen for any unusual noises or vibrations that may indicate a motor problem. If the motor does not turn on or shows signs of malfunction, it may need to be replaced.
- Examine the ejector blades: Check the ejector blades inside the ice maker assembly. Ensure that they are positioned correctly and free from any obstructions or ice buildup. Blocked or misaligned ejector blades can prevent ice from being released into the storage bin.
- Ensure proper alignment: Make sure that the ice maker assembly is properly aligned with the ice mold. If it is misaligned, it may not be able to cycle through the freezing and harvesting process effectively.
- Inspect the wiring connections: Carefully inspect the wiring connections within the ice maker assembly. Look for any loose or damaged wires that may be affecting the ice maker’s functionality. If you find any issues with the wiring, repair or replace them as necessary.
If you find any issues with the ice maker assembly, such as damaged parts or malfunctioning motor, consider consulting a professional technician or contacting the manufacturer for further assistance. They can guide you through the repair process or provide recommendations for replacement parts if needed.
Once you have examined the ice maker assembly and taken any necessary actions, allow several hours for the ice maker to resume ice production. If the issue persists, proceed to the next troubleshooting step to test the ice maker switch.
Check the water supply line to the refrigerator to ensure it is not kinked or blocked. Also, make sure the water inlet valve is not clogged or malfunctioning. If these are not the issue, it may be a problem with the ice maker itself and may require professional repair.
Test the Ice Maker Switch
The ice maker switch controls the operation of the ice maker in your refrigerator. If the switch is turned off, it will prevent the ice maker from producing ice. To test the ice maker switch, follow these steps:
- Locate the ice maker switch: The ice maker switch is typically located on the front or side of the ice maker assembly. It may be labeled as “on/off” or have a specific icon indicating its function.
- Check the switch position: Ensure that the ice maker switch is in the “on” position. If it is already in the correct position, toggle the switch off and on to see if it prompts the ice maker to start producing ice.
- Listen for the ice maker cycling: After turning on the ice maker switch, listen for any humming sound or movement inside the ice maker assembly. This indicates that the ice maker is receiving power and beginning the ice-making process.
- Wait for ice production: Give the ice maker several hours to produce ice. Check the ice bin periodically to see if any ice has been made. If the ice maker does not produce ice within this time, move on to the next troubleshooting step.
If you find that the ice maker switch was turned off, simply turning it on should initiate the ice-making process. However, if the switch was already in the correct position and the ice maker still does not produce ice, there may be underlying issues that require further troubleshooting.
Proceed to the next troubleshooting step to check the temperature settings on your refrigerator, as it may affect ice production.
Check the Temperature Settings
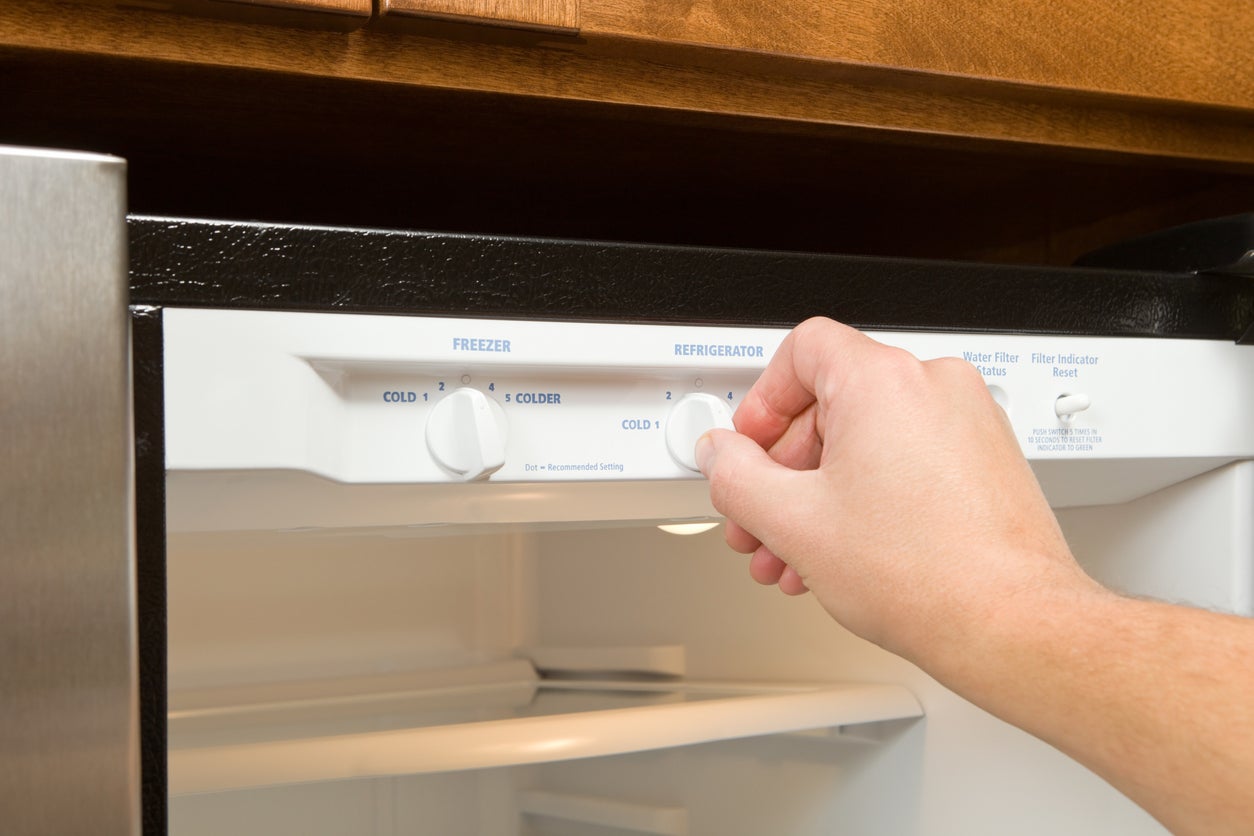
The temperature settings of your freezer play a crucial role in ice production. If the freezer temperature is too high, it can prevent proper ice formation. Here’s how to check and adjust the temperature settings:
- Locate the temperature controls: The temperature controls are usually located inside the refrigerator or on the front panel. Look for labels or icons indicating the freezer temperature settings.
- Check the current temperature: Use a thermometer to measure the current temperature inside the freezer. It should ideally be set between 0 and 5 degrees Fahrenheit (-17 to -15 degrees Celsius) for optimal ice production.
- Adjust the temperature setting: If the measured temperature is too high, adjust the freezer temperature control to a colder setting. Consult your refrigerator’s manual if you’re unsure how to adjust the temperature.
- Allow time for temperature adjustment: After changing the temperature setting, allow several hours for the freezer to reach the new temperature before checking for ice production.
It’s important to note that setting the freezer temperature too low can also have an impact on ice production. If the temperature is set too low, it can cause the water in the ice maker to freeze too quickly, leading to decreased ice production. Make sure to find the right balance and keep the temperature within the recommended range.
After adjusting the temperature settings, wait for a few hours to see if the ice maker begins producing ice. If the issue persists, proceed to the next troubleshooting step to inspect the freezer fan.
Inspect the Freezer Fan
The freezer fan is responsible for circulating cold air throughout the freezer compartment, ensuring proper temperature distribution. A malfunctioning freezer fan can disrupt the ice-making process. Follow these steps to inspect the freezer fan:
- Locate the freezer fan: The freezer fan is typically located at the back of the freezer compartment, behind a panel or cover. Refer to your refrigerator’s manual to find the exact location.
- Turn off the refrigerator and unplug it: Before proceeding, it’s important to turn off the refrigerator and unplug it from the power source to ensure safety.
- Access the freezer fan: Remove any shelves or storage bins that may obstruct access to the freezer fan. If there is a panel or cover, carefully remove it to expose the fan.
- Inspect the fan blades: Examine the freezer fan blades for any signs of damage or obstruction, such as ice buildup or debris. Clear away any obstructions or clean the blades if necessary.
- Check the fan motor: Gently spin the fan blades by hand to see if they rotate smoothly. If the blades are difficult to turn or do not rotate at all, it may indicate a problem with the fan motor. In that case, the fan motor may need to be replaced.
- Clean the fan and surrounding area: Use a soft brush or cloth to clean the fan blades and the area around the fan. This helps improve airflow and prevents any buildup of dust or debris that could impede the fan’s operation.
- Reassemble and power on the refrigerator: Once you have inspected and cleaned the freezer fan, reassemble any panels or covers that were removed. Plug in the refrigerator and turn it on again.
After inspecting the freezer fan and ensuring it is clean and in working condition, allow some time for the ice maker to resume ice production. If the issue persists, continue to the next troubleshooting step to examine the ice maker mold thermostat.
Read more: Why Is My Ice Maker Making Clumps Of Ice
Examine the Ice Maker Mold Thermostat
The ice maker mold thermostat is a critical component that senses the temperature in the ice maker mold. It determines when to initiate the ice-making cycle and when to stop it once the ice has formed. If the ice maker mold thermostat is faulty, it can lead to a disruption in ice production. Here’s how to examine the ice maker mold thermostat:
- Locate the ice maker mold thermostat: The ice maker mold thermostat is typically located near the ice maker assembly. Consult your refrigerator’s manual for the specific location.
- Turn off the refrigerator and unplug it: Before conducting any inspections, ensure the refrigerator is turned off and unplugged to ensure safety.
- Access the ice maker mold thermostat: Remove any panels or covers to access the ice maker mold thermostat. It may be necessary to remove the ice maker assembly as well.
- Inspect the thermostat: Examine the ice maker mold thermostat for any visible signs of damage or malfunction. Look for any loose wires or other abnormalities that may indicate a problem.
- Test the thermostat using a multimeter: If you have a multimeter, you can test the ice maker mold thermostat for continuity. Set the multimeter to the “Ohms” setting and place the probes on the thermostat’s terminals. A reading of zero or near-zero indicates that the thermostat is functioning properly.
- Replace the thermostat if necessary: If the ice maker mold thermostat shows no continuity or is not functioning correctly, it may need to be replaced. Consult a professional technician or contact the manufacturer for assistance with the replacement process.
- Reassemble and power on the refrigerator: Once you have finished examining the ice maker mold thermostat, reassemble any panels or covers that were removed. Plug in the refrigerator and turn it on again.
After examining the ice maker mold thermostat and taking appropriate actions, allow some time for the ice maker to resume ice production. If the issue continues, proceed to the next troubleshooting step to check the water filter.
Check the Water Filter
If your refrigerator is equipped with a water filter, it plays a vital role in maintaining the quality of the water that flows into your ice maker. Over time, the water filter can become clogged with impurities, reducing water flow and hindering ice production. Here’s how to check the water filter:
- Locate the water filter: The water filter is typically located inside the refrigerator, either in the grille or the top or bottom of the refrigerator compartment. Refer to your refrigerator’s manual to find the exact location.
- Check the filter status indicator: Some refrigerators have a filter status indicator that alerts you when the filter needs to be replaced. If your refrigerator has this feature, check the indicator light to see if it indicates a filter change is necessary.
- Inspect the filter for clogs or impurities: Remove the water filter from its housing and visually inspect it for any signs of clogs, discoloration, or visible impurities. If the filter appears dirty or clogged, it is likely affecting water flow and ice production.
- Replace the water filter if necessary: If the water filter is clogged or past its recommended lifespan, it’s time to replace it. Refer to your refrigerator’s manual or contact the manufacturer to ensure you select the correct replacement filter.
- Install the new water filter: Follow the instructions provided with the new water filter to properly install it in the filter housing. Make sure it is securely in place.
- Run water through the new filter: After installing the new water filter, run water through it for a few minutes to flush out any carbon residue or air bubbles that may be present in the system.
- Allow time for ice production: Once you have installed the new water filter, allow several hours for the ice maker to resume ice production.
Regularly replacing the water filter according to the manufacturer’s recommendations can help ensure adequate water flow and maintain optimal ice production. If you have completed all the troubleshooting steps and the ice maker still does not produce ice, it may be necessary to contact a professional technician for further assessment and repair.
Conclusion
When your refrigerator stops making ice, it can be frustrating and inconvenient. However, by understanding the common causes and following the appropriate troubleshooting steps, you can often resolve the issue and restore your ice maker’s functionality.
In this article, we explored the possible causes behind a malfunctioning ice maker, including water supply issues, problems with the water inlet valve, ice maker assembly problems, ice maker switch turned off, temperature settings, issues with the freezer fan, ice maker mold thermostat malfunction, and clogged water filters. We provided detailed troubleshooting steps for each of these potential causes, guiding you through the process of checking and addressing the problems.
Remember to approach the troubleshooting process systematically, starting with the basics such as checking the water supply and ensuring the ice maker switch is on. Move methodically through the troubleshooting steps, inspecting each component and making necessary adjustments or replacements if needed.
If you are unsure or uncomfortable with any of the troubleshooting steps, it is always advisable to seek assistance from a professional appliance technician. They have the expertise and knowledge to diagnose and repair any complex issues that may be affecting your refrigerator’s ice maker.
By following these troubleshooting steps and taking appropriate actions, you can increase the chances of resolving the ice maker issue and enjoy the convenience of a fully functional refrigerator. Always refer to your refrigerator’s manual or contact the manufacturer for specific instructions related to your model.
We hope that this article has provided you with the guidance you need to troubleshoot and resolve the issue with your refrigerator’s ice maker. Before you know it, you’ll be enjoying ice-cold beverages and an abundance of ice in no time!
Frequently Asked Questions about Why Is My Refrigerator Not Making Ice
Was this page helpful?
At Storables.com, we guarantee accurate and reliable information. Our content, validated by Expert Board Contributors, is crafted following stringent Editorial Policies. We're committed to providing you with well-researched, expert-backed insights for all your informational needs.


0 thoughts on “Why Is My Refrigerator Not Making Ice”