
Articles
Why Is My Washer Shaking
Modified: August 25, 2024
Discover why your washer is shaking and learn how to fix it with these helpful articles.
(Many of the links in this article redirect to a specific reviewed product. Your purchase of these products through affiliate links helps to generate commission for Storables.com, at no extra cost. Learn more)
Introduction
Having a washing machine at home is a modern convenience that many of us rely on. It saves us time and energy by automating the task of laundering our clothes. However, one of the common issues you may encounter with your washer is shaking or vibrating excessively during operation. This can not only be noisy and disruptive but also potentially damage the machine and the surrounding area.
Understanding the causes behind a shaking washer is essential to address the issue and prevent any further complications. In this article, we will explore the common reasons why your washer may be shaking, as well as provide solutions on how to stop the shaking and ensure a smooth laundry experience.
Subtitle: Common Causes of Washer Shaking
There are several factors that can contribute to a shaking washer. It’s important to identify the root cause in order to find the appropriate solution. Here are some common causes of washer shaking:
Key Takeaways:
- Proper load distribution, leveling, and maintenance are crucial to prevent washer shaking. Addressing issues with shock absorbers, suspension springs, and motor/belt can restore stability for a smooth laundry experience.
- Avoid overloading, balance the drum, and ensure proper leveling to minimize washer shaking. Regular maintenance and prompt repairs can extend the lifespan of your washing machine and maintain stability.
Common Causes of Washer Shaking
When your washer starts shaking uncontrollably, there may be various factors at play. Understanding these common causes will help you diagnose the issue and take appropriate measures to resolve it. Here are some of the most frequent culprits behind washer shaking:
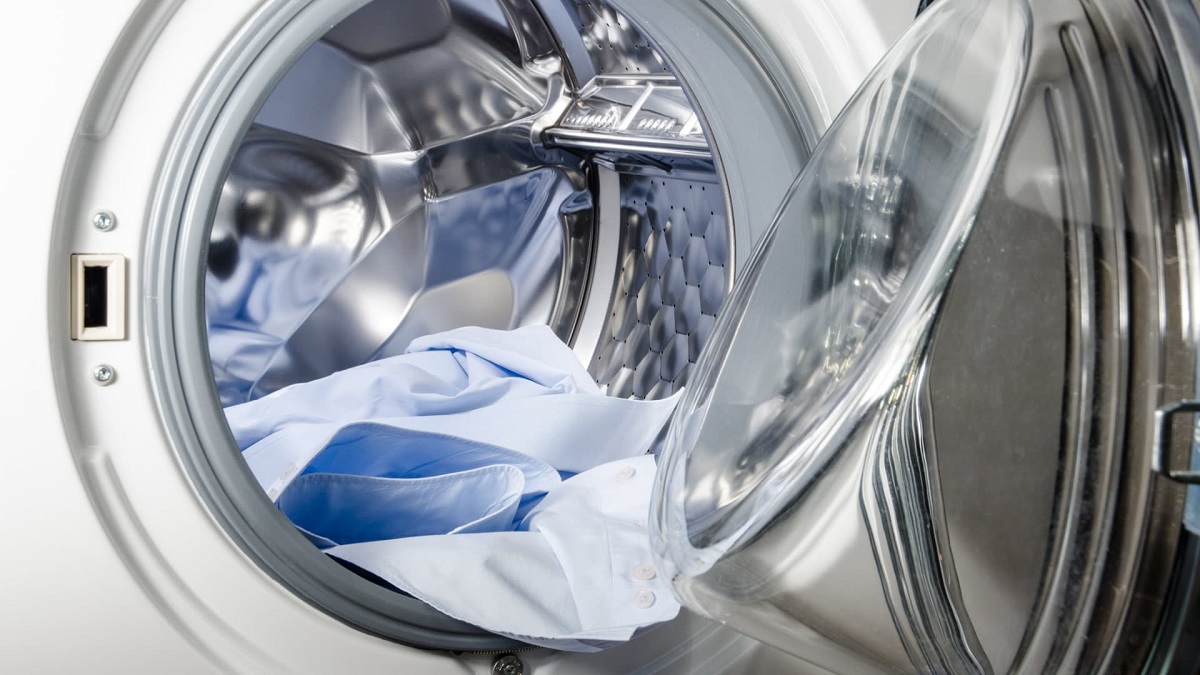
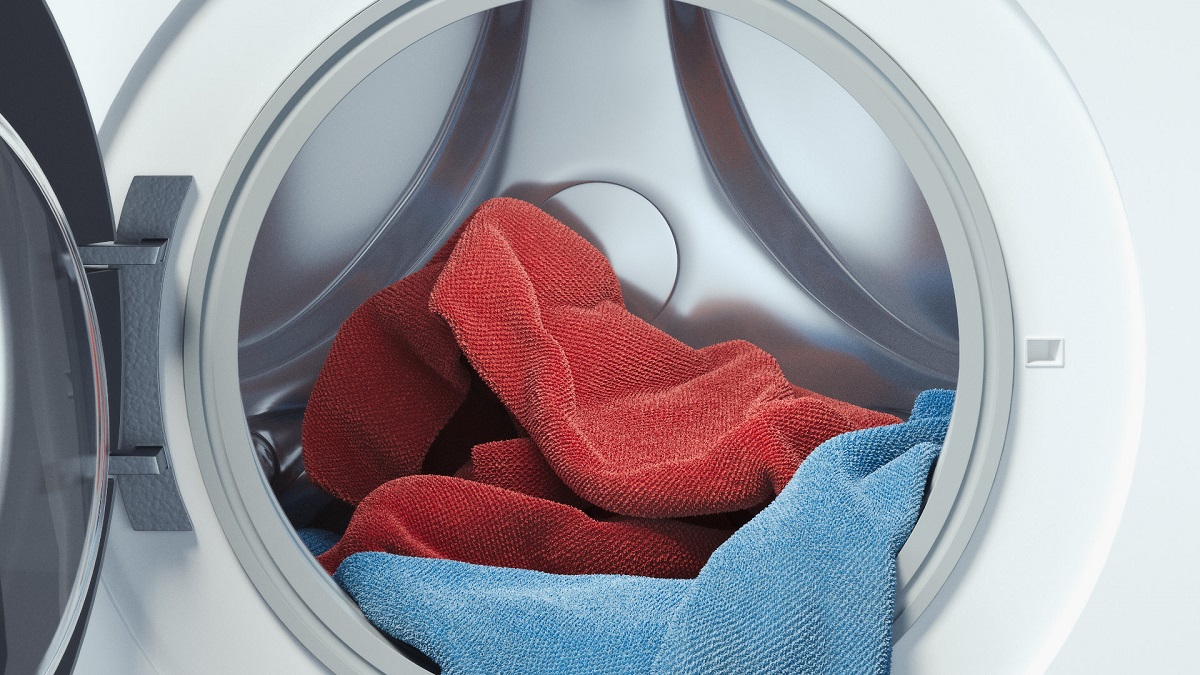
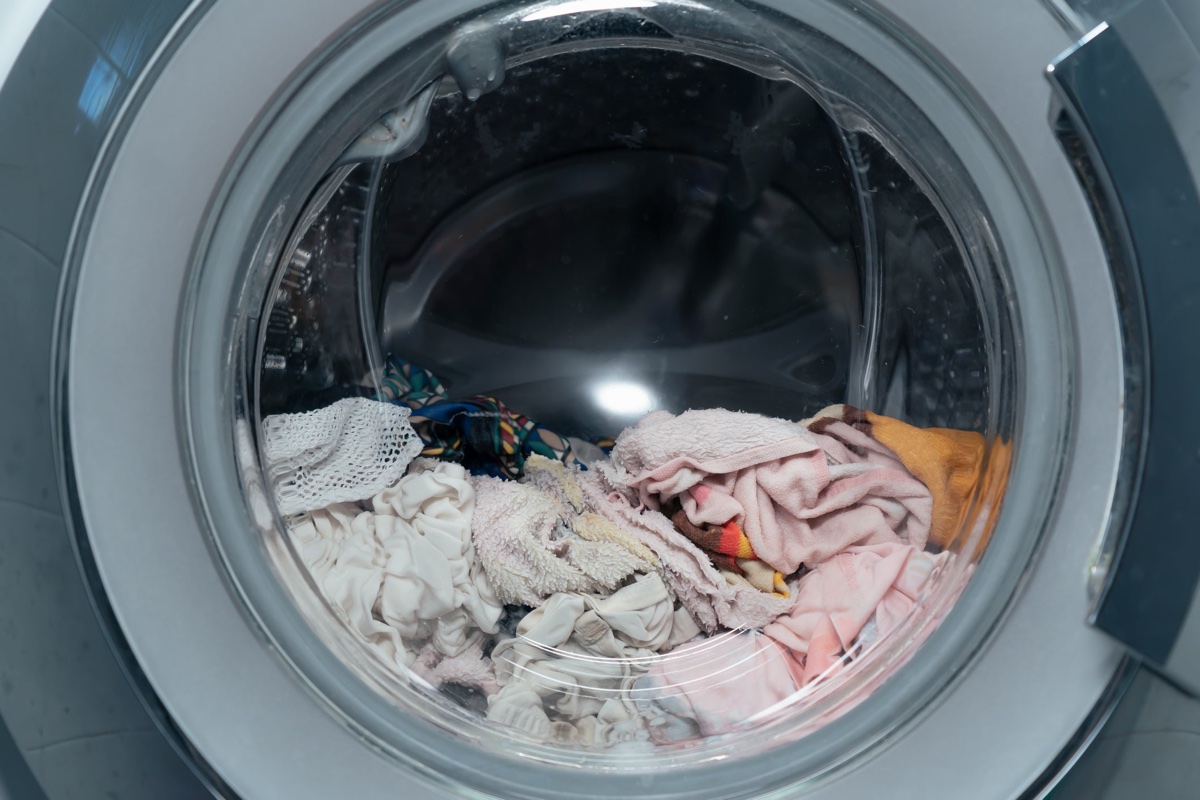
- Uneven Load Distribution: One of the primary reasons for washer shaking is an uneven distribution of the laundry load. When the clothes inside the drum are not properly balanced, it can cause the machine to vibrate or shake. This often happens when you overload one side of the washer with heavy items and leave the other side relatively empty. To prevent this, make sure to distribute the clothes evenly inside the drum before starting the washing cycle.
- Leveling Issues: Washer shaking can also occur if the machine is not properly leveled. If the floor beneath the washer is uneven or if the leveling legs of the machine are not correctly adjusted, it can lead to vibrations during operation. Using a carpenter’s level, check if the washer is stable and make adjustments to the leveling legs if needed.
- Loose or Worn Suspension Springs: Another common cause of washer shaking is loose or worn suspension springs. These springs help absorb the vibrations and stabilize the drum during the wash cycle. If they become loose or damaged, the drum may move excessively, resulting in shaking. Inspect the suspension springs and replace any that appear worn or damaged.
- Overloading the Washer: Overloading the washer with too many clothes can cause it to become unbalanced, leading to shaking. The machine may struggle to evenly distribute the weight, causing vibrations. Always follow the recommended load capacity guidelines provided by the manufacturer to avoid overloading the washer.
- Unbalanced Washer Drum: If the washer drum itself is unbalanced or misaligned, it can cause the entire machine to shake. This can occur due to loose or damaged drum components. Inspect the drum for any visible signs of damage and tighten or replace any loose or broken parts.
- Faulty Motor or Belt: A malfunctioning motor or belt can also contribute to washer shaking. If the motor is not operating smoothly or if the belt connecting the motor to the drum is worn or loose, it can cause the machine to vibrate excessively. In such cases, it may be necessary to have a professional repair or replace the motor or belt.
By identifying the specific cause of your washer shaking, you can take the appropriate steps to address the issue and restore the smooth operation of your machine. In the next section, we will delve into the solutions to stop washer shaking and ensure a hassle-free laundry experience.
Uneven Load Distribution
One of the most common causes of washer shaking is an uneven distribution of the laundry load inside the drum. When the clothes are not balanced properly, it can lead to an imbalance during the wash cycle, causing the washer to shake or vibrate. This problem can be easily addressed by following a few simple steps.
Step 1: Before starting the washer, make sure to evenly distribute the clothes inside the drum. Avoid overloading one side with heavy items while leaving the other side relatively empty. Try to distribute the weight as evenly as possible to maintain balance during the wash cycle.
Step 2: Large and heavy items such as blankets or jeans can throw off the balance of the washer. To prevent excessive shaking, consider washing these items separately or balancing them with lighter garments. If you must wash heavy items, try adding a few towels or smaller clothes to create a more balanced load.
Step 3: Pay attention to the weight capacity of your washer and avoid exceeding the recommended limit. Overloading the washer can lead to an unbalanced load, causing excessive shaking. Refer to the instruction manual or the manufacturer’s website for the recommended weight guidelines.
Step 4: Consider using a laundry bag for delicate items such as lingerie or socks. This not only protects the garments but also helps distribute the weight more evenly inside the washer drum. The bag acts as a barrier, preventing small items from bundling up in one spot and causing imbalance.
Step 5: If your washer has a “load sensing” feature, utilize it. This feature detects the weight of the laundry and adjusts the wash cycle accordingly to ensure optimal balance. It can help prevent excessive shaking by automatically redistributing the clothes inside the drum.
By following these steps and ensuring an even distribution of the laundry load, you can significantly reduce the chances of washer shaking. However, if the problem persists, there may be other underlying issues that need to be addressed, such as leveling problems or damaged components. In the next sections, we will discuss how to tackle these issues to stop washer shaking effectively.
Leveling Issues
Another common cause of washer shaking is improper leveling. When a washer is not level, it can create instability during the wash cycle, leading to vibrations and shaking. Fortunately, leveling a washer is a relatively straightforward process that you can easily do yourself. Here’s how:
Step 1: Start by placing a carpenter’s level on top of the washer to determine if it is level. Check both the front-to-back and side-to-side levels. If the bubble in the level is not centered, it means the washer is not properly leveled.
Step 2: Locate the adjustment legs at the bottom of the washer. These legs are typically threaded and can be adjusted to raise or lower the machine. Use a wrench or pliers to loosen the lock nuts on the legs.
Step 3: Adjust the legs by turning them clockwise or counterclockwise to raise or lower the washer. Keep adjusting until the bubble in the level is centered in both directions.
Step 4: Once the washer is level, tighten the lock nuts on the adjustment legs to secure them in place. Ensure that they are securely tightened to prevent any movement during operation.
Step 5: After leveling the washer, test it to see if the shaking has been resolved. Run a small load or a test cycle to check for any vibrations. If the shaking persists, you may need to recheck the leveling or consider other possible causes.
If you find that your floor is not perfectly level, you can use shims to compensate for any irregularities. Place the shims under the washer’s feet to level the machine effectively. Again, make sure to tighten the lock nuts once the washer is level.
Regularly check the level of your washer to ensure that it stays properly leveled. If you move your washer or if it gets bumped, it’s a good idea to recheck the leveling. By maintaining a level washer, you can minimize any potential shaking or vibrations during operation.
If the washer continues to shake even after leveling, there may be other underlying causes such as damaged components that need to be addressed. In the following sections, we will explore solutions for repairing or replacing these components to eliminate washer shaking.
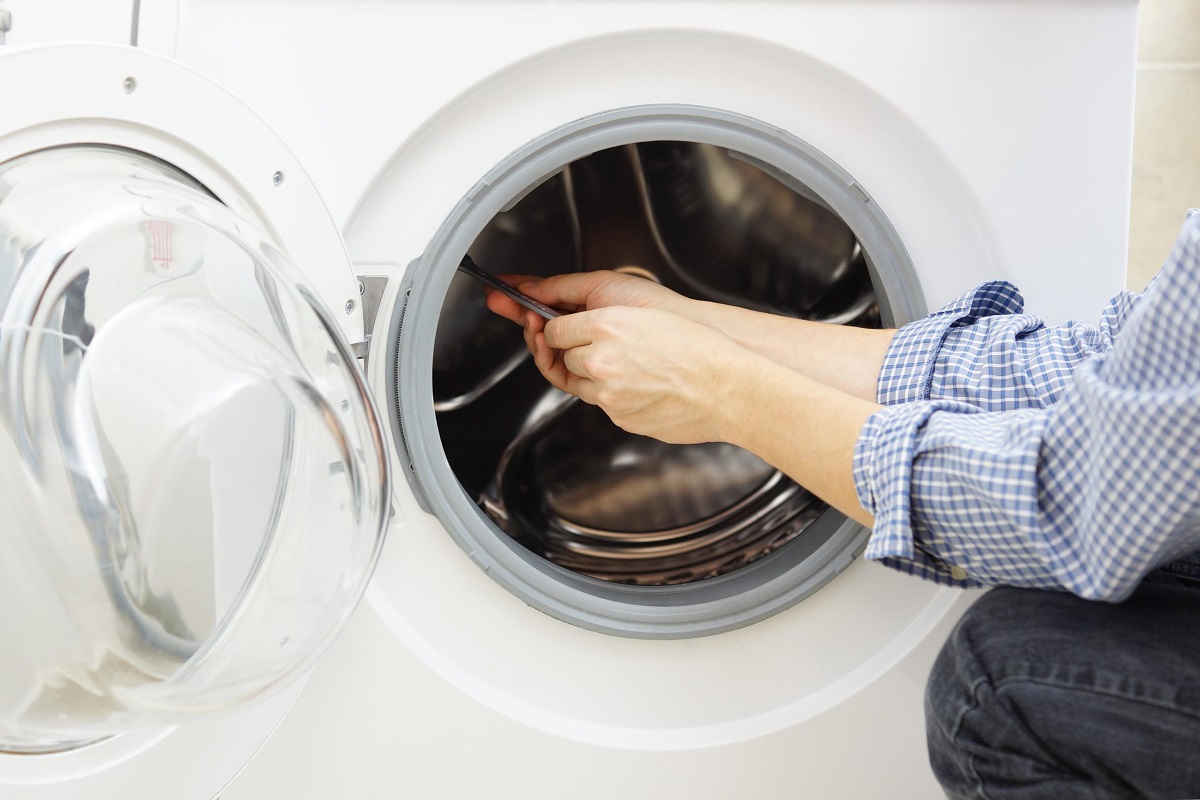
Damaged Shock Absorbers
Shock absorbers play a crucial role in stabilizing the drum of a washing machine during operation. These components absorb the vibrations and movements caused by the rotating drum, preventing excessive shaking and a noisy washing experience. However, over time, shock absorbers can wear out or become damaged, leading to increased washer shaking. If you suspect that your washer’s shock absorbers are causing the problem, here’s what you can do:
Step 1: Start by unplugging the washer and turning off the water supply. Safety is paramount when working with any electrical appliance.
Step 2: Locate the shock absorbers, which are typically attached to the underside of the washer near the drum. They will usually be connected to the frame of the machine with bolts or screws.
Step 3: Inspect the shock absorbers for any signs of damage, such as leaking fluid, cracks, or excessive wear. If you notice any of these issues, it’s likely that the shock absorbers need to be replaced.
Step 4: Remove the damaged shock absorbers by unscrewing the bolts or screws that secure them. Depending on the model of your washer, you may need a wrench or screwdriver to do this.
Step 5: Install the new shock absorbers in the reverse order of the removal process. Secure them tightly with the bolts or screws provided.
Step 6: Once the new shock absorbers are in place, reassemble any parts that were removed during the process. Double-check that everything is securely attached.
Step 7: Plug the washer back in and turn on the water supply. Test the machine to see if the shaking has been resolved. If the washer no longer shakes excessively, you have successfully replaced the shock absorbers.
If replacing the shock absorbers yourself seems daunting or if you’re unsure about the process, it’s recommended to seek professional assistance. They have the expertise and tools to ensure the proper installation of new shock absorbers and restore the stability of your washing machine.
By addressing damaged shock absorbers, you can eliminate one of the common causes of washer shaking. However, if the shaking persists, there may be other factors contributing to the problem. In the coming sections, we will explore more potential causes and solutions to stop washer shaking effectively.
Read more: Why Does The Washing Machine Shake
Loose or Worn Suspension Springs
Suspension springs are another critical component of a washer’s stability. These springs help support and balance the drum during the wash cycle, reducing excessive movement and shaking. However, over time, these springs can become loose or worn, leading to increased washer shaking. If you suspect that loose or worn suspension springs are causing the issue, here’s what you can do:
Step 1: Begin by unplugging the washer and turning off the water supply for safety purposes.
Step 2: Locate the suspension springs, which are typically found on the outer sides or top of the washer drum. The number of springs and their locations can vary depending on the washer model.
Step 3: Inspect the suspension springs for any signs of damage, such as stretching, rust, or wear. Loose or damaged springs will not provide the necessary tension, leading to excessive shaking.
Step 4: If you find any loose or worn suspension springs, use pliers or a wrench to tighten or replace them. If the springs are too damaged, it’s recommended to replace them entirely.
Step 5: Follow the instructions provided by the manufacturer to install the new suspension springs. Make sure they are securely attached to the appropriate locations on the washer drum and frame.
Step 6: Reassemble any parts that were removed during the process and ensure that everything is securely attached.
Step 7: Plug the washer back in and turn on the water supply. Run a test cycle to check if the shaking has been resolved. If the washer operates smoothly without excessive shaking, you have successfully addressed the loose or worn suspension springs.
If you are unsure about replacing the suspension springs yourself or if you encounter any difficulties during the process, it is advisable to seek assistance from a professional technician. They have the experience and knowledge to ensure a proper installation, providing long-lasting stability to your washing machine.
By addressing loose or worn suspension springs, you can effectively eliminate another potential cause of washer shaking. However, if the shaking persists, there may be other underlying factors at play. In the following sections, we will explore additional causes and solutions to help you stop washer shaking and restore smooth operation.
Overloading the Washer
One common mistake many people make is overloading their washing machine. While it may be tempting to cram as many clothes as possible into a single load, overloading the washer can lead to imbalance and excessive shaking. To prevent this problem, it’s important to understand the proper load capacity of your washer and follow the recommended guidelines. Here’s what you need to know:
Step 1: Familiarize yourself with the recommended load capacity of your washer. This information can usually be found in the instruction manual or on the manufacturer’s website. Different models have different load capacities, so it’s essential to know the specific guidelines for your machine.
Step 2: Sort your laundry into smaller, manageable loads that fit within the recommended capacity. Avoid the temptation to overload the washer with excessive amounts of clothing. It’s better to do multiple smaller loads than one large, overloaded load.
Step 3: Ensure that the clothes are distributed evenly in the drum. Avoid packing one side with heavy items while leaving the other side empty. Aim for a balanced load by evenly distributing the weight of the clothes throughout the drum.
Step 4: Consider the type of fabric and its weight when determining the load size. Heavier items, such as jeans or towels, take up more space and weigh the drum down. Spread them out throughout the load to prevent excessive shaking.
Step 5: Be mindful of the water level. If the load is too large, the water may not be able to circulate properly, leading to an unbalanced load and increased shaking. Follow the water level guidelines provided by the manufacturer.
Step 6: If you are unsure about the load size, start with a smaller load and observe how the washer operates. If there is no shaking or excessive noise, gradually increase the load size, keeping an eye on the washer’s performance.
Overloading the washer not only leads to shaking and potential damage to the machine, but it can also result in poor cleaning performance. By adhering to the recommended load capacity and distributing the clothes evenly, you can maintain a balanced load and ensure efficient and effective washing.
If you constantly find yourself with large loads of laundry, you may consider investing in a washer with a higher load capacity. Upgrading to a larger-capacity machine can accommodate your laundry needs without sacrificing stability or performance.
By avoiding the habit of overloading the washer, you can significantly reduce the chances of excessive shaking and maintain a smoother washing experience. However, if the shaking persists, there may be other contributing factors that need to be addressed. In the following sections, we will explore additional causes and solutions to stop washer shaking effectively.
Unbalanced Washer Drum
An unbalanced washer drum is a common cause of excessive shaking during the wash cycle. When the drum becomes unbalanced, it can create vibrations and movement that lead to a noisy and unstable washing machine. Addressing this issue is crucial to restore smooth operation. Here’s how you can tackle an unbalanced washer drum:
Step 1: Start by unplugging the washer and turning off the water supply to ensure safety.
Step 2: Open the washer’s door or lid and carefully inspect the drum for any visible signs of misalignment or imbalance. Look for any items, such as small garments or foreign objects, that may be causing the imbalance. Remove them if necessary.
Step 3: If there are no visible obstructions, run a test cycle with a small load of laundry. Observe the washer’s performance as it goes through the wash cycle. Pay attention to any excessive shaking or vibrating movements.
Step 4: If the washer continues to shake, there may be an issue with the balancing mechanism. Depending on the model of your washer, there may be adjustable counterweights or stabilizing mechanisms that need to be adjusted or repaired.
Step 5: Consult the washer’s instruction manual or manufacturer’s website for specific instructions on how to balance the drum. Follow the recommended steps to realign or adjust any necessary components.
Step 6: In some cases, the drum may need to be manually rebalanced. This can be done by redistributing the laundry load inside the drum. Make sure the clothes are evenly distributed to maintain balance during the wash cycle.
Step 7: If rebalancing the drum does not resolve the issue, it’s recommended to seek professional assistance. A qualified technician will have the necessary tools and expertise to diagnose and repair any mechanical issues that may be causing the unbalanced drum.
Regular maintenance and care can also help maintain a balanced washer drum. Avoid overloading the washer, as this can lead to an imbalance. Additionally, periodically check the drum for any loose or damaged components and tighten or repair them as needed.
By addressing an unbalanced washer drum, you can minimize shaking and vibration during the wash cycle, ensuring a quieter and more stable washing experience. However, if the shaking persists or if you’re unsure about the cause, it’s always best to consult a professional technician for a proper diagnosis and repair.
Faulty Motor or Belt
A faulty motor or belt in your washing machine can contribute to excessive shaking and vibration during operation. The motor is responsible for powering the drum’s rotation, while the belt connects the motor to the drum, transferring the rotational motion. If either of these components is damaged or malfunctioning, it can lead to an unstable washer. Here’s what you can do to address a faulty motor or belt:
Step 1: Begin by unplugging the washer and turning off the water supply for safety purposes.
Step 2: Check the motor and belt for any visible signs of damage. Look for fraying or wear on the belt or any visible damage to the motor. If you notice any issues, it’s likely that either the motor or the belt needs to be replaced.
Step 3: To replace the belt, start by removing any access panels or covers that provide access to the motor and belt. Refer to the instruction manual or manufacturer’s guidelines for specific instructions on how to do this for your particular washer model.
Step 4: Once you have access to the belt, release any tension or locking mechanisms that secure it to the motor. This may involve loosening or removing bolts or adjusting tensioning screws.
Step 5: Carefully remove the old belt from the motor and drum, taking note of how it was originally positioned. Then, install the new belt in the same manner, ensuring it is properly aligned on the motor and drum pulleys.
Step 6: Adjust the tension of the new belt according to the manufacturer’s instructions. This will help ensure proper performance and minimize shaking.
Step 7: If the motor itself is faulty, it is recommended to seek professional assistance for repair or replacement. Motors can be complex components that require specialized knowledge and tools to properly fix.
Once the motor or belt is repaired or replaced, reassemble any parts that were removed during the process and ensure that everything is securely attached. Plug the washer back in, turn on the water supply, and run a test cycle to check if the shaking has been resolved.
If the shaking persists or if you are unsure about repairing the motor or belt yourself, it’s best to contact a professional technician. They will have the expertise and experience to properly diagnose and address any issues with the motor or belt, ensuring the long-term stability and functionality of your washing machine.
By addressing a faulty motor or belt, you can eliminate another potential cause of washer shaking. However, if the shaking continues, there may be other factors contributing to the problem. In the next section, we will provide additional solutions to help you stop washer shaking effectively.
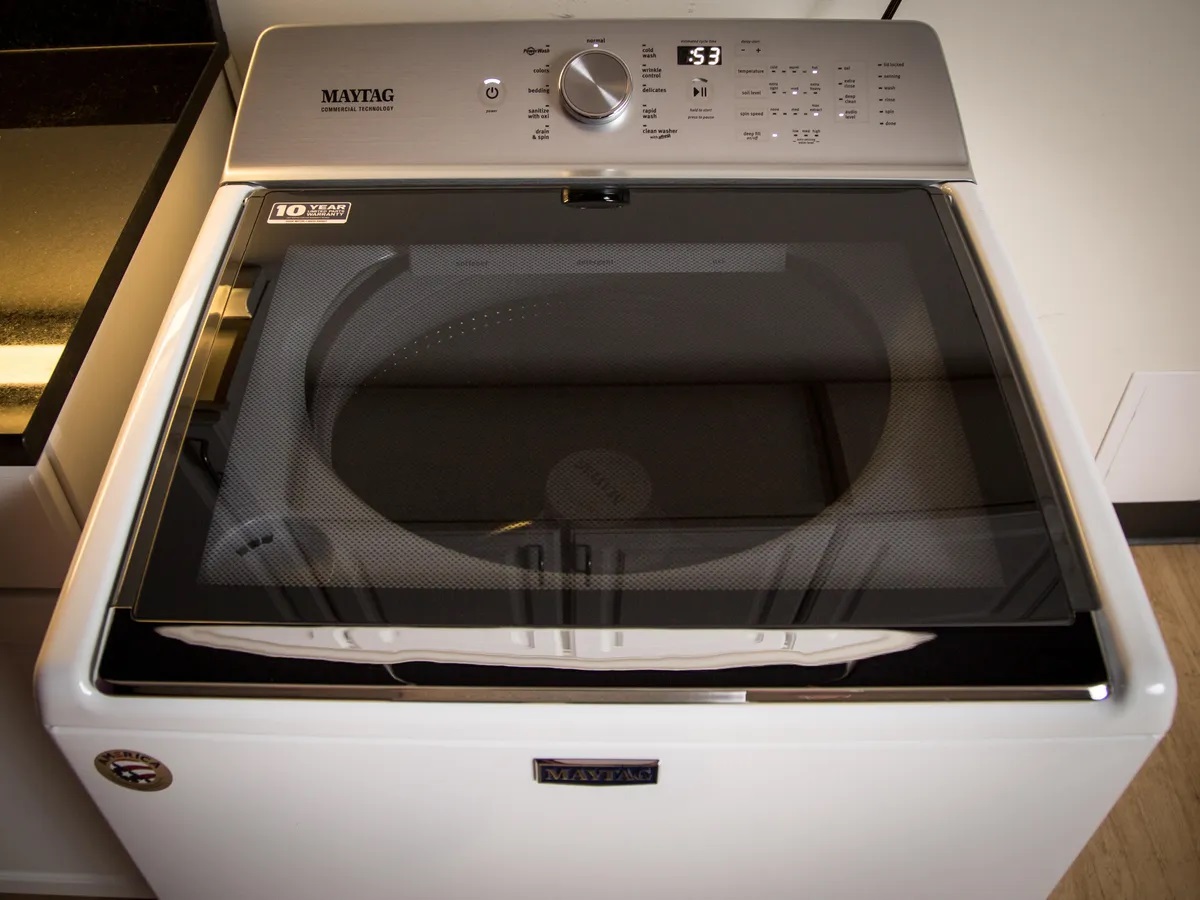
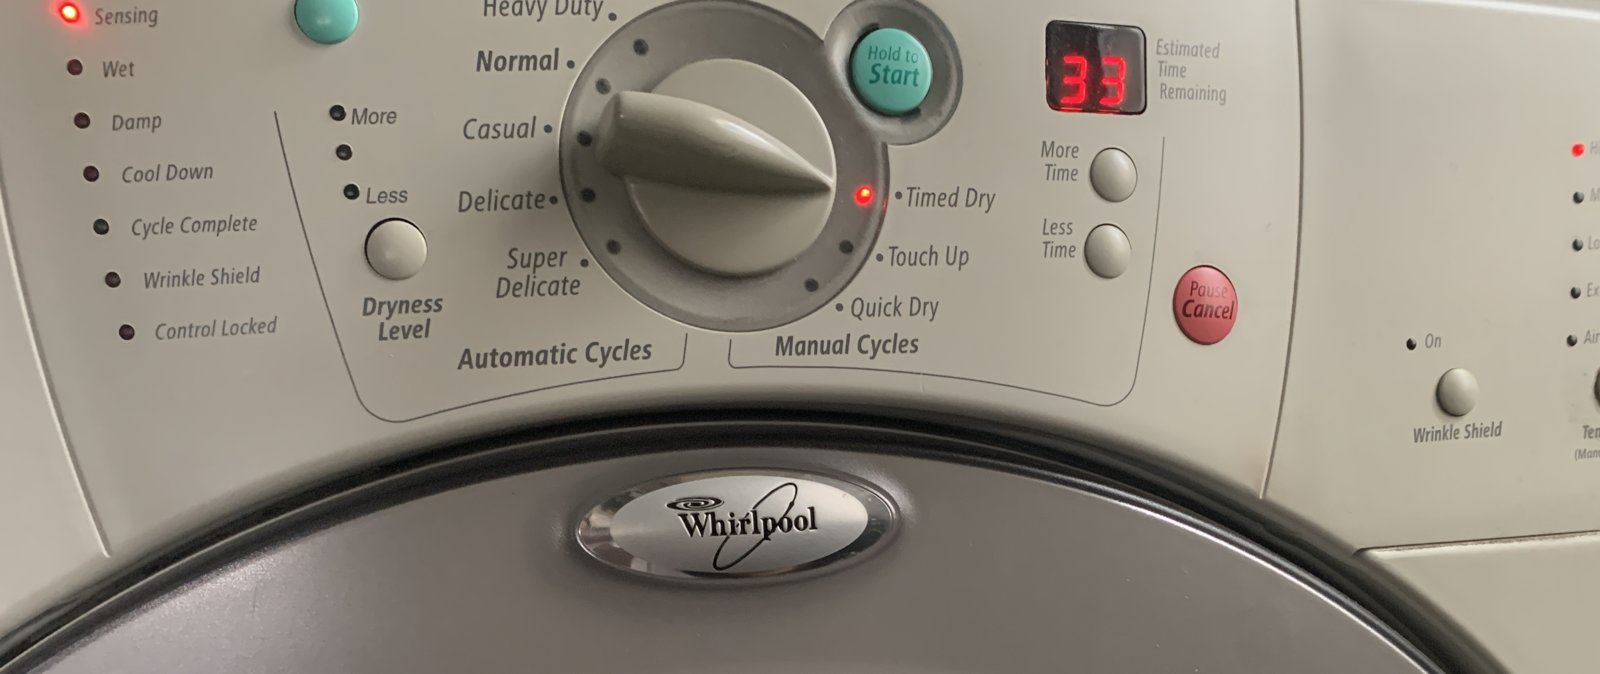
Check to make sure the washer is level on the ground. Use a level to adjust the feet until it is balanced. Uneven loads can also cause shaking, so try redistributing the clothes inside the drum.
Read more: Why Does My Washer Squeak
Solutions to Stop Washer Shaking
Excessive shaking and vibration from your washing machine can be disruptive and damaging. However, there are several effective solutions to address this issue and restore a stable and quiet washing experience. Here are some solutions to stop washer shaking:
- Checking and Adjusting Load Distribution: Ensure that the laundry load is distributed evenly inside the drum. Avoid overloading one side with heavy items while leaving the other side relatively empty. By maintaining a balanced load, you can minimize vibration and shaking.
- Ensuring Proper Washer Leveling: Check if your washer is level using a carpenter’s level. If not, adjust the leveling legs of the machine to ensure stability. A well-leveled washer reduces vibrations and prevents excessive shaking.
- Repairing or Replacing Shock Absorbers: Damaged or worn-out shock absorbers can contribute to washer shaking. Inspect the shock absorbers and replace any that appear damaged. Properly functioning shock absorbers help stabilize the drum and reduce vibrations.
- Tightening or Replacing Suspension Springs: Loose or worn suspension springs can cause the washer drum to move excessively, leading to shaking. Check the springs and tighten or replace any that show signs of damage. These springs help balance and stabilize the drum during the wash cycle.
- Avoiding Overloading the Washer: Follow the recommended load capacity guidelines provided by the manufacturer. Overloading the washer can lead to an unbalanced load, resulting in shaking. Stick to the recommended weight limit to maintain stability.
- Balancing the Washer Drum: If the washer drum is unbalanced, redistribute the laundry load evenly inside the drum. Ensure that the clothes are spread out and not clumped on one side. This helps maintain balance during the wash cycle.
- Repairing or Replacing the Motor or Belt: A faulty motor or belt can cause the washer to shake. Inspect these components for any signs of damage or malfunction. Replace the belt or seek professional repair if necessary to ensure proper functioning and reduce shaking.
It’s important to note that not all washer shaking can be resolved through DIY solutions. If you’ve tried the above steps and the shaking persists, or if you’re unsure about the cause of the issue, it’s advisable to consult a professional technician. They can diagnose the problem accurately and provide the appropriate repairs to restore the stability of your washing machine.
Regular maintenance, such as cleaning the machine and checking for any loose or damaged parts, can also help prevent excessive shaking. Following the manufacturer’s guidelines for usage and care can extend the lifespan of your washer and maintain its optimal performance.
By implementing these solutions and taking proactive measures, you can effectively stop washer shaking and enjoy a smoother and quieter laundry experience in your home.
Checking and Adjusting Load Distribution
One of the primary causes of washer shaking is an uneven distribution of the laundry load inside the drum. When the clothes are not balanced properly, it can lead to an imbalance during the wash cycle, causing the washer to shake or vibrate. This issue can be easily addressed by following a few simple steps:
- Step 1: Before starting the washer, make sure to evenly distribute the clothes inside the drum. Avoid overloading one side with heavy items while leaving the other side relatively empty. Try to distribute the weight as evenly as possible to maintain balance during the wash cycle.
- Step 2: Large and heavy items such as blankets or jeans can throw off the balance of the washer. To prevent excessive shaking, consider washing these items separately or balancing them with lighter garments. If you must wash heavy items, try adding a few towels or smaller clothes to create a more balanced load.
- Step 3: Pay attention to the weight capacity of your washer and avoid exceeding the recommended limit. Overloading the washer can lead to an unbalanced load, causing excessive shaking. Refer to the instruction manual or the manufacturer’s website for the recommended weight guidelines.
- Step 4: Consider using a laundry bag for delicate items such as lingerie or socks. This not only protects the garments but also helps distribute the weight more evenly inside the washer drum. The bag acts as a barrier, preventing small items from bundling up in one spot and causing imbalance.
- Step 5: If your washer has a “load sensing” feature, utilize it. This feature detects the weight of the laundry and adjusts the wash cycle accordingly to ensure optimal balance. It can help prevent excessive shaking by automatically redistributing the clothes inside the drum.
By following these steps and ensuring an even distribution of the laundry load, you can significantly reduce the chances of washer shaking. However, if the problem persists, there may be other underlying issues that need to be addressed, such as leveling problems or damaged components. In the next sections, we will discuss how to tackle these issues to stop washer shaking effectively.
Ensuring Proper Washer Leveling
Another common cause of washer shaking is improper leveling. When a washer is not properly leveled, it can create instability during the wash cycle, leading to vibrations and shaking. Fortunately, leveling a washer is a relatively straightforward process that you can easily do yourself. Here’s how:
- Step 1: Start by placing a carpenter’s level on top of the washer to determine if it is level. Check both the front-to-back and side-to-side levels. If the bubble in the level is not centered, it means the washer is not properly leveled.
- Step 2: Locate the adjustment legs at the bottom of the washer. These legs are typically threaded and can be adjusted to raise or lower the machine. Use a wrench or pliers to loosen the lock nuts on the legs.
- Step 3: Adjust the legs by turning them clockwise or counterclockwise to raise or lower the washer. Keep adjusting until the bubble in the level is centered in both directions.
- Step 4: Once the washer is level, tighten the lock nuts on the adjustment legs to secure them in place. Ensure that they are securely tightened to prevent any movement during operation.
- Step 5: After leveling the washer, test it to see if the shaking has been resolved. Run a small load or a test cycle to check for any vibrations. If the shaking persists, you may need to recheck the leveling or consider other possible causes.
If you find that your floor is not perfectly level, you can use shims to compensate for any irregularities. Place the shims under the washer’s feet to level the machine effectively. Again, make sure to tighten the lock nuts once the washer is level.
Regularly check the level of your washer to ensure that it stays properly leveled. If you move your washer or if it gets bumped, it’s a good idea to recheck the leveling. By maintaining a level washer, you can minimize any potential shaking or vibrations during operation.
If the washer continues to shake even after leveling, there may be other underlying causes such as damaged components that need to be addressed. In the following sections, we will explore solutions for repairing or replacing these components to eliminate washer shaking.
Repairing or Replacing Shock Absorbers
Shock absorbers play a crucial role in stabilizing the drum of a washing machine during operation. These components absorb the vibrations and movements caused by the rotating drum, preventing excessive shaking and a noisy washing experience. However, over time, shock absorbers can wear out or become damaged, leading to increased washer shaking. If you suspect that your washer’s shock absorbers are causing the problem, here’s what you can do:
- Step 1: Start by unplugging the washer and turning off the water supply. Safety is paramount when working with any electrical appliance.
- Step 2: Locate the shock absorbers, which are typically attached to the underside of the washer near the drum. They will usually be connected to the frame of the machine with bolts or screws.
- Step 3: Inspect the shock absorbers for any signs of damage, such as leaking fluid, cracks, or excessive wear. If you notice any of these issues, it’s likely that the shock absorbers need to be replaced.
- Step 4: Remove the damaged shock absorbers by unscrewing the bolts or screws that secure them. Depending on the model of your washer, you may need a wrench or screwdriver to do this.
- Step 5: Install the new shock absorbers in the reverse order of the removal process. Secure them tightly with the bolts or screws provided.
- Step 6: Once the new shock absorbers are in place, reassemble any parts that were removed during the process. Double-check that everything is securely attached.
- Step 7: Plug the washer back in and turn on the water supply. Test the machine to see if the shaking has been resolved. If the washer no longer shakes excessively, you have successfully replaced the shock absorbers.
If replacing the shock absorbers yourself seems daunting or if you’re unsure about the process, it’s recommended to seek professional assistance. They have the expertise and tools to ensure the proper installation of new shock absorbers and restore the stability of your washing machine.
Regular maintenance and care can also help prolong the life of your shock absorbers. Clean the washer drum and inspect the shock absorbers periodically for any signs of damage or wear. By promptly addressing any issues with the shock absorbers, you can prevent excessive shaking and maintain a stable washing machine.
By addressing damaged shock absorbers, you can eliminate one of the common causes of washer shaking. However, if the shaking persists, there may be other factors contributing to the problem. In the following sections, we will explore more potential causes and solutions to help you stop washer shaking effectively.
Read more: Why Is My Maytag Washer Not Spinning
Tightening or Replacing Suspension Springs
Suspension springs play a crucial role in maintaining the stability of a washing machine. These springs support and balance the drum during the wash cycle, reducing excessive movement and shaking. Over time, however, suspension springs can become loose or worn, leading to increased washer shaking. If you suspect that loose or worn suspension springs are causing the issue, here’s what you can do:
- Step 1: Begin by unplugging the washer and turning off the water supply for safety purposes.
- Step 2: Locate the suspension springs, which are typically found on the outer sides or top of the washer drum. The number of springs and their locations can vary depending on the washer model.
- Step 3: Inspect the suspension springs for any signs of damage, such as stretching, rust, or wear. Loose or damaged springs will not provide the necessary tension, leading to excessive shaking.
- Step 4: If you find any loose suspension springs, use pliers or a wrench to tighten them. Carefully apply pressure to the spring while tightening its attachment points on both the drum and the frame of the washer. Be careful not to overtighten, as it may affect the balance of the drum.
- Step 5: If you notice any worn or damaged springs, they will need to be replaced. You can order replacement springs from the washer manufacturer or a reputable appliance parts supplier. Follow the instructions provided by the manufacturer to install the new suspension springs. Make sure they are securely attached to the appropriate locations on the washer drum and frame.
- Step 6: Reassemble any parts that were removed during the process and ensure that everything is securely attached.
- Step 7: Plug the washer back in and turn on the water supply. Run a test cycle to check if the shaking has been resolved. If the washer operates smoothly without excessive shaking, you have successfully addressed the loose or worn suspension springs.
If you are unsure about replacing the suspension springs yourself or if you encounter any difficulties during the process, it is advisable to seek assistance from a professional technician. They have the experience and knowledge to ensure a proper installation, providing long-lasting stability to your washing machine.
Regular maintenance and care can also help prolong the life of your suspension springs. Clean the washer drum periodically and inspect the springs for any signs of wear or damage. By promptly addressing any issues with the suspension springs, you can prevent excessive shaking and maintain a stable washing machine.
By tightening or replacing loose or worn suspension springs, you can effectively eliminate another potential cause of washer shaking. However, if the shaking persists, there may be other underlying factors at play. In the following sections, we will explore additional causes and solutions to help you stop washer shaking effectively.
Avoiding Overloading the Washer
One of the most important factors in preventing excessive shaking of your washer is to avoid overloading it. While it may be tempting to cram as many clothes as possible into a single load, overloading the washer can lead to imbalance and increased shaking. To ensure optimal performance and stability, it is essential to follow the recommended load capacity guidelines and avoid overloading the washer. Here’s what you need to know:
- Step 1: Familiarize yourself with the recommended load capacity of your washer. This information can usually be found in the instruction manual or on the manufacturer’s website. Different models have different load capacities, so it’s important to know the specific guidelines for your machine.
- Step 2: Sort your laundry into smaller, manageable loads that fit within the recommended capacity. Avoid the temptation to overload the washer with excessive amounts of clothing. It’s better to do multiple smaller loads than one large, overloaded load.
- Step 3: Ensure that the clothes are distributed evenly in the drum. Avoid packing one side with heavy items while leaving the other side empty. Aim for a balanced load by evenly distributing the weight of the clothes throughout the drum.
- Step 4: Consider the type of fabric and its weight when determining the load size. Heavier items, such as jeans or towels, take up more space and weigh the drum down. Spread them out throughout the load to prevent excessive shaking.
- Step 5: Be mindful of the water level. If the load is too large, the water may not be able to circulate properly, leading to an unbalanced load and increased shaking. Follow the water level guidelines provided by the manufacturer.
- Step 6: If you are unsure about the load size, start with a smaller load and observe how the washer operates. If there is no shaking or excessive noise, gradually increase the load size, keeping an eye on the washer’s performance.
By adhering to the recommended load capacity and distributing the clothes evenly, you can maintain a balanced load and ensure efficient and effective washing. Overloading the washer not only leads to shaking and potential damage to the machine but it can also result in poor cleaning performance.
If you frequently find yourself with large loads of laundry, you may want to consider upgrading to a washer with a higher load capacity. Investing in a larger-capacity machine can accommodate your laundry needs without sacrificing stability or performance.
It’s important to note that overloading the washer can also put extra strain on the motor, belts, and other internal components, potentially causing premature wear and tear. By following the load capacity guidelines and avoiding overload, you can extend the lifespan of your washing machine.
By avoiding the habit of overloading the washer, you can significantly reduce the chances of excessive shaking and maintain a smoother washing experience. However, if the shaking persists, there may be other contributing factors that need to be addressed. In the following sections, we will explore additional causes and solutions to help you stop washer shaking effectively.
Balancing the Washer Drum
An unbalanced washer drum is a common cause of excessive shaking during the wash cycle. When the drum becomes unbalanced, it can create vibrations and movement that lead to a noisy and unstable washing machine. Addressing this issue is crucial to restore smooth operation. Here’s how you can tackle an unbalanced washer drum:
- Step 1: Start by unplugging the washer and turning off the water supply to ensure safety.
- Step 2: Open the washer’s door or lid and carefully inspect the drum for any visible signs of misalignment or imbalance. Look for any items, such as small garments or foreign objects, that may be causing the imbalance. Remove them if necessary.
- Step 3: If there are no visible obstructions, run a test cycle with a small load of laundry. Observe the washer’s performance as it goes through the wash cycle. Pay attention to any excessive shaking or vibrating movements.
- Step 4: If the washer continues to shake, there may be an issue with the balancing mechanism. Depending on the model of your washer, there may be adjustable counterweights or stabilizing mechanisms that need to be adjusted or repaired.
- Step 5: Consult the washer’s instruction manual or manufacturer’s website for specific instructions on how to balance the drum. Follow the recommended steps to realign or adjust any necessary components.
- Step 6: In some cases, the drum may need to be manually rebalanced. This can be done by redistributing the laundry load evenly inside the drum. Make sure the clothes are evenly spread out to maintain balance during the wash cycle.
- Step 7: If rebalancing the drum does not resolve the issue, it’s recommended to seek professional assistance. A qualified technician will have the necessary tools and expertise to diagnose and repair any mechanical issues that may be causing the unbalanced drum.
Regular maintenance and care can help prevent an unbalanced washer drum. Clean the drum regularly, removing any lint or debris that may accumulate. Inspect the drum for loose or damaged components and repair or replace them as needed.
By addressing an unbalanced washer drum, you can minimize shaking and vibration during the wash cycle, ensuring a quieter and more stable washing experience. However, if the shaking persists or if you’re unsure about the cause, it’s always best to consult a professional technician for a proper diagnosis and repair.
By properly balancing the washer drum, you can eliminate another potential cause of excessive shaking. However, if the problem continues, there may be other factors contributing to the issue. In the following sections, we will explore additional causes and solutions to help you stop washer shaking effectively.
Repairing or Replacing the Motor or Belt
A faulty motor or belt in your washing machine can contribute to excessive shaking and vibration during operation. The motor is responsible for powering the drum’s rotation, while the belt connects the motor to the drum, transferring the rotational motion. If either of these components is damaged or malfunctioning, it can lead to an unstable washer. Here’s what you can do to address a faulty motor or belt:
- Step 1: Begin by unplugging the washer and turning off the water supply for safety purposes.
- Step 2: Check the motor and belt for any visible signs of damage. Look for fraying or wear on the belt or any visible damage to the motor. If you notice any issues, it’s likely that either the motor or the belt needs to be replaced.
- Step 3: To replace the belt, start by removing any access panels or covers that provide access to the motor and belt. Refer to the instruction manual or manufacturer’s guidelines for specific instructions on how to do this for your particular washer model.
- Step 4: Once you have access to the belt, release any tension or locking mechanisms that secure it to the motor. This may involve loosening or removing bolts or adjusting tensioning screws.
- Step 5: Carefully remove the old belt from the motor and drum, taking note of how it was originally positioned. Then, install the new belt in the same manner, ensuring it is properly aligned on the motor and drum pulleys.
- Step 6: Adjust the tension of the new belt according to the manufacturer’s instructions. This will help ensure proper performance and minimize shaking.
- Step 7: If the motor itself is faulty, it is recommended to seek professional assistance for repair or replacement. Motors can be complex components that require specialized knowledge and tools to properly fix.
Once the motor or belt is repaired or replaced, reassemble any parts that were removed during the process and ensure that everything is securely attached. Plug the washer back in, turn on the water supply, and run a test cycle to check if the shaking has been resolved.
If the shaking persists or if you are unsure about repairing the motor or belt yourself, it’s best to contact a professional technician. They will have the expertise and experience to properly diagnose and address any issues with the motor or belt, ensuring the long-term stability and functionality of your washing machine.
Regular maintenance and care can also help prolong the life of your motor and belt. Clean the washer drum regularly and inspect the motor and belt for any signs of wear or damage. By promptly addressing any issues, you can prevent excessive shaking and maintain a stable washing machine.
By repairing or replacing a faulty motor or belt, you can effectively eliminate another potential cause of washer shaking. However, if the shaking persists, there may be other underlying factors at play. In the following sections, we will explore additional causes and solutions to help you stop washer shaking effectively.
Read more: Why Wont My Washer Turn On
Conclusion
Excessive shaking and vibrations from a washing machine can not only be annoying but also indicate underlying issues that need to be addressed. By understanding the common causes of washer shaking and implementing the appropriate solutions, you can restore stability and ensure a smooth laundry experience.
In this article, we discussed several common reasons for washer shaking, including uneven load distribution, leveling issues, damaged shock absorbers, loose or worn suspension springs, overloading the washer, unbalanced drum, and faulty motor or belt. We provided step-by-step instructions on how to address each of these issues effectively.
It’s crucial to follow proper load distribution to maintain a balanced load inside the drum and avoid overloading the washer. Ensuring proper leveling of the machine helps prevent vibrations caused by an uneven floor. Repairing or replacing damaged shock absorbers and suspension springs can significantly reduce washer shaking. Additionally, balancing the drum and addressing issues with the motor or belt are important steps to take to promote stability during operation.
Regular maintenance, such as cleaning the washer drum and inspecting components for wear or damage, can also help prevent excessive shaking and prolong the life of your washing machine.
If the shaking persists or if you’re unsure about the cause of the issue, it’s always best to seek professional assistance. A qualified technician can diagnose the problem accurately and provide the necessary repairs to restore the stability of your washer.
By implementing these solutions and taking proactive measures, you can effectively stop washer shaking and enjoy a quieter and more stable laundry experience in your home.
Remember, a stable and properly functioning washing machine not only ensures clean and fresh laundry but also contributes to a more serene and efficient household. Take the time to address any shaking issues promptly, and you’ll be rewarded with a hassle-free laundry routine for years to come.
Frequently Asked Questions about Why Is My Washer Shaking
Was this page helpful?
At Storables.com, we guarantee accurate and reliable information. Our content, validated by Expert Board Contributors, is crafted following stringent Editorial Policies. We're committed to providing you with well-researched, expert-backed insights for all your informational needs.


0 thoughts on “Why Is My Washer Shaking”