Articles
How To Level Washer
Modified: December 6, 2023
Learn how to level your washer with these helpful articles. Find step-by-step instructions and tips to ensure your washer is balanced for optimal performance.
(Many of the links in this article redirect to a specific reviewed product. Your purchase of these products through affiliate links helps to generate commission for Storables.com, at no extra cost. Learn more)
Introduction
Having a washing machine that is properly leveled is essential for efficient and effective laundry cycles. When a washer is not level, it can lead to excessive noise, vibrations, and even potential damage to the appliance. Ensuring that your washer is level will not only improve its performance but also prolong its lifespan.
In this article, we will guide you through the step-by-step process of how to level your washer. Whether you have just purchased a new washer or you are experiencing issues with an existing one, following these instructions will help you achieve a stable and balanced laundry appliance.
Before we begin, it is important to note that each washer may have slight variations in its leveling process. It’s essential to refer to the manufacturer’s instructions provided with your specific washer model. However, the general steps outlined in this article will give you a good starting point for leveling your washer.
So, let’s dive into the details and get your washer leveled for optimal performance!
Key Takeaways:
- Properly leveling your washer is crucial for efficient laundry cycles, preventing excessive noise and vibrations, and prolonging the appliance’s lifespan. Follow the step-by-step process outlined in this article for optimal performance.
- By preparing the workspace, checking the level, adjusting the leveling legs, and ensuring stability, you can easily level your washer. Consistent maintenance and proper leveling will result in a more enjoyable laundry experience overall.
Read more: How To Level Stacked Washer Dryer
Step 1: Prepare the Workspace
Before you start leveling your washer, it’s important to create an ideal workspace for the task at hand. Follow these steps to ensure a safe and convenient environment:
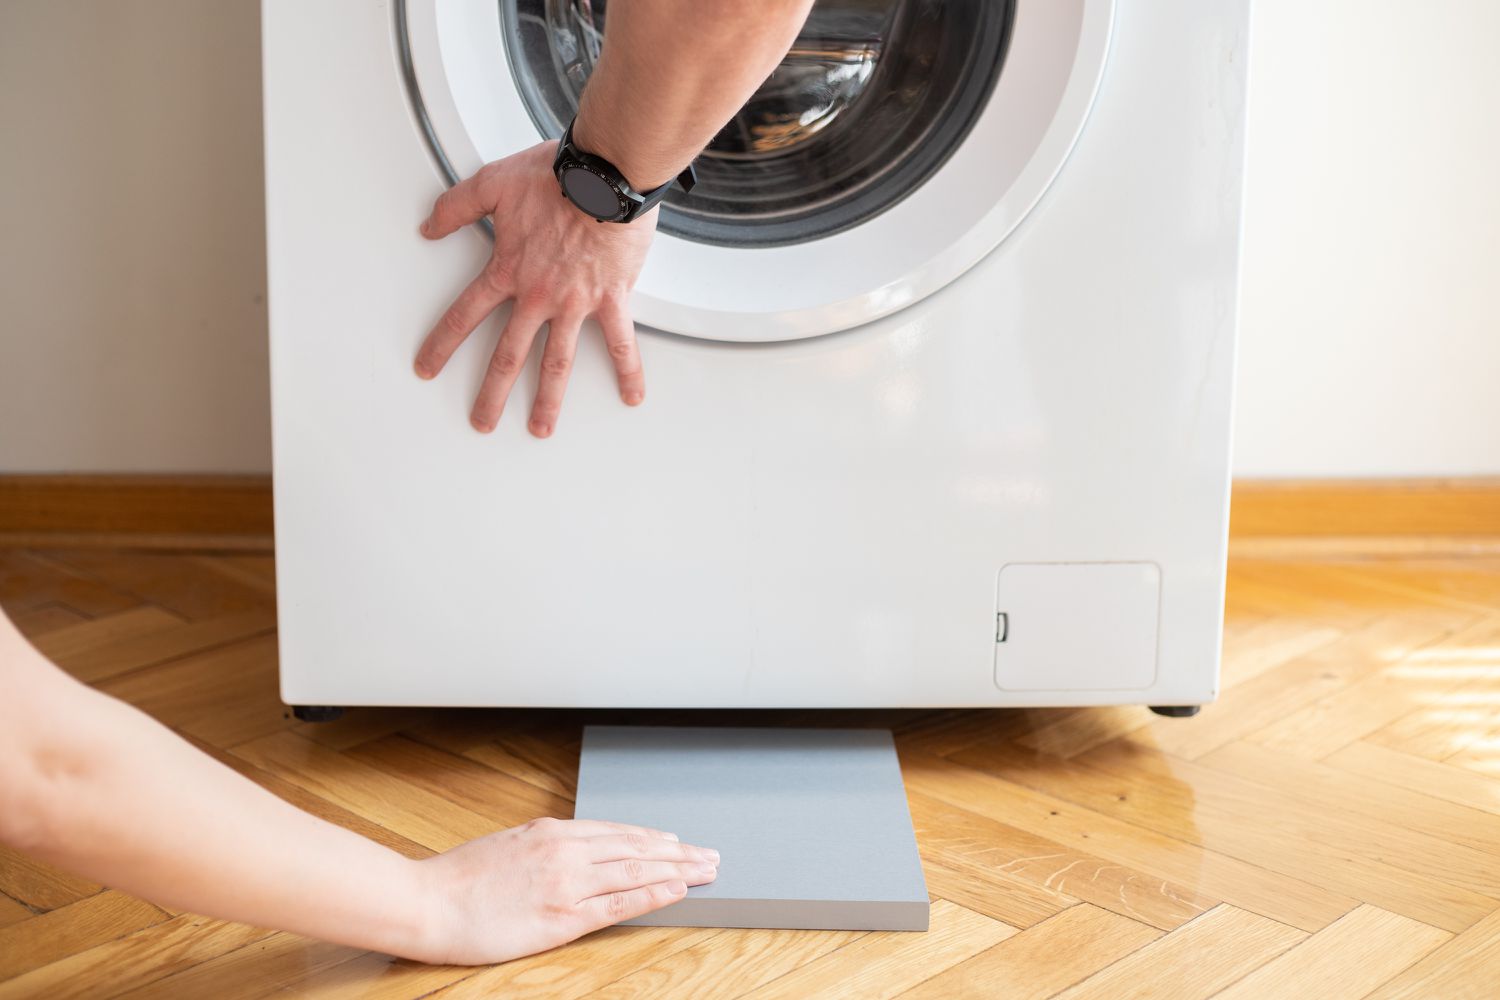
- Clear the area: Remove any items that are currently on or around the washer. This will give you ample space to work and prevent any obstacles while leveling.
- Ensure stability: Make sure the floor surface where your washer sits is sturdy and stable. Uneven or soft surfaces can affect the leveling process and hinder the washer’s stability.
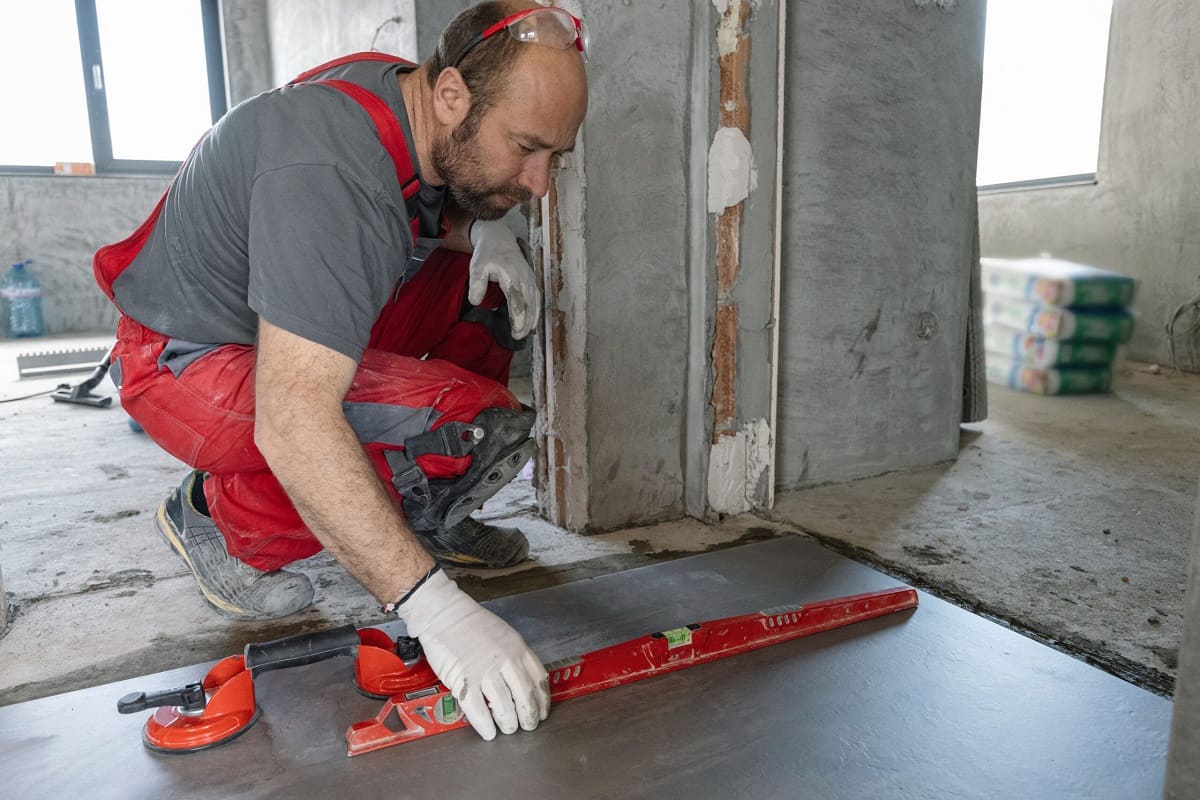
- Tools and equipment: Gather the necessary tools and equipment to assist you in the leveling process. This may include a wrench, pliers, a leveling tool, and possibly shims if needed.
Once you have prepared the workspace, you are now ready to move on to the next step and assess the current level of your washer.
Step 2: Check the Level of the Washer
Now that you have prepared the workspace, it’s time to check the current level of your washer. Follow these steps:
- First, visually inspect the washer to see if it appears uneven. Look for any visible gaps or tilting.
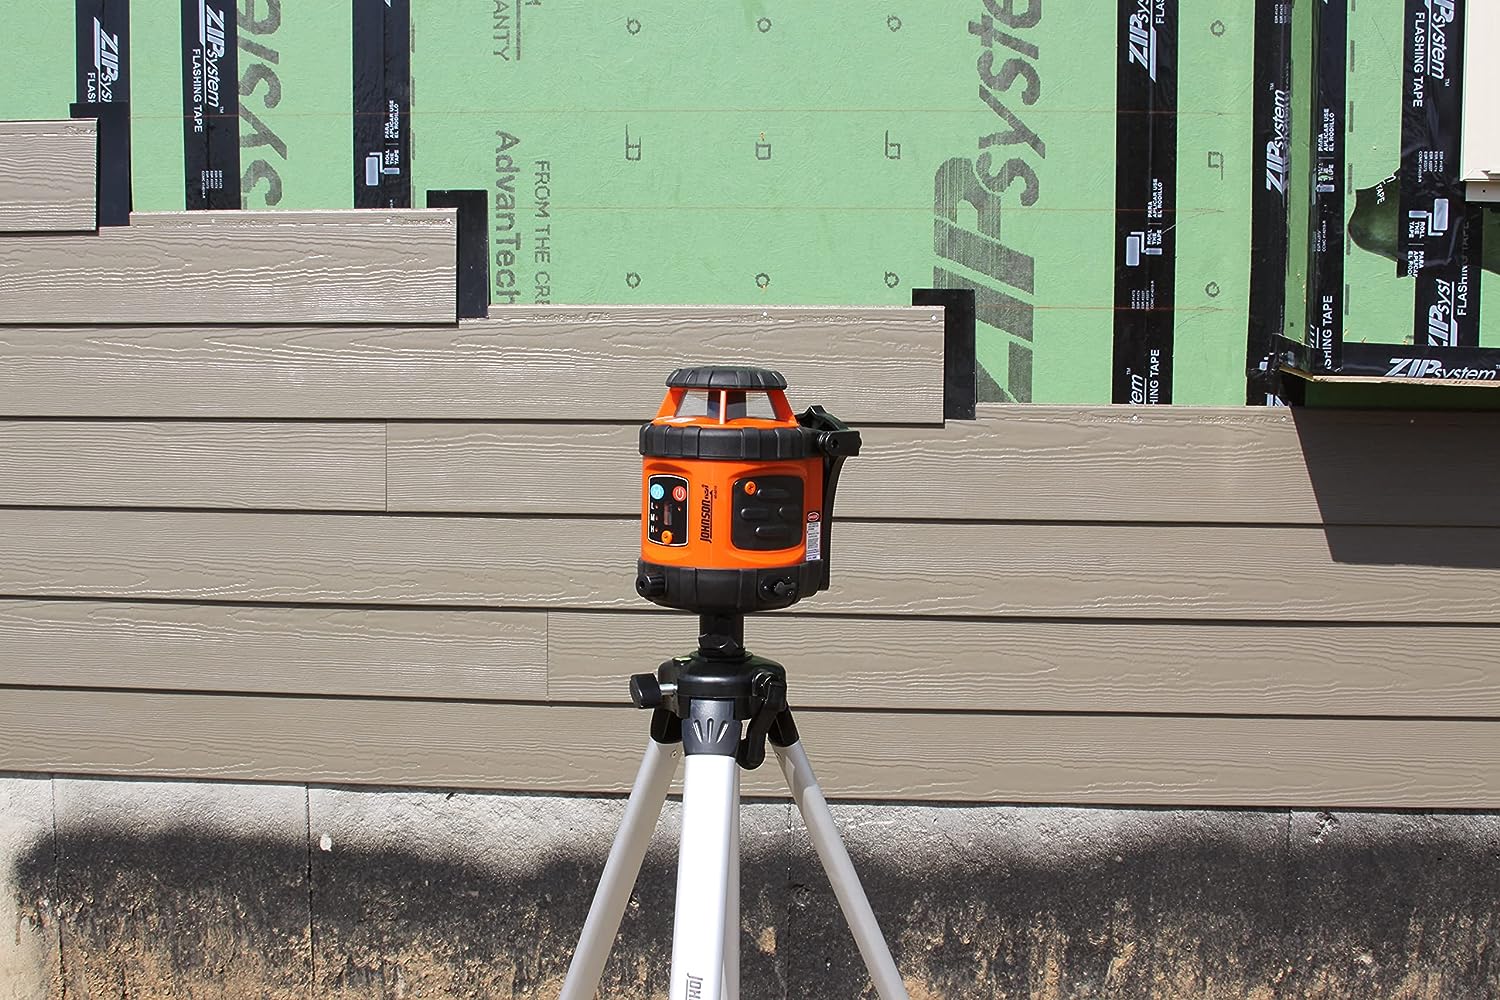
- Next, use a leveling tool, such as a bubble level, to check the washer’s level accurately. Place the level on top of the washer, ensuring it is positioned in both horizontal and vertical directions.
- Observe the bubble in the level. If the bubble is centered between the two lines, it means that the washer is level. However, if the bubble leans towards one side, it indicates that the washer is not level and requires adjustment.
By checking the level of your washer, you can determine whether it needs to be adjusted. If the washer is already level, you can move on to the next step. Otherwise, continue to Step 3 to learn how to adjust the leveling legs.
Step 3: Adjust the Leveling Legs
If your washer is not level, the next step is to adjust the leveling legs. Most washers have adjustable legs to compensate for uneven surfaces or to properly level the appliance. Follow these steps to adjust the leveling legs:
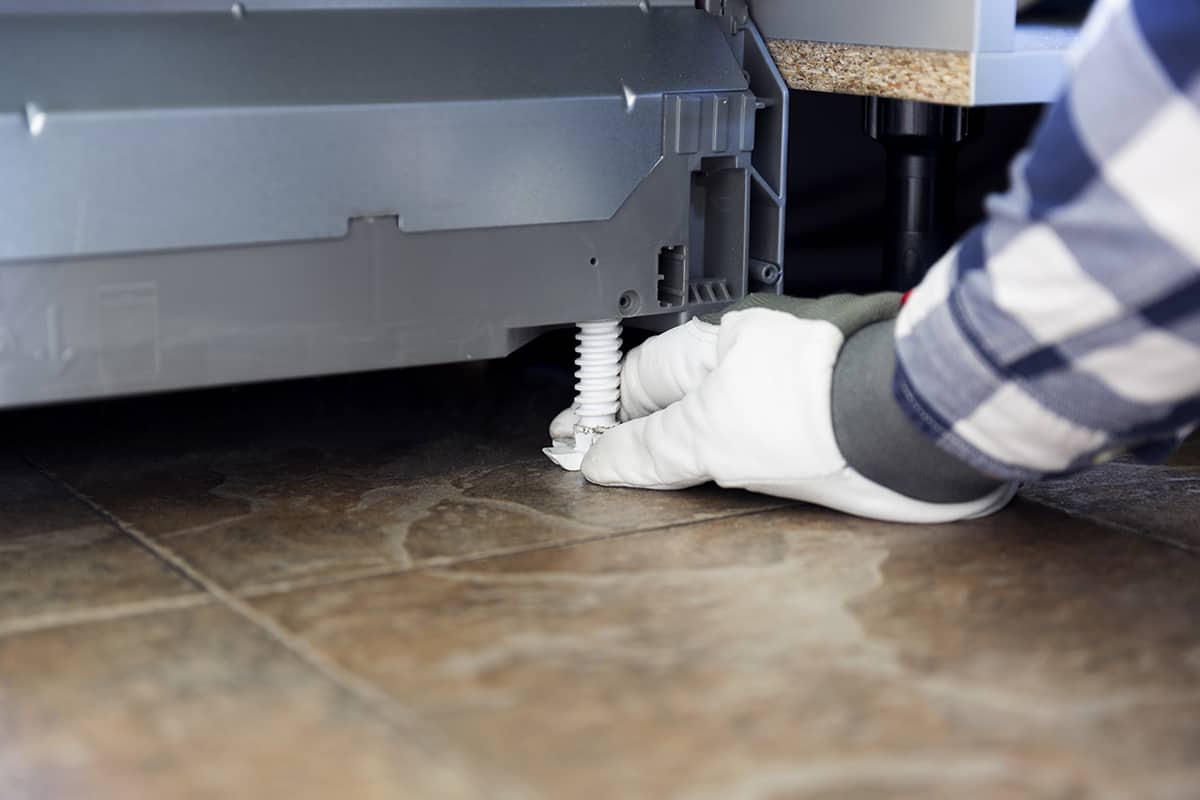
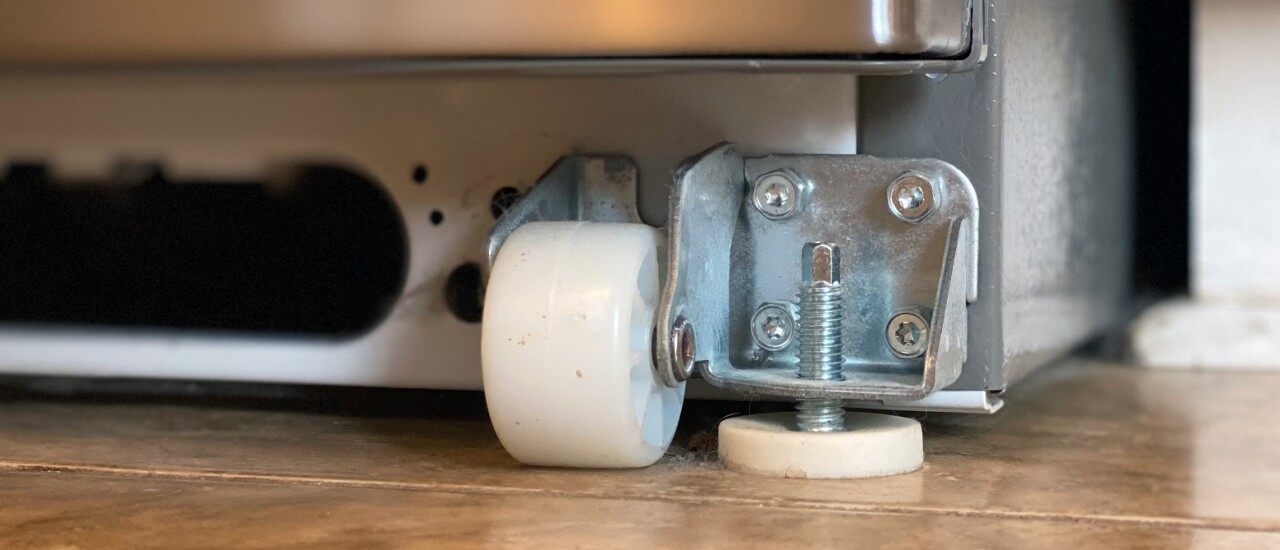
- Locate the leveling legs: Check the bottom of your washer to locate the leveling legs. They are typically located at the corners of the appliance.
- Use a wrench or pliers: Depending on the type of leveling legs, you may need a wrench or pliers to make the adjustments. Check the manufacturer’s instructions for the appropriate tool.
- Adjust the legs: Carefully turn the leveling legs clockwise or counterclockwise to either raise or lower them. Make small adjustments, about a quarter turn at a time, and check the level of the washer after each adjustment.
- Continue adjusting: Repeat the process of adjusting the leveling legs and checking the level until the washer is perfectly level. Ensure that all legs are adjusted evenly to maintain balance.
Remember to be patient while adjusting the legs, as it may take several attempts to achieve the desired level. Once the washer is level, proceed to Step 4 to recheck the washer’s level for accuracy.
Use a bubble level to ensure the washer is level side to side and front to back. Adjust the leveling legs as needed to achieve a stable and balanced position.
Step 4: Check the Washer Level Again
After adjusting the leveling legs, it’s important to double-check the level of your washer to ensure it is properly balanced. Here’s how to check the level again:
- Place the leveling tool, such as a bubble level, on top of the washer, just as you did in Step 2.
- Observe the bubble: If the bubble is now centered between the two lines, it means that the washer is level. Congratulations! You have successfully leveled your washer.
- If the bubble is still leaning towards one side, it indicates that further adjustments are needed. Repeat Step 3 and make additional adjustments to the leveling legs until the washer is perfectly level.
Remember to be patient and make small, incremental adjustments to achieve the desired level. Once you have confirmed that the washer is level, you can proceed to the next step to ensure its stability during operation.
Read more: What Does Soil Level Mean On A Washer
Step 5: Test the Washer’s Stability
Now that your washer is level, it’s time to test its stability. Ensuring that your washer is stable is crucial to prevent excessive vibrations during operation. Follow these steps to test the washer’s stability:
- Stand in front of the washer and hold onto the top of the appliance.
- Gently rock the washer back and forth and side to side.
- If the washer remains stable and does not rock or wobble excessively, it means that it is properly leveled and stable.
- However, if you notice any significant movement or instability, it indicates that further adjustments may be needed.
If the washer is not stable, repeat the leveling process from Step 3 onwards. Make sure to check the level again and test for stability after each adjustment until the washer is stable and secure.
By ensuring the stability of your washer, you can minimize vibrations and noise during operation, resulting in a more pleasant laundry experience.
Once you have confirmed the stability of your washer, continue to the final step for any necessary last adjustments.
Step 6: Final Adjustments (if necessary)
In some cases, even after following the previous steps, you may still find that your washer is not perfectly level or stable. If this is the case, there are a few final adjustments you can make to achieve the desired results. Follow these steps:
- Recheck the leveling legs: Double-check the leveling legs to ensure they are adjusted evenly.
- Consider using shims: If the leveling legs alone are not providing the necessary stability, you can use shims to level the washer. Shims are thin pieces of material that can be placed under the legs to make small adjustments. Place the shims under the legs that need further leveling until the washer becomes stable.
- Test for stability: After making the final adjustments, test the washer’s stability once again by gently rocking it back and forth. If the washer remains stable and does not wobble excessively, you have successfully completed the leveling process.
It’s important to note that some washers may have different mechanisms or additional features that require specific adjustments. In such cases, always refer to the manufacturer’s instructions provided with your washer for guidance.
Once you have made the necessary final adjustments and confirmed the stability of your washer, congratulations! You have successfully leveled your washer and can now enjoy its optimal performance.
Conclusion
Leveling your washer is a crucial step in ensuring its performance, stability, and longevity. By following the step-by-step process outlined in this article, you can easily level your washer and prevent issues such as excessive noise, vibrations, and potential damage to the appliance.
Remember to start by preparing the workspace and gathering the necessary tools. Check the level of your washer using a leveling tool and make adjustments to the leveling legs as needed. Double-check the level and test the stability of the washer after each adjustment.
If necessary, make final adjustments by rechecking the leveling legs and using shims for added stability. Test the stability once more to ensure a secure and balanced washer.
By taking the time to level your washer correctly, you can improve its performance, reduce noise, and prevent unnecessary wear and tear. It will also result in a more enjoyable laundry experience overall.
Always refer to the manufacturer’s instructions for specific guidance related to your washer model. With consistent maintenance and proper leveling, your washer will continue to serve you efficiently for years to come.
Frequently Asked Questions about How To Level Washer
Was this page helpful?
At Storables.com, we guarantee accurate and reliable information. Our content, validated by Expert Board Contributors, is crafted following stringent Editorial Policies. We're committed to providing you with well-researched, expert-backed insights for all your informational needs.


0 thoughts on “How To Level Washer”