Home>Construction & Tools>Building Materials>How To Board Up Windows On A Brick House
Building Materials
How To Board Up Windows On A Brick House
Modified: February 18, 2024
Learn how to board up windows on a brick house using the best building materials. Our expert guide will help you secure your property effectively.
(Many of the links in this article redirect to a specific reviewed product. Your purchase of these products through affiliate links helps to generate commission for Storables.com, at no extra cost. Learn more)
Introduction
Boarding up windows on a brick house is a crucial step in preparing for extreme weather conditions, such as hurricanes or severe storms, as well as for securing the property during renovations or extended periods of vacancy. While brick houses are known for their durability, their windows are still vulnerable to damage from flying debris and high winds. By boarding up the windows, you can provide an extra layer of protection for your home and safeguard against potential damage.
In this comprehensive guide, we will walk you through the process of boarding up windows on a brick house, covering everything from the materials needed to the step-by-step procedure. Whether you are a homeowner preparing for a storm or a contractor securing a property, this article will equip you with the knowledge and skills to effectively board up windows on a brick house.
Key Takeaways:
- Protect your brick house from extreme weather and secure it during renovations by boarding up windows with sturdy plywood, precise measurements, and secure attachments.
- Prioritize safety, quality materials, and compliance with regulations to create a resilient defense for your brick house windows, ensuring peace of mind and protection.
Read more: How To Replace Windows On A Brick House
Materials Needed
Before you begin the process of boarding up the windows on your brick house, it’s essential to gather all the necessary materials. Here’s a list of items you’ll need:
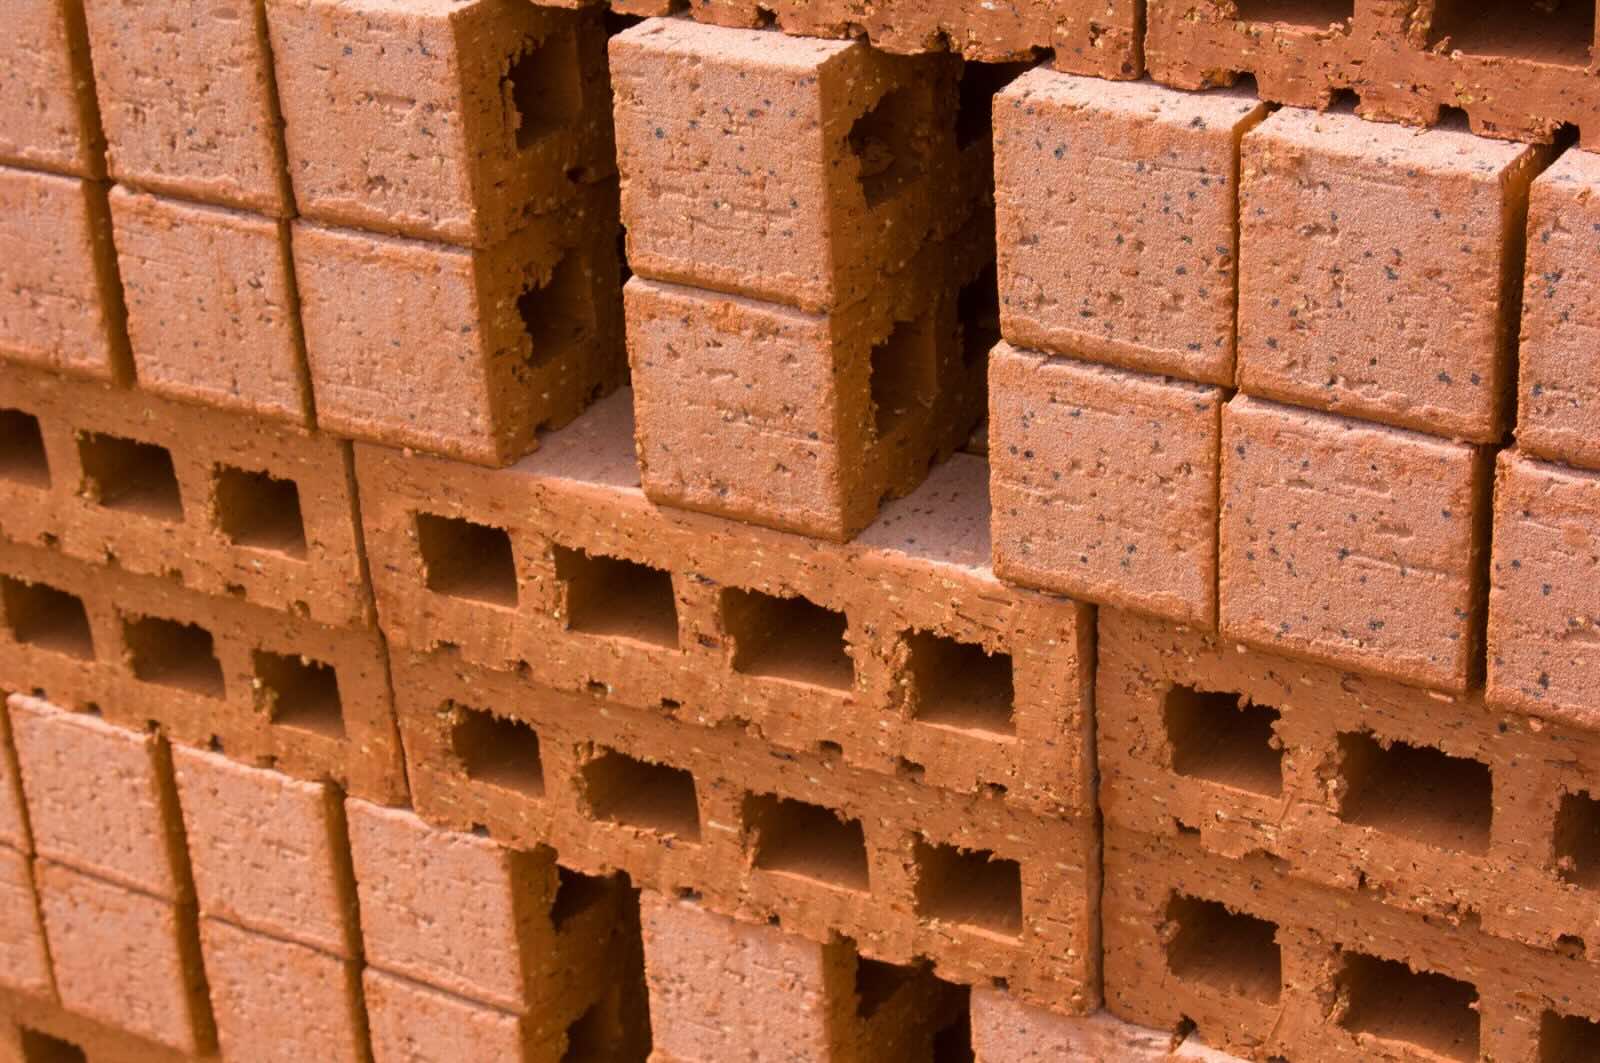
- Plywood: Select sturdy plywood sheets with a thickness of at least 5/8 inch to ensure sufficient strength and durability.
- Measuring Tape: A reliable measuring tape is essential for accurately determining the dimensions of the windows and the corresponding plywood cuts.
- Pencil or Marker: Use a pencil or marker to mark the measurements and cutting lines on the plywood.
- Saw: A circular saw or jigsaw will be required to cut the plywood to the precise dimensions of the windows.
- Screwdriver or Drill: A screwdriver or drill, along with appropriate screws, will be used to secure the plywood panels over the windows.
- Wood Screws: Opt for corrosion-resistant wood screws to ensure a secure attachment of the plywood to the brick house.
- Protective Gear: Safety goggles and work gloves are essential for personal protection during the cutting and installation process.
- Ladder: Depending on the height of the windows, a sturdy ladder may be necessary to reach and install the plywood panels securely.
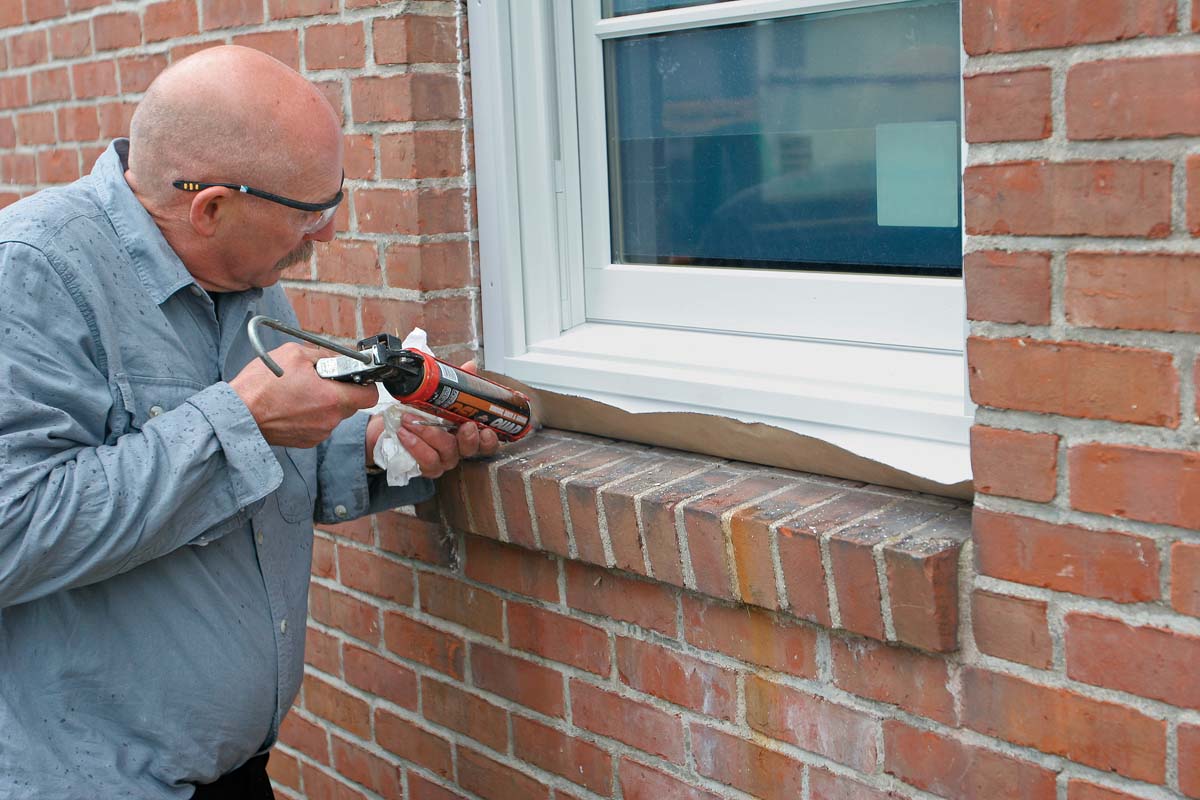
- Weatherproofing Materials (Optional): To enhance the protection provided by the plywood, consider weatherproofing materials such as caulk or weatherstripping to seal any gaps and prevent water infiltration.
By ensuring that you have all the required materials on hand, you can streamline the boarding-up process and achieve a secure and effective barrier for your brick house windows.
Preparation
Before embarking on the task of boarding up the windows on your brick house, it’s important to take certain preparatory steps to ensure a smooth and efficient process. Here’s a detailed guide to preparing for the window boarding procedure:
Assess the Weather Conditions: If you are boarding up the windows in anticipation of an approaching storm or severe weather event, monitor the weather forecast closely. This will allow you to plan and execute the boarding-up process well in advance, minimizing the risk of working in hazardous conditions.
Clean the Window Area: Clear any debris, vegetation, or obstacles from around the windows to create a safe and unobstructed work area. This will facilitate easy access to the windows and ensure a clutter-free environment for the installation of the plywood panels.
Secure Necessary Permits: In some regions, obtaining permits may be necessary for boarding up windows, especially in the case of severe weather preparations. Check with local authorities or building code regulations to ensure compliance with any permit requirements before proceeding with the boarding-up process.
Organize and Lay Out Materials: Gather all the required materials, including plywood, screws, measuring tape, saw, and protective gear, and organize them in close proximity to the windows. This will streamline the installation process and prevent unnecessary disruptions while measuring and cutting the plywood.
Enlist Assistance if Needed: Depending on the size and height of the windows, enlisting the help of a partner or additional individuals may be beneficial. Having extra hands can simplify the process of lifting and securing the plywood panels, especially for larger windows or elevated installations.
Review Safety Guidelines: Prior to commencing the boarding-up process, review safety guidelines for working with tools and equipment. Ensure that all individuals involved in the installation are equipped with appropriate safety gear, such as goggles and gloves, to minimize the risk of accidents or injuries.
By thoroughly preparing for the window boarding procedure, you can mitigate potential challenges and ensure a well-organized and safe environment for the installation of the protective plywood panels.
Measuring and Cutting Plywood
Accurate measurements and precise cuts are essential for creating plywood panels that fit securely over the windows of your brick house. Follow these steps to measure and cut the plywood with precision:
Measure the Windows: Begin by measuring the dimensions of each window that requires boarding up. Use a measuring tape to determine the width and height of the window openings, taking measurements at multiple points to account for any irregularities in the window frame.
Transfer Measurements to Plywood: Place the plywood on a flat, stable surface, and transfer the window measurements onto the plywood using a pencil or marker. Double-check the measurements to ensure accuracy before proceeding to the cutting phase.
Cut the Plywood: Using a circular saw or jigsaw, carefully cut along the marked lines to create plywood panels that correspond to the measured dimensions of each window. Exercise caution and precision during the cutting process to achieve clean and accurate cuts.
Verify the Fit: Once the plywood panels are cut to size, hold them up against the windows to verify the fit. Ensure that the panels cover the entire window opening with a snug and secure fit, allowing for minimal gaps between the plywood and the window frame.
Label the Panels: To avoid confusion during the installation phase, consider labeling each plywood panel with the corresponding window or location. This simple step can streamline the process and prevent mix-ups when attaching the panels to the windows.
Make Adjustments if Necessary: If any discrepancies or misalignments are identified during the fitting process, make necessary adjustments by recutting or trimming the plywood panels to achieve an optimal fit for each window.
By meticulously measuring and cutting the plywood to fit the windows of your brick house, you can ensure that the protective panels provide a secure barrier against external elements and potential damage.
When boarding up windows on a brick house, use plywood cut to fit the window frame and secure it with masonry screws or anchors. Make sure to pre-drill holes in the brick to avoid cracking.
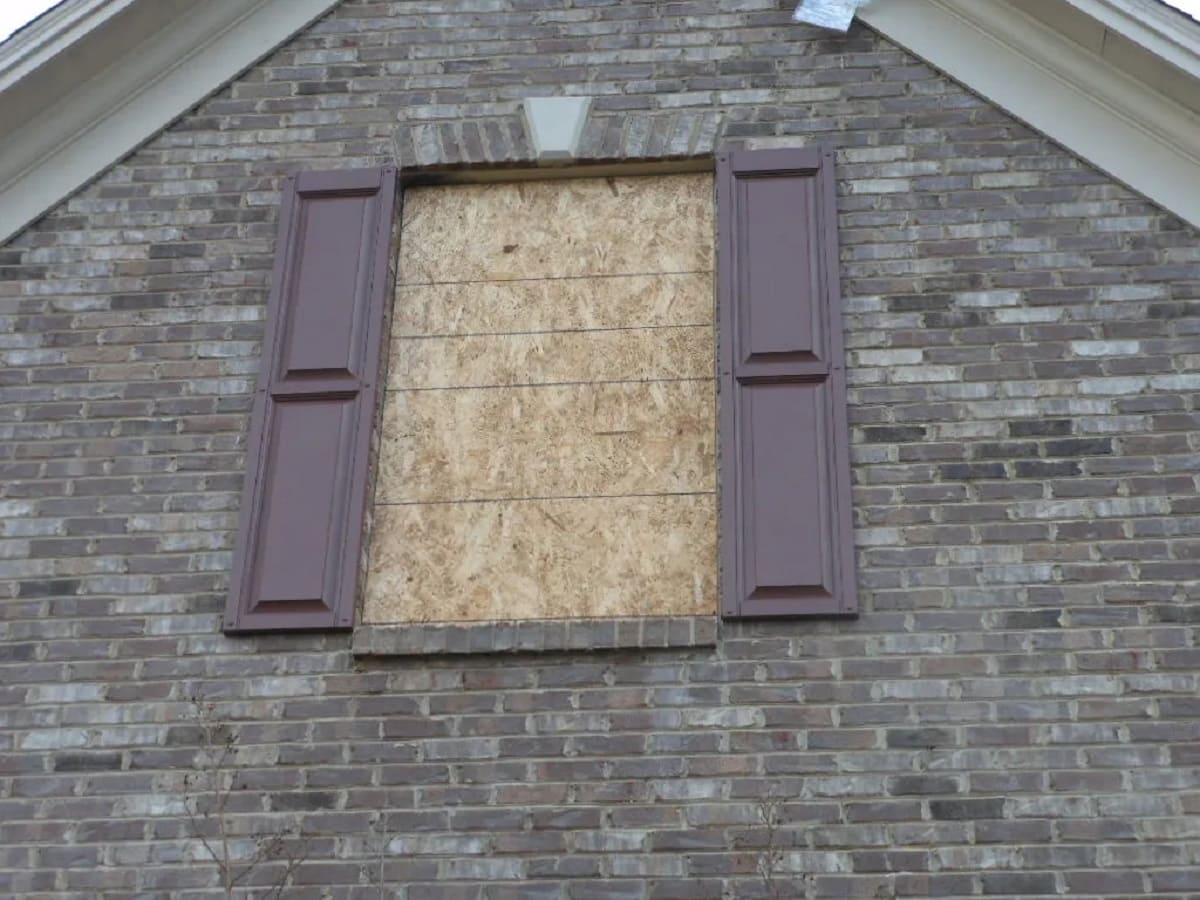
Attaching Plywood to Windows
Once the plywood panels are precisely cut to fit the windows of your brick house, the next crucial step is to securely attach them to provide protection and reinforcement. Follow these steps for effectively attaching plywood to the windows:
Position the Panels: With the help of a partner or additional assistance if needed, position the plywood panels over the respective windows. Ensure that the panels align with the window openings and cover them entirely, leaving no exposed areas vulnerable to potential damage.
Pre-Drill Screw Holes: Using a drill with an appropriate drill bit, pre-drill screw holes along the edges of the plywood panels. Position the holes at regular intervals to facilitate the secure attachment of the panels to the window frames.
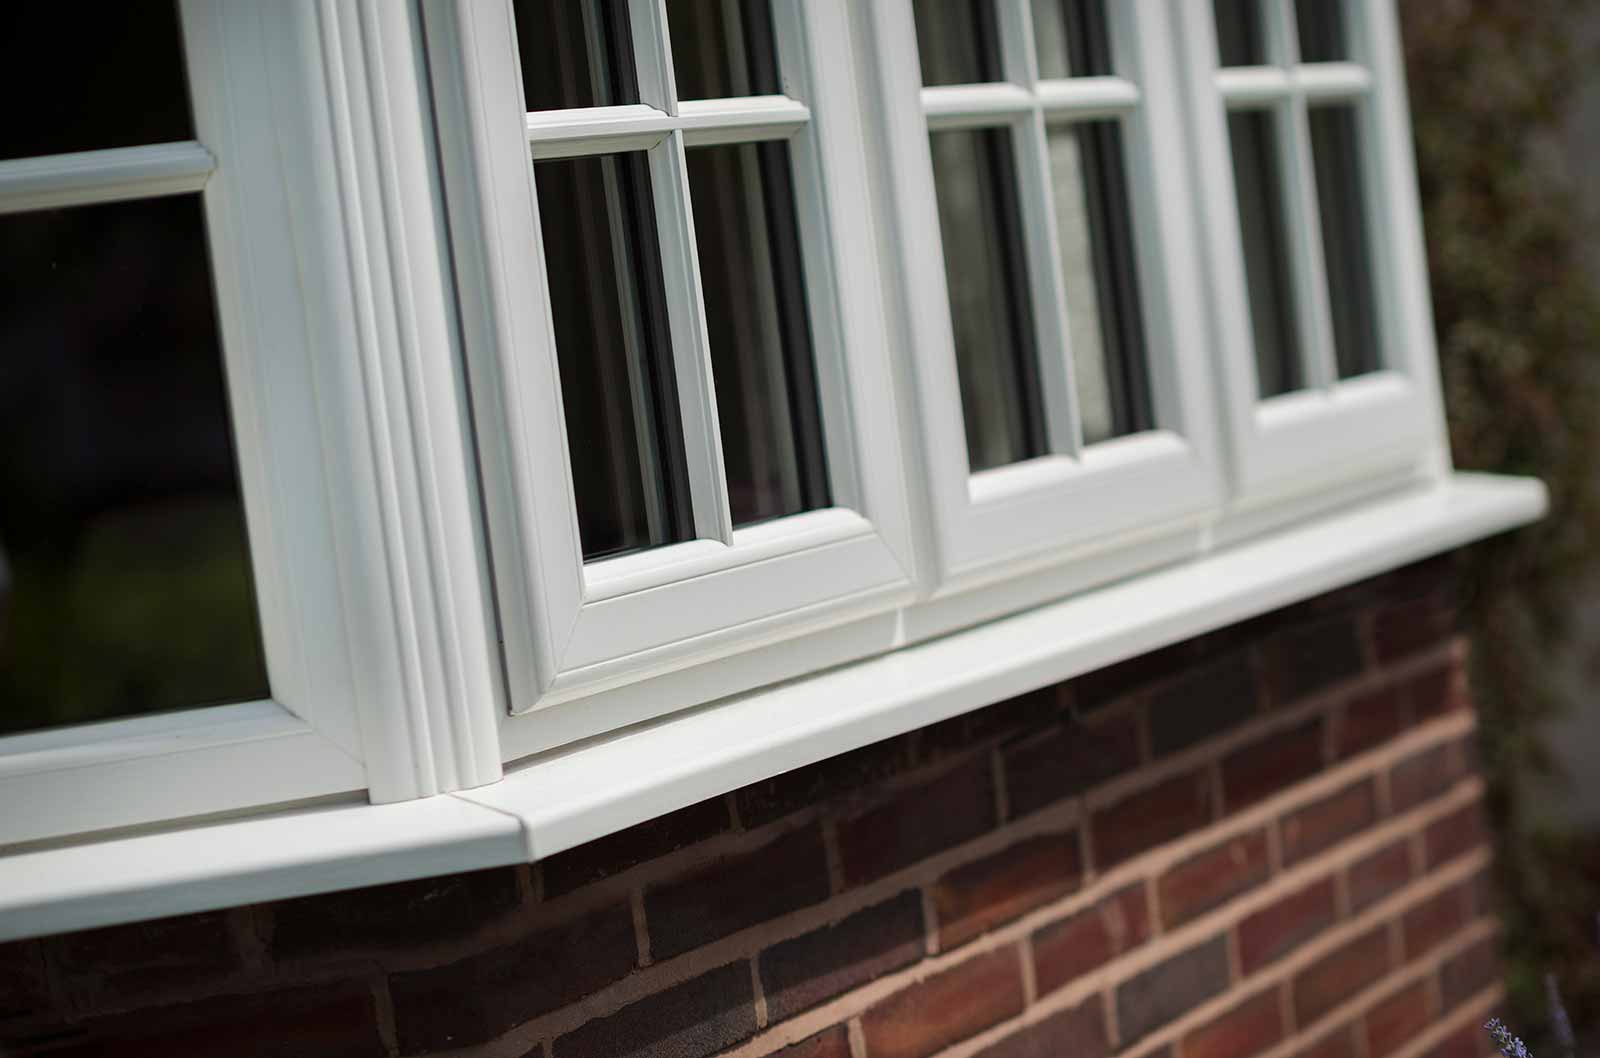
Secure with Wood Screws: With the panels properly positioned, begin securing them to the window frames using corrosion-resistant wood screws. Drive the screws through the pre-drilled holes, ensuring that they penetrate the plywood and anchor securely into the window frame without causing damage to the brick or window structure.
Apply Weatherproofing (Optional): To enhance the protective barrier provided by the plywood panels, consider applying weatherproofing materials such as caulk or weatherstripping along the edges of the panels. This can help seal any gaps and prevent water infiltration during inclement weather conditions.
Inspect and Reinforce: Once the plywood panels are attached, thoroughly inspect the installation to ensure that each panel is securely fastened and provides comprehensive coverage of the window openings. Reinforce any areas that may require additional screws or adjustments to achieve a robust and resilient attachment.
Document and Store Tools: After completing the installation, document the locations and details of the boarded-up windows for future reference. Properly store the tools and materials used for the installation, ensuring that they are readily accessible in case of any necessary adjustments or removal of the plywood panels.
By following these steps, you can effectively secure the plywood panels to the windows of your brick house, providing a protective barrier against external forces and potential damage, especially during severe weather events or extended periods of vacancy.
Read more: How To Install Windows On A Brick House
Additional Tips and Considerations
When boarding up windows on a brick house, several additional tips and considerations can further enhance the effectiveness and resilience of the protective barrier. Here are essential factors to keep in mind:
Quality of Plywood: Select high-quality plywood with a thickness of at least 5/8 inch to ensure sufficient strength and durability. Investing in sturdy plywood will provide better protection for your windows and the interior of your home.
Weatherproofing Precautions: Consider applying a bead of silicone caulk around the edges of the plywood panels before installation to create a weather-resistant seal. This can help prevent water infiltration and enhance the overall weatherproofing of the window barriers.
Secure Storage of Tools: After completing the boarding-up process, store the tools and equipment used, such as drills, saws, and measuring tape, in a secure and accessible location. Proper storage ensures that the tools are readily available for any necessary adjustments or future use.
Regular Inspection: Periodically inspect the boarded-up windows to ensure that the plywood panels remain securely attached and undamaged. Address any signs of wear, damage, or deterioration promptly to maintain the integrity of the protective barrier.
Emergency Egress Consideration: If boarding up windows for temporary protection during a storm, ensure that at least one window in each habitable room remains unobstructed to serve as an emergency egress route. Safety should always be a priority when securing windows.
Compliance with Local Regulations: Familiarize yourself with local building codes and regulations regarding the boarding up of windows. Some areas may have specific requirements or restrictions, and compliance is essential to avoid potential penalties or issues.
Professional Assistance: For complex or large-scale boarding-up projects, consider seeking professional assistance from contractors or specialized services. Professional expertise can ensure the proper installation and reinforcement of window barriers.
By incorporating these additional tips and considerations into the boarding-up process, you can optimize the protection provided by the plywood panels and maintain the structural integrity and safety of your brick house during adverse conditions.
Conclusion
Boarding up windows on a brick house is a proactive and essential measure for safeguarding your home against potential damage from extreme weather events and securing the property during renovations or periods of vacancy. By following the comprehensive guide provided in this article, you can effectively board up the windows with precision and resilience, ensuring the protection and integrity of your brick house.
From gathering the necessary materials to accurately measuring, cutting, and attaching plywood panels, each step in the process contributes to the creation of a robust protective barrier. Additionally, considering the quality of plywood, incorporating weatherproofing precautions, and adhering to safety and compliance considerations further enhances the effectiveness of the boarded-up windows.
Whether you are a homeowner preparing for a storm, a contractor securing a property, or an individual seeking to fortify the windows of a brick house, the insights and tips provided in this guide empower you to navigate the boarding-up process with confidence and proficiency.
By prioritizing safety, meticulous preparation, and adherence to local regulations, you can create a resilient defense for your brick house windows, providing peace of mind and protection against external elements and unforeseen circumstances.
Remember to periodically inspect the boarded-up windows, address any maintenance needs promptly, and ensure that emergency egress routes remain unobstructed. By staying proactive and vigilant, you can uphold the integrity of the protective barriers and the overall safety of your brick house.
With the knowledge and guidance offered in this article, you are equipped to undertake the boarding-up process with efficiency and effectiveness, fortifying your brick house against potential risks and reinforcing its resilience in the face of adversity.
Frequently Asked Questions about How To Board Up Windows On A Brick House
Was this page helpful?
At Storables.com, we guarantee accurate and reliable information. Our content, validated by Expert Board Contributors, is crafted following stringent Editorial Policies. We're committed to providing you with well-researched, expert-backed insights for all your informational needs.


0 thoughts on “How To Board Up Windows On A Brick House”