Home>Construction & Tools>Building Materials>How To Attach A Ledger Board To Brick
Building Materials
How To Attach A Ledger Board To Brick
Modified: August 28, 2024
Learn how to securely attach a ledger board to brick for your building project with our step-by-step guide. Get expert tips on using the right building materials for a sturdy and durable attachment.
(Many of the links in this article redirect to a specific reviewed product. Your purchase of these products through affiliate links helps to generate commission for Storables.com, at no extra cost. Learn more)
**
Introduction
**
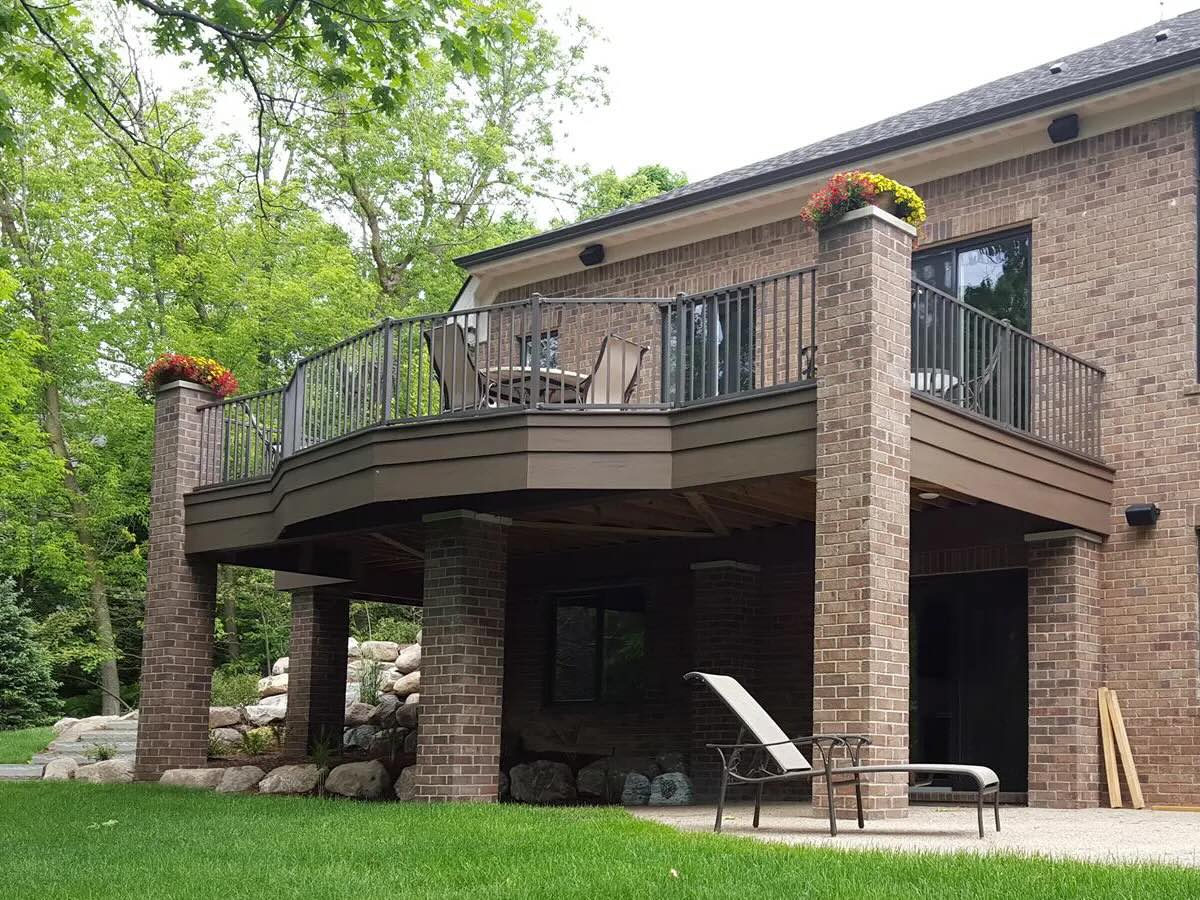
When it comes to building a deck, attaching a ledger board to a brick wall is a crucial step in ensuring the structural integrity and safety of the entire structure. A ledger board acts as the primary means of attaching a deck to a building and provides essential support. However, attaching a ledger board to brick requires careful planning and execution to ensure a secure and long-lasting connection.
In this comprehensive guide, we will walk you through the step-by-step process of attaching a ledger board to a brick wall. From the essential tools and materials required to the precise techniques for preparing the brick wall and securely attaching the ledger board, we will cover every aspect to help you tackle this project with confidence.
Whether you are a seasoned DIY enthusiast or a homeowner looking to embark on a deck-building project, understanding the process of attaching a ledger board to brick is essential. By following the guidelines outlined in this article, you will gain the knowledge and skills necessary to complete this critical phase of deck construction with precision and expertise. Let's dive into the essential tools and materials needed for this task.
**
Key Takeaways:
- Attaching a ledger board to a brick wall for a deck requires precise preparation, including drilling pilot holes, installing waterproofing, and applying construction adhesive for a secure connection.
- Securing the ledger board involves using wood shims, applying wood sealer, and installing metal flashing to protect against water damage, ensuring a strong and durable attachment for the deck.
Read more: How To Attach Downspout To Brick
Tools and Materials
**
Before beginning the process of attaching a ledger board to a brick wall, it is essential to gather the necessary tools and materials to ensure a smooth and efficient workflow. Here is a comprehensive list of the tools and materials you will need:
Tools:
- Power drill
- Masonry drill bit
- Hammer drill
- Impact driver
- Level
- Tape measure
- Pencil
- Chalk line
- Adjustable wrench
- Socket wrench set
- Wood drill bit
- Safety goggles
- Work gloves
- Dust mask
- Hearing protection
Materials:
- Pressure-treated ledger board
- Masonry screws or anchors
- Wood screws
- Waterproof flashing
- Construction adhesive
- Bituthene or similar waterproofing membrane
- Corrosion-resistant metal flashing
- Wood shims
- Wood sealer or preservative
These tools and materials are essential for safely and securely attaching a ledger board to a brick wall. With these items at your disposal, you will be well-prepared to move on to the next crucial step: preparing the brick wall for the ledger board attachment.
**
Preparing the Brick Wall
**
Before attaching the ledger board, it is vital to properly prepare the brick wall to ensure a strong and durable connection. Here are the essential steps for preparing the brick wall:
Step 1: Determine Attachment Points
Using a level, mark the desired height of the ledger board on the brick wall. Ensure that the ledger board will be positioned at the appropriate height for the deck. Additionally, mark the locations for the attachment points, ensuring they are evenly spaced and aligned with the joist layout for optimal support.
Step 2: Drill Pilot Holes
Using a masonry drill bit, carefully drill pilot holes at the marked attachment points. It is crucial to use a drill bit specifically designed for masonry to ensure clean and precise holes in the brick.
Step 3: Install Flashing and Waterproofing
Prior to attaching the ledger board, it is essential to install waterproof flashing to prevent water infiltration. Apply a waterproofing membrane, such as Bituthene, over the drilled holes and the area where the ledger board will be attached. This will provide an additional layer of protection against moisture and extend the longevity of the connection.
Step 4: Apply Construction Adhesive
Apply construction adhesive to the back of the ledger board before positioning it against the brick wall. This will enhance the bond between the ledger board and the brick surface, providing added stability and support.
By meticulously following these preparatory steps, you will create a solid foundation for attaching the ledger board to the brick wall. With the brick wall properly prepared, you are now ready to move on to the next phase: attaching the ledger board securely.
**
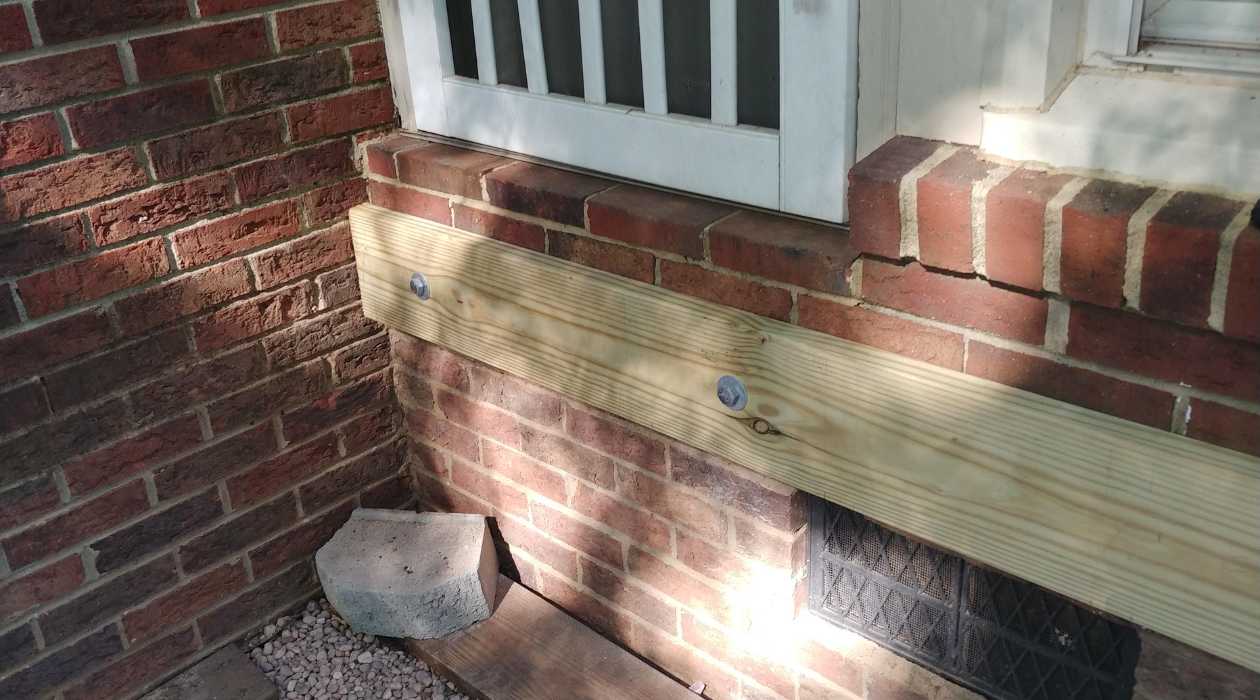
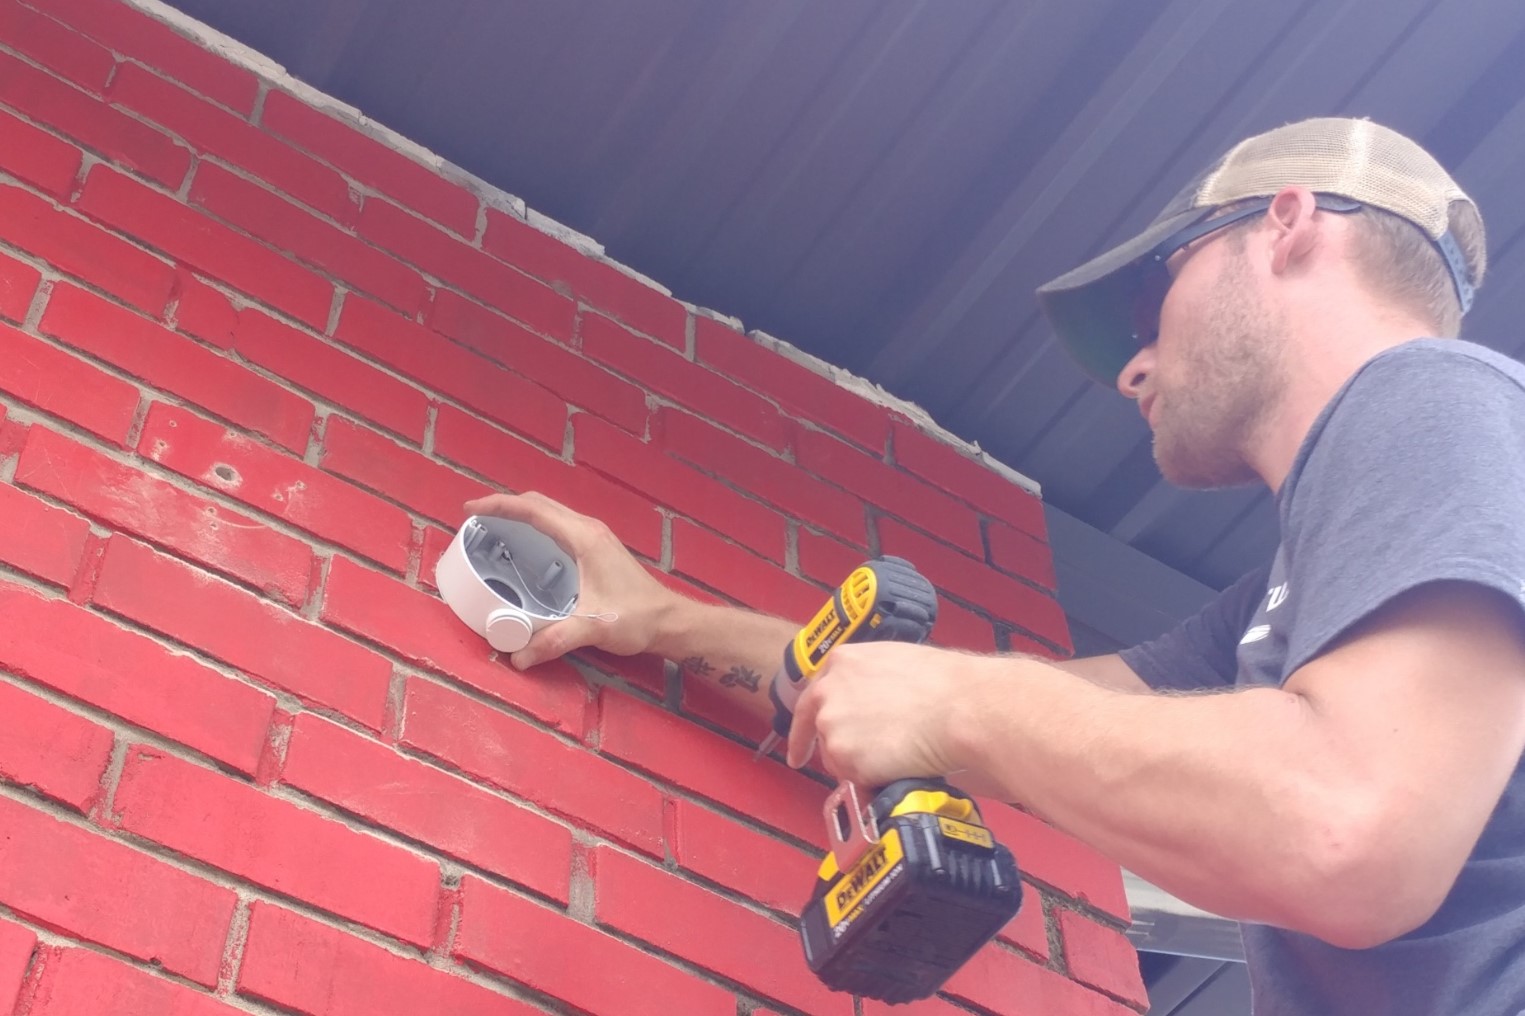
Use a hammer drill to create pilot holes in the brick. Insert concrete anchors and attach the ledger board with lag screws. Use a level to ensure it’s straight.
Attaching the Ledger Board
**
With the brick wall prepared, the next step is to securely attach the ledger board. This phase requires precision and attention to detail to ensure a strong and stable connection. Here’s how to attach the ledger board to the brick wall:
Step 1: Position the Ledger Board
With the help of a friend or a temporary support, position the ledger board against the brick wall at the designated height. Use a level to ensure that the ledger board is perfectly horizontal. Once in position, mark the locations of the pilot holes on the ledger board.
Step 2: Drill Clearance Holes
Using a wood drill bit, drill clearance holes through the ledger board at the marked locations. These holes will allow the masonry screws or anchors to pass through the ledger board and into the pilot holes in the brick wall.
Step 3: Attach the Ledger Board
Secure the ledger board to the brick wall by driving masonry screws or anchors through the clearance holes and into the pilot holes. It is essential to use screws or anchors specifically designed for masonry applications to ensure a reliable and durable connection.
By following these steps, you will successfully attach the ledger board to the brick wall, laying the groundwork for the final phase: securing the ledger board to complete the attachment process.
**
Securing the Ledger Board
**
Once the ledger board is attached to the brick wall, the final step is to secure it properly to ensure the structural integrity and longevity of the deck. Here’s how to secure the ledger board:
Step 1: Install Wood Shims
Check for any gaps between the ledger board and the brick wall. If necessary, insert wood shims behind the ledger board to eliminate any unevenness and provide additional support. The shims will help ensure a snug and secure fit of the ledger board against the brick surface.
Step 2: Apply Wood Sealer or Preservative
Apply a wood sealer or preservative to the top and ends of the ledger board to protect it from moisture and enhance its resistance to decay. This preventive measure will contribute to the long-term durability of the ledger board, especially in outdoor environments.
Step 3: Install Metal Flashing
For added protection against water intrusion, install corrosion-resistant metal flashing over the top of the ledger board. The flashing will act as a barrier, directing water away from the connection point and preventing moisture-related damage.
By completing these final steps, you will effectively secure the ledger board to the brick wall, ensuring a robust and resilient attachment that will support the deck structure for years to come. With the ledger board securely in place, you have successfully completed the process of attaching a ledger board to a brick wall.
**
Read more: How To Attach Brick Molding
Conclusion
**
Attaching a ledger board to a brick wall is a critical undertaking in the construction of a deck, and it requires careful planning, precise execution, and attention to detail. By following the step-by-step process outlined in this guide, you have gained the knowledge and expertise necessary to complete this essential task with confidence.
From gathering the essential tools and materials to preparing the brick wall, attaching the ledger board, and securing it for long-term stability, each phase plays a crucial role in ensuring a strong and reliable connection. The meticulous attention to detail in each step will contribute to the safety, durability, and structural integrity of the deck.
As you embark on your deck-building journey, remember that the attachment of the ledger board to the brick wall is a foundational element that sets the stage for the entire structure. With the ledger board securely in place, you can proceed with the construction of the deck, knowing that you have established a solid and dependable connection to the existing building.
Whether you are a seasoned DIY enthusiast or a homeowner taking on a deck-building project for the first time, the knowledge and skills acquired from this guide will empower you to tackle the task of attaching a ledger board to a brick wall with confidence and precision. By adhering to best practices and following the guidelines provided, you can ensure the successful completion of this essential phase of deck construction.
As you move forward with your deck-building project, may the secure attachment of the ledger board to the brick wall serve as a testament to your dedication to quality craftsmanship and attention to detail. With the ledger board in place, you are well on your way to creating a safe, functional, and enduring outdoor space for relaxation and enjoyment.
Frequently Asked Questions about How To Attach A Ledger Board To Brick
Was this page helpful?
At Storables.com, we guarantee accurate and reliable information. Our content, validated by Expert Board Contributors, is crafted following stringent Editorial Policies. We're committed to providing you with well-researched, expert-backed insights for all your informational needs.


0 thoughts on “How To Attach A Ledger Board To Brick”