Home>Construction & Tools>Building Materials>How To Install Window Shutters On Brick
Building Materials
How To Install Window Shutters On Brick
Modified: February 23, 2024
Learn how to install window shutters on brick with our step-by-step guide. Find the best building materials and tips for a successful installation.
(Many of the links in this article redirect to a specific reviewed product. Your purchase of these products through affiliate links helps to generate commission for Storables.com, at no extra cost. Learn more)
Introduction
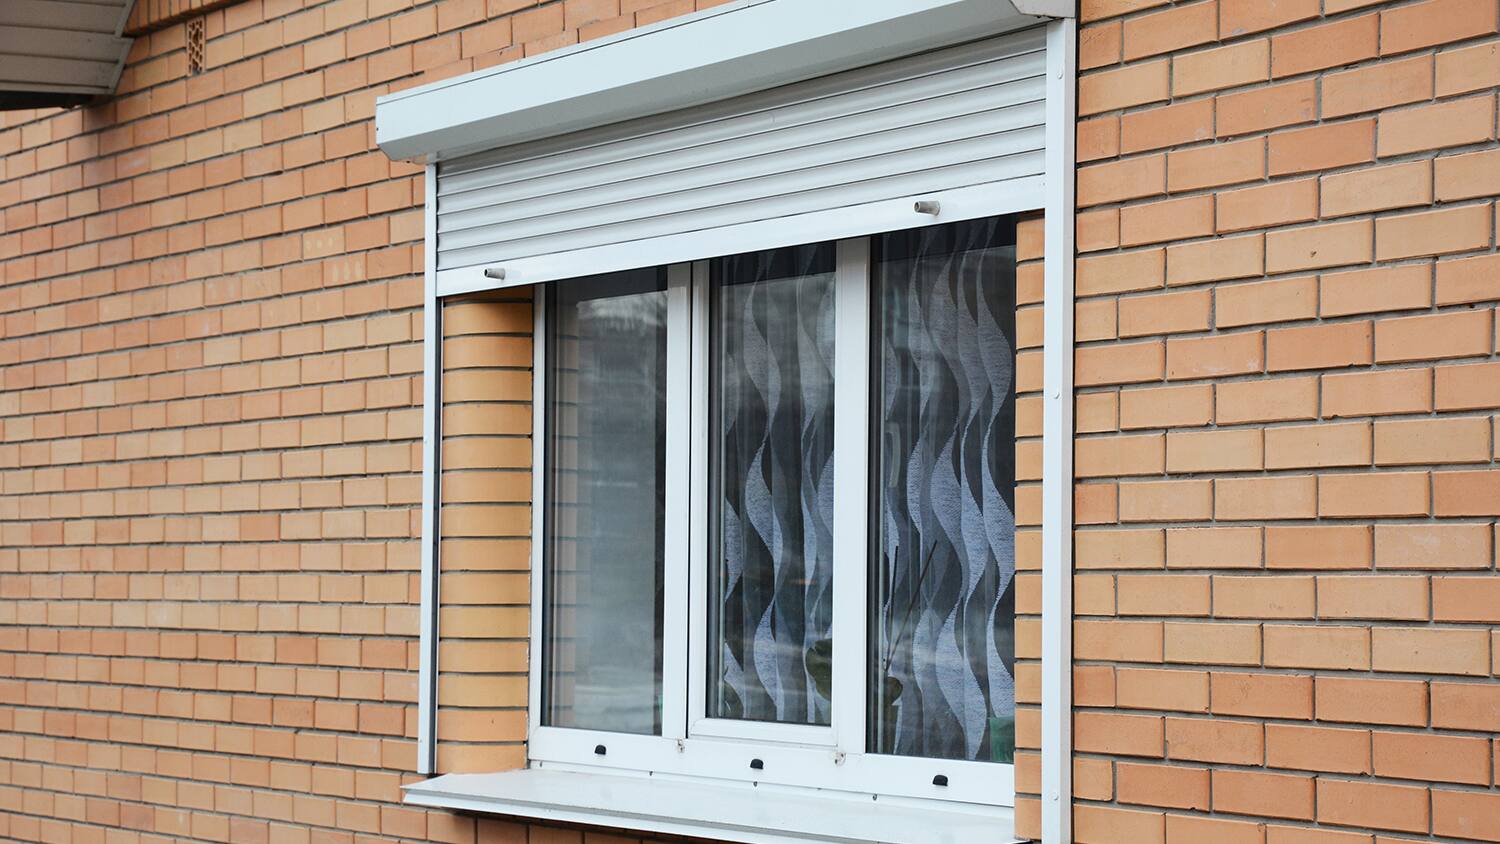
Window shutters not only enhance the aesthetic appeal of a home but also provide practical benefits such as privacy, light control, and improved energy efficiency. Installing window shutters on a brick exterior requires careful planning and precise execution to ensure a secure and visually appealing result. In this guide, we will walk through the step-by-step process of installing window shutters on a brick surface, covering everything from the necessary tools and materials to the final installation.
Whether you are a seasoned DIY enthusiast or a homeowner looking to take on a new project, understanding the intricacies of installing window shutters on brick will empower you to transform the look and feel of your home. By following this comprehensive guide, you will gain the knowledge and confidence to tackle this project with precision and achieve professional-looking results.
Before diving into the installation process, it’s essential to gather the required tools and materials and familiarize yourself with the measurements and considerations specific to your window and brick exterior. With the right approach and attention to detail, you can successfully install window shutters on brick, adding both charm and functionality to your home.
Key Takeaways:
- Installing window shutters on a brick exterior requires precise measurements, careful drilling, and secure attachment to enhance the home’s appearance and functionality. It’s a rewarding DIY project with practical benefits.
- By following a step-by-step guide and paying attention to detail, homeowners can add charm and energy efficiency to their homes with professionally installed window shutters. It’s a testament to DIY prowess and creativity.
Read more: How To Install Shutters
Tools and Materials Needed
Before beginning the installation process, it’s crucial to gather the essential tools and materials that will facilitate a smooth and successful project. Here’s a comprehensive list of what you’ll need:
Tools:
- Measuring tape
- Pencil or marker
- Masonry drill bit
- Hammer drill or rotary hammer
- Level
- Screwdriver
- Masonry screws
- Mounting brackets or clips
- Shutter fasteners
- Safety goggles
- Protective gloves
Materials:
- Window shutters
- Mounting strips or frames
- Shutter hinges
- Shutter locks or holdbacks
- Wood or vinyl spacers (if necessary)
- Wood or vinyl plugs (if necessary)
- Touch-up paint or caulk (to conceal drill holes)
Ensuring that you have the correct tools and materials on hand will streamline the installation process and contribute to the overall quality and durability of the finished project. Additionally, having the right safety equipment, such as goggles and gloves, is vital for protecting yourself during the drilling and installation phases.
Now that you have gathered the necessary tools and materials, it’s time to move on to the next steps in the installation process, starting with measuring and marking the precise locations for the window shutters on the brick exterior.
Measuring and Marking
Accurate measurements and markings are fundamental to the successful installation of window shutters on a brick exterior. Before drilling into the brick, it’s essential to meticulously measure and mark the locations where the shutters will be installed. Here’s a step-by-step guide to this crucial phase of the installation process:
Read more: How To Install A Window In A Brick Wall
Step 1: Measure the Window
Using a measuring tape, determine the precise height and width of the window where the shutters will be installed. Take measurements at multiple points to account for any irregularities in the brick surface. Record these measurements carefully, as they will dictate the placement of the mounting strips or frames.
Step 2: Mark the Mounting Locations
Using a pencil or marker, make light but visible markings on the brick to indicate the locations where the mounting strips or frames will be attached. Ensure that the markings align with the measurements taken in the previous step and that they are level and symmetrical in relation to the window.
Step 3: Consider Spacing and Aesthetics
Take a step back to assess the placement of the markings in relation to the window and the overall visual appeal. Consider the desired spacing between the shutters and the window edges, as well as any architectural or design elements that may influence the positioning of the shutters. Make adjustments to the markings as needed to achieve a balanced and visually pleasing arrangement.
Step 4: Double-Check Measurements
Before proceeding to the drilling phase, double-check all measurements and markings to ensure accuracy and alignment. Taking the time to verify these details will help prevent errors and ensure that the installation proceeds smoothly.
By meticulously measuring and marking the locations for the window shutters, you lay the foundation for a precise and visually appealing installation. With the mounting locations clearly designated on the brick exterior, you are ready to move on to the next phase: drilling holes in the brick to accommodate the mounting hardware.
Read more: How To Install Windows On A Brick House
Drilling Holes in the Brick
Drilling into brick requires the right tools and techniques to ensure accuracy and avoid damage to the brick surface. When installing window shutters, the process of drilling holes in the brick is a critical step that demands careful attention to detail. Here’s a comprehensive guide to drilling holes in brick for the installation of window shutters:
Step 1: Choose the Correct Drill Bit
Select a masonry drill bit that is appropriate for the size of the mounting hardware you will be using. The drill bit should be designed specifically for drilling into brick or concrete to ensure clean and precise holes.
Step 2: Mark Hole Locations
Referencing the markings made during the measuring phase, use a pencil or marker to indicate the precise locations where the holes will be drilled. Double-check these markings to ensure that they align with the measurements and desired placement of the window shutters.
Step 3: Wear Safety Gear
Before drilling, put on safety goggles and protective gloves to shield your eyes and hands from debris and potential hazards. Safety should always be a top priority when working with power tools and masonry materials.
Read more: How To Remove Shutters From Brick
Step 4: Drill with Care
Using a hammer drill or rotary hammer set to the appropriate speed and torque, carefully drill into the marked locations on the brick. Apply steady and even pressure, allowing the drill bit to penetrate the brick gradually. It’s important to maintain control and avoid exerting excessive force, which can lead to cracking or chipping of the brick.
Step 5: Clean the Holes
Once the holes are drilled, use a brush or compressed air to remove any dust and debris from the holes and surrounding areas. Clean, debris-free holes will ensure a secure and flush fit for the mounting hardware.
Step 6: Double-Check Alignment
After drilling the holes, verify that they are aligned correctly and are level with one another. This attention to detail will contribute to the overall precision and professional finish of the installation.
By following these steps and exercising caution throughout the drilling process, you can prepare the brick surface for the secure attachment of the mounting hardware. With the holes drilled and cleaned, you are now ready to proceed to the next phase: attaching the mounting strips or frames to the brick.
Attaching Mounting Strips
Attaching mounting strips to the brick is a crucial step in the installation of window shutters, as these strips provide the foundation for securely affixing the shutters to the exterior surface. Proper attachment ensures stability and longevity for the installed shutters. Here’s a detailed guide to the process of attaching mounting strips to brick:
Step 1: Position the Mounting Strips
Align the mounting strips with the drilled holes on the brick, ensuring that they are level and symmetrical in relation to the window. The strips should correspond to the measurements and markings made during the earlier phases of the installation process.
Step 2: Insert Masonry Screws
Using a screwdriver and the appropriate masonry screws, secure the mounting strips to the brick by driving the screws through the pre-drilled holes in the strips and into the brick. Apply firm but controlled pressure to fasten the strips securely to the brick surface.
Step 3: Verify Stability
After attaching the mounting strips, check for stability and alignment. Gently test the strips to ensure that they are firmly anchored to the brick and can support the weight of the window shutters without any wobbling or shifting.
Step 4: Make Adjustments if Necessary
If any mounting strips require repositioning or additional fastening, make the necessary adjustments to ensure that all strips are securely and evenly attached to the brick. Attention to detail at this stage will contribute to the overall strength and durability of the installation.
Read more: How To Install Window Flower Boxes On Brick
Step 5: Conceal Screw Heads
If desired, use wood or vinyl plugs to conceal the screw heads on the mounting strips, providing a clean and finished appearance. This step adds a professional touch to the installation and enhances the visual appeal of the window shutters.
Step 6: Prepare for Shutter Installation
With the mounting strips securely attached to the brick, the exterior surface is now ready to receive the window shutters. The next phase of the installation process involves affixing the shutters to the mounting strips, bringing the project closer to completion.
By following these steps and ensuring that the mounting strips are securely and accurately attached to the brick, you lay the groundwork for the successful installation of window shutters on a brick exterior. With the mounting strips in place, you are ready to proceed to the final phase: installing the window shutters on the brick surface.
Installing the Window Shutters
With the mounting strips securely affixed to the brick exterior, the final phase of the installation process involves attaching the window shutters to the mounting hardware. This step brings the project to completion, enhancing the visual appeal and functionality of the home. Here’s a detailed guide to installing window shutters on a brick surface:
Step 1: Position the Shutters
Carefully position the window shutters in alignment with the installed mounting strips. Ensure that the shutters are level and symmetrical in relation to the window, taking into account any desired spacing and visual considerations.
Read more: How To Make Outdoor Shutters For Windows
Step 2: Attach the Shutter Hinges
Using shutter hinges and fasteners, affix the shutters to the mounting strips, following the manufacturer’s instructions for hinge placement and attachment. Secure the hinges firmly to the mounting strips to ensure that the shutters are held in place securely.
Step 3: Test for Smooth Operation
After attaching the shutters, test their functionality by opening and closing them to ensure smooth and unhindered operation. Verify that the shutters align properly with the window and that they can be easily manipulated without any binding or misalignment.
Step 4: Install Shutter Locks or Holdbacks
If your shutters are equipped with locks or holdbacks, install them according to the manufacturer’s guidelines. These components add both visual interest and practical functionality to the shutters, allowing for secure closure and decorative accents.
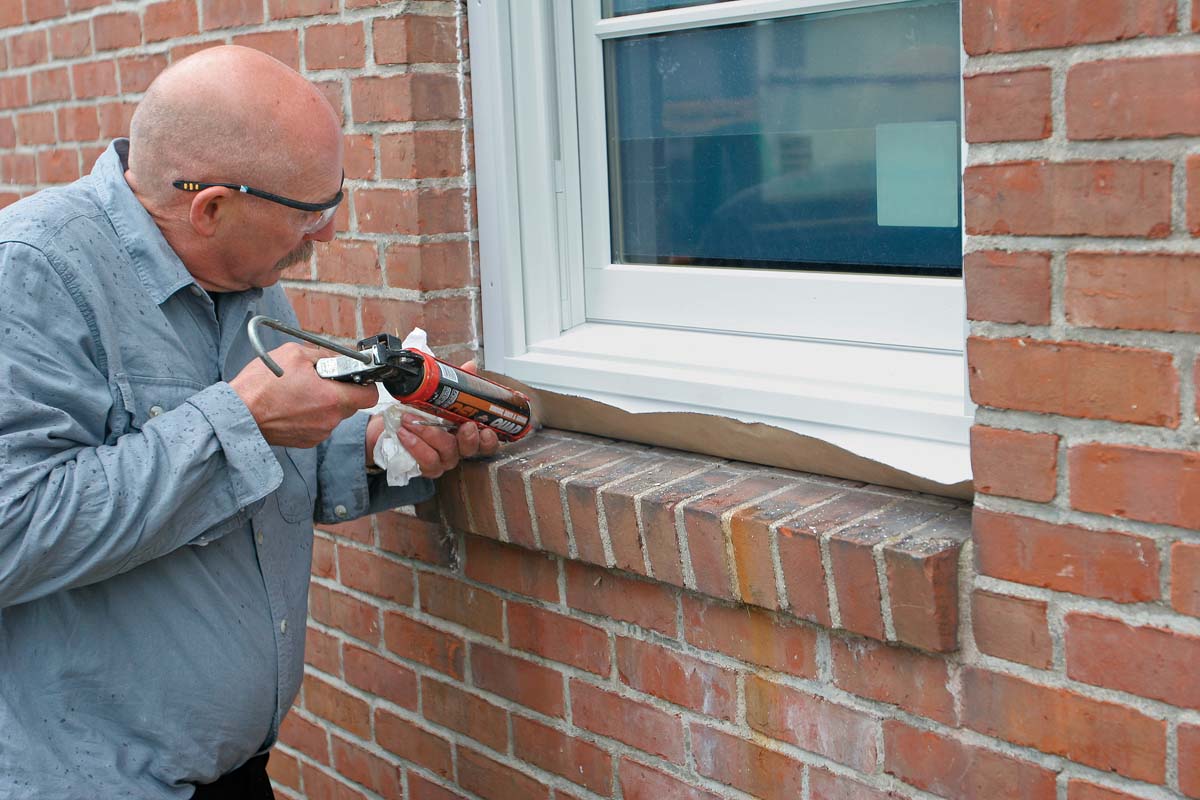
Step 5: Apply Finishing Touches
Inspect the installed shutters for any visible gaps or inconsistencies. Make any necessary adjustments to ensure that the shutters are aligned properly and that they complement the architectural features of the home. Additionally, consider applying touch-up paint or caulk to conceal any drill holes and achieve a polished finish.
Read more: How To Replace Shutters On A Brick House
Step 6: Step Back and Admire Your Work
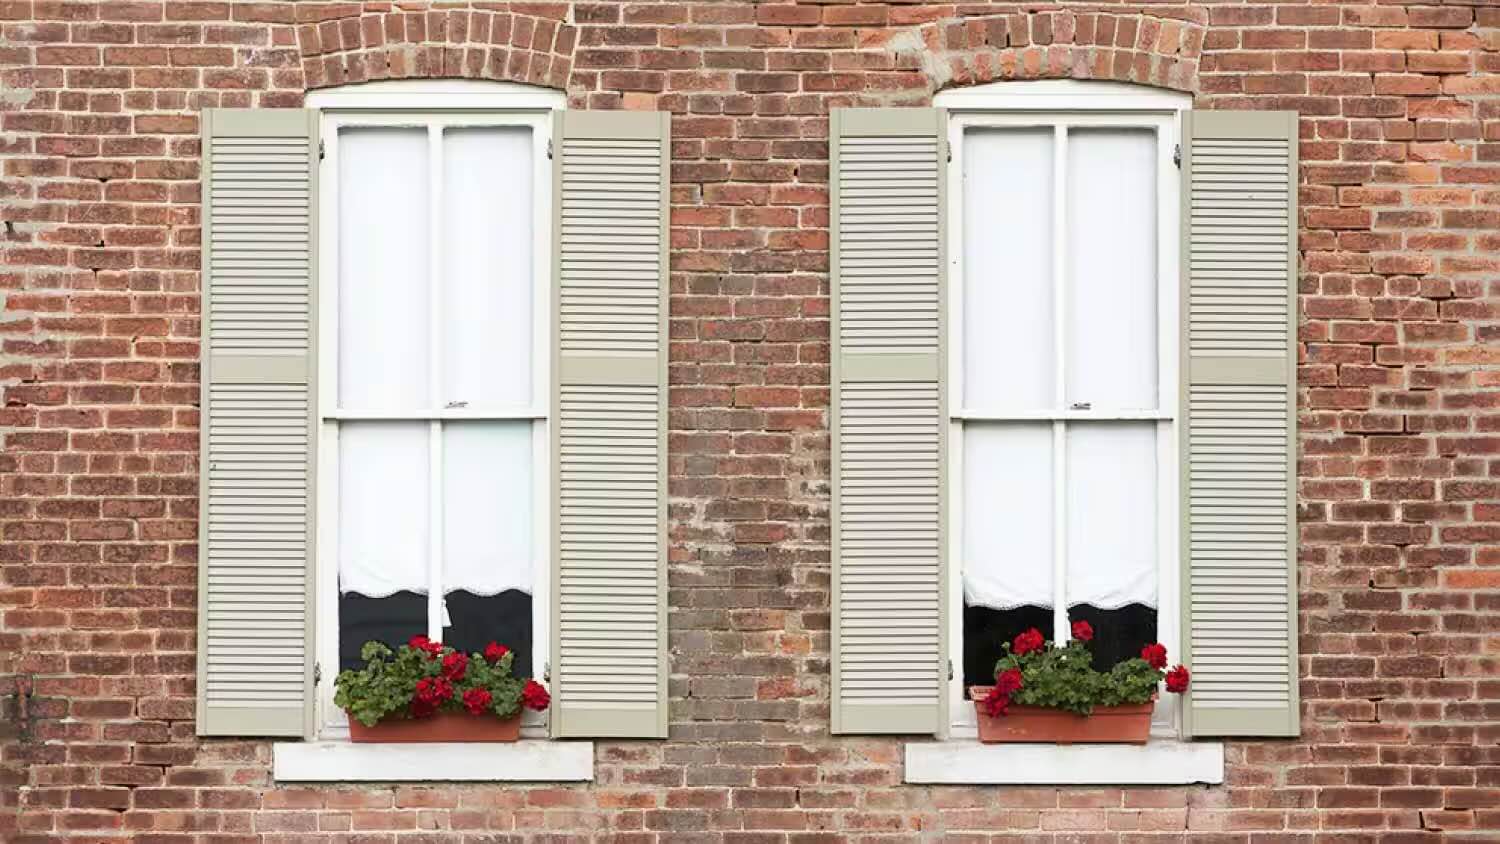
Take a moment to step back and appreciate the transformation that the installed window shutters have brought to the exterior of your home. The addition of shutters not only enhances the visual appeal but also contributes to privacy, light control, and energy efficiency.
By following these steps and ensuring that the window shutters are securely and precisely installed on the brick exterior, you have successfully completed the installation process. The result is a visually striking and functional enhancement to your home, showcasing your attention to detail and craftsmanship.
Conclusion
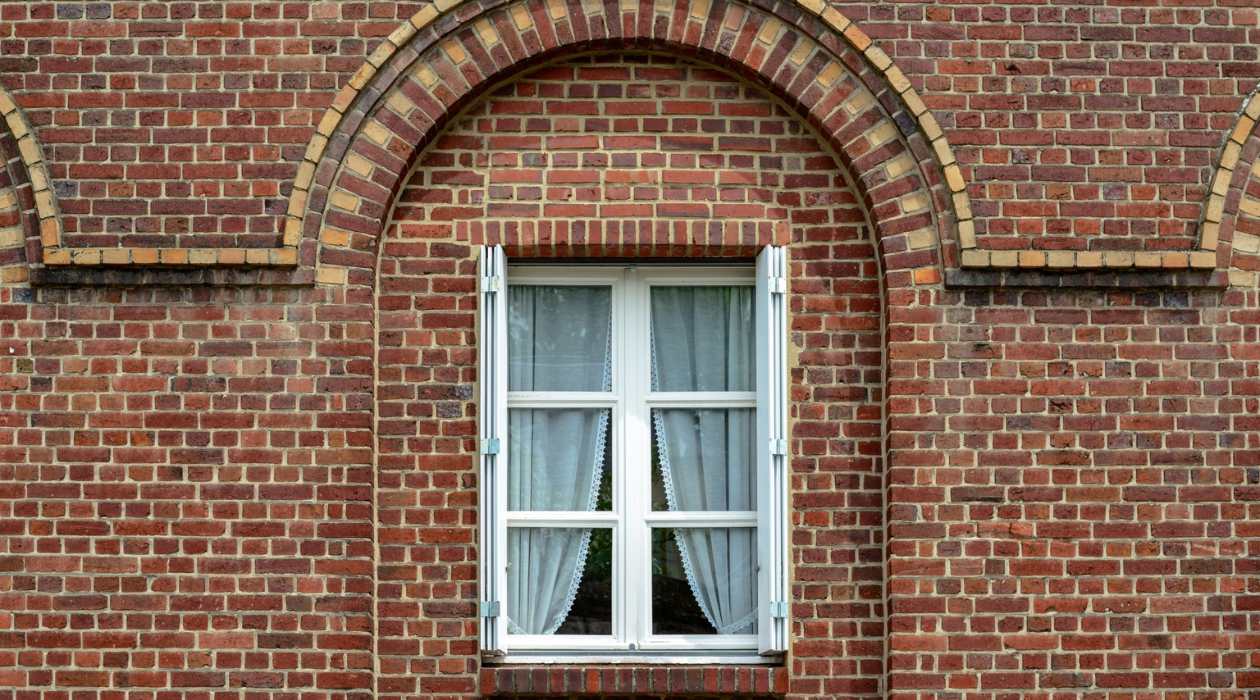
Installing window shutters on a brick exterior is a rewarding project that can elevate the curb appeal and functionality of your home. By following the step-by-step guide outlined in this article, you have gained the knowledge and confidence to undertake this endeavor with precision and skill. From gathering the necessary tools and materials to meticulously measuring, marking, drilling, and attaching the shutters, each phase of the installation process contributes to the overall success of the project.
Through careful planning and attention to detail, you have not only enhanced the aesthetics of your home but also added practical benefits such as privacy, light control, and improved energy efficiency. The installation of window shutters on a brick exterior represents a harmonious blend of form and function, showcasing your dedication to both craftsmanship and practicality.
As you admire the finished result – the beautifully installed window shutters adorning your brick exterior – take pride in the transformation you have brought to your home. The visual impact and added functionality of the shutters serve as a testament to your DIY prowess and your ability to enhance your living space with creativity and skill.
Whether you are a seasoned DIY enthusiast or a homeowner exploring new possibilities, the successful installation of window shutters on brick exemplifies the power of thoughtful planning, precise execution, and a touch of creativity. Your home now stands adorned with a timeless and functional enhancement, showcasing your attention to detail and your commitment to creating a space that is both inviting and practical.
As you reflect on the journey from gathering tools and materials to the final installation, take pride in the fact that you have not only added visual interest to your home but also created a more comfortable and energy-efficient living environment. The installation of window shutters on a brick exterior is a testament to your ability to transform a vision into a tangible and impactful reality.
Congratulations on successfully completing the installation of window shutters on your brick exterior. Your home now exudes charm, character, and enhanced functionality, thanks to your dedication to this project. Embrace the beauty and practicality of your newly installed window shutters, knowing that your efforts have made a lasting and meaningful difference in your living space.
Frequently Asked Questions about How To Install Window Shutters On Brick
Was this page helpful?
At Storables.com, we guarantee accurate and reliable information. Our content, validated by Expert Board Contributors, is crafted following stringent Editorial Policies. We're committed to providing you with well-researched, expert-backed insights for all your informational needs.


0 thoughts on “How To Install Window Shutters On Brick”