Home>diy>Architecture & Design>How To Create A Design Board For A House
Architecture & Design
How To Create A Design Board For A House
Modified: December 7, 2023
Learn how to create a stunning design board for your house using the principles of architecture and design. Transform your space with the help of our step-by-step guide.
(Many of the links in this article redirect to a specific reviewed product. Your purchase of these products through affiliate links helps to generate commission for Storables.com, at no extra cost. Learn more)
Introduction
Designing a house is an exciting but challenging endeavor. With so many decisions to make, it’s easy to feel overwhelmed. One effective way to maintain focus and bring your vision to life is by creating a design board.
A design board is a visual representation of your ideas, style, and color scheme for a home project. It’s a helpful tool that allows you to see how different elements come together and ensure they harmonize with your overall vision.
In this article, we will guide you through the process of creating a design board for a house. Whether you’re planning a full-scale renovation, a room makeover, or simply looking for inspiration, following these steps will help you stay organized and create a cohesive design.
So let’s dive in and learn how to create an effective design board that will guide you towards achieving your dream home.
Key Takeaways:
- Creating a design board for a house involves gathering inspiration, defining your style, choosing a color palette, selecting materials, and adding furniture. It’s a creative and organized process that ensures a cohesive and visually stunning home design.
- Reviewing and adjusting your design is crucial to ensure it meets your expectations and reflects your style and vision. Embrace the journey, seek feedback, and enjoy the opportunity to create a space that is uniquely yours.
Read more: How To Create A Vision Board For Home Decor
Step 1: Gather Inspiration
Before diving into the design process, it’s important to gather inspiration and ideas. This step will help you define your aesthetic preferences and narrow down your choices.
Start by exploring various sources of inspiration such as interior design magazines, websites, social media platforms like Pinterest and Instagram, and even home decor stores. Create a collection of images, articles, and any other visuals that catch your eye and resonate with your style.
As you gather inspiration, try to identify recurring themes, colors, patterns, and design elements that you find appealing. Pay attention to different styles, from modern to classic, minimalist to eclectic, and everything in between. Don’t be afraid to step outside of your comfort zone and consider different styles that you may not have initially thought of.
Remember, the purpose of this step is not to make final decisions, but to explore and create a design direction for your project. You can always refine your ideas as you progress.
Once you have a substantial collection of inspiration, organize it in a way that makes sense to you. One effective approach is to create a digital mood board using online tools or even a physical mood board using a bulletin board or poster. Group similar images together and arrange them in a visually pleasing way.
Having a visual representation of your inspiration will help you stay focused and provide a reference point throughout the design process.
Remember, the key is to gather a diverse range of inspiration that reflects your personal taste while also considering practicality and functionality. This will lay a solid foundation for the rest of your design journey.
Step 2: Define Your Style
Once you have gathered inspiration, it’s time to define your style. Understanding your personal aesthetic preferences will guide your design choices and ensure a cohesive look and feel throughout your home.
Start by examining the images and elements that caught your attention during the inspiration-gathering process. Look for commonalities in color schemes, furniture styles, materials, and overall ambiance. Are you drawn to clean lines and minimalism, or do you prefer a more eclectic and bohemian look?
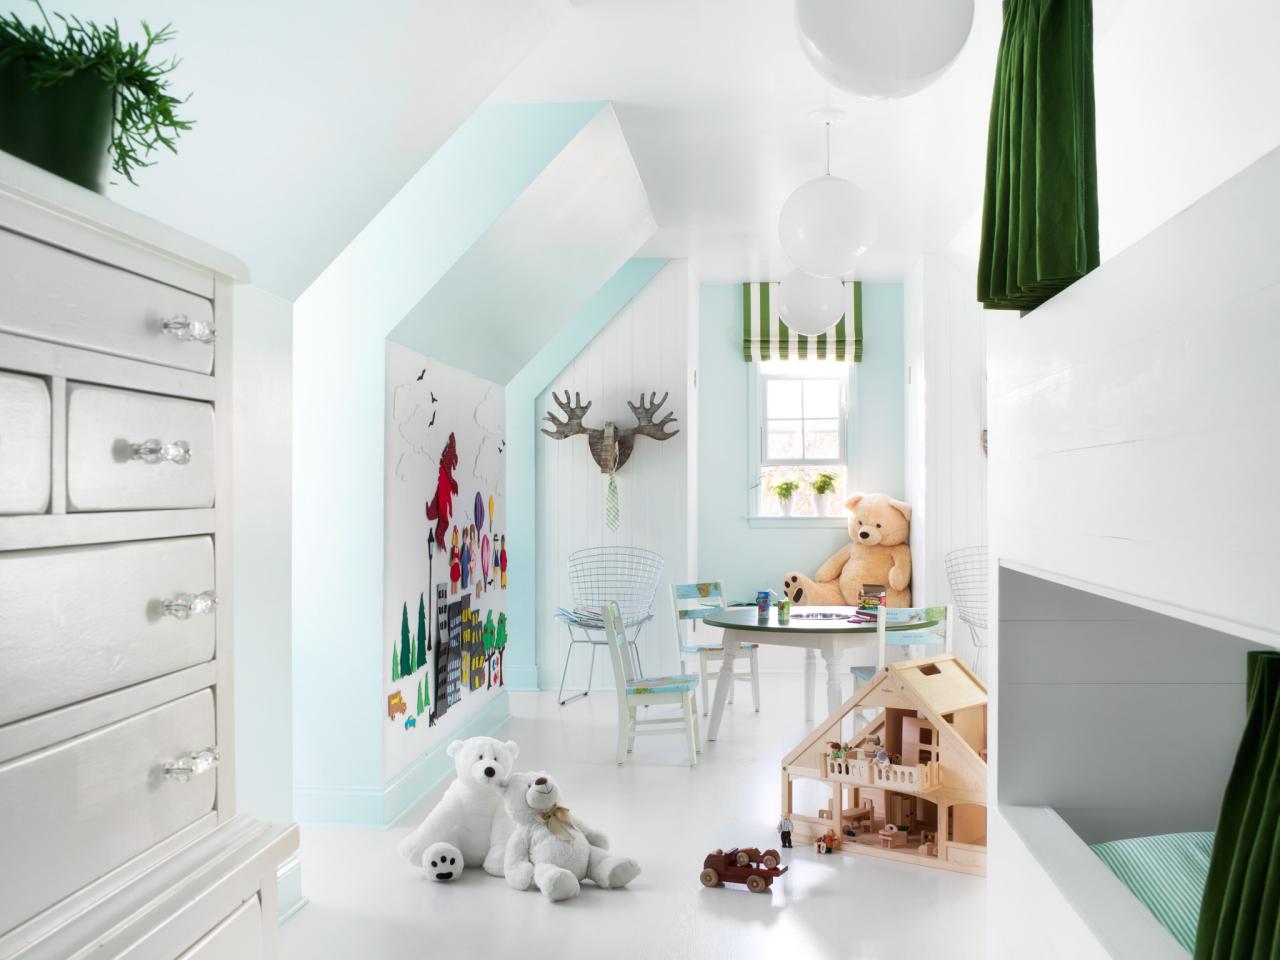
Consider your lifestyle and how you want your space to feel. Do you want it to be cozy and inviting, or sleek and contemporary? Your style should reflect your personality, and creating a home that resonates with you will make it more enjoyable to live in.
One useful tool to help define your style is creating a style board or a visual collage of images that represent your desired aesthetic. This will help you visualize how different elements work together and provide a reference for decision-making.
Additionally, it can be helpful to research different design styles and explore their defining characteristics. This will allow you to identify the style that aligns most closely with your preferences. Some popular design styles include modern, traditional, farmhouse, industrial, coastal, and Scandinavian.
Remember, defining your style doesn’t mean you have to stick to one particular style exclusively. Mixing styles can create a unique and personalized look. The key is to ensure that the different elements harmonize and create a cohesive overall design.
As you define your style, keep in mind the functionality of your space. Consider the activities that will take place in each room and how the design can support those activities. Practicality and functionality should always be integrated into your style choices to ensure a space that is not only beautiful but also functional.
By defining your style early on, you will have a clear vision of what you want to achieve, making it easier to make design decisions moving forward.
Step 3: Choose a Color Palette
Color plays a crucial role in interior design as it sets the mood and ambiance of a space. Choosing the right color palette for your home is essential in creating a cohesive and visually pleasing design.
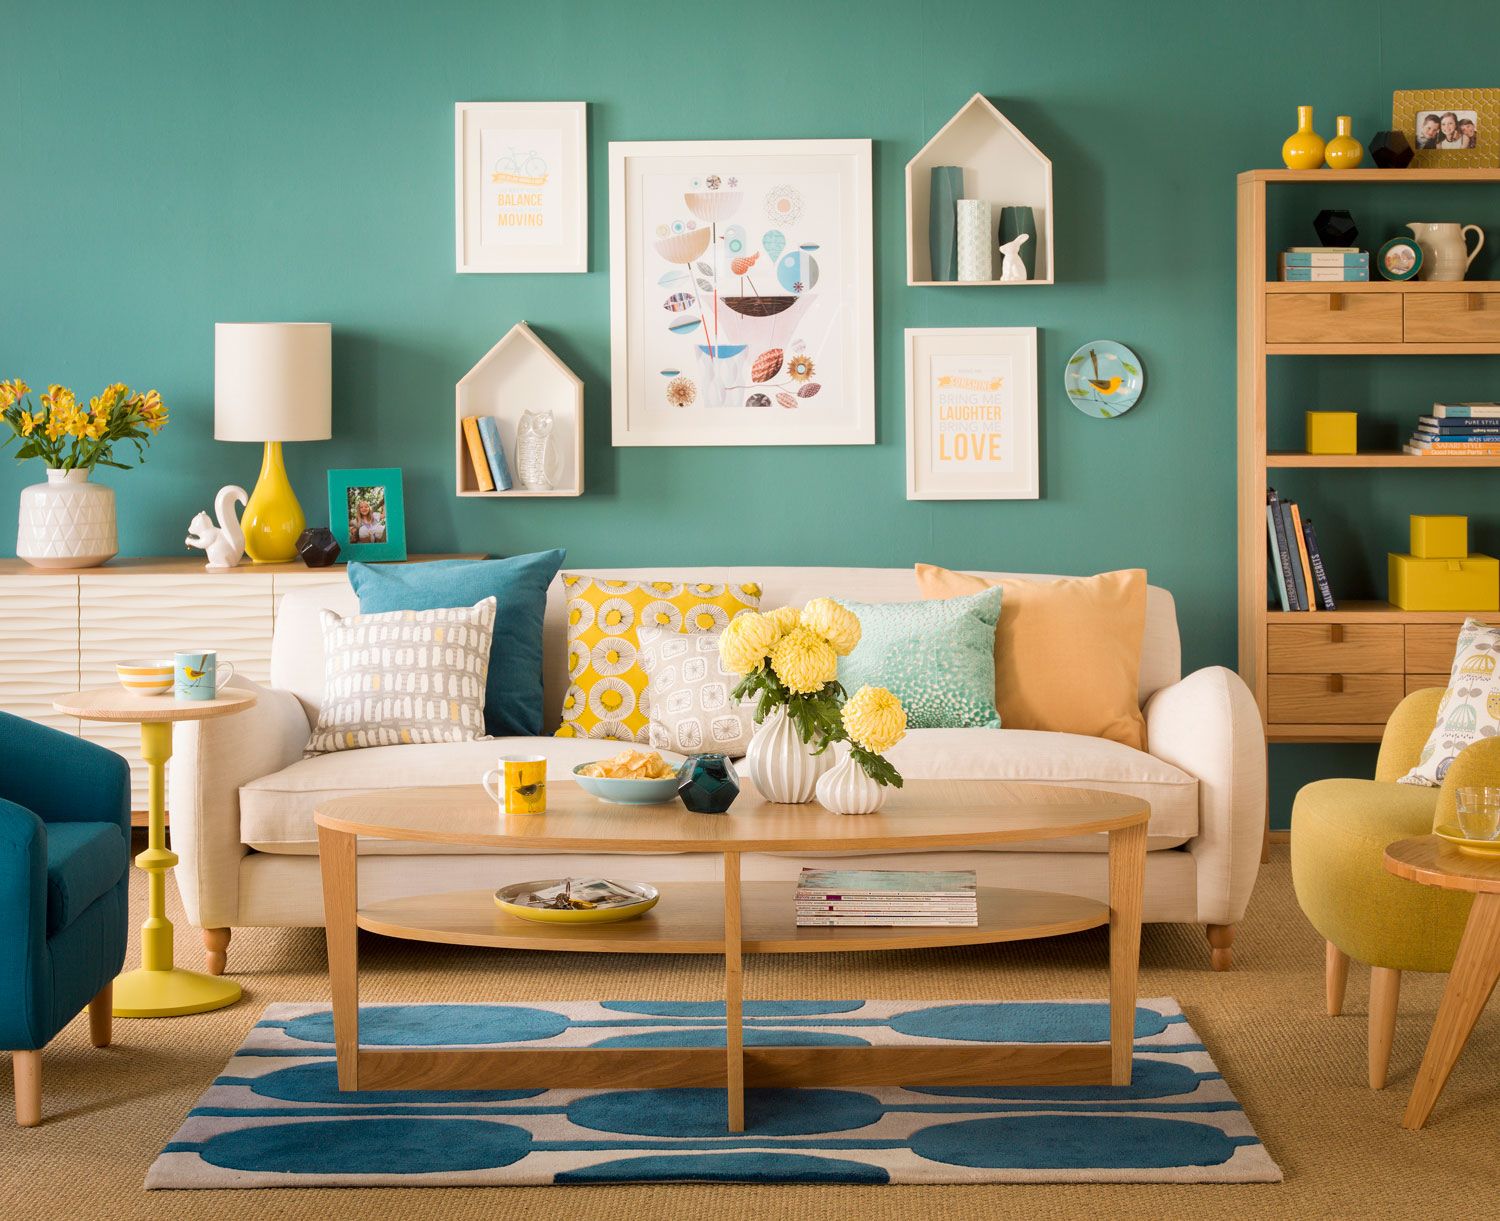
Start by referring to your inspiration and style board. Look for recurring colors or shades that appeal to you. Consider the emotions and atmosphere you want to evoke in each room. Warm colors like reds, oranges, and yellows create a cozy and vibrant feel, while cool colors like blues and greens evoke a sense of calm and relaxation.
Once you have a general idea of the colors you’re drawn to, it’s time to narrow down your choices. Select a primary color that will serve as the anchor for your palette. This color will be the most dominant and will set the tone for your design. From there, choose two to three complementary colors that will harmonize with the primary color.
When choosing colors, also consider the lighting in your space. Natural light can affect how colors appear, so it’s important to test paint samples and swatches under different lighting conditions.
For a cohesive look, consider using a color wheel or online color palette generators to ensure that your chosen colors are complementary or analogous. These tools can help you find the perfect balance of hues and shades.
Once you’ve selected your color palette, it’s time to consider how to incorporate them into your design. This can be done through paint colors, wallpaper, furniture upholstery, rugs, curtains, decorative accessories, and even artwork. The goal is to have a balance of colors throughout the space, creating visual interest and harmony.
Remember, a well-thought-out color palette will tie your design elements together and create a sense of cohesion and unity throughout your home. It’s worth spending time experimenting with different color combinations to find the perfect palette that reflects your style and enhances the overall aesthetic.
Step 4: Select Materials and Textures
Materials and textures play a significant role in adding depth and visual interest to your home design. They have the power to transform a space and evoke different moods and styles. In this step, we will explore how to select the right materials and textures for your project.
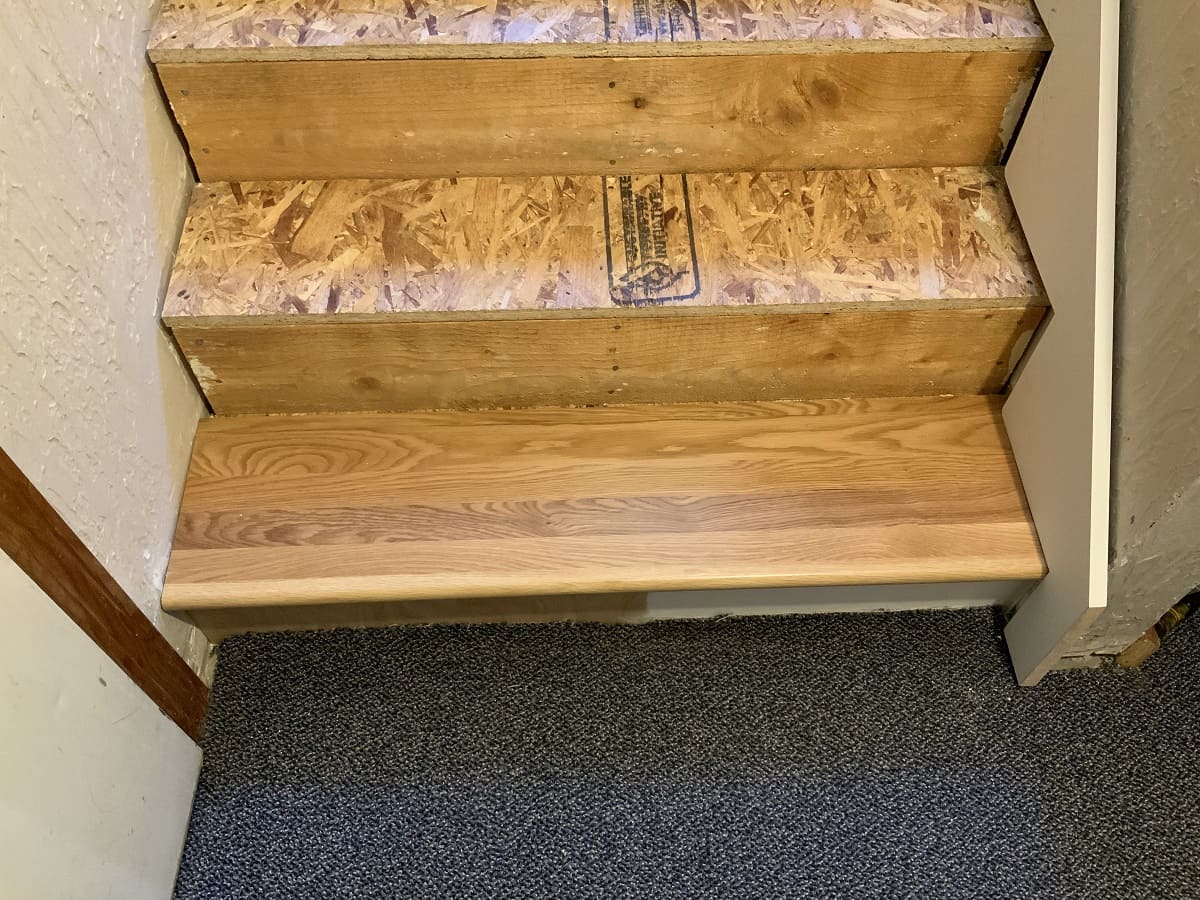
First, consider the overall style and aesthetic you want to achieve. Different materials and textures can enhance specific design styles. For example, natural wood and stone are often associated with rustic or farmhouse styles, while sleek and glossy surfaces are typical of modern or contemporary designs.
Next, think about the functionality and durability of the materials. Consider the purpose of each room and choose materials that can withstand the intended use. For high-traffic areas, opt for durable and easy-to-clean surfaces, while in cozy spaces like bedrooms, you may have more flexibility to select softer and more luxurious materials.
Don’t be afraid to mix different materials and textures to add visual interest to your space. Combining smooth and rough textures, such as a sleek metal lamp paired with a textured wool rug, can create an intriguing contrast. However, ensure that the chosen materials complement each other and contribute to the overall aesthetic.
Consider the colors and patterns within the materials as well. Textiles, such as upholstery fabric and curtains, can add pops of color and pattern to a room. Seek a balance between bold statements and more neutral elements to create a visually pleasing space.
When selecting materials, consider the sensory experience as well. Touch and feel different samples to understand their textures and ensure they align with your desired ambiance. Soft and plush materials may contribute to a cozy and inviting atmosphere, while sleek and cool surfaces may create a more contemporary and refined feel.
Lastly, take into account the budget and maintenance requirements for the chosen materials. Some materials may require more upkeep and care, while others are more affordable and low-maintenance. It’s important to find a balance between quality, aesthetics, and practicality.
Incorporating a variety of materials and textures will add depth and visual appeal to your design. Experiment with different combinations to find the perfect mix that reflects your style and enhances the overall atmosphere of your home.
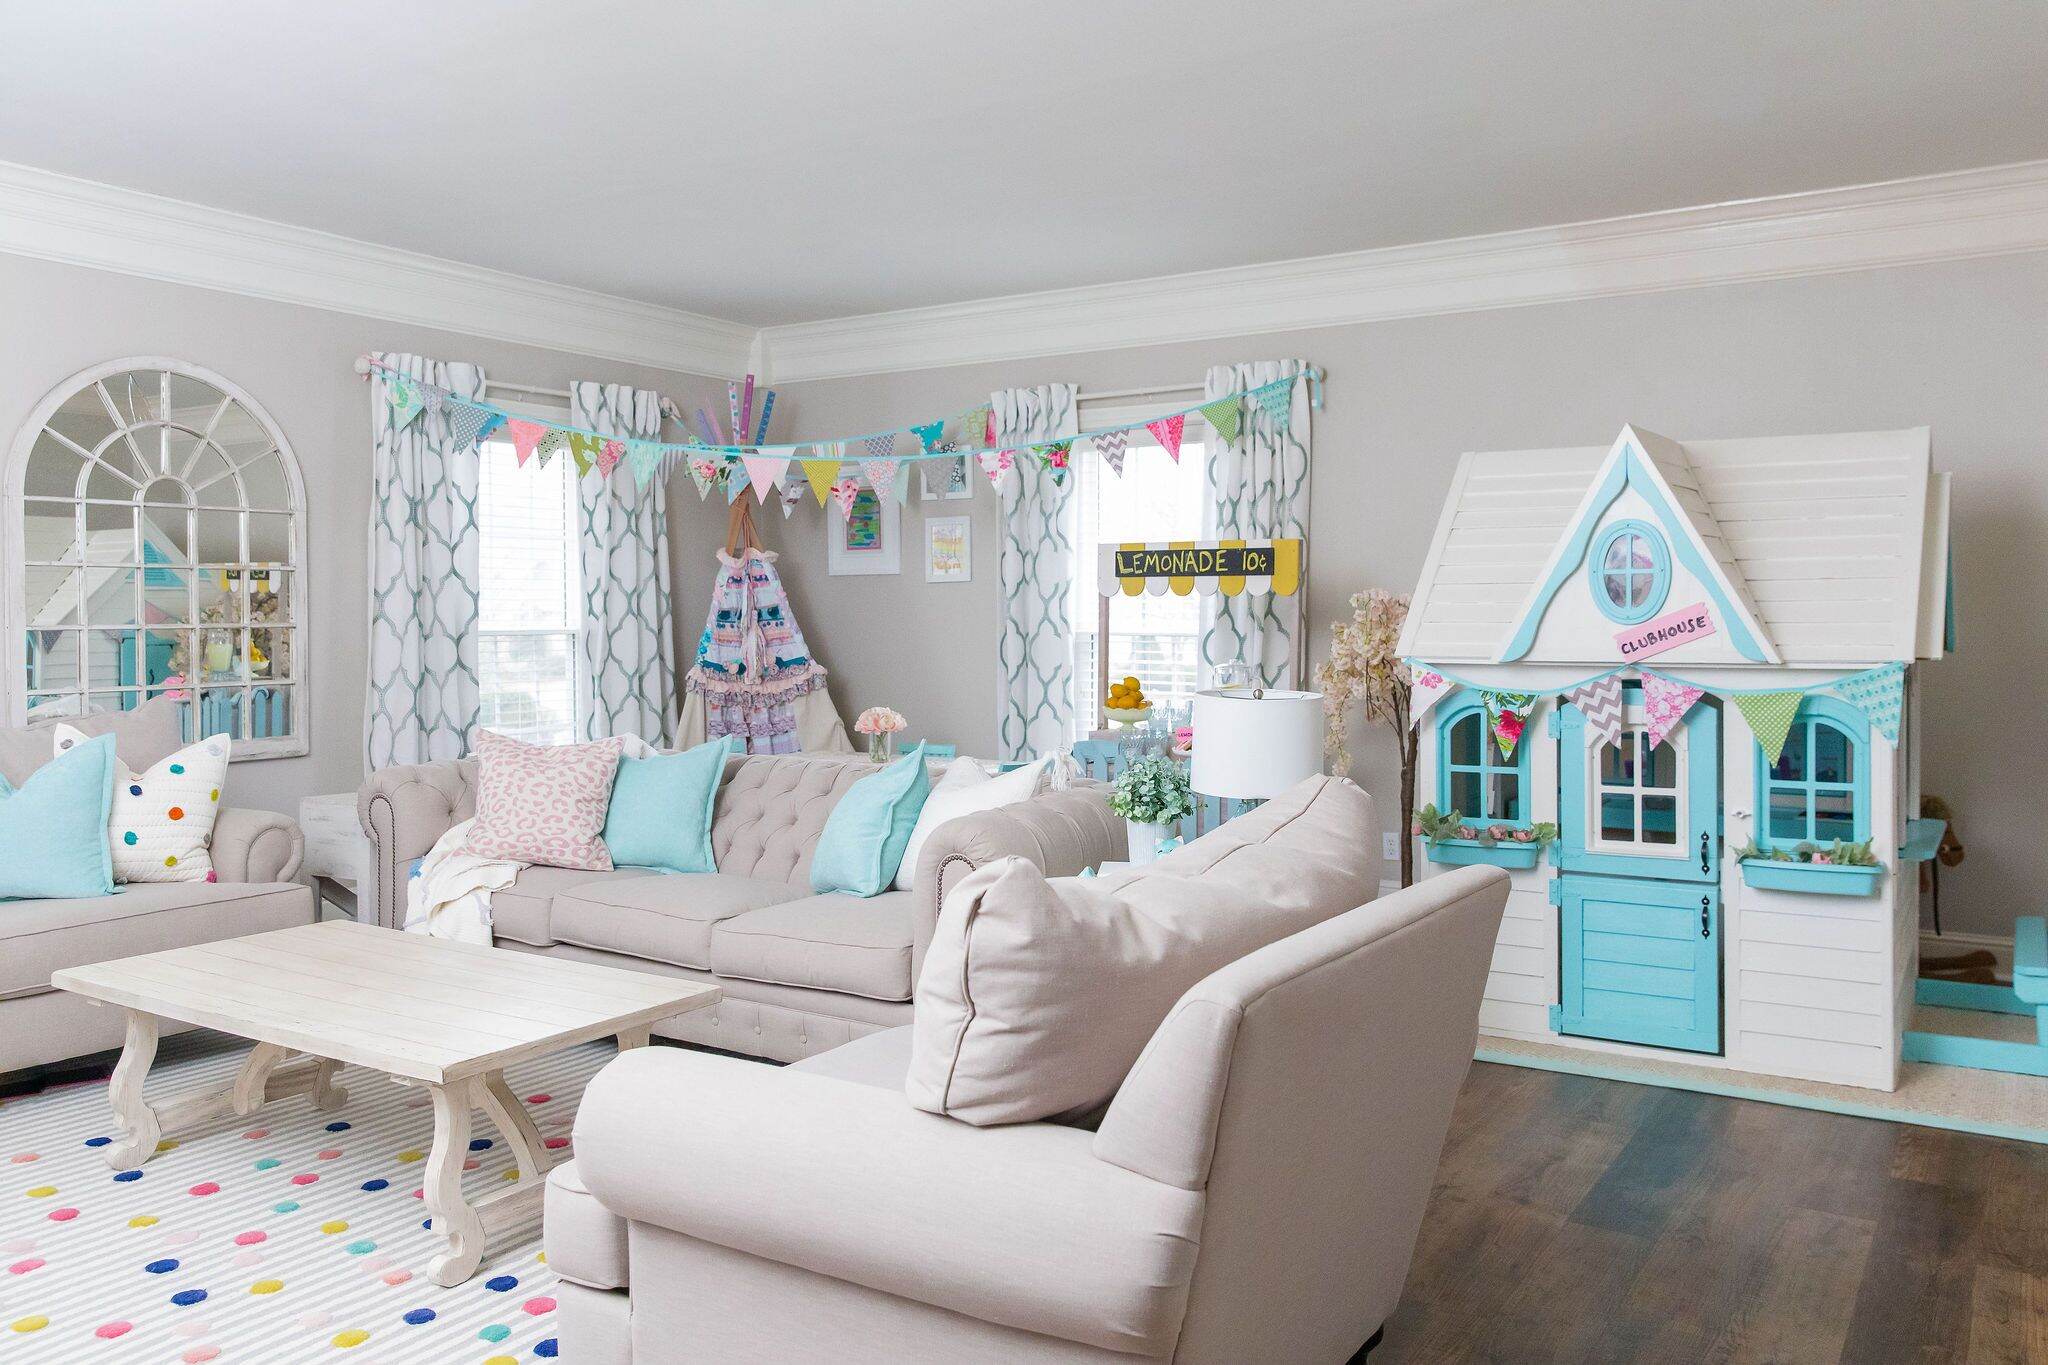
When creating a design board for a house, start by gathering inspiration from magazines, websites, and social media. Include a mix of colors, textures, and styles to help visualize the overall look and feel of the space.
Step 5: Collect Sample Swatches
Sample swatches are essential tools when it comes to visualizing how different materials, colors, and textures will come together in your design. In this step, we’ll explore the importance of collecting sample swatches and how to effectively use them in your design process.
Start by identifying the materials and finishes you’ve chosen for different elements of your space, such as flooring, countertops, cabinetry, and even paint colors. Contact suppliers and manufacturers to request sample swatches of these materials. Most vendors are happy to provide samples, as they understand the importance of allowing customers to see and feel the materials before making a decision.
Once you have your sample swatches, gather them together in one place where you can easily reference them throughout the design process. This can be a physical file or a digital folder on your computer.
Having sample swatches allows you to see how different materials and colors will interact with each other and with the existing elements in your space. It also allows you to compare and contrast options side by side.
Take the time to examine each sample swatch in different lighting conditions and against the other materials you’ve chosen. This will give you a better understanding of how they will look and feel in your home.
Additionally, take note of any patterns or variations in the samples. Natural materials like marble or wood can have unique patterns and color variations, and it’s important to ensure that you’re happy with these unique characteristics.
As you assess your sample swatches, consider how they work with your chosen color palette, style, and overall vision for your space. Do they complement each other? Do they align with the desired mood and ambiance?
Don’t limit yourself to just one sample per material or finish. Request multiple swatches if necessary, especially for larger areas like flooring or upholstery. This will give you a more accurate representation and help you visualize the final result.
Remember, collecting sample swatches allows you to make informed decisions and ensures that your chosen materials and colors work harmoniously in your design. Embrace this step as an opportunity to play with different combinations and create a space that reflects your vision.
Step 6: Create a Layout Plan
A well-thought-out layout plan is crucial for optimizing the functionality and flow of your space. In this step, we will guide you through the process of creating a layout plan that maximizes the potential of your home.
Start by taking measurements of the rooms or areas you’re designing. This includes the length, width, and height of walls, as well as the locations of doors, windows, and architectural features. Accuracy is key, as it will help you avoid costly mistakes later on.
Next, consider the function of each room and how you envision using the space. Think about the activities that will take place and how the furniture and other elements will be arranged to accommodate those activities.
Using graph paper or online tools, create a scale drawing of your space. This will serve as the foundation for your layout plan. Consider the scale of your drawing and choose a suitable scale to ensure accuracy.
Begin by placing the larger furniture pieces in the room, such as sofas, beds, and dining tables, using the measurements you took earlier. Ensure there is enough space for comfortable movement around these pieces and that they are arranged in a way that promotes conversation and functionality.
Once you have the larger pieces in place, add smaller furniture items, such as chairs, side tables, and storage units. Consider the flow of movement and leave adequate space for walking paths.
If you’re working on an open-concept layout, make sure to define different zones within the space. Use furniture placement, area rugs, or even changes in flooring materials to create visual separation between different areas.
As you create your layout plan, take into consideration the natural light sources in your space. Arrange furniture and design elements to optimize the use of natural light and create a pleasant and inviting atmosphere.
Think about the placement of electrical outlets and how they will accommodate your lighting and electronic needs. Consider the location of light switches and plan for proper task lighting in specific areas, such as a desk or kitchen counter.
Throughout this process, refer back to your design board and color palette to ensure that your layout plan aligns with your overall design vision.
Once you have your initial layout plan, take some time to evaluate its functionality. Put yourself in the shoes of someone using the space and consider if any adjustments are needed to improve the flow.
Remember, creating a layout plan allows you to visualize how your design elements will come together and ensures that your space is not only aesthetically pleasing, but also functional and practical.
Step 7: Add Furniture and Accessories
Now that you have a layout plan in place, it’s time to bring your design to life by adding furniture and accessories to your space. This step allows you to personalize your home and give it a touch of your unique style.
Start by selecting furniture that aligns with your style and fits within the dimensions of your space. Consider the scale and proportion of each piece in relation to the room. Balance larger furniture items with smaller decorative pieces to create visual interest.
When choosing furniture, think about the functionality and comfort it will provide. Opt for pieces that not only look good but also serve a purpose. Consider the needs and lifestyle of your household members to ensure that the furniture meets their requirements.
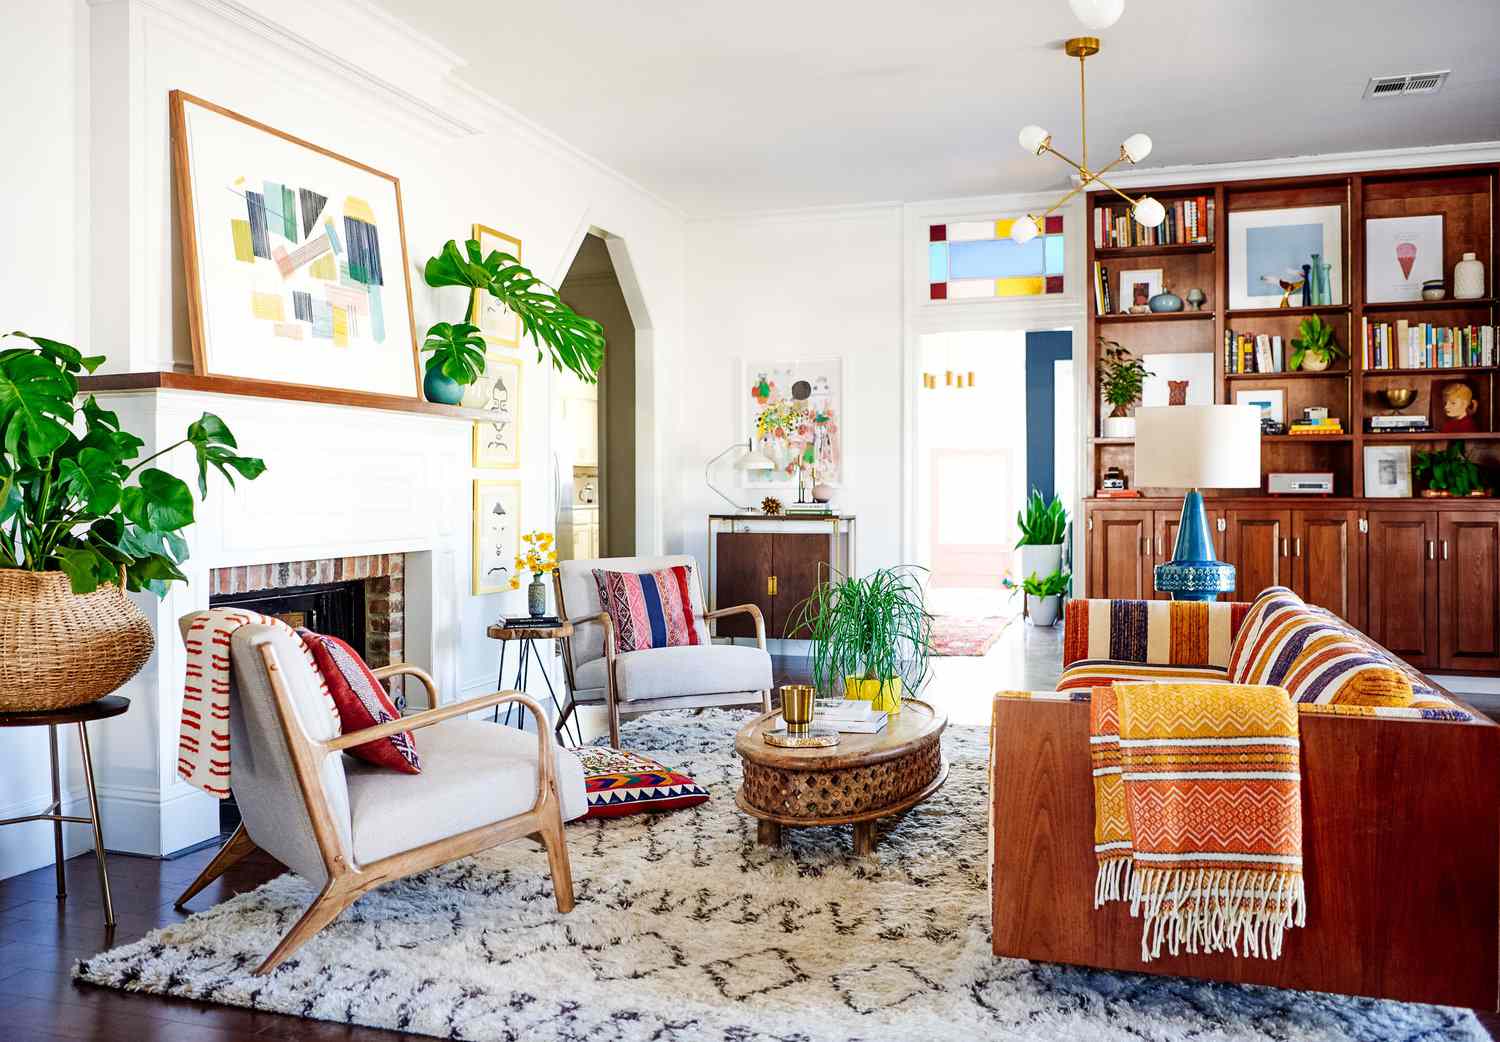
Mix and match different textures and materials to add depth to your design. Incorporate upholstered furniture, soft textiles, and decorative accessories to create a cozy and inviting atmosphere. Experiment with different patterns and colors to add visual interest to the space.
Accessories play a crucial role in enhancing the overall aesthetic of your home. Consider adding decorative items such as artwork, mirrors, plants, and lighting fixtures. These accessories can act as focal points and tie the whole design together.
When placing accessories, consider balance and symmetry. Distribute them in a way that feels visually balanced and harmonious. Create groupings of items with different heights, sizes, and textures to create a dynamic and layered look.
Don’t forget about the power of rugs. They can define different areas within a room, add warmth and texture, and tie the design elements together. Choose a rug that complements the color palette and style of your space.
As you add furniture and accessories, step back and evaluate the overall look and feel of the room. Make adjustments and fine-tune your arrangements as needed. Remember, it’s all about creating a space that not only looks beautiful but also feels comfortable and functional.
Throughout this process, refer back to your design board and color palette to ensure that the furniture and accessories you choose align with your overall design vision.
By adding furniture and accessories, you bring your design to life and create a space that reflects your personal style. Have fun with this step and let your creativity shine.
Step 8: Review and Adjust
After completing the previous steps, it’s important to take the time to review and assess your design. This final step allows you to make any necessary adjustments to ensure that your vision is fully realized.
Start by taking a step back and looking at the overall design of your space. Evaluate how the different elements come together and if they align with your initial design goals. Pay attention to the flow and functionality of the space, as well as the overall visual appeal.
Consider the proportions and balance of the room. Are there any areas that feel empty or too cluttered? Make adjustments by adding or removing furniture and accessories as needed to achieve a harmonious and well-balanced look.
Assess the color palette and ensure that it is coherent and cohesive throughout the space. If necessary, make adjustments to the colors or their placement to create a more pleasing and unified aesthetic.
Take a close look at the materials and textures you’ve chosen and ensure that they work well together. If any elements clash or feel out of place, consider replacing or adjusting them to maintain consistency in your design.
Consider the lighting in your space and how it enhances the overall ambiance. Make sure that the lighting fixtures and placement accentuate the design elements and create the desired mood.
Don’t forget to evaluate the practicality and functionality of your design. Consider how well the space works for its intended purpose and whether there are any improvements that can be made to enhance usability.
Lastly, seek feedback from others. Share your design with family, friends, or professionals and listen to their insights and suggestions. Sometimes an outside perspective can offer valuable input and help you see things from a different angle.
Remember, the design process is never truly complete. It’s an ongoing journey of refinement, adjustment, and evolution. Be willing to make changes and improvements as needed to create the home of your dreams.
By reviewing and adjusting your design, you ensure that it meets your expectations and truly reflects your style and vision. Enjoy the process and embrace the opportunity to create a space that is uniquely yours.
Read more: How To Create A Printed House Design
Conclusion
Designing a house is a complex and creative endeavor that requires careful planning, attention to detail, and a clear vision. Creating a design board and following the steps outlined in this article will help you stay organized, focused, and inspired throughout the design process.
By gathering inspiration, defining your style, choosing a color palette, selecting materials and textures, collecting sample swatches, creating a layout plan, adding furniture and accessories, and reviewing and adjusting your design, you will be able to create a cohesive and visually stunning home.
Remember that your design should not only be visually pleasing but also functional and reflective of your personality and lifestyle. Use your design board as a guiding tool, consistently referring back to it to ensure that your choices align with your initial vision.
Throughout this entire process, it’s essential to enjoy the journey. Embrace the opportunity to be creative, to explore different options, and to make your space truly unique and reflective of your personal style.
Keep in mind that your design will continue to evolve over time, and it’s okay to make changes and adjustments as you live and experience your home. Your design board can be an ongoing source of inspiration and a reference point for future updates.
So get started on creating your design board and let your imagination soar. With a clear vision, a well-organized process, and a passionate heart, you can transform your house into a beautiful and harmonious home.
Frequently Asked Questions about How To Create A Design Board For A House
Was this page helpful?
At Storables.com, we guarantee accurate and reliable information. Our content, validated by Expert Board Contributors, is crafted following stringent Editorial Policies. We're committed to providing you with well-researched, expert-backed insights for all your informational needs.


0 thoughts on “How To Create A Design Board For A House”