Home>Construction & Tools>Building Materials>How To Seal Gap Between Window And Brick Wall
Building Materials
How To Seal Gap Between Window And Brick Wall
Published: January 23, 2024
Learn how to seal the gap between your window and brick wall using the right building materials. Keep your home well-insulated and protected.
(Many of the links in this article redirect to a specific reviewed product. Your purchase of these products through affiliate links helps to generate commission for Storables.com, at no extra cost. Learn more)
Introduction
Welcome to our comprehensive guide on how to seal the gap between a window and a brick wall. This common issue can lead to various problems, including energy loss, water infiltration, and pest intrusion. By addressing this gap effectively, you can enhance the energy efficiency, structural integrity, and overall comfort of your building. In this article, we will explore the step-by-step process of sealing the gap, from understanding the problem to applying the sealant and adding finishing touches. Whether you are a homeowner, contractor, or DIY enthusiast, this guide will equip you with the knowledge and techniques needed to tackle this task with confidence.
Key Takeaways:
- Seal the gap between a window and a brick wall to prevent energy loss, water damage, and pest intrusion. Use high-quality sealant, backer rod, and proper preparation for a durable and effective solution.
- Follow the step-by-step process of understanding the problem, choosing the right materials, preparing the area, applying the sealant, and adding finishing touches to ensure a successful and long-lasting seal.
Read more: How To Seal Gap Between Siding And Concrete
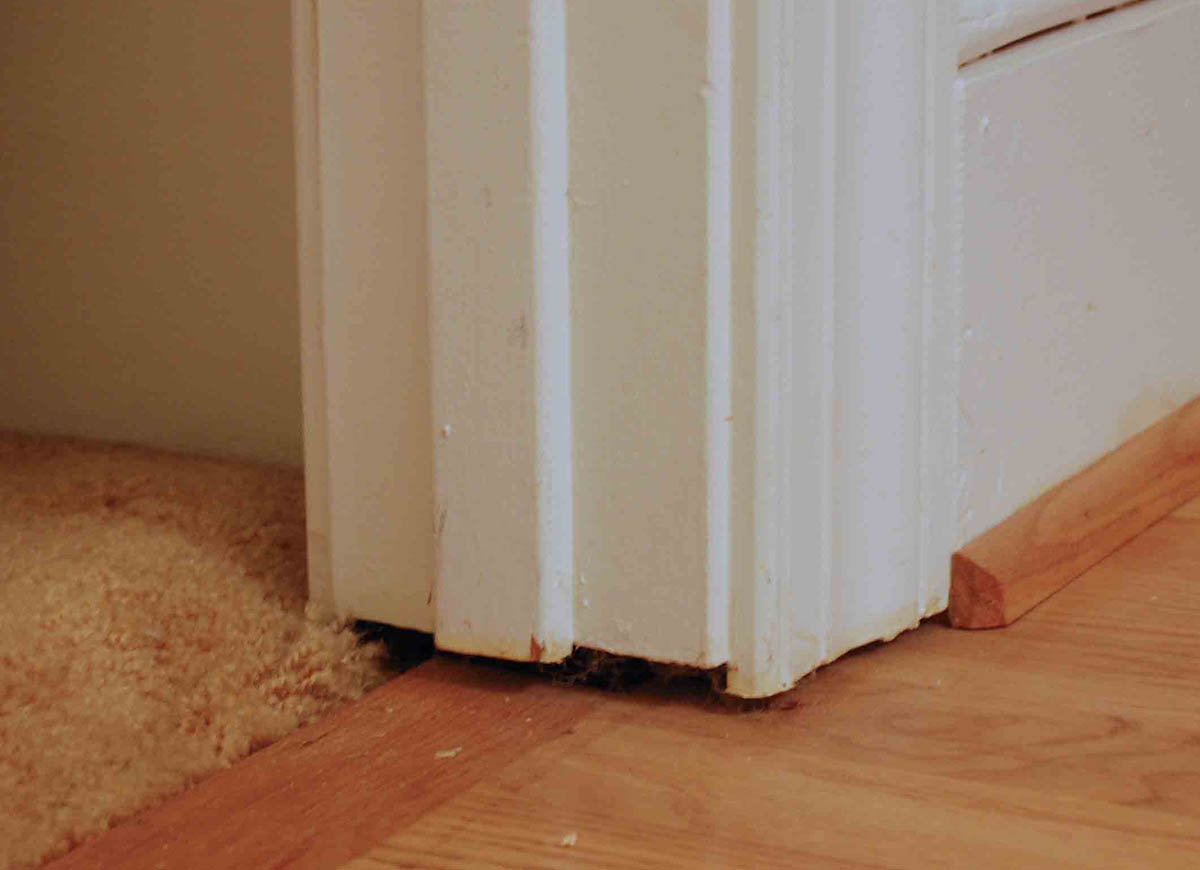
Understanding the Problem
Before diving into the sealing process, it’s crucial to understand the underlying issues associated with the gap between a window and a brick wall. This gap, often caused by the natural settling of the building or improper installation, can lead to several concerns:
- Energy Loss: Gaps allow air to escape and enter, compromising the building’s energy efficiency. This can result in higher heating and cooling costs.
- Water Infiltration: Gaps provide a pathway for water to seep into the building, leading to potential water damage, mold growth, and structural deterioration.
- Pest Intrusion: Small openings can serve as entry points for pests such as insects and rodents, posing hygiene and safety risks.
- Aesthetic Concerns: Gaps can detract from the visual appeal of the building, affecting its overall appearance and curb appeal.
By addressing these issues, you can not only mitigate potential damage but also improve the comfort and longevity of the building. The next step is to select the appropriate materials for sealing the gap effectively.
Choosing the Right Materials
When it comes to sealing the gap between a window and a brick wall, selecting the right materials is essential for achieving a durable and effective solution. Here are the key components you’ll need:
- Sealant: Opt for a high-quality, weather-resistant sealant specifically designed for exterior use. Silicone-based sealants are often recommended for their flexibility and durability.
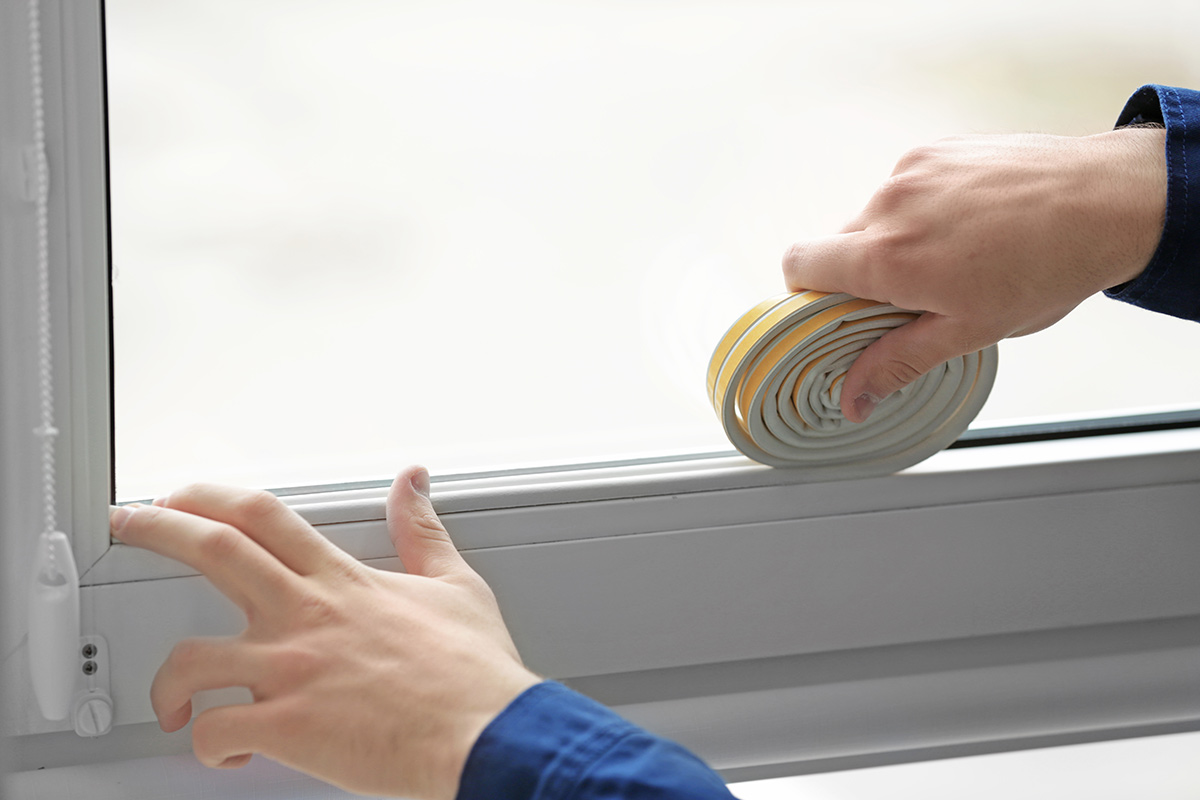
- Backer Rod: This cylindrical foam rod serves as a filler for larger gaps, providing support for the sealant and preventing it from sagging into the void.
- Caulking Gun: A reliable caulking gun will facilitate the smooth and controlled application of the sealant, ensuring even coverage along the gap.
- Cleaner and Primer: Prepare the surfaces by using a suitable cleaner to remove dirt, dust, and debris. Additionally, a primer may be required to promote adhesion between the sealant and the surfaces.
- Protective Gear: Prioritize safety by wearing gloves, safety glasses, and appropriate clothing to shield yourself from potential skin irritation and chemical exposure.
By investing in high-quality materials and tools, you can lay the foundation for a successful sealing project. With the right products in hand, you’re ready to prepare the area for the application of the sealant.
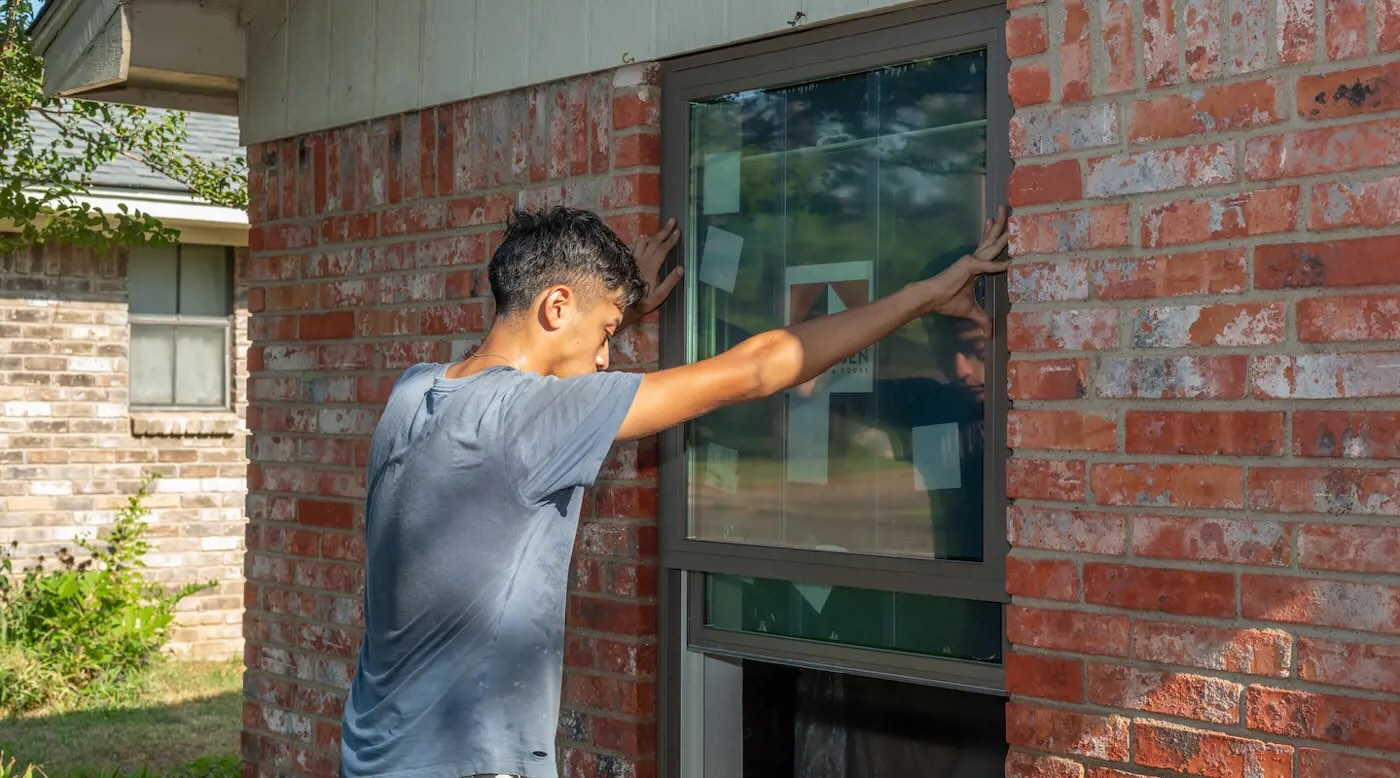
Preparing the Area
Before applying the sealant, thorough preparation of the gap and its surrounding area is crucial for ensuring a strong and lasting seal. Follow these steps to prepare the area effectively:
- Clean the Surfaces: Begin by cleaning the gap, window frame, and brick wall to remove dirt, dust, and any existing sealant residues. Use a suitable cleaner and allow the surfaces to dry completely before proceeding.
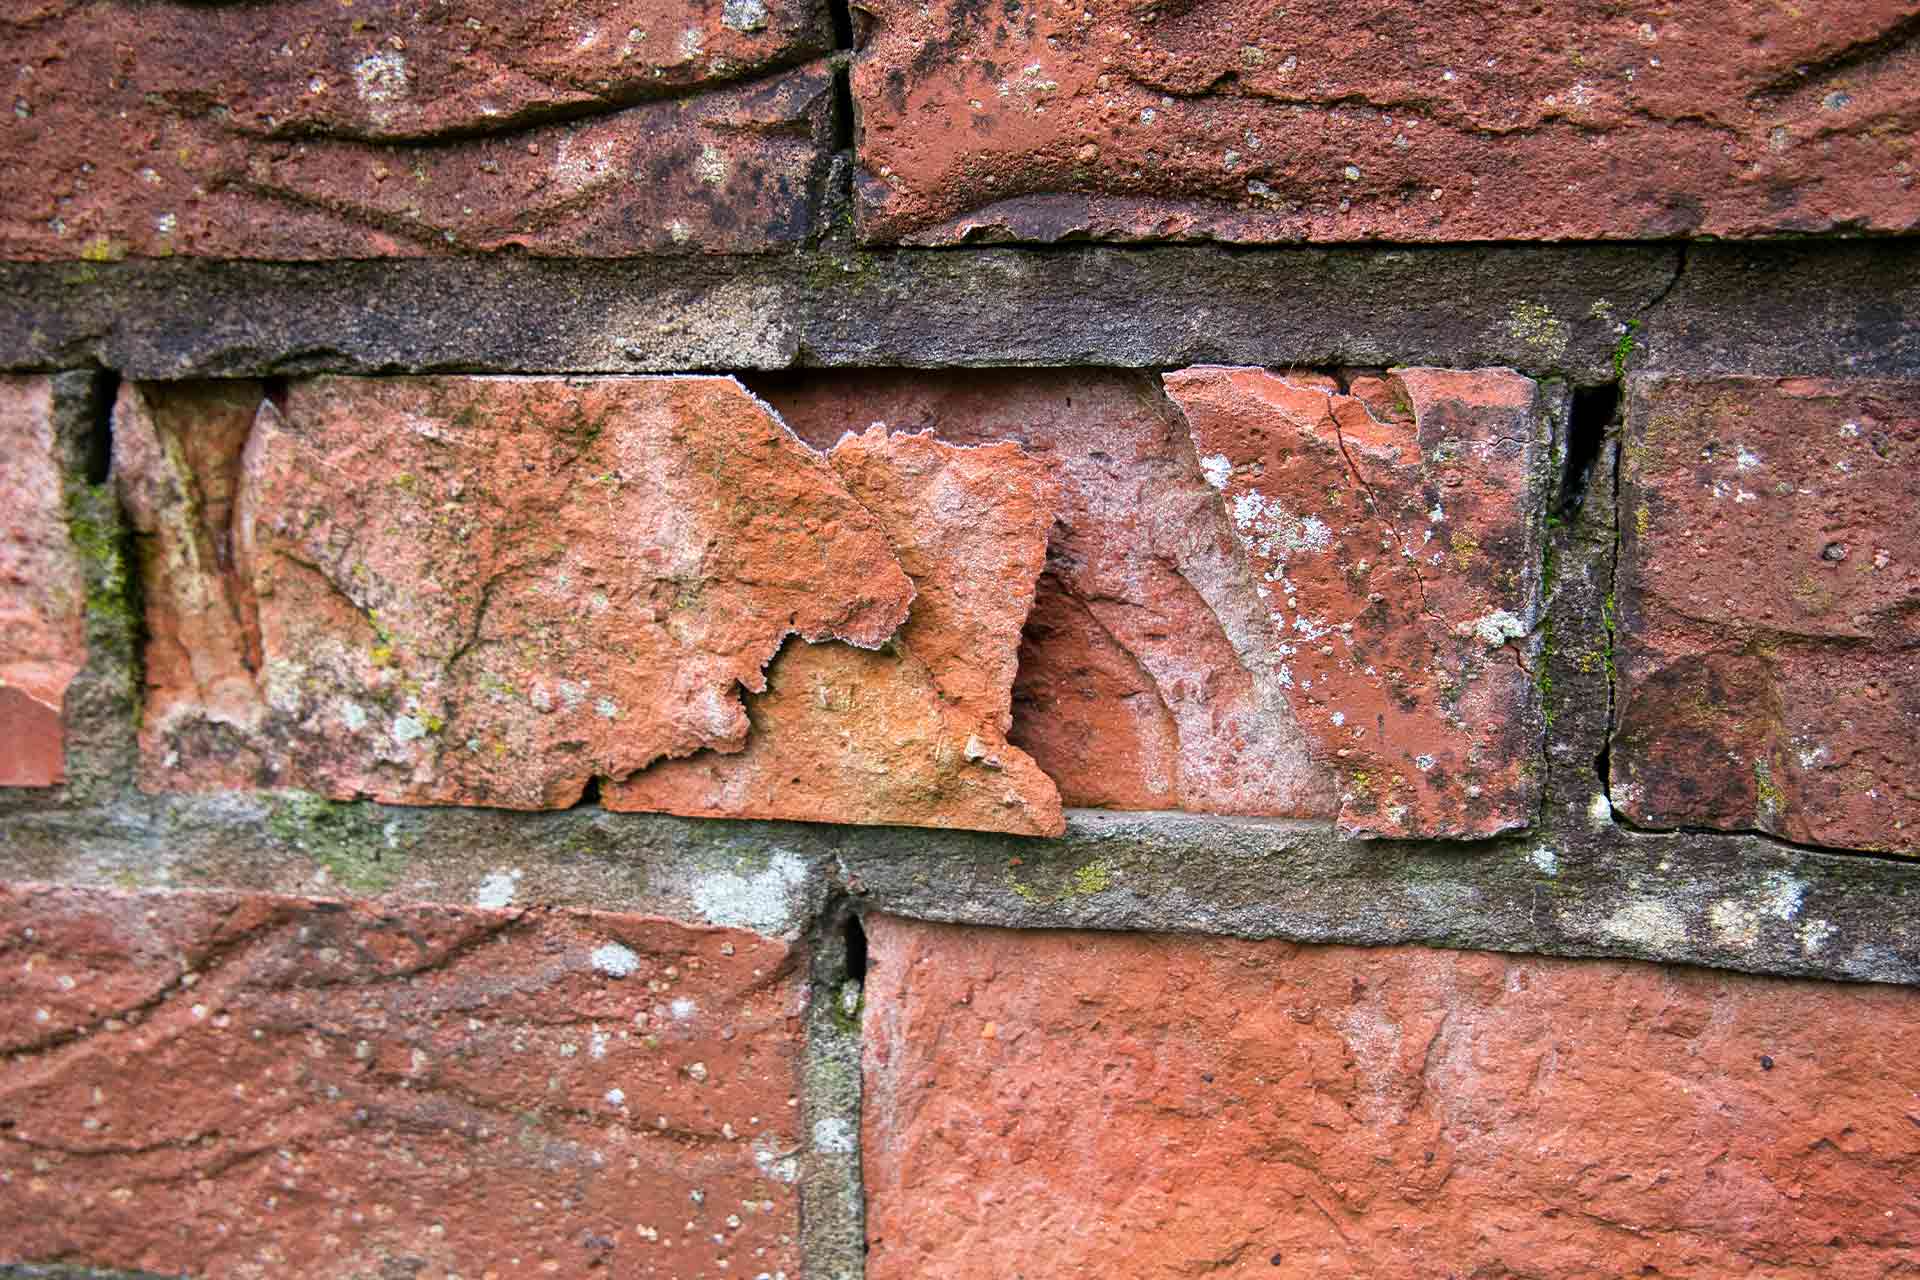
- Inspect for Damage: Take this opportunity to inspect the window frame and the brick wall for any signs of damage, such as cracks or decay. Addressing these issues beforehand will contribute to a more secure seal.
- Apply Primer (if necessary): Depending on the type of sealant being used, applying a primer to the surfaces may be recommended to enhance adhesion and ensure optimal performance of the sealant.
- Insert Backer Rod (if applicable): For larger gaps, insert a backer rod into the void to provide support for the sealant. Ensure that the backer rod fits snugly and is positioned at the appropriate depth within the gap.
- Masking (optional): If precision is crucial, consider using masking tape to define clean edges along the gap, preventing excess sealant from smearing onto adjacent surfaces.
By meticulously preparing the area, you can create an optimal environment for the application of the sealant, maximizing its effectiveness and longevity. With the surfaces primed and ready, it’s time to proceed with applying the sealant.
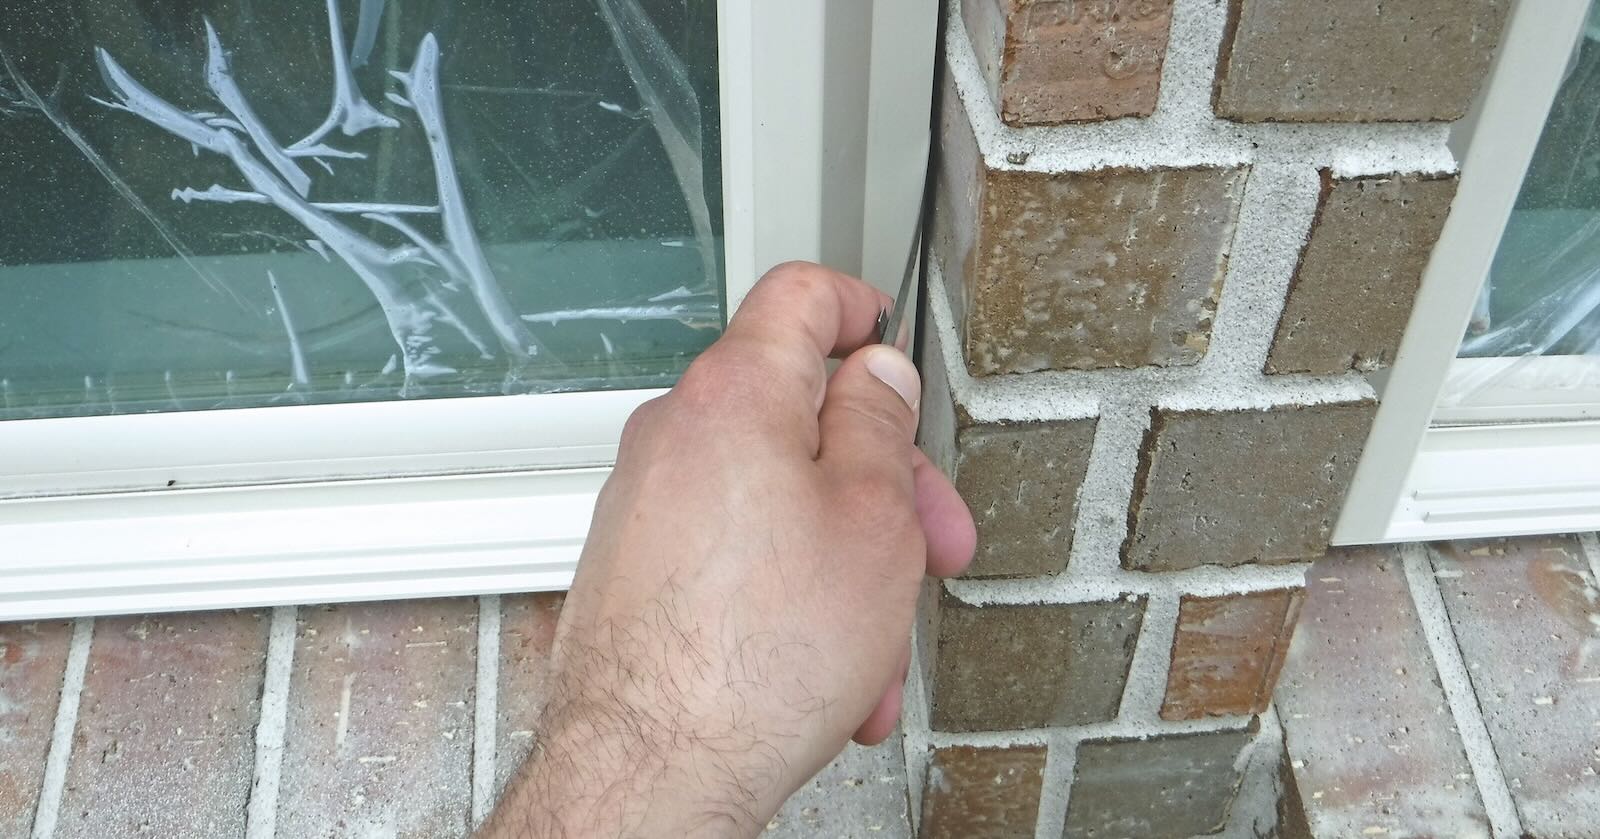
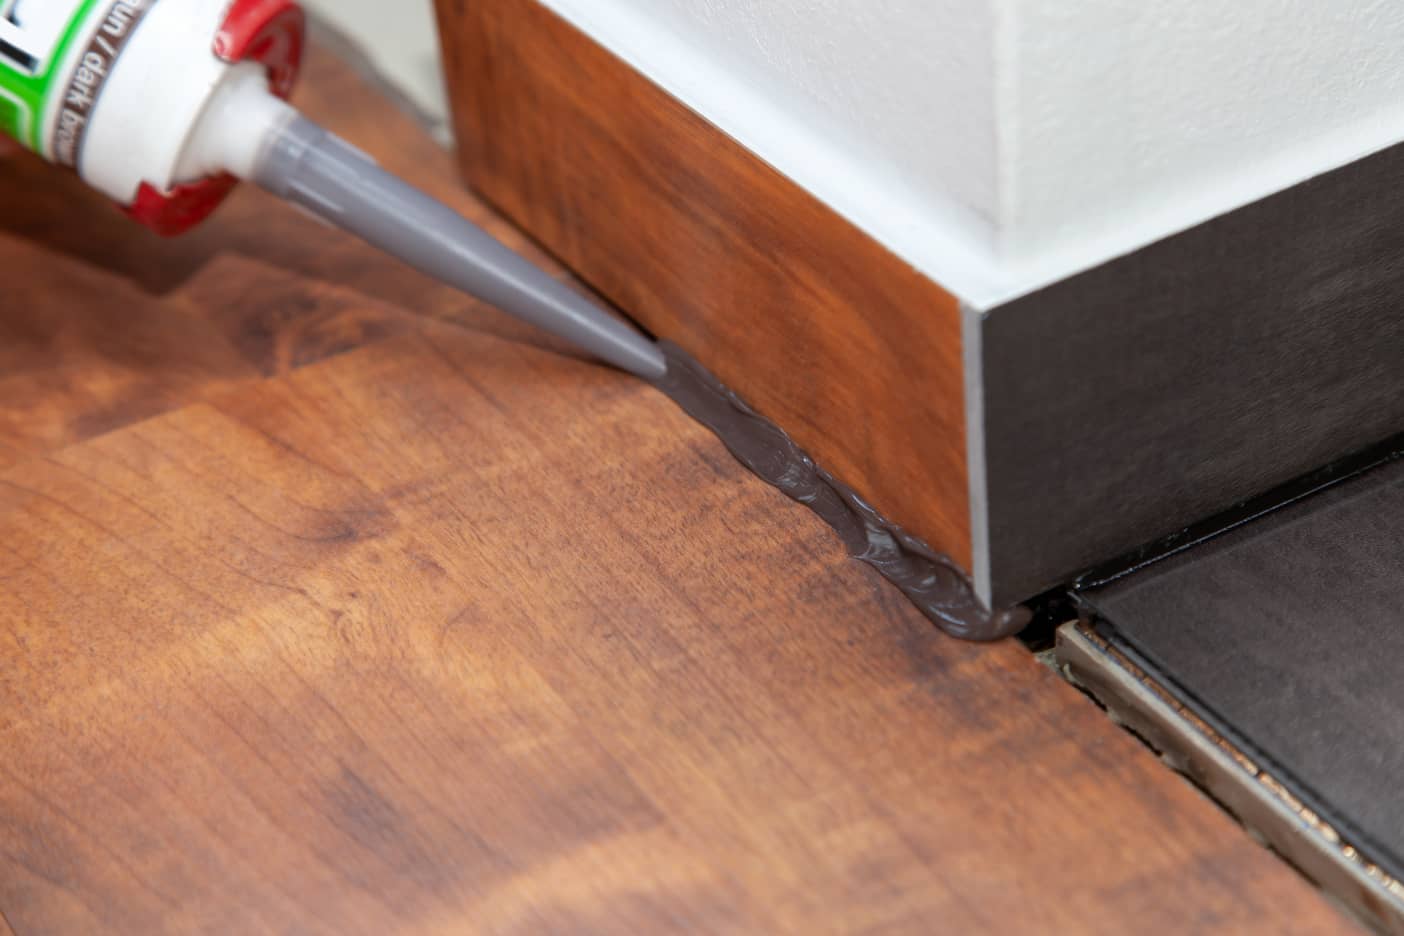
Use a high-quality silicone caulk to seal the gap between the window and brick wall. Clean the area thoroughly, apply the caulk in a continuous bead, and smooth it with a wet finger. Allow it to dry completely before exposing it to water.
Applying the Sealant
Now that the area is meticulously prepared, it’s time to apply the sealant to effectively bridge the gap between the window and the brick wall. Follow these steps to ensure a precise and durable application:
- Load the Caulking Gun: Load the caulking gun with the sealant cartridge, ensuring a secure fit. Cut the nozzle at a 45-degree angle to achieve the desired bead size.
- Start Sealing: Begin applying the sealant along the gap, maintaining a consistent bead by steadily pressing the trigger of the caulking gun. Work in small sections to ensure control and even coverage.
- Smooth the Sealant: After applying the sealant, use a caulking tool or a moistened finger to smooth the bead, ensuring good adhesion and a neat finish. Remove any excess sealant to achieve a clean appearance.
- Address Corners and Joints: Pay special attention to corners and joints, ensuring that the sealant adequately fills these areas to prevent any potential gaps or weak points.
- Allow for Proper Curing: Follow the manufacturer’s instructions regarding the curing time of the sealant. Allow sufficient time for the sealant to cure and form a strong, resilient bond.
By following these steps, you can effectively seal the gap, preventing air and moisture infiltration while enhancing the overall integrity of the building. With the sealant applied, it’s time to add the finishing touches to complete the sealing process.
Read more: How To Seal Gap Between Sliding Glass Doors
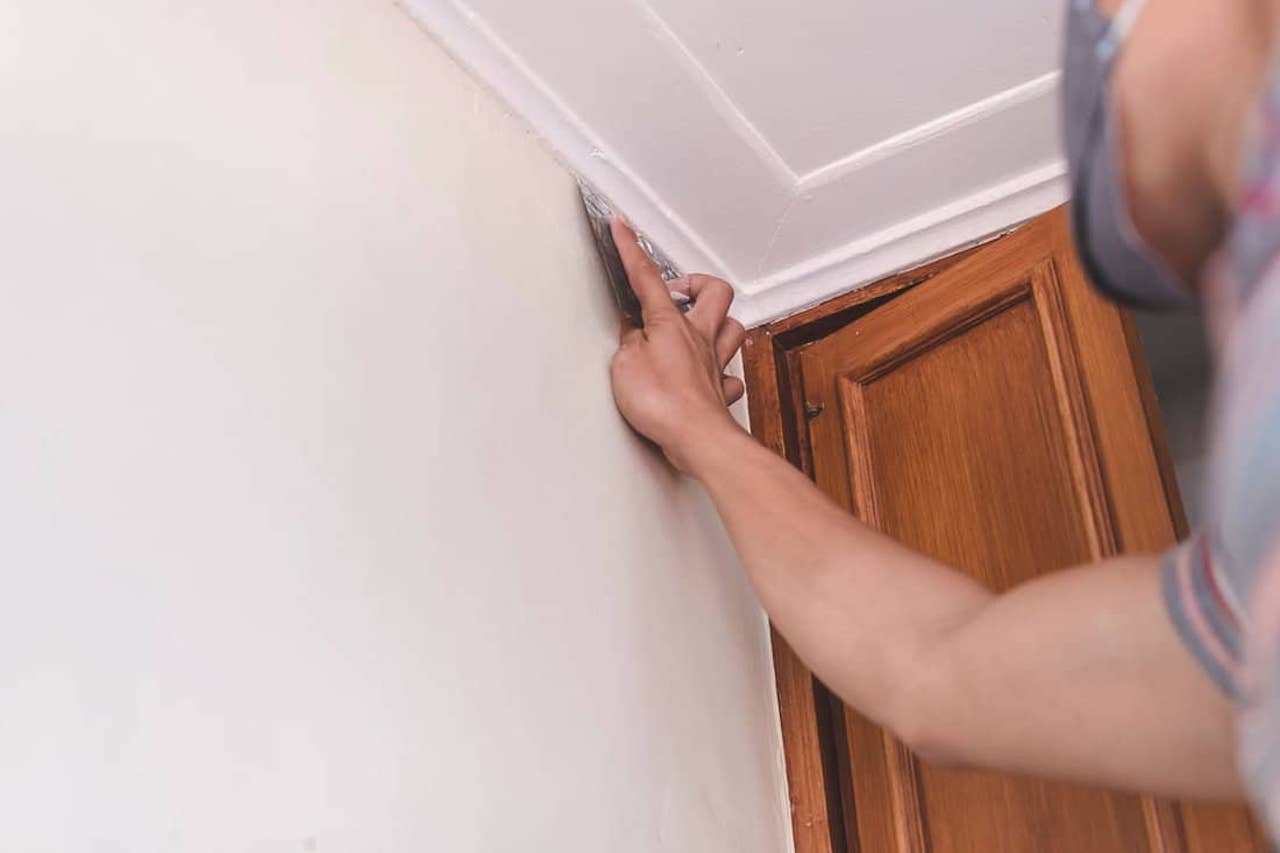
Finishing Touches
Completing the sealing process with attention to detail and precision will not only enhance the effectiveness of the seal but also contribute to the overall aesthetics of the area. Consider the following finishing touches to ensure a professional and polished outcome:
- Remove Masking (if used): If masking tape was applied to define clean edges, carefully remove it once the sealant has been smoothed, ensuring crisp lines and a tidy appearance.
- Inspect and Touch Up: Conduct a thorough visual inspection of the sealed area, addressing any irregularities or missed spots. Touch up the sealant as needed to achieve a consistent and complete seal.
- Clean Up Excess Sealant: Use a suitable solvent or cleaner to remove any residual sealant that may have smeared onto the window frame, brick wall, or surrounding surfaces. A clean finish adds to the overall appeal.
- Dispose of Waste Properly: Dispose of used sealant cartridges, backer rod remnants, and any other waste materials in accordance with local regulations and environmental guidelines.
- Document the Sealant Type and Application Date: Keep a record of the sealant type used and the date of application. This information will be valuable for future maintenance and reference.
By attending to these finishing touches, you can ensure that the sealed area not only functions optimally but also looks well-maintained and professional. With the sealing process complete, you can enjoy the peace of mind that comes with a secure and well-protected window-to-wall interface.
Conclusion
Sealing the gap between a window and a brick wall is a vital maintenance task that offers numerous benefits, including improved energy efficiency, enhanced structural integrity, and a more comfortable living or working environment. By understanding the implications of this gap and following the step-by-step process outlined in this guide, you can effectively address the issue and enjoy a well-sealed and secure building.
Remember, the key steps in this process include understanding the problem, choosing the right materials, preparing the area, applying the sealant, and adding the finishing touches. Each step plays a crucial role in ensuring a successful and long-lasting seal that protects against energy loss, water infiltration, and pest intrusion.
Whether you’re a homeowner taking on a DIY project or a professional contractor, the importance of a properly sealed window-to-wall interface cannot be overstated. It not only safeguards the building against potential damage but also contributes to its overall visual appeal and value.
By investing the time and attention required to seal this gap effectively, you are making a proactive and impactful contribution to the maintenance and longevity of your building. With a well-executed seal, you can enjoy peace of mind, knowing that your building is better equipped to withstand the elements and maintain its structural integrity for years to come.
Thank you for exploring this comprehensive guide. We hope it has equipped you with the knowledge and confidence to tackle the task of sealing the gap between a window and a brick wall with success and satisfaction.
Frequently Asked Questions about How To Seal Gap Between Window And Brick Wall
Was this page helpful?
At Storables.com, we guarantee accurate and reliable information. Our content, validated by Expert Board Contributors, is crafted following stringent Editorial Policies. We're committed to providing you with well-researched, expert-backed insights for all your informational needs.


0 thoughts on “How To Seal Gap Between Window And Brick Wall”