Home>Construction & Tools>Building Materials>How To Install Window Flower Boxes On Brick
Building Materials
How To Install Window Flower Boxes On Brick
Modified: February 18, 2024
Learn how to install window flower boxes on brick using the right building materials. Follow our step-by-step guide for a beautiful and sturdy installation.
(Many of the links in this article redirect to a specific reviewed product. Your purchase of these products through affiliate links helps to generate commission for Storables.com, at no extra cost. Learn more)
Introduction
Welcome to our comprehensive guide on how to install window flower boxes on brick. Adding window flower boxes can instantly enhance the charm and curb appeal of your home, creating a welcoming and picturesque setting. Whether you’re an avid gardener looking to showcase your favorite blooms or simply aiming to elevate your home’s exterior aesthetics, this step-by-step tutorial will equip you with the knowledge and confidence to tackle this project with ease.
Installing window flower boxes on brick may seem daunting at first, but with the right tools, materials, and guidance, it can be a rewarding and achievable endeavor. By following these instructions, you’ll be able to adorn your windows with beautiful blossoms, creating a delightful view both inside and outside your home.
So, let’s dive in and learn how to add a touch of natural beauty to your brick exterior by installing window flower boxes.
Key Takeaways:
- Transform your home’s exterior with window flower boxes on brick. Follow our guide for a rewarding and visually appealing installation process, bringing natural beauty to your windows with ease.
- Elevate your home’s curb appeal by installing window flower boxes on brick. Our step-by-step tutorial equips you with the knowledge and confidence to create a charming and welcoming display of blooming plants and flowers.
Read more: How To Make Window Flower Boxes
Materials Needed
Before embarking on the installation process, it’s essential to gather the necessary materials and tools. Here’s what you’ll need:
- Window flower box
- Brackets
- Drill
- Masonry drill bit
- Wall plugs
- Screwdriver or impact driver
- Tape measure
- Pencil or marker
- Safety goggles
- Level
- Assorted plants and flowers
- Potting soil
- Watering can or hose
Ensuring that you have all these materials on hand will streamline the installation process and help you achieve professional-looking results.
Step 1: Measure and Mark
Before drilling into the brick to install your window flower box, it’s crucial to take precise measurements and mark the placement of the brackets. Here’s how to do it:
Begin by determining the desired location for your flower box. Take into account the size of your window and the overall aesthetic you wish to achieve. Once you’ve identified the ideal placement, use a tape measure to carefully measure the width of the window. This measurement will help you determine the appropriate size for your flower box and ensure a balanced and visually appealing arrangement.
Next, mark the positions where the brackets will be installed. Using a pencil or marker, make light but visible marks on the brick, ensuring that they align with the edges of the window. It’s essential to double-check the accuracy of your markings and use a level to confirm that the lines are perfectly horizontal. This attention to detail will contribute to a professional and polished end result.
Additionally, consider the spacing between the brackets to provide adequate support for the flower box. Typically, placing a bracket at each end of the window and evenly spacing additional brackets in between is recommended for optimal stability.
By taking the time to measure and mark the precise locations for the brackets, you’ll establish a solid foundation for the rest of the installation process, setting the stage for a secure and visually pleasing window flower box display.
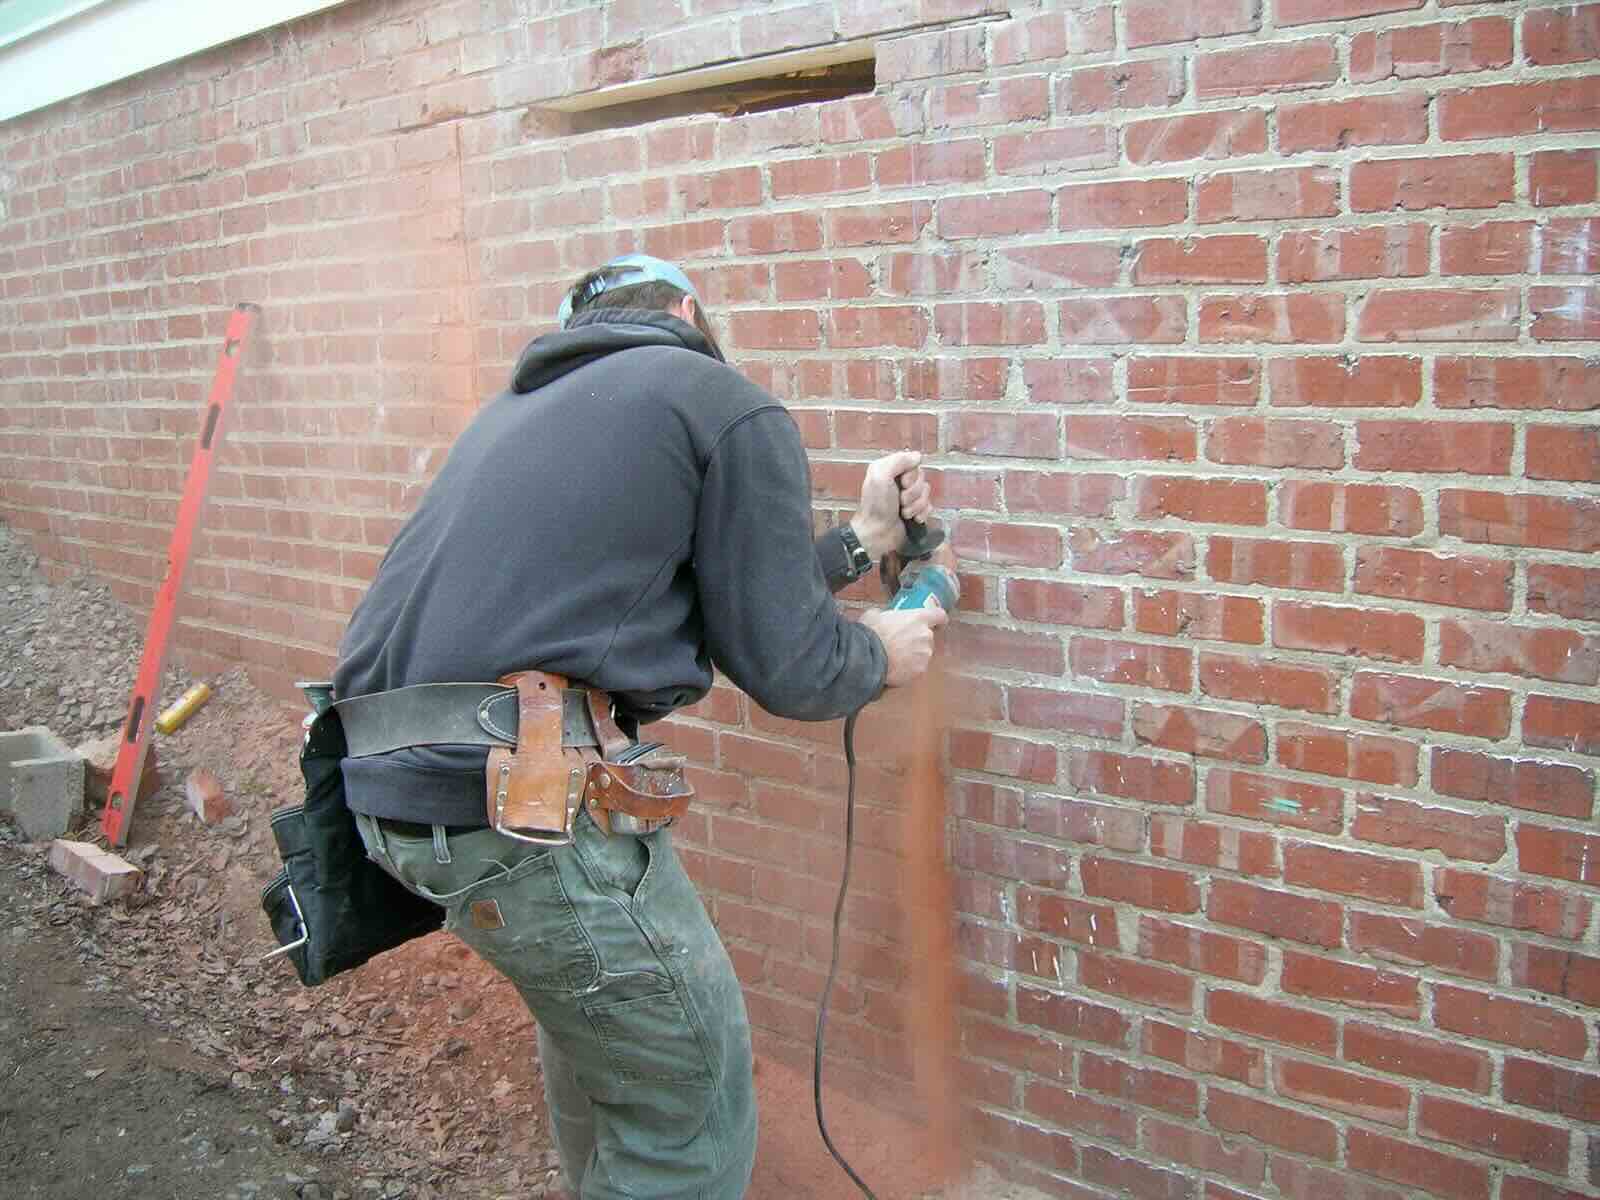
Step 2: Drill Holes
With the locations for the brackets marked, it’s time to drill holes into the brick to accommodate the wall plugs. This step requires precision and care to ensure that the holes are properly positioned and the brick surface remains intact. Here’s how to proceed:
Equip your drill with a masonry drill bit suitable for drilling into brick or concrete. It’s crucial to select the appropriate size of the drill bit based on the diameter of the wall plugs you’ll be using. This will ensure a snug and secure fit for the wall plugs, providing reliable support for the brackets.
Before drilling, put on safety goggles to protect your eyes from any debris that may be generated during the drilling process. Position the drill at the first marked spot for a bracket and hold it steady. Apply gentle but firm pressure as you begin drilling into the brick. It’s important to maintain a straight angle to ensure that the hole is aligned correctly.
As you drill, periodically withdraw the bit to clear away any accumulated dust and debris. This will help maintain the effectiveness of the drill and allow for better visibility of your progress. Take your time and exercise patience to avoid rushing through this crucial step.
Repeat the drilling process for each marked location, ensuring that the holes are uniform in depth and diameter. Consistency in the size and depth of the holes is essential for the proper installation of the wall plugs, which will ultimately provide the necessary support for the brackets.
By drilling precise holes with care and attention to detail, you’ll pave the way for the successful installation of the wall plugs and brackets, bringing you one step closer to completing your window flower box project.
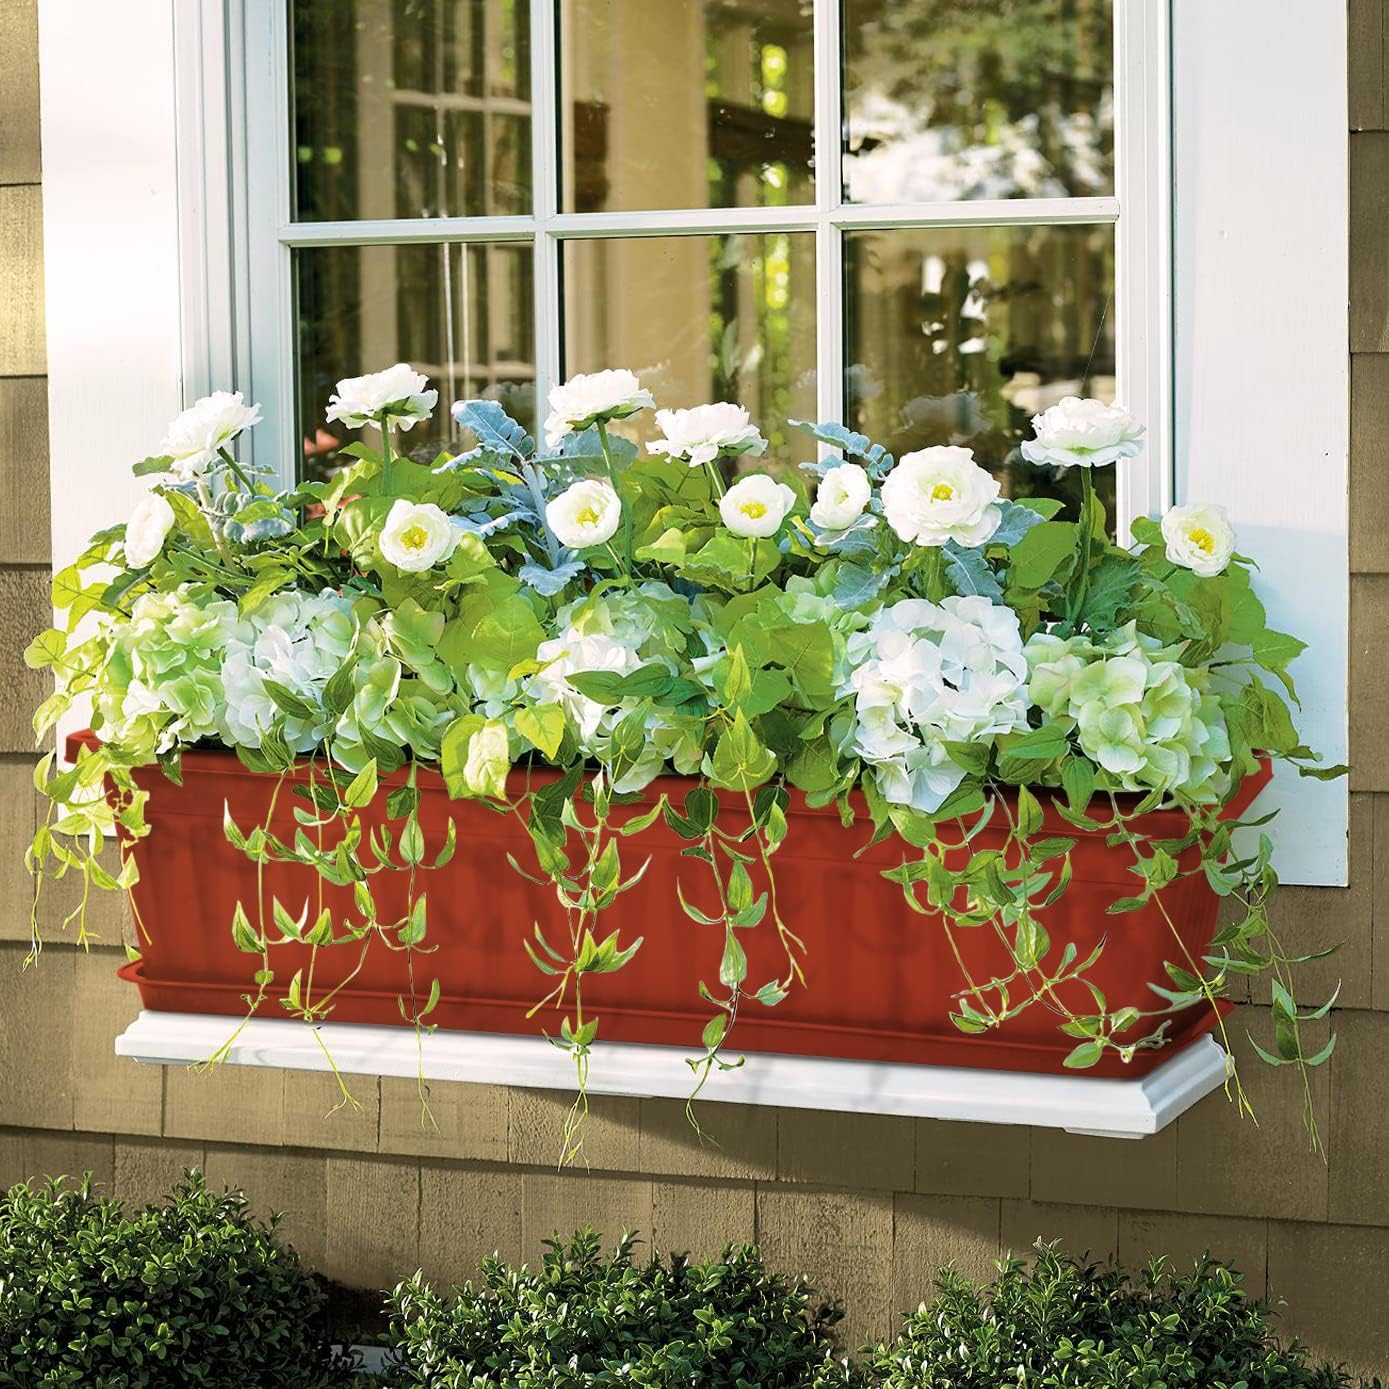
Use masonry screws and a drill to attach a mounting bracket to the brick. Then, simply slide the window flower box onto the bracket and secure it in place. Make sure to use a level to ensure the box is straight.
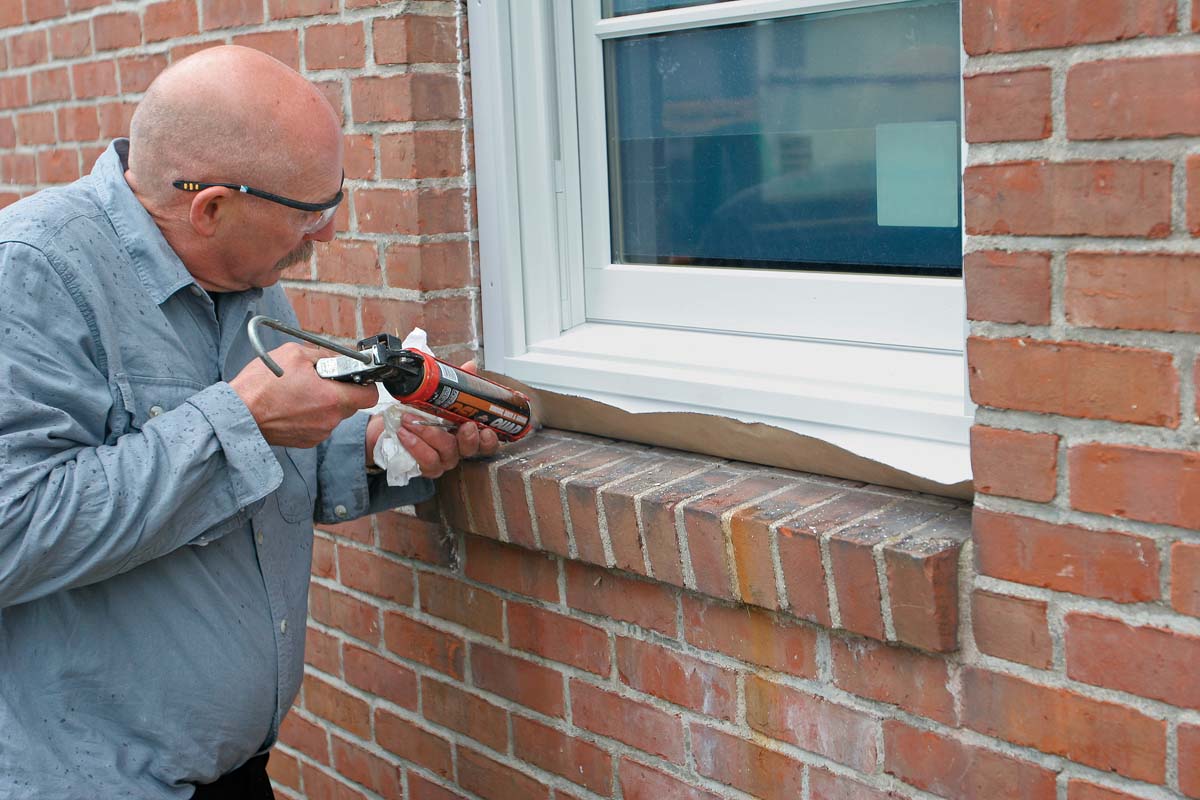
Step 3: Install Wall Plugs
Once the holes in the brick have been drilled, the next crucial step is to install wall plugs to create a secure anchor for the brackets. Wall plugs, also known as expansion anchors, provide stability and support when fastening items to masonry surfaces. Here’s how to properly install wall plugs for your window flower box installation:
Begin by selecting wall plugs that are appropriate for the size of the drilled holes and the type of masonry you’re working with. It’s essential to choose high-quality wall plugs that are designed to expand securely within the brick, ensuring a reliable foundation for the brackets.
Insert a wall plug into the first drilled hole, ensuring that it sits flush with the surface of the brick. Depending on the type of wall plug, you may need to gently tap it into place with a hammer until it is fully seated in the hole. Repeat this process for each drilled hole, taking care to insert the wall plugs securely and consistently.
As you install the wall plugs, it’s important to verify that they are aligned correctly and sit firmly within the brick. A snug and stable fit is crucial for the subsequent attachment of the brackets, as it will provide the necessary support for the weight of the flower box and its contents.
Once all the wall plugs are in place, inspect each one to ensure that it is firmly anchored in the brick and capable of withstanding the load it will bear. This meticulous attention to the installation of wall plugs will contribute to the overall stability and longevity of your window flower box installation.
By carefully and methodically installing wall plugs, you’ll establish a reliable and durable foundation for the brackets, setting the stage for the secure attachment of the flower box to your brick exterior.
Read more: How To Install A Window Box
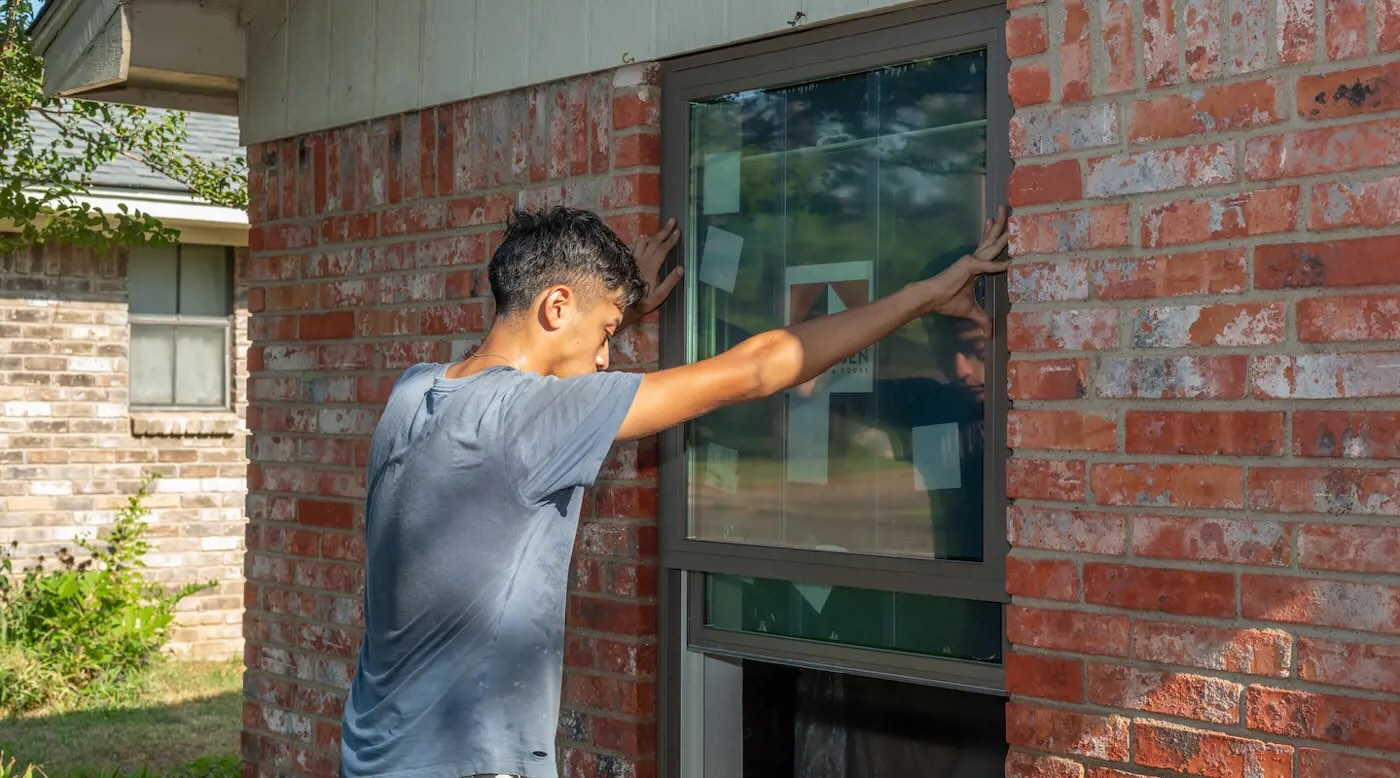
Step 4: Attach Brackets
With the wall plugs in place, it’s time to attach the brackets that will support your window flower box. Properly securing the brackets to the brick is essential for ensuring the stability and longevity of your installation. Here’s how to effectively attach the brackets:
Position the first bracket against the brick, aligning it with the installed wall plug. Using a screwdriver or impact driver, insert a screw through the holes in the bracket and tighten it into the wall plug. It’s important to fasten the screw securely, ensuring that the bracket is firmly anchored to the brick surface.
Repeat this process for each bracket, ensuring that they are evenly spaced and aligned with the markings you made during the initial measurement and marking stage. Maintaining consistent spacing and alignment will contribute to a visually appealing and structurally sound installation.
As you attach each bracket, periodically check for levelness to guarantee that the brackets are installed in a straight and uniform manner. A level will help you confirm that the brackets are not only horizontally aligned but also positioned at the same height, contributing to the overall symmetry and balance of your window flower box display.
Once all the brackets are securely attached to the brick, give them a gentle but firm tug to ensure they are stable and capable of supporting the weight of the flower box. This extra step will provide peace of mind and confirm that your installation is built to last.
By methodically attaching the brackets with precision and care, you’ll establish a solid and reliable framework for your window flower box, bringing you one step closer to completing the installation and enjoying the beauty of your blooming display.
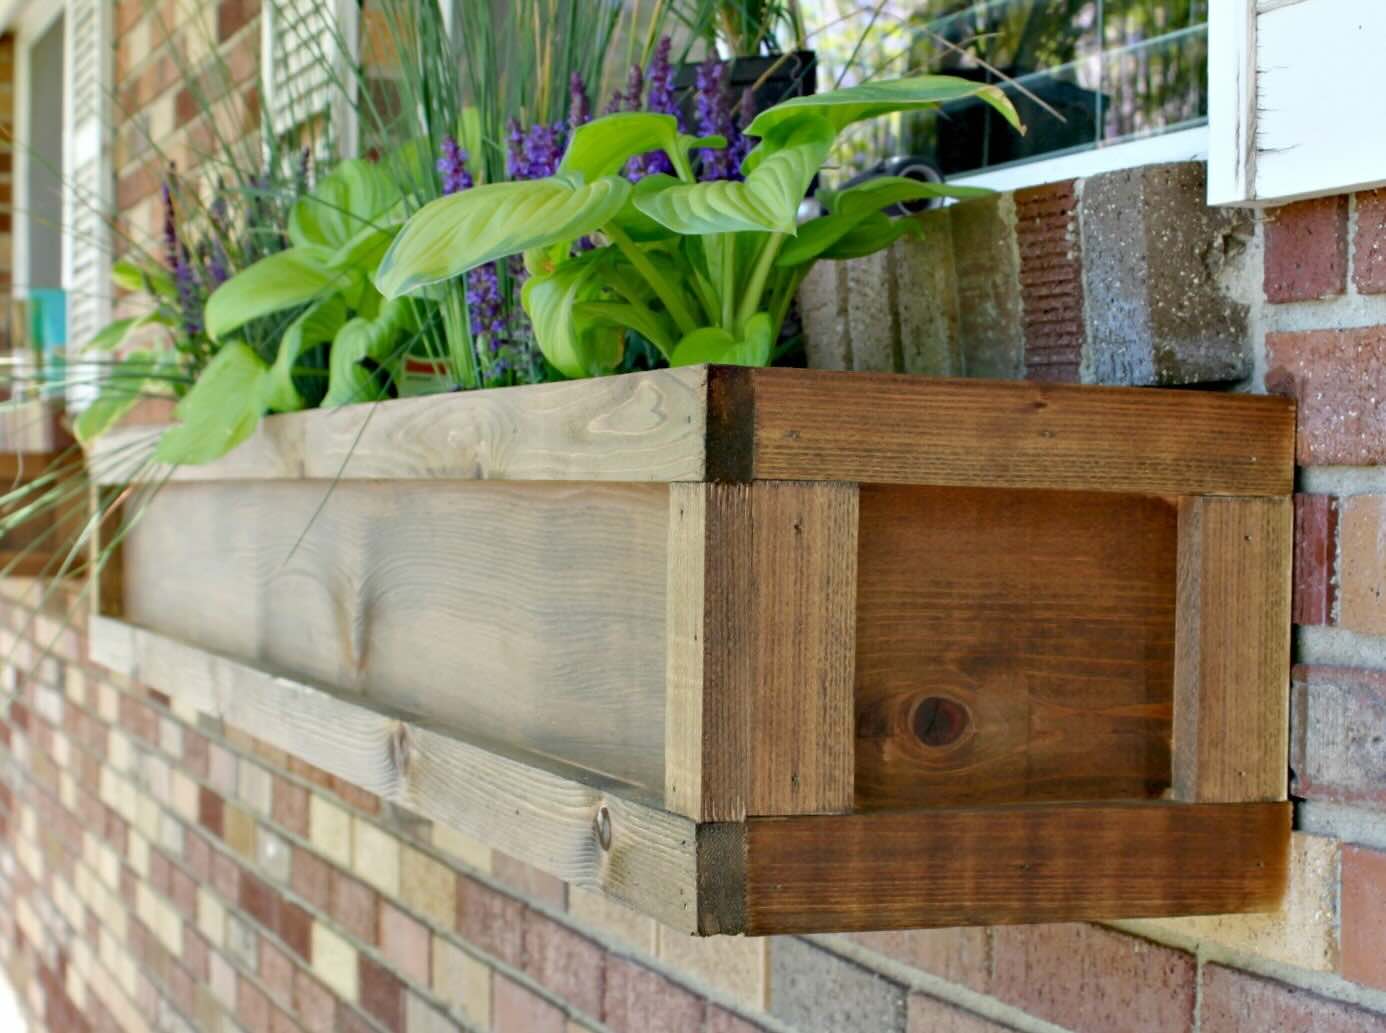
Step 5: Place Flower Box
With the brackets securely attached to the brick, it’s time to complete the installation by placing the flower box onto the supports. This final step will bring your vision to life as you transform your window into a vibrant display of natural beauty. Here’s how to place the flower box with care and precision:
Position the flower box on a stable surface, ensuring that it is easily accessible for placement onto the brackets. Depending on the design of your flower box, it may have built-in slots or hooks that allow it to rest securely on the brackets. Carefully lift the flower box and align it with the installed brackets, gently lowering it into place.
As you position the flower box, ensure that it sits evenly on the brackets and is centered with the window. Take a step back to assess the placement and make any necessary adjustments to achieve a balanced and visually appealing arrangement. This attention to detail will contribute to the overall impact of your window flower box display.
Once the flower box is in position, give it a gentle shake to confirm that it is stable and properly supported by the brackets. This simple test will provide assurance that your installation is secure and ready to showcase your favorite plants and flowers.
Finally, add potting soil to the flower box and carefully plant your chosen assortment of blooms. Whether you prefer vibrant annuals, cascading vines, or fragrant herbs, the flower box provides a charming canvas for your gardening creativity. Water the plants thoroughly and step back to admire the delightful transformation of your window space.
By placing the flower box with attention to detail and a touch of artistry, you’ll bring your window to life with a captivating display of nature’s beauty, creating a welcoming and picturesque focal point for your home.
Conclusion
Congratulations! You’ve successfully completed the installation of window flower boxes on your brick exterior, adding a touch of natural elegance and charm to your home. By following the step-by-step guide provided, you’ve not only enhanced the visual appeal of your windows but also created a delightful space for showcasing your favorite plants and flowers. As you admire your handiwork, take a moment to appreciate the transformation and the inviting atmosphere it brings to your home.
Installing window flower boxes on brick may have seemed like a daunting task at the outset, but your determination and attention to detail have yielded a stunning result. The careful measurement, precise drilling, and secure attachment of brackets have culminated in a sturdy and visually striking display that will be enjoyed for seasons to come.
As you gaze upon the blooming blossoms adorning your windows, take pride in the craftsmanship and creativity you’ve invested in this project. The vibrant colors and lush greenery now enlivening your exterior serve as a testament to your ability to transform ordinary spaces into extraordinary showcases of natural beauty.
Furthermore, the addition of window flower boxes not only enhances your home’s aesthetic appeal but also fosters a connection to nature, bringing the outdoors closer to your daily living environment. The simple act of tending to your window garden can provide a sense of tranquility and joy, enriching your home life in meaningful ways.
As you revel in the beauty of your newly installed window flower boxes, consider the endless possibilities for creativity and personal expression that they offer. Whether you choose to change the plantings with the seasons, experiment with different floral arrangements, or simply enjoy the calming presence of greenery outside your windows, your window flower boxes are a canvas for your imagination and a reflection of your unique style.
Thank you for joining us on this journey of installing window flower boxes on brick. We hope this guide has empowered you to embark on this enriching project and that the results bring you joy and satisfaction. May your window flower boxes continue to inspire and uplift, creating a picturesque and welcoming ambiance for you and your guests to enjoy.
Frequently Asked Questions about How To Install Window Flower Boxes On Brick
Was this page helpful?
At Storables.com, we guarantee accurate and reliable information. Our content, validated by Expert Board Contributors, is crafted following stringent Editorial Policies. We're committed to providing you with well-researched, expert-backed insights for all your informational needs.


0 thoughts on “How To Install Window Flower Boxes On Brick”