Home>Articles>How To Install A Wood Stove Chimney Through Wall
Articles
How To Install A Wood Stove Chimney Through Wall
Modified: October 20, 2024
Learn how to install a wood stove chimney through a wall with our comprehensive articles. Step-by-step instructions and expert tips included.
(Many of the links in this article redirect to a specific reviewed product. Your purchase of these products through affiliate links helps to generate commission for Storables.com, at no extra cost. Learn more)
Introduction
Welcome to our guide on how to install a wood stove chimney through a wall. Wood stoves are a popular and efficient way to heat homes, offering a cozy and warm atmosphere during the colder months. But to ensure safe and optimal performance, it is crucial to install a proper chimney system for the wood stove. In this article, we will walk you through the step-by-step process of installing a wood stove chimney through a wall.
Before we dive into the installation process, it’s essential to highlight the importance of safety when dealing with wood stoves and chimneys. Improper installation can lead to fire hazards, carbon monoxide poisoning, or structural damage. Therefore, we highly recommend following local building codes, consulting with professionals, and obtaining any necessary permits before proceeding with the installation.
In addition, it’s worth mentioning that this guide focuses specifically on installing a wood stove chimney through a wall. If you’re planning to install the chimney through a roof or any other configuration, it’s best to consult with a professional chimney installer.
Now that we’ve covered the basics, let’s move on to the first step: gathering the necessary materials and tools for the installation process.
Key Takeaways:
- Proper installation of a wood stove chimney through a wall requires careful planning, adherence to building codes, and attention to detail to ensure safety and optimal performance of the wood stove.
- Securing and insulating the chimney pipe, connecting it to the wood stove, and testing for proper ventilation are crucial steps in the installation process, contributing to a safe and cozy wood stove experience.
Step 1: Gather the necessary materials and tools
Before you start the installation process, it’s essential to gather all the necessary materials and tools. This will ensure a smooth and efficient installation and minimize any delays or interruptions along the way. Here’s a list of the materials and tools you’ll need:
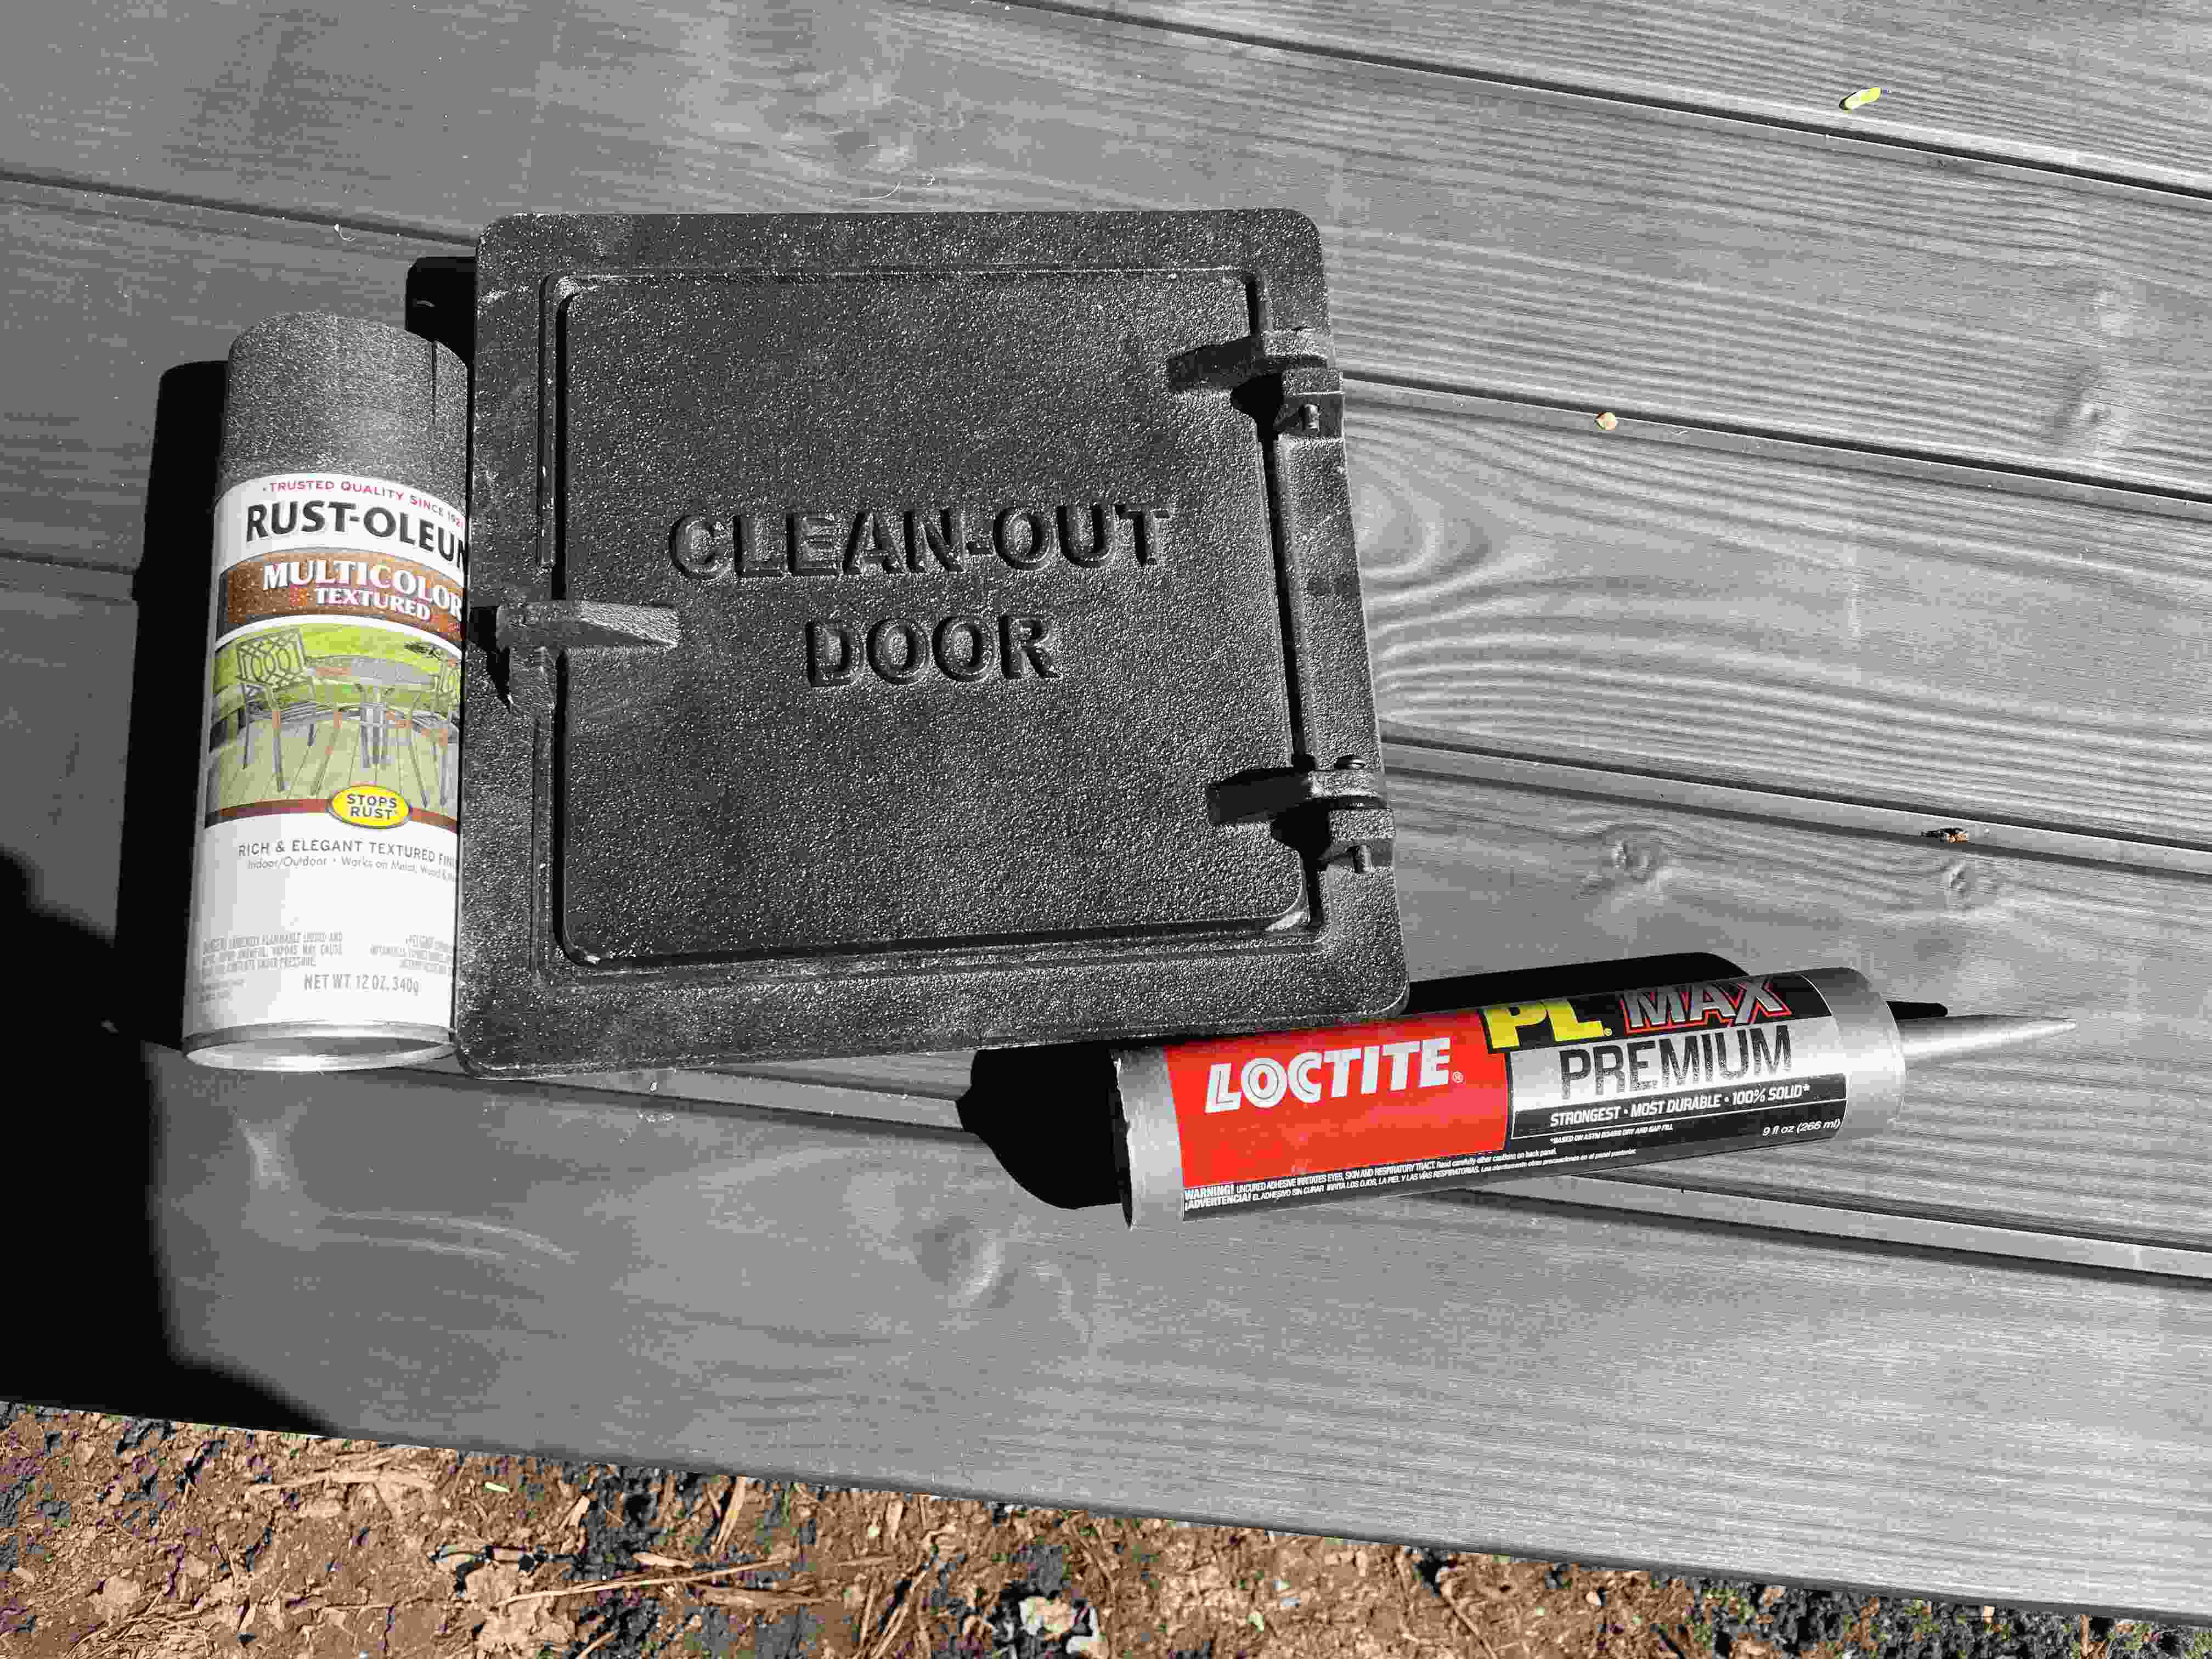
Materials:
- Chimney pipe sections
- Wall thimble
- Chimney cap
- Chimney support brackets
- Insulated chimney pipe
- Roof flashing (if needed)
- High-temperature silicone sealant
- Fireproof insulation
- Screws, nuts, and bolts
- Aluminum tape
- Wood stove pipe adapter
- Stovepipe thermometer
Tools:
- Tape measure
- Level
- Drill
- Hammer
- Screwdriver
- Plumb bob
- Hacksaw or reciprocating saw
- Tin snips
- Chalk line
- Channel lock pliers
- Caulking gun
- Flashlight
Having all the necessary materials and tools upfront will save you time and prevent any last-minute trips to the hardware store. It’s also important to ensure that you’re using high-quality materials and tools that meet the appropriate safety standards for wood stove installations.
Next, we’ll move on to step 2, where we’ll discuss how to determine the location for the wood stove chimney.
Step 2: Determine the location for the wood stove chimney
Choosing the right location for your wood stove chimney is crucial for both safety and efficiency. The location should comply with local building codes and regulations, ensuring proper clearance from combustible materials and adequate ventilation. Here’s how to determine the ideal location:
- Check local building codes: Consult your local building department to understand the specific requirements for wood stove installations in your area. They may have regulations regarding clearance distances from walls, ceilings, and other combustible materials.
- Consider the layout of the room: Look for a suitable area in the room where the wood stove can be centrally positioned. This will maximize heat distribution and ensure a comfortable environment throughout the space.
- Identify the best exterior wall: Choose an exterior wall where the wood stove chimney can be installed. Typically, this wall should have enough space for the chimney pipe to pass through and provide easy access for maintenance.
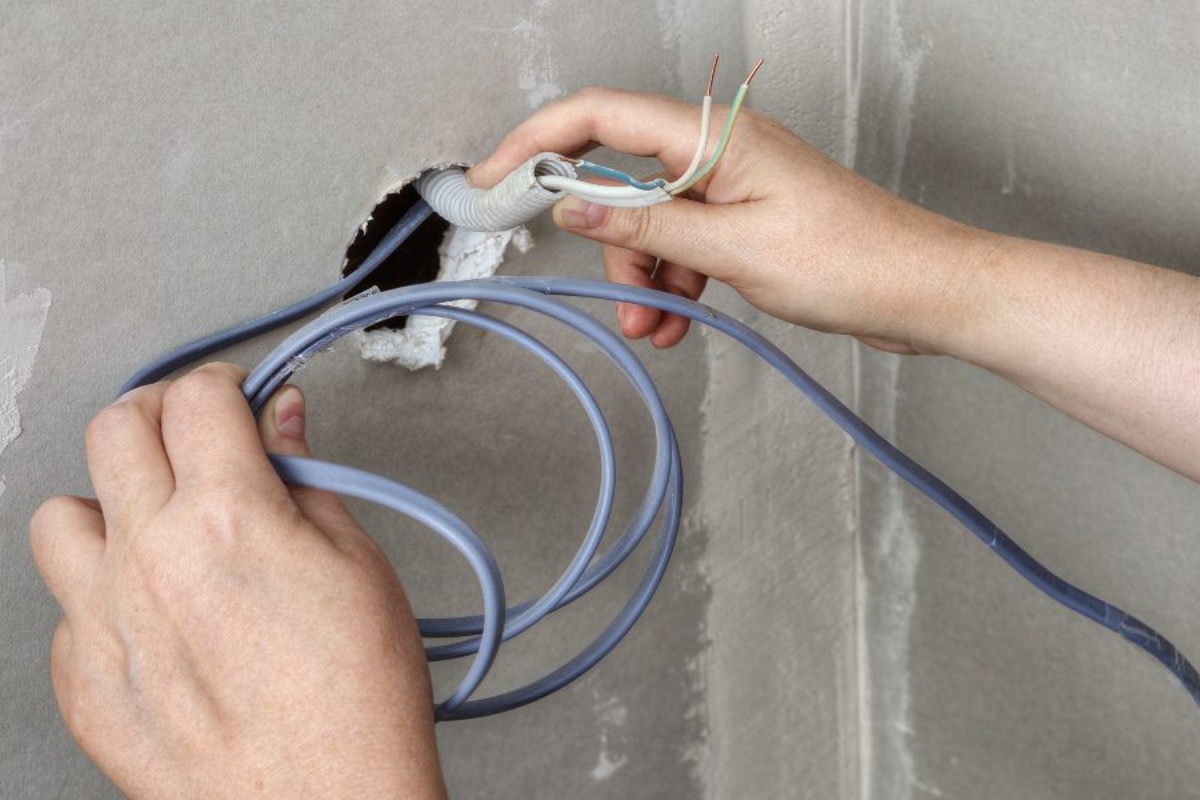
- Avoid obstructions: Ensure there are no obstructions such as windows, doors, or vents that could interfere with the chimney installation process. Additionally, be mindful of any structural elements like studs, joists, or electrical wiring within the wall.
- Consider chimney height: The height of the chimney is crucial for proper draft and adequate ventilation. A general guideline is that the chimney should extend at least 3 feet above the highest point where it passes through the roof or meets any other structure.
Once you’ve chosen the location, mark it on both the interior and exterior walls for reference. This will help guide you during the installation process. Now that you have determined the ideal location, we can move on to step 3, where we’ll discuss marking and preparing the wall for installation.
Step 3: Mark and prepare the wall for installation
Before you can install the wood stove chimney through the wall, it’s crucial to properly mark and prepare the wall to ensure a seamless and secure installation. Here are the steps to follow:
- Mark the centerline: Measure the width of the chimney pipe and use a tape measure to mark the centerline on both the interior and exterior walls. This centerline will serve as a guide for determining the precise location for the chimney pipe.
- Measure the clearance: Refer to your local building codes to determine the required clearance distance between the chimney pipe and any combustible materials. Measure and mark this clearance distance on the wall to ensure compliance.
- Mark the hole location: Determine the height at which the chimney pipe will exit the wall and mark this location on both the interior and exterior walls. Use a plumb bob or a level to ensure that the marks are perfectly aligned.
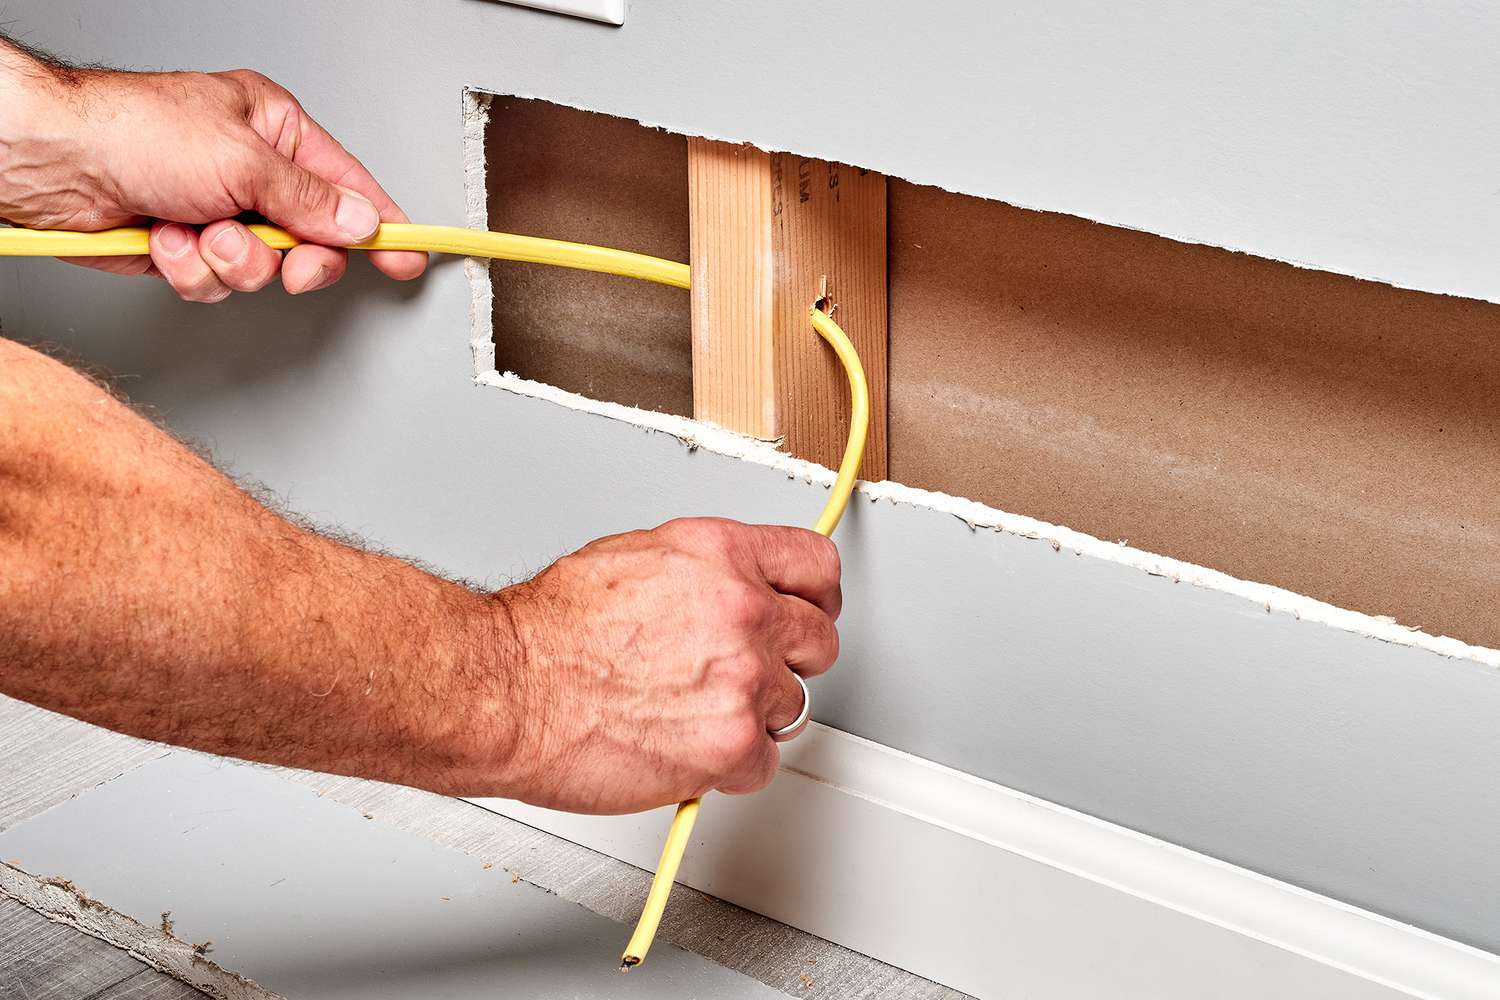
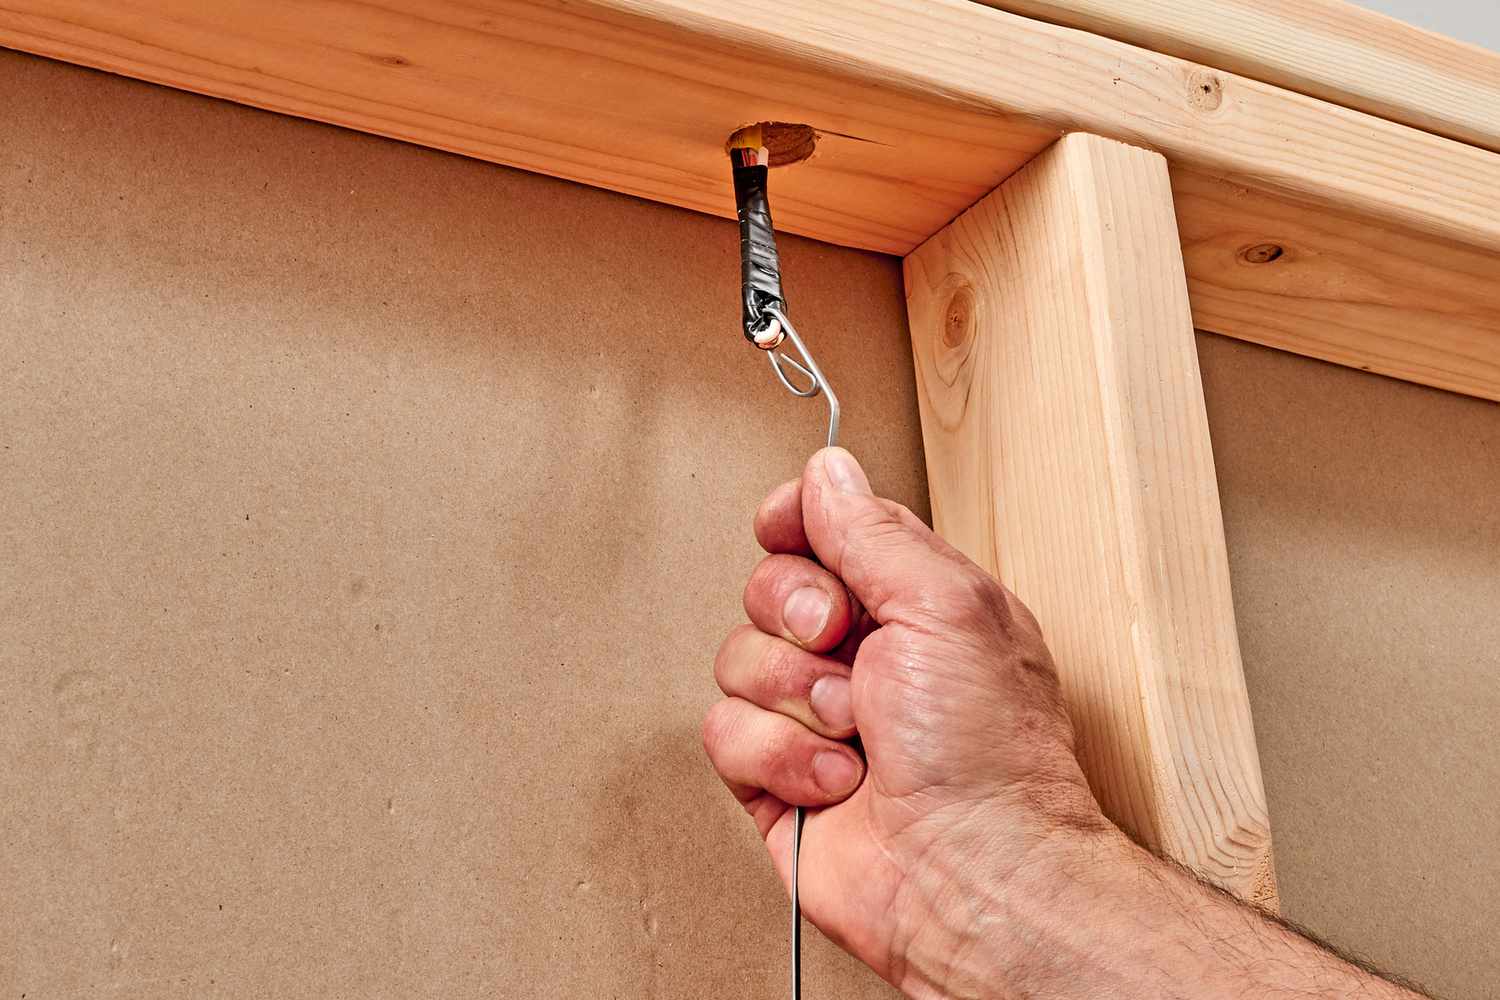
- Prepare the wall: Use a stud finder to locate any studs or other structural elements within the wall. This information will help you determine the best location for cutting a hole for the chimney pipe. Additionally, clear the area around the marked hole location of any obstructions, such as electrical wiring or insulation.
- Cut the hole: Using a reciprocating saw or a hole saw, carefully cut a hole through the wall at the marked location. Take your time and make precise cuts to ensure a clean and accurate hole. Wear appropriate safety equipment, such as goggles and a mask, during this process.
Once you have marked and prepared the wall, you’re ready to move on to the next step: installing the wall thimble. This component will serve as the connection point between the chimney pipe and the wall, ensuring proper ventilation and a secure installation.
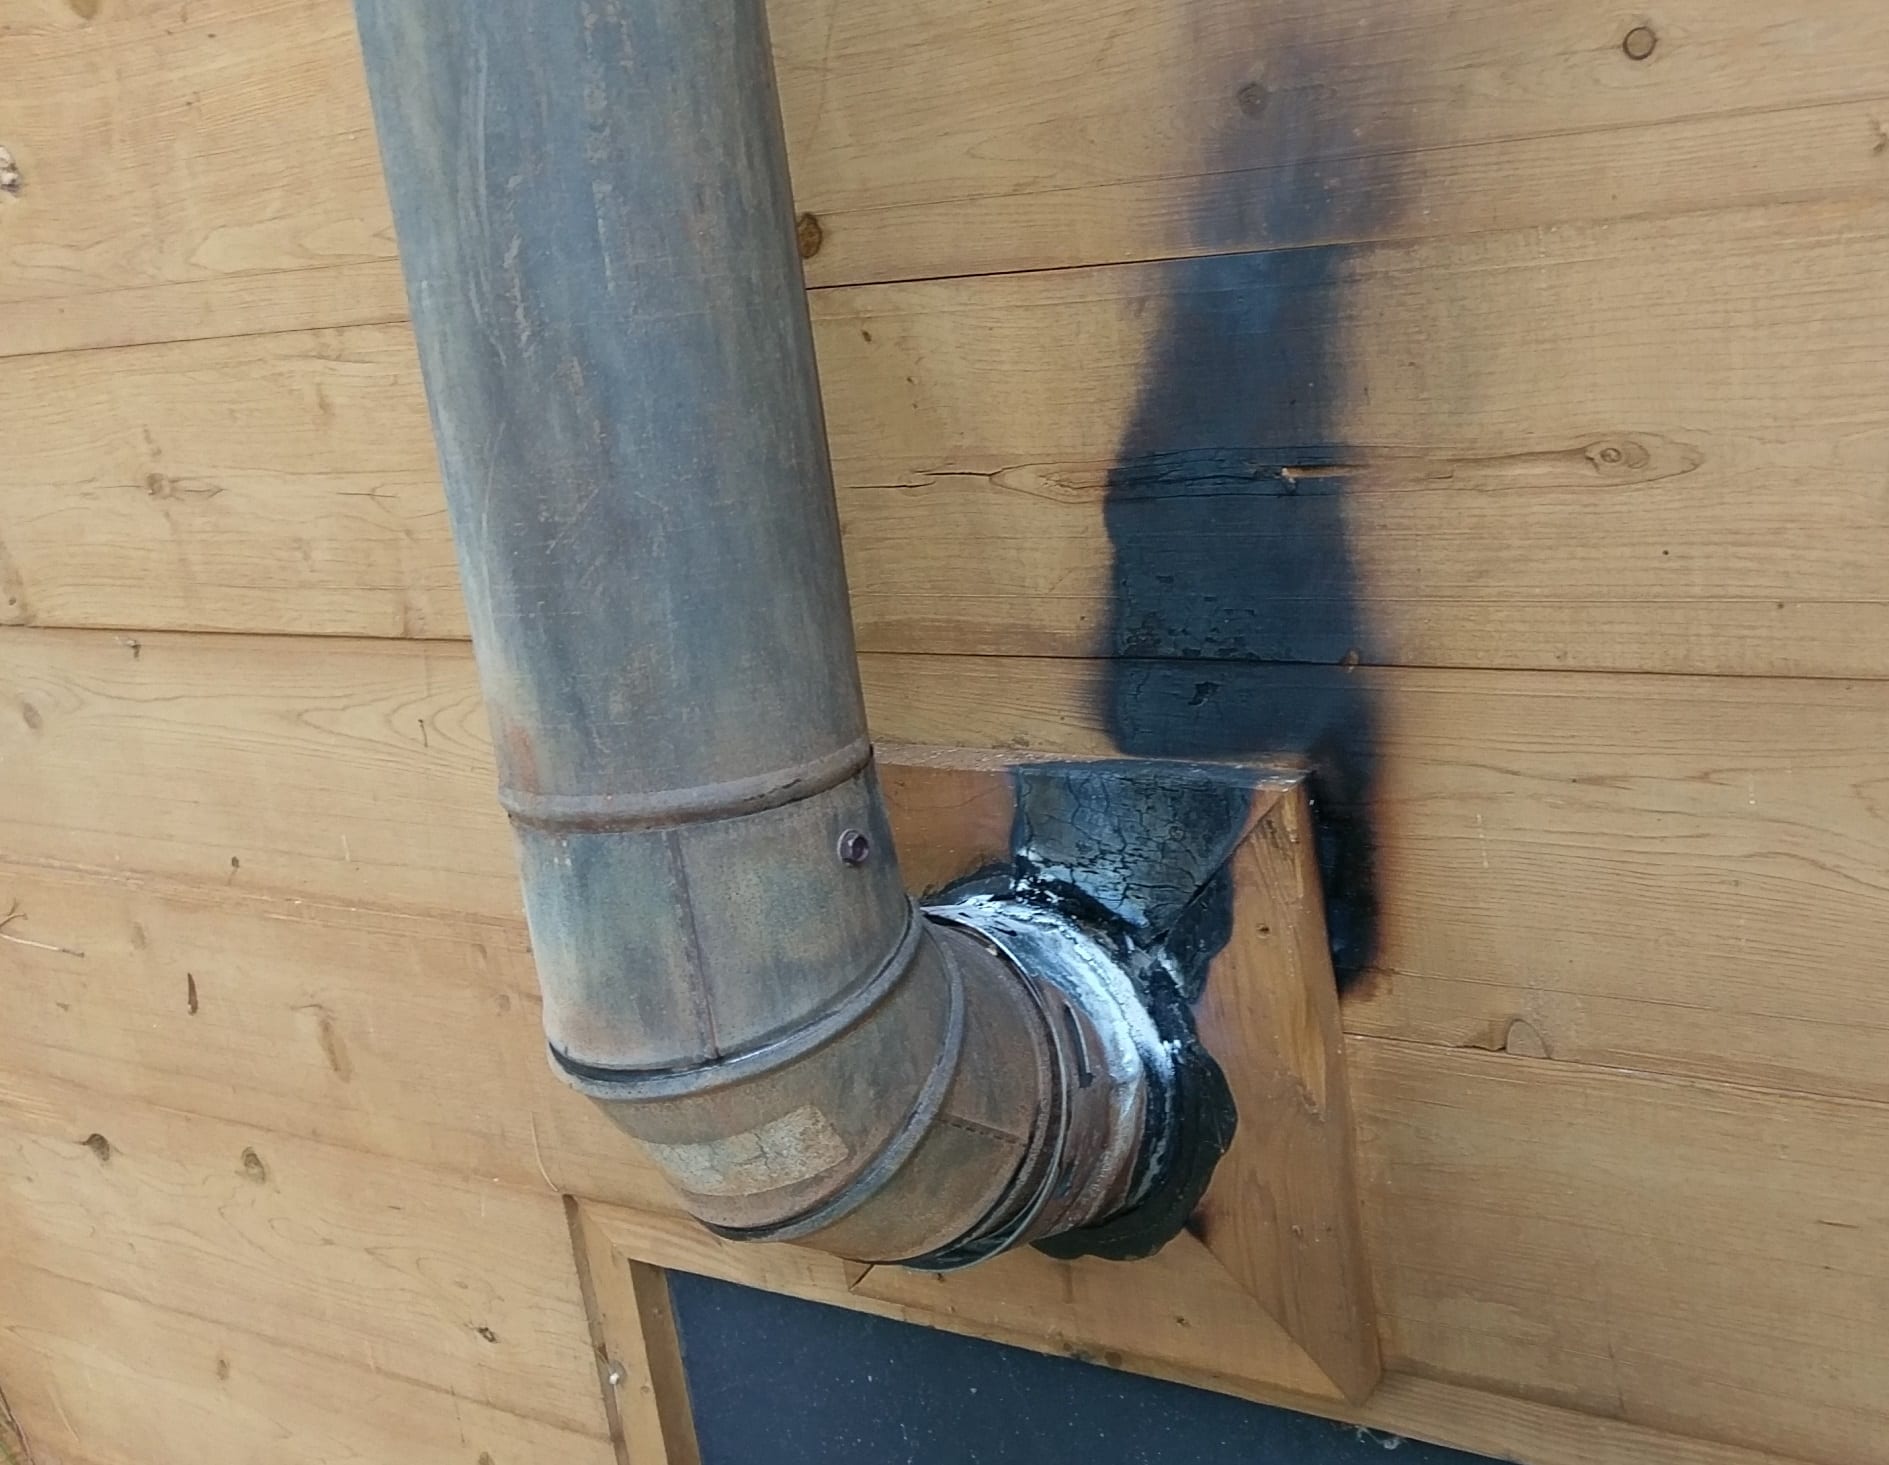
Step 4: Install the wall thimble
The wall thimble is an important component that creates a safe and sealed connection between the wood stove chimney pipe and the wall. Its purpose is to provide the necessary clearance and protection for the chimney pipe as it passes through the wall. Here’s how to install the wall thimble:
- Position the wall thimble: Place the wall thimble centered on the hole you cut in the wall. Ensure that the thimble is positioned level and plumb.
- Mark the screw holes: Use a pencil or marker to mark the screw holes on the wall where the thimble will be attached. Make sure to mark all the holes provided by the thimble.
- Secure the wall thimble: With the help of a drill and appropriate screws, attach the wall thimble to the wall by screwing it into the marked holes. Make sure it is securely fastened.
- Apply silicone sealant: To create a watertight seal, apply high-temperature silicone sealant around the edges of the thimble where it meets the wall. This will prevent any water infiltration and ensure a secure connection.
Once the wall thimble is properly installed and sealed, you have created the foundation for the wood stove chimney system. The thimble serves as both a protective barrier and a connection point for the chimney pipe to pass through the wall. In the next step, we’ll discuss how to connect the chimney pipe to the wall thimble.
Step 5: Connect the chimney pipe to the wall thimble
Now that you have installed the wall thimble, it’s time to connect the chimney pipe to create a pathway for the smoke and gases to vent safely. This step is crucial for ensuring proper ventilation and optimal performance of your wood stove. Here’s how to connect the chimney pipe to the wall thimble:
- Measure for the chimney pipe length: Measure the distance required to connect the wall thimble to the wood stove. Take into account any additional clearance requirements specified by local building codes and the manufacturer’s instructions.
- Cut the chimney pipe: Using a hacksaw or reciprocating saw, cut the chimney pipe to the desired length based on your measurements. Ensure that the cut is clean and straight.
- Attach the chimney pipe to the wall thimble: Insert the cut end of the chimney pipe into the opening of the wall thimble. Ensure a snug fit, but do not force it. The pipe should slide in smoothly but stay securely in place.
- Secure the connection: Once the chimney pipe is inserted into the wall thimble, use screws or clamps to secure the connection. Follow the manufacturer’s instructions for the specific type of chimney pipe you are using.
It’s important to note that the connection between the chimney pipe and wall thimble should be secure and airtight. This will prevent any smoke or gases from escaping and ensure efficient venting of the wood stove. Additionally, check for any gaps or leaks around the connection and seal them with high-temperature silicone sealant or aluminum tape.
With the chimney pipe now connected to the wall thimble, you’re ready to move on to the next step: installing the chimney pipe through the wall. This is where the actual pathway for the smoke and gases to exit the home will be created.
Make sure to use the appropriate chimney pipe and follow local building codes when installing a wood stove chimney through a wall. It’s important to maintain proper clearances and use high-quality materials for a safe and efficient installation.
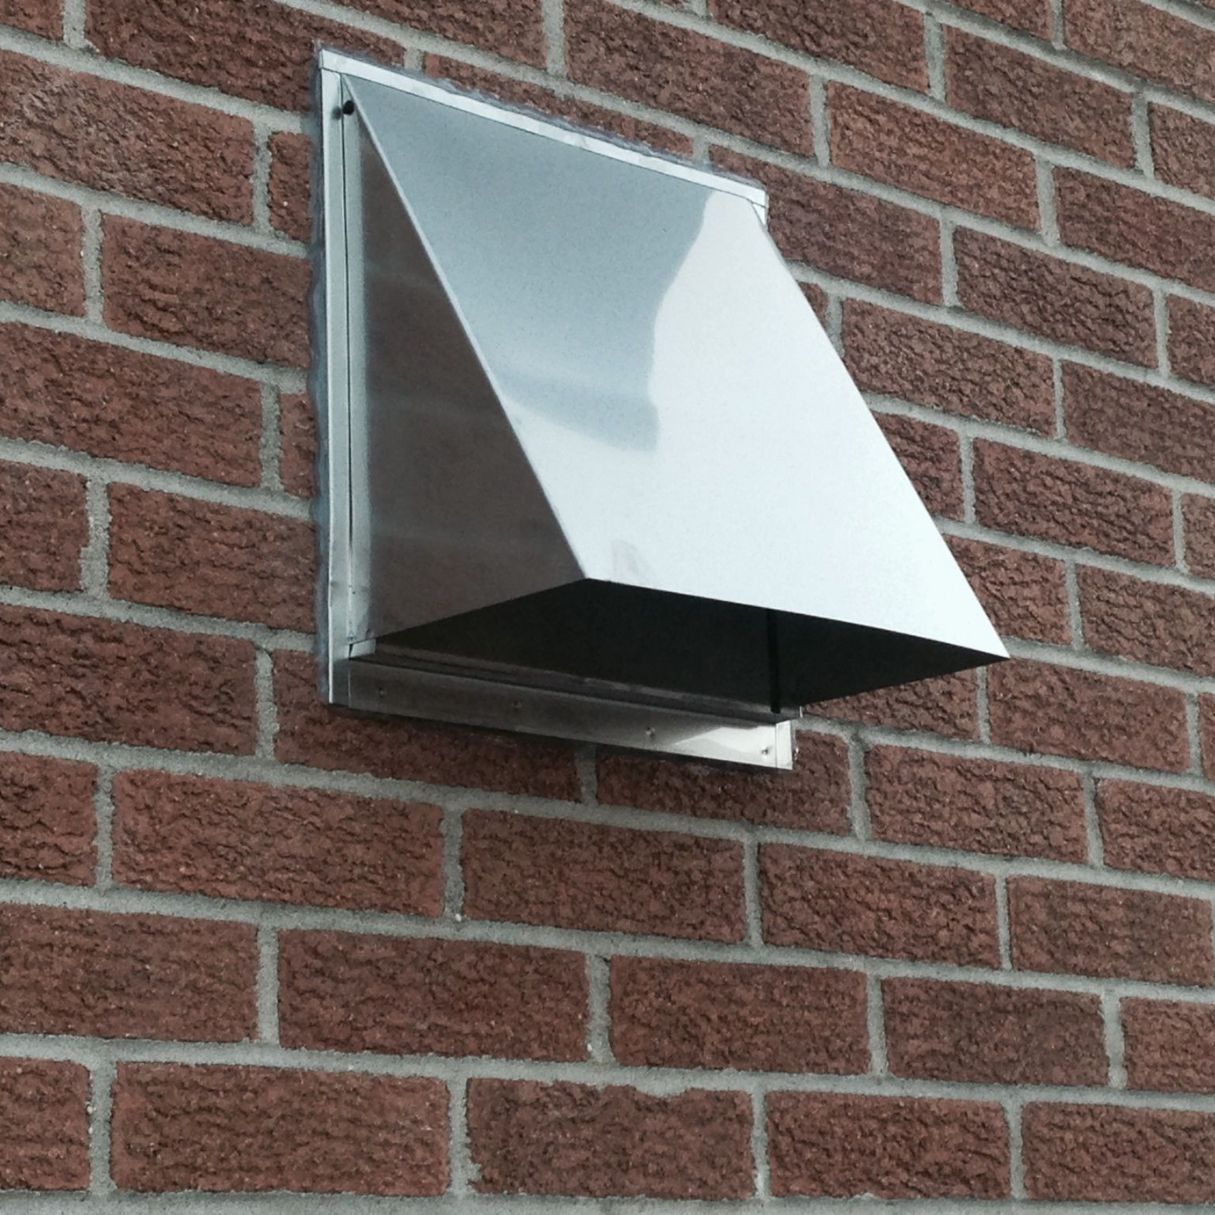
Step 6: Install the chimney pipe through the wall
With the connection between the chimney pipe and wall thimble complete, it’s time to install the chimney pipe through the wall and create the pathway for the smoke and gases to exit the home. This step requires careful attention to detail to ensure a safe and efficient installation. Here’s how to install the chimney pipe through the wall:
- Insert the chimney pipe section: Take the next section of chimney pipe and carefully insert it into the previously connected chimney pipe. Ensure a secure and snug fit.
- Continue adding chimney pipe sections: Depending on the height required for proper ventilation and compliance with local building codes, continue adding chimney pipe sections one by one. Connect each section securely to create a long vertical pipe.
- Secure the chimney pipe: Use chimney support brackets to secure the chimney pipe at appropriate intervals. Follow the manufacturer’s instructions for the placement and installation of the support brackets.
- Ensure proper alignment: As you install each chimney pipe section, use a level to ensure that the pipe is straight and plumb. This will ensure proper ventilation and optimal performance.
- Seal the joints: To prevent any leakage or escape of smoke and gases, seal the joints between the chimney pipe sections using high-temperature silicone sealant or aluminum tape. This will create an airtight seal.
- Insulate the chimney pipe: If required, install fireproof insulation around the chimney pipe to improve its insulation properties and minimize heat loss. This insulation will also help prevent the buildup of condensation inside the pipe.
Throughout the installation process, be mindful of maintaining the required clearance from combustible materials as specified by local building codes. Any combustible materials, such as walls or ceilings, should remain a safe distance away from the chimney pipe.
Once the chimney pipe is installed through the wall and properly secured, you’re one step closer to completing the wood stove chimney installation. In the next step, we’ll discuss how to secure and insulate the chimney pipe for added safety and efficiency.
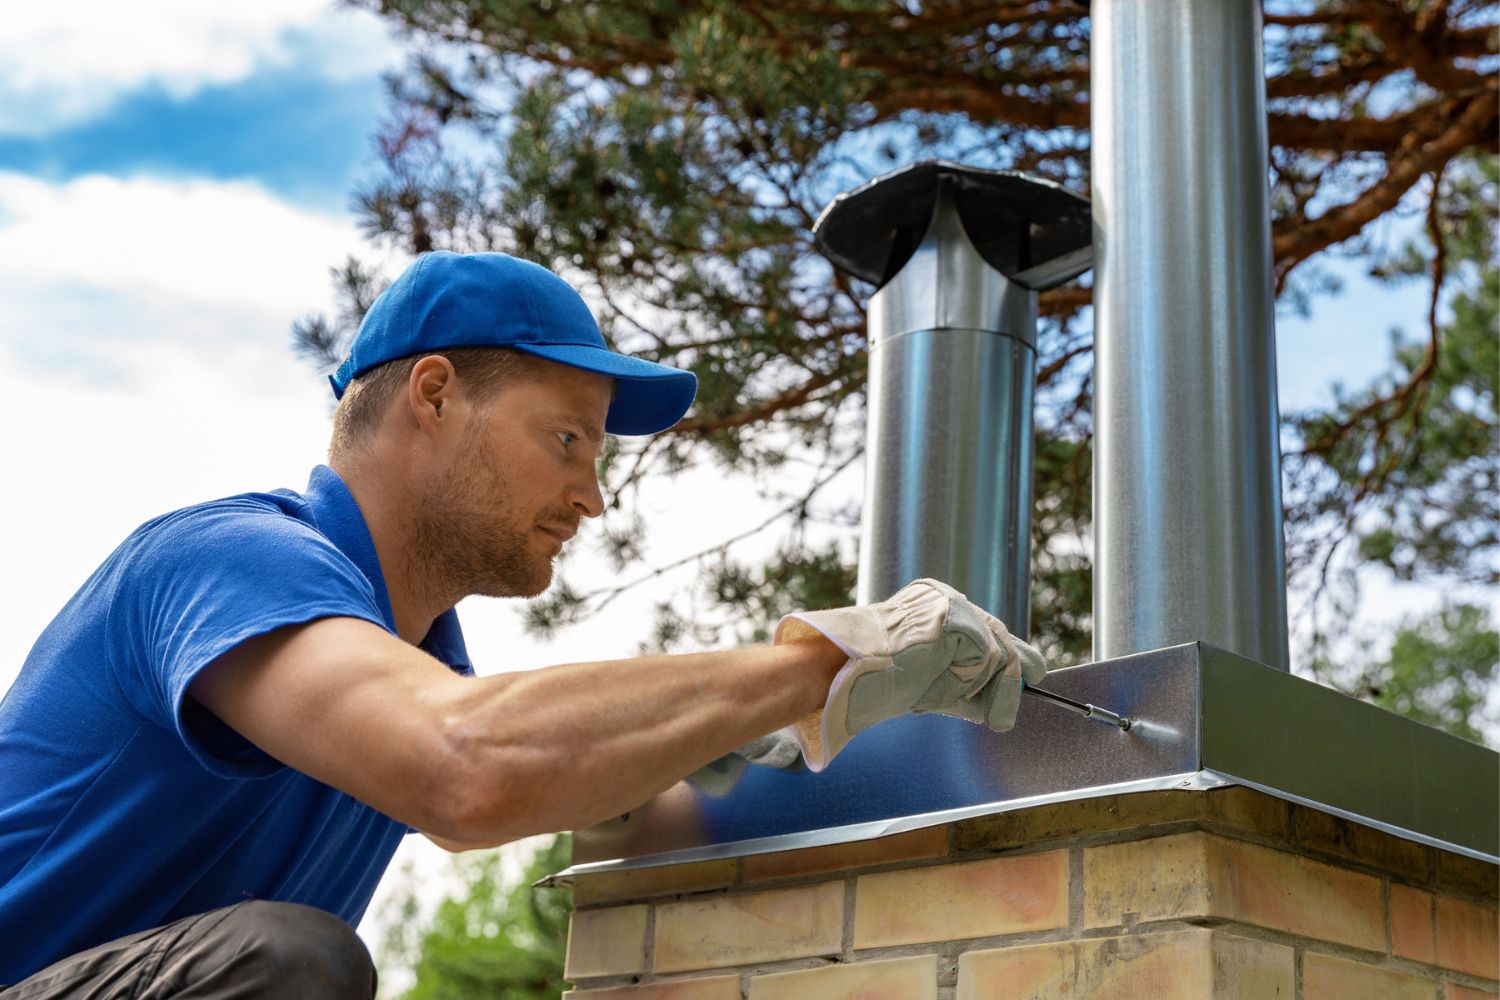
Step 7: Secure and insulate the chimney pipe
Securing and insulating the chimney pipe is an essential step in the installation process. Properly securing the chimney pipe ensures that it remains stable and upright, while insulation helps improve the chimney system’s efficiency and prevents heat loss. Here’s how to secure and insulate the chimney pipe:
- Install chimney support brackets: Use chimney support brackets at regular intervals along the chimney pipe’s vertical length to provide additional stability and support. Make sure to follow the manufacturer’s instructions for proper placement of the brackets.
- Secure the brackets: Secure the support brackets to the wall or the ceiling using appropriate screws, ensuring a tight and stable connection. The brackets should firmly hold the chimney pipe in place, preventing any movement or sagging.
- Insulate the chimney pipe: If required by local building codes or for added safety and efficiency, insulate the chimney pipe. Wrap the chimney pipe with fireproof insulation specifically designed for wood stove chimneys. This insulation will help retain heat and prevent condensation buildup inside the pipe.
- Seal gaps and joints: Inspect the chimney pipe carefully for any gaps or joints that might leak smoke or gases. Use high-temperature silicone sealant or aluminum tape to seal these gaps and joints, ensuring a secure and airtight connection.
- Follow manufacturer’s instructions: Adhere to the manufacturer’s instructions throughout the process, as different chimney pipe systems may have specific requirements for securing and insulating.
Properly securing and insulating the chimney pipe not only enhances the safety of your wood stove but also improves its overall performance. It helps maintain a consistent flow of air and prevents heat loss, ensuring efficient operation and minimizing the risk of damage or accidents.
With the chimney pipe now securely installed and insulated, you’re ready to move on to step 8: connecting the chimney pipe to the wood stove.
Step 8: Connect the chimney pipe to the wood stove
Connecting the chimney pipe to the wood stove is a critical step in the installation process. This connection ensures that the smoke and gases from the wood stove are safely directed out of your home. Here’s how to connect the chimney pipe to the wood stove:
- Position the wood stove: Place your wood stove in its designated location, ensuring that it meets the required clearance distances from walls, ceilings, and other combustible materials, as specified by local building codes and the manufacturer’s instructions.
- Install the wood stove adapter: Attach a stovepipe adapter to the back of the wood stove. The adapter serves as a connecting point between the wood stove and the chimney pipe. Secure the adapter in place according to the manufacturer’s instructions.
- Measure and cut the stovepipe: Measure the distance from the stovepipe adapter to the connecting point on the chimney pipe. Use a hacksaw or reciprocating saw to cut the stovepipe to the required length. Ensure a clean and straight cut.
- Connect the stovepipe to the wood stove: Fit one end of the stovepipe onto the stovepipe adapter, making sure it fits snugly. Attach the other end to the connecting point on the chimney pipe. Secure the connection with screws or clamps, following the manufacturer’s guidelines.
- Ensure a proper fit: Double-check that the stovepipe is securely connected to both the wood stove and the chimney pipe. Verify that the connection is airtight and there are no gaps or leaks.
It’s crucial to follow the manufacturer’s instructions for the specific wood stove and chimney pipe system you are using. This will ensure that the connection is made correctly and safely. Additionally, regularly inspect and maintain the connection to identify and address any issues or wear over time.
Once the chimney pipe is connected to the wood stove, you’re almost finished with the installation process. In the next step, we’ll discuss how to test the wood stove chimney for proper ventilation and functionality.
Read more: How To Install Stove Pipe Into Chimney
Step 9: Test the wood stove chimney for proper ventilation
After completing the installation of the wood stove chimney, it is crucial to test the system for proper ventilation. This step ensures that the chimney is functioning correctly, allowing for the safe and efficient removal of smoke and gases from your wood stove. Here’s how to test the wood stove chimney for proper ventilation:
- Clear the area: Make sure the immediate area around the wood stove is clear of any combustible materials or obstructions that could interfere with the airflow.
- Ignite the wood stove: Start a fire in the wood stove following the manufacturer’s instructions. Use dry, seasoned firewood to generate a steady flame.
- Observe the stovepipe: Monitor the stovepipe and chimney to ensure there is a steady flow of smoke and gases being expelled from the wood stove. Pay attention to any signs of smoke leakage or unusual smells.
- Check for proper draft: Open the damper on the wood stove and observe the smoke. It should rise steadily and exit the chimney without lingering or entering the room. A strong upward draft indicates that the chimney is functioning properly.
- Monitor carbon monoxide levels: Install a carbon monoxide detector in the room to ensure that no dangerous levels of this odorless gas are present. Carbon monoxide is a byproduct of incomplete combustion and is harmful to health.
- Inspect for any issues: While the fire is burning, inspect the entire wood stove chimney system, including the chimney pipe, wall thimble, and connections, for any signs of damage, leaks, or loose fittings. Additionally, keep an eye out for excessive creosote buildup, which may need to be cleaned periodically to prevent chimney fires.
If during the testing process you notice any issues, such as poor draft, smoke leakage, or abnormal odors, it is important to address them immediately. These issues may indicate improper installation, blockages, or other problems that need to be resolved to ensure the safe operation of your wood stove.
Regular maintenance and inspections of the wood stove chimney system are essential to keep it functioning properly and avoid potential hazards. Follow the manufacturer’s guidelines and consult with professionals as needed to ensure your wood stove chimney remains in good working condition for years to come.
With the testing phase complete, you have successfully installed and tested your wood stove chimney system. Enjoy the warmth and comfort provided by your wood stove while knowing that it is functioning safely and efficiently.
As a final note, always adhere to local building codes, regulations, and safety guidelines when installing or operating a wood stove chimney. If in doubt, consult with professionals who specialize in wood stove installations.
Conclusion
Congratulations! You have reached the end of our comprehensive guide on how to install a wood stove chimney through a wall. By following the step-by-step instructions outlined in this article, you have successfully completed the installation process and ensured the safe and efficient operation of your wood stove.
Remember, the installation of a wood stove chimney requires careful attention to detail and adherence to local building codes and regulations. Safety should always be a top priority, as improper installation can lead to fire hazards, carbon monoxide poisoning, or structural damage.
Throughout the installation process, we covered several key steps, including gathering the necessary materials and tools, determining the location for the wood stove chimney, marking and preparing the wall, installing the wall thimble, connecting the chimney pipe, securing and insulating the chimney pipe, connecting the chimney pipe to the wood stove, and testing the wood stove chimney for proper ventilation.
It is essential to consult with professionals, follow manufacturer’s instructions, and obtain any necessary permits and inspections to ensure a successful and code-compliant installation. Regular maintenance and inspections of your wood stove chimney system are also crucial to keep it operating effectively and safely.
We hope this guide has provided you with valuable insights and guidance for installing a wood stove chimney through a wall. Stay warm and cozy during the colder months while enjoying the many benefits of a wood stove.
Remember, if you have any uncertainties or concerns during the installation process, it is always best to seek professional assistance. Safety should never be compromised when it comes to wood stove installations.
Thank you for reading, and best of luck with your wood stove chimney installation!
Frequently Asked Questions about How To Install A Wood Stove Chimney Through Wall
Was this page helpful?
At Storables.com, we guarantee accurate and reliable information. Our content, validated by Expert Board Contributors, is crafted following stringent Editorial Policies. We're committed to providing you with well-researched, expert-backed insights for all your informational needs.


0 thoughts on “How To Install A Wood Stove Chimney Through Wall”