Home>Construction & Tools>Building Materials>How To Make Painted Brick Look Natural
Building Materials
How To Make Painted Brick Look Natural
Modified: August 28, 2024
Learn how to make painted brick look natural with our expert tips and techniques. Enhance the appearance of your building materials for a timeless and authentic finish.
(Many of the links in this article redirect to a specific reviewed product. Your purchase of these products through affiliate links helps to generate commission for Storables.com, at no extra cost. Learn more)
Choosing the Right Paint
Selecting the appropriate paint is crucial when aiming to achieve a natural look for painted brick. The ideal paint should seamlessly blend with the texture of the brick while providing long-lasting durability. Here are the key factors to consider when choosing the right paint for your project:
-
Breathable Paint: Opt for a breathable paint specially formulated for masonry surfaces. This type of paint allows moisture to escape, preventing potential issues such as efflorescence, where mineral deposits form on the surface due to trapped moisture. Look for paint labeled as "masonry paint" or "brick paint" for optimal breathability.
-
Acrylic Paint: Acrylic paint is a popular choice for painting brick due to its flexibility and adhesion properties. It can expand and contract with the brick surface, reducing the risk of cracking or peeling over time. Additionally, acrylic paint offers excellent color retention, ensuring that the painted brick maintains its natural appearance for years to come.
-
Natural Color Tones: When aiming for a natural look, consider earthy and neutral color tones that complement the surrounding environment. Shades of beige, tan, or light gray can mimic the natural variations found in unpainted brick, creating a harmonious and authentic aesthetic.
-
Matte Finish: Opting for a matte or flat finish can contribute to a more natural appearance. Unlike glossy finishes, matte paints provide a subtle, non-reflective surface that closely resembles the texture of untreated brick. This finish also helps to conceal imperfections and irregularities in the brick surface, further enhancing the natural look.
-
UV Resistance: To ensure the longevity of the painted brick's natural appearance, choose a paint that offers UV resistance. This feature helps prevent fading and discoloration caused by prolonged exposure to sunlight, preserving the integrity of the chosen color over time.
By carefully considering these factors and selecting a high-quality paint designed specifically for masonry surfaces, you can effectively lay the foundation for achieving a natural and visually appealing result when painting brick.
Key Takeaways:
- Choose breathable, acrylic paint in natural tones with a matte finish for a realistic look. UV resistance ensures long-lasting color.
- Clean, repair, prime, and protect the brick surface before applying the base coat. Allow sufficient drying time for a durable finish.
Read more: How To Paint Brick To Look Like Stone
Preparing the Brick Surface
Preparing the brick surface is a critical step that significantly influences the outcome of the painted brick's natural appearance. Proper preparation ensures optimal paint adhesion and long-term durability, allowing the painted surface to seamlessly blend with its surroundings. Here's a detailed guide on preparing the brick surface for painting:
-
Cleaning the Surface: Begin by thoroughly cleaning the brick surface to remove dirt, dust, and any existing contaminants. A pressure washer can be used to effectively dislodge stubborn debris and grime. Alternatively, a stiff-bristled brush and a solution of trisodium phosphate (TSP) can be employed to scrub the surface and eliminate any residual dirt or stains. It's essential to allow the brick to dry completely before proceeding to the next step.
-
Repairing Damaged Areas: Inspect the brick surface for any signs of damage, such as cracks, spalling, or loose mortar. Address these issues by carefully repairing damaged areas using a suitable masonry repair compound. Cracks can be filled with mortar repair caulk, while spalling areas may require patching with a specialized masonry patching compound. Additionally, ensure that any loose or deteriorated mortar joints are repointed to restore structural integrity.
-
Removing Efflorescence: Efflorescence, the white powdery residue caused by salt deposits, can detract from the natural appearance of painted brick. Prior to painting, it's crucial to eliminate efflorescence using a stiff brush or a mild acidic solution. This process effectively removes the unsightly residue and prevents it from reappearing after the brick is painted.
-
Priming the Surface: Applying a high-quality masonry primer is essential for promoting paint adhesion and enhancing the overall finish. The primer creates a uniform surface, seals the brick pores, and improves the paint's ability to adhere effectively. Opt for a primer specifically formulated for masonry surfaces, and ensure thorough coverage to maximize its effectiveness.
-
Masking and Protecting Surrounding Areas: Before applying any paint or primer, take the necessary precautions to mask and protect surrounding areas such as windows, doors, and landscaping. Use painter's tape and drop cloths to shield these elements from accidental paint splatter or overspray, ensuring a clean and professional result.
By meticulously preparing the brick surface through thorough cleaning, repairs, efflorescence removal, priming, and protective measures, you can establish a solid foundation for achieving a natural and visually appealing finish when painting brick. This meticulous approach not only enhances the aesthetic appeal but also contributes to the long-term durability of the painted surface.
Applying the Base Coat
The application of the base coat is a pivotal stage in the process of painting brick to achieve a natural and visually appealing finish. This foundational layer sets the tone for the overall appearance of the painted brick, providing a solid base for subsequent layers while ensuring optimal coverage and adhesion. Here's a comprehensive guide to effectively applying the base coat:
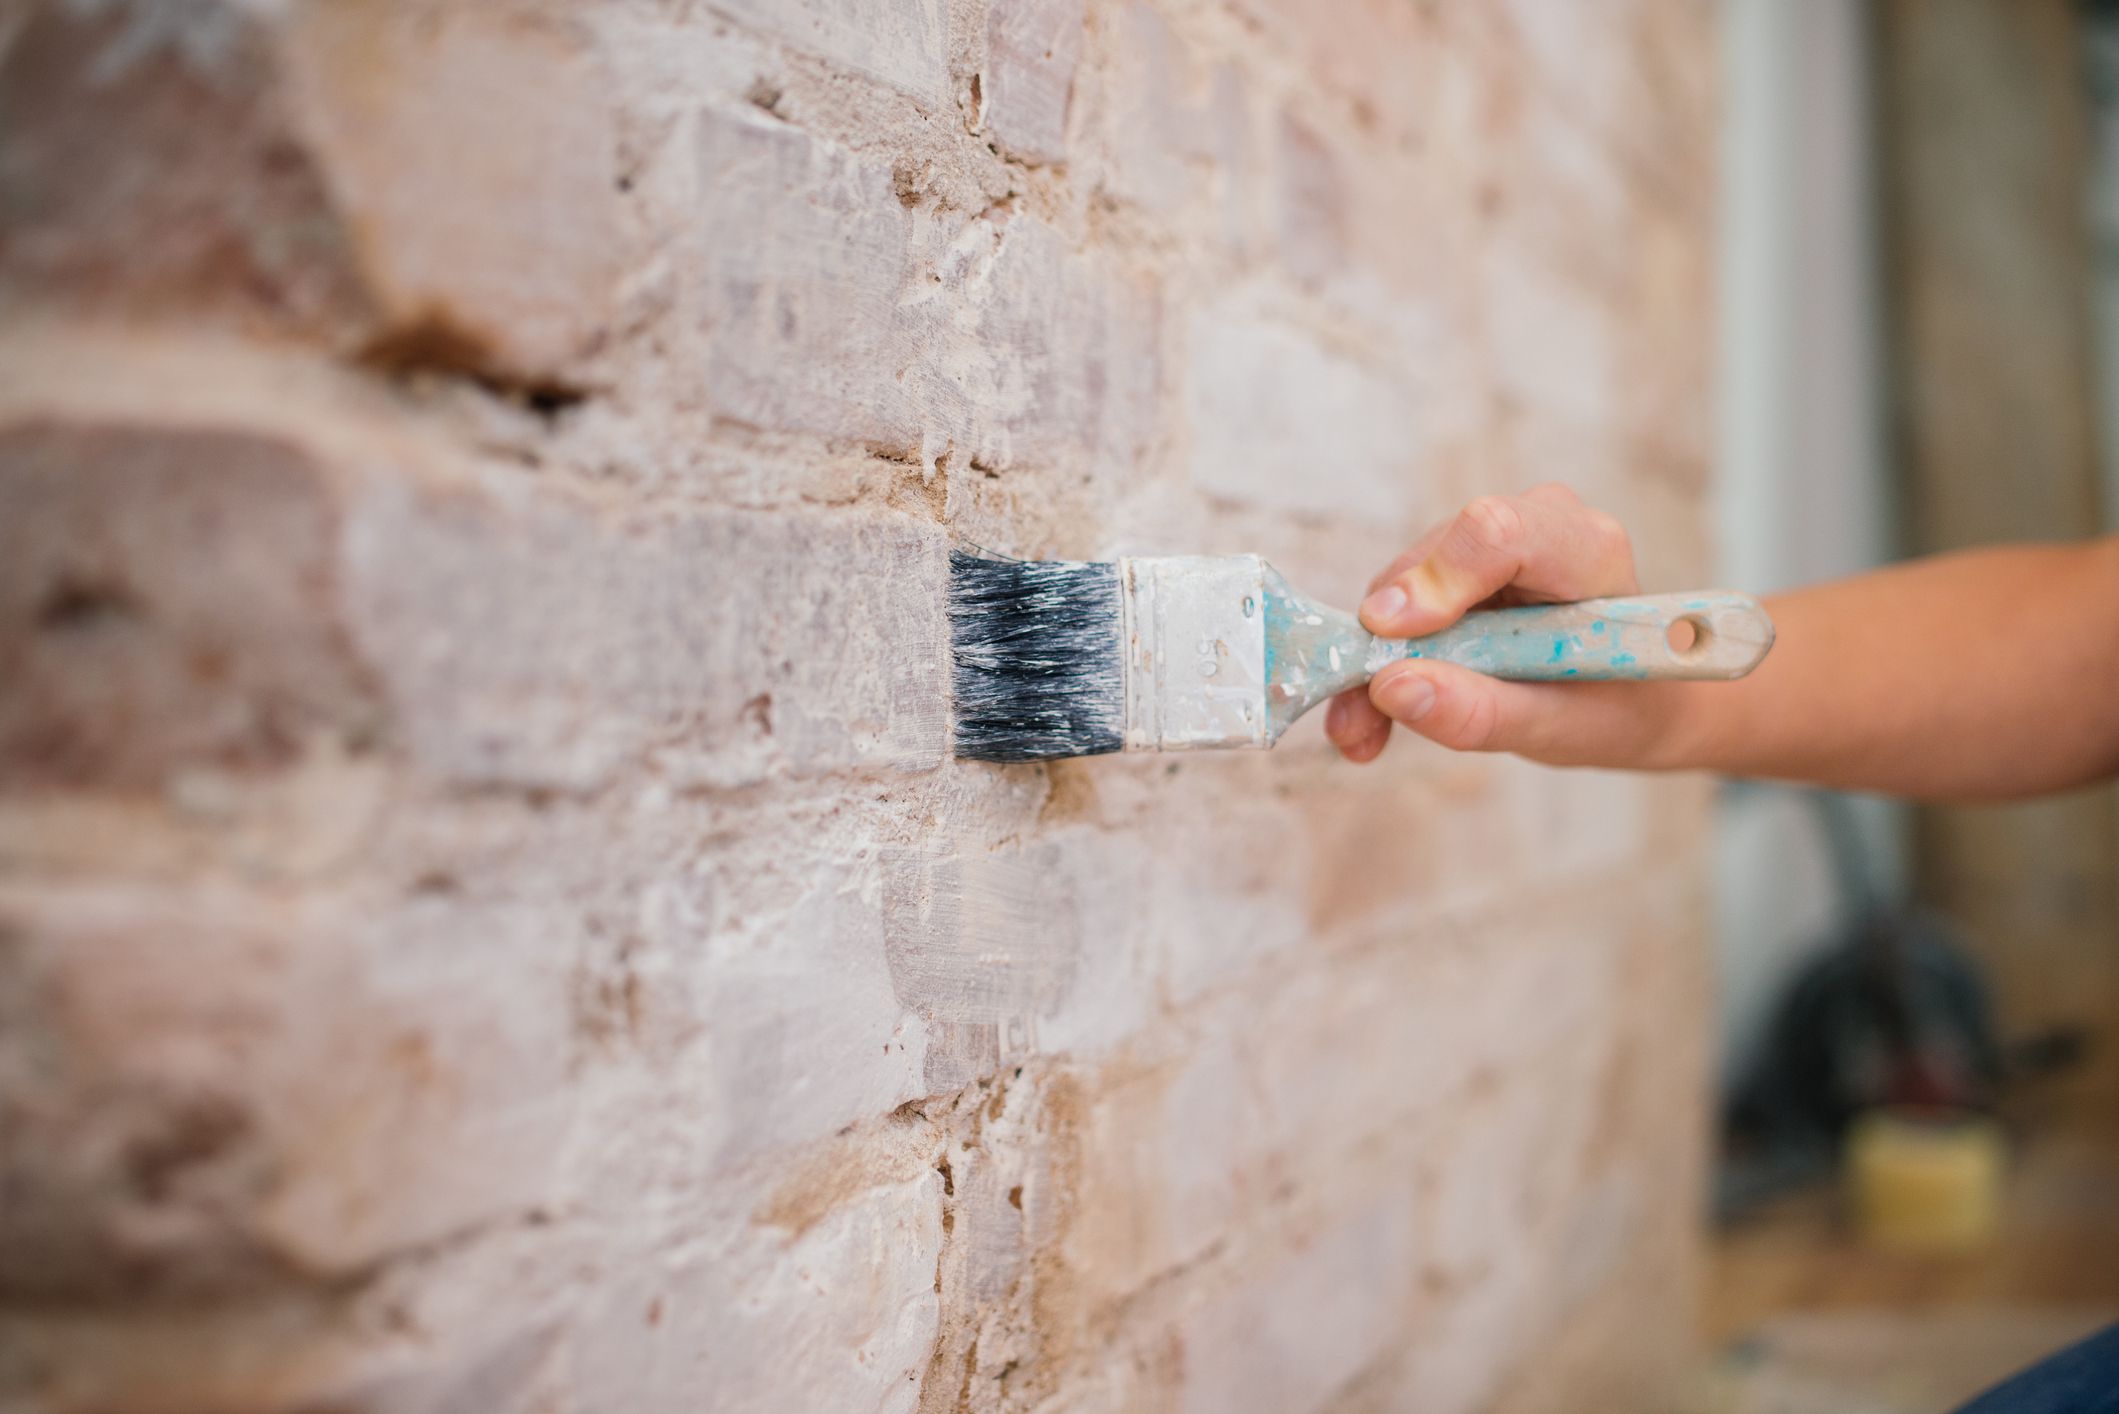
1. Selecting the Right Tools and Equipment
Before commencing the application of the base coat, it's essential to gather the necessary tools and equipment. A high-quality paint roller with a medium nap is well-suited for applying paint to brick surfaces, allowing for efficient coverage and smooth application. Additionally, a paintbrush can be used to access hard-to-reach areas and ensure precision along edges and corners. Ensure that the selected tools are compatible with masonry surfaces and are in optimal condition for the best results.
2. Mixing and Diluting the Paint
Properly preparing the paint is crucial for achieving an even and consistent base coat. If using a masonry-specific paint, carefully follow the manufacturer's instructions for mixing and dilution. In some cases, thinning the paint with a small amount of water may be necessary to achieve the desired viscosity for smooth application. Thoroughly mix the paint to ensure uniformity and to activate any additives that contribute to adhesion and durability.
Read more: How To Make Brick Look New
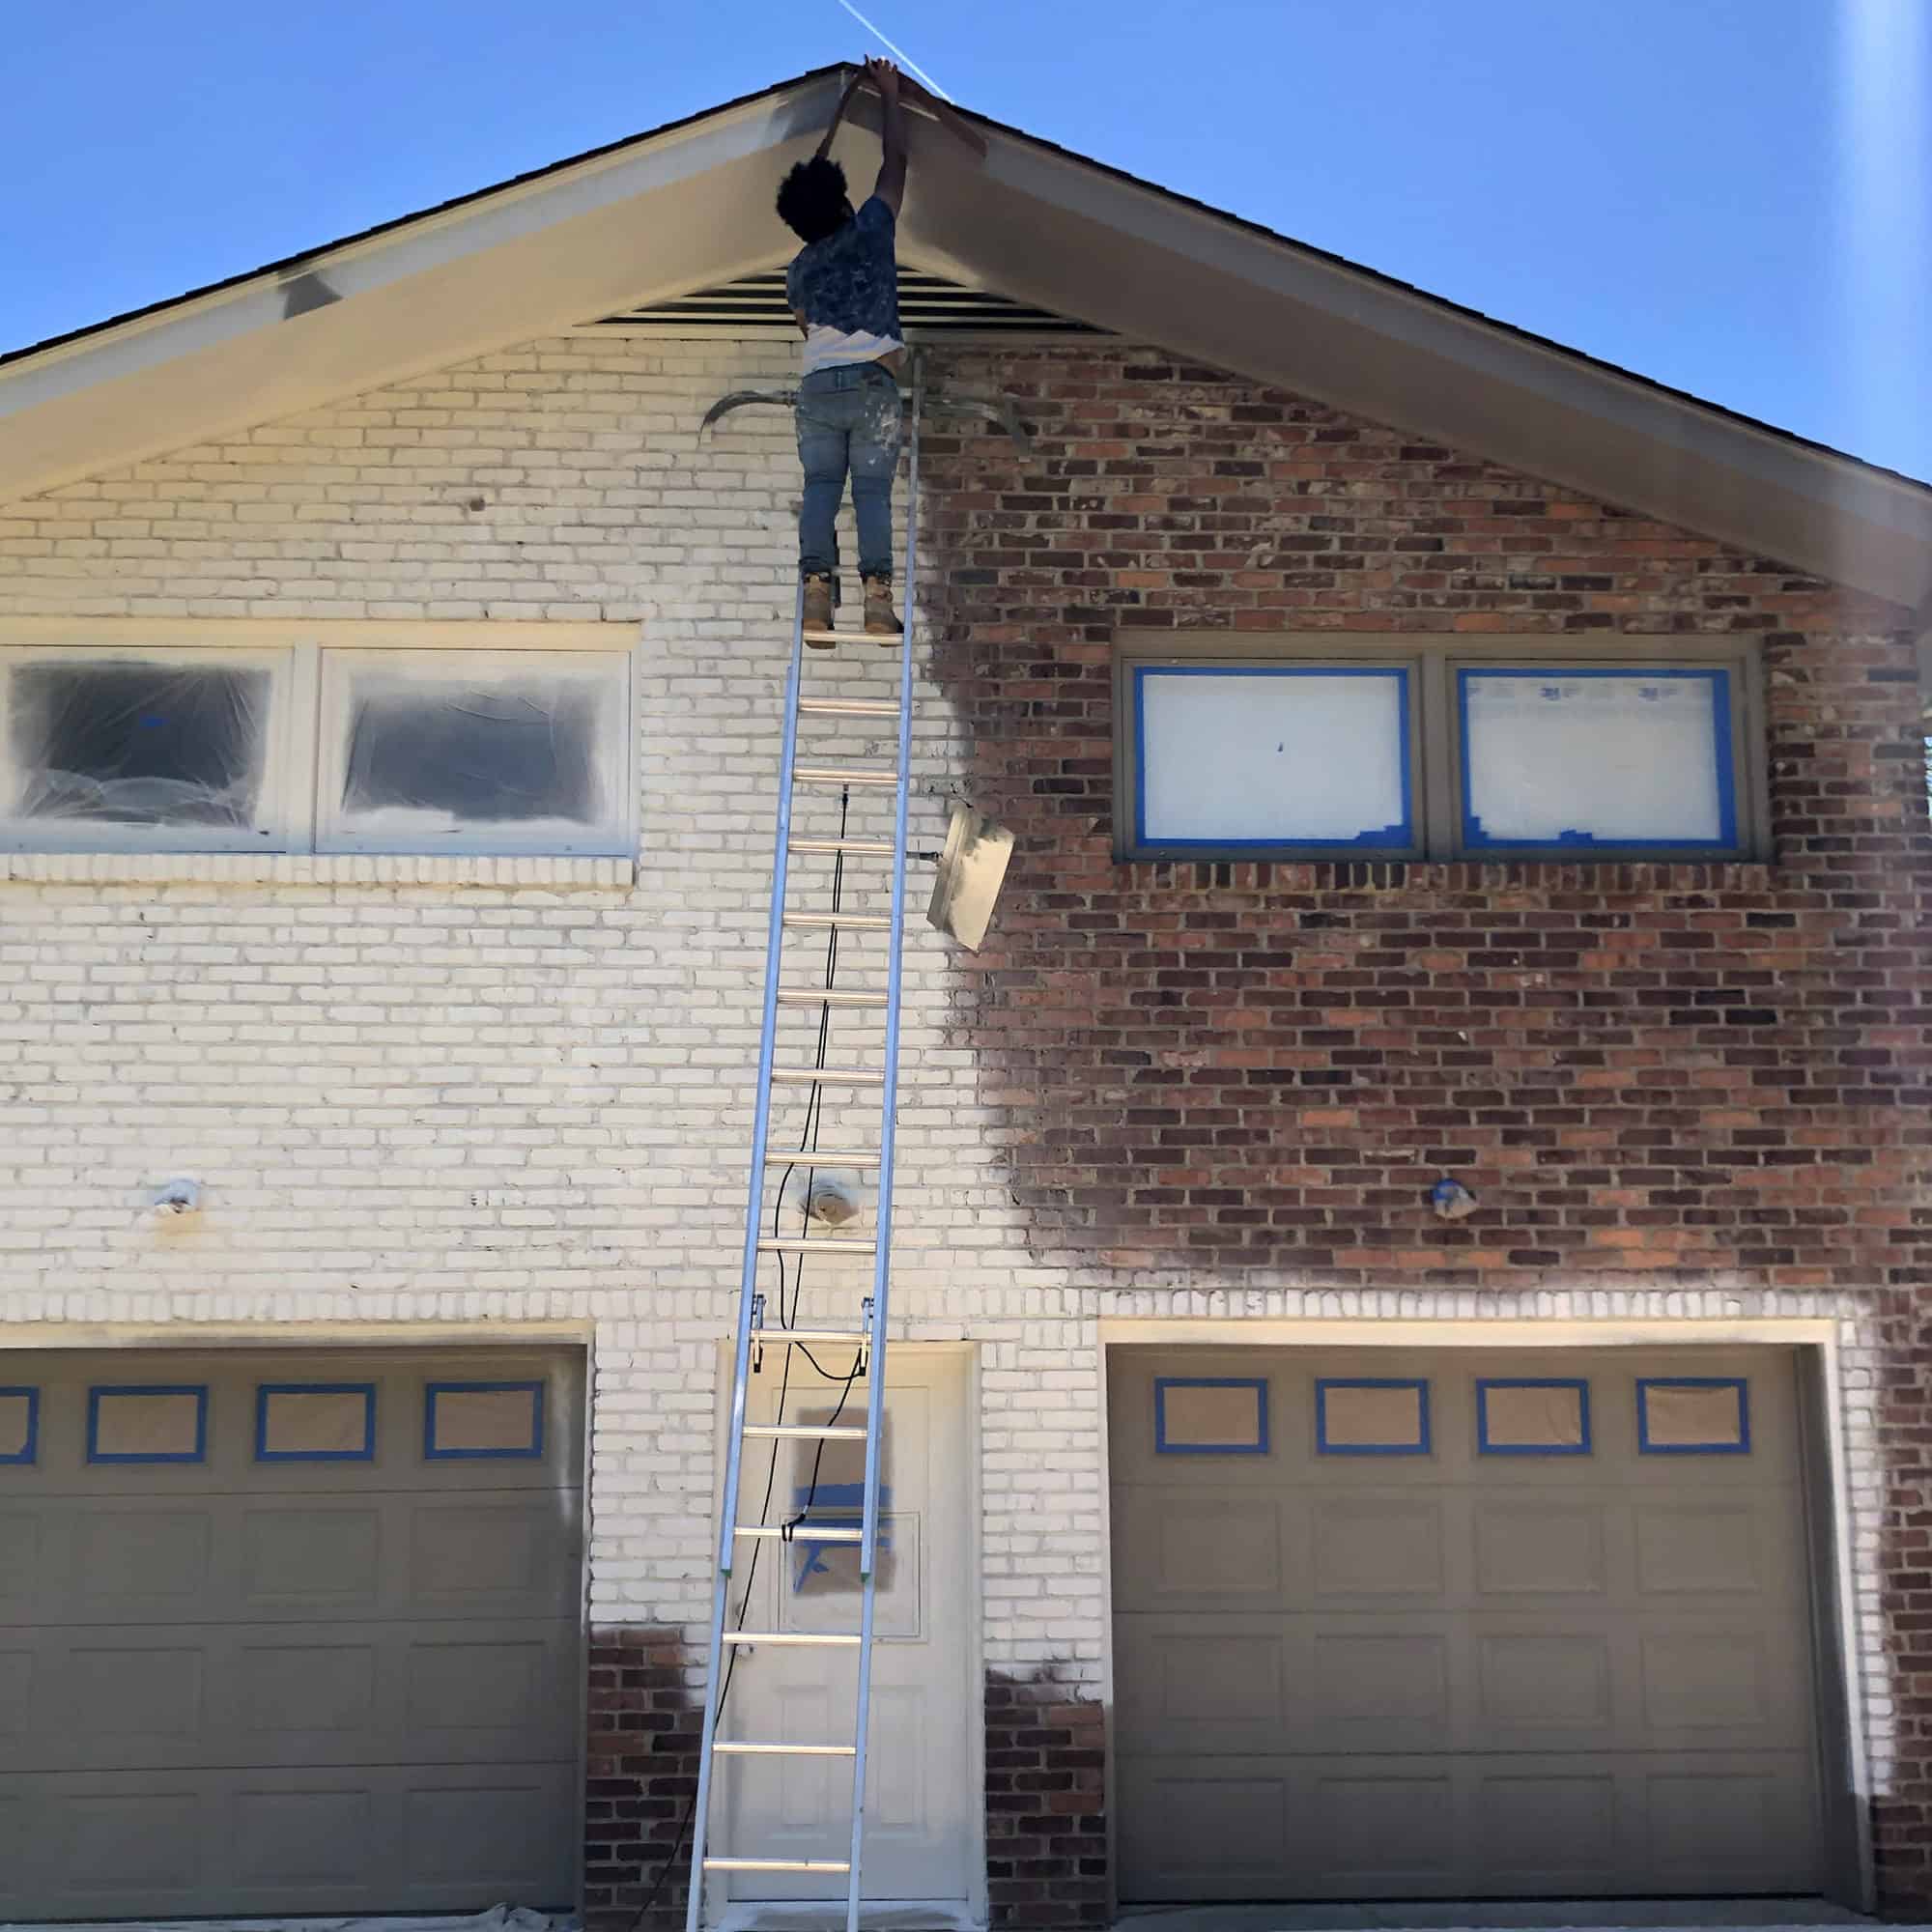
3. Applying the Base Coat
Begin by applying the base coat of paint to the brick surface using a paint roller. Work in manageable sections, starting from the top and gradually progressing downward to ensure even coverage. Use a crisscross or "W" pattern to work the paint into the textured surface, ensuring that the paint penetrates the crevices and mortar joints for comprehensive adhesion. For areas inaccessible to the roller, such as edges and corners, utilize a paintbrush to carefully apply the base coat with precision.
4. Achieving Uniform Coverage
As the base coat is applied, pay close attention to achieving uniform coverage across the entire surface. Ensure that no bare spots or inconsistencies are left unaddressed, as these can affect the final appearance of the painted brick. Take the time to inspect the surface as the base coat is applied, making any necessary touch-ups to maintain a consistent and seamless finish.
5. Allowing Sufficient Drying Time
Once the base coat is applied, allow it to dry completely according to the manufacturer's recommended drying time. This crucial step ensures that the subsequent layers adhere properly and that the overall finish is durable and long-lasting. Avoid rushing this stage, as adequate drying time is essential for the success of the subsequent painting steps.
By meticulously following these steps and taking a meticulous approach to applying the base coat, you can establish a solid foundation for achieving a natural and visually appealing finish when painting brick. The base coat serves as the canvas upon which the desired aesthetic is built, laying the groundwork for the subsequent stages of the painting process.
Adding Texture and Depth
Achieving a natural and authentic look when painting brick involves adding texture and depth to the surface, enhancing its visual appeal and mimicking the organic variations found in untreated brick. This crucial stage of the painting process allows for the creation of nuanced and lifelike characteristics, elevating the overall aesthetic impact of the painted brick. Here's a detailed exploration of the methods and techniques for adding texture and depth to painted brick:
Read more: How To Make Brick Look Aged
1. Dry Brushing Technique
The dry brushing technique is a popular method for imparting texture and depth to painted brick surfaces. This approach involves using a dry brush with minimal paint to selectively highlight the raised areas and contours of the brick, creating a subtle yet impactful visual effect. By lightly dragging the dry brush over the textured surface, the natural irregularities and crevices of the brick are accentuated, resulting in a nuanced and realistic appearance. This technique allows for the creation of depth and dimension, effectively replicating the organic variations present in natural brick.
2. Layering and Blending Colors
Layering and blending different shades of paint can significantly contribute to the creation of texture and depth on the painted brick surface. By strategically applying varying tones of the chosen paint colors, a sense of depth and dimension is achieved, simulating the inherent variations found in authentic brick. Utilizing a combination of lighter and darker hues, along with subtle color transitions, allows for the emulation of the natural patina and weathering observed in real brick surfaces. This meticulous layering and blending process result in a visually compelling and naturalistic appearance, enhancing the overall authenticity of the painted brick.
3. Faux Finishing Techniques
Incorporating faux finishing techniques, such as sponging or ragging, can further enhance the texture and depth of the painted brick. These methods involve applying paint with specialized tools, such as sponges or rags, to create intricate patterns and irregularities that closely resemble the organic characteristics of untreated brick. By selectively dabbing or stippling the paint onto the surface, a tactile and multi-dimensional effect is achieved, effectively replicating the tactile qualities and visual interest of natural brick. These faux finishing techniques offer a versatile approach to adding texture and depth, allowing for creative expression and customization to achieve the desired natural look.
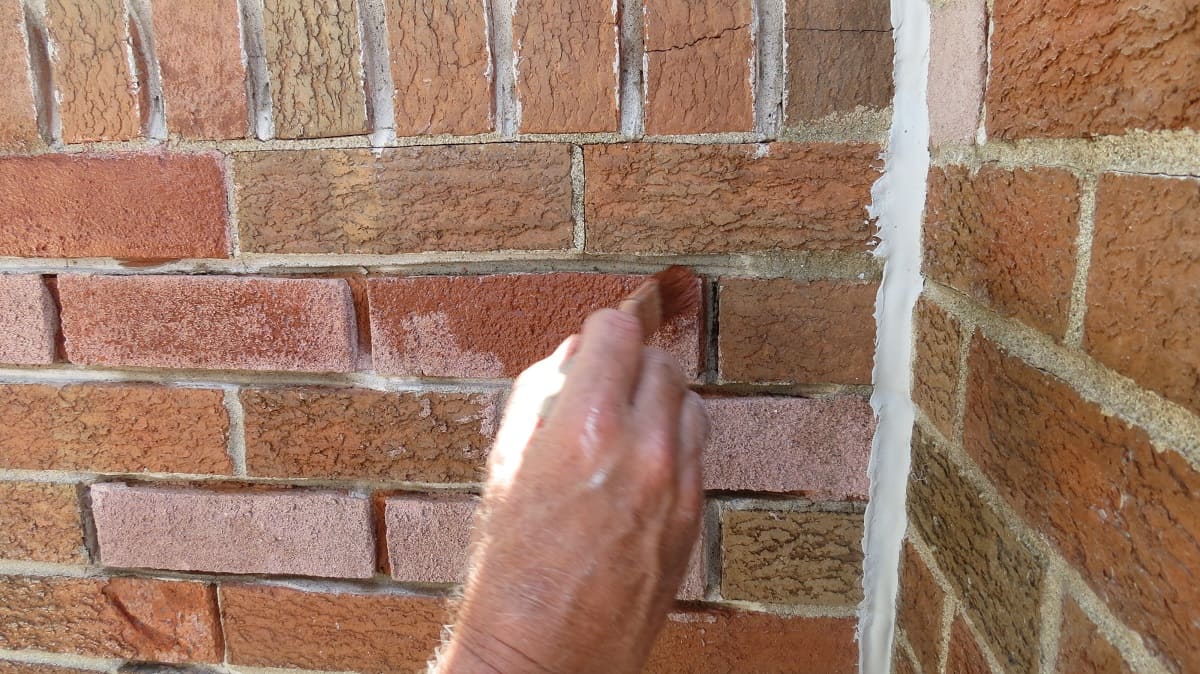
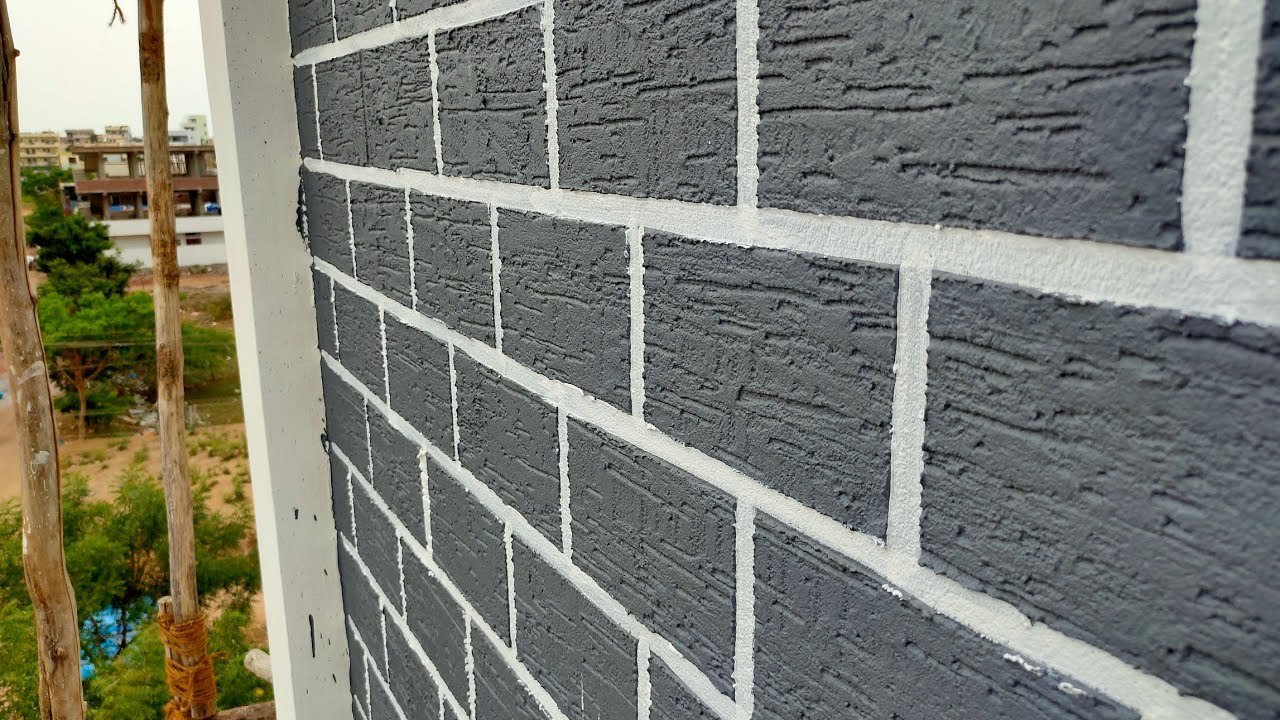
4. Highlighting Mortar Joints
Accentuating the mortar joints between the bricks is a crucial aspect of adding texture and depth to the painted surface. By carefully applying a slightly different shade or color to the mortar joints, the delineation between individual bricks is emphasized, creating a pronounced textural contrast. This technique not only enhances the visual appeal of the painted brick but also contributes to a more authentic and realistic portrayal of traditional brick masonry. The deliberate highlighting of mortar joints adds depth and definition to the surface, capturing the essence of genuine brickwork.
By incorporating these techniques and methods for adding texture and depth to painted brick, a natural and visually compelling finish can be achieved. These nuanced approaches allow for the emulation of the organic characteristics and textural intricacies inherent in natural brick, resulting in a painted surface that seamlessly blends with its surroundings while exuding an authentic and timeless aesthetic.
Read more: How To Make A Brick House Look Modern
Sealing the Painted Brick
Sealing the painted brick is a crucial final step that not only enhances the visual appeal of the surface but also ensures long-term protection and durability. By effectively sealing the painted brick, you can safeguard the finish against environmental elements, moisture intrusion, and potential wear, thereby preserving the natural look and integrity of the painted surface. Here's a comprehensive exploration of the importance of sealing painted brick and the recommended methods for achieving optimal results.
Importance of Sealing
Sealing the painted brick serves as a protective barrier, shielding the surface from moisture, dirt, and UV exposure. This protective layer helps prevent water infiltration, which can lead to efflorescence, mold growth, and deterioration of the painted finish. Additionally, sealing the painted brick enhances its resistance to staining and simplifies maintenance, making it easier to clean and preserve the natural appearance over time. Furthermore, a quality sealer can contribute to the longevity of the painted surface, ensuring that the aesthetic appeal endures for years to come.
Selecting the Right Sealer
Choosing the appropriate sealer is essential for achieving the desired level of protection and maintaining the natural look of the painted brick. Opt for a breathable, water-repellent sealer specifically formulated for masonry surfaces. Look for sealers that offer UV resistance and are designed to enhance the color and texture of the painted brick while providing long-lasting durability. It's important to select a sealer that complements the type of paint used and aligns with the desired finish, whether matte or satin, to ensure a cohesive and visually appealing result.
Application Process
Before applying the sealer, ensure that the painted brick surface is clean, dry, and free of any contaminants. Thoroughly inspect the painted surface for any imperfections or areas that may require touch-ups. Begin the application process by carefully following the manufacturer's instructions for the selected sealer. Use a high-quality paint roller or sprayer to apply the sealer evenly across the entire painted brick surface, working in manageable sections to achieve comprehensive coverage. Pay special attention to mortar joints and textured areas to ensure uniform protection and enhancement of the natural appearance.
Read more: How To Make Natural Candles
Maintenance and Reapplication
Once the sealer has been applied and allowed to dry according to the manufacturer's recommendations, it's essential to implement regular maintenance to preserve the integrity of the painted brick. Periodic cleaning and inspection can help identify any signs of wear or degradation, allowing for timely intervention and maintenance. Additionally, monitor the performance of the sealer over time and be prepared to reapply as needed to uphold its protective and aesthetic-enhancing properties.
By meticulously sealing the painted brick using the appropriate sealer and following best practices for application and maintenance, you can effectively safeguard the natural look of the surface while ensuring its long-term durability and visual appeal. This final step not only enhances the overall aesthetic impact of the painted brick but also contributes to its resilience and longevity, making it a worthwhile investment in preserving the natural beauty of the finished surface.
Frequently Asked Questions about How To Make Painted Brick Look Natural
Was this page helpful?
At Storables.com, we guarantee accurate and reliable information. Our content, validated by Expert Board Contributors, is crafted following stringent Editorial Policies. We're committed to providing you with well-researched, expert-backed insights for all your informational needs.


0 thoughts on “How To Make Painted Brick Look Natural”