Articles
How To Build Driveway Pillars
Modified: May 6, 2024
Learn step-by-step articles on how to build driveway pillars and enhance the aesthetic appeal of your property. Create stunning pillars with our expert guidance.
(Many of the links in this article redirect to a specific reviewed product. Your purchase of these products through affiliate links helps to generate commission for Storables.com, at no extra cost. Learn more)
Introduction
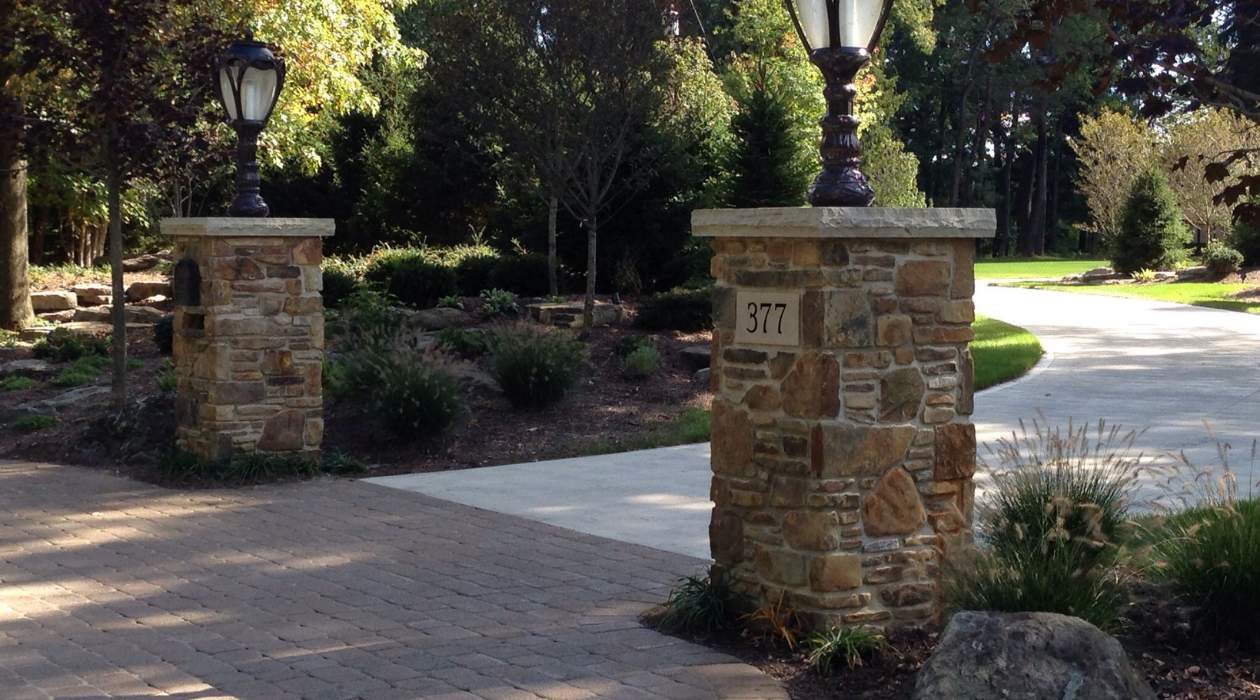
Building driveway pillars can add a touch of elegance and sophistication to your home’s exterior. These pillars not only enhance the overall curb appeal but also serve as functional features, providing support and framing for your driveway entrance.
In this article, we will guide you through the step-by-step process of building driveway pillars. Whether you’re looking to spruce up your current driveway or create a grand entrance for a newly constructed driveway, we’ve got you covered. So, let’s dive in and explore the world of driveway pillars!
Before we begin, it’s important to note that building driveway pillars requires careful planning, proper tools, and a bit of DIY knowledge. If you’re not comfortable undertaking this project on your own, it’s always a good idea to consult with a professional or hire a contractor.
In the following sections, we’ll cover all the necessary steps, from planning and designing to adding the finishing touches. By following these instructions, you’ll be well on your way to creating stunning driveway pillars that will stand the test of time.
Key Takeaways:
- Planning and designing your driveway pillars is crucial for achieving a stunning and functional entrance. Consider style, materials, height, and lighting to create pillars that complement your home’s aesthetic and stand the test of time.
- Building and maintaining driveway pillars requires careful preparation, attention to detail, and regular upkeep. From constructing a solid foundation to adding finishing touches, each step contributes to the durability and visual appeal of your pillars.
Read more: How To Build A Metal Gate For Driveway
Step 1: Planning and Designing
Before you begin building your driveway pillars, it’s essential to have a well-thought-out plan and design in place. This step will ensure that your pillars complement the overall aesthetic of your home and meet your specific needs. Here are some key considerations:
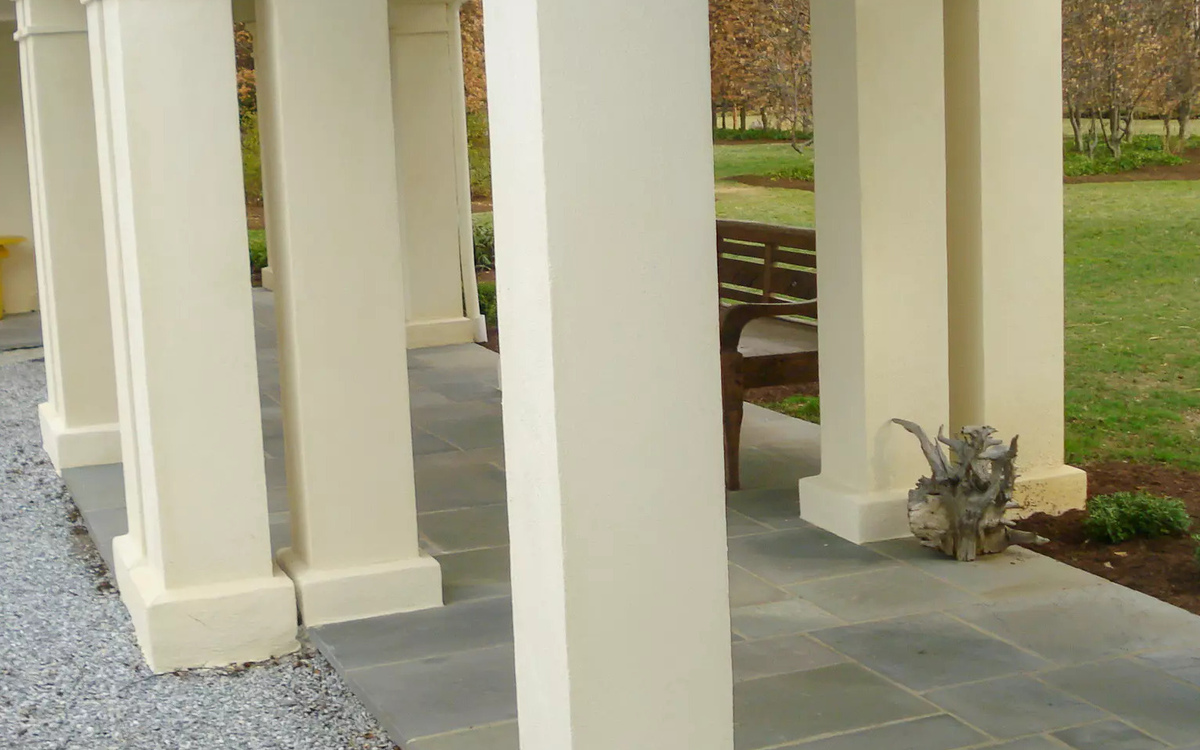
- Style and Materials: Decide on the style you want for your driveway pillars. Do you prefer a classic, traditional look or a more modern and sleek design? Consider the architectural style of your home and choose materials that harmonize with its overall aesthetic. Common materials for driveway pillars include brick, stone, concrete, and metal.
- Height and Width: Determine the appropriate height and width for your pillars, keeping in mind the proportions of your driveway and the surrounding landscape. This will depend on personal preference, local regulations, and the scale of your property. Taller pillars can create a more imposing entrance, while shorter ones are more understated.
- Driveway Gate: If you plan to install a gate, consider the type and style that will work best for your driveway. Determine whether you want a single or double gate, as this may impact the design and positioning of your pillars.
- Foundation and Stability: Assess the soil conditions and determine the appropriate foundation for your pillars. A sturdy foundation is crucial to ensure the longevity and stability of your driveway pillars. Consult with a professional if you’re unsure about the proper foundation requirements for your specific location.
- Lighting and Accessories: Consider incorporating lighting fixtures or decorative elements into your pillar design. These can add a touch of elegance and functionality to your driveway entrance. Options include uplighting, downlighting, solar-powered lights, address plaques, or house numbers.
Once you have a clear understanding of your design preferences and specifications, it’s time to put your ideas on paper. Create a detailed sketch or use design software to visualize your plan. This will help you make necessary adjustments and ensure that all elements come together seamlessly.
Remember to check local building codes or homeowner association guidelines to ensure compliance with any regulations or restrictions on driveway pillar construction. Once you have a solid plan in place, you’re ready to move on to the next step: gathering materials and tools.
Step 2: Gathering Materials and Tools
Now that you have a well-defined plan for your driveway pillars, it’s time to gather all the necessary materials and tools. Having everything prepared in advance will make the construction process smoother and more efficient. Here’s a list of common materials and tools you’ll need:
- Materials: Depending on your chosen design, you’ll need materials such as bricks, stones, concrete blocks, or metal columns. Make sure to purchase enough to complete both pillars, accounting for any extra material for potential mistakes or repairs.
- Cement and Mortar: If you’re using bricks or stones, you’ll need cement and mortar to secure them in place. Choose high-quality cement that is suitable for outdoor use. Consider adding color pigment to the mortar for a customized look.
- Footing Material: Determine the appropriate footing material based on your soil conditions. This may include gravel, crushed stone, or concrete for a solid foundation. Consult with a professional if you’re unsure about the right footing material for your specific location.
- Rebar or Reinforcement: Depending on the size and design of your pillars, you may need to reinforce them using rebar or other metal reinforcement. This will provide extra strength and stability to the structure.
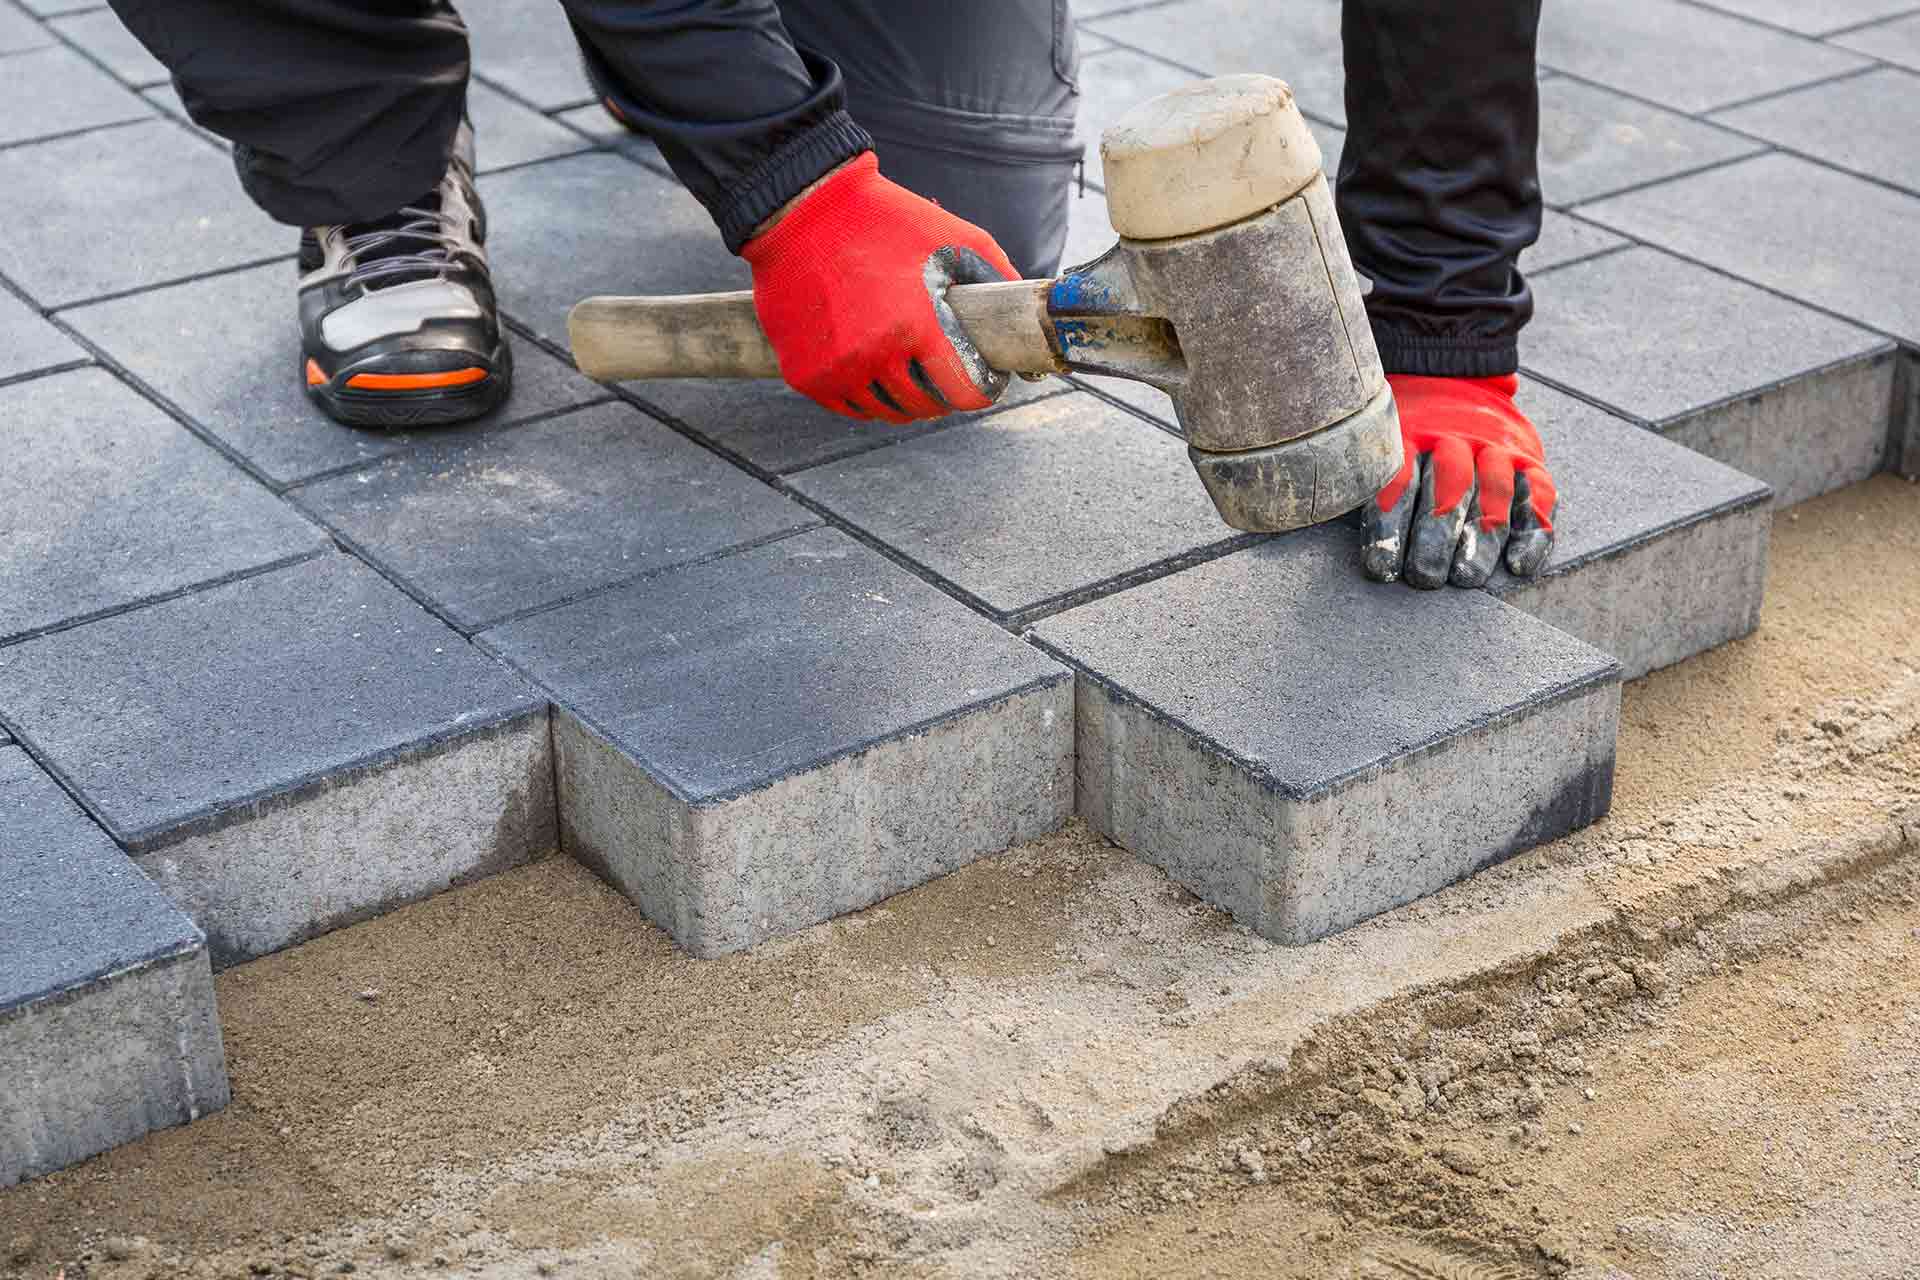
- Basic Tools: Ensure you have a range of basic tools such as a shovel, wheelbarrow, tape measure, level, masonry trowel, and rubber mallet. These tools will help you with excavation, mixing cement, and ensuring level and precise construction.
- Power Tools: Depending on the complexity of your design, you may need additional power tools such as a concrete mixer, masonry saw, or drill. These tools will expedite the construction process and ensure accurate cuts and installations.
- Safety Gear: Don’t forget to prioritize safety by wearing protective gear such as gloves, safety glasses, and a dust mask. Construction sites can be hazardous, so taking precautions is essential.
Once you have gathered all the materials and tools, it’s crucial to double-check that you have everything you need. Having everything organized and easily accessible will save you time and frustration during the construction phase. With your arsenal of materials and tools ready, you’re now prepared to move on to Step 3: Preparing the Foundation.
Step 3: Preparing the Foundation
Before you begin constructing your driveway pillars, it’s essential to prepare a solid foundation. A sturdy and well-prepared foundation will ensure the stability and longevity of your pillars. Follow these steps to properly prepare the foundation:
- Mark the Location: Use stakes and string to mark the desired location and dimensions of your pillars. Ensure that the spacing between the pillars is wide enough to accommodate your driveway gate if you plan to install one.
- Excavation: Use a shovel or an excavator to dig a hole for each pillar. The depth of the hole will depend on factors such as the soil conditions and local regulations. Typically, a depth of 2-3 feet is sufficient.
- Leveling and Compacting: Use a level to ensure that the bottom of each hole is even and level. Use a hand tamper or a plate compactor to compact the soil at the bottom of the hole. This will provide a stable base for your pillar.
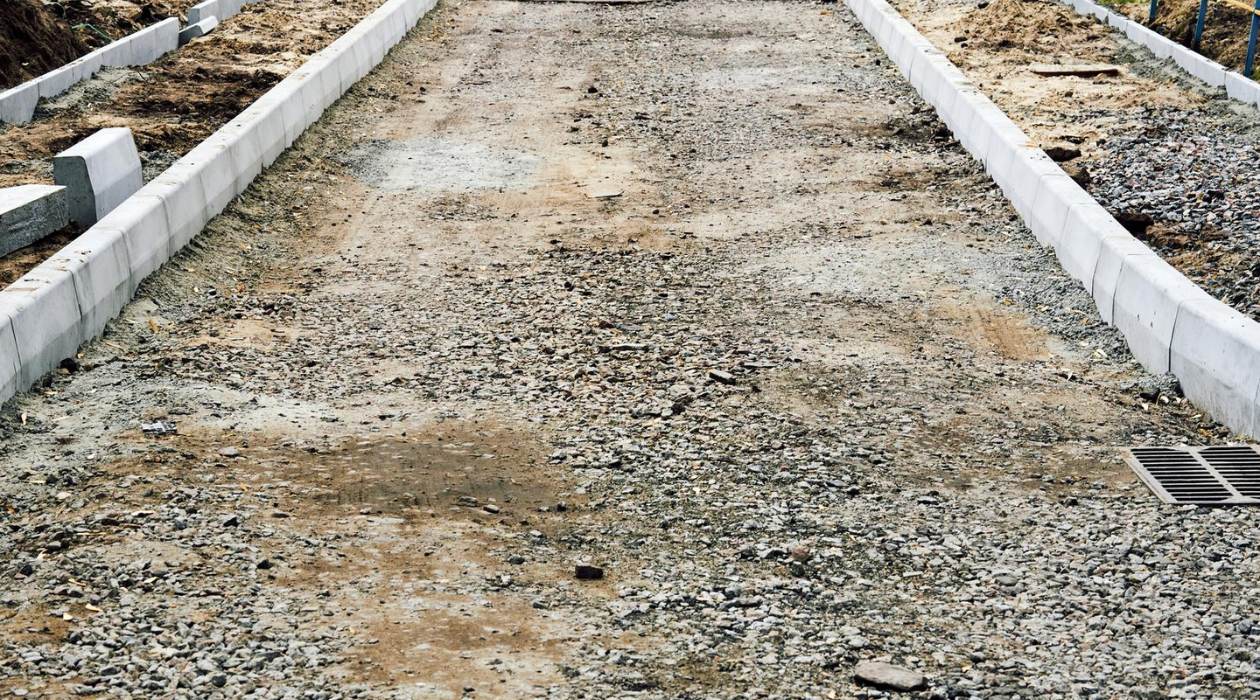
- Add Footing Material: Depending on your soil conditions, add a layer of gravel or crushed stone to the bottom of the hole. This will improve drainage and provide additional stability. Compact the footing material to create a solid base for your pillar.
- Install Rebar or Reinforcement: If your design requires reinforcement, now is the time to install it. Place rebar or other metal reinforcement vertically in the center of the hole. Use wire ties to secure the reinforcement in place.
- Mix and Pour Concrete: Prepare a batch of concrete according to the manufacturer’s instructions. Fill the hole with concrete, making sure it completely covers the footing material and reaches the desired height for the foundation. Smooth the surface with a trowel.
- Check for Level and Alignment: Use a level and a straight edge to ensure that the foundation is level and aligned. Adjust as necessary before the concrete sets. Double-check the measurements and positions of the pillars to ensure accuracy.
- Cure and Set: Allow the concrete to cure according to the manufacturer’s instructions. This typically involves keeping the concrete moist and protected from extreme weather conditions. Proper curing is crucial for the strength and durability of the foundation.
Once the foundation is set and cured, you’re ready to move on to the next step: building the pillar base. A solid foundation is the backbone of your driveway pillars, providing the stability and support needed for the rest of the construction process.
Step 4: Building the Pillar Base
Now that you have a well-prepared foundation, it’s time to start building the base of your driveway pillars. The base will serve as the platform upon which the rest of the pillar structure will be constructed. Follow these steps to build a sturdy and level pillar base:
- Prepare Mortar: Mix mortar according to the manufacturer’s instructions. Use a trowel to create a smooth and workable consistency. Mortar acts as the bonding agent for the bricks, stones, or other materials you’ll be using for the base.
- Apply Mortar: Start by applying a generous amount of mortar to the top of the cured foundation. Use the trowel to spread the mortar evenly across the surface, ensuring full coverage for proper adhesion.
- Lay the First Course: Begin placing your chosen material (bricks, stones, or concrete blocks) on top of the mortar. Arrange them in a straight line, using a level to ensure they are plumb and level with each other. Apply additional mortar as needed to create a solid base.
- Continue Building: Layer additional courses of material on top of the first course, applying mortar between each layer. Use a level to ensure each layer is aligned and level. Press the material firmly into the mortar for a secure bond.
- Stagger the Joints: To increase stability and strength, stagger the joints between each layer. This means placing bricks or stones in a way that their ends do not align directly above or below each other. This technique enhances the structural integrity of the base.
- Check for Plumb and Level: Regularly check the vertical and horizontal alignment of the base using a level. Adjust the positioning of the materials and add or remove mortar as necessary. It’s crucial to maintain accuracy throughout this process.
- Smooth Mortar Joints: Once you have completed the base construction, use a pointing trowel or jointer to smooth the mortar joints. This will give your base a clean and finished look. Wipe away any excess mortar with a damp sponge.
- Allow for Curing: Let the mortar cure for the recommended period mentioned by the manufacturer. This may take several days, so make sure to protect your pillar base from extreme weather conditions during this time.
With the base of your driveway pillars constructed, you’re halfway through the building process. The sturdy and level base will provide a solid foundation for the rest of the pillar structure. In the next step, we’ll cover how to construct the pillar structure itself. Get ready to see your driveway pillars take shape!
When building driveway pillars, make sure to use durable and weather-resistant materials such as brick, stone, or concrete to ensure longevity and stability. Properly measure and level the pillars to ensure a professional and polished look.
Read more: How To Build A Retaining Wall For A Driveway
Step 5: Constructing the Pillar Structure
With the base of your driveway pillars complete, it’s time to move on to constructing the pillar structure itself. This step will involve layering and securing the chosen materials to create a structurally sound and visually appealing pillar. Follow these steps to construct your driveway pillar:
- Prepare Mortar: Mix another batch of mortar following the manufacturer’s instructions. Ensure that the mortar has a workable consistency, similar to that used for the pillar base. This will be used to bond the layers of material.
- Apply Mortar: Begin by applying a layer of mortar to the top of the existing base. Use a trowel to spread the mortar evenly across the surface, covering an area large enough for the first layer of material.
- Layer the Material: Carefully position and layer the bricks, stones, or concrete blocks on top of the mortar. Apply additional mortar between each layer to secure the materials in place. Use a level to ensure that each layer is plumb and level with the previous layer.
- Stagger the Joints: Just as you did with the base, stagger the joints between each layer of material. This technique provides additional stability and strength to the pillar structure.
- Continue Building: Repeat the process of applying mortar and placing subsequent layers of material until you reach the desired height for your driveway pillar. Be sure to check for plumb and level regularly to maintain accuracy throughout the process.
- Smooth Mortar Joints: Once all layers are in place, use a pointing trowel or jointer to smooth the mortar joints. This will give your pillar a polished and cohesive appearance. Wipe away any excess mortar with a damp sponge.
- Allow for Curing: Leave the pillar to cure for the recommended duration provided by the mortar manufacturer. This typically takes several days, so protect the pillars from extreme weather conditions during this time.
- Optional Finishing Touches: Once the pillar structure is complete and fully cured, you can add any desired finishing touches. This may include applying a sealant or protective coating to the surface of the pillars, or adding decorative elements such as trim or caps.
Remember to consult your design plan throughout the construction process to ensure that the pillar structure aligns with your desired vision. By following these steps, you’ll be able to construct sturdy and visually appealing driveway pillars that will enhance the overall aesthetic of your home’s exterior.
In the next step, we’ll cover how to add the finishing touches to your driveway pillars. These final details will truly make your pillars stand out and complete the look of your grand entrance. Keep reading!
Step 6: Adding Finishing Touches
With your driveway pillars constructed, it’s time to add the finishing touches that will give them a polished and complete look. These details will enhance the overall aesthetic and functionality of your pillars. Follow these steps to add the final touches to your driveway pillars:
- Clean and Seal: Before proceeding with the finishing touches, make sure to clean the surface of the pillars and remove any dust or debris. This will ensure a smooth and pristine finish. Consider applying a sealant or protective coating to enhance durability and weather resistance.
- Paint or Stain: If desired, you can paint or stain the pillars to complement the color scheme of your home or to achieve a specific aesthetic. Choose a high-quality paint or stain that is suitable for outdoor use and follow the manufacturer’s instructions for application.
- Install Lighting: Incorporating lighting fixtures into your driveway pillars can create a dramatic effect and improve visibility. Consider installing outdoor-rated lights such as LED spotlights or lanterns on the pillars. Ensure proper wiring and consult an electrician if needed.
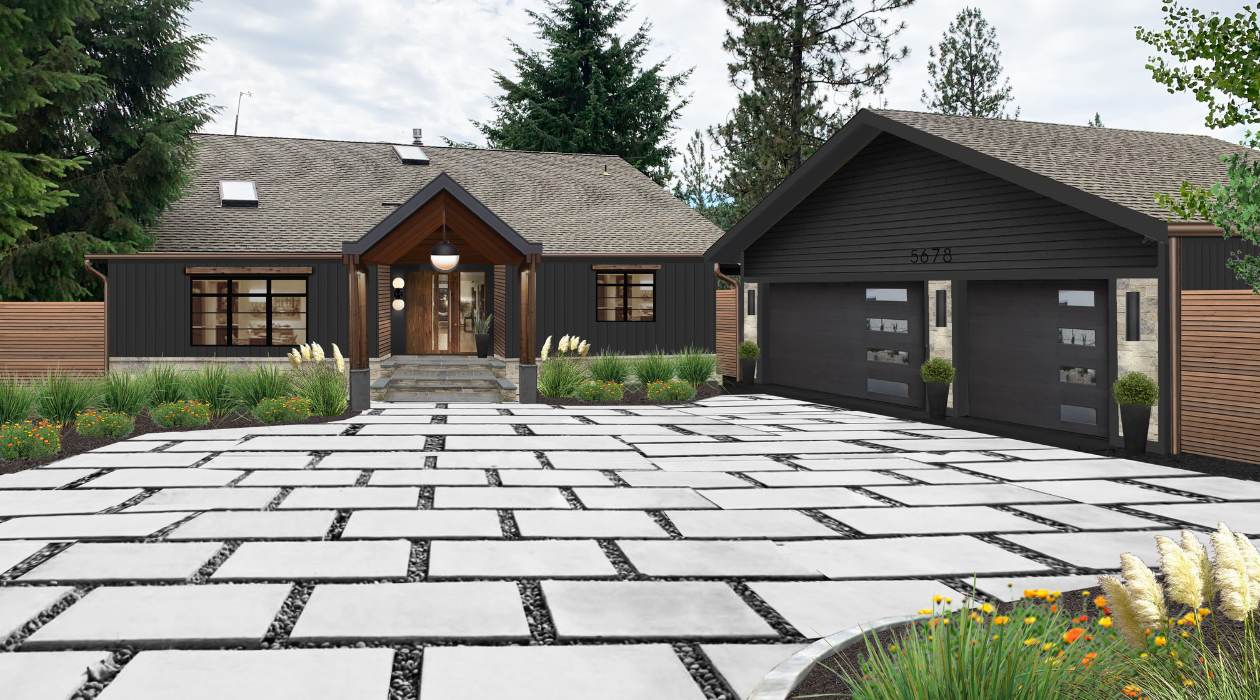
- Add Decorative Accents: Consider adding decorative accents such as address plaques, house numbers, or ornamental elements to your pillars. These details can give your driveway entrance a personalized touch and make it stand out.
- Attach Gate Hardware: If you plan to install a gate, now is the time to attach the necessary hardware. This may include gate hinges, latches, and handles. Ensure that the hardware is properly secured and functions smoothly.
- Landscaping: Surround your driveway pillars with suitable landscaping to further enhance their appearance. Plant flowers, shrubs, or ornamental grasses around the base of the pillars to create a beautiful and cohesive landscape design.
- Maintain and Clean: Regularly inspect and maintain your driveway pillars to keep them in optimal condition. Clean them periodically to remove dirt, debris, and any stains that may accumulate over time. Check for any signs of damage and address them promptly to prevent further deterioration.
By following these steps and adding the finishing touches to your driveway pillars, you’ll create a striking and inviting entrance to your home. These details will not only enhance the beauty of your property but also contribute to its overall value. Take pride in your craftsmanship and enjoy the newfound elegance of your driveway.
With the construction and final touches complete, your driveway pillars are ready to make a statement. In the next and final step, we’ll discuss maintenance and care to ensure that your pillars continue to serve their purpose and maintain their allure for years to come.
Step 7: Maintenance and Care
Proper maintenance and care are essential to ensure the longevity and continued beauty of your driveway pillars. By following these steps, you can keep your pillars in pristine condition for years to come:
- Regular Inspection: Conduct periodic inspections of your driveway pillars to identify any signs of damage or deterioration. Look for cracks, chips, or any other structural issues that may compromise the integrity of the pillars.
- Cleaning: Clean the surface of your pillars periodically to remove dirt, dust, and any stains that may accumulate over time. Use a mild detergent and a soft brush or sponge to scrub the surface. Rinse thoroughly with water and ensure the pillars are completely dry before applying any sealants or coatings.
- Repair: Promptly address any damage or signs of wear and tear on your pillars. Small cracks can be repaired using appropriate masonry patching materials. For larger or more severe damage, consult a professional to assess the situation and provide necessary repairs.
- Sealing: If your pillars are made of porous materials such as brick or stone, consider applying a sealant every few years. This will help protect against moisture absorption and prevent the growth of mold or mildew. Follow the manufacturer’s instructions for application.
- Landscaping Maintenance: Trim and maintain any plants or shrubs around the pillars to prevent overgrowth. Overgrown vegetation can cause damage to the pillars over time. Regularly remove any weeds or debris that may accumulate around the base of the pillars.
- Lighting Maintenance: If you have installed lighting fixtures on your pillars, check them periodically to ensure they are functioning properly. Replace any burnt-out bulbs or damaged wiring to maintain optimal visibility and safety.
- Winter Preparations: If you live in an area with harsh winters, take steps to protect your driveway pillars. Clear snow and ice from the pillars and avoid using salt or harsh chemicals that can cause damage. Consider using de-icing alternatives that are safe for outdoor structures.
- Professional Assistance: If you’re unsure about any maintenance or repair tasks or if you notice significant damage, it’s best to seek professional assistance. A masonry or construction expert can provide guidance and ensure that your pillars receive the necessary care.
By regularly inspecting, cleaning, and maintaining your driveway pillars, you can prolong their lifespan and preserve their aesthetic appeal. Remember that preventative maintenance is key to avoiding costly repairs down the line. With proper care, your driveway pillars will continue to enhance the beauty of your home for years to come.
Congratulations! You’ve successfully completed all the necessary steps to build and maintain stunning driveway pillars. Not only have you added a touch of elegance to your home’s exterior, but you’ve also gained valuable knowledge and skills along the way. Enjoy the beauty and functionality of your newly constructed driveway entrance!
Lastly, remember to consult local building codes, regulations, and obtain any necessary permits before starting any construction project.
Conclusion
Building driveway pillars may seem like a daunting task, but with careful planning, proper materials, and a step-by-step approach, you can create a stunning and functional entrance to your home. These pillars not only enhance the visual appeal of your property but also provide support and framing for your driveway. By following the steps outlined in this guide, you can confidently embark on this DIY project.
From planning and designing to adding the finishing touches, each step plays a crucial role in creating durable and visually appealing driveway pillars. Take the time to carefully consider the style, height, and materials that best suit your home’s architecture. Pay attention to the proper preparation of the foundation and ensure the alignment and stability of each layer as you construct the base and pillar structure.
The finishing touches, such as painting or staining, installing lighting fixtures, and incorporating decorative accents, add a personalized touch and elevate the appearance of your driveway pillars. Regular maintenance and care will help preserve their beauty and functionality, ensuring they withstand the test of time.
Remember, safety is paramount throughout the construction process. Wear appropriate protective gear, consult professionals if needed, and adhere to local regulations and guidelines.
Now that you have gained the knowledge and skills required to build driveway pillars, it’s time to unleash your creativity and transform your home’s entrance into a grand and captivating statement. Enjoy the fulfillment and satisfaction that come with completing this rewarding DIY project.
So, get ready to impress your neighbors and visitors with your beautifully crafted driveway pillars. Enhance the charm and value of your home while creating a lasting impression. Happy building!
Now that you've mastered building driveway pillars, why not extend your crafting skills to other outdoor projects? For inspiration on how to surround your garden with beauty and creativity, check out our article on 40 Best Garden Fence Ideas. If you're looking to expand beyond just barriers, our guide on distinctive outdoor structures offers plenty of suggestions for enhancing your backyard. Don't forget, a well-designed mailbox area can significantly boost your home's curb appeal; our ideas will show you how to create a charming first impression.
Frequently Asked Questions about How To Build Driveway Pillars
Was this page helpful?
At Storables.com, we guarantee accurate and reliable information. Our content, validated by Expert Board Contributors, is crafted following stringent Editorial Policies. We're committed to providing you with well-researched, expert-backed insights for all your informational needs.


0 thoughts on “How To Build Driveway Pillars”