Articles
How To Fix Peeling Laminate Floor
Modified: October 18, 2024
Discover effective articles on how to fix peeling laminate floors and restore their original look. Try these easy DIY methods and save on costly repairs.
(Many of the links in this article redirect to a specific reviewed product. Your purchase of these products through affiliate links helps to generate commission for Storables.com, at no extra cost. Learn more)
Introduction
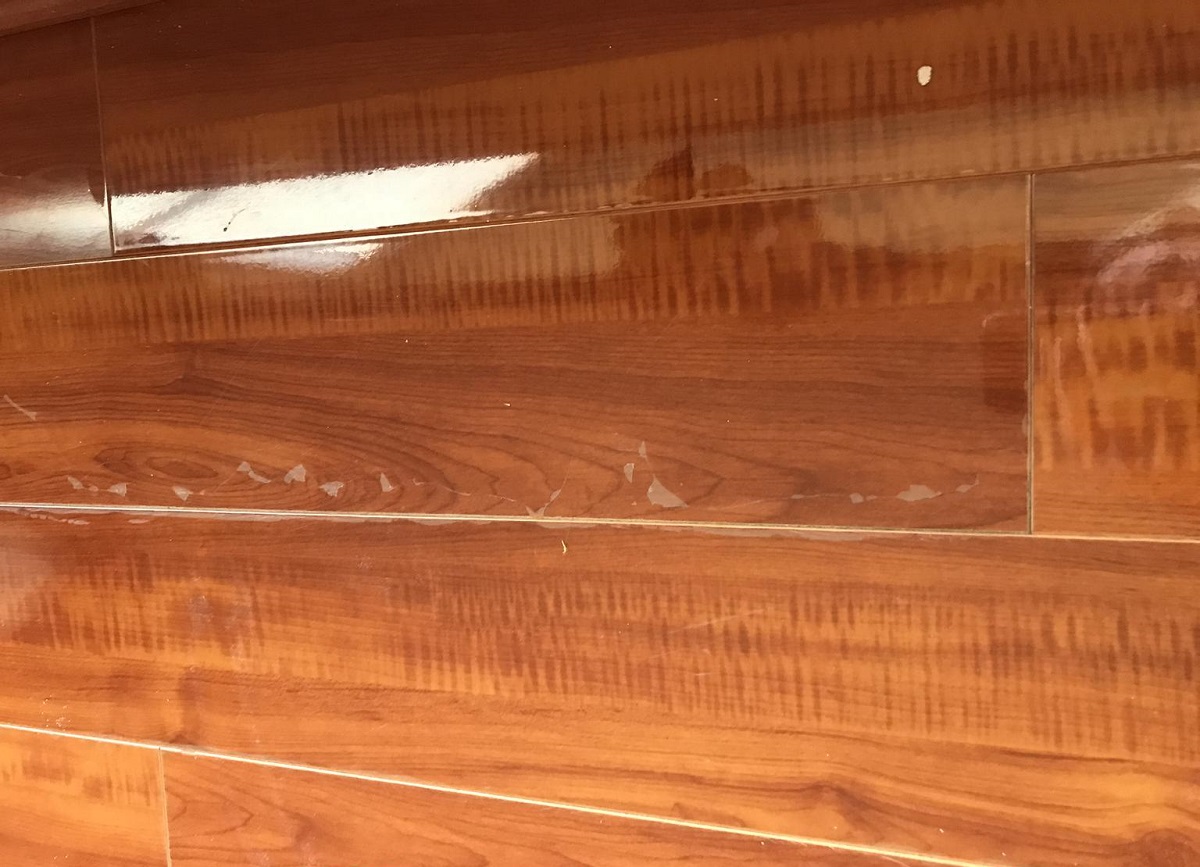
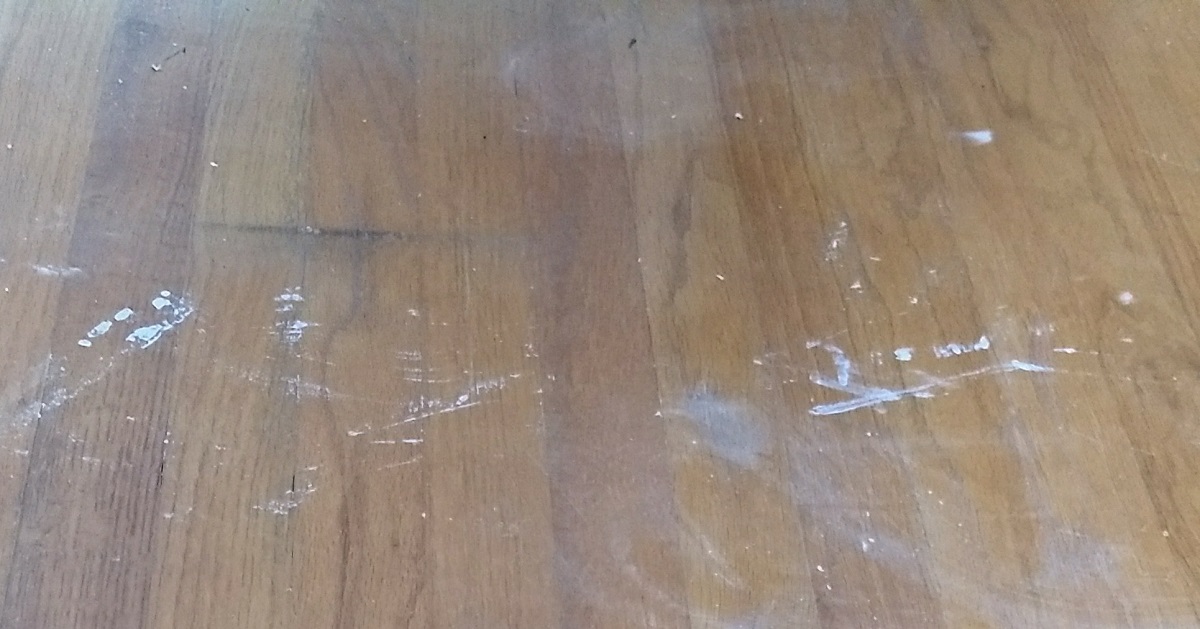
Laminate floors are a popular choice for many homeowners due to their durability, affordability, and aesthetic appeal. However, over time, laminate floors may start to show signs of wear and tear, including peeling. The peeling of laminate floors can be frustrating and unsightly, but the good news is that it can be fixed without having to replace the entire floor.
In this article, we will explore the common causes of peeling laminate floors and provide you with a step-by-step guide on how to fix them. Whether you have a small area of peeling or the problem is more widespread, following these instructions will help you restore the beauty and functionality of your laminate floor.
Before we dive into the repair process, it’s important to understand why laminate floors may peel in the first place. Understanding the root causes can help you prevent future issues and take proper care of your flooring.
Key Takeaways:
- Don’t let peeling laminate floors ruin the beauty of your home. Address the root causes, follow the step-by-step repair guide, and use high-quality adhesive to ensure a long-lasting and secure fix.
- Prevent future peeling by maintaining regular cleaning, addressing underlying issues, and considering professional help for extensive damage. With proper care, your laminate floor can remain beautiful and durable for years to come.
Read more: How To Fix Buckling Laminate Floor
Common Causes of Peeling Laminate Floors
Peeling in laminate floors can occur due to several factors, including:
- Moisture damage: One of the most common causes of peeling laminate is exposure to moisture. If water or liquid seeps into the laminate, it can cause the layers to separate and the flooring to peel. This can happen if there is a plumbing leak, high humidity levels, or improper installation in areas prone to moisture, such as bathrooms, kitchens, or basements.
- Poor adhesive application: Laminate flooring relies on adhesive to adhere the planks to the subfloor. If the adhesive was not properly applied during installation or if low-quality adhesive was used, it can lead to peeling over time. Substandard adhesive may not be strong enough to hold the laminate in place, especially in high-traffic areas.
- Subfloor issues: The condition of the subfloor can also contribute to peeling. Uneven or damaged subfloors can cause the laminate to buckle and separate, leading to peeling. Additionally, if the subfloor is not properly prepared, such as not removing old flooring or leveling the surface, it can affect the adhesion of the laminate.
- Extreme temperature changes: Rapid fluctuations in temperature can cause the laminated flooring to expand and contract. Over time, this movement can weaken the bond between the laminate and the subfloor, resulting in peeling.
- Wear and tear: Everyday use, such as heavy foot traffic or the movement of furniture, can put stress on laminate floors and cause them to peel. Scratches, scuffs, and impact damage can weaken the protective layers of the laminate, making it more prone to peeling.
Identifying the cause of the peeling is crucial in determining the best approach to repair. Once you have identified the cause, you can gather the necessary tools and materials to fix the issue.
Tools and Materials Needed
Before you begin repairing your peeling laminate floor, gather the following tools and materials:
- Utility knife or laminate cutting tool
- Putty knife
- Adhesive remover
- Clean cloth or sponge
- Subfloor repair kit (if necessary)
- Trowel or adhesive applicator
- New laminate planks or adhesive
- Hammer and nails (if needed)
- Roller or heavy object for applying pressure
- Protective gloves
- Safety goggles
Ensure that you have all the tools and materials easily accessible before starting the repair process. This will allow for a smoother and more efficient repair experience.
It’s worth noting that depending on the extent of the damage and the cause of the peeling, you may need additional tools or materials. For example, if the subfloor is uneven or damaged, you may need to purchase a subfloor repair kit or leveler to address the underlying issue before proceeding with the laminate repair.
Now that you have all the tools and materials ready, it’s time to move on to the step-by-step instructions for fixing your peeling laminate floor.
Step 1: Prepare the Area
Before you can begin repairing your peeling laminate floor, it’s important to prepare the area for the repair process. Follow these steps:
- Clear the affected area: Remove any furniture, rugs, or objects from the area with the peeling laminate. This will give you easy access to the damaged section and prevent any obstructions during the repair.
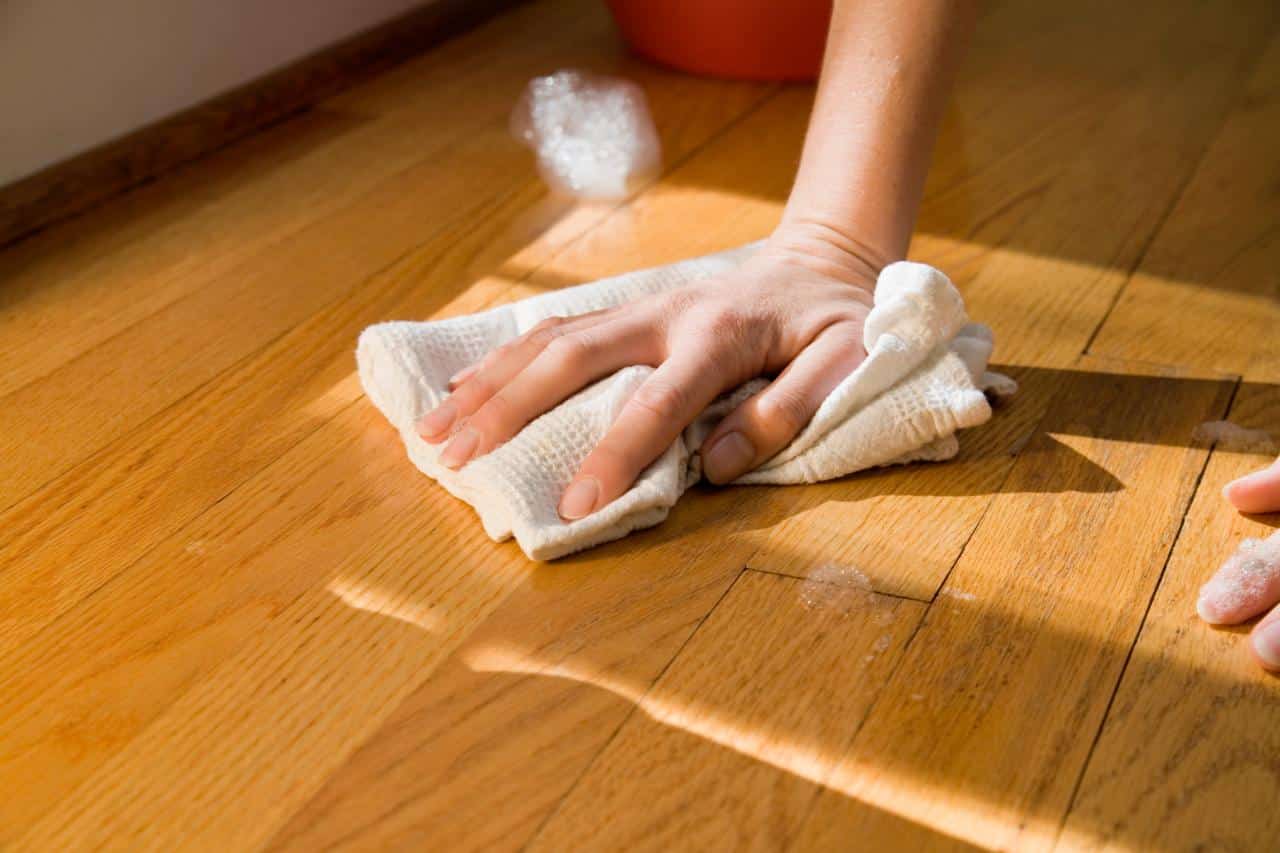
- Clean the floor: Use a broom or vacuum cleaner to remove any debris or dust from the floor. Cleaning the area ensures that the adhesive will bond properly and provides a clean surface for the repair. You can also use a damp cloth or mop to wipe the floor, ensuring it is free from any residue.
- Protect yourself: It’s important to take safety precautions during the repair process. Wear protective gloves to protect your hands and safety goggles to shield your eyes. This is especially important when working with adhesive removers or handling sharp tools.
Once you have completed these steps, you are ready to move on to the next phase of repairing your peeling laminate floor: removing the damaged sections.
Step 2: Remove the Peeling Laminate
Now that you have prepared the area, it’s time to remove the peeling laminate from your floor. Follow these steps:
- Locate the peeling area: Identify the section of laminate that is peeling. It might be a small corner or a larger area. Take note of the size and shape of the damaged section.
- Use a utility knife or laminate cutting tool: Carefully cut along the edges of the peeling laminate. Be sure to make clean and straight cuts to avoid further damage to the surrounding flooring.
- Gently lift the peeling laminate: Using a putty knife or your fingers, lift the peeling laminate away from the subfloor. Take caution not to damage the underlying subfloor or neighboring laminate planks.
- Remove any adhesive residue: After removing the peeling laminate, there may be adhesive residue left on the subfloor. Use an adhesive remover and a clean cloth or sponge to gently remove any remaining adhesive. Follow the manufacturer’s instructions for the adhesive remover and ensure proper ventilation in the room.
It’s important to note that if the peeling area is large or the damage extends beyond a single plank, you may need to remove multiple planks to address the problem effectively. Take your time during this step to ensure that you remove the peeling laminate completely, leaving a clean and smooth surface for the next steps of the repair process.
Once you have successfully removed the peeling laminate and cleaned any adhesive residue, you can move on to the next step: cleaning and preparing the subfloor.
Read more: How To Fix Scratch On Laminate Floor
Step 3: Clean and Prepare the Subfloor
After removing the peeling laminate, it’s important to clean and prepare the subfloor before proceeding with the repair. Follow these steps:
- Inspect the subfloor: Take a close look at the subfloor to ensure it is in good condition. Look for any signs of damage, such as cracks or unevenness. If you notice any issues, it’s important to address them before continuing with the repair.
- Clean the subfloor: Remove any debris, dust, or adhesive residue from the subfloor. Use a broom or vacuum cleaner to effectively clean the area. For stubborn adhesive residue, you may need to use an adhesive remover and a clean cloth or sponge. Ensure that the subfloor is clean and dry before proceeding to the next step.
- Address any subfloor issues: If you notice any damage or unevenness in the subfloor, it’s important to repair or level it before installing the new laminate. Depending on the extent of the damage, you may need to use a subfloor repair kit, leveling compound, or seek professional assistance. This step is crucial to ensure a stable and even surface for the new flooring.
Taking the time to properly clean and prepare the subfloor will ensure a solid foundation for your repaired laminate floor. It will help create a strong bond between the subfloor and the new laminate, preventing future peeling or damage.
Once you have cleaned and prepared the subfloor, you are ready to move on to the next step: applying adhesive to secure the new laminate in place.
Use a laminate floor repair kit to fix peeling edges or corners. Clean the area, apply the adhesive, and use a weighted object to press the laminate back into place.
Step 4: Apply Adhesive
With the subfloor cleaned and prepared, it’s time to apply adhesive to secure the new laminate in place. Follow these steps:
- Choose the right adhesive: Select an adhesive specifically designed for laminate flooring. Check the manufacturer’s instructions to ensure compatibility with your specific laminate product.
- Read the adhesive instructions: Familiarize yourself with the recommended application method, drying time, and any safety precautions mentioned in the adhesive instructions. Follow them carefully to achieve the best results.
- Apply the adhesive: Using a trowel or adhesive applicator, apply the adhesive to the subfloor in the section where the peeling laminate was removed. Spread the adhesive evenly, covering the entire area to ensure proper bonding.
- Refer to the manufacturer’s instructions: Different adhesives may have varying application methods, such as spreading the adhesive directly on the subfloor or applying it to the back of the laminate planks. Follow the specific instructions provided by the adhesive manufacturer for the best results.
When applying the adhesive, be mindful not to apply too much or too little. Too much adhesive can create a mess and make it difficult to lay the new laminate. On the other hand, too little adhesive may result in inadequate bonding and may cause future issues.
It’s also important to work in small sections, applying the adhesive as you go. This ensures that the adhesive doesn’t dry out before you can place the new laminate planks.
After applying the adhesive, you are now ready to proceed to the next step: reinstalling the laminate planks.
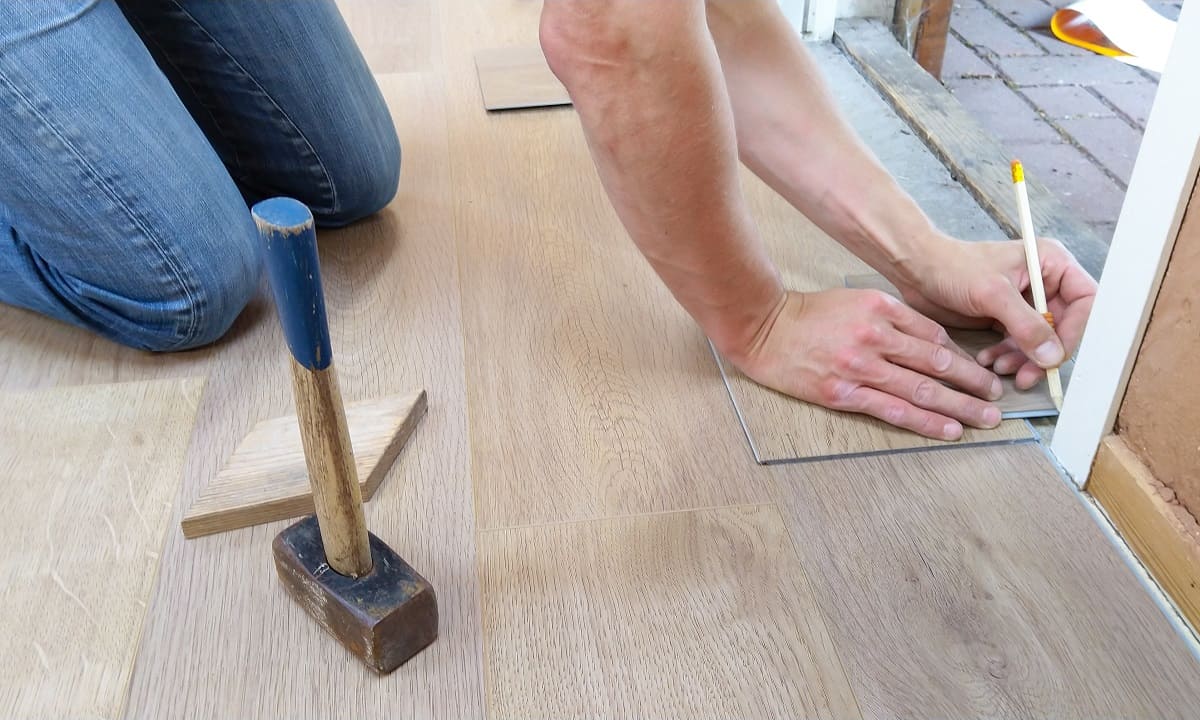
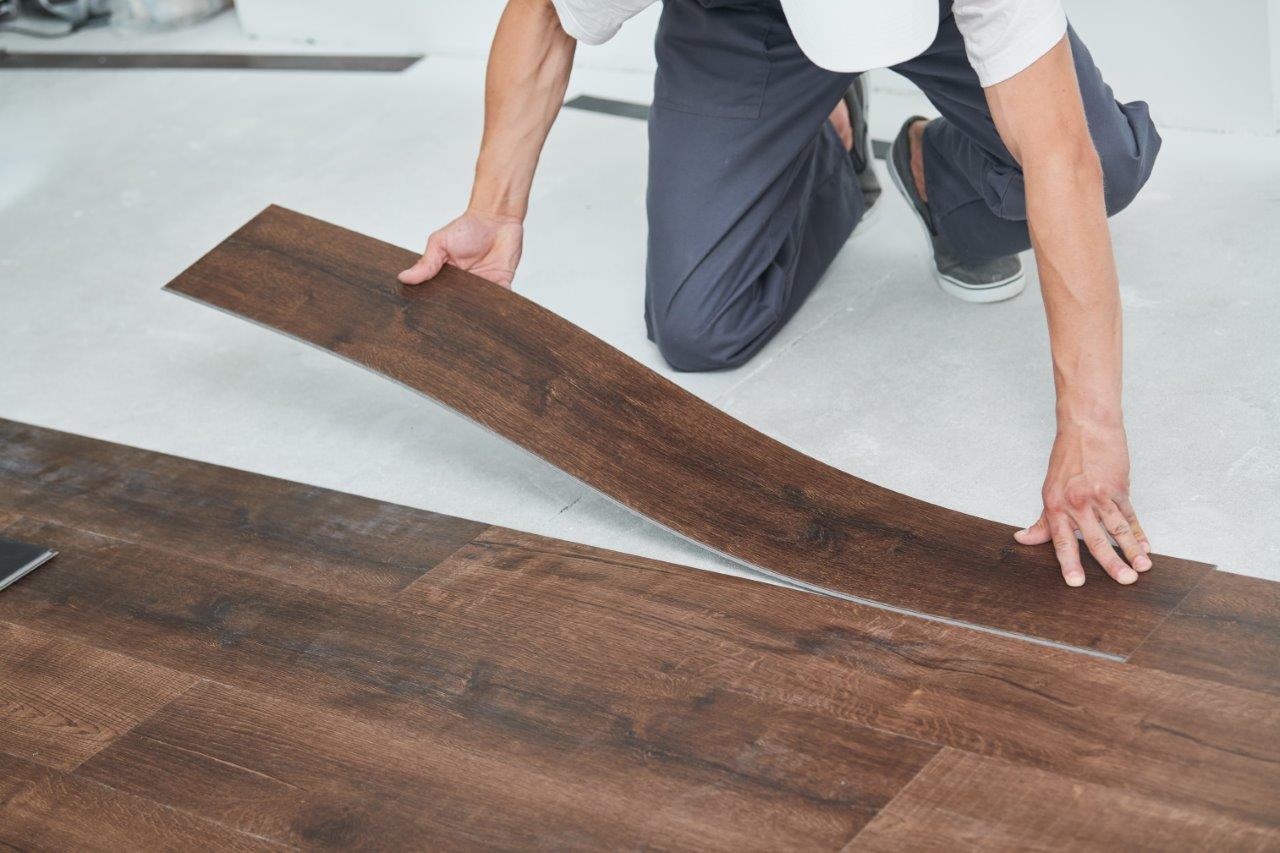
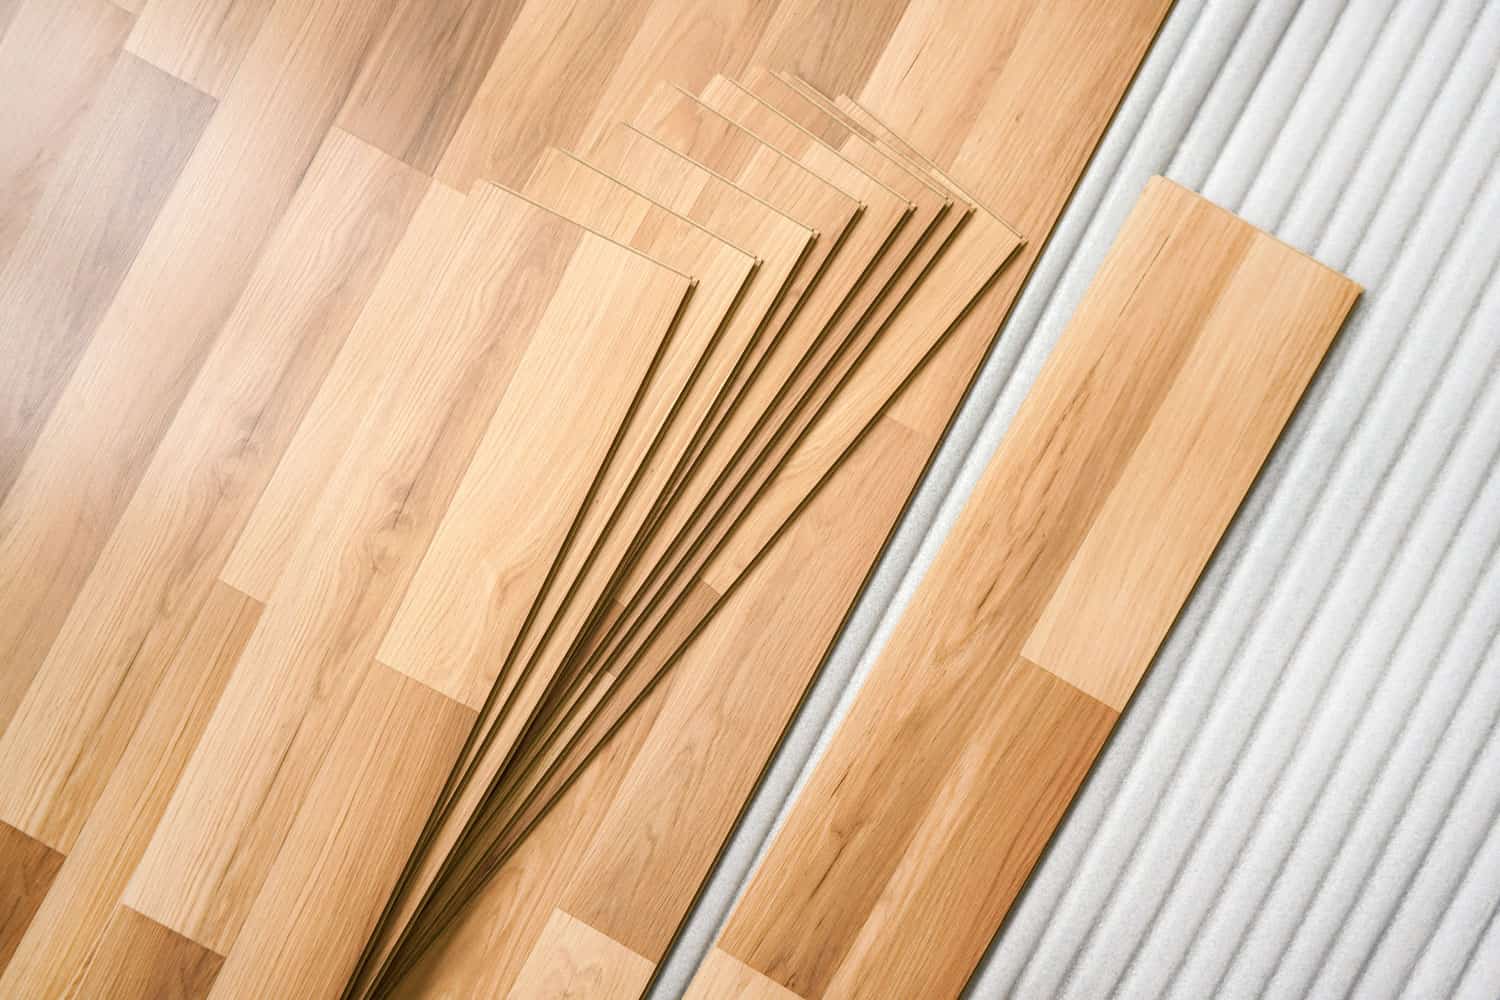
Step 5: Reinstall the Laminate Planks
With the adhesive applied, it’s time to reinstall the laminate planks in the repaired area. Follow these steps:
- Start with the first plank: Begin by placing the first laminate plank at one edge of the repaired area. Ensure a tight fit against the surrounding laminate, aligning the edges properly.
- Continue with the remaining planks: Lay the remaining planks one by one, connecting the tongue and groove edges. Use gentle pressure to ensure a snug fit. Depending on the style of your laminate flooring, you may need to angle the planks and then lower them into place.
- Check for uniformity: As you install the planks, periodically check for uniformity in their alignment and spacing. Use a rubber mallet or a scrap piece of wood and a hammer to gently tap any planks that are not fully aligned.
Take your time during this step to ensure that the planks are properly installed and aligned. A well-installed laminate floor not only looks better but is also more resistant to future peeling or damage.
If you encounter any issues with specific planks, such as tight joints or difficult connections, you may need to trim the planks or adjust their positioning. Use a laminate cutting tool or utility knife to make precise cuts as needed.
Once you have installed all the laminate planks, you are ready to move on to the next step: allowing time for the adhesive to set.
Step 6: Allow Time for Adhesive to Set
After reinstalling the laminate planks, it’s crucial to allow sufficient time for the adhesive to set. Follow these important steps:
- Read the adhesive instructions: Refer to the manufacturer’s instructions to determine the recommended drying or curing time for the adhesive. This can vary depending on the specific product used.
- Avoid foot traffic: During the drying period, it’s important to avoid walking on the repaired area. This can disrupt the bonding process and lead to potential issues with the newly installed laminate.
- Apply pressure: To ensure a strong and secure bond, it’s recommended to apply even pressure on the newly installed laminate planks. You can do this by using a roller specifically designed for laminate flooring or by placing heavy objects, such as books or weights, evenly distributed over the area. This pressure will help the adhesive adhere properly and create a solid connection.
- Allow ample drying time: The drying or curing time will vary depending on the adhesive used. It is essential to give the adhesive enough time to fully set before allowing normal foot traffic or placing furniture back on the repaired area. Adhering to the recommended drying time will minimize the risk of the laminate peeling again in the future.
Be patient during this step, as rushing the process can compromise the effectiveness of the adhesive and the overall stability of the repaired area. Follow the manufacturer’s instructions and allow sufficient time for the adhesive to set completely.
Once the recommended drying time has passed, you can proceed to the final step: testing the repaired area to ensure it is secure and in good condition.
Read more: How To Level Floor For Laminate
Step 7: Test the Repaired Area
After allowing the adhesive to set, it’s time to test the repaired area to ensure the laminate is secure and in good condition. Follow these steps:
- Inspect the repaired area: Visually examine the repaired section of the laminate floor to check for any signs of peeling, gaps, or unevenness. Look for proper alignment, smooth transitions between planks, and a seamless appearance.
- Give it a gentle tug: Carefully pull on the edges of the newly installed laminate planks to test their bond with the subfloor. They should feel firm and not give in to pressure. If any planks feel loose or show signs of lifting, additional adhesive or reinstallation may be necessary.
- Check for stability: Walk over the repaired area and pay attention to any squeaking, movement, or shifting of the laminate. Stability is essential for a well-repaired floor. If you notice any issues, further adjustments or reinforcement may be needed.
- Replace furniture and accessories: Once you have tested the repaired area and are satisfied with the results, you can safely return furniture and accessories to their original positions. Take care when moving heavy items to avoid scratching or damaging the newly repaired laminate floor.
By thoroughly inspecting and testing the repaired area, you can ensure that the peeling laminate issue has been effectively resolved. If you come across any concerns during this step, it’s important to address them promptly to prevent further damage.
Additionally, it’s recommended to regularly inspect your laminate floor to catch any signs of peeling or damage early on. Prompt repairs and maintenance will help prolong the lifespan and beauty of your laminate flooring.
With the repaired area tested and approved, you have successfully fixed the peeling laminate floor. Enjoy your revitalized and restored flooring!
Additional Tips and Considerations
While following the step-by-step guide provided earlier will help you fix peeling laminate floors, here are some additional tips and considerations to keep in mind:
- Address the underlying cause: Simply fixing the peeling laminate without addressing the root cause may lead to recurring issues. Identify and resolve any issues such as moisture problems, subfloor damage, or improper installation to prevent future peeling.
- Use high-quality adhesive: Investing in a reliable and high-quality adhesive specifically designed for laminate flooring is essential for a long-lasting and secure repair. Research and select a reputable brand to ensure optimal results.
- Allow for proper acclimation: If you are replacing damaged laminate planks, allow the new planks to acclimate to the room’s temperature and humidity conditions before installation. This helps minimize the risk of future issues.
- Consider professional help: If the peeling is extensive, or if you are unsure of your repair abilities, it may be wise to seek professional assistance. Professional installers have the experience and expertise to handle complex repairs and ensure a durable outcome.
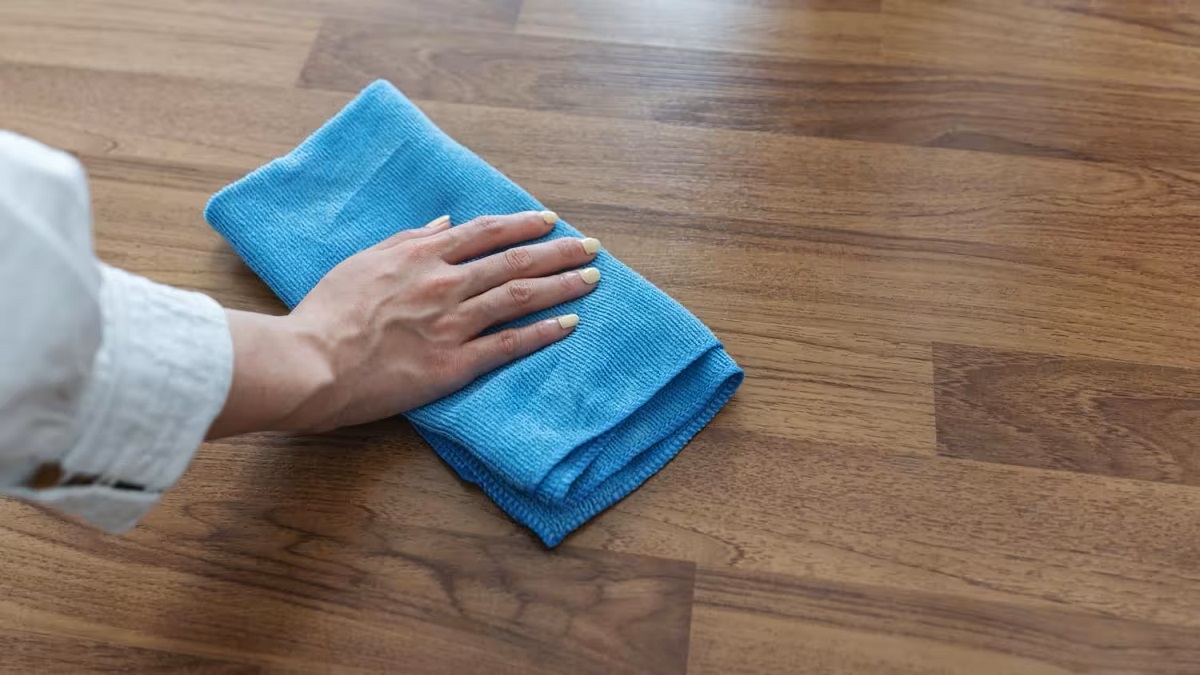
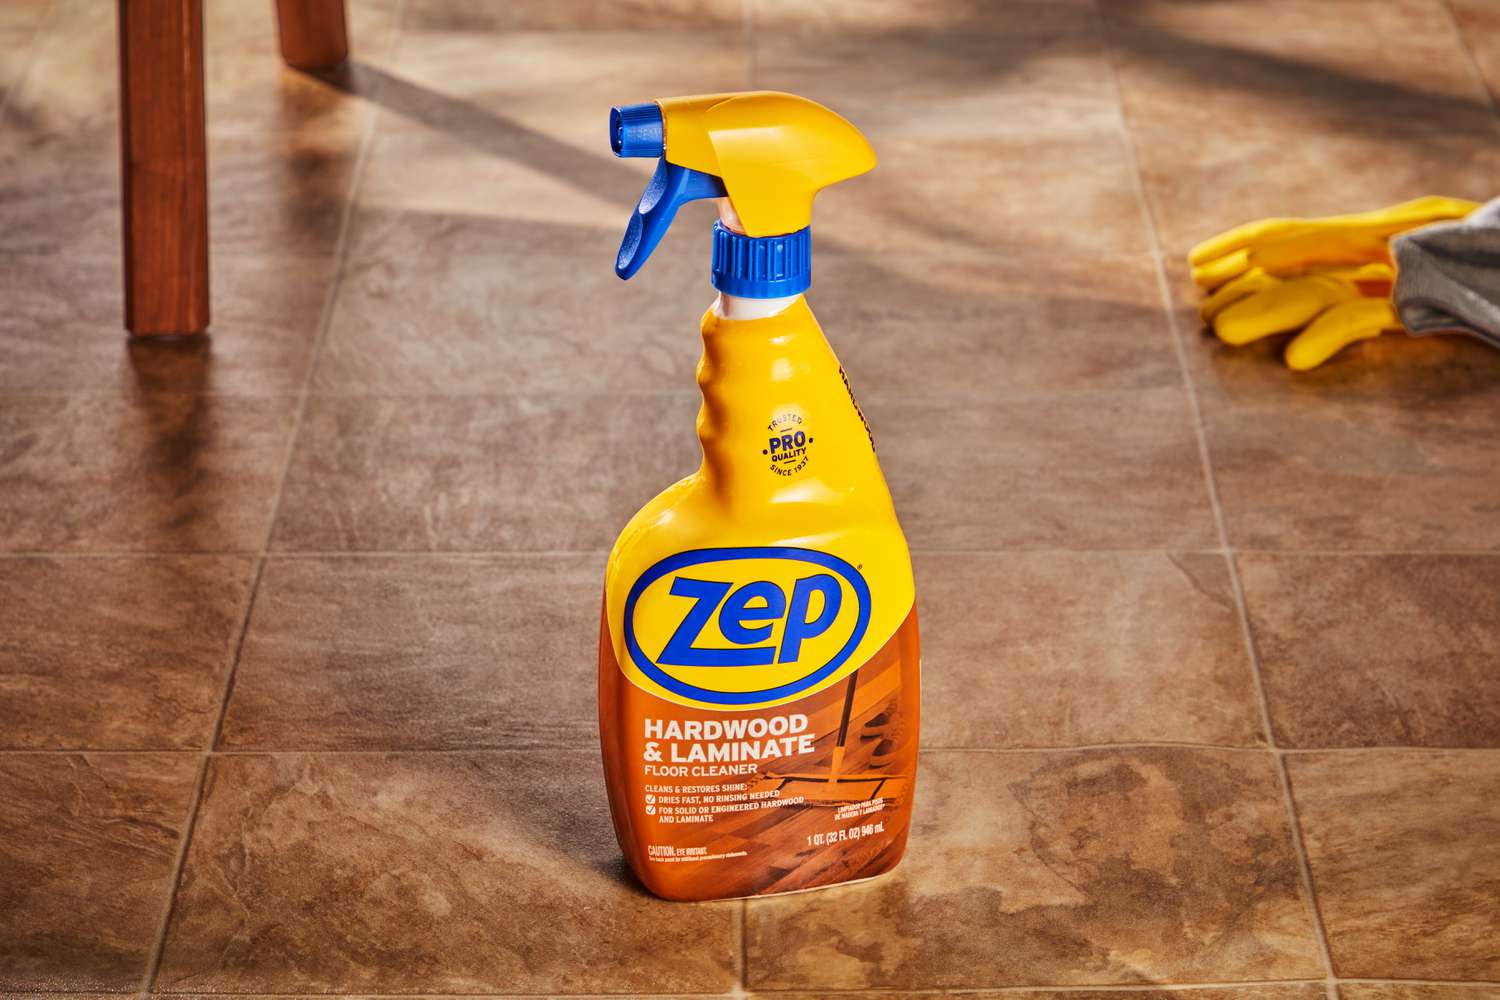
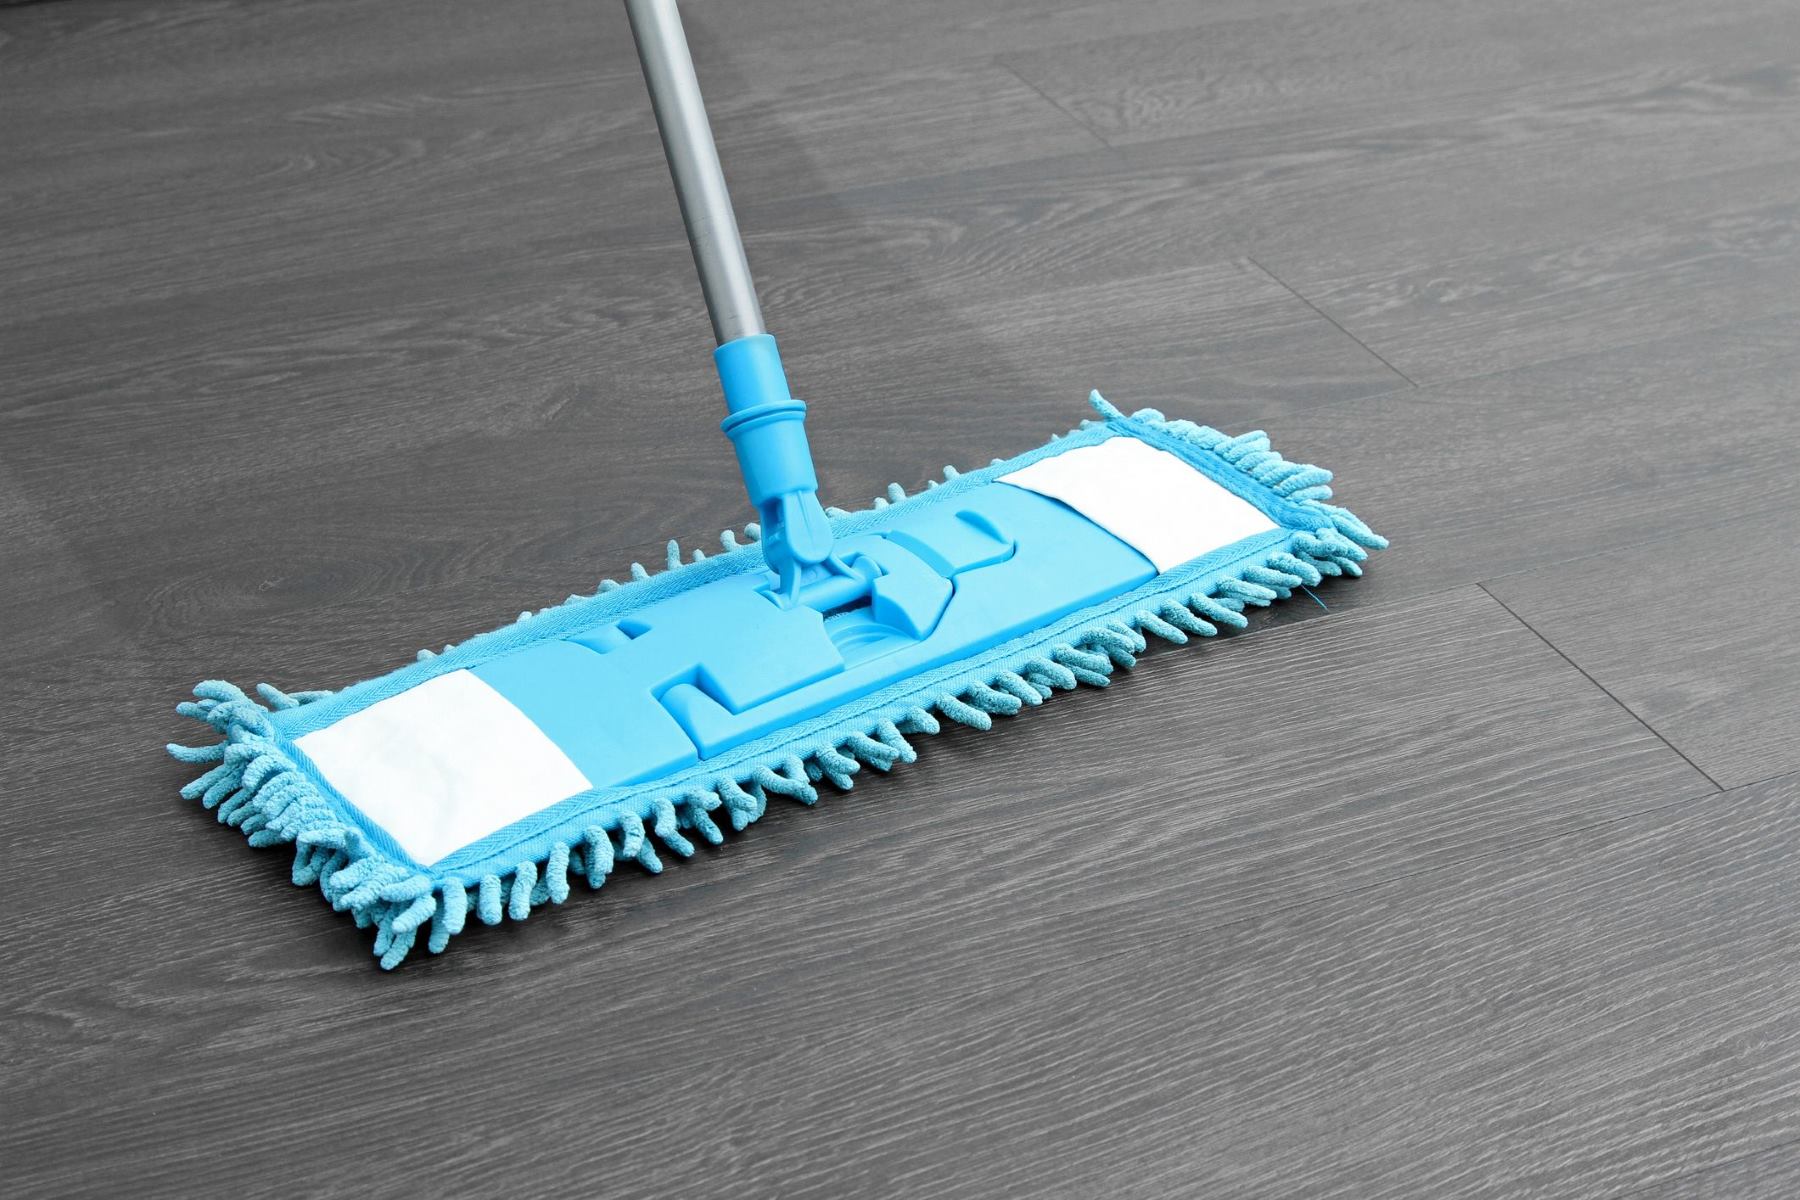
- Maintain regular cleaning and care: Proper maintenance and care of your laminate floor can help prevent peeling and extend its lifespan. Follow the manufacturer’s recommendations for cleaning and avoid excessive moisture or harsh chemicals that can damage the laminate surface.
Remember, prevention is key when it comes to maintaining the condition of your laminate floor. Avoid dragging heavy furniture across the floor, use protective pads or coasters underneath furniture legs, and promptly clean up any spills or moisture to minimize the risk of peeling or damage.
By following these additional tips and considerations, you can enhance the longevity and appearance of your laminate floor, ensuring it remains beautiful and functional for years to come.
Once you take the necessary steps to repair and prevent peeling in your laminate floor, you can enjoy its many benefits without the worry of unsightly and inconvenient peeling issues.
Conclusion
Dealing with peeling laminate floors can be frustrating, but with the right knowledge and approach, it is a problem that can be effectively resolved. By understanding the common causes of peeling and following the step-by-step guide outlined in this article, you can successfully repair your laminate floor and restore its beauty and functionality.
Remember to identify and address the underlying cause of the peeling to prevent future issues. Whether it’s moisture damage, poor adhesive application, subfloor issues, or wear and tear, addressing the root cause will help ensure a long-lasting repair.
Take the time to properly prepare the area, remove the peeling laminate, clean and prepare the subfloor, and apply the adhesive before reinstalling the new laminate planks. Allowing adequate drying time and testing the repaired area for stability and durability are crucial steps in the repair process.
Additionally, implementing the additional tips and considerations provided will help you maintain your laminate floor and minimize the risk of future peeling or damage. Regular cleaning and maintenance, using high-quality adhesive, and considering professional help when needed are all factors that contribute to the longevity and resilience of your floor.
By following these guidelines and taking proactive measures, you can enjoy a beautiful, peeling-free laminate floor that not only enhances the aesthetic appeal of your home but also withstands the test of time and daily use.
Remember, if you’re unsure about any aspect of the repair process or have a significant peeling issue, it’s always best to consult with professionals who can provide expert guidance and assistance.
With determination, patience, and the right approach, you can successfully fix peeling laminate floors and enjoy a seamless and durable flooring surface.
Just repaired your laminate floor? Now, dive into further home transformations with our DIY home improvement guide. It's packed with practical advice, ensuring you tackle projects with confidence. For those eyeing a more upscale change, our list of the top hardwood floors for home renovation offers curated options that promise to revitalize any living space. Each guide provides step-by-step instructions, making it easier than ever to enhance your home’s charm and functionality.
Frequently Asked Questions about How To Fix Peeling Laminate Floor
Was this page helpful?
At Storables.com, we guarantee accurate and reliable information. Our content, validated by Expert Board Contributors, is crafted following stringent Editorial Policies. We're committed to providing you with well-researched, expert-backed insights for all your informational needs.


0 thoughts on “How To Fix Peeling Laminate Floor”