Home>Construction & Tools>Building Materials>How To Remove Exterior Stucco
Building Materials
How To Remove Exterior Stucco
Published: January 17, 2024
Learn the step-by-step process for removing exterior stucco from your building materials. Discover expert tips and techniques for a successful stucco removal.
(Many of the links in this article redirect to a specific reviewed product. Your purchase of these products through affiliate links helps to generate commission for Storables.com, at no extra cost. Learn more)
Introduction
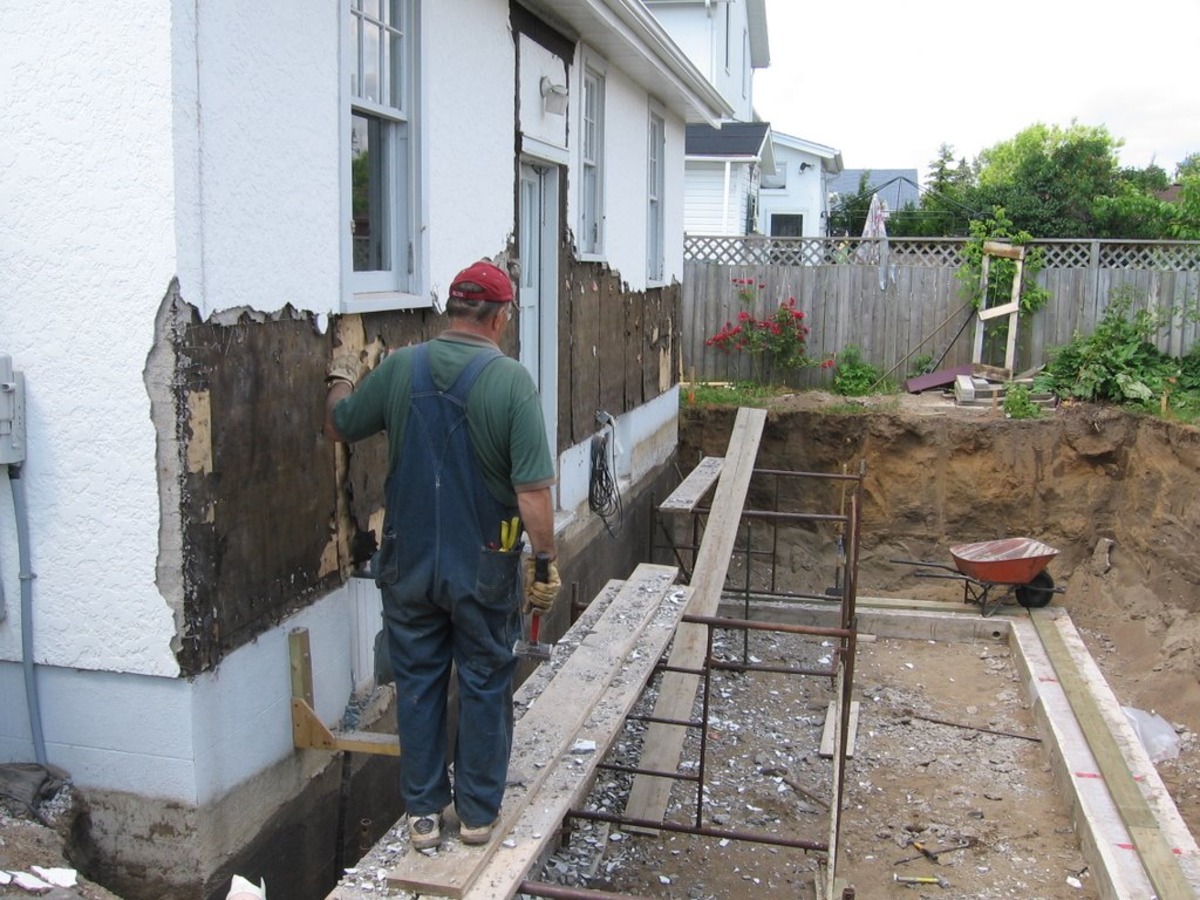
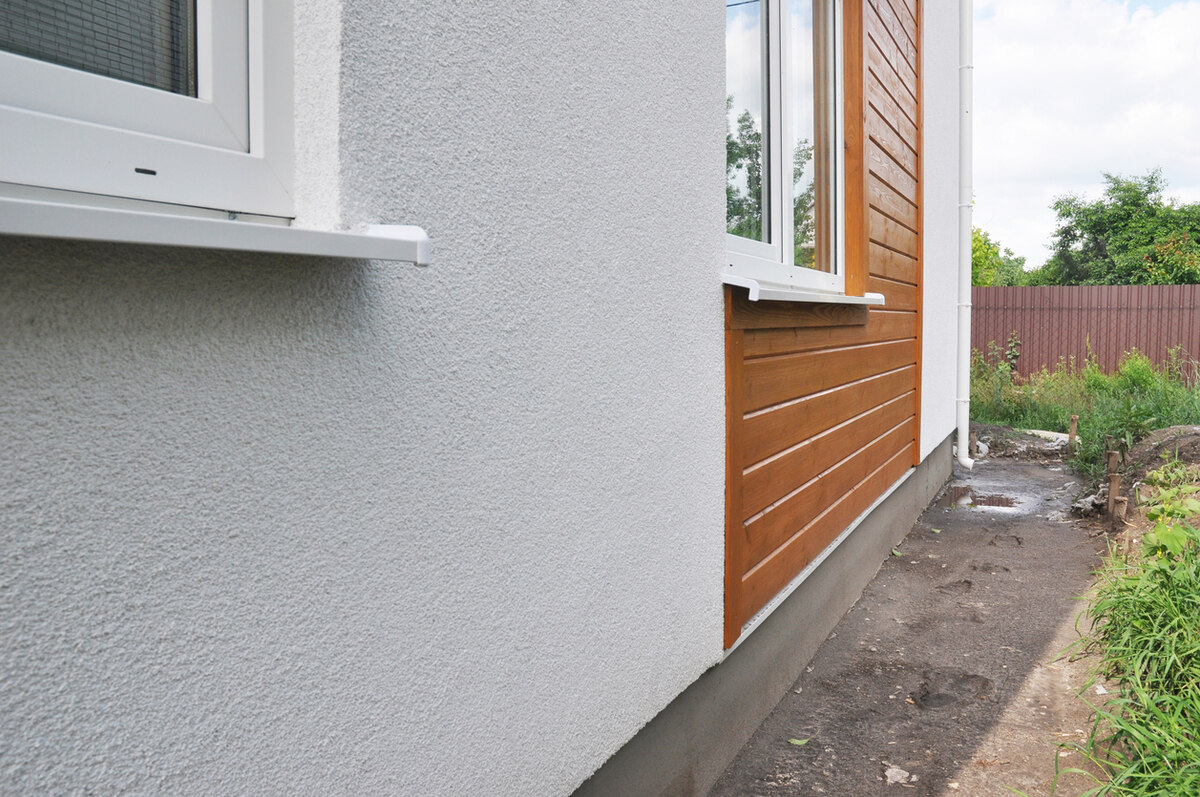
Removing exterior stucco can be a challenging yet rewarding task. Whether you're renovating your home or addressing water damage, knowing how to remove stucco properly is crucial. Stucco, a durable and weather-resistant material, is commonly used for exterior finishes. However, over time, it may require removal due to wear and tear, remodeling needs, or the desire to update the aesthetic of your property.
In this comprehensive guide, we will walk you through the step-by-step process of removing exterior stucco. By following these instructions and tips, you can tackle this project with confidence, ensuring a successful outcome. Before embarking on this endeavor, it's essential to gather the necessary tools and materials, prepare the work area, and understand the technique required to remove the stucco effectively. With a methodical approach and attention to detail, you can safely and efficiently remove exterior stucco, preparing the surface for the next phase of your project.
So, roll up your sleeves, put on your work gloves, and let's dive into the process of removing exterior stucco to rejuvenate your home's exterior or address any underlying issues. Whether you're a seasoned DIY enthusiast or a homeowner looking to take on a new challenge, this guide will equip you with the knowledge and confidence to tackle this endeavor head-on. Let's get started!
Key Takeaways:
- Removing exterior stucco requires careful planning, the right tools, and meticulous execution. By scoring and removing the stucco methodically, you can prepare the surface for a fresh new look or necessary repairs.
- Thoroughly cleaning up after stucco removal is crucial for a safe and tidy work area. From disposing of debris to pressure washing the surface, attention to detail ensures a well-prepared canvas for future enhancements.
Read more: How To Paint Exterior Stucco
Step 1: Gather Necessary Tools and Materials
Before initiating the stucco removal process, it’s crucial to assemble the essential tools and materials. By ensuring that you have everything you need at the outset, you can streamline the project and minimize interruptions. Here’s a comprehensive list of the tools and materials you’ll require:
Tools:
- Protective gear: Safety goggles, work gloves, and a dust mask to shield yourself from debris and dust.
- Stucco saw or angle grinder: Essential for scoring the stucco to facilitate its removal.
- Hammer and chisel: Useful for breaking and chipping away the scored stucco.
- Pry bar: Ideal for prying off larger sections of stucco.
- Utility knife: Helpful for cutting through any caulk or sealant present.
- Power drill with mixing paddle: If you’re preparing to reapply stucco, a power drill with a mixing paddle will be necessary for blending the stucco mixture.
- Wheelbarrow and shovel: Required for mixing and transporting new stucco if you plan to reapply it.
- Pressure washer: To clean the surface after stucco removal.
- Broom and dustpan: For tidying up the work area.
Materials:
- Stucco mix (if reapplication is planned): Purchase the appropriate amount of stucco mix based on the surface area you intend to cover.
- Water: Required for mixing the stucco to the appropriate consistency.
- Plastic sheeting: Useful for protecting adjacent surfaces and landscaping from debris.
- Tarp or drop cloth: To cover the ground and collect debris for easy disposal.
- Caulk or sealant (if needed): For sealing joints and gaps after stucco removal.
By ensuring that you have all the necessary tools and materials on hand, you can proceed with confidence, knowing that you’re well-equipped to tackle the stucco removal process efficiently and safely. With these items at your disposal, you’ll be ready to move on to the next step: preparing the work area.
Step 2: Prepare the Work Area
Preparing the work area is a critical precursor to the stucco removal process. By taking the time to set up the workspace properly, you can ensure a safer and more organized environment for the task at hand. Here are the key steps to prepare the work area for stucco removal:
Clear the Surrounding Area: Begin by removing any obstacles or items near the exterior stucco that could impede your work or pose a safety hazard. Clear the area of furniture, potted plants, outdoor décor, or any other objects that could be affected during the removal process.
Protect Adjacent Surfaces: Use plastic sheeting to cover adjacent surfaces, such as windows, doors, and trim, to shield them from debris and potential damage. Additionally, consider using plastic sheeting to protect landscaping and vegetation near the work area.
Secure Drop Cloths or Tarps: Lay down drop cloths or tarps on the ground beneath the work area to collect falling debris and facilitate easy cleanup. This will help contain the mess and simplify the disposal of removed stucco and other materials.
Ensure Proper Ventilation: Stucco removal can generate a significant amount of dust and debris. It’s essential to ensure adequate ventilation in the work area. If possible, open windows and doors to promote air circulation. Additionally, consider using fans to help direct airborne particles away from the work zone.
Inspect the Weather Forecast: If you’re planning to remove stucco outdoors, monitor the weather forecast. Avoid undertaking the project during inclement weather, such as heavy rain or strong winds, as these conditions can impede progress and compromise safety.
Review Safety Measures: Prioritize safety by ensuring that all individuals involved in the project are equipped with the necessary personal protective equipment (PPE), including safety goggles, work gloves, and dust masks. Emphasize the importance of adhering to safety protocols throughout the stucco removal process.
By meticulously preparing the work area, you can create an environment that promotes efficiency, safety, and a systematic approach to stucco removal. With the workspace properly arranged and secured, you’ll be ready to advance to the next phase: scoring the stucco.
Step 3: Score the Stucco
Scoring the stucco is a fundamental step in the removal process, as it creates defined lines and weak points that facilitate the subsequent removal of the material. When scoring the stucco, precision and caution are essential to ensure effective results. Here’s a detailed guide on how to score the stucco:
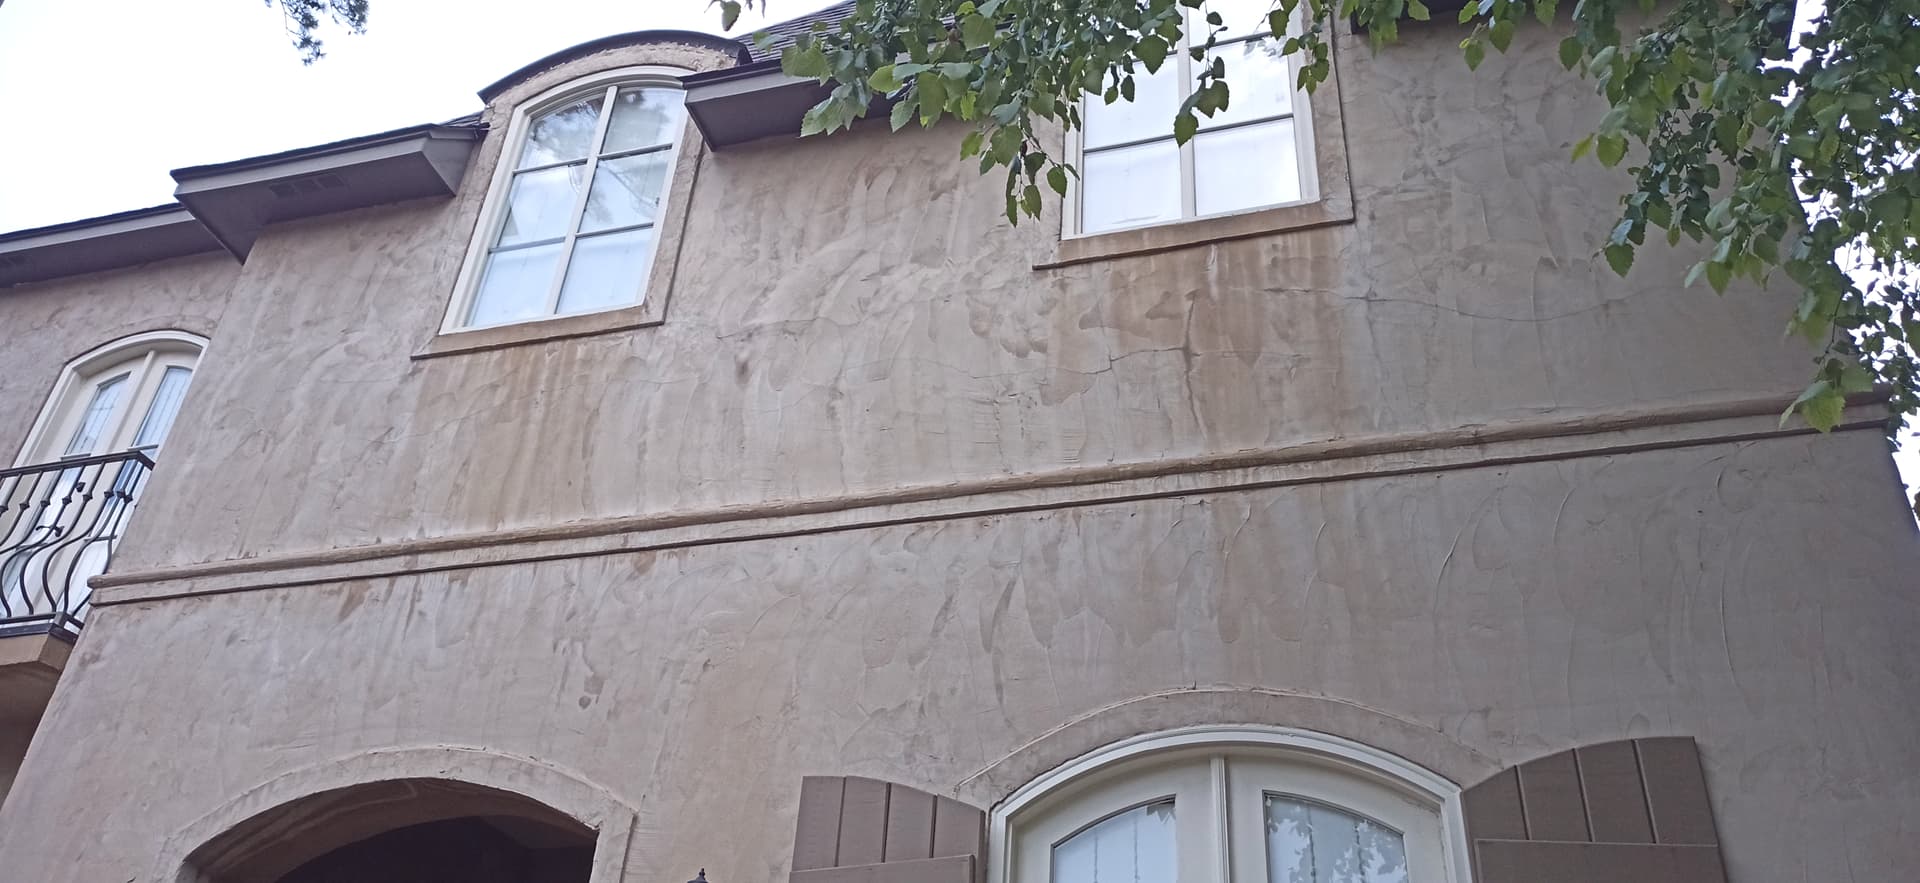
1. Assess the Stucco Surface: Begin by evaluating the stucco surface to identify any existing cracks, seams, or natural lines in the material. These areas will serve as starting points for scoring the stucco. Additionally, take note of any areas where the stucco may be loosened or damaged, as these sections may require less effort to score.
2. Use a Stucco Saw or Angle Grinder: Equip yourself with a stucco saw or angle grinder, both of which are effective tools for scoring stucco. With the appropriate tool in hand, carefully create shallow and evenly spaced cuts across the surface of the stucco. These cuts should penetrate the stucco layer without damaging the underlying substrate, such as wood or masonry.
3. Maintain Consistent Pressure: As you score the stucco, apply consistent pressure to ensure uniformity in the depth of the cuts. Avoid exerting excessive force, as this could lead to unintended damage to the underlying structure. The goal is to create a series of interconnected lines that will facilitate controlled removal of the stucco.
4. Mind Structural Elements: Pay close attention to any architectural features, such as trim, moldings, or decorative elements, as you score the stucco. Exercise caution to avoid damaging these elements during the scoring process. If necessary, use a utility knife to carefully cut around these features to define clean edges.
5. Work in Sections: Divide the stuccoed area into manageable sections and systematically score each segment. This approach will help maintain organization and control throughout the stucco removal process. Be methodical in your approach, ensuring that all areas are adequately scored before proceeding to the next phase.
6. Inspect the Scored Lines: Once the stucco has been scored, inspect the lines to ensure that they are sufficiently deep and well-defined. The scored lines should create a grid-like pattern across the stucco surface, allowing for targeted removal of individual sections.
By effectively scoring the stucco, you establish a structured framework for the subsequent removal process. This preparatory step sets the stage for the controlled and systematic extraction of the stucco, laying the groundwork for the next phase: removing the stucco from the surface.
Before removing exterior stucco, make sure to wear protective gear such as gloves, goggles, and a mask to avoid inhaling dust. Use a hammer and chisel to carefully chip away the stucco in small sections to avoid damaging the underlying structure.
Step 4: Remove the Stucco
With the stucco adequately scored, it’s time to proceed with the careful and methodical removal of the material. This phase requires precision and attentiveness to avoid causing damage to the underlying substrate while effectively detaching the stucco from the surface. Follow these steps to remove the stucco:
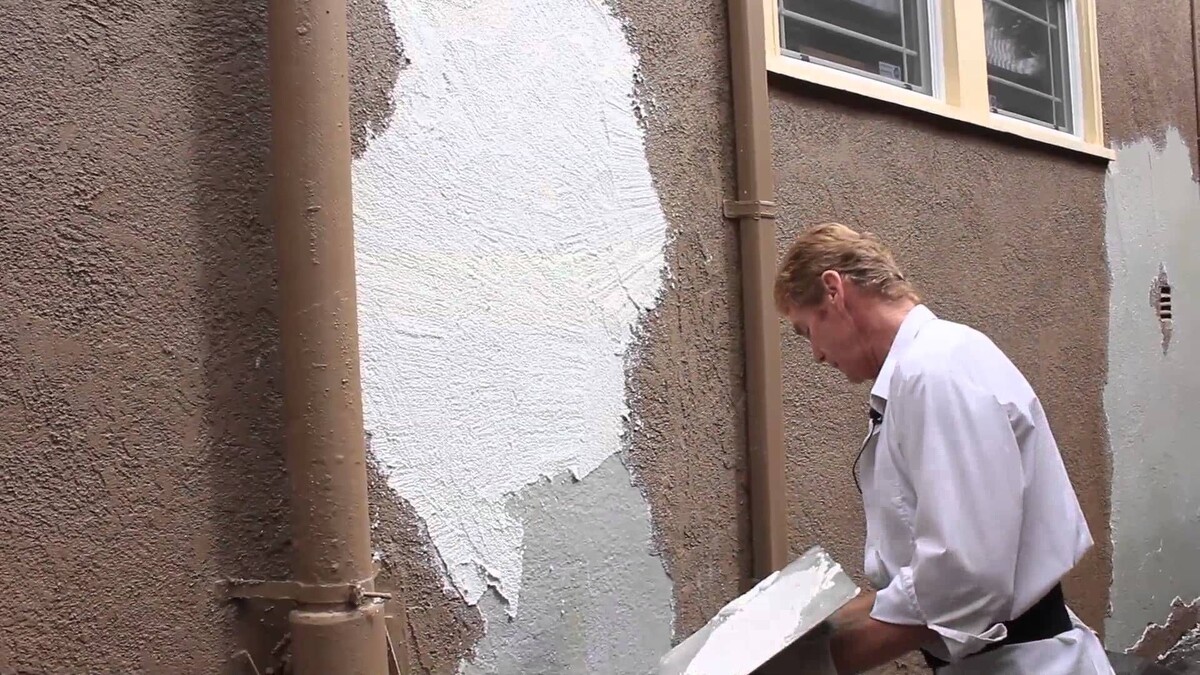
1. Begin with Edge Sections: Start by focusing on the edges of the scored sections. Use a hammer and chisel to gently tap along the scored lines, gradually loosening and prying off the stucco. Exercise caution to prevent excessive force that could result in unintended damage to the underlying structure.
2. Work in Controlled Sections: Progress systematically, working in small, manageable sections to remove the stucco. As you proceed, continue to use the hammer and chisel to carefully chip away the stucco along the scored lines. Take your time and maintain a steady pace to ensure controlled and deliberate removal.
3. Employ a Pry Bar for Larger Sections: When encountering larger sections of stucco that require removal, utilize a pry bar to assist in detaching the material from the surface. Insert the pry bar into the scored lines and apply gentle pressure to dislodge and lift off larger pieces of stucco. Exercise patience and precision to avoid causing unnecessary damage.
4. Address Stubborn Areas: In instances where the stucco proves resistant to removal, revisit the scored lines and carefully re-score any areas that require additional attention. Use the appropriate tools, such as a stucco saw or angle grinder, to refine the scoring and create more defined weak points for detachment.
5. Dispose of Removed Stucco: As you remove the stucco, collect the detached pieces and debris on the drop cloths or tarps laid out on the ground. Once the removal process is complete, carefully gather the debris and dispose of it in accordance with local waste disposal regulations. Consider renting a dumpster or arranging for a bulk waste pickup if necessary.
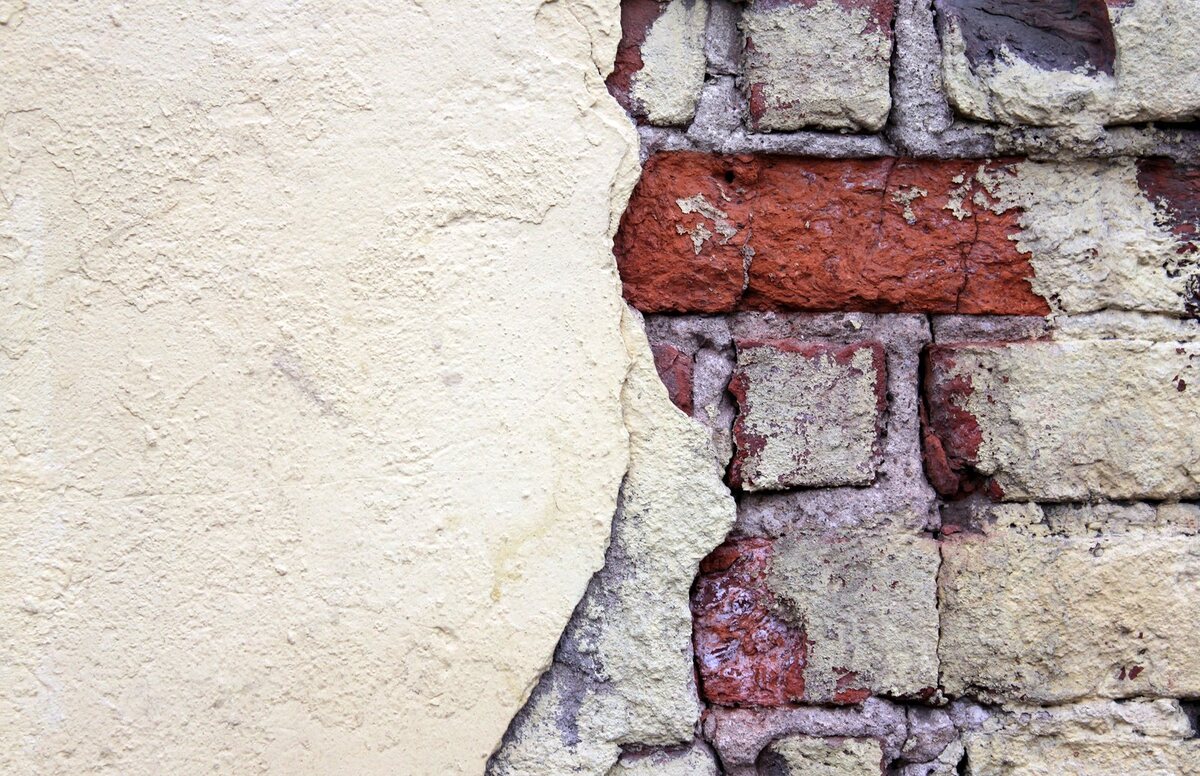
6. Inspect the Substrate: After the stucco has been removed, inspect the underlying substrate, whether it’s wood, masonry, or another material. Address any areas that may have sustained damage during the removal process, and prepare the surface for the next steps in your renovation or remodeling project.
By following these steps, you can effectively remove the stucco from the exterior surface, preparing the area for further enhancements or repairs. With the stucco successfully detached, you’re ready to progress to the final phase: cleaning up the work area and ensuring that the substrate is primed for subsequent treatments or finishes.
Read more: How To Redo Stucco Exterior
Step 5: Clean Up
As the stucco removal process nears completion, it’s essential to focus on thorough cleanup to restore the work area and surrounding environment. Cleaning up after stucco removal involves addressing debris, dust, and any residual materials to ensure a tidy and safe space. Follow these steps to effectively clean up after removing the stucco:
1. Remove Drop Cloths and Tarps: Begin by carefully gathering the drop cloths and tarps used to collect debris during the stucco removal process. Bundle the materials securely to contain the collected debris, making disposal more manageable.
2. Dispose of Debris: Properly dispose of the collected stucco debris in accordance with local waste disposal guidelines. If the debris volume is substantial, consider renting a dumpster or arranging for a bulk waste pickup to facilitate its removal. Ensure compliance with any regulations regarding waste disposal in your area.
3. Sweep and Clean the Work Area: Use a broom and dustpan to sweep the work area thoroughly, removing residual dust, small debris, and any loose particles. Pay attention to corners, edges, and crevices to achieve a comprehensive cleanup. Additionally, consider using a shop vacuum to address finer dust particles and achieve a more meticulous clean.
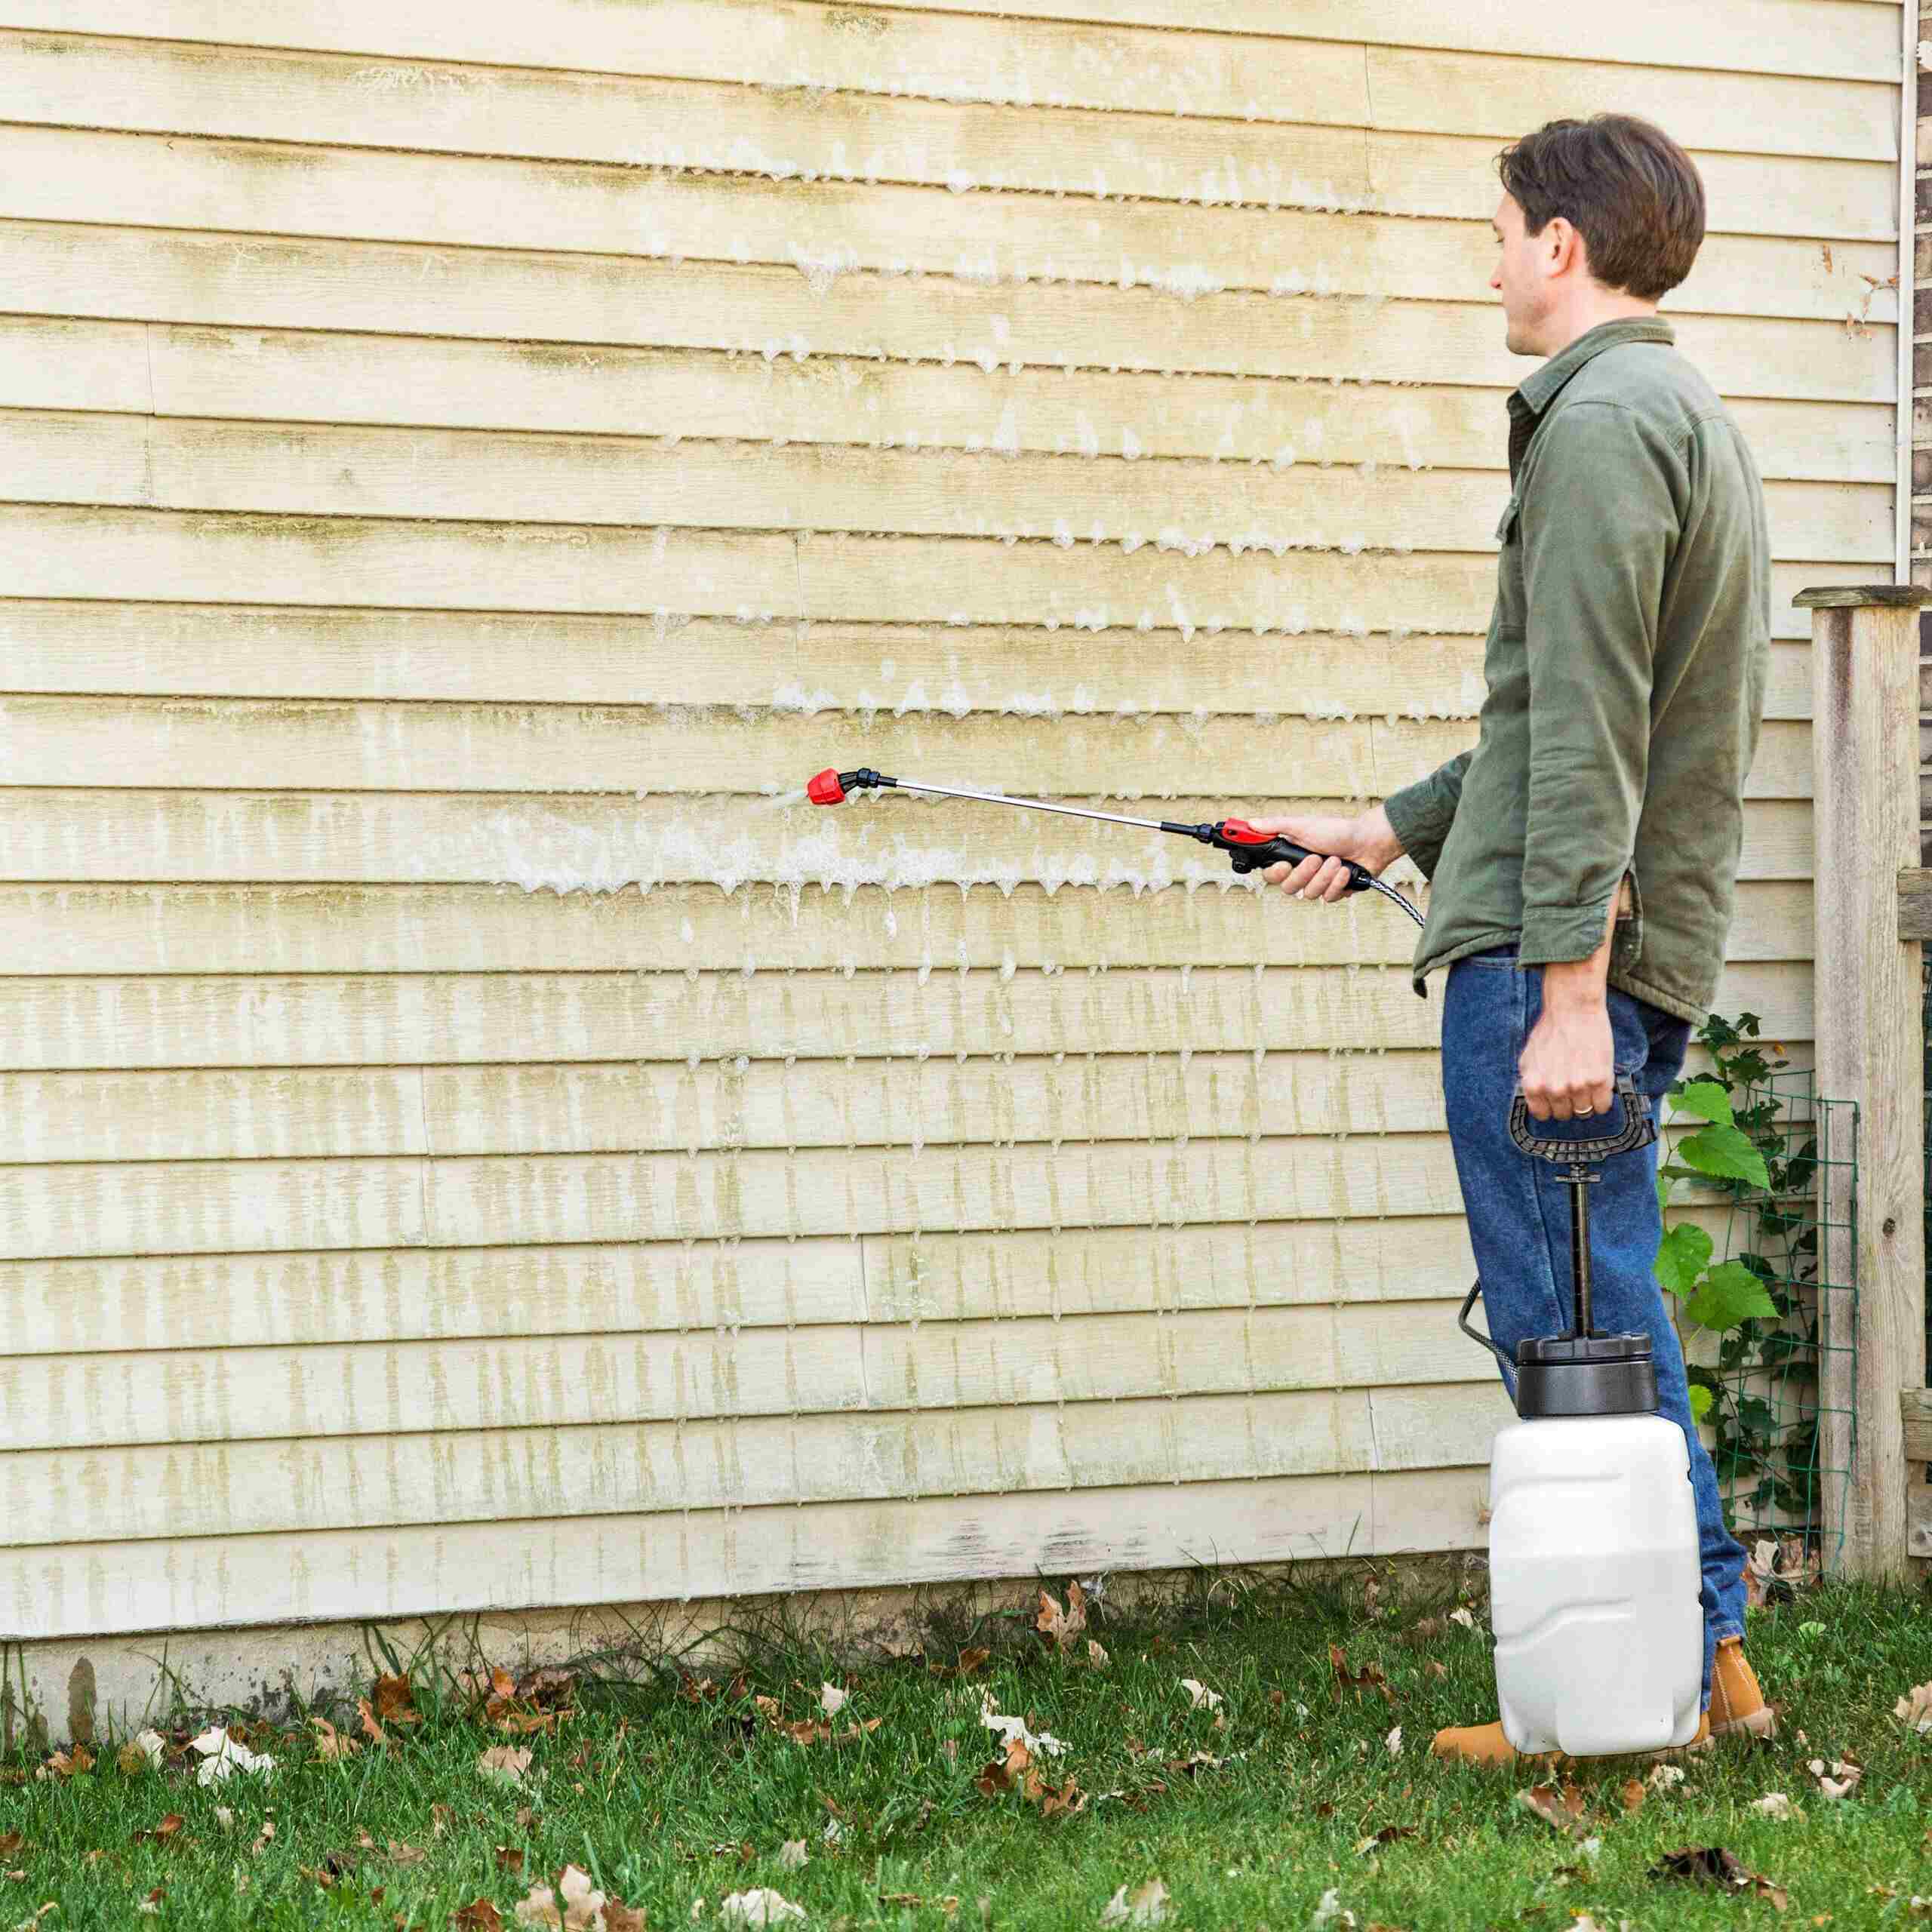
4. Pressure Wash the Surface: Utilize a pressure washer to thoroughly clean the exterior surface from which the stucco was removed. The high-pressure water stream will help eliminate lingering dust, dirt, and any remnants of stucco material, restoring the surface to a clean and prepared state for subsequent treatments or finishes.
5. Inspect and Address Surrounding Areas: After cleaning the immediate work area, inspect adjacent surfaces, windows, doors, and landscaping to ensure that they are free of debris and residue. Address any areas that may have been affected during the stucco removal process, restoring them to their pre-project condition.
6. Store Tools and Equipment: Properly clean and store the tools and equipment used for stucco removal. Ensure that they are free of debris and thoroughly dried to prevent corrosion or damage. Organize the tools in their designated storage space for future use or safekeeping.
7. Final Safety Check: Before concluding the cleanup process, conduct a final safety check to verify that the work area is free of hazards, debris, and any potential tripping or slipping risks. Confirm that the surroundings are safe and accessible for subsequent project phases or activities.
By diligently completing the cleanup process, you can ensure that the work area is restored to a clean and organized state, ready for the next steps in your renovation or remodeling endeavor. With the cleanup completed, you’ve successfully concluded the stucco removal process, achieving a well-prepared canvas for future enhancements or finishes.
Conclusion
Embarking on the journey of removing exterior stucco is a significant undertaking that demands careful planning, precision, and attention to detail. By following the step-by-step guide outlined in this comprehensive resource, you’ve gained valuable insights into the process of safely and effectively removing stucco from exterior surfaces. Throughout this endeavor, you’ve embraced the role of a meticulous craftsman, dedicated to revitalizing and enhancing the aesthetic and structural integrity of your property.
From gathering the necessary tools and materials to meticulously preparing the work area, scoring the stucco, and executing the removal process with finesse, you’ve navigated each phase with determination and skill. Your commitment to safety, organization, and systematic execution has been instrumental in achieving successful results while safeguarding the integrity of the underlying substrate.
As you conclude the stucco removal project, it’s essential to reflect on the transformational impact of your efforts. By reclaiming the exterior surface from the confines of outdated or deteriorating stucco, you’ve set the stage for new possibilities, whether it involves refreshing the facade with a different finish, addressing underlying structural concerns, or embarking on a broader renovation journey.
Furthermore, the meticulous cleanup and restoration of the work area signify your dedication to leaving no detail overlooked. By ensuring that the surroundings are pristine and ready for the next phase of your project, you’ve demonstrated a commitment to excellence and a sense of pride in your workmanship.
As you stand at the threshold of new beginnings for your property, the knowledge and skills you’ve acquired in the process of removing exterior stucco will continue to serve as valuable assets in your journey as a homeowner, DIY enthusiast, or renovation aficionado. Your ability to embrace challenges, acquire new expertise, and transform your vision into reality sets the stage for future accomplishments and endeavors.
With the exterior stucco removed and the canvas primed for the next chapter of your project, you’re poised to embark on the next phase with confidence and determination. Whether you’re envisioning a fresh exterior finish, structural enhancements, or a complete revitalization, the successful completion of the stucco removal process marks a significant milestone in your ongoing pursuit of excellence and transformation.
As you move forward, may the knowledge and experiences gained from this endeavor continue to inspire and empower you, propelling you toward new horizons and the fulfillment of your aspirations for your cherished property.
Frequently Asked Questions about How To Remove Exterior Stucco
Was this page helpful?
At Storables.com, we guarantee accurate and reliable information. Our content, validated by Expert Board Contributors, is crafted following stringent Editorial Policies. We're committed to providing you with well-researched, expert-backed insights for all your informational needs.


0 thoughts on “How To Remove Exterior Stucco”