Home>Construction & Tools>Building Materials>How To Redo Stucco Exterior
Building Materials
How To Redo Stucco Exterior
Modified: February 18, 2024
Learn how to redo your stucco exterior with the right building materials and techniques. Get expert tips for a successful stucco renovation project.
(Many of the links in this article redirect to a specific reviewed product. Your purchase of these products through affiliate links helps to generate commission for Storables.com, at no extra cost. Learn more)
Introduction
So, you've decided it's time to give your home's exterior a fresh new look. One of the most effective ways to revamp the appearance of your house is by redoing the stucco exterior. Whether your current stucco is showing signs of wear and tear or you simply want to update the style, this project can significantly enhance your home's curb appeal.
Redoing the stucco exterior involves several key steps, from assessing the condition of the existing stucco to applying the new coating. It's a project that requires careful planning, attention to detail, and the right materials. In this comprehensive guide, we'll walk you through the entire process, providing valuable insights and tips to help you achieve a stunning and long-lasting stucco finish.
By the end of this guide, you'll have a clear understanding of how to assess the condition of your stucco, prepare the exterior surface, repair any damaged areas, apply the new stucco coating, and add those finishing touches that make all the difference. Plus, we'll share essential maintenance tips to keep your newly redone stucco exterior looking pristine for years to come.
So, roll up your sleeves, gather your tools, and let's dive into the exciting world of rejuvenating your home's exterior with a brand-new stucco finish!
Key Takeaways:
- Assess the condition of your stucco by looking for cracks, performing a probe test, checking for moisture and mold, and considering a professional assessment. This sets the stage for a successful stucco redo.
- To redo your stucco exterior, prepare the surface by cleaning, repairing damaged areas, applying a bonding agent, and protecting surrounding areas. Then, apply the new stucco coating and focus on finishing touches and ongoing maintenance for long-lasting appeal.
Read more: How To Paint Exterior Stucco
Assessing the Condition of the Stucco
Before embarking on the journey of redoing your stucco exterior, it’s crucial to assess the current condition of the stucco. This step is essential for identifying any underlying issues and determining the extent of the work required. Here’s how to effectively assess the condition of the stucco:
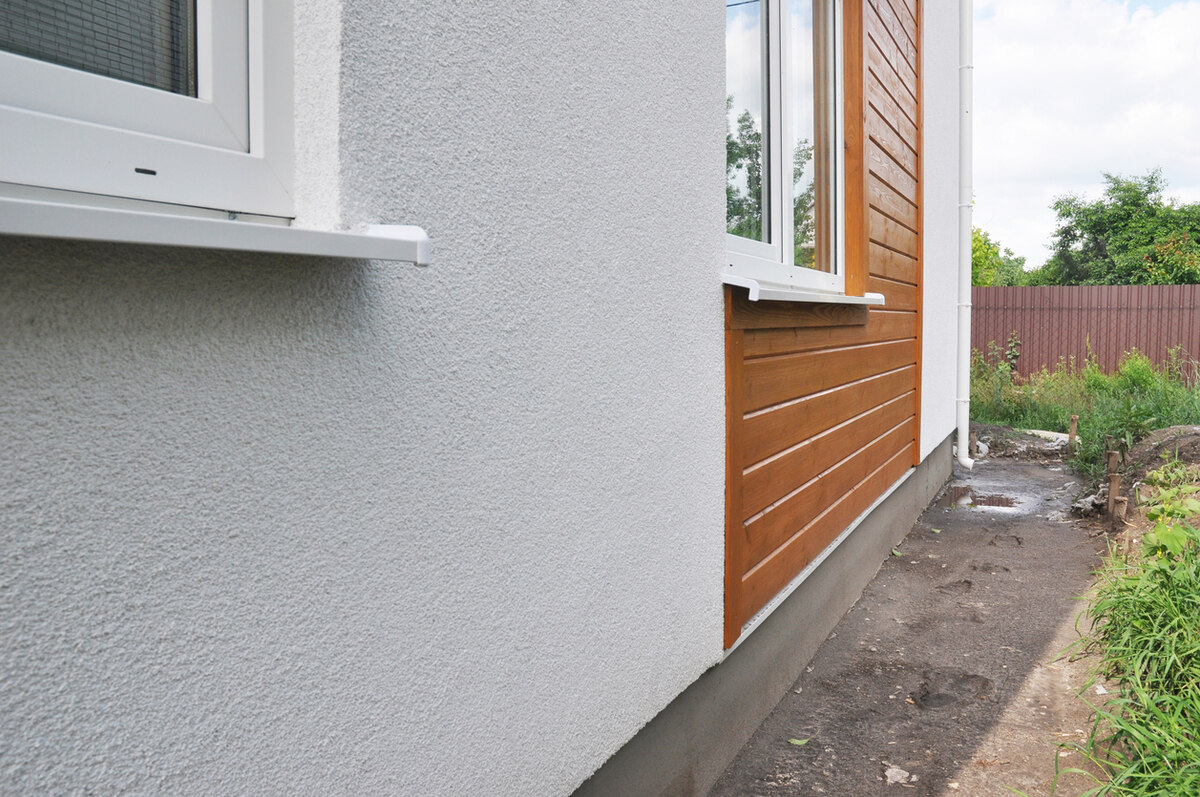
- Visual Inspection: Begin by visually inspecting the entire exterior surface. Look for cracks, chips, discoloration, or areas where the stucco has become detached from the underlying structure. Pay close attention to areas around windows, doors, and other architectural features, as these are common spots for stucco damage.
- Probe Test: To assess the integrity of the existing stucco, perform a probe test. Gently tap the surface with a small tool or hammer to detect any hollow or delaminated areas. A hollow sound indicates that the stucco has separated from the substrate, signaling a need for repair or replacement.
- Moisture and Mold Inspection: Check for signs of moisture intrusion and mold growth. Stucco that has been compromised by water can lead to serious structural issues if not addressed promptly. Look for areas with excessive moisture, visible mold, or musty odors, as these are indicators of underlying problems.
- Professional Assessment: If you’re unsure about the condition of the stucco or if you suspect hidden damage, consider hiring a professional stucco contractor to conduct a thorough assessment. Their expertise can uncover potential issues that may not be immediately apparent to the untrained eye.
By carefully evaluating the condition of the stucco, you’ll gain valuable insights into the scope of the project and the specific areas that require attention. This proactive approach sets the stage for a successful stucco redo, ensuring that any underlying issues are addressed before proceeding to the preparation and application stages.
Preparing the Exterior Surface
Once you’ve assessed the condition of the stucco and identified any areas in need of repair, it’s time to focus on preparing the exterior surface for the new stucco application. Proper preparation is crucial for ensuring the adhesion and longevity of the new stucco coating. Here’s a detailed guide on how to prepare the exterior surface effectively:
- Clean the Surface: Begin by thoroughly cleaning the existing stucco surface. Use a power washer or a combination of mild detergent and water to remove dirt, grime, and any loose particles. Pay special attention to areas with mold or mildew, using an appropriate cleaner to eliminate these contaminants.
- Repair Damaged Areas: Address any cracks, chips, or delaminated sections of the stucco. Use a high-quality stucco patching compound to fill in these areas, ensuring a smooth and uniform surface. Allow the patching compound to cure completely before proceeding.
- Remove Loose Stucco: If there are sections of stucco that are significantly deteriorated or detached, it’s essential to remove these areas down to the substrate. This may involve carefully chipping away the old stucco to create a solid, stable base for the new coating.
- Apply Bonding Agent: To promote strong adhesion between the existing stucco and the new coating, apply a bonding agent to the entire surface. This step is critical for ensuring that the new stucco adheres securely and uniformly to the substrate.
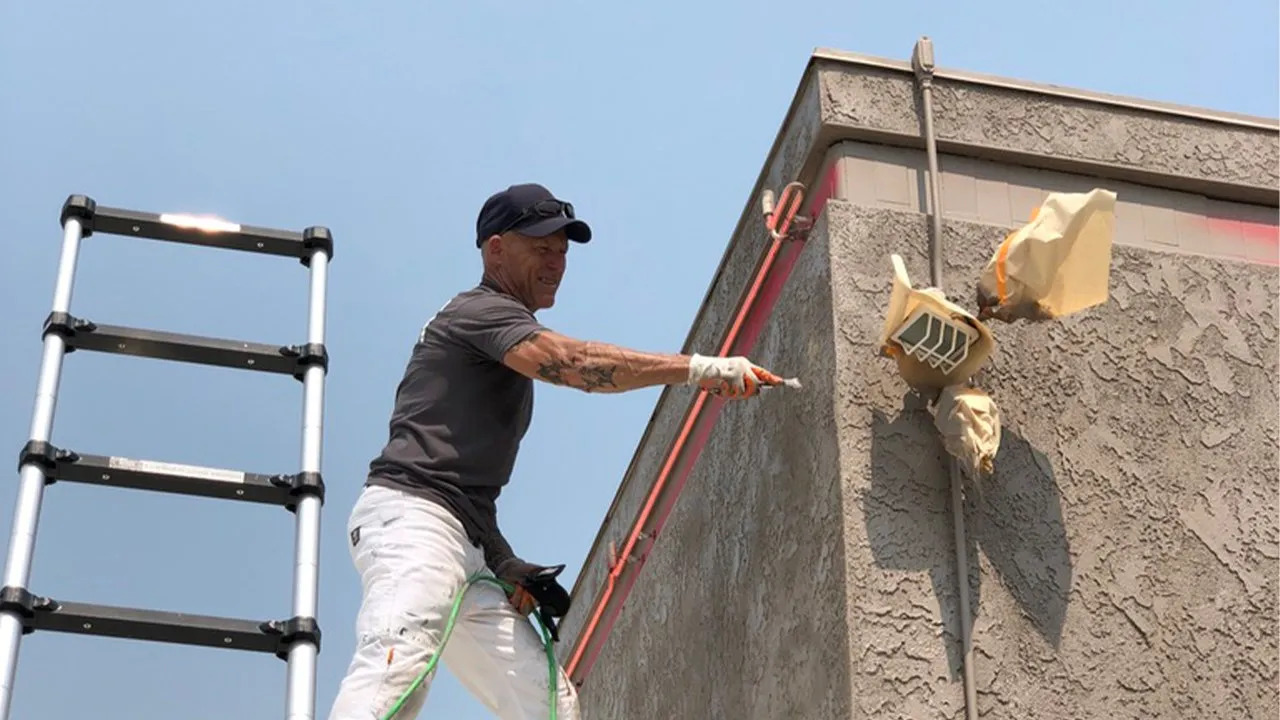
- Protect Surrounding Areas: Prior to applying the new stucco, protect surrounding surfaces such as windows, doors, and landscaping to prevent any accidental damage during the application process. Cover these areas with plastic sheeting or masking materials.
By meticulously preparing the exterior surface, you’re setting the stage for a successful stucco redo. This preparatory phase not only ensures a clean and sound substrate for the new stucco but also helps prevent future issues such as adhesion failure and premature deterioration. With the surface meticulously prepped, you’re ready to move on to the next crucial step: repairing any damaged areas to restore the integrity of the stucco exterior.
Before redoing a stucco exterior, make sure to thoroughly clean the surface and repair any cracks or damage. Apply a bonding agent before adding new stucco to ensure proper adhesion.
Repairing Damaged Areas
Repairing damaged areas of the stucco is a critical step in the process of redoing the exterior. Whether it’s addressing hairline cracks or larger structural issues, proper repairs are essential for ensuring the long-term durability and visual appeal of the stucco finish. Here’s a comprehensive guide on how to effectively repair damaged areas:
- Identify the Extent of Damage: Begin by thoroughly examining the stucco surface to identify all damaged areas. This includes hairline cracks, larger fissures, and any sections where the stucco has become detached from the substrate. Carefully mark each damaged area for targeted repair.
- Prep the Repair Sites: Clean the damaged areas to remove any debris, dust, or loose particles. Use a wire brush or a similar tool to ensure that the repair sites are free from contaminants that could hinder the adhesion of the repair materials.
- Choose the Right Repair Material: Select a high-quality stucco repair compound that matches the composition and color of your existing stucco. This ensures a seamless blend and uniform appearance once the repairs are completed.
- Fill and Smooth Cracks: For hairline cracks and small fissures, use a putty knife to fill the damaged areas with the stucco repair compound. Smooth the compound evenly to create a flush surface with the surrounding stucco, ensuring a seamless transition.
- Address Larger Damage: In cases of more significant damage, such as larger cracks or delaminated sections, use a trowel to apply the repair compound in layers, building up the surface to match the surrounding stucco. Work methodically to achieve a uniform and structurally sound repair.
- Allow for Proper Curing: Once the repairs are completed, allow the stucco repair compound to cure according to the manufacturer’s instructions. This typically involves keeping the repaired areas damp to facilitate proper curing and adhesion.
By meticulously repairing damaged areas, you’re not only restoring the structural integrity of the stucco but also ensuring a flawless and cohesive exterior finish. These targeted repairs set the stage for the next phase of the project: applying the new stucco coating to rejuvenate the entire exterior surface.
Applying the New Stucco Coating
With the exterior surface prepared and any damaged areas meticulously repaired, it’s time to embark on the exciting phase of applying the new stucco coating. This step is where the transformation truly takes shape, giving your home a fresh, rejuvenated appearance. Here’s a comprehensive guide on how to effectively apply the new stucco coating:
- Mixing the Stucco: Start by preparing the stucco mixture according to the manufacturer’s instructions. This typically involves combining the stucco powder with water to achieve the desired consistency. Use a mixing paddle and a drill for thorough and uniform blending.
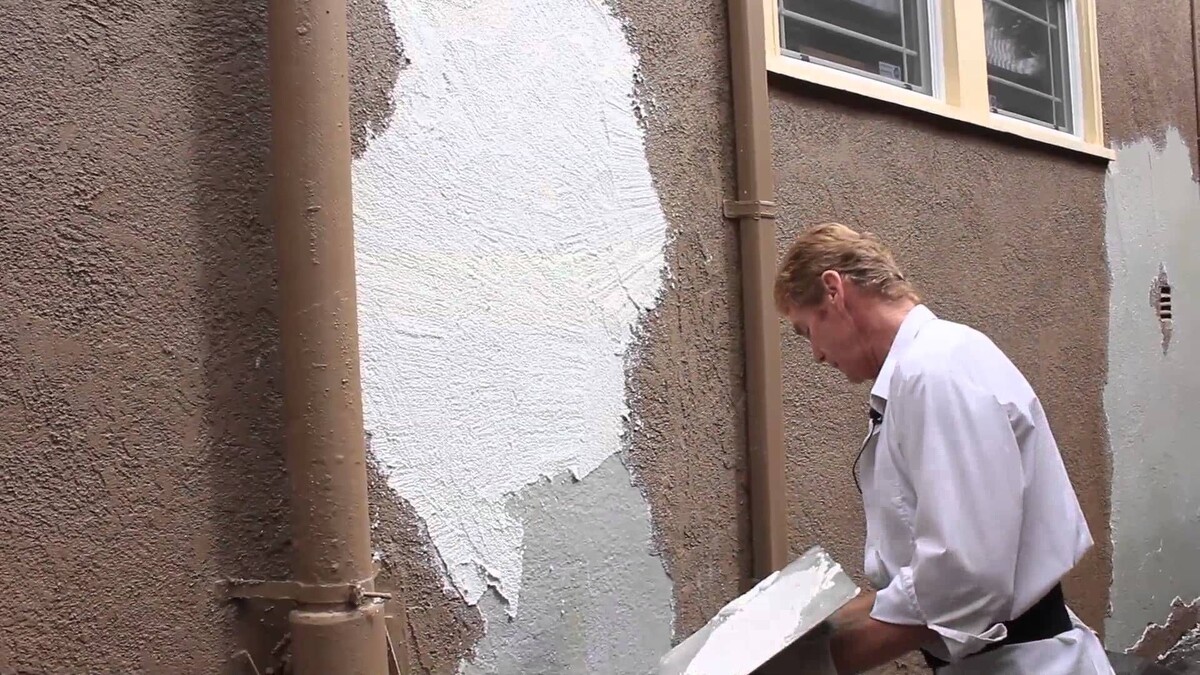
- Applying the Base Coat: Begin by applying the base coat of stucco to the prepared exterior surface. Use a hawk and trowel to spread the stucco evenly, working in small sections to ensure complete coverage. The base coat serves as the foundation for the final stucco finish.
- Creating Texture: Depending on your desired aesthetic, you can create texture in the stucco surface using a variety of techniques, such as swirling, stippling, or combing. This step adds visual interest and dimension to the stucco finish, enhancing its overall appeal.
- Allowing for Curing Time: Once the base coat is applied, allow it to cure partially before moving on to the next phase. This typically involves keeping the surface damp and protected from direct sunlight to facilitate proper curing and adhesion.
- Applying the Finish Coat: After the base coat has cured sufficiently, apply the finish coat of stucco to achieve the desired color and texture. Work methodically to ensure a uniform and consistent application, paying attention to details and transitions between sections.
- Finalizing the Surface: Once the finish coat is in place, use a trowel or float to smooth and refine the surface, ensuring a seamless and visually appealing finish. Pay attention to any imperfections and make any necessary adjustments to achieve the desired result.
By following these steps, you’ll be well on your way to achieving a beautifully refreshed stucco exterior that enhances the overall aesthetic of your home. The application of the new stucco coating marks a significant milestone in the project, bringing you closer to the stunning transformation you’ve envisioned.
Read more: How To Remove Exterior Stucco
Finishing Touches and Maintenance
As you near the completion of the stucco redo project, it’s essential to focus on the finishing touches that will elevate the overall appearance and ensure the longevity of the new stucco finish. Additionally, understanding the importance of ongoing maintenance will help preserve the beauty and integrity of your home’s exterior for years to come. Here’s a guide to the finishing touches and essential maintenance practices:
- Trim and Accents: Consider adding or refreshing trim elements and architectural accents to complement the newly redone stucco exterior. This could include decorative moldings, corbels, or other ornamental features that enhance the visual appeal of your home’s facade.
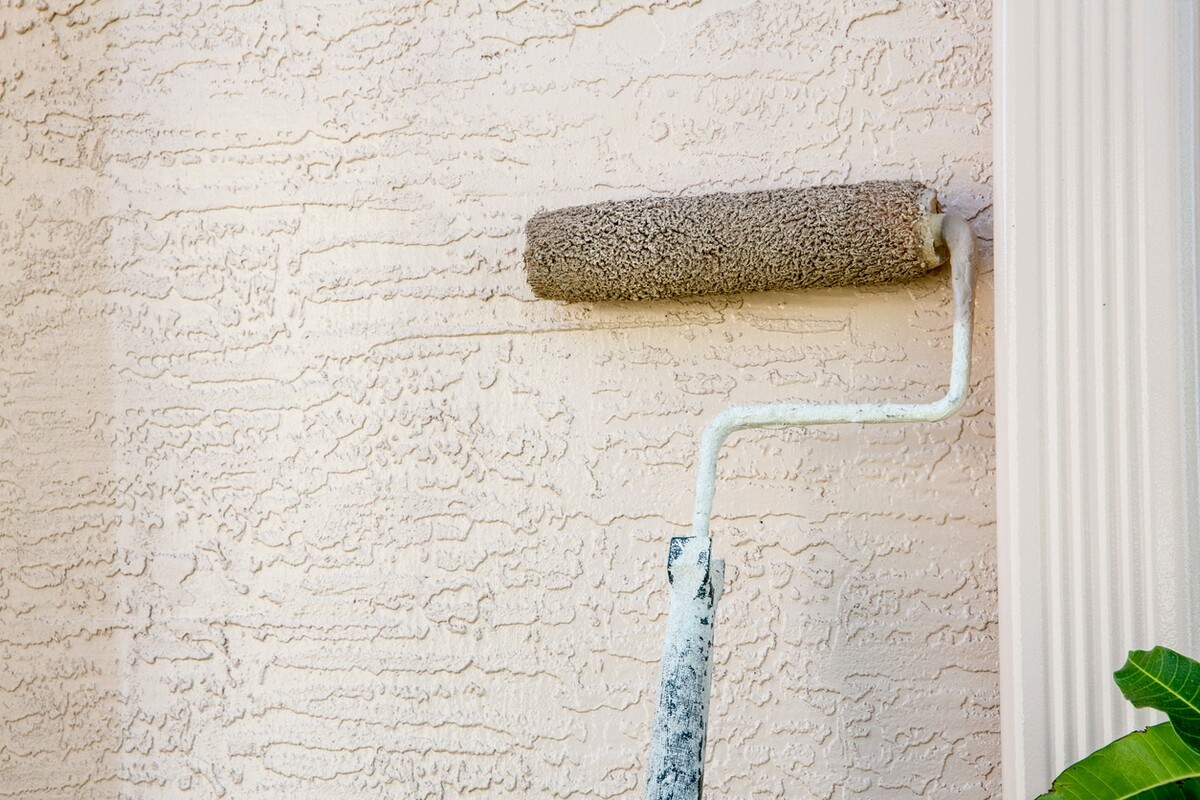
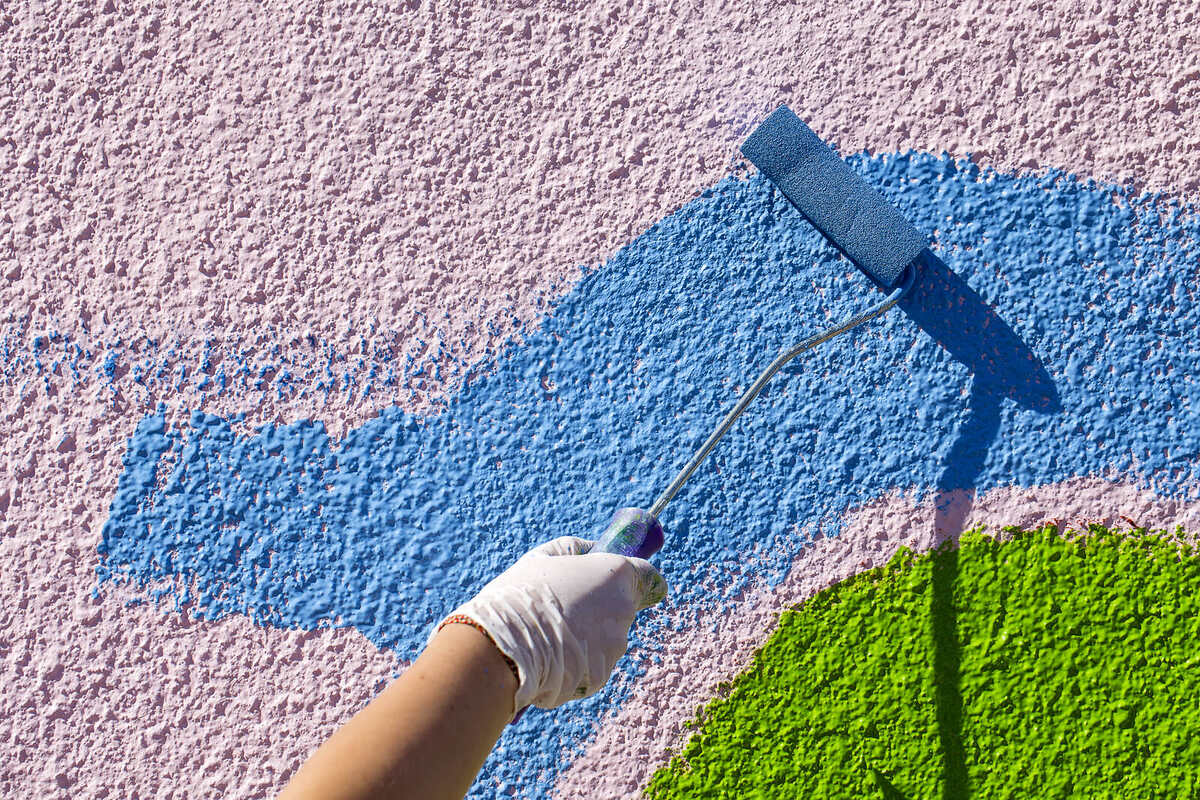
- Paint or Seal: Depending on your design preferences and the type of stucco finish, you may choose to paint the stucco with a high-quality exterior paint or apply a protective sealant. Both options can enhance the durability and weather resistance of the stucco, while also allowing for personalized color choices.
- Landscape Integration: Integrate landscaping elements such as flower beds, shrubs, and hardscaping to complement the new stucco exterior. Thoughtful landscaping can accentuate the beauty of the stucco finish and create a harmonious overall aesthetic for your home’s exterior.
- Ongoing Maintenance: Regularly inspect the stucco exterior for any signs of damage, moisture intrusion, or discoloration. Promptly address any issues that arise, such as hairline cracks or areas of wear, to prevent potential deterioration and maintain the stucco’s pristine appearance.
- Cleaning and Care: Periodically clean the stucco surface using a gentle detergent and water to remove dirt, pollen, and other environmental residues. Avoid using harsh chemicals or abrasive cleaning methods that could compromise the stucco finish.
- Professional Inspections: Schedule periodic inspections by a qualified stucco contractor to assess the condition of the exterior and identify any maintenance or repair needs. Professional oversight can help detect potential issues early and ensure the continued durability of the stucco finish.
By attending to these finishing touches and embracing a proactive approach to maintenance, you’ll not only enhance the visual impact of your newly redone stucco exterior but also safeguard its structural integrity for the long term. With proper care and attention, your stucco exterior will continue to exude timeless elegance and charm, becoming a defining feature of your home’s architectural allure.
Frequently Asked Questions about How To Redo Stucco Exterior
Was this page helpful?
At Storables.com, we guarantee accurate and reliable information. Our content, validated by Expert Board Contributors, is crafted following stringent Editorial Policies. We're committed to providing you with well-researched, expert-backed insights for all your informational needs.


0 thoughts on “How To Redo Stucco Exterior”