Articles
How To Spray Stucco Exterior Walls
Modified: October 19, 2024
Learn the best techniques and tips for spraying stucco on exterior walls in our informative articles. Achieve a flawless finish with our expert advice.
(Many of the links in this article redirect to a specific reviewed product. Your purchase of these products through affiliate links helps to generate commission for Storables.com, at no extra cost. Learn more)
Introduction
Spraying stucco onto exterior walls is an effective way to create a durable and visually appealing finish. Stucco is a versatile material that provides both insulation and protection to surfaces. Whether you are a contractor looking to learn the process or a homeowner wanting to tackle a DIY project, this article will guide you through the steps of spraying stucco onto exterior walls.
Stucco consists of cement, sand, and water, and it can be applied in multiple layers to create a textured and weather-resistant finish. The spraying technique offers several advantages over traditional hand troweling, such as quicker application, a more even coat, and the ability to cover larger areas in less time.
Before you begin spraying stucco, it is essential to understand the process and gather the necessary tools and materials. Additionally, you must adequately prepare the exterior walls to ensure proper adhesion and a long-lasting finish. By following the steps outlined in this article, you will be able to achieve professional-looking results and protect your exterior walls for years to come.
Key Takeaways:
- Mastering the art of spraying stucco onto exterior walls requires attention to detail, practice, and a solid understanding of the process. With the right tools and techniques, you can achieve professional-quality results and create a visually stunning and durable finish.
- Prioritizing safety, following manufacturer’s instructions, and investing time and effort into proper preparation, application, and maintenance are crucial for achieving a beautiful and long-lasting stucco finish. With skill and dedication, you can transform your home or building with this versatile and resilient material.
Read more: How To Paint Exterior Stucco
Understanding Stucco
Stucco is a popular exterior wall finish that has been used for centuries. It is a mixture of cement, sand, and water that is applied to a substrate to create a strong, durable, and aesthetically pleasing finish. Stucco can be applied in several layers, which gives it depth and texture.
One of the main benefits of stucco is its ability to protect the underlying structure from the elements. It acts as a barrier against moisture, preventing it from infiltrating the wall system and causing damage. Stucco also provides insulation, helping to regulate the temperature inside the building and reduce heating and cooling costs.
Stucco is a versatile material that can be used on a variety of surfaces, including concrete, masonry, and wood. It can be applied in different ways, such as hand troweling or spraying. The spraying technique is often preferred for large areas because it allows for faster application and a more consistent finish.
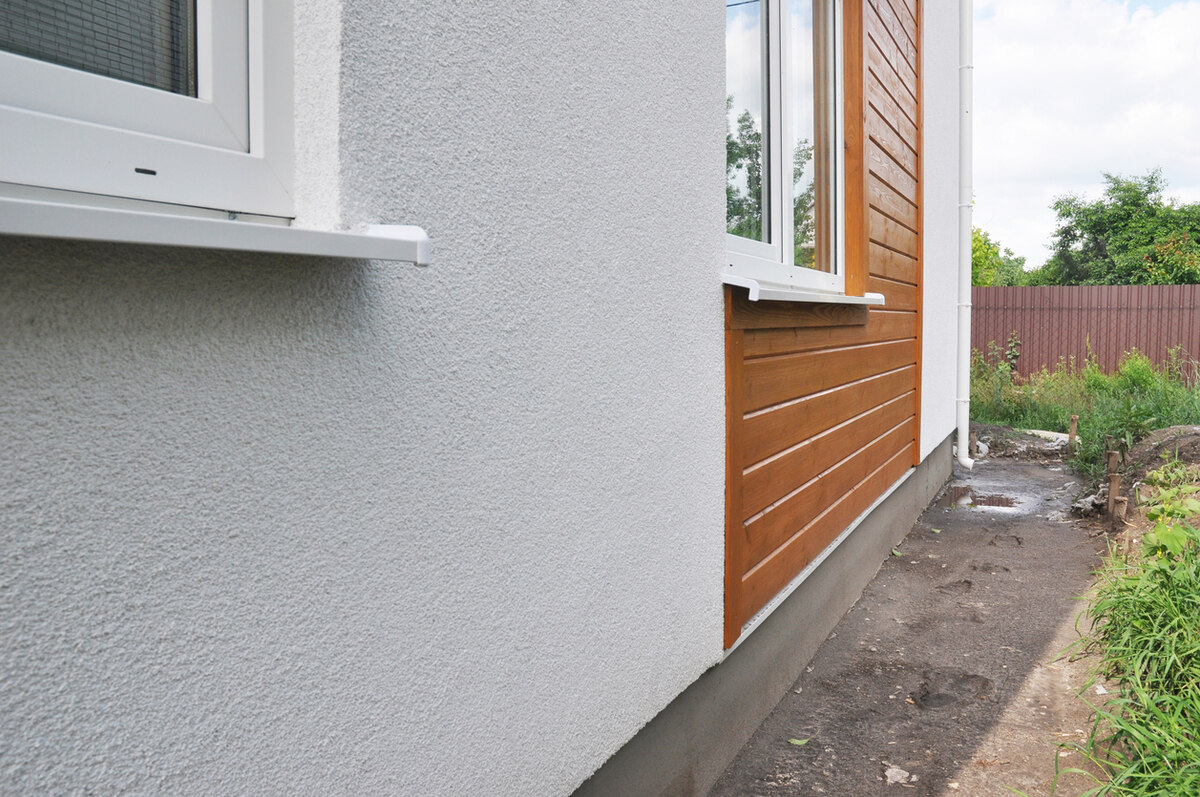
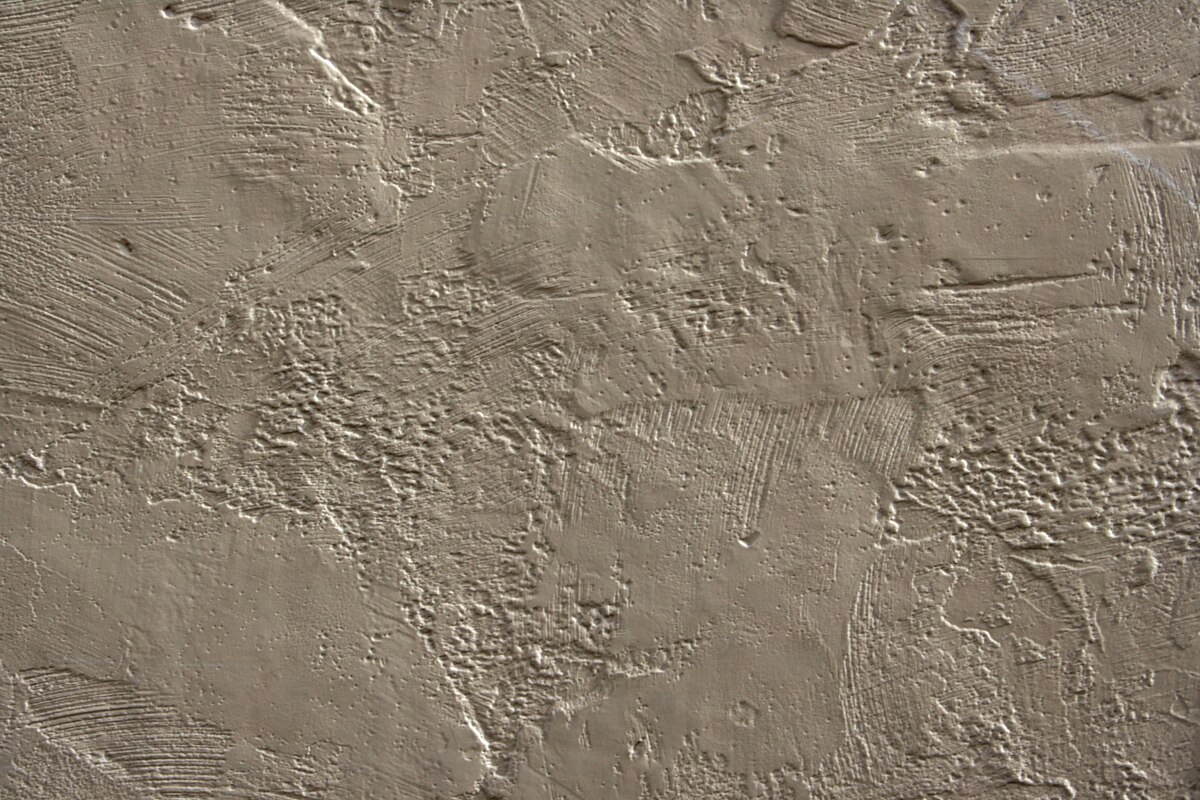
When it comes to stucco finishes, there are numerous options to choose from. Some common finishes include smooth, textured, and rough. The finish coat of stucco can also be colored using pigments, providing endless design possibilities.
While stucco is a durable material, it is important to note that it can develop cracks over time. These cracks may appear due to settlement, temperature changes, or movement in the underlying structure. Regular maintenance, such as filling and sealing cracks, can help preserve the integrity of the stucco finish.
Understanding the properties and characteristics of stucco is essential before attempting to spray it onto exterior walls. By familiarizing yourself with the material, you can ensure proper application and achieve the desired results.
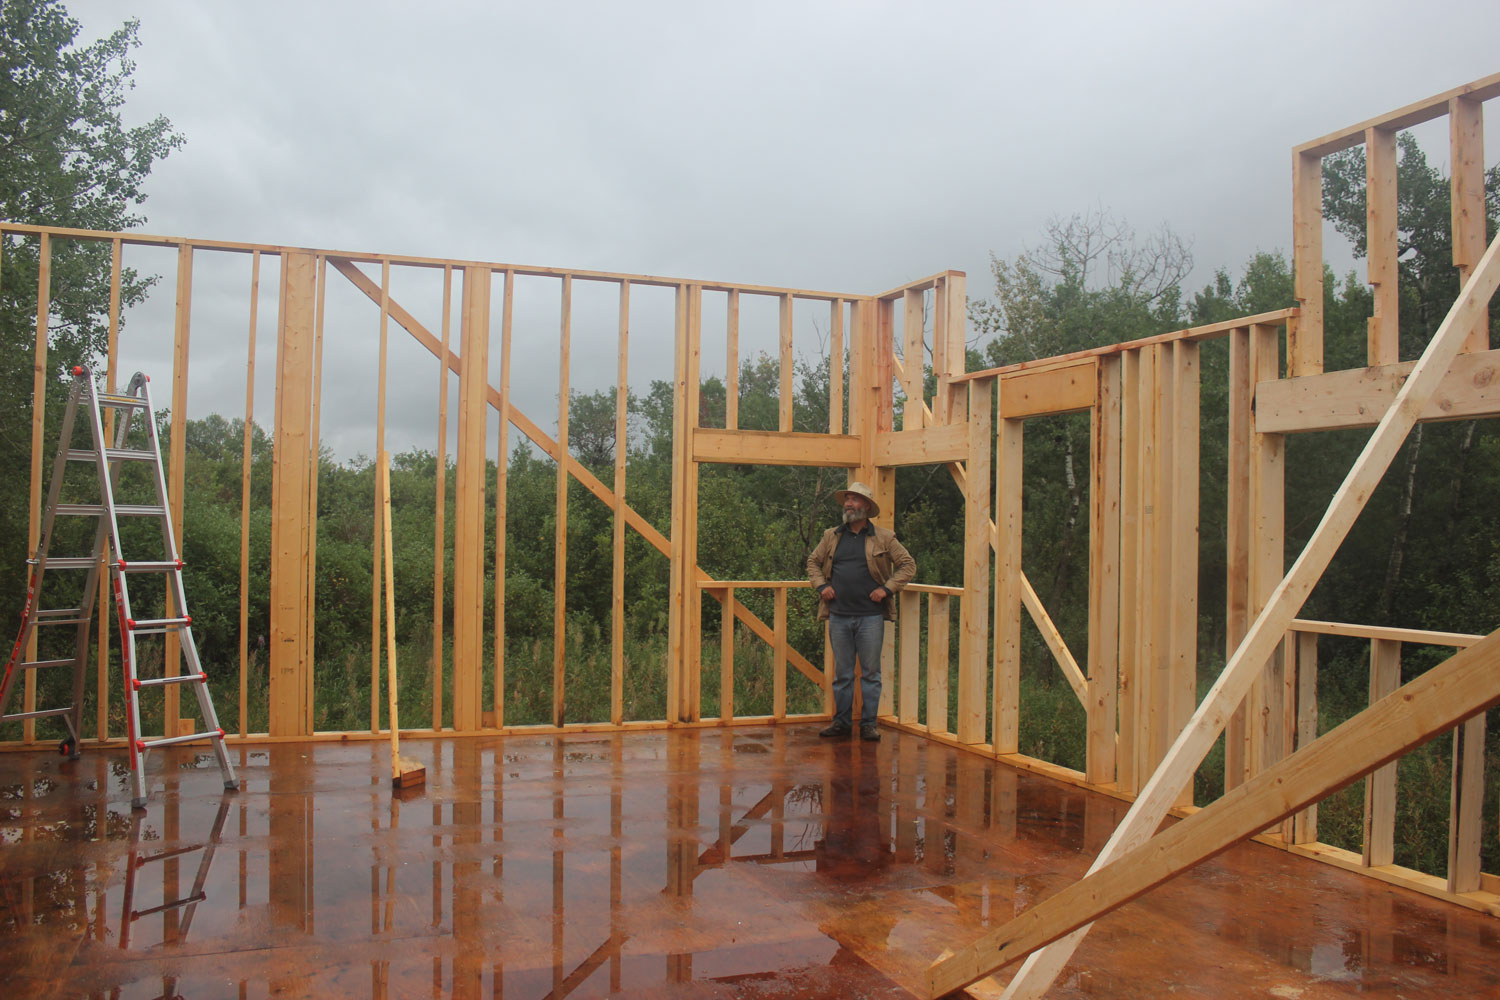
Preparing the Exterior Walls
Before you begin spraying stucco onto exterior walls, it is crucial to properly prepare the surface to ensure proper adhesion and a successful finish. Here are the necessary steps to prepare the exterior walls:
- Clean the walls: Start by removing any dirt, debris, or loose paint from the walls. Use a pressure washer or a scrub brush and detergent to thoroughly clean the surface. Ensure that the walls are completely dry before proceeding to the next step.
- Repair any damage: Inspect the walls for any cracks, holes, or damage. Use a suitable patching compound or stucco repair material to fill in these imperfections. Smooth out the repairs and allow them to fully cure according to the manufacturer’s instructions.
- Apply a bonding agent: To enhance the bond between the stucco and the walls, apply a bonding agent. This thin layer of adhesive promotes adhesion and helps prevent the stucco from peeling or cracking. Follow the manufacturer’s instructions for the specific bonding agent being used.
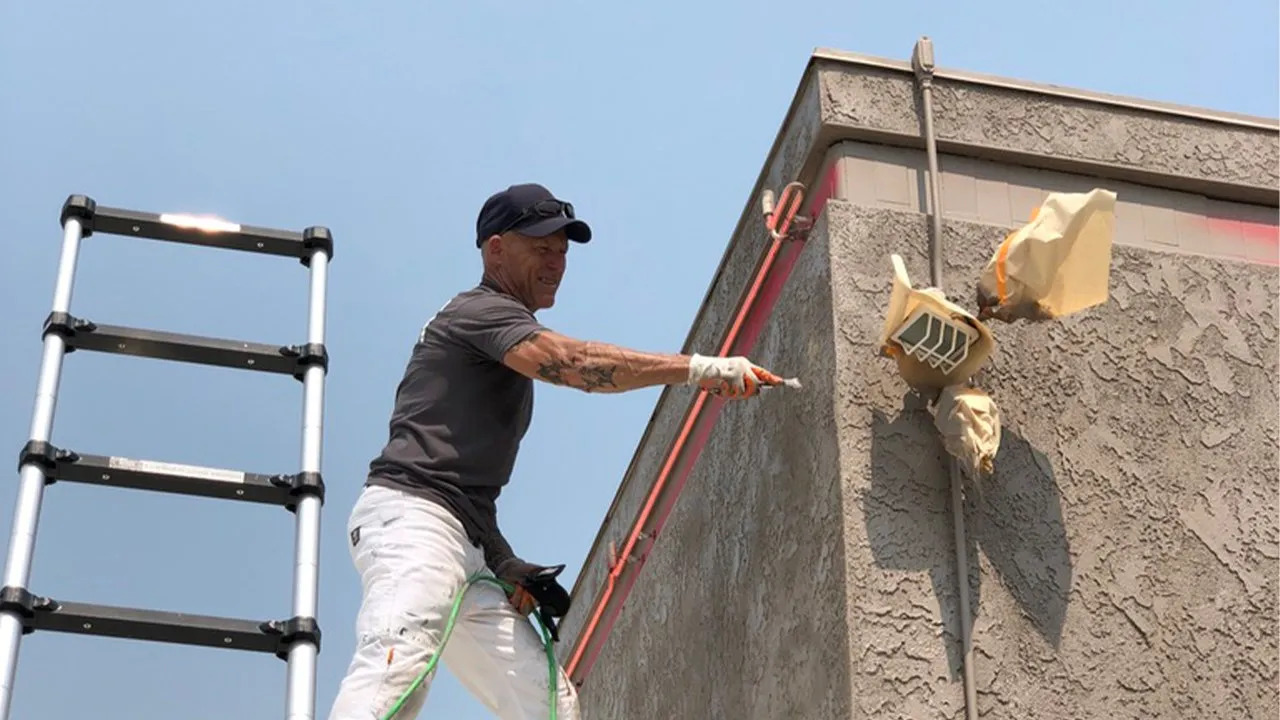
- Protect surrounding areas: Cover any nearby windows, doors, or other surfaces that you do not want to be coated with stucco. Use plastic sheeting or drop cloths to protect these areas from overspray.
- Mask off trim and fixtures: Use painter’s tape to mask off any trim, fixtures, or other areas that should not be coated with stucco. This will ensure clean lines and prevent accidental overspray.
Properly preparing the exterior walls is crucial for a successful stucco application. Taking the time to clean, repair, and protect the walls will help ensure a long-lasting and visually appealing finish. Once the walls are fully prepared, you can proceed to the next step of gathering the necessary tools and materials.
Gathering the Necessary Tools and Materials
Before you can start spraying stucco onto the exterior walls, you will need to gather the appropriate tools and materials. By having everything ready in advance, you can work efficiently and achieve the best results. Here are the essential tools and materials you need:
Tools:
- Sprayer: Invest in a high-quality, professional-grade sprayer specifically designed for stucco application. A sprayer with adjustable pressure settings will allow you to control the flow and texture of the stucco.
- Compressor: You will need an air compressor to power the sprayer. Ensure that the compressor has the necessary capacity to consistently deliver the required airflow.
- Stucco hopper gun: This tool attaches to the sprayer and holds the stucco mix. It allows you to control the direction and flow of the stucco as you spray it onto the walls.
- Masking tape: Use good-quality painter’s tape to mask off areas that should not be coated with stucco, such as trim, windows, and fixtures.
- Trowels: While spraying stucco is the primary method, you may still need trowels for touch-ups or applying stucco in smaller or hard-to-reach areas.
- Mixing paddle: For mixing the stucco, use a mixing paddle that attaches to a drill. This will ensure thorough and consistent mixing of the ingredients.
Read more: How To Redo Stucco Exterior
Materials:
- Stucco mix: Choose a high-quality stucco mix that is specifically formulated for spraying. Check the manufacturer’s instructions for the correct ratios of cement, sand, and water to achieve the desired consistency.
- Bonding agent: Depending on the condition of the walls, you may need a bonding agent to improve the adhesion of the stucco. Consider using a bonding agent recommended by the stucco mix manufacturer.
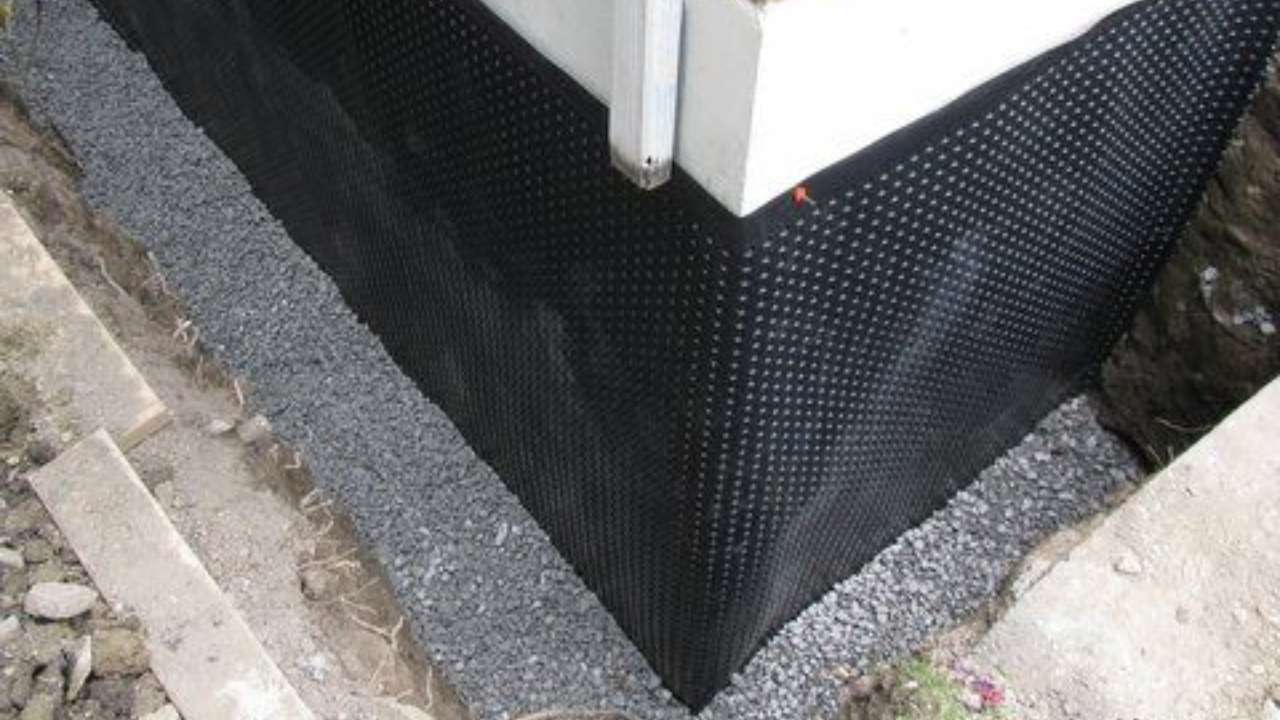
- Waterproofing membrane: If you live in an area with heavy rainfall, you may want to apply a waterproofing membrane before spraying the stucco. This will provide an additional layer of protection against water infiltration.
- Protective gear: Prioritize safety by wearing protective gear such as goggles, gloves, and a mask to shield yourself from potential health hazards associated with stucco spraying.
By ensuring that you have all the necessary tools and materials on hand, you can streamline the stucco spraying process and achieve professional results. Taking the time to gather everything in advance will save you time and potential setbacks during the application process.
Mixing the Stucco
Properly mixing the stucco is crucial to ensure the correct consistency and texture for spraying. Follow these steps to achieve a well-mixed stucco:
- Read the instructions: Start by carefully reading the manufacturer’s instructions on the bag of stucco mix. Different brands and types of stucco may have specific mixing ratios and instructions.
- Prepare the mixing area: Find a clean, flat surface for mixing the stucco. Ensure that the area is large enough to accommodate the stucco mix and the necessary water and tools.
- Put on protective gear: Before handling the stucco mix, put on the appropriate safety gear, including gloves, goggles, and a mask or respirator.
- Measure the stucco mix: Use a bucket or a large container to measure the desired amount of stucco mix. Follow the recommended proportions specified by the manufacturer.
- Add water gradually: Pour the measured stucco mix into a clean mixing container or a wheelbarrow. Begin adding water gradually, following the manufacturer’s recommendations for the mixing ratio. Start with a small amount of water and gradually increase it as you mix.
- Mix thoroughly: Use a mixing paddle attached to an electric drill or a mixing hoe to thoroughly mix the stucco and water. Move the paddle or hoe around in a slow circular motion, ensuring that all the dry mix is incorporated. Continue mixing until the stucco reaches a smooth, lump-free consistency.
- Check the consistency: To test the consistency of the stucco, take a small amount on a trowel or your hand and press it firmly against the mixing container. The stucco should hold its shape without being too wet or too dry. Adjust the mixture by adding more water or stucco mix as needed.
- Allow the stucco to hydrate: Once the stucco is mixed to the desired consistency, let it sit for a few minutes to allow the ingredients to hydrate fully. During this resting period, avoid adding additional water to the mix.
By following these steps and paying attention to the manufacturer’s instructions, you will be able to achieve a well-mixed stucco that is suitable for spraying. Remember to work efficiently and proceed with the application process while the stucco is still fresh and workable.
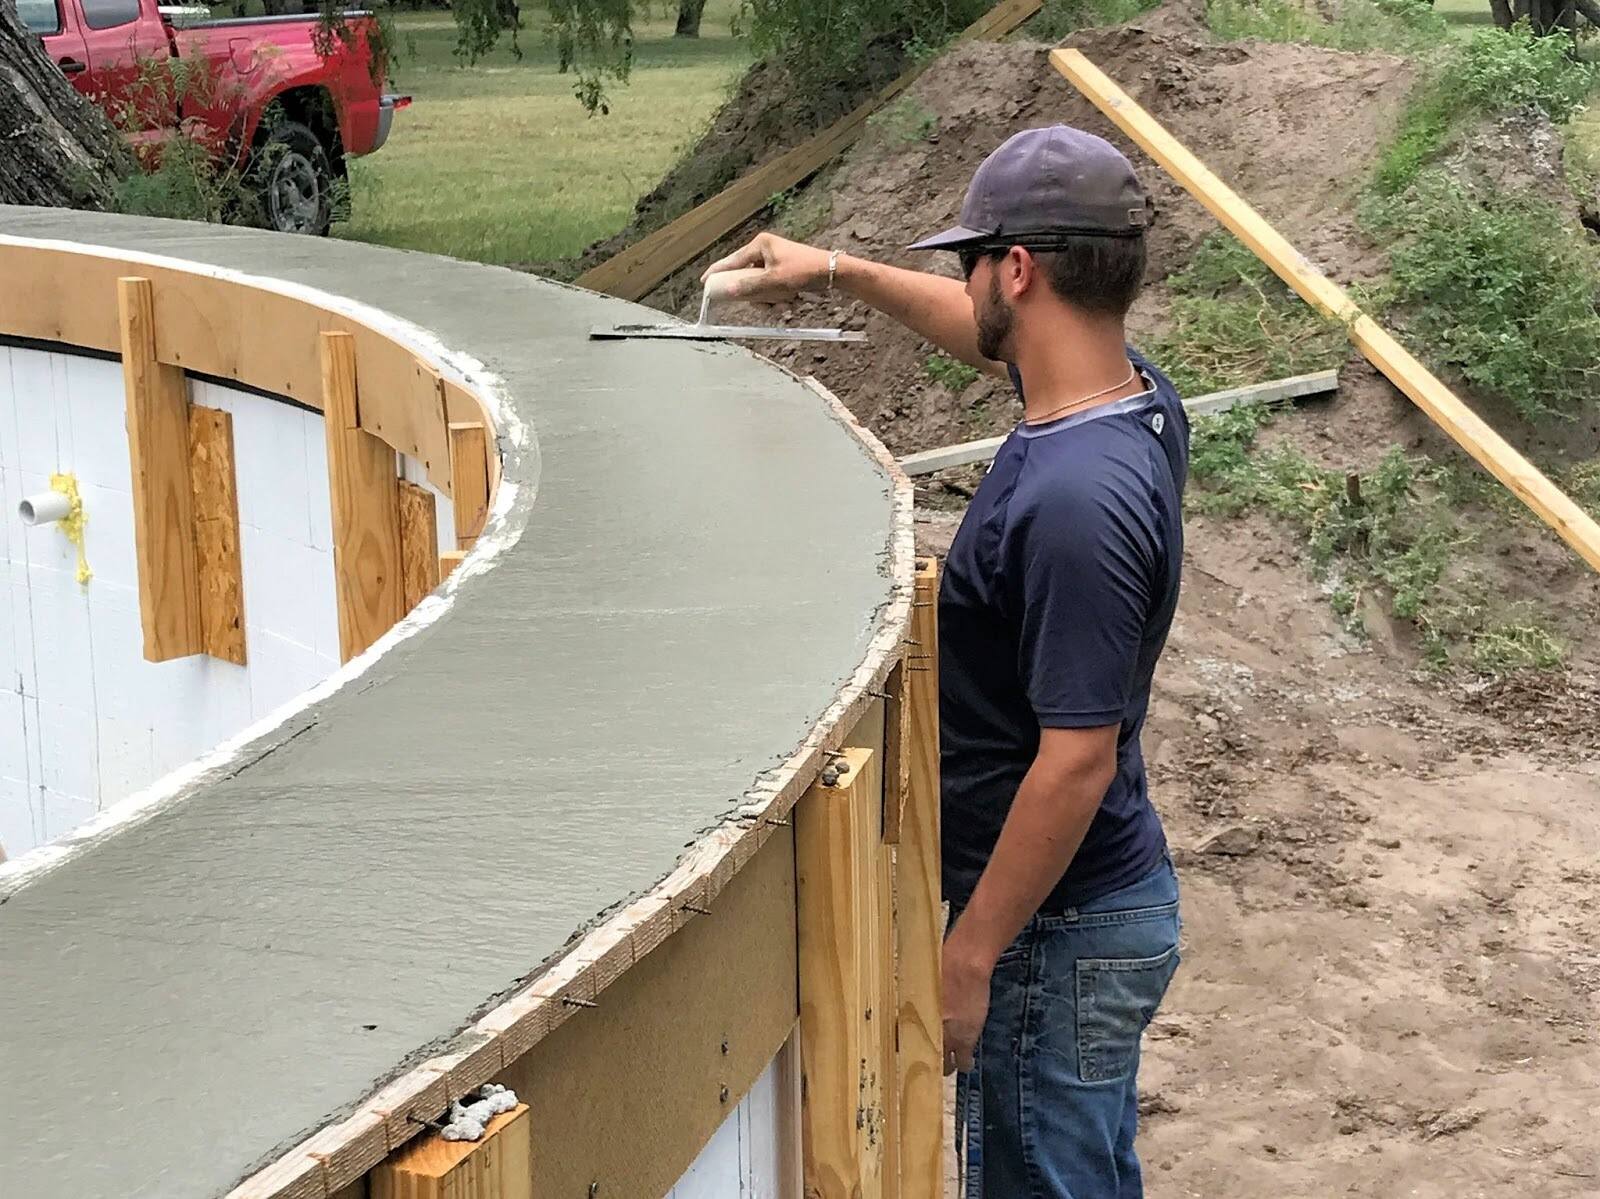
Applying the Stucco Base Coat
Once you have properly mixed the stucco, you are ready to begin applying the base coat to the exterior walls. The base coat serves as the foundation for the stucco finish and provides structural integrity. Follow these steps to apply the stucco base coat:
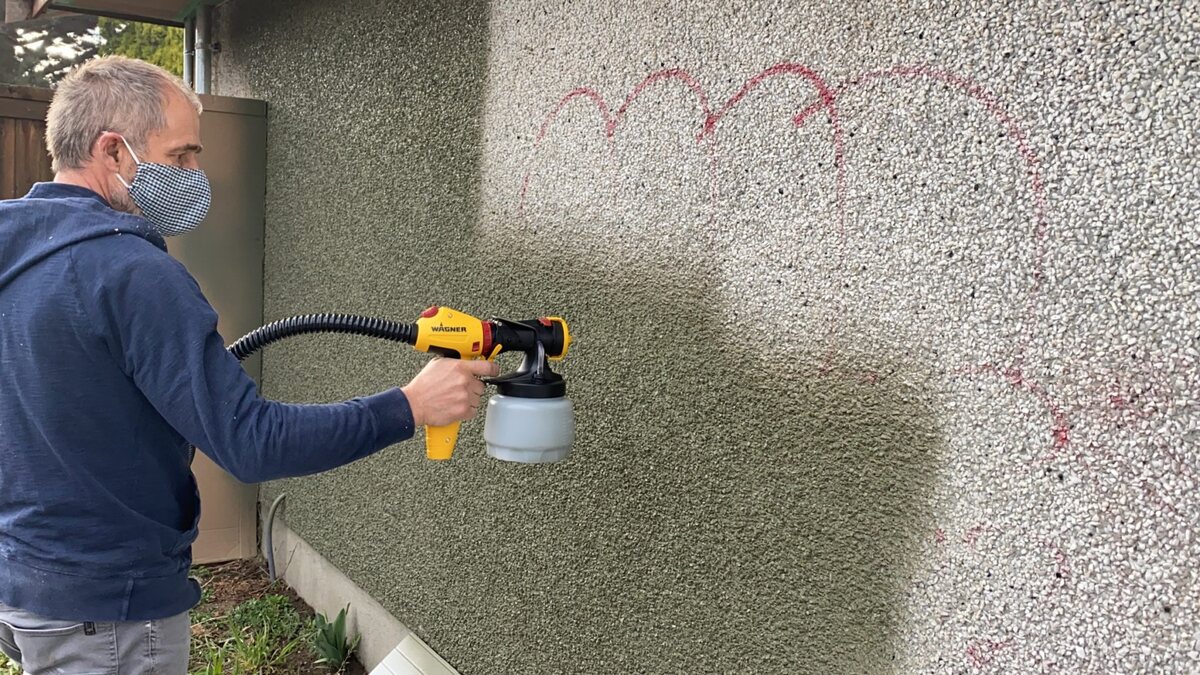
- Prepare the sprayer: Attach the hopper gun to the sprayer and ensure that it is securely connected. Adjust the pressure settings on the sprayer according to the manufacturer’s instructions, aiming for a consistent and even flow of stucco.
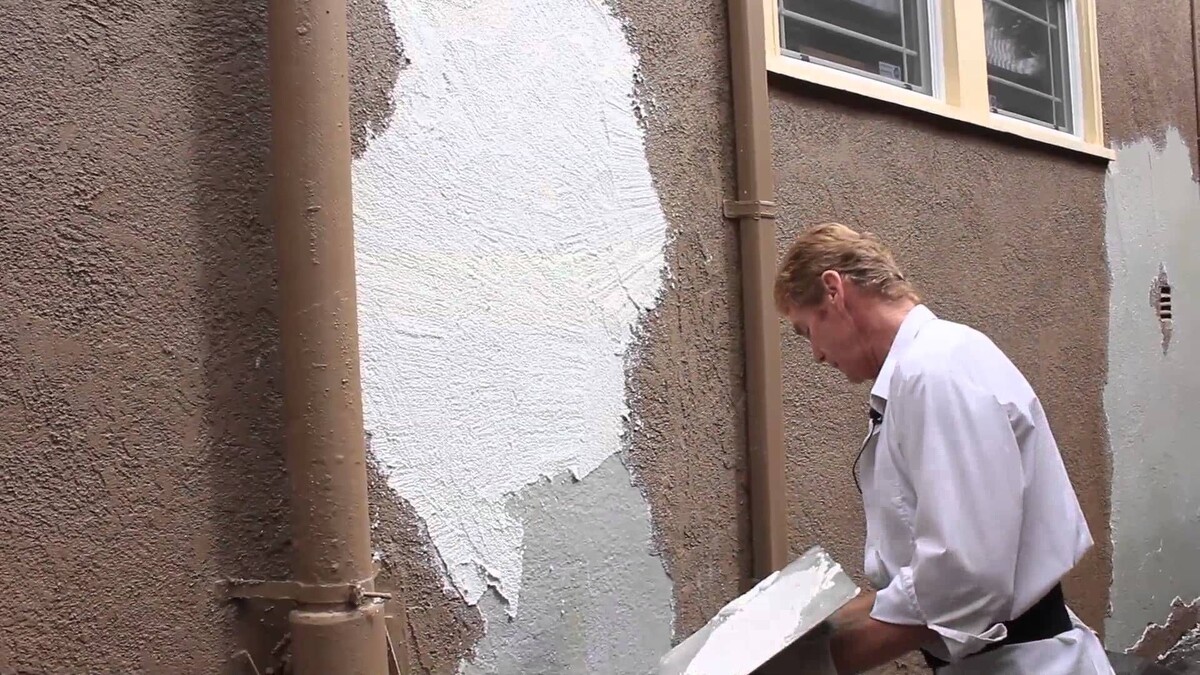
- Start from the bottom: Begin spraying the stucco base coat at the bottom of the wall, starting from one corner and working your way across. Maintain a distance of about 12 to 18 inches between the hopper gun and the wall surface.
- Apply a uniform layer: Move the hopper gun in a sweeping motion, applying a consistent layer of stucco to the wall. Keep the gun at a slight angle to create a feathered edge, blending each pass into the previous one.
- Cover the entire wall: Continue moving upwards, overlapping each pass slightly to ensure full coverage of the wall. Work in manageable sections to maintain control and consistency.
- Use a straightedge: After applying the stucco base coat, use a straightedge tool to level and smooth the surface. This will help create an even and flat base for the finish coat.
- Allow drying time: Let the stucco base coat dry according to the manufacturer’s instructions. This typically takes anywhere from 24 to 48 hours, depending on the environmental conditions.
- Inspect for imperfections: Once the base coat is dry, inspect the surface for any imperfections, such as low spots or ridges. Use a trowel or a float to make any necessary adjustments and create a smooth and even surface.
By following these steps, you can successfully apply the stucco base coat to your exterior walls. Take your time, work methodically, and ensure that each section receives a consistent application of the base coat. Once the base coat is dry and any imperfections are corrected, you can move on to applying the finish coat to add texture and aesthetic appeal to your stucco finish.
When spraying stucco on exterior walls, make sure to apply the stucco in multiple thin layers to ensure even coverage and prevent cracking as it dries.
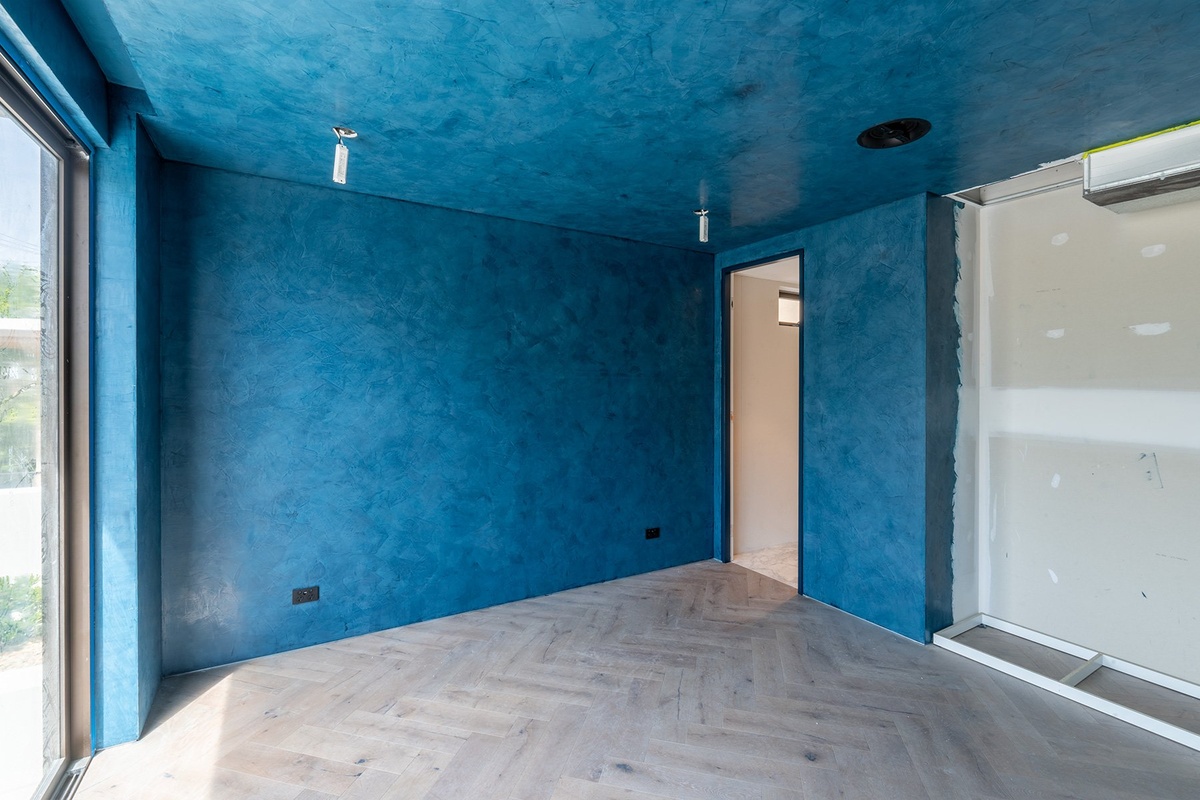
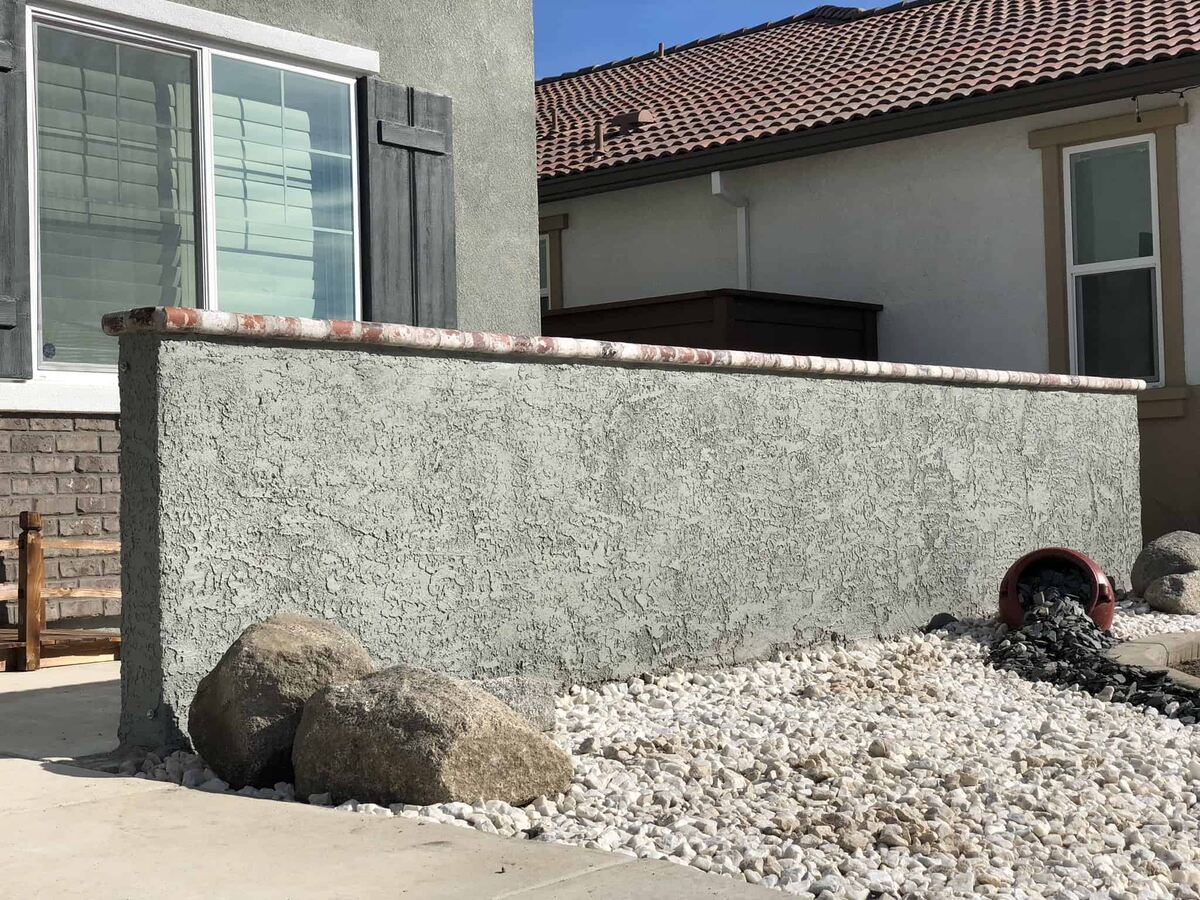
Creating Texture with the Finish Coat
After successfully applying the stucco base coat, you can proceed to create texture and visual interest by applying the finish coat to the exterior walls. The finish coat adds depth and character to the stucco finish. Follow these steps to create texture with the finish coat:
- Mix the finish coat: Similar to the base coat, mix the stucco finish coat according to the manufacturer’s instructions. Use a clean mixing container and a mixing paddle attached to an electric drill or a mixing hoe to achieve a smooth consistency.
- Prepare the sprayer: Attach the hopper gun to the sprayer and adjust the pressure settings to control the flow of the finish coat. Make sure the sprayer is clean and free from any residual base coat.
- Start spraying: Begin spraying the finish coat at the bottom of the wall, starting from one corner and working your way across. Use a rhythmic and overlapping motion to ensure even coverage and consistent texture.
- Create the desired texture: To achieve the desired texture, experiment with different spraying techniques. You can vary the nozzle size, adjust the gun’s distance from the wall, and change the angle of the gun to create different patterns, such as swirls, peaks, or stippling.
- Work in sections: Continue working in manageable sections, applying the finish coat and manipulating the texture as you go. Blend each section into the previous one to ensure a seamless look.
- Inspect and refine: After completing each section, step back and inspect the texture. Make any necessary adjustments or refinements using a trowel, float, or other texturing tools. This will help you achieve a uniform and visually appealing finish.
- Allow drying and curing: Let the finish coat dry and cure according to the manufacturer’s instructions. This typically takes several days, during which time you should protect the wall from excessive moisture or impact.
Creating texture with the finish coat requires practice and experimentation. Take your time to achieve the desired texture and ensure that the stucco finish enhances the overall appearance of your exterior walls. Once the finish coat is fully cured, you can proceed to the final steps of curing and maintaining the stucco.
Read more: How To Remove Exterior Stucco
Curing and Maintaining the Stucco
Once the stucco finish has been applied to your exterior walls, it is essential to properly cure and maintain it to ensure its longevity and visual appeal. Curing allows the stucco to fully harden and strengthen, while maintenance helps to preserve its appearance. Here are the steps to follow:
- Curing period: Allow the stucco to cure for a minimum of 28 days before subjecting it to extreme weather conditions, such as heavy rain or freezing temperatures. During this time, it is crucial to protect the stucco from excessive moisture.
- Misting: To aid in the curing process, lightly mist the stucco with water once or twice a day during the first week. This helps to prevent rapid drying and cracking. Avoid over-saturating the stucco, as it can lead to water stains or discoloration.
- Avoid physical damage: During the curing period and beyond, be careful not to bump, scrape, or hit the stucco. Physical damage can compromise its integrity and appearance.
- Cleaning: Periodically clean the stucco surface to remove dirt, dust, or stains. Use a gentle detergent and a soft-bristle brush or sponge. Avoid pressure washing, as it can cause damage to the stucco.
- Maintenance inspections: Regularly inspect the stucco for any signs of cracks, chips, or other damage. Promptly address any issues to prevent them from worsening and compromising the integrity of the stucco.
- Repairing cracks: If you notice any cracks in the stucco, fill them with a suitable patching compound or stucco repair material. Smooth out the repairs and blend them into the surrounding texture for a seamless appearance.
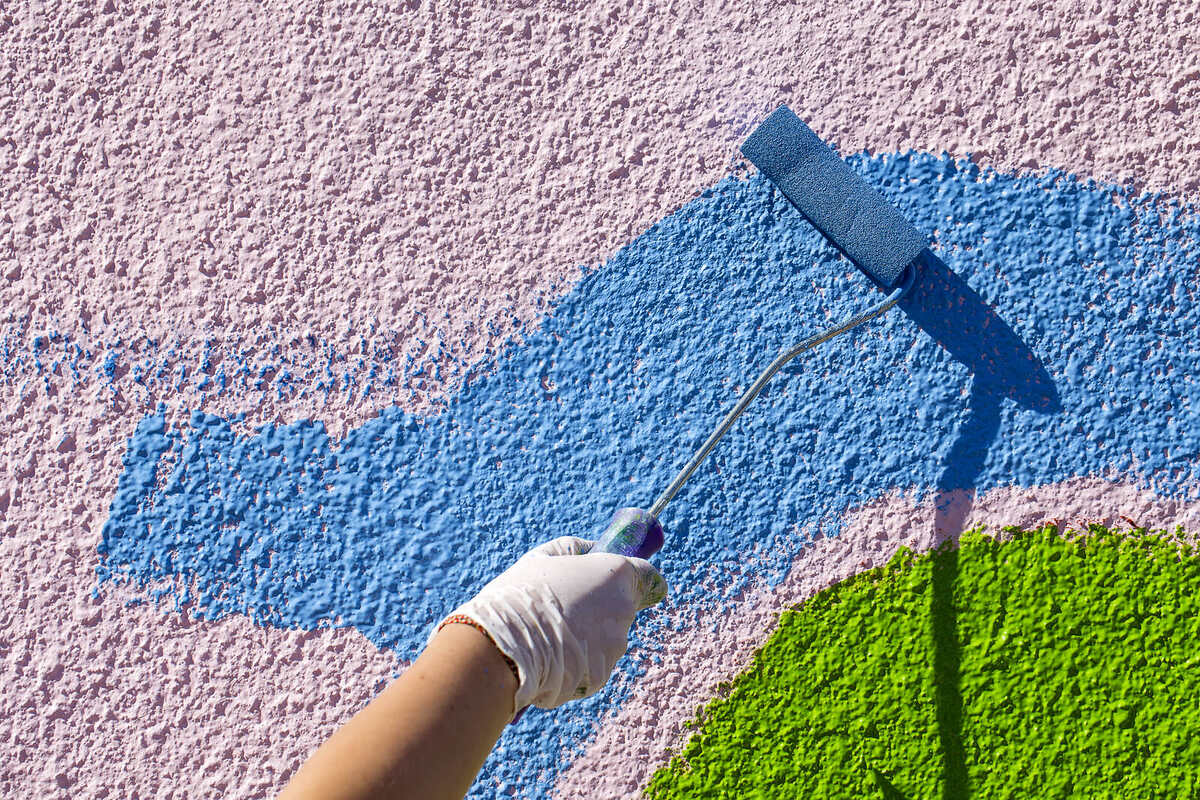
- Painting or sealing: If you wish to change the color of the stucco or enhance its protection, consider applying a high-quality paint or sealer specifically designed for stucco. Follow the manufacturer’s instructions for proper application.
- Regular maintenance: Regularly maintain the stucco by inspecting, cleaning, and addressing any issues promptly. This proactive approach will ensure the stucco’s longevity and preserve its visual appeal.
By following these steps, you can properly cure and maintain the stucco on your exterior walls. Caring for the stucco will help protect it from environmental factors, prolong its lifespan, and keep it looking pristine for years to come.
Conclusion
Spraying stucco onto exterior walls is a rewarding process that can transform the appearance and enhance the durability of your home or building. By understanding the properties of stucco, properly preparing the walls, gathering the necessary tools and materials, and following the steps for mixing, applying, and finishing the stucco, you can achieve professional-looking results.
Stucco provides both insulation and protection to your exterior walls, creating a durable and visually appealing finish. By applying the stucco base coat and creating texture with the finish coat, you can add depth and character to the stucco finish. Properly curing and maintaining the stucco will ensure its longevity and preserve its appearance over time.
Throughout the process, it is important to prioritize safety and wear the appropriate protective gear. Always follow the manufacturer’s instructions for the stucco mix, bonding agents, and any other materials used.
Whether you are a contractor or a homeowner taking on a DIY project, spraying stucco can be a rewarding experience. It offers several advantages over traditional hand troweling, including faster application, more even coverage, and the ability to cover larger areas in less time.
Remember to take your time, work methodically, and pay attention to detail. Practice and experimentation with different spraying techniques will help you achieve the desired texture and aesthetic appeal.
By following the steps outlined in this article and investing time and effort into properly preparing, applying, and maintaining the stucco, you can enjoy a beautiful and long-lasting finish on your exterior walls.”
Spraying stucco is an art form that requires skill and attention to detail. With practice and a solid understanding of the process, you can achieve professional-quality results and create a visually stunning and durable stucco finish. So gather your tools, prepare your exterior walls, mix your stucco, and get ready to transform your home or building with this versatile and resilient material.
Frequently Asked Questions about How To Spray Stucco Exterior Walls
Was this page helpful?
At Storables.com, we guarantee accurate and reliable information. Our content, validated by Expert Board Contributors, is crafted following stringent Editorial Policies. We're committed to providing you with well-researched, expert-backed insights for all your informational needs.


0 thoughts on “How To Spray Stucco Exterior Walls”