Home>Construction & Tools>Building Materials>How To Replace Windows With Stucco Exterior

Building Materials
How To Replace Windows With Stucco Exterior
Modified: October 20, 2024
Learn how to replace windows with a stucco exterior using high-quality building materials. Enhance your home's curb appeal with this comprehensive guide.
(Many of the links in this article redirect to a specific reviewed product. Your purchase of these products through affiliate links helps to generate commission for Storables.com, at no extra cost. Learn more)
Introduction
Read more: How To Paint Exterior Stucco
Introduction
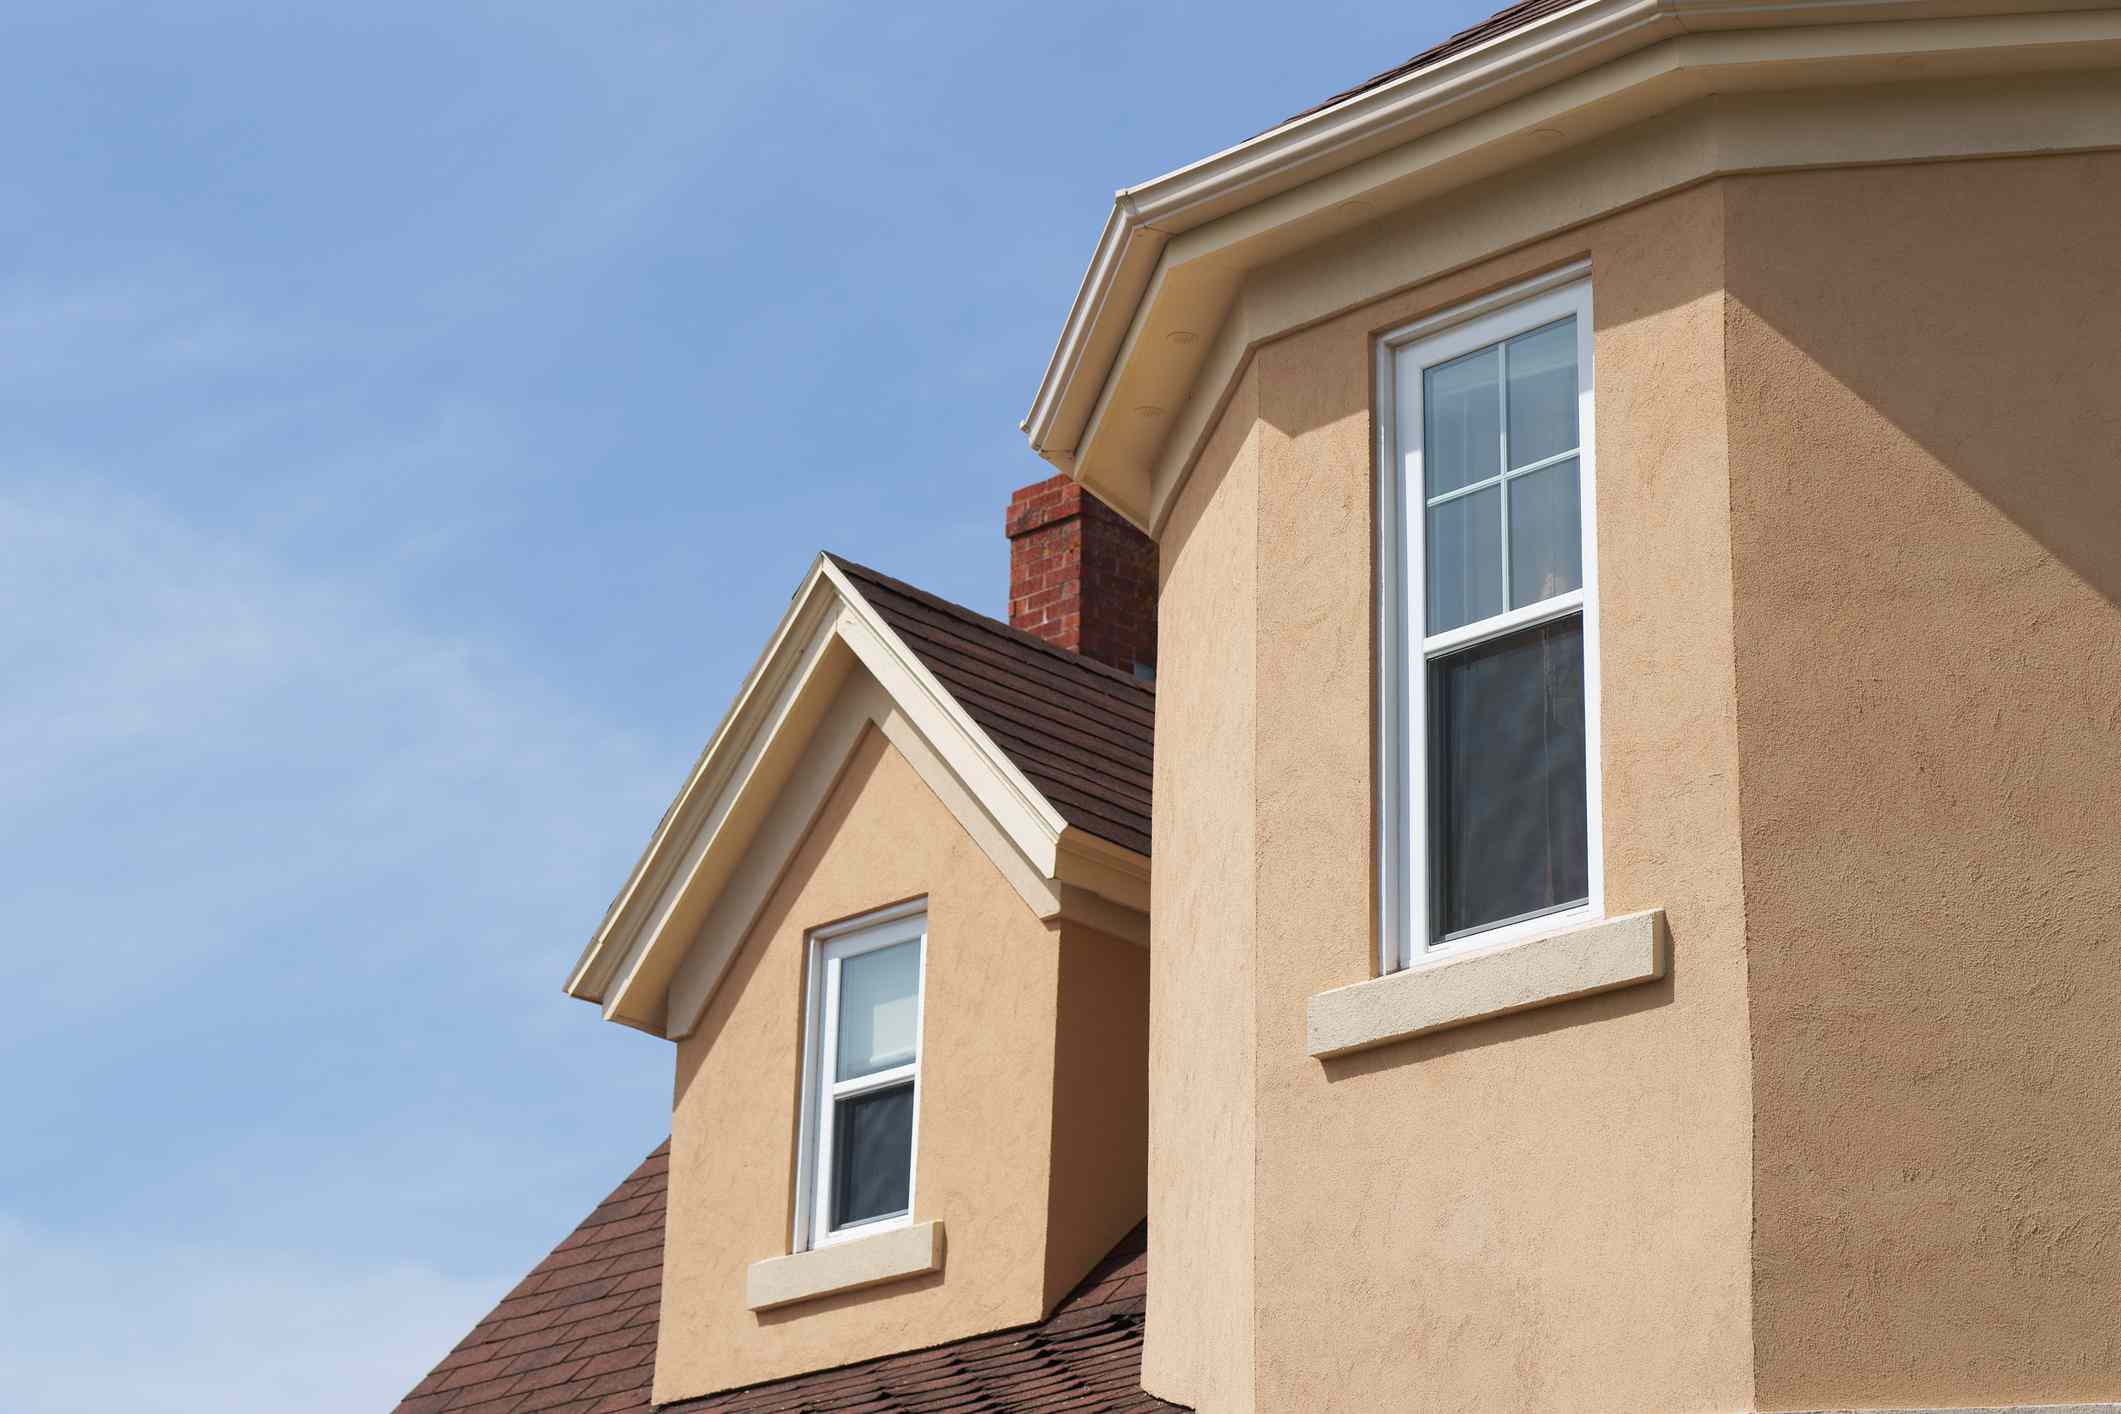
Replacing windows with a stucco exterior can significantly enhance the aesthetic appeal and energy efficiency of your home. Stucco, a durable and versatile building material, not only provides a timeless look but also offers excellent insulation and weather resistance. By following the proper steps, you can seamlessly integrate stucco with your existing exterior, transforming the appearance of your home while adding value to your property.
In this comprehensive guide, we will walk you through the process of replacing windows with a stucco exterior, providing detailed instructions and essential tips to ensure a successful and visually appealing outcome. From removing the existing windows to applying the stucco and finishing touches, each step is crucial in achieving a professional and long-lasting result.
Whether you are a seasoned DIY enthusiast or seeking professional assistance, understanding the fundamentals of this transformation will empower you to make informed decisions and communicate effectively with contractors. So, roll up your sleeves and get ready to embark on this exciting home improvement journey. Let's dive into the first step: removing the existing windows.
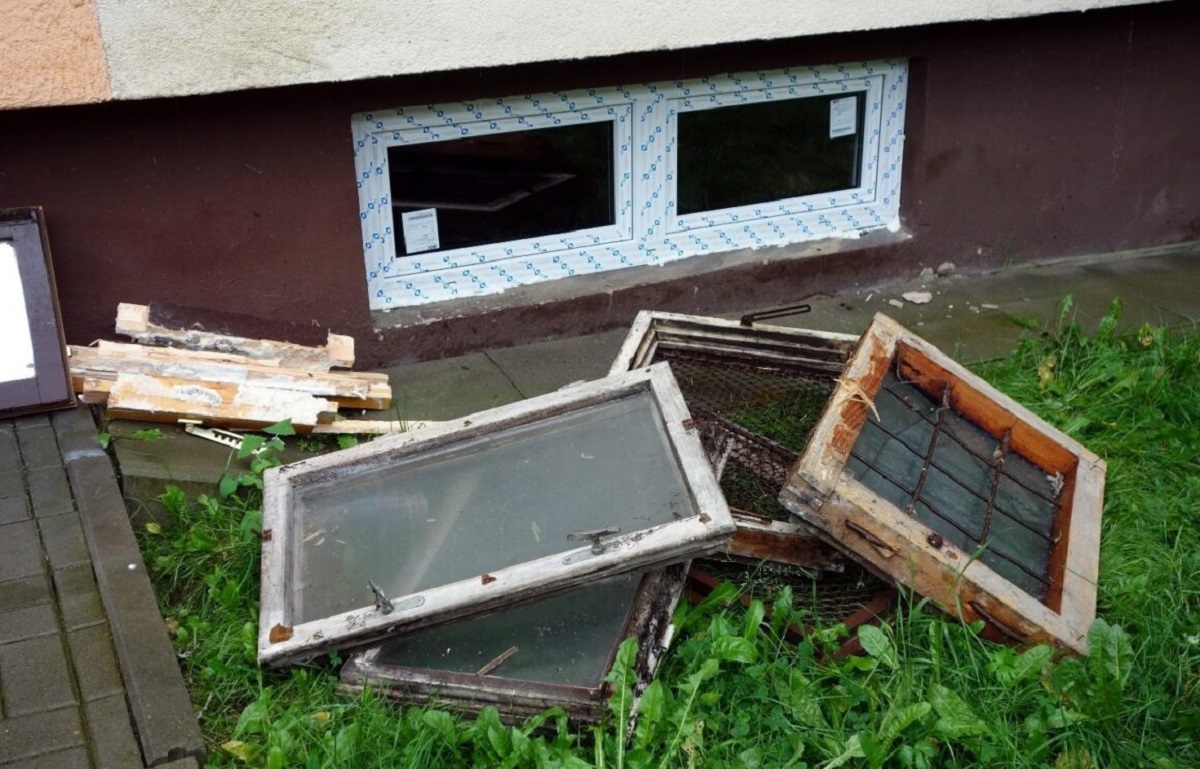
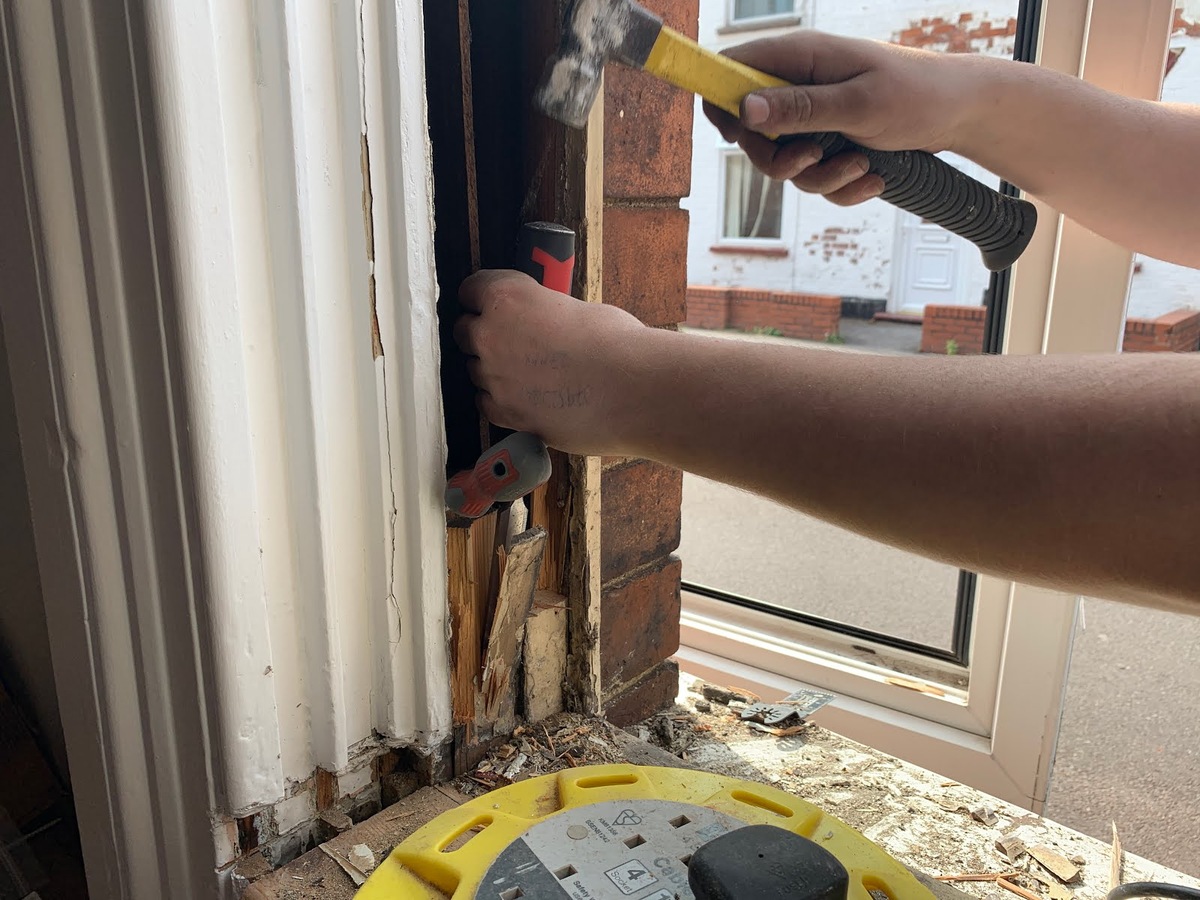
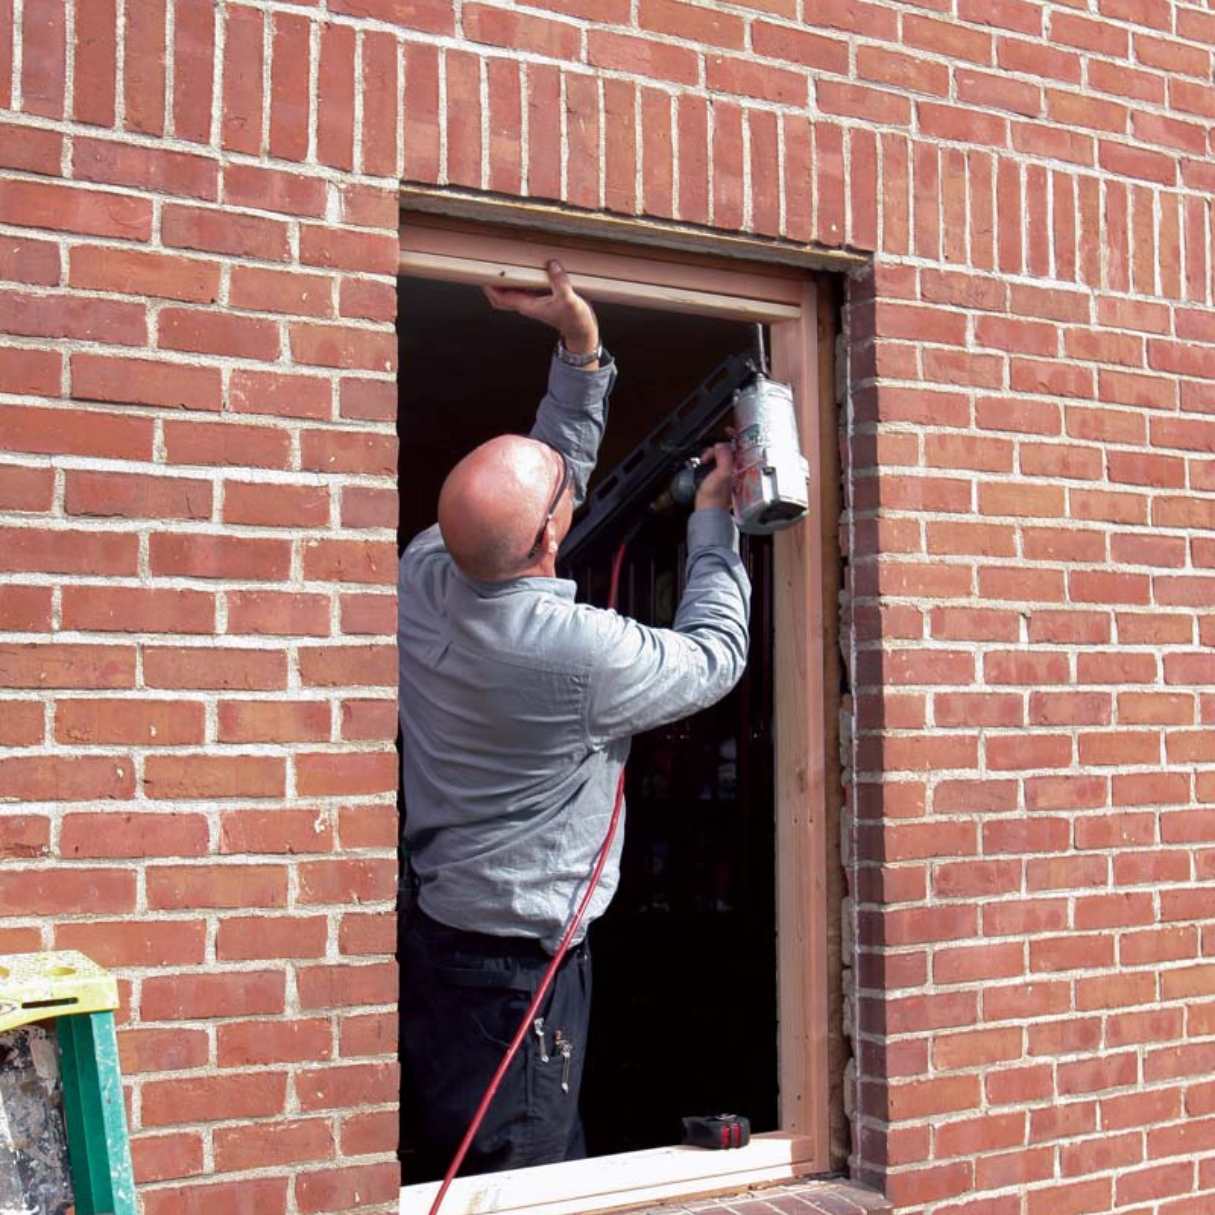
Step 1: Remove the Existing Windows
Key Takeaways:
- Replacing windows with stucco enhances home aesthetics and energy efficiency. Follow precise steps for a seamless transition, adding value to your property and transforming your home’s appearance.
- Meticulous preparation and application of stucco, along with expert finishing and painting, result in a visually stunning and resilient exterior. The process elevates curb appeal and fortifies the home against the elements.
Step 1: Remove the Existing Windows
Before diving into the stucco application process, it’s crucial to start with a clean slate. Removing the existing windows requires precision and attention to detail to ensure a smooth transition to the stucco exterior. Here’s a step-by-step guide to help you through this initial phase:
- Prepare the Work Area: Begin by clearing the area around the windows, removing any obstacles that may impede the removal process. Cover the surrounding surfaces with protective materials to prevent damage during the window removal.
- Remove the Window Trim: Carefully pry off the window trim using a pry bar and hammer. Take your time to avoid damaging the surrounding wall surfaces. Inspect the trim for any signs of rot or damage, as this may indicate underlying issues that need to be addressed before proceeding.
- Extract the Old Window: Depending on the type of window, you may need to unscrew it from the frame or carefully remove the sashes. Enlist the help of a partner to ensure safe and efficient removal, especially for larger windows.
- Clean and Inspect the Window Opening: Once the window is removed, thoroughly clean the opening, removing any debris or remnants of the old window. Take this opportunity to inspect the surrounding structure for any signs of water damage, rot, or insect infestation. Address any issues promptly to prevent potential complications during the stucco application.
By meticulously executing these steps, you’ll lay the groundwork for a seamless transition to the stucco application phase. Properly removing the existing windows sets the stage for a successful integration of the stucco exterior, ensuring a visually striking and structurally sound result.
Step 2: Prepare the Exterior Wall
Read more: How To Redo Stucco Exterior
Step 2: Prepare the Exterior Wall
With the existing windows removed, the next critical phase involves preparing the exterior wall to accommodate the stucco application. This preparatory stage is pivotal in ensuring the longevity and integrity of the stucco finish. Here’s a comprehensive guide to help you effectively prepare the exterior wall:
- Inspect the Wall Surface: Thoroughly examine the exterior wall surface for any signs of damage, such as cracks, holes, or areas of uneven texture. Addressing these issues before applying the stucco is essential for achieving a smooth and uniform finish.
- Repair and Patch: Utilize a high-quality exterior patching compound to fill in any cracks or voids on the wall surface. Smooth out the patched areas to create a seamless transition between the original wall and the patched sections. This meticulous approach will contribute to a flawless stucco application.
- Apply a Bonding Agent: Prior to stucco application, apply a bonding agent to the prepared wall surface. This agent enhances the adhesion of the stucco, promoting a strong bond between the stucco and the exterior wall. Follow the manufacturer’s instructions for proper application and drying times.
- Install Metal Lath: To further fortify the wall and provide a secure base for the stucco, install metal lath over the prepared surface. Secure the lath with galvanized nails or screws, ensuring it is firmly attached and free of any protrusions that could impact the stucco application.
- Address Flashing and Waterproofing: Verify that the flashing around the window openings is in optimal condition, replacing or repairing any damaged sections as needed. Additionally, ensure that the surrounding areas are appropriately waterproofed to safeguard against moisture infiltration, a crucial consideration for the long-term durability of the stucco finish.
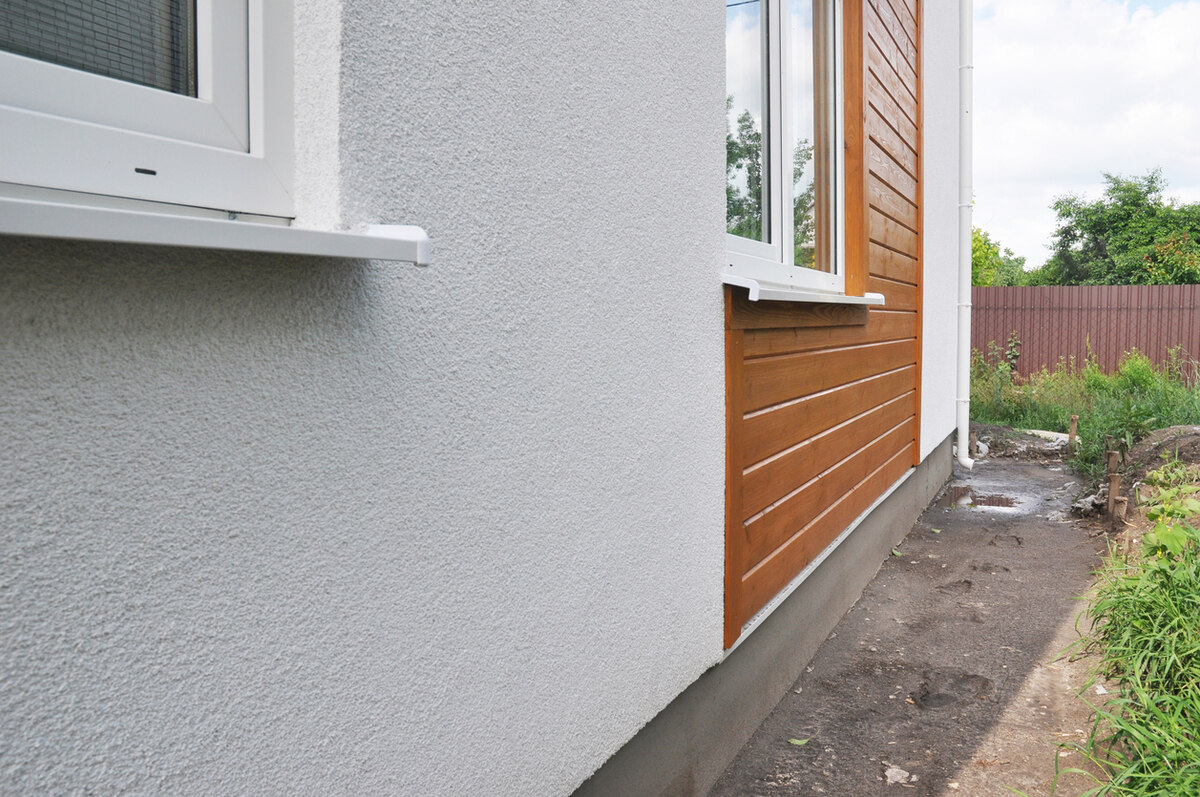
By meticulously preparing the exterior wall, you establish a solid foundation for the stucco application, setting the stage for a visually stunning and resilient outcome. This meticulous approach not only enhances the aesthetic appeal of your home but also contributes to its structural integrity, reflecting the enduring beauty and functionality of a well-executed stucco exterior.
Step 3: Apply the Stucco
Step 3: Apply the Stucco
As you embark on the stucco application phase, attention to detail and precision are paramount to achieving a flawless and enduring finish. The application process involves layering and texturing the stucco to create a cohesive and visually appealing exterior. Here’s a comprehensive guide to help you navigate this crucial step:
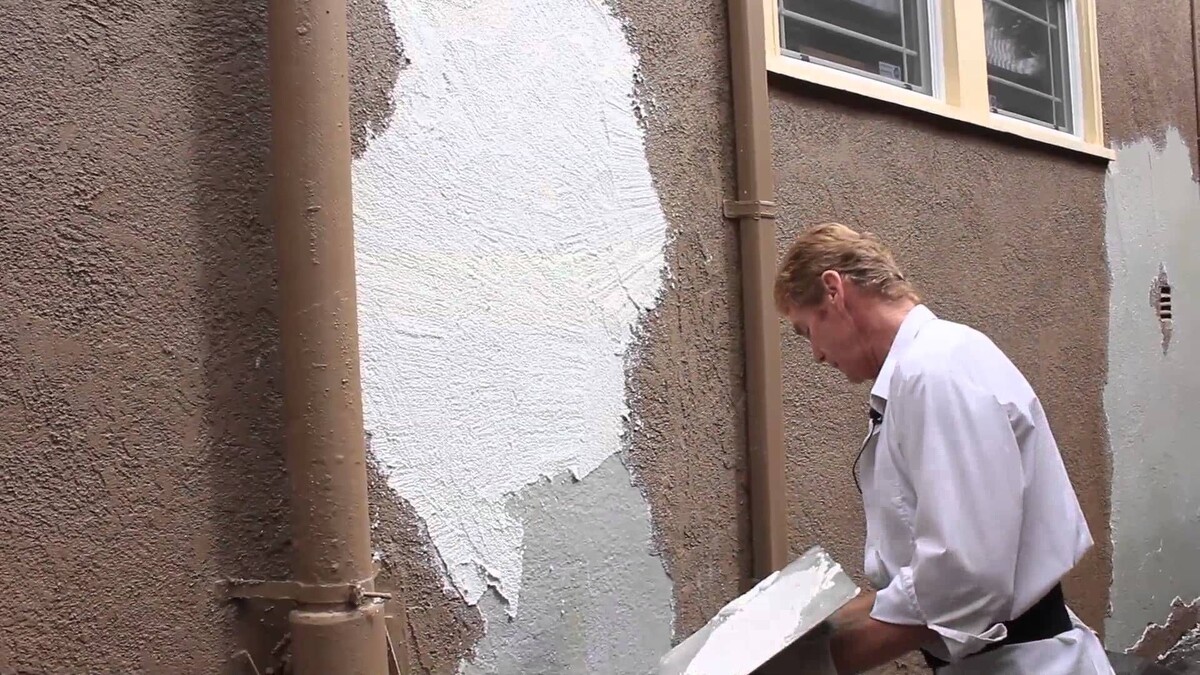
- Mix the Stucco: Begin by preparing the stucco mixture according to the manufacturer’s instructions. Consistency is key, so ensure that the stucco is thoroughly mixed to achieve the desired texture and workability.
- Apply the Scratch Coat: Using a trowel, apply the scratch coat – the first layer of stucco – to the prepared wall surface. This initial coat creates a rough texture that promotes adhesion for subsequent layers. Ensure the scratch coat is evenly distributed and follows the specified thickness for optimal results.
- Add the Brown Coat: Once the scratch coat has sufficiently cured, apply the brown coat – the second layer of stucco. This layer further builds the stucco thickness and provides a level surface for the final coat. Employ proper techniques to achieve a uniform and smooth brown coat, paying attention to any architectural details or contours that require special consideration.
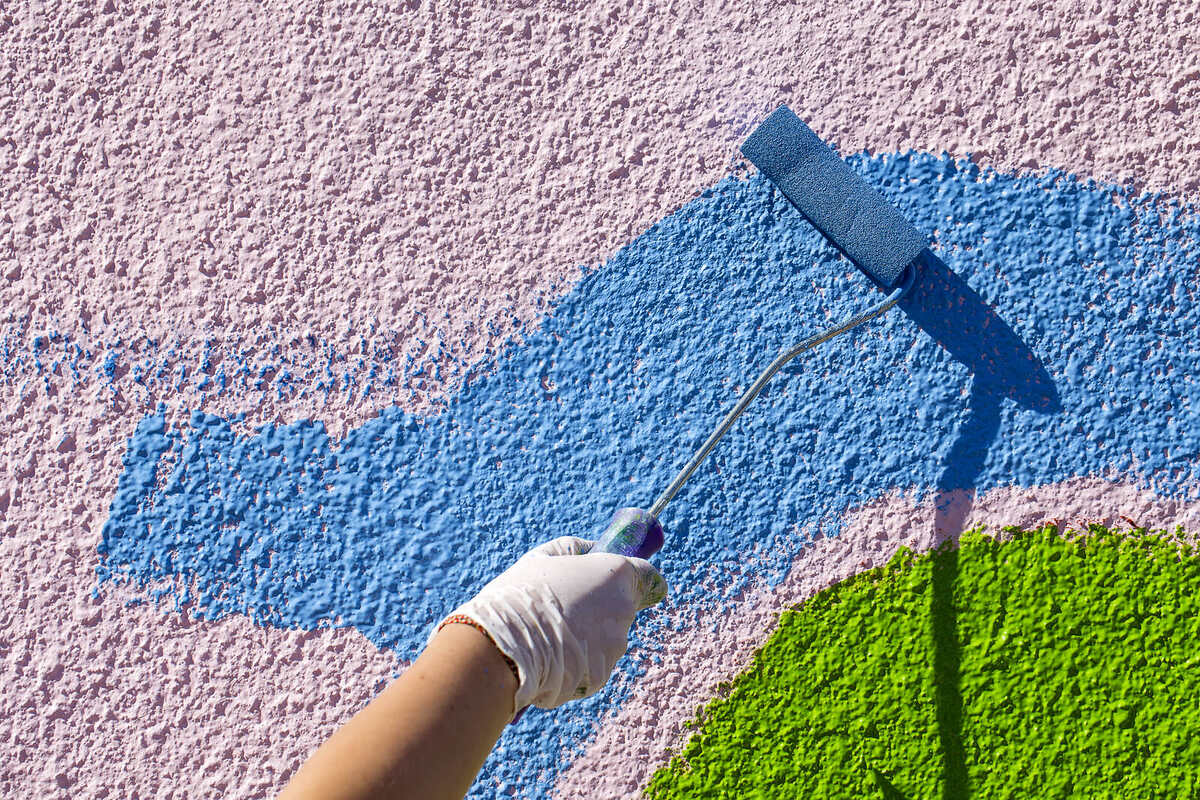
- Texture and Finish: With the brown coat in place, it’s time to add texture and finesse to the stucco surface. Depending on your aesthetic preferences, employ techniques such as trowel texturing or sponge floating to achieve the desired finish. This step allows for personalization, enabling you to tailor the stucco texture to complement your home’s architectural style.
- Cure and Protect: After the stucco application is complete, allow adequate time for curing based on the manufacturer’s recommendations. Implement measures to protect the freshly applied stucco from excessive moisture or environmental factors that could compromise the curing process. This safeguarding phase is crucial for preserving the integrity and longevity of the stucco finish.
By meticulously following these steps, you’ll master the art of stucco application, culminating in a stunning exterior transformation. The seamless integration of the scratch, brown, and final coats, combined with expert texturing and curing, will result in a stucco finish that not only enhances your home’s curb appeal but also stands the test of time with its enduring beauty and resilience.
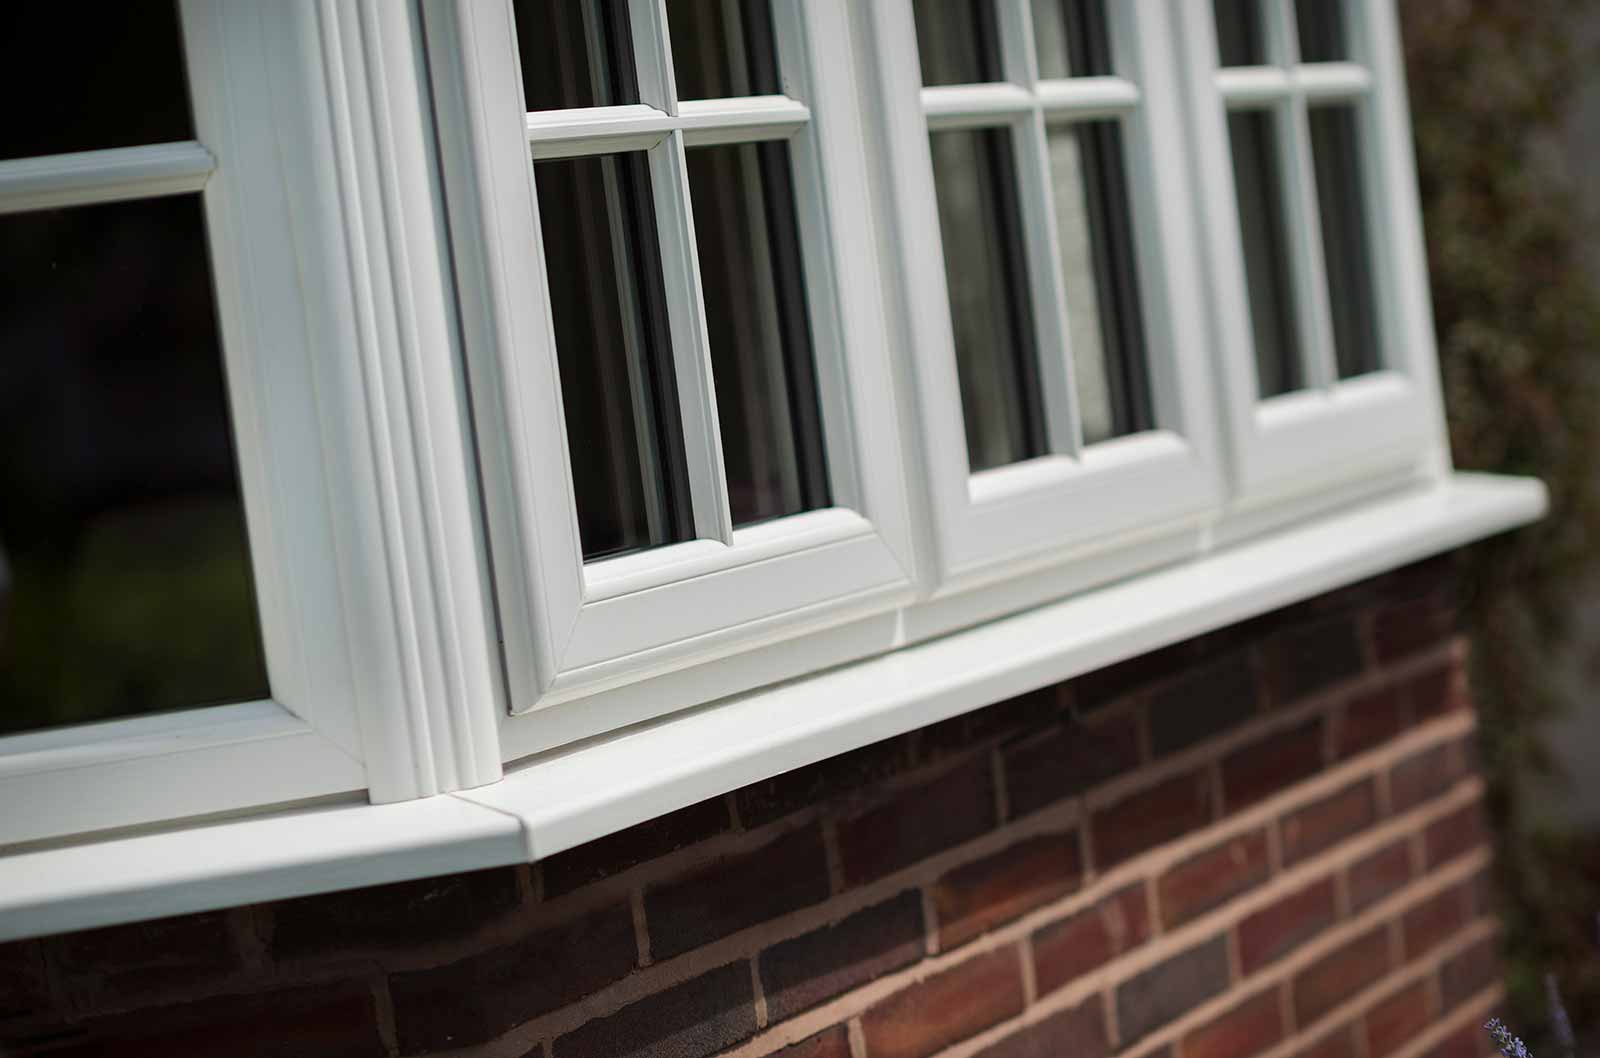
Step 4: Finish and Paint
Read more: How To Remove Exterior Stucco
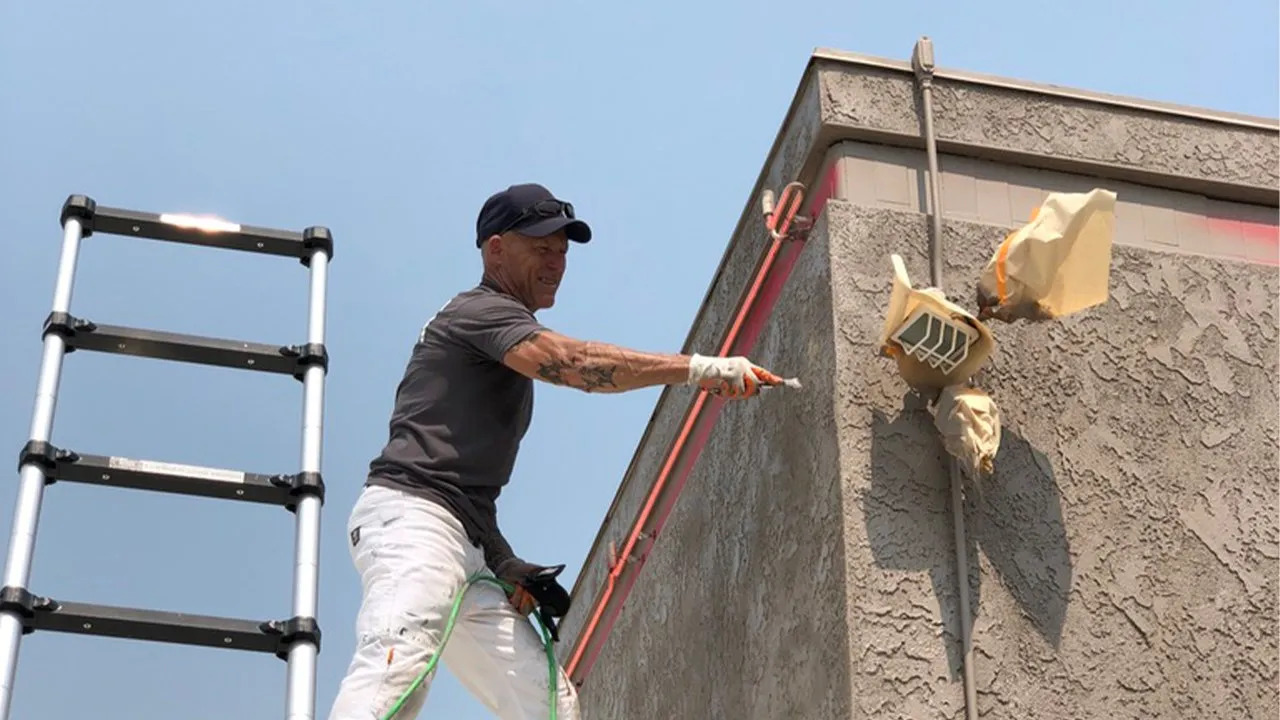
Step 4: Finish and Paint
As the stucco application nears completion, the finishing touches and painting phase play a pivotal role in enhancing the overall aesthetic and protective qualities of the stucco exterior. This stage allows for personalization and protection, ensuring that your newly transformed exterior reflects your unique style while being fortified against environmental elements. Here’s a comprehensive guide to the final steps of the stucco replacement process:
- Inspect and Prepare the Surface: Thoroughly inspect the cured stucco surface for any imperfections or irregularities. Address any discrepancies by carefully smoothing out the surface and making necessary touch-ups to ensure a uniform appearance.
- Priming the Stucco: Prior to painting, apply a high-quality primer specifically formulated for stucco surfaces. The primer enhances adhesion and promotes an even finish, serving as a crucial preparatory step for the painting process.
- Selecting Exterior Paint: Choose a premium exterior paint designed for stucco surfaces, considering factors such as color, sheen, and durability. Opt for a color that complements your home’s architectural style and harmonizes with the surrounding elements, creating a visually cohesive and inviting exterior.
- Paint Application: Utilize professional painting techniques to apply the chosen exterior paint to the stucco surface. Whether using brushes, rollers, or sprayers, ensure thorough coverage and attention to detail, especially when navigating textured areas. Multiple coats may be necessary to achieve the desired depth of color and uniform finish.
- Seal and Protect: Once the paint has sufficiently dried, consider applying a clear sealant to safeguard the stucco and preserve the vibrancy of the paint. This protective layer acts as a shield against moisture, UV exposure, and environmental wear, extending the longevity of the stucco finish and maintaining its visual allure.
By meticulously executing these final steps, you’ll elevate the stucco replacement project to its full potential, resulting in a stunning and resilient exterior. The seamless integration of finishing touches and expert painting not only enhances the visual impact of your home but also fortifies the stucco against the elements, ensuring enduring beauty and protection for years to come.
Conclusion
Conclusion
Congratulations on successfully navigating the process of replacing windows with a stucco exterior. By following the comprehensive steps outlined in this guide, you’ve embarked on a transformative journey that not only enhances the visual appeal of your home but also fortifies its structural integrity and energy efficiency. As you stand back and admire the newly rejuvenated exterior, it’s essential to reflect on the significance of this home improvement endeavor.
Through meticulous planning, precise execution, and a touch of creativity, you’ve breathed new life into your home, elevating its curb appeal and creating a welcoming and enduring facade. The seamless integration of stucco with the existing architecture reflects a harmonious balance between timeless elegance and modern functionality, embodying the enduring allure of stucco as a versatile and durable building material.
Furthermore, the attention to detail and dedication to each phase of the stucco replacement process have not only yielded a visually striking outcome but have also fortified your home against the elements. The stucco exterior, with its exceptional insulation properties and weather-resistant characteristics, serves as a testament to the enduring beauty and protective qualities of this remarkable material.
As you revel in the transformation, take pride in the fact that you’ve not only enhanced your home’s aesthetic appeal but also added significant value to your property. The stucco exterior stands as a testament to your commitment to quality and your vision for a home that exudes timeless charm and resilience.
Whether you embarked on this journey as a DIY enthusiast or collaborated with skilled professionals, the successful completion of this project signifies a milestone in your homeownership journey. Your home now stands as a testament to the enduring allure and practical benefits of a stucco exterior, creating a lasting impression for years to come.
As you continue to enjoy the fruits of your labor, may your stucco-clad home serve as an enduring symbol of timeless elegance, unwavering resilience, and the transformative power of thoughtful home improvement.
Frequently Asked Questions about How To Replace Windows With Stucco Exterior
Was this page helpful?
At Storables.com, we guarantee accurate and reliable information. Our content, validated by Expert Board Contributors, is crafted following stringent Editorial Policies. We're committed to providing you with well-researched, expert-backed insights for all your informational needs.


0 thoughts on “How To Replace Windows With Stucco Exterior”