Home>Construction & Tools>Building Materials>How To Replace A Mailbox In Brick
Building Materials
How To Replace A Mailbox In Brick
Modified: August 28, 2024
Learn how to replace a mailbox in brick with the right building materials. Follow our step-by-step guide for a successful installation.
(Many of the links in this article redirect to a specific reviewed product. Your purchase of these products through affiliate links helps to generate commission for Storables.com, at no extra cost. Learn more)
Introduction
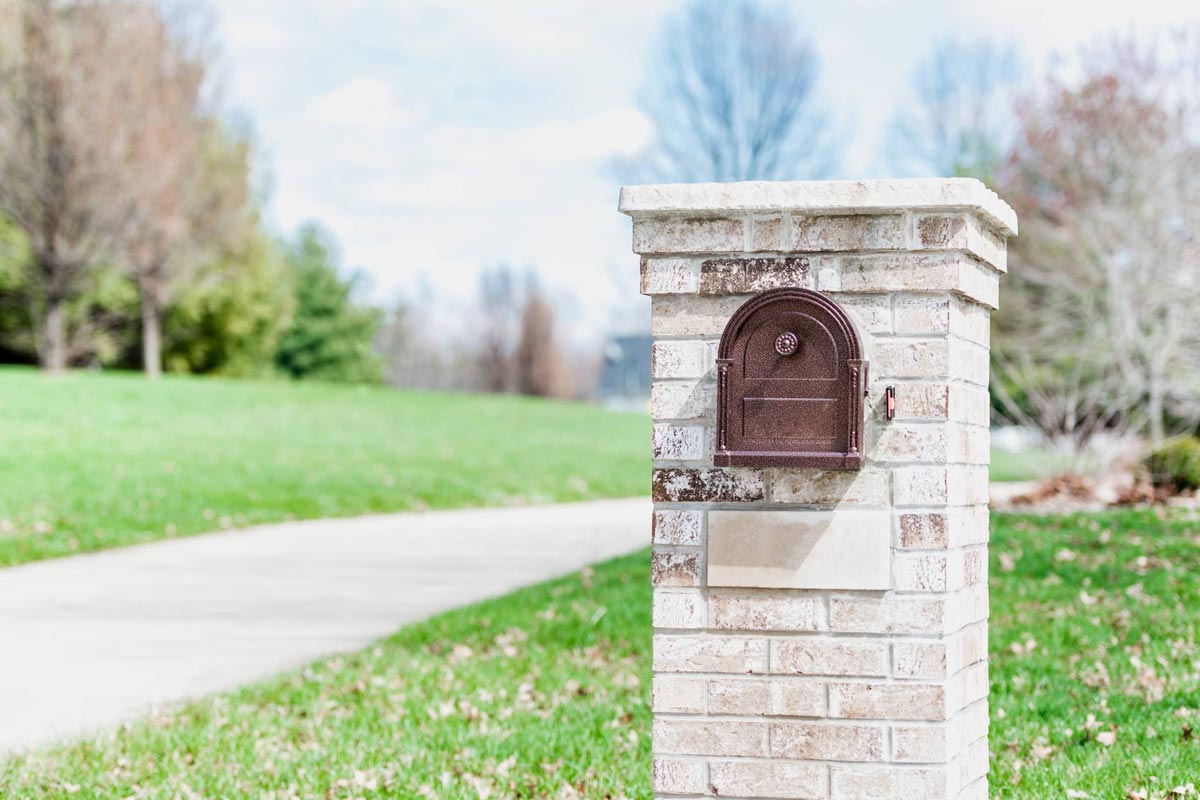
Replacing a mailbox in a brick structure can seem like a daunting task, but with the right tools and a clear plan, it can be a straightforward and rewarding project. Whether your old mailbox has seen better days or you simply want to upgrade to a new design, knowing how to replace a mailbox in brick is a valuable skill for any homeowner.
In this guide, we will walk you through the step-by-step process of removing the old mailbox, preparing the brick surface, and installing the new mailbox securely. By following these instructions, you can ensure that your new mailbox not only complements the aesthetic of your home but also stands the test of time.
So, roll up your sleeves, gather your tools, and let’s get started on giving your home’s exterior a fresh and functional update.
Key Takeaways:
- Replacing a mailbox in a brick structure is a manageable project that enhances your home’s curb appeal. With the right tools and steps, you can upgrade to a new, stylish mailbox that complements your home’s aesthetic.
- By following the detailed process of removing the old mailbox, preparing the brick surface, and securely installing the new mailbox, you can gain valuable skills and transform your home’s exterior with confidence.
Read more: How To Build A Brick Mailbox
Step 1: Gather Materials and Tools
Before diving into the mailbox replacement project, it’s essential to gather all the necessary materials and tools. Here’s what you’ll need:
Materials:
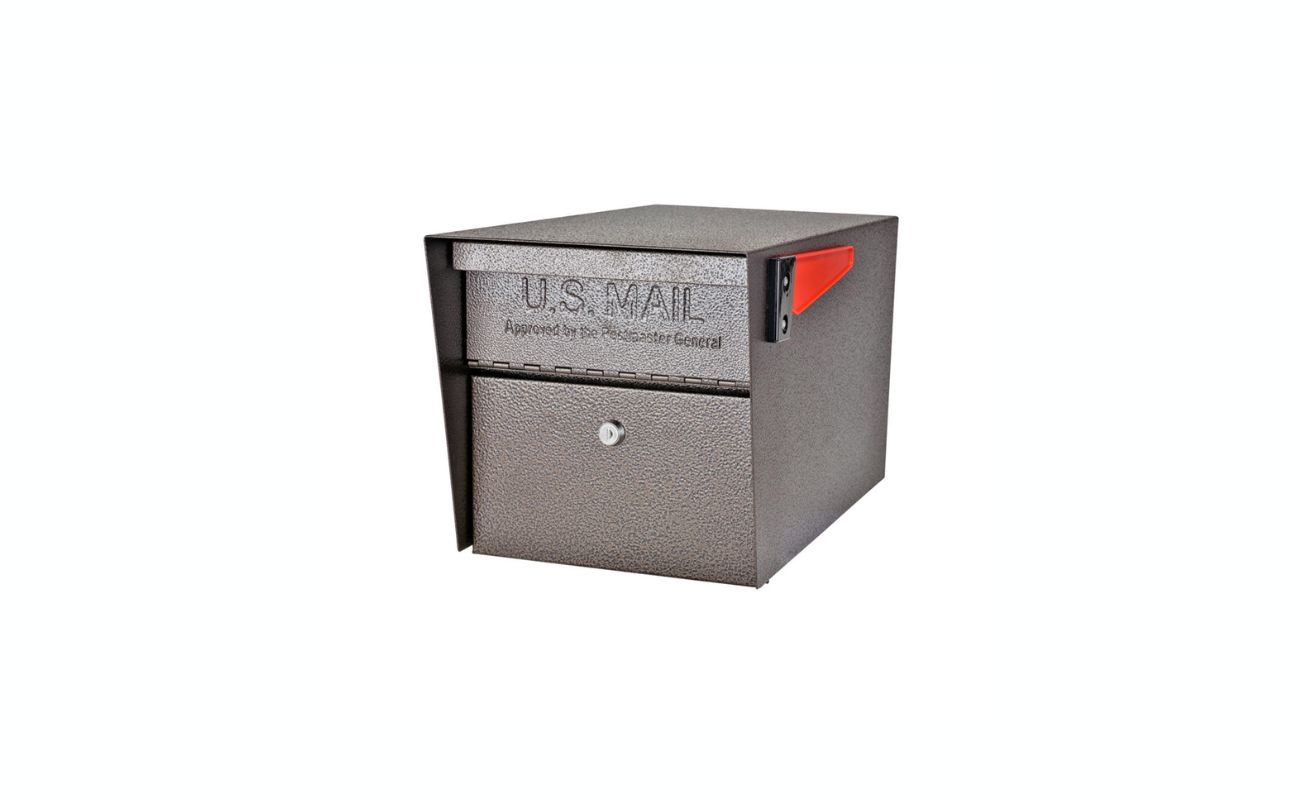
- A new mailbox
- Brick cleaner or mild detergent
- Waterproof construction adhesive
- Concrete mix or mortar
- Corrosion-resistant screws or masonry anchors
- Protective gloves
- Safety goggles
Tools:
- Work gloves
- Flathead screwdriver
- Wire brush
- Adjustable wrench
- Level
- Drill with masonry bit
- Trowel
- Bucket
- Watering can or hose
Having these materials and tools on hand will ensure a smooth and efficient mailbox replacement process. Additionally, it’s crucial to prioritize safety by wearing protective gear, especially when working with cleaning agents and tools that produce debris.
With everything assembled, you’re now ready to move on to the next step: removing the old mailbox.
Step 2: Remove Old Mailbox
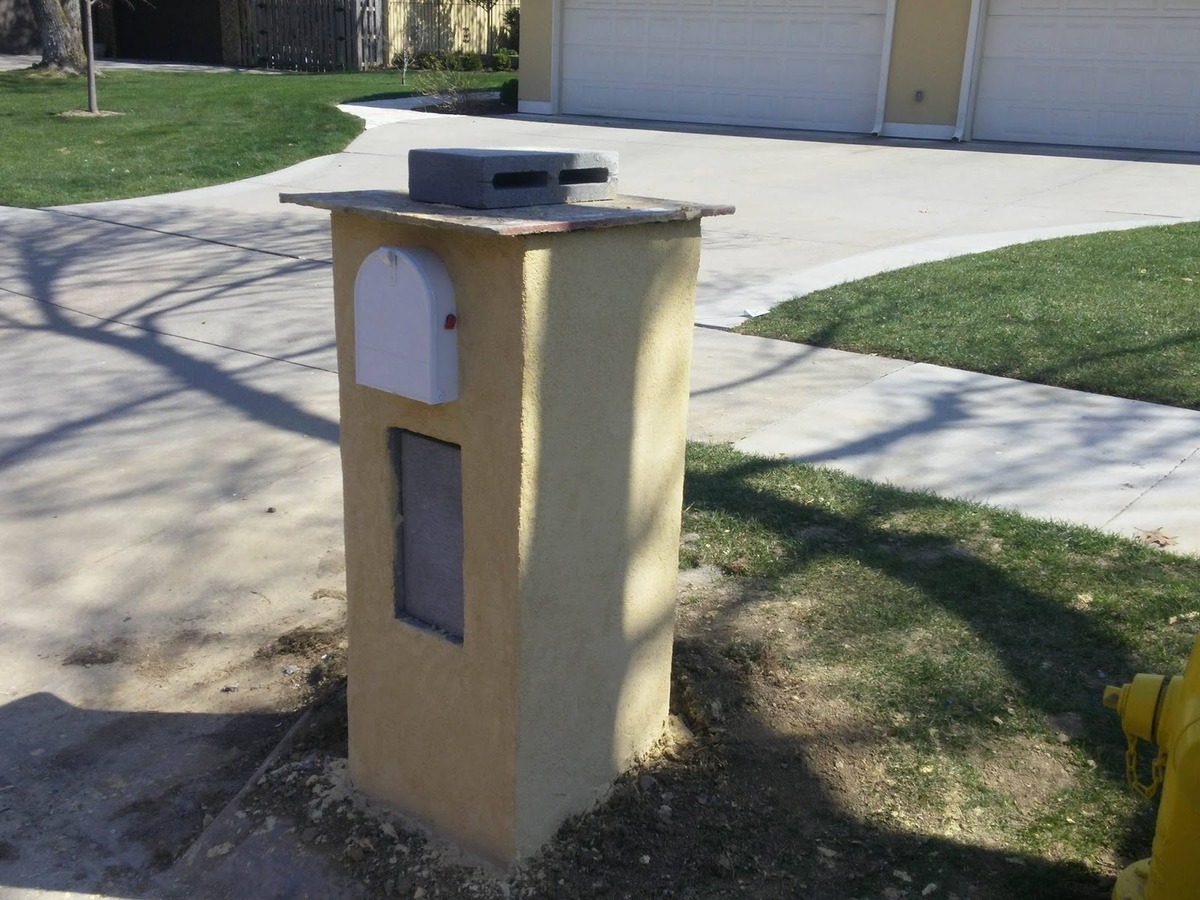
Removing the old mailbox is the first tangible step in the process of replacing it with a new one. Here’s a comprehensive guide on how to go about it:
1. Turn off the Mail Service: Contact your local postal service to suspend mail delivery temporarily while you work on the mailbox replacement. This will prevent any disruption or potential damage to your mail during the project.
2. Detach the Mailbox: Use a screwdriver to remove any screws or bolts securing the old mailbox to the brick structure. If the mailbox is embedded in mortar, carefully chisel away the mortar to free the mailbox from the brick.
3. Clean the Area: Once the old mailbox is removed, clean the brick surface around the installation area. Use a wire brush to remove any residual mortar, dirt, or debris. For stubborn stains, consider using a brick cleaner or a mild detergent solution.
4. Inspect the Brick Surface: Take this opportunity to inspect the brick surface for any damage or deterioration. If you notice any issues such as loose bricks or mortar, address them before proceeding with the installation of the new mailbox.
By following these steps, you can safely and effectively remove the old mailbox, leaving the installation area clean and ready for the next phase of the project. With the old mailbox out of the way, you’re one step closer to enhancing your home’s curb appeal with a new, stylish mailbox.
Read more: How To Replace Siding With Brick
Step 3: Prepare the Brick Surface
Preparing the brick surface is crucial for ensuring a secure and long-lasting installation of the new mailbox. Follow these steps to get the brick surface ready:
1. Clean the Surface: Thoroughly clean the area where the new mailbox will be installed. Use a wire brush to remove any remaining debris, dirt, or loose mortar. For any stubborn stains, consider using a brick cleaner or a mild detergent solution. Rinse the area with water and allow it to dry completely.
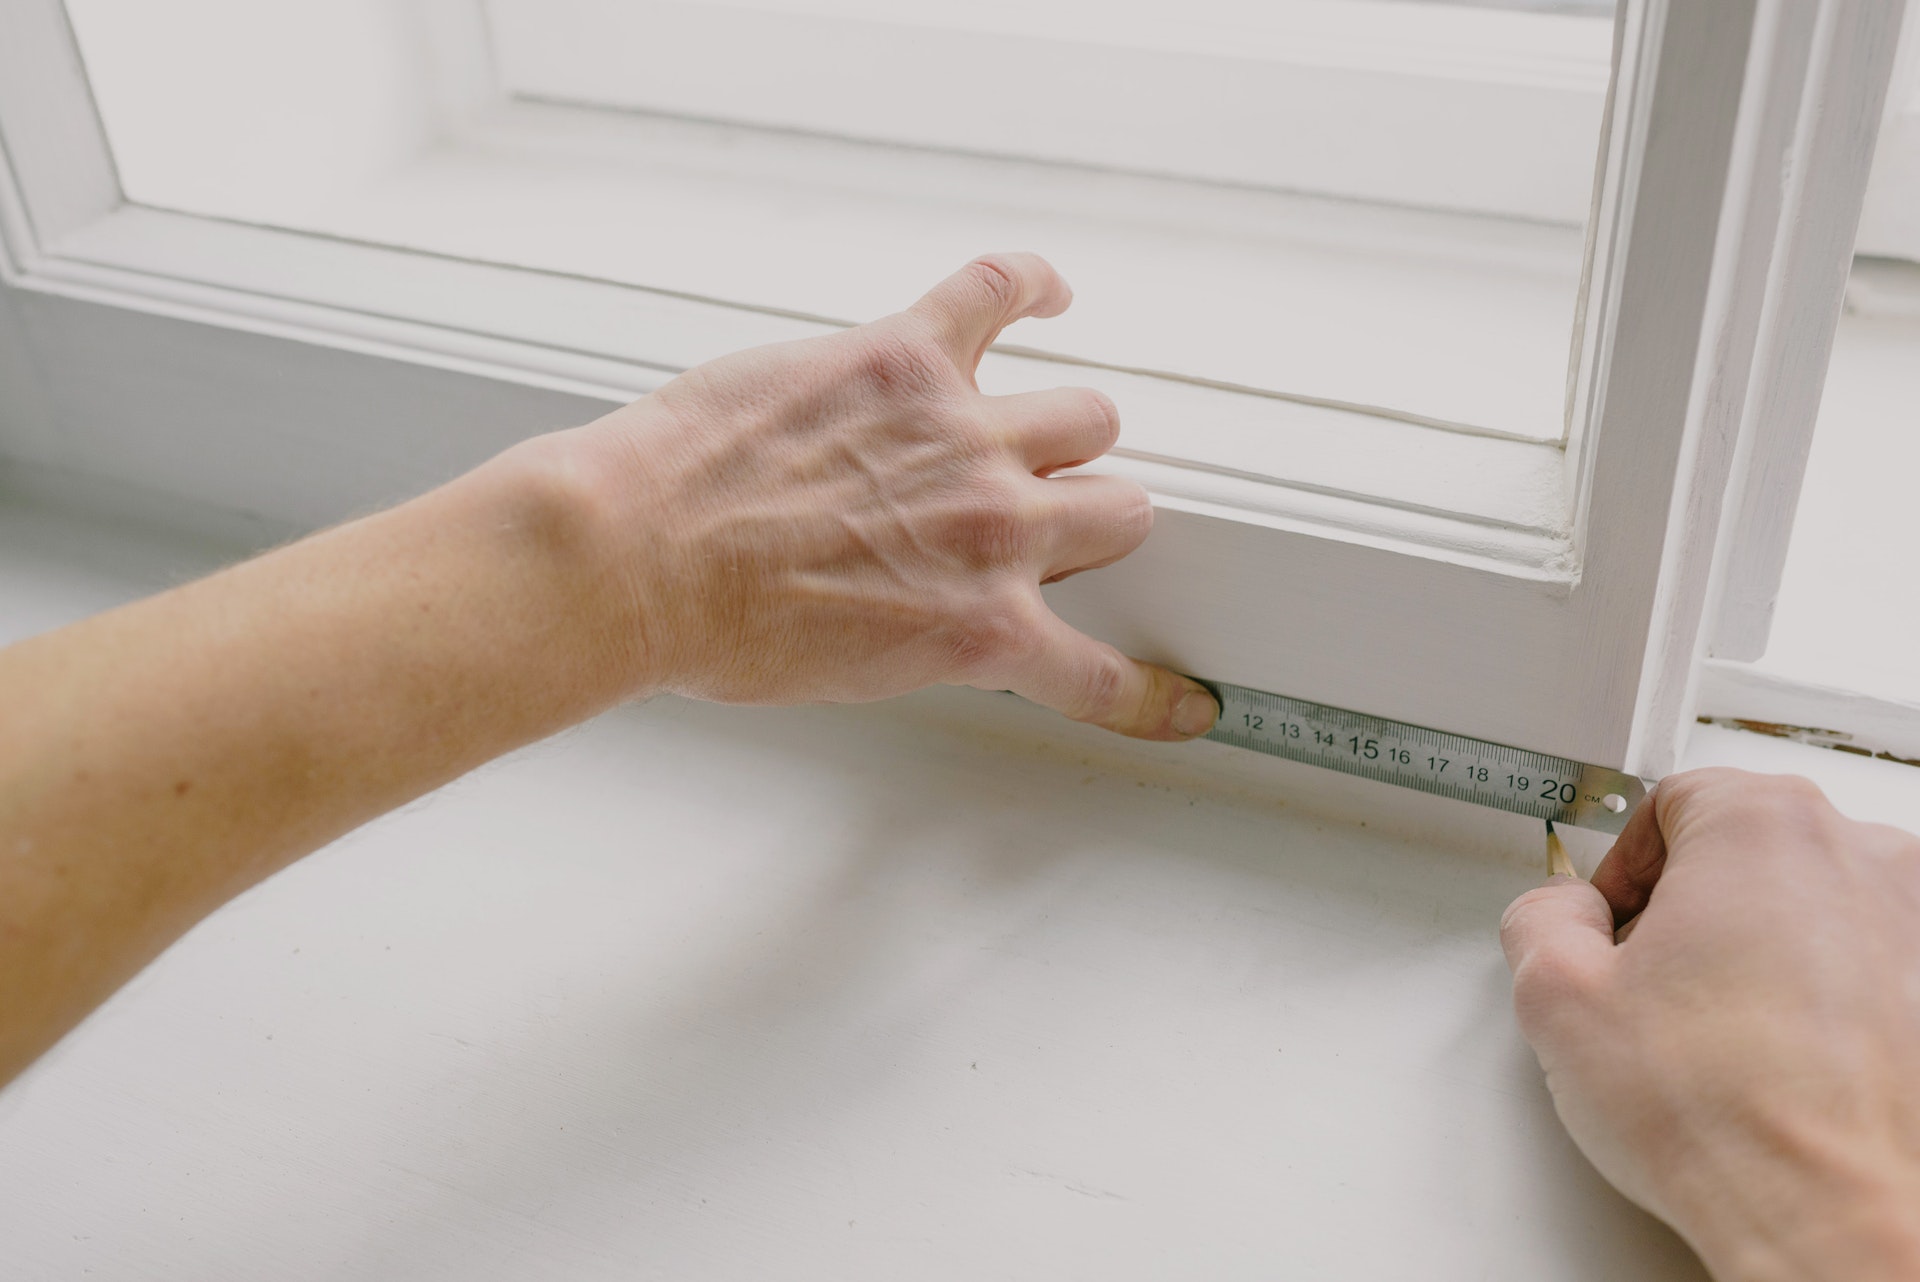
2. Level the Installation Area: Use a level to ensure that the surface where the new mailbox will be mounted is perfectly level and plumb. This step is essential for the stability and aesthetic appeal of the mailbox once installed.
3. Apply Waterproof Adhesive: To enhance the bond between the brick and the new mailbox, apply a waterproof construction adhesive to the back of the mailbox. This adhesive will help secure the mailbox to the brick surface, providing additional support along with mechanical fasteners.
4. Prepare Mortar or Concrete Mix (if necessary): If the new mailbox requires a base or additional support, mix concrete or mortar according to the manufacturer’s instructions. Ensure that the consistency is appropriate for the intended application and use a trowel to apply the mixture as needed.
By meticulously preparing the brick surface, you can lay the groundwork for a successful and durable installation of the new mailbox. Taking the time to clean, level, and reinforce the installation area will contribute to the overall quality and longevity of the mailbox setup.
Step 4: Install the New Mailbox
With the brick surface prepared, it’s time to proceed with the installation of the new mailbox. Follow these steps to ensure a secure and visually appealing setup:
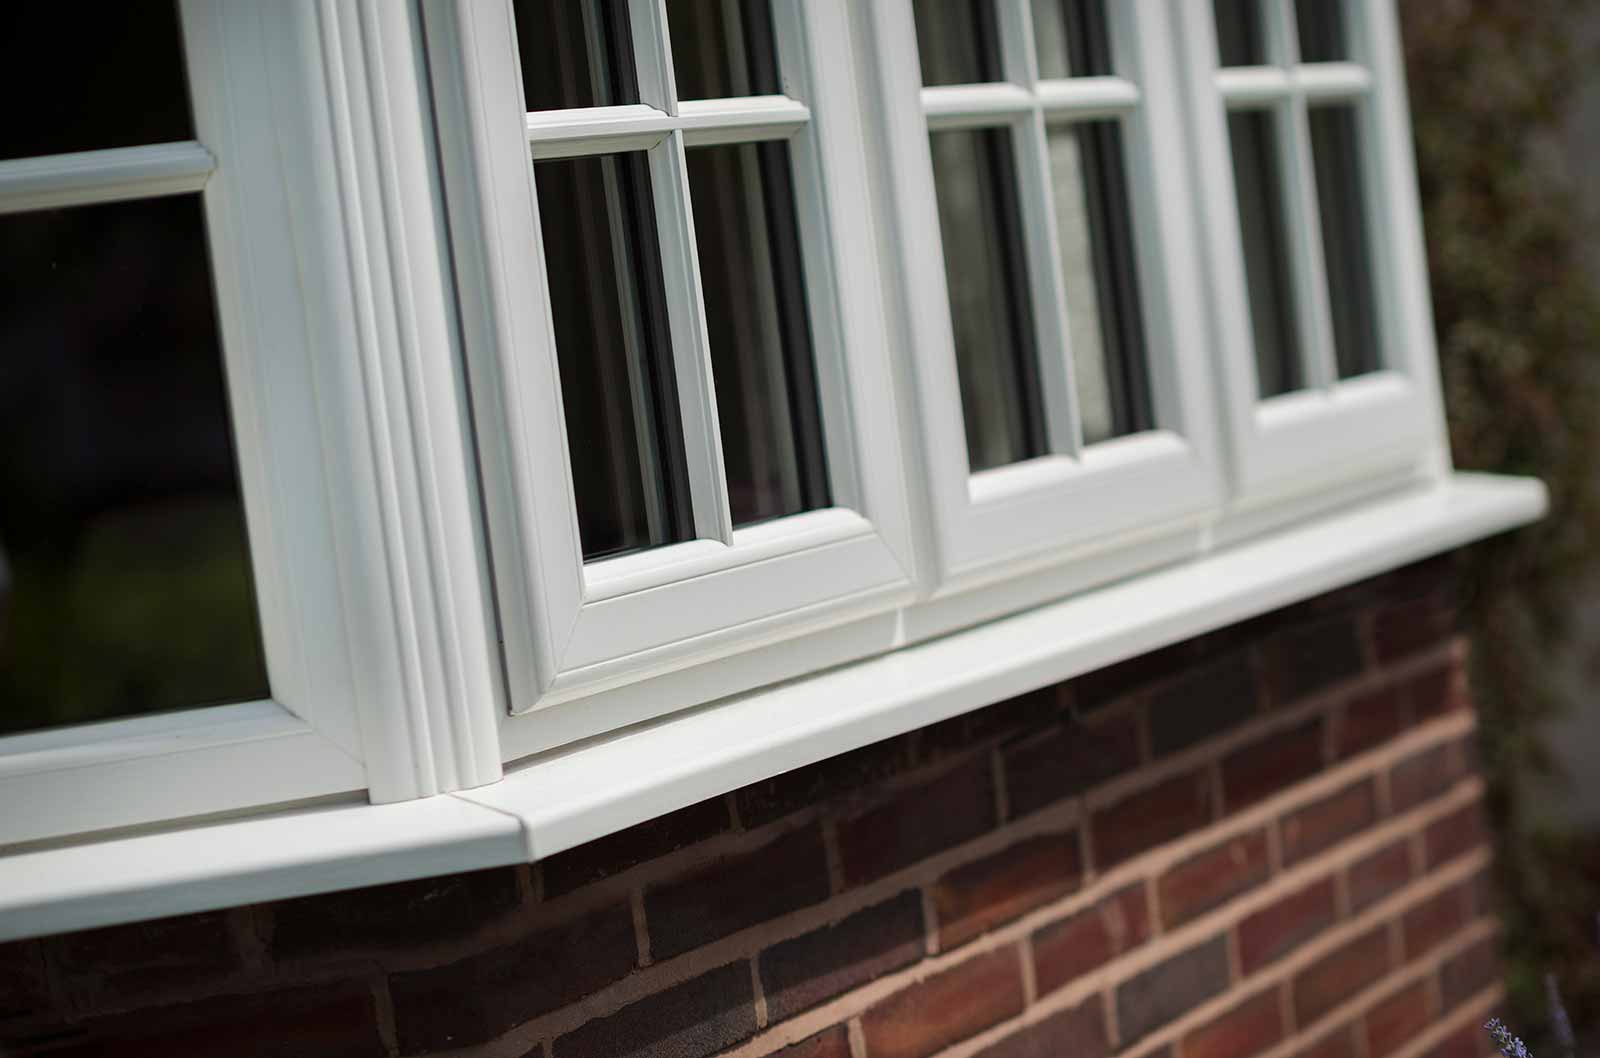
1. Position the Mailbox: Carefully position the new mailbox against the cleaned and leveled brick surface. Ensure that it is aligned and centered according to your preference and any local regulations regarding mailbox placement.
2. Secure the Mailbox: If the new mailbox is designed with pre-drilled mounting holes, use corrosion-resistant screws or masonry anchors to fasten it to the brick surface. Alternatively, if the mailbox lacks pre-drilled holes, use a drill with a masonry bit to create the necessary holes for secure attachment.
3. Check for Stability: Once the mailbox is attached to the brick, gently test its stability and alignment. Make any necessary adjustments to ensure that the mailbox is securely and aesthetically affixed to the brick surface.
4. Add Decorative Touches (if desired): Depending on the design of the new mailbox, you may have the option to add decorative elements or personal touches. This could include house numbers, a decorative emblem, or a personalized nameplate to enhance the visual appeal of the mailbox.
By meticulously following these steps, you can successfully install the new mailbox, elevating the functionality and curb appeal of your home’s exterior. With the mailbox securely in place, the final step involves ensuring its long-term stability against the brick surface.
When replacing a mailbox in brick, use a masonry drill bit to remove the old screws and anchors. Then, use a hammer drill to create new holes for the screws and anchors of the new mailbox. Make sure to use masonry screws and anchors to secure the new mailbox firmly in place.
Step 5: Secure the Mailbox to the Brick
Securing the mailbox to the brick is crucial for its long-term stability and durability. Follow these steps to ensure that your newly installed mailbox remains firmly attached to the brick surface:
1. Apply Waterproof Adhesive (if applicable): If the new mailbox features a flat back surface, apply a bead of waterproof construction adhesive to the back before mounting it to the brick. This adhesive will provide additional reinforcement and help guard against potential movement over time.
2. Inspect the Fasteners: Double-check the fasteners used to secure the mailbox to the brick, ensuring that they are tightened securely. If any screws or anchors appear loose, tighten them as needed to prevent the mailbox from shifting or becoming unstable.
3. Weatherproof the Installation: Consider applying a weatherproof sealant or coating around the edges of the mailbox where it meets the brick surface. This extra layer of protection can help prevent water infiltration and protect the integrity of the installation over time.
4. Evaluate Stability: Once the mailbox is fully secured to the brick, test its stability by gently applying pressure and ensuring that it remains firmly in place. Address any signs of movement or instability promptly to prevent potential damage to the brick or the mailbox itself.
By taking these measures to secure the mailbox to the brick, you can enhance its resilience against the elements and ensure that it remains a steadfast and reliable fixture of your home’s exterior. With the mailbox firmly anchored, your mailbox replacement project is now complete, and your home exudes a fresh and inviting curb appeal.
Conclusion
Replacing a mailbox in a brick structure may initially seem like a daunting task, but with the right approach and attention to detail, it becomes a manageable and rewarding project. By following the steps outlined in this guide, you have successfully navigated the process of upgrading your home’s mailbox, enhancing both its functionality and visual appeal.
From gathering the necessary materials and tools to meticulously preparing the brick surface, each step has contributed to the seamless installation of your new mailbox. The careful removal of the old mailbox, thorough cleaning and leveling of the brick surface, and secure installation of the new mailbox have collectively transformed the exterior of your home.
As a result of your efforts, your home now boasts a freshly installed mailbox that not only complements its architectural charm but also serves as a practical and durable feature. Whether you opted for a classic design or a modern twist, your new mailbox stands as a testament to your attention to detail and commitment to maintaining your home’s exterior aesthetics.
Moreover, the process of replacing a mailbox in a brick structure has equipped you with valuable skills and knowledge that can be applied to future home improvement projects. The confidence gained from successfully completing this endeavor can inspire you to take on additional tasks, further enhancing your home and surroundings.
As you step back and admire the newly installed mailbox, take pride in the transformation you have brought to your home’s exterior. Not only does it reflect your dedication to maintaining a welcoming and well-cared-for property, but it also serves as a point of pride within your neighborhood.
Congratulations on completing this project, and may your new mailbox stand as a symbol of the care and attention you invest in your home.
Frequently Asked Questions about How To Replace A Mailbox In Brick
Was this page helpful?
At Storables.com, we guarantee accurate and reliable information. Our content, validated by Expert Board Contributors, is crafted following stringent Editorial Policies. We're committed to providing you with well-researched, expert-backed insights for all your informational needs.


0 thoughts on “How To Replace A Mailbox In Brick”