Home>Construction & Tools>Building Materials>How To Attach A Downspout To A Brick House
Building Materials
How To Attach A Downspout To A Brick House
Modified: October 20, 2024
Learn how to properly attach a downspout to a brick house using the right building materials. Follow our step-by-step guide for a secure and durable installation.
(Many of the links in this article redirect to a specific reviewed product. Your purchase of these products through affiliate links helps to generate commission for Storables.com, at no extra cost. Learn more)
Introduction
When it comes to protecting your home from water damage, a properly installed downspout is a crucial component of your drainage system. Attaching a downspout to a brick house requires careful planning and the right tools to ensure a secure and long-lasting installation. Whether you're replacing an old downspout or installing a new one, this step-by-step guide will walk you through the process, empowering you to tackle this project with confidence.
A downspout serves as the conduit for directing rainwater away from your home's foundation, preventing potential structural issues and water seepage. When attaching a downspout to a brick house, it's essential to consider the durability and weight-bearing capacity of the brick, as well as the aesthetics of the installation. By following the proper steps and using the appropriate materials and tools, you can achieve a functional and visually appealing downspout attachment that complements the architectural integrity of your brick house.
In this comprehensive guide, we will explore the materials and tools needed for the project, along with a detailed breakdown of each step, from determining the downspout placement to securely installing it on the brick surface. By the end of this article, you will have the knowledge and confidence to successfully attach a downspout to your brick house, contributing to the protection and longevity of your home's exterior. Let's dive into the essential elements and steps required to accomplish this task effectively.
Key Takeaways:
- Protect Your Home
Attaching a downspout to a brick house safeguards your home from water damage by directing rainwater away from the foundation, preventing structural issues and water seepage. - Secure and Enhance
Careful planning and precise execution ensure a stable and visually appealing downspout installation, contributing to the protection and preservation of your brick house’s exterior.
Read more: How To Attach Downspout To Brick
Materials Needed
Before embarking on the task of attaching a downspout to a brick house, it’s essential to gather the necessary materials to ensure a smooth and efficient installation process. Here’s a list of the materials you will need:
- Downspout
- Brackets or straps
- Screws or anchors
- Silicone caulk or waterproof sealant
- Level
- Measuring tape
- Marker or chalk
- Protective gloves
- Safety goggles
- Cleaning brush or cloth
- Optional: Paint or finish for brackets to match the house exterior
These materials are essential for securely attaching the downspout to the brick surface while ensuring proper alignment and protection against water infiltration. The choice of downspout material, such as aluminum, copper, or vinyl, depends on your preference and the architectural style of your home. Additionally, selecting the appropriate brackets or straps is crucial for providing adequate support and stability for the downspout attachment.
Ensuring the availability of these materials before starting the project will streamline the installation process and minimize interruptions, allowing you to focus on achieving a durable and visually appealing downspout attachment to your brick house.
Tools Needed
Equipping yourself with the right tools is essential for successfully attaching a downspout to a brick house. The following tools will facilitate the installation process and ensure precision and safety throughout the project:
- Power drill with masonry drill bits
- Screwdriver or screw gun
- Adjustable wrench
- Caulking gun
- Hammer
- Ladder or step stool
- Level
- Measuring tape
- Protective gloves
- Safety goggles
- Cleaning brush or cloth
The Power drill with masonry drill bits is crucial for creating precise holes in the brick to accommodate the fasteners for the downspout brackets or straps. Additionally, the screwdriver or screw gun will be used to secure the brackets or straps to the wall, providing the necessary support for the downspout attachment. An adjustable wrench may be required for specific types of brackets or fasteners, ensuring a secure and stable connection to the brick surface.
Using a caulking gun, you can apply silicone caulk or waterproof sealant to seal around the drilled holes, preventing water penetration and enhancing the longevity of the installation. Safety goggles and protective gloves are essential for personal protection during drilling and handling of materials, while a level and measuring tape will aid in achieving accurate alignment and placement of the downspout and brackets.
Having these tools readily available will streamline the installation process and contribute to the overall success of attaching a downspout to your brick house, allowing you to approach the project with confidence and efficiency.
Step 1: Determine Downspout Placement
Before initiating the installation process, it’s crucial to carefully determine the optimal placement of the downspout on your brick house. Several factors should be considered to ensure both functionality and visual appeal:
- Water Drainage: Assess the natural flow of rainwater around your home to identify the most effective location for the downspout. It should be positioned to efficiently direct water away from the foundation, preventing potential water damage and erosion.
- Aesthetics: Consider the architectural elements and exterior design of your brick house. The downspout placement should harmonize with the overall aesthetic, integrating seamlessly with the facade while maintaining a visually pleasing appearance.
- Structural Integrity: Evaluate the structural strength of the brick wall to ensure that it can support the weight of the downspout and withstand the installation process. Avoid areas with potential obstructions or structural vulnerabilities.
- Accessibility: Choose a location that allows for easy maintenance and cleaning of the downspout, ensuring unobstructed water flow and facilitating future upkeep.
Once these considerations have been taken into account, mark the precise placement of the downspout on the brick surface using a marker or chalk. Ensure that the chosen location meets the aforementioned criteria, aligning with both functional and aesthetic requirements. This deliberate approach to determining downspout placement sets the foundation for a successful and effective installation, addressing both practical and visual aspects of the project.
Step 2: Mark Drill Holes
After determining the ideal placement for the downspout, the next crucial step is to mark the precise locations for drilling the holes in the brick to accommodate the fasteners for the downspout brackets or straps. This process requires accuracy and attention to detail to ensure a secure and stable attachment.
Using a measuring tape and a level, measure and mark the positions for the drill holes on the brick surface. It’s essential to maintain proper alignment and spacing to facilitate the even distribution of weight and support for the downspout. Take into account the dimensions of the brackets or straps and the specific requirements for the chosen downspout material to determine the appropriate hole placement.
When marking the drill holes, consider the following guidelines:
- Even Spacing: Ensure uniform spacing between the drill holes to provide balanced support for the downspout and prevent strain on individual attachment points.
- Level Alignment: Use a level to confirm that the marked positions are aligned horizontally and vertically, maintaining a straight and aesthetically pleasing installation.
- Clear Markings: Make clear and visible marks on the brick surface using a marker or chalk, allowing for precise drilling without confusion or errors.
By meticulously marking the drill holes according to the specified guidelines, you establish the foundation for a secure and structurally sound attachment of the downspout to your brick house. This preparatory step sets the stage for the drilling process, ensuring that the holes are accurately positioned and ready for the next phase of the installation.
Use masonry screws and a drill to attach a downspout bracket to the brick. Make sure to use a level to ensure the downspout is straight. Then, secure the downspout to the bracket using screws.
Read more: How To Attach A Pergola To A Brick House
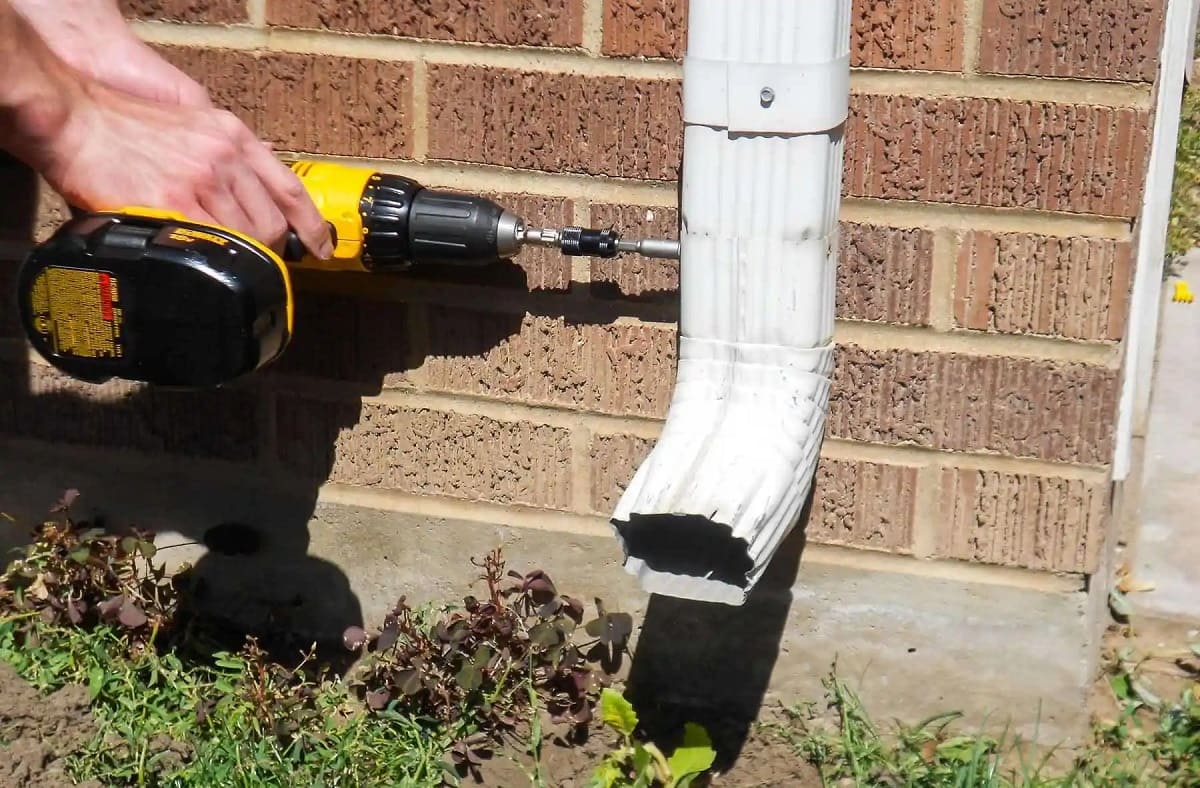
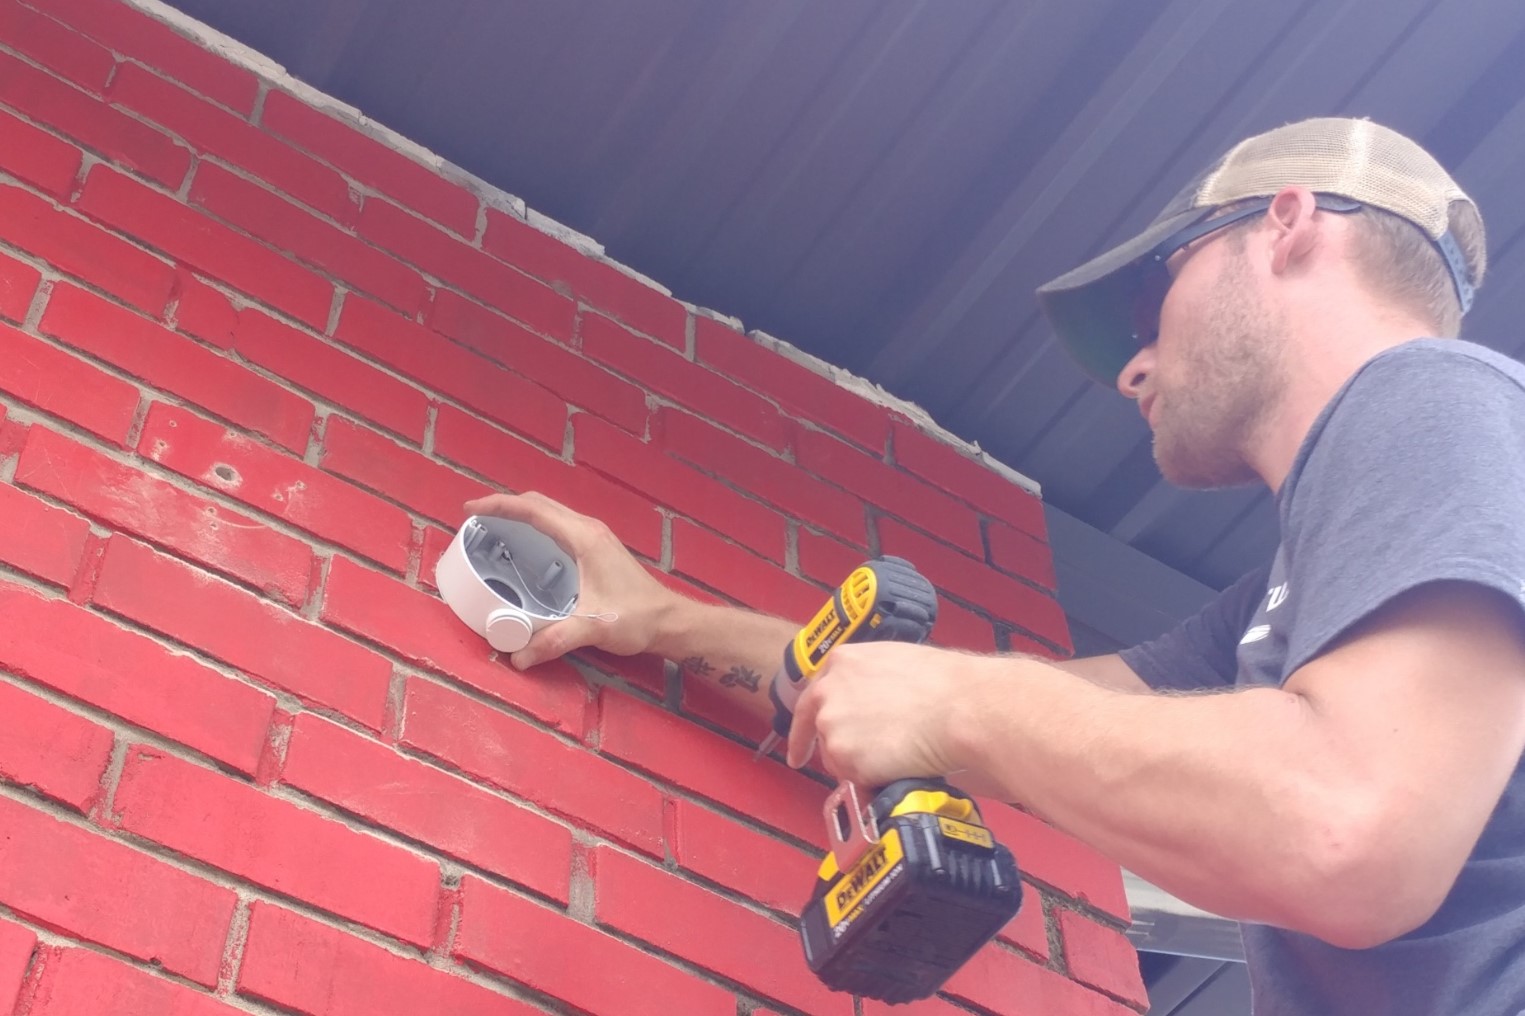
Step 3: Drill Holes in Brick
Drilling precise holes in the brick wall is a critical step in the process of attaching a downspout to your brick house. This step requires careful attention to detail and the use of the appropriate tools to ensure accurate and clean perforations in the brick surface.
Before drilling, it’s essential to select the right masonry drill bit size based on the specifications of the fasteners and brackets or straps that will be used to secure the downspout to the wall. Additionally, ensure that the power drill is set to the appropriate speed and torque for drilling into brick, as excessive force can lead to damage or imprecise holes.
When drilling the holes, follow these essential guidelines:
- Steady Pressure: Apply consistent and gentle pressure while drilling to avoid excessive force that could cause the brick to crack or splinter.
- Cooling Intervals: Periodically withdraw the drill bit to clear away debris and allow the bit to cool, preventing overheating and ensuring efficient drilling.
- Precision and Depth: Drill the holes to the required depth, ensuring that they accommodate the entire length of the fasteners for a secure and stable attachment.
- Protective Gear: Wear safety goggles to shield your eyes from debris and dust generated during the drilling process, prioritizing personal safety.
By adhering to these guidelines and exercising precision and caution, you can successfully drill clean and accurately positioned holes in the brick, preparing the wall for the secure installation of the downspout brackets or straps. This meticulous approach ensures that the drilled holes meet the necessary specifications for a durable and reliable attachment of the downspout to your brick house.
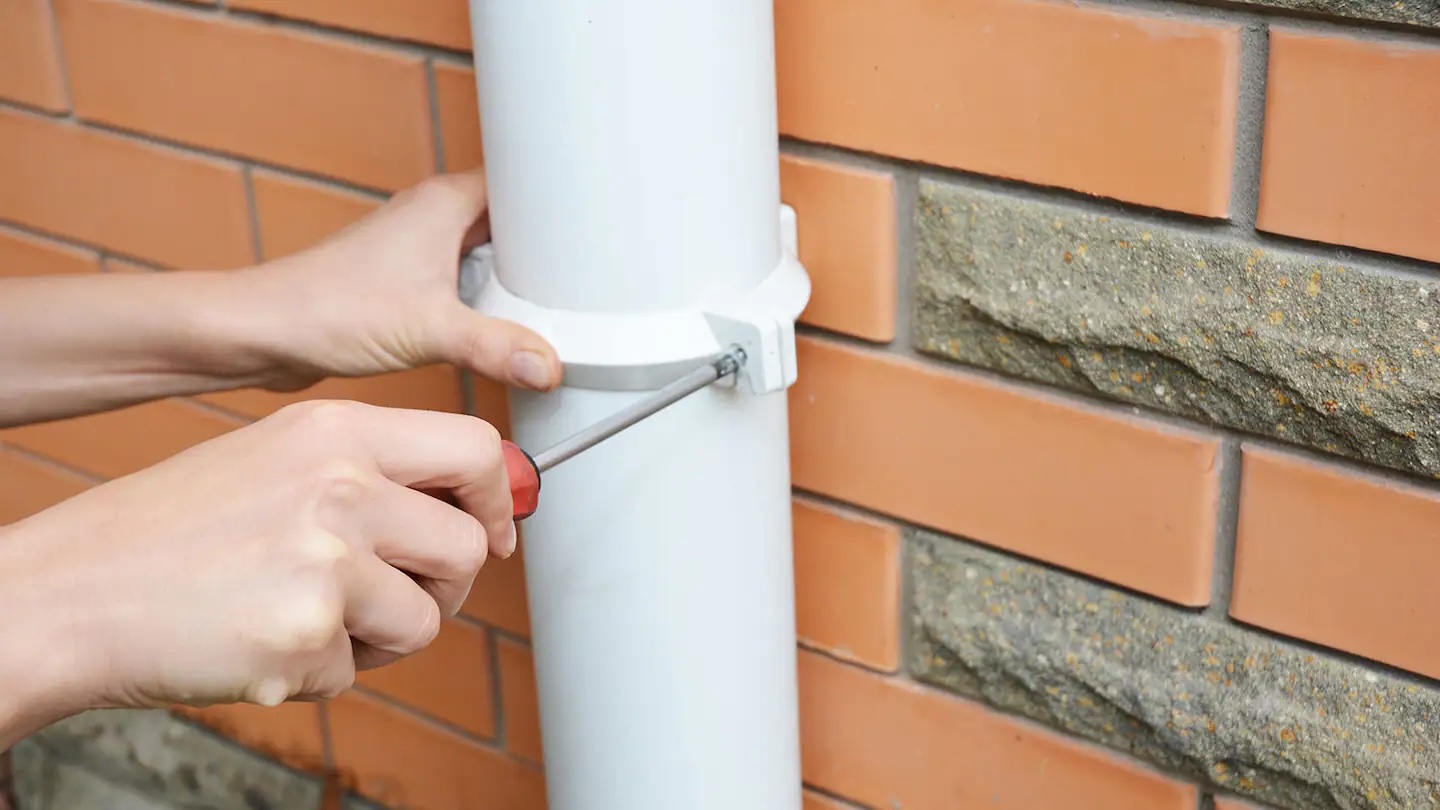
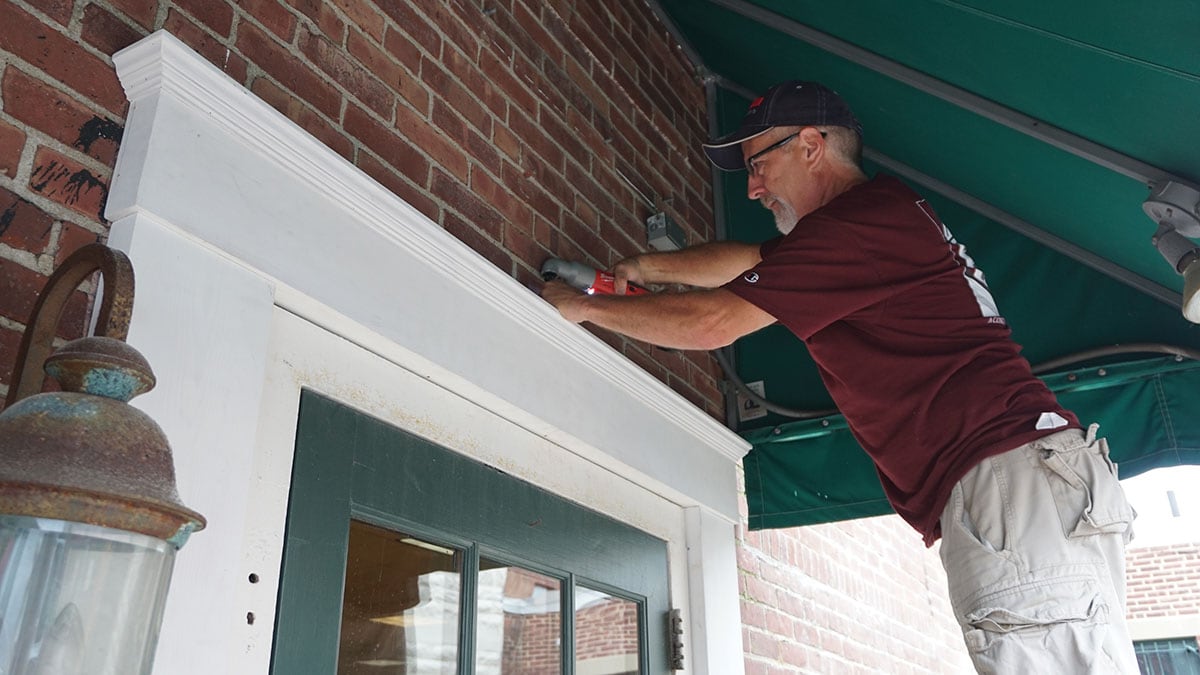
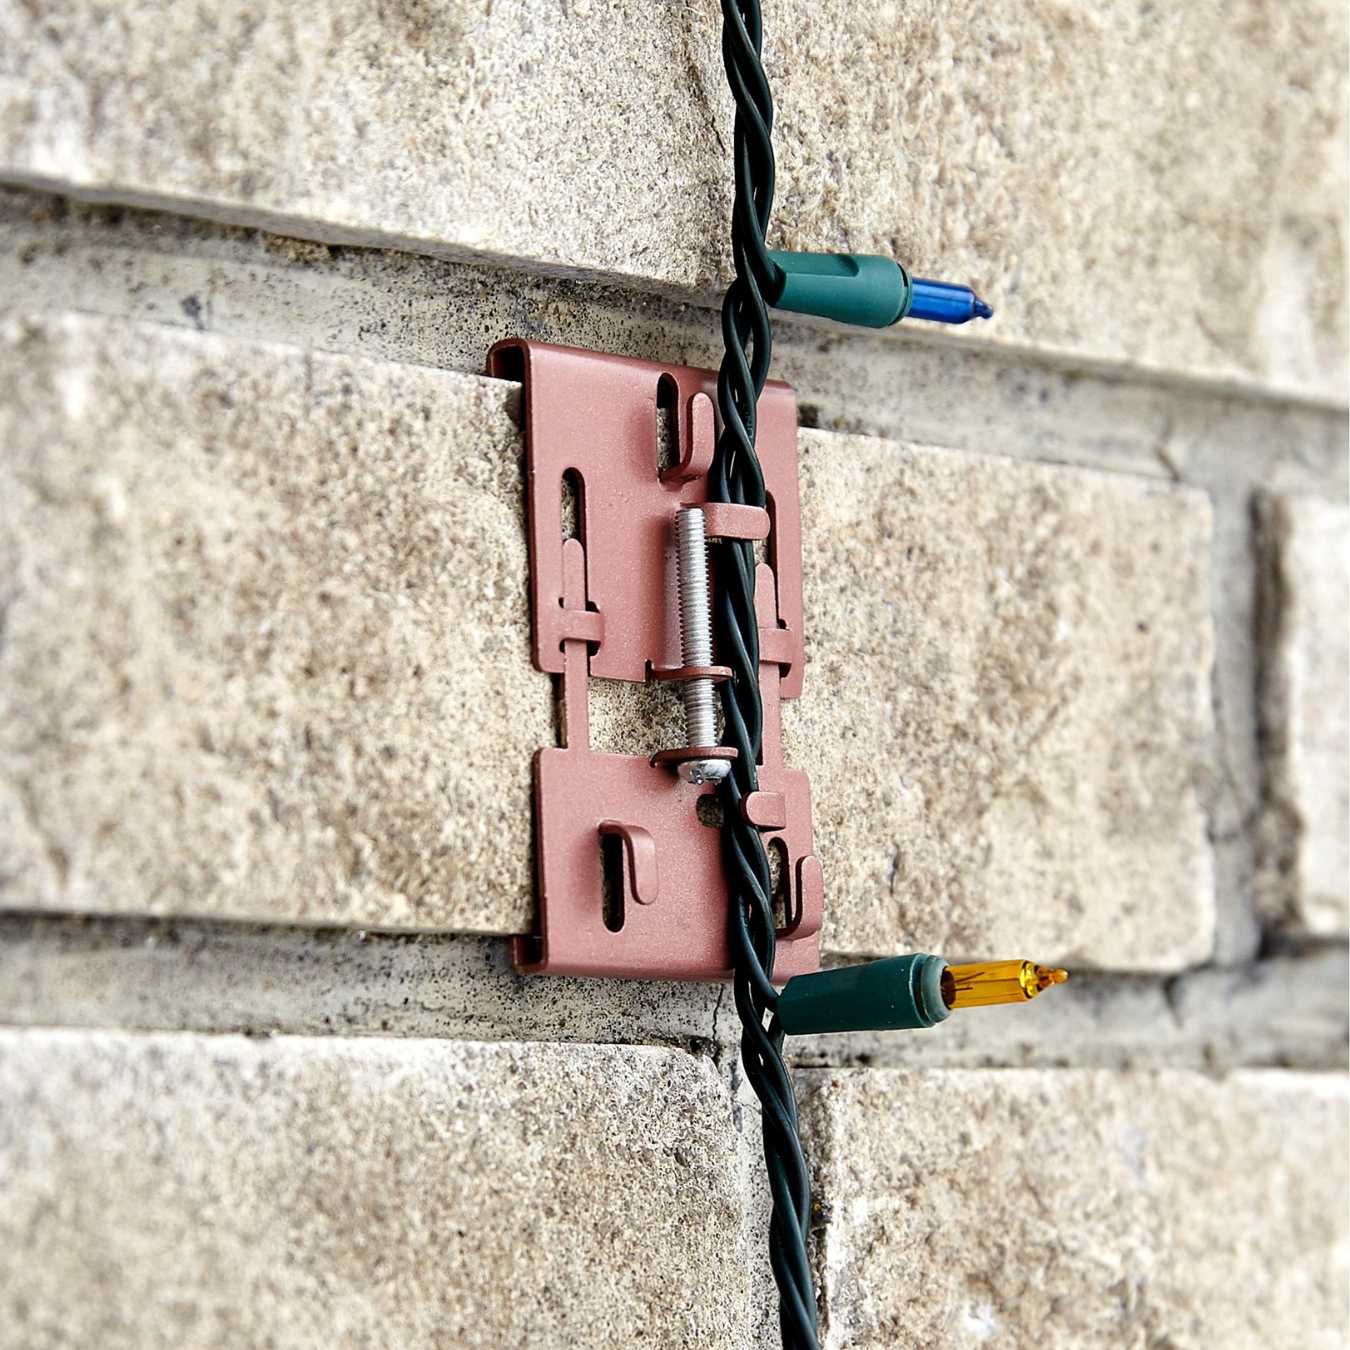
Step 4: Attach Brackets to the Wall
With the holes drilled into the brick wall, the next crucial step is to securely attach the brackets or straps that will provide the necessary support for the downspout. Properly fastening the brackets to the wall is essential for ensuring the stability and longevity of the downspout attachment, requiring attention to detail and the use of the appropriate tools.
Begin by aligning the brackets with the drilled holes, ensuring that they are positioned accurately and level on the brick surface. Depending on the type of fasteners and brackets chosen, carefully insert the screws or anchors into the drilled holes, using a screwdriver or screw gun to secure the brackets firmly to the wall. It’s essential to apply consistent pressure to ensure that the brackets are tightly fastened, providing reliable support for the downspout.
When attaching the brackets to the wall, consider the following key points:
- Secure Fastening: Ensure that the screws or anchors are tightened securely, anchoring the brackets firmly to the brick wall to withstand the weight of the downspout and environmental factors.
- Alignment and Leveling: Use a level to confirm that the brackets are aligned horizontally and vertically, maintaining a straight and aesthetically pleasing installation that complements the architectural integrity of the brick house.
- Stability and Support: Verify that the brackets are structurally sound and provide stable support for the downspout, minimizing the risk of displacement or instability over time.
By conscientiously attaching the brackets to the wall with precision and attention to detail, you establish a solid foundation for the secure installation of the downspout, ensuring that it is supported and anchored effectively to your brick house. This step sets the stage for the final phase of the installation, preparing the framework for the seamless integration of the downspout into the exterior of your home.
Step 5: Install Downspout
With the brackets securely fastened to the brick wall, the final step in attaching a downspout to a brick house involves installing the downspout onto the brackets, ensuring a stable and functional connection that effectively directs rainwater away from the home’s foundation.
Begin by positioning the downspout onto the installed brackets, ensuring a snug fit and aligning it with the predetermined downspout placement. Depending on the type of brackets used, the downspout may slide into place or be secured using additional fasteners or locking mechanisms. Confirm that the downspout is level and securely seated on the brackets, providing a seamless and visually appealing attachment to the brick house.
As you install the downspout, consider the following essential aspects:
- Alignment and Fit: Verify that the downspout aligns with the brackets and fits securely in place, maintaining a straight and uniform appearance that complements the architectural aesthetics of the brick house.
- Stability and Support: Ensure that the downspout is firmly seated on the brackets, providing stable support and withstanding environmental factors such as wind and rain without displacement.
- Sealing and Finishing: Apply silicone caulk or waterproof sealant around the brackets and drilled holes to seal any gaps and prevent water infiltration, enhancing the durability and weather resistance of the installation.
By meticulously installing the downspout onto the brackets with attention to detail and precision, you complete the attachment process, achieving a functional and visually appealing integration of the downspout into the exterior of your brick house. This final step culminates in the effective redirection of rainwater and the safeguarding of your home’s foundation, contributing to the overall protection and longevity of your property.
Conclusion
Attaching a downspout to a brick house is a significant undertaking that requires careful planning, precise execution, and the use of the right materials and tools. By following the comprehensive steps outlined in this guide, you can successfully navigate the process, achieving a secure and visually appealing downspout installation that contributes to the protection and preservation of your home.
Throughout the project, careful consideration of downspout placement, accurate marking and drilling of holes, and the secure attachment of brackets to the wall are essential elements that lay the groundwork for a successful installation. The final step of installing the downspout onto the brackets ensures a stable and functional connection that effectively directs rainwater away from the home’s foundation, safeguarding its structural integrity.
It’s crucial to approach this task with patience, attention to detail, and a focus on both functionality and aesthetics. By considering the natural flow of water, the architectural elements of your home, and the structural integrity of the brick wall, you can achieve an installation that not only serves its practical purpose but also enhances the visual appeal of your property.
As you complete the installation process, take pride in the knowledge that you have contributed to the protection and longevity of your brick house. The careful attention to detail and the precision applied in this project reflect a commitment to maintaining the integrity of your home’s exterior, ensuring that it remains resilient against the elements for years to come.
By following these steps and embracing the principles of precision and care, you can confidently attach a downspout to your brick house, enhancing its functionality and aesthetic appeal while fortifying its resilience against the forces of nature.
Frequently Asked Questions about How To Attach A Downspout To A Brick House
Was this page helpful?
At Storables.com, we guarantee accurate and reliable information. Our content, validated by Expert Board Contributors, is crafted following stringent Editorial Policies. We're committed to providing you with well-researched, expert-backed insights for all your informational needs.


0 thoughts on “How To Attach A Downspout To A Brick House”