Home>Furniture & Design>Living Room Furniture>How To Build A Dining Table Bench
Living Room Furniture
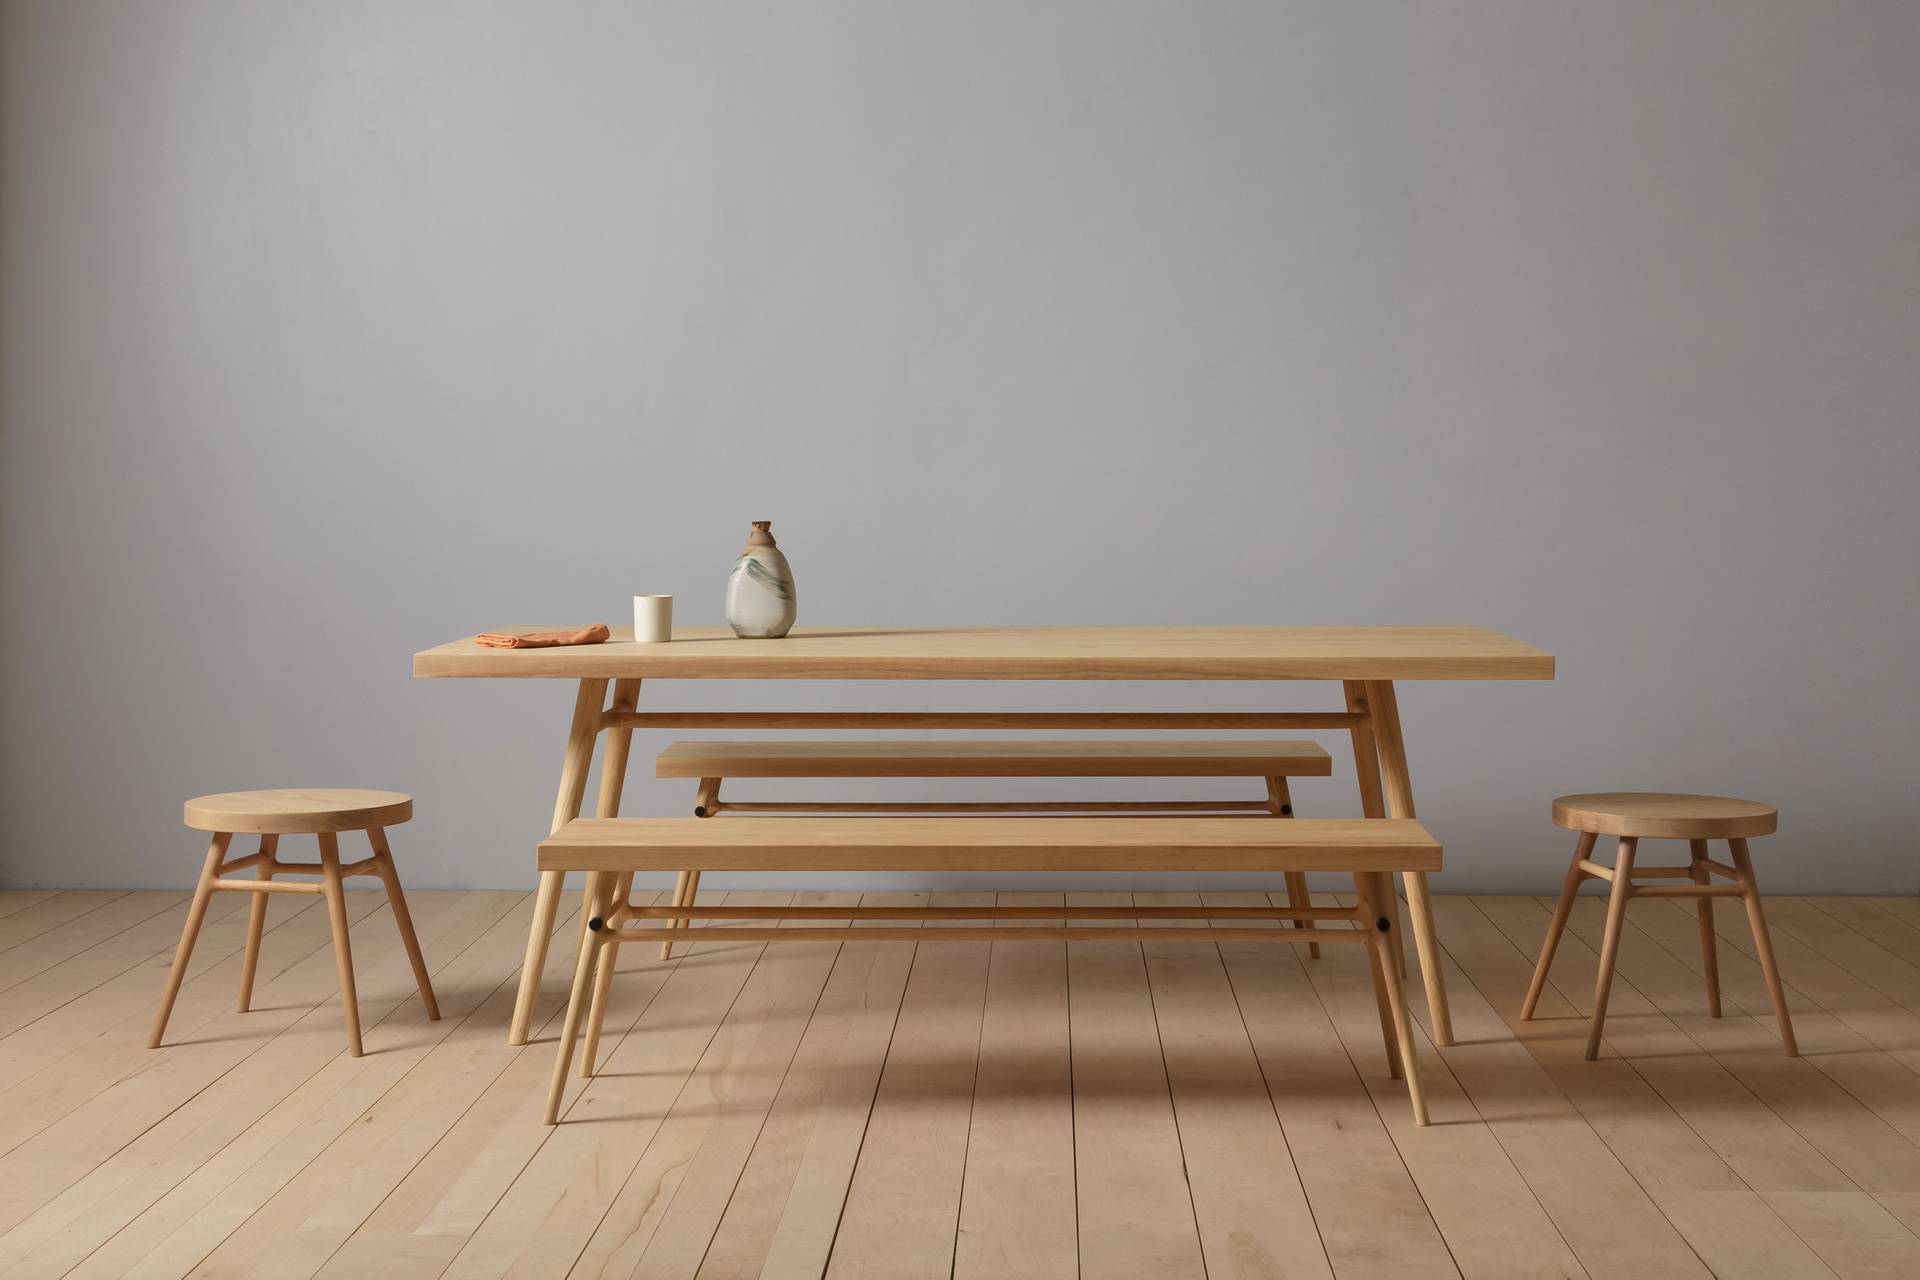
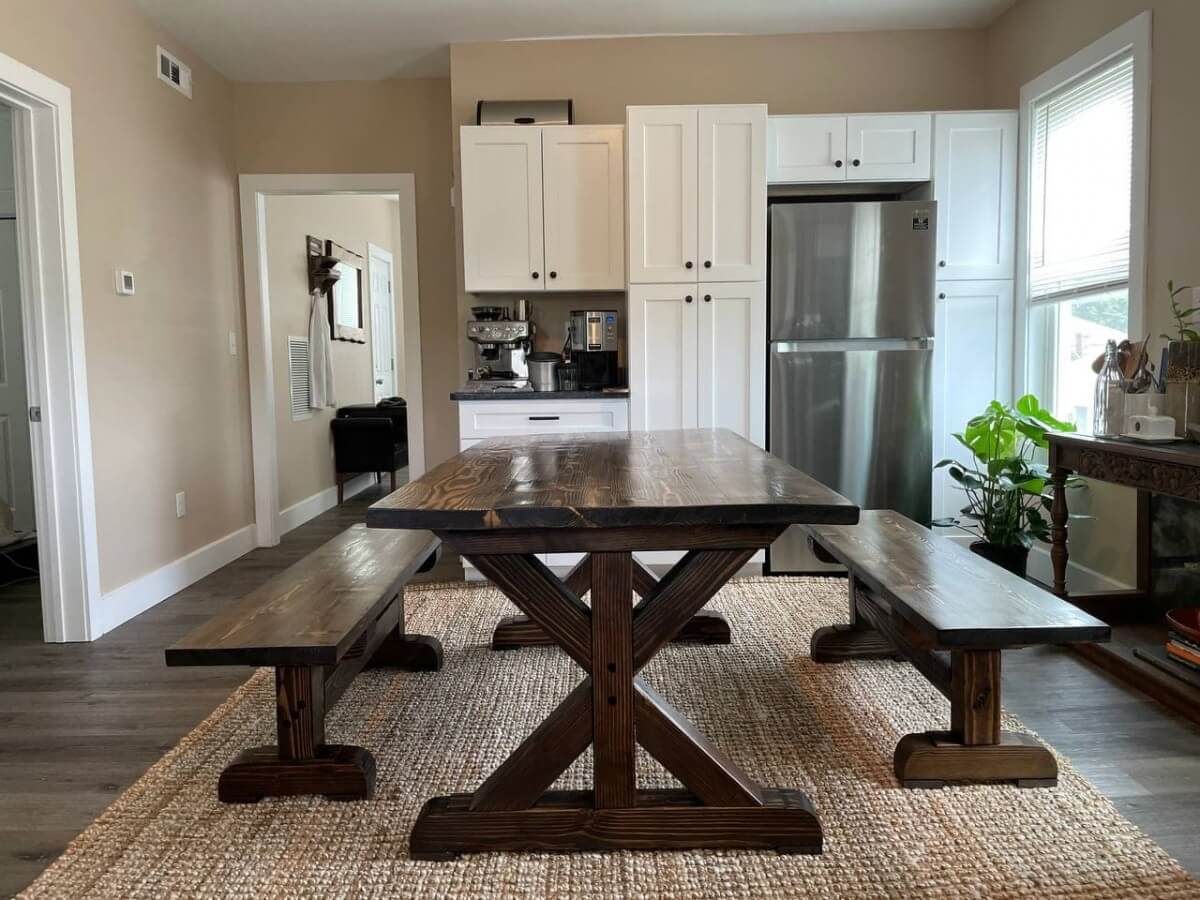
How To Build A Dining Table Bench
Published: January 4, 2024
Discover how to create a stylish and functional dining table bench for your living room with our expert furniture and design tips. Elevate your space today!
(Many of the links in this article redirect to a specific reviewed product. Your purchase of these products through affiliate links helps to generate commission for Storables.com, at no extra cost. Learn more)
Introduction
Welcome to the world of do-it-yourself furniture building! If you're looking to add a touch of charm and functionality to your dining area, building a dining table bench could be the perfect project for you. Not only does a bench provide versatile seating options, but it also adds a rustic and inviting atmosphere to your dining space.
Crafting your own dining table bench allows you to customize the size, design, and finish to perfectly complement your existing furniture and décor. Whether you're a seasoned woodworker or a novice DIY enthusiast, this project offers a rewarding and practical way to showcase your skills and creativity.
In this comprehensive guide, we'll walk you through the step-by-step process of building a sturdy and stylish dining table bench. From selecting the right materials to adding the finishing touches, you'll gain the knowledge and confidence to tackle this project with ease.
So, roll up your sleeves, gather your tools, and let's embark on this woodworking adventure together. By the end of this guide, you'll have a beautiful dining table bench that not only serves as a functional seating solution but also stands as a testament to your craftsmanship and dedication. Let's get started!
Key Takeaways:
- Building a dining table bench allows you to customize the size, design, and finish to perfectly complement your existing furniture and décor, adding a touch of charm and functionality to your dining area.
- By embracing the DIY approach to furniture building, you not only create a versatile and charming piece of furniture but also gain valuable hands-on experience in woodworking, fostering a deeper appreciation for the art of craftsmanship.
Read more: How Long Should A Dining Bench Be?
Materials and Tools
Before diving into the construction process, it’s essential to gather all the necessary materials and tools. Here’s a comprehensive list to guide you through this stage:
Materials:
- 2×4 lumber for the frame
- Wood planks for the seat
- Wood screws
- Wood glue
- Sandpaper (medium and fine grit)
- Wood finish or paint
Tools:
- Measuring tape
- Circular saw or miter saw
- Drill with screwdriver bits
- Wood clamps
- Sandpaper block or orbital sander
- Paintbrushes or a paint sprayer
These materials and tools form the foundation for constructing a durable and visually appealing dining table bench. When selecting lumber, opt for high-quality, straight boards to ensure the structural integrity and aesthetic appeal of the finished bench. Additionally, consider the dimensions of your dining table and the available space to determine the appropriate size for the bench.
With the materials and tools at your disposal, you’re well-equipped to proceed to the next phase of the project: measuring and cutting the wood to the desired specifications. This marks the beginning of the hands-on, creative journey toward crafting your own custom dining table bench.
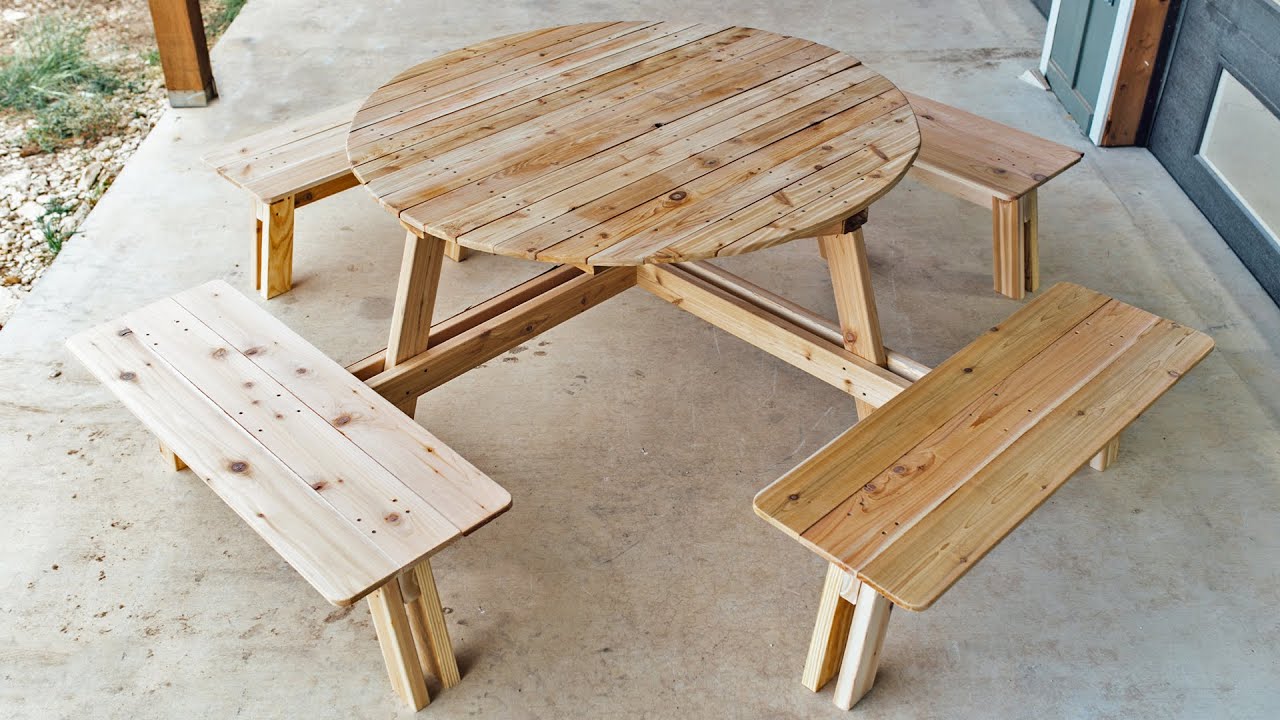
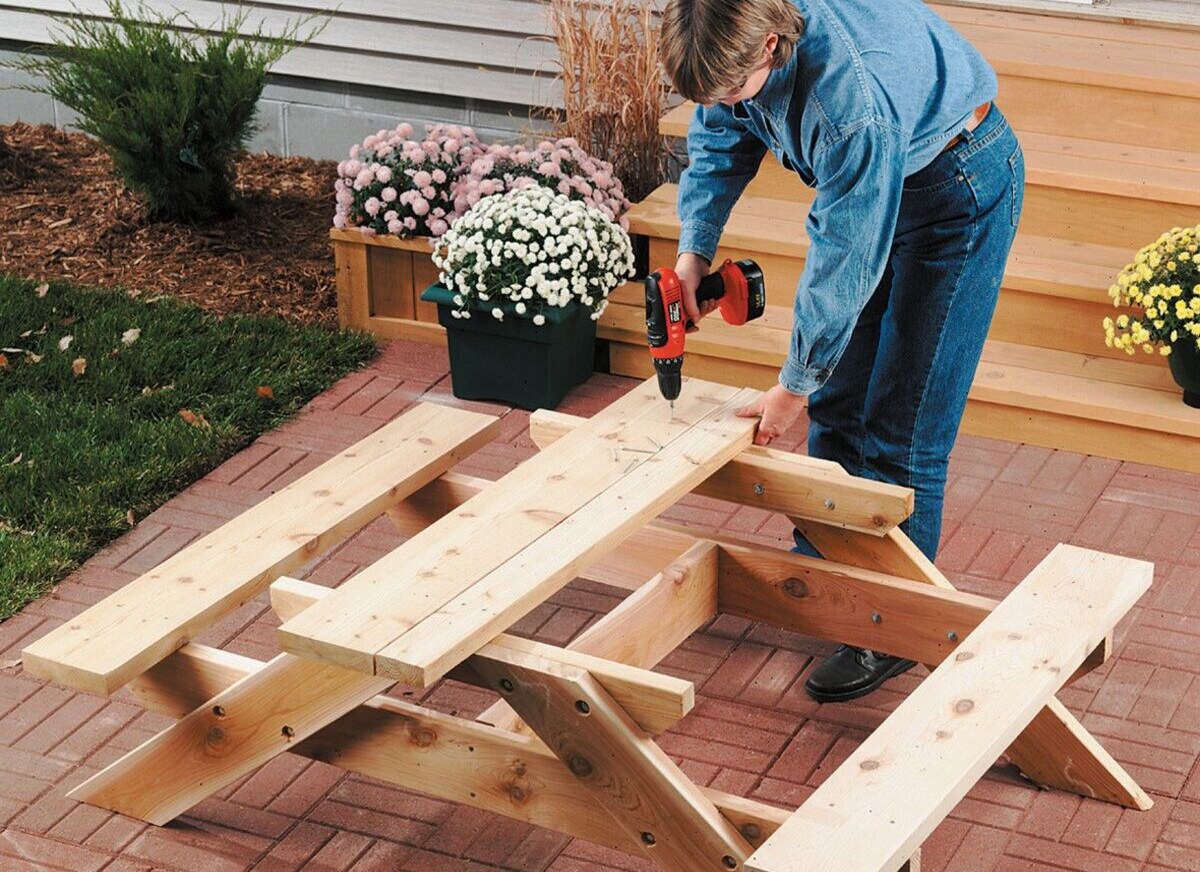
Step 1: Measure and Cut the Wood
Accurate measurements and precise cuts are crucial for ensuring the structural stability and visual appeal of your dining table bench. Follow these steps to begin the woodworking process:
1.1 Planning the Dimensions: Start by determining the desired length, width, and height of your bench. Consider the number of people it should accommodate and the available space in your dining area. Typically, a standard dining bench is around 18 inches in height and 14 inches in width per seating spot.
1.2 Cutting the Frame Components: Use a circular saw or miter saw to cut the 2×4 lumber to the required lengths for the bench frame. Remember to measure twice and cut once to avoid unnecessary waste of materials. You’ll need pieces for the two long sides, two short ends, and additional supports for the frame’s stability.
1.3 Cutting the Seat Planks: Measure and cut the wood planks for the bench seat according to the dimensions determined in the planning phase. Ensure that the seat planks are uniform in length and width to provide a comfortable and visually appealing seating surface.
By meticulously measuring and cutting the wood components, you’re laying the foundation for a well-constructed and aesthetically pleasing dining table bench. With the frame and seat components prepared, you’re ready to progress to the assembly phase, where the individual pieces come together to form the bench’s structure.
Read more: How To Build An Outdoor Dining Table
Step 2: Assemble the Frame
Assembling the frame is a pivotal stage in building a sturdy and reliable dining table bench. Follow these steps to bring the frame components together:
2.1 Lay Out the Components: Begin by arranging the cut 2×4 lumber according to the bench’s design and dimensions. Place the pieces on a flat and level surface, ensuring that the frame’s layout matches the intended size and shape of the bench.
2.2 Joining the Frame: Use wood glue and wood screws to securely attach the frame components. Apply a thin, even layer of wood glue to the joining surfaces before carefully aligning the pieces and fastening them with screws. Pre-drilling pilot holes can prevent the wood from splitting and ensure precise assembly.
2.3 Reinforcing the Joints: To enhance the frame’s strength and stability, add additional supports or cross braces as needed. These reinforcements contribute to the bench’s durability, especially if it is expected to accommodate multiple individuals or heavy loads.
By methodically assembling the frame, you’re creating a solid foundation for the dining table bench. The careful application of wood glue and the use of sturdy fasteners ensure that the frame is robust and capable of withstanding regular use. With the frame in place, the next step involves attaching the legs to provide essential support and elevate the bench to its intended height.
Step 3: Attach the Legs
Attaching the legs is a critical phase in the construction of your dining table bench, as they provide essential support and stability. Follow these steps to securely affix the legs to the bench frame:
3.1 Leg Placement: Position the bench frame upside down to facilitate the attachment of the legs. Place the legs at each corner of the frame, ensuring they are aligned and perpendicular to the ground. This step is crucial for maintaining the bench’s balance and preventing wobbling.
3.2 Securing the Legs: Use wood screws to firmly attach the legs to the frame. Predrill pilot holes to prevent splitting and ensure precise placement of the screws. Applying wood glue before affixing the legs can further enhance the structural integrity of the bench.
3.3 Reinforcement and Leveling: Consider adding diagonal braces or corner brackets to reinforce the connection between the legs and the frame. Additionally, use a level to confirm that the bench’s legs are even and that the bench sits securely on the floor without any wobbling.
By securely attaching the legs, you’re ensuring that your dining table bench is not only stable but also capable of supporting the weight of multiple individuals. The combination of wood screws, wood glue, and reinforcements contributes to the bench’s overall strength and longevity. With the legs in place, the next step involves preparing the bench for a smooth and visually appealing finish.
When building a dining table bench, make sure to use sturdy and durable materials such as hardwood or treated lumber to ensure it can support the weight of people sitting on it.
Step 4: Sand and Finish
After the structural components are assembled, it’s time to refine the bench’s surface and apply a finish that enhances its appearance and durability. Follow these steps to achieve a smooth and polished finish:
4.1 Sanding the Wood: Use medium-grit sandpaper to smooth any rough edges, uneven surfaces, or imperfections on the bench. Start with the coarse sandpaper to remove any prominent blemishes and then proceed with fine-grit sandpaper to achieve a silky-smooth finish.
4.2 Round the Edges (Optional): If desired, use the sandpaper to gently round the sharp edges and corners of the bench. This not only adds a decorative touch but also enhances the comfort and safety of the seating surface.
4.3 Applying the Finish: Whether you prefer a natural wood look or a colored finish, carefully apply wood stain, paint, or a protective sealant to the bench. Use a paintbrush or a paint sprayer for an even application, ensuring that the finish complements the overall aesthetic of your dining area.
4.4 Sealing the Wood: If you opt for a clear finish, consider applying a polyurethane sealant to protect the wood from moisture, spills, and daily wear. Multiple coats may be necessary to achieve the desired level of protection and sheen.
By meticulously sanding and finishing the bench, you’re not only refining its appearance but also safeguarding the wood from environmental factors and the rigors of everyday use. The finish serves as a protective barrier, enhancing the bench’s longevity and maintaining its visual appeal. With the sanding and finishing process complete, the final step involves attaching the seat to complete the construction of your custom dining table bench.
Step 5: Attach the Seat
With the structural and aesthetic aspects addressed, the final step in building your dining table bench involves attaching the seat to provide a comfortable and functional sitting area. Follow these steps to complete the construction process:
5.1 Positioning the Seat: Place the bench frame in an upright position and position the prepared seat planks on top. Ensure that the planks are evenly aligned and overhang the frame uniformly on all sides for a balanced and visually appealing look.
5.2 Securing the Seat: Use wood screws to firmly attach the seat planks to the frame. Predrill pilot holes to prevent the wood from splitting and to facilitate precise placement of the screws. Ensure that the seat is securely fastened to the frame to provide a stable and supportive surface for seating.
5.3 Finishing Touches: If desired, apply a final coat of wood finish or sealant to the seat to match the finish applied to the rest of the bench. This step not only ensures a cohesive appearance but also provides consistent protection for the entire bench.
5.4 Quality Check: Before considering the construction process complete, perform a thorough quality check. Ensure that all components are securely fastened, the bench is stable and level, and the finish meets your expectations in terms of appearance and protection.
By attaching the seat, you’re finalizing the construction of your custom dining table bench, transforming it from a collection of wood components into a functional and visually appealing piece of furniture. The careful assembly and finishing techniques employed throughout the construction process culminate in a bench that not only complements your dining area but also reflects your craftsmanship and attention to detail.
Read more: How To Build Black Dining Chairs
Conclusion
Congratulations on successfully completing the construction of your very own dining table bench! Through meticulous planning, precise measurements, and skilled craftsmanship, you’ve created a versatile and charming piece of furniture that enhances the ambiance of your dining area.
By embracing the DIY approach to furniture building, you’ve not only tailored the bench to your specific preferences and requirements but also gained valuable hands-on experience in woodworking. The satisfaction of utilizing a piece of furniture that you personally crafted adds a unique and personal touch to your home.
As you reflect on the journey from raw materials to a finished bench, remember that the skills and knowledge you’ve acquired can be applied to future woodworking projects. Whether it’s crafting additional furniture pieces or embarking on new DIY endeavors, your newfound expertise positions you to continue creating functional and beautiful items for your living space.
Furthermore, the process of building a dining table bench fosters a deeper appreciation for the art of woodworking and the craftsmanship involved in creating custom furniture. It serves as a testament to the timeless allure of handcrafted pieces and the sense of fulfillment that comes with bringing your creative visions to life.
As you integrate your newly constructed dining table bench into your home, take pride in the fact that it not only serves as a practical seating solution but also stands as a symbol of your dedication, creativity, and ability to transform raw materials into a functional work of art.
With this project now complete, you’re well-equipped to embark on future woodworking endeavors, armed with the knowledge, skills, and confidence to continue creating custom pieces that enrich your living space. Embrace the joy of craftsmanship and the satisfaction of enjoying a space personalized with your own creations.
Frequently Asked Questions about How To Build A Dining Table Bench
Was this page helpful?
At Storables.com, we guarantee accurate and reliable information. Our content, validated by Expert Board Contributors, is crafted following stringent Editorial Policies. We're committed to providing you with well-researched, expert-backed insights for all your informational needs.


0 thoughts on “How To Build A Dining Table Bench”