
Tableware
How To Build Patio Dining Tables
Modified: January 3, 2024
Discover the best tips and tricks on how to build patio dining tables and choose the perfect tableware for your outdoor gatherings.
(Many of the links in this article redirect to a specific reviewed product. Your purchase of these products through affiliate links helps to generate commission for Storables.com, at no extra cost. Learn more)
Introduction
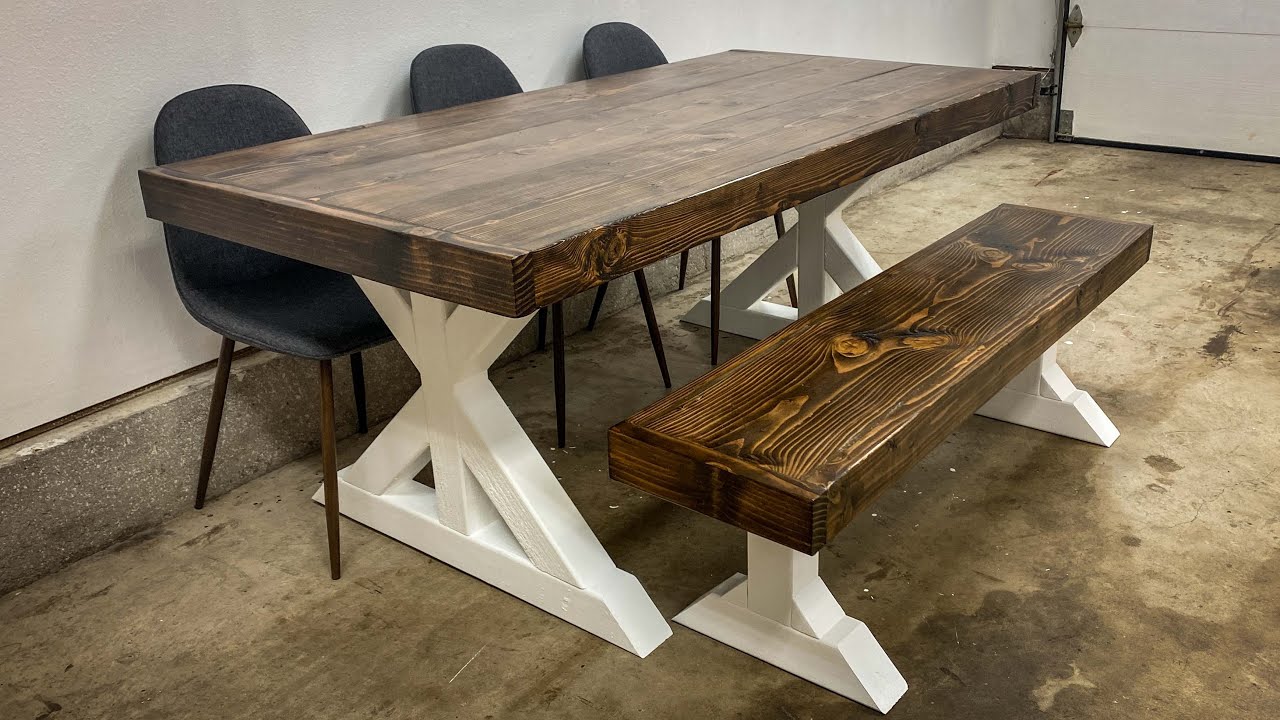
When it comes to creating the perfect outdoor dining experience, a patio dining table is an essential piece of furniture. Whether you enjoy hosting dinner parties or simply want a cozy spot for your family to gather and enjoy a meal, a well-crafted dining table can elevate your outdoor space to a whole new level. Building your own patio dining table not only allows you to customize its size and design, but it also provides a rewarding and fulfilling DIY project for those with a passion for woodworking.
In this article, we will guide you through the process of building your own patio dining table from scratch. We will cover everything from designing the table to selecting the right wood, gathering the necessary tools, and assembling the final product. With a little time, effort, and creativity, you can create a beautiful and functional table that will be the centerpiece of your outdoor entertaining area.
Before we dive into the step-by-step process, let’s take a look at the materials you will need to complete this project.
Key Takeaways:
- Building a patio dining table allows for customization of size, design, and wood selection, resulting in a rewarding and functional DIY project that elevates outdoor entertaining spaces.
- Careful attention to design, wood selection, precise cutting, and finishing touches ensures the creation of a durable, visually appealing, and long-lasting patio dining table for enjoyable outdoor gatherings.
Read more: How To Build A Dining Table Bench
Materials Needed
Before embarking on your patio dining table project, gather the following materials:
- Wood for the tabletop
- Wood for the table legs
- Screws or nails
- Sandpaper
- Wood glue
- Wood stain or paint
- Paintbrushes
- Measuring tape
- Saw
- Drill
- Screwdriver
- Safety goggles
- Workbench
The specific types of wood and quantities needed will depend on your design preferences and the size of your desired table. Cedar, teak, and redwood are popular choices for outdoor furniture due to their durability and resistance to weathering. Additionally, consider the overall style and aesthetic of your outdoor space when selecting the wood for your table.
Once you have gathered all the necessary materials, it’s time to move on to the first step of the process: designing the patio dining table.
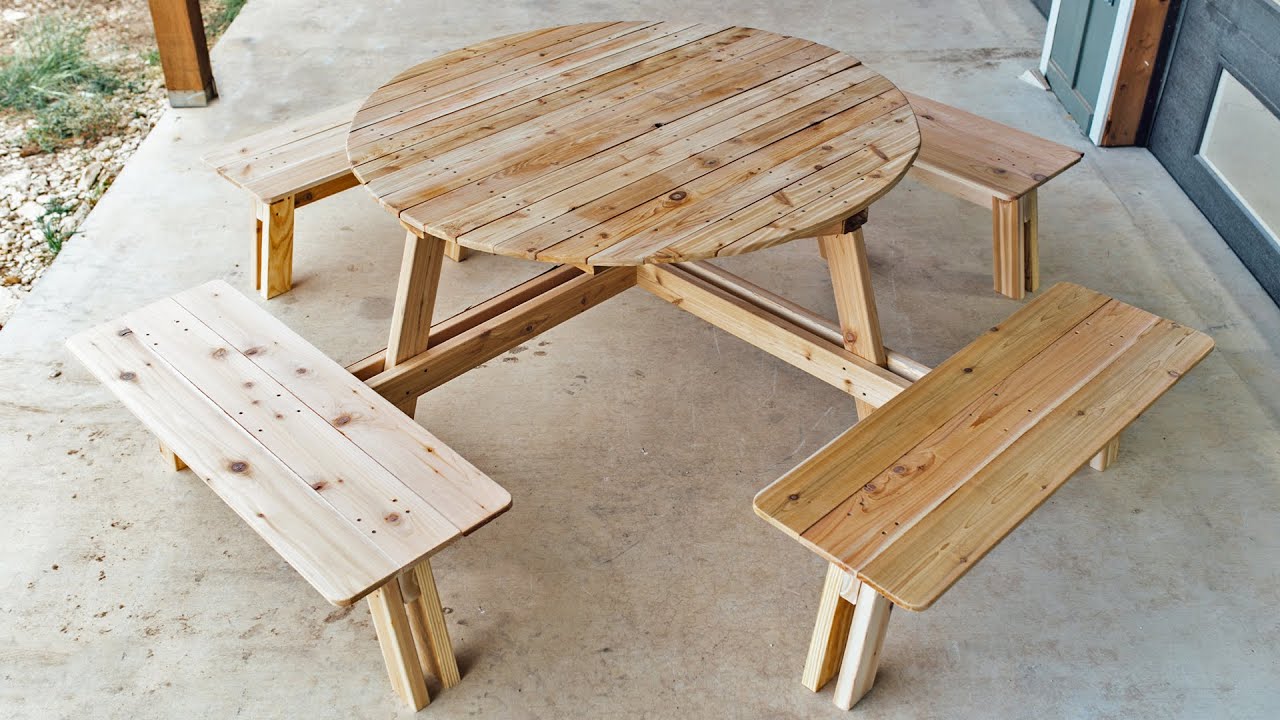
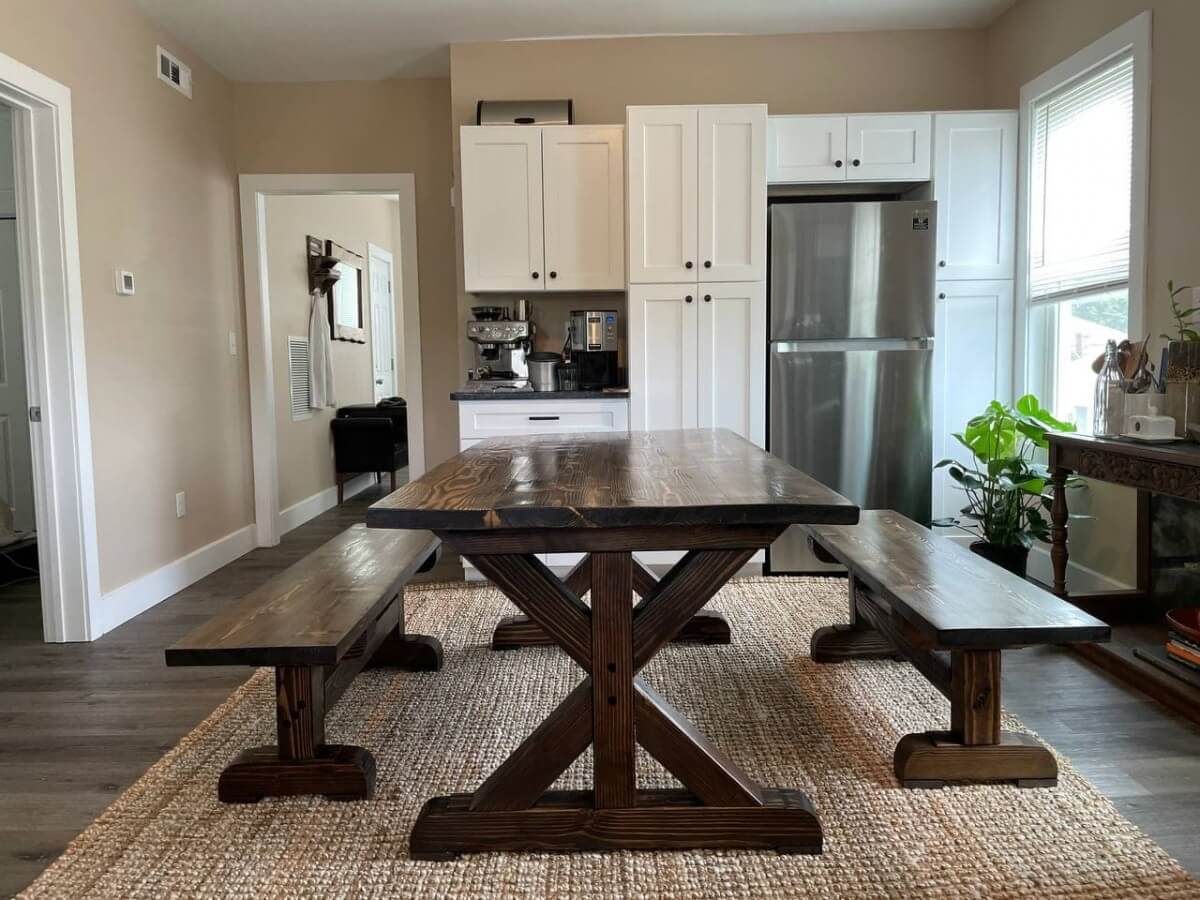
Step 1: Designing the Patio Dining Table
The first step in building your patio dining table is to design the table according to your preferences and the available space in your outdoor area. Consider the following factors when designing your table:
- Table size: Determine the desired dimensions of your table, taking into account the number of people you want to accommodate and the available space. A standard patio dining table is typically around 72 inches long and 36 inches wide, but you can adjust the dimensions to suit your needs.
- Table shape: Choose between a rectangular, oval, or round table shape based on your style preferences and the space available.
- Tabletop style: Select the type of tabletop design you want for your table. Options include a solid wood surface, a slatted design, or adding a decorative pattern.
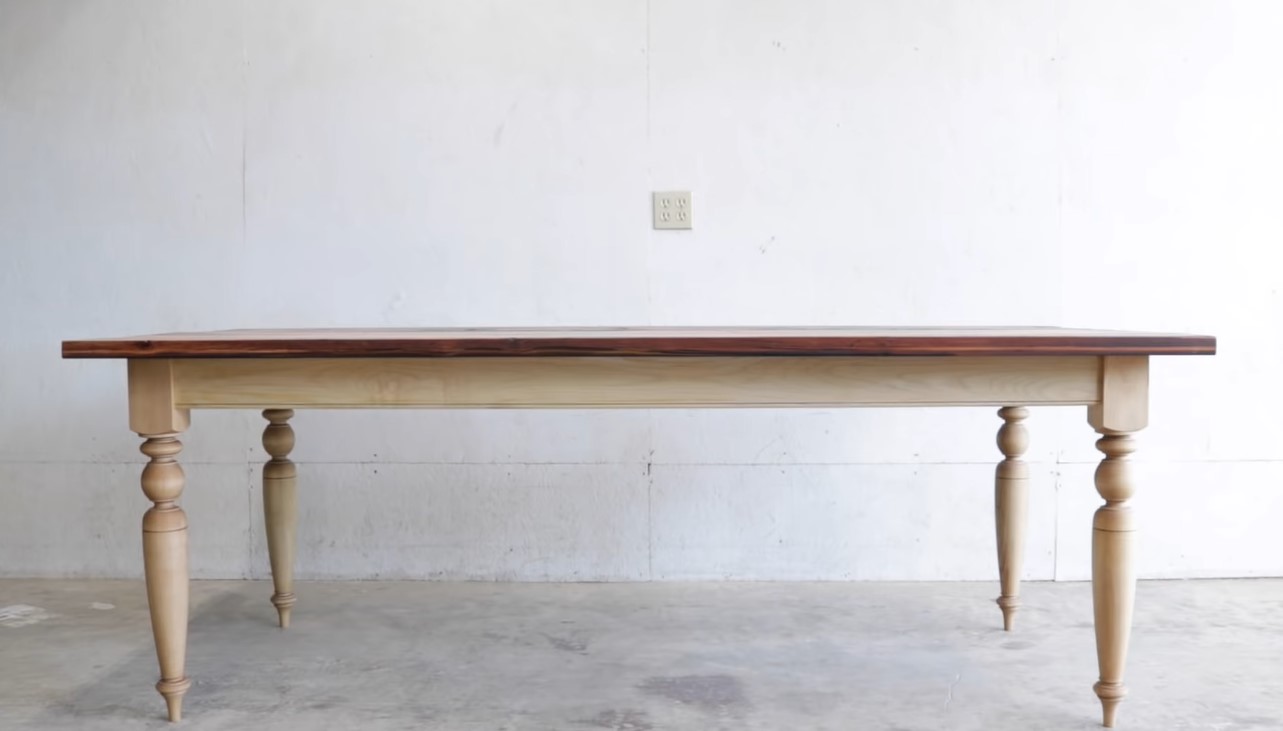
- Leg style: Consider the style of table legs that will complement your outdoor space. Options range from straight legs to tapered or turned legs, depending on the overall aesthetic you want to achieve.
- Additional features: Decide if you want to incorporate any additional features into your table, such as an umbrella hole or storage compartments.
Take your time in this step to create a detailed design plan or use existing patio dining table plans available online. Having a clear vision of your desired table design will make the rest of the building process much smoother.
Once you have finalized your design, it’s time to move on to the next step: choosing the right wood for your patio dining table.
Step 2: Choosing the Right Wood
Choosing the right wood for your patio dining table is essential for its durability and appearance. When selecting wood, consider the following factors:
- Weather resistance: Since your table will be exposed to outdoor elements, it’s important to choose a type of wood that is naturally resistant to decay and rot. Teak, cedar, and redwood are popular choices for outdoor furniture due to their natural resistance to moisture and insects.
- Appearance: Consider the natural color and grain of the wood and how it will blend with your outdoor aesthetic. Some woods, like teak and cedar, have warm tones and beautiful grain patterns, while others, like redwood, have a naturally red hue.
- Stability: Look for wood that is less likely to warp or crack over time. Dense woods like teak and cedar are known for their stability, making them ideal choices for outdoor furniture.
- Maintenance: Consider the level of maintenance required to keep the wood looking its best. Some woods may require periodic sealing or staining to maintain their appearance.
Once you have chosen the right wood for your patio dining table, it’s time to move on to gathering the necessary tools for the building process.
Step 3: Gathering the Necessary Tools
Before you begin building your patio dining table, it’s important to gather all the necessary tools to ensure a smooth and efficient construction process. Here are the essential tools you’ll need:
- Measuring tape: Used for taking accurate measurements of the wood and ensuring precise cuts.
- Saw: A handsaw or power saw to cut the wood to the desired dimensions. A miter saw or circular saw can be especially useful for making straight, clean cuts.
- Drill: Used for creating pilot holes and driving screws or nails into the wood.
- Screwdriver: Used to tighten screws and attach various parts of the table.
- Sandpaper: Essential for smoothing the wood surfaces and removing any rough edges or imperfections.
- Wood glue: Used for bonding pieces of wood together, providing added strength and stability.
- Paintbrushes: If you plan to stain or paint your table, you’ll need brushes for applying the finish to the wood.
- Safety goggles: Essential for protecting your eyes from wood dust and debris.
- Workbench: A sturdy work surface to secure the wood and provide a stable area for cutting, sanding, and assembling the table.
Having these tools readily available will make the construction process much easier and more efficient. Ensure that you have a well-organized workspace with the necessary tools within reach.
With your tools gathered, you’re now ready to move on to the next step in building your patio dining table: cutting the wood.
Read more: How To Build Patio Dining Tables
Step 4: Cutting the Wood
Now that you have your design, chosen the right wood, and gathered all the necessary tools, it’s time to start cutting the wood for your patio dining table. Follow these steps to ensure accurate and precise cuts:
- Measure twice, cut once: Use a measuring tape to mark the desired dimensions on the wood, and double-check your measurements before making any cuts. This will help minimize mistakes and ensure a perfect fit.
- Select the appropriate saw: Depending on the type and thickness of the wood, choose the appropriate saw to make the cuts. A hand saw, circular saw, or mitre saw can be used, depending on your comfort and the complexity of the cuts.
- Use a guide: To ensure straight cuts, consider using a straightedge or a guide clamp to keep the saw on track.
- Safety first: Always wear safety goggles and follow proper safety precautions when operating power tools.
- Take your time: Cutting the wood requires precision and patience. Take your time to make smooth and accurate cuts, ensuring that the pieces fit together nicely.
Remember to cut the wood according to the design specifications, including the tabletop, legs, and any additional components. After each cut, inspect the pieces to ensure they are the correct size and shape before moving on to the next step.
With the wood cut to the appropriate dimensions, you’re ready to move on to the next step: sanding the wood for a smooth finish.
When building a patio dining table, be sure to use weather-resistant materials such as cedar or teak to ensure durability and longevity in outdoor conditions.
Step 5: Sanding the Wood
Once you have cut the wood pieces for your patio dining table, the next step is to sand them to create a smooth and polished finish. Sanding not only improves the appearance of the wood but also prepares it for staining or painting. Follow these steps to sand the wood effectively:
- Start with coarse-grit sandpaper: Begin by using a coarse-grit sandpaper, such as 80 or 100 grit, to remove any rough edges, splinters, or imperfections from the wood. Sand in the direction of the wood grain for the best results.
- Gradually move to finer grits: After the initial sanding, switch to a medium-grit sandpaper, such as 150 or 180 grit, to further smoothen the wood surface. Continue sanding in the direction of the grain.
- Finish with fine-grit sandpaper: For a final touch, use a fine-grit sandpaper, such as 220 grit, to achieve a smooth and polished surface. This step will ensure a professional-looking finish.
- Keep the surface even: Pay attention to maintaining an even sanding pressure across the wood surface to avoid creating uneven spots or grooves.
- Remove dust: After sanding, use a clean cloth or a vacuum to remove any dust or debris from the wood before proceeding to the next step.
Sanding the wood not only improves the appearance but also helps to create a surface that will be more receptive to paint or stain. It is an essential step in achieving a polished and professional-looking patio dining table.
With the wood sanded and smooth, you’re now ready to move on to the next step: assembling the tabletop.
Step 6: Assembling the Tabletop
With the wood cut and sanded, it’s time to start assembling the tabletop of your patio dining table. Follow these steps to ensure a strong and secure tabletop:
- Lay out the wood pieces: Lay the wooden planks or pieces on a flat surface in the desired order for the tabletop. Ensure that the edges align properly.
- Apply wood glue: Apply a thin and even layer of wood glue along the edges where the pieces will be joined together. This will provide extra strength and stability to the tabletop.
- Secure with screws or nails: Once the glue is applied, use screws or nails to secure the pieces together. Place the fasteners evenly along the length of the pieces, ensuring a tight bond.
- Check for alignment: Use a carpenter’s square or measuring tape to check that the corners are square and the tabletop is aligned properly. Make any necessary adjustments before the glue dries.
- Wipe off excess glue: Quickly wipe off any excess glue that may have squeezed out during the assembly process, using a damp cloth or sponge. This will prevent the glue from staining the wood.
Allow the wood glue to fully dry as per the manufacturer’s instructions before proceeding to the next step. This will ensure a strong and sturdy tabletop for your patio dining table.
Now that the tabletop is assembled, you’re ready to move on to building the table legs in the next step.
Step 7: Building the Table Legs
Now that the tabletop is complete, it’s time to focus on building the table legs for your patio dining table. Follow these steps to construct sturdy and stable legs:
- Determine leg design: Decide on the design and style of the legs based on your personal preference and the overall aesthetic of your outdoor space. Straight legs, tapered legs, or turned legs are common options.
- Cut the leg pieces: Measure and cut the wood according to the desired height for your table legs. Ensure that all leg pieces are cut to the same length for uniformity.
- Create leg supports: Cut additional small pieces of wood to serve as leg supports. These supports will provide added stability and prevent wobbling.
- Attach leg supports: Attach the leg supports to the legs using screws or wood glue. Place them towards the top of the legs, ensuring they are centered and aligned properly.
- Secure the legs: Attach the legs to the corners of the tabletop using screws or brackets. Ensure that the legs are perpendicular to the tabletop and securely fastened.
While building the legs, it’s essential to pay attention to proper alignment and stability. Take extra care to ensure all legs are of the same height to prevent an uneven table surface. Additionally, confirm that the legs are securely attached to the tabletop for durability and safety.
With the table legs built and attached, you’re ready to move on to the next step: attaching the legs to the tabletop.
Read more: How To Build An Outdoor Dining Table
Step 8: Attaching the Legs to the Tabletop
Now that you have built the table legs, it’s time to attach them securely to the tabletop of your patio dining table. Follow these steps for a sturdy connection:
- Position the tabletop: Flip the tabletop upside down and position it on a flat surface.
- Align the legs: Place the legs in the desired position on the corners of the tabletop. Ensure that they are evenly spaced and aligned properly.
- Mark the attachment points: Use a pencil or marker to make marks on the tabletop where the legs will be attached. This will help you position the legs accurately when attaching them.
- Pre-drill pilot holes: Use a drill and an appropriate-sized drill bit to pre-drill pilot holes at the marked attachment points on the tabletop. This will prevent the wood from splitting when you attach the legs.
- Attach the legs: Securely attach the legs to the tabletop using screws or bolts. Make sure to drive the screws through the pre-drilled holes, ensuring a secure and tight connection.
- Check for stability: Once all legs are attached, check the stability of the table. Shake it gently to ensure there is no wobbling or instability. If needed, adjust the attachment of the legs to improve stability.
Attaching the legs to the tabletop is a crucial step in the construction process. Taking the time to ensure a strong and secure connection will result in a stable and long-lasting patio dining table.
With the legs securely attached, you’re almost finished! The next step involves applying finishing touches to complete your patio dining table.
Step 9: Applying Finishing Touches
Now that the main structure of your patio dining table is complete, it’s time to add the finishing touches that will enhance its appearance and protect the wood from outdoor elements. Follow these steps to apply the finishing touches:
- Sanding (optional): Perform a final sanding of the entire table to smooth out any rough areas or imperfections that may have occurred during the construction process. Use a fine-grit sandpaper and sand in the direction of the wood grain.
- Stain or paint: If you want to change the color or enhance the natural beauty of the wood, apply a wood stain or paint of your choice. Follow the manufacturer’s instructions for application and drying times. Ensure even coverage and make sure to reach all surfaces, including the legs and tabletop.
- Protective finish: Apply a protective finish such as polyurethane or varnish to seal the wood and provide it with long-lasting protection against moisture, UV rays, and wear. Choose an outdoor-grade finish that is specifically designed for exterior furniture.
- Allow for drying time: Let the stain, paint, and protective finish dry completely before using the table. Follow the recommended drying times provided by the manufacturer.
- Final inspection: Once the finishing touches have dried, inspect the table for any touch-ups or areas that may require additional attention. Make any necessary adjustments or corrections to achieve the desired final look.
Applying the finishing touches will not only add beauty to your patio dining table but also help protect it from the outdoor elements, ensuring its longevity. Take your time during this step to achieve a professional and polished appearance.
Congratulations! You have successfully completed all the necessary steps to build your own patio dining table. Your hard work and craftsmanship have resulted in a beautiful piece of furniture that will be enjoyed for years to come.
Remember to regularly clean and maintain your table to preserve its appearance and durability. With proper care, your patio dining table will continue to be the perfect centerpiece for countless outdoor gatherings and meals.
Enjoy your new patio dining table and the memories you’ll create around it!
Did you find this guide helpful? Let us know in the comments below.
Conclusion
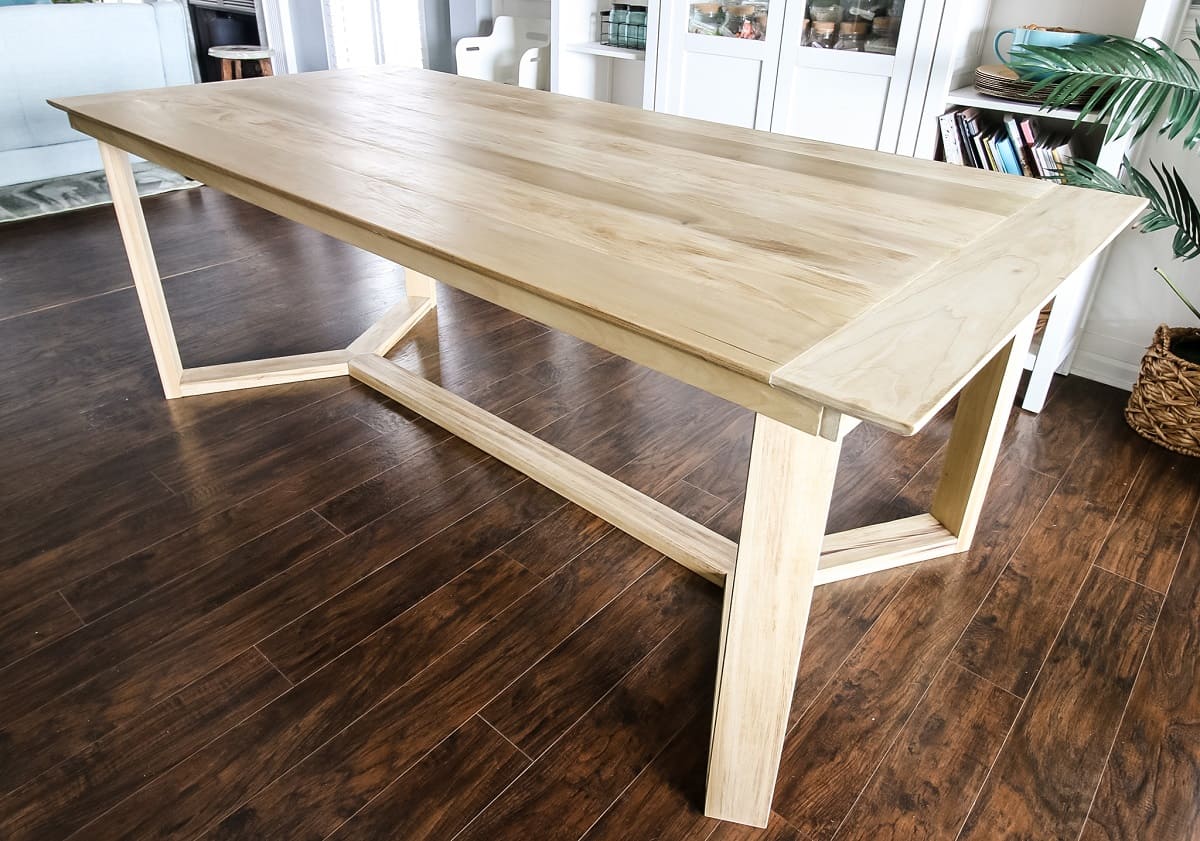
Building your own patio dining table is a rewarding and fulfilling project that allows you to create a customized piece of furniture for your outdoor space. Through the step-by-step process outlined in this guide, you have learned how to design the table, select the right wood, gather the necessary tools, cut and sand the wood, assemble the tabletop and legs, and apply the finishing touches. Each step plays a crucial role in creating a sturdy, functional, and visually appealing patio dining table.
By taking the time to design your table according to your style preferences and the available space, you have ensured a perfect fit for your outdoor area. The choice of weather-resistant wood, such as teak or cedar, ensures the durability of your table, while proper sanding and finishing techniques result in a smooth and polished surface.
Throughout the construction process, the importance of accurate measurements, proper tool selection, and careful assembly cannot be overstated. These details contribute to the overall strength and stability of your patio dining table.
With the final touches of staining or painting, followed by the application of a protective finish, you have not only enhanced the appearance of the table but also provided it with the necessary protection against outdoor elements.
Now, with your newly built patio dining table, you can enjoy the pleasure of outdoor dining and entertaining, creating fond memories with family and friends. The joy of knowing that you have crafted a functional and beautiful piece of furniture with your own hands is truly unmatched.
We hope this guide has empowered you to embark on this DIY project and has provided you with the knowledge and confidence to build your own patio dining table. Remember to personalize your design and adapt the instructions to suit your specific needs and preferences.
Enjoy the fruits of your labor and savor the moments of togetherness that your patio dining table will bring. Cheers to your woodworking success!
Frequently Asked Questions about How To Build Patio Dining Tables
Was this page helpful?
At Storables.com, we guarantee accurate and reliable information. Our content, validated by Expert Board Contributors, is crafted following stringent Editorial Policies. We're committed to providing you with well-researched, expert-backed insights for all your informational needs.


0 thoughts on “How To Build Patio Dining Tables”