Home>Furniture & Design>Living Room Furniture>How To Build A Counter Height Dining Table
Living Room Furniture
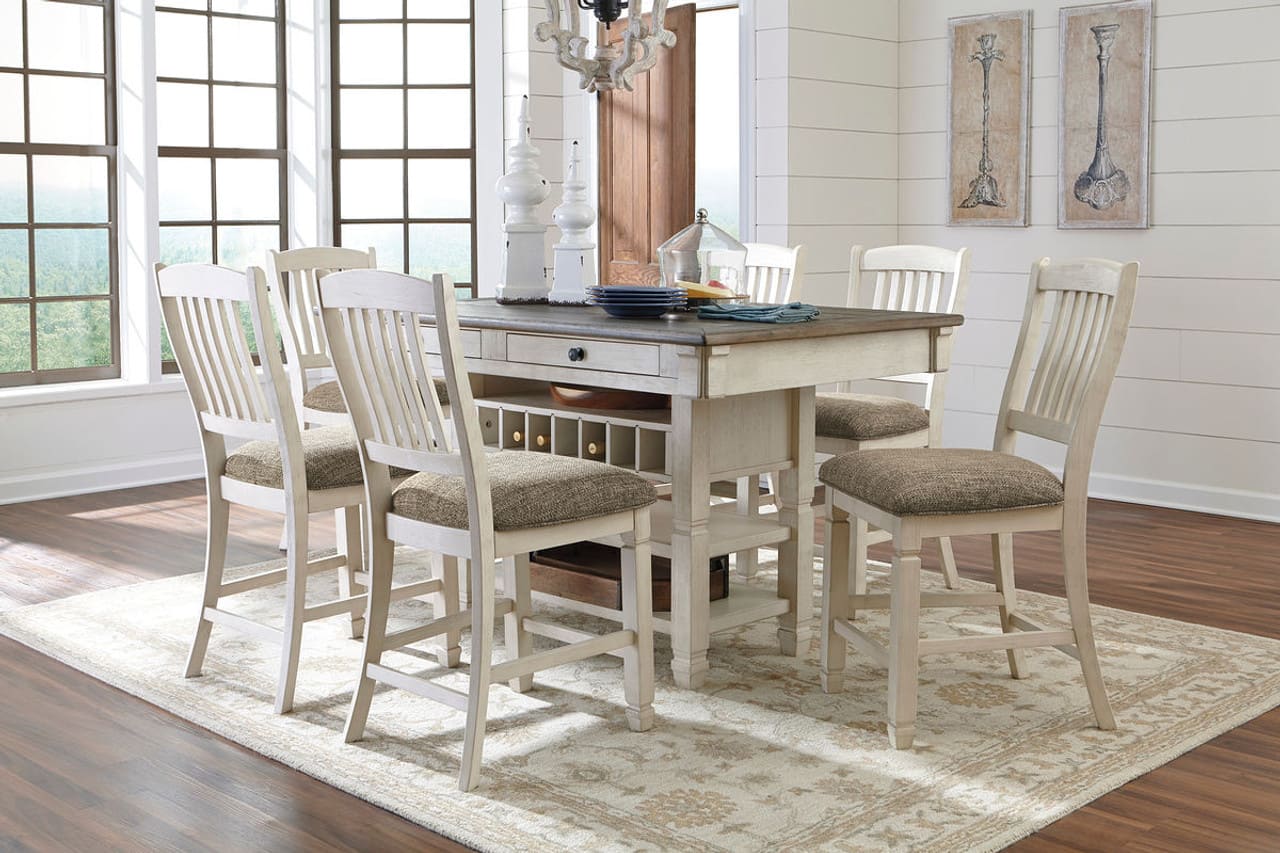
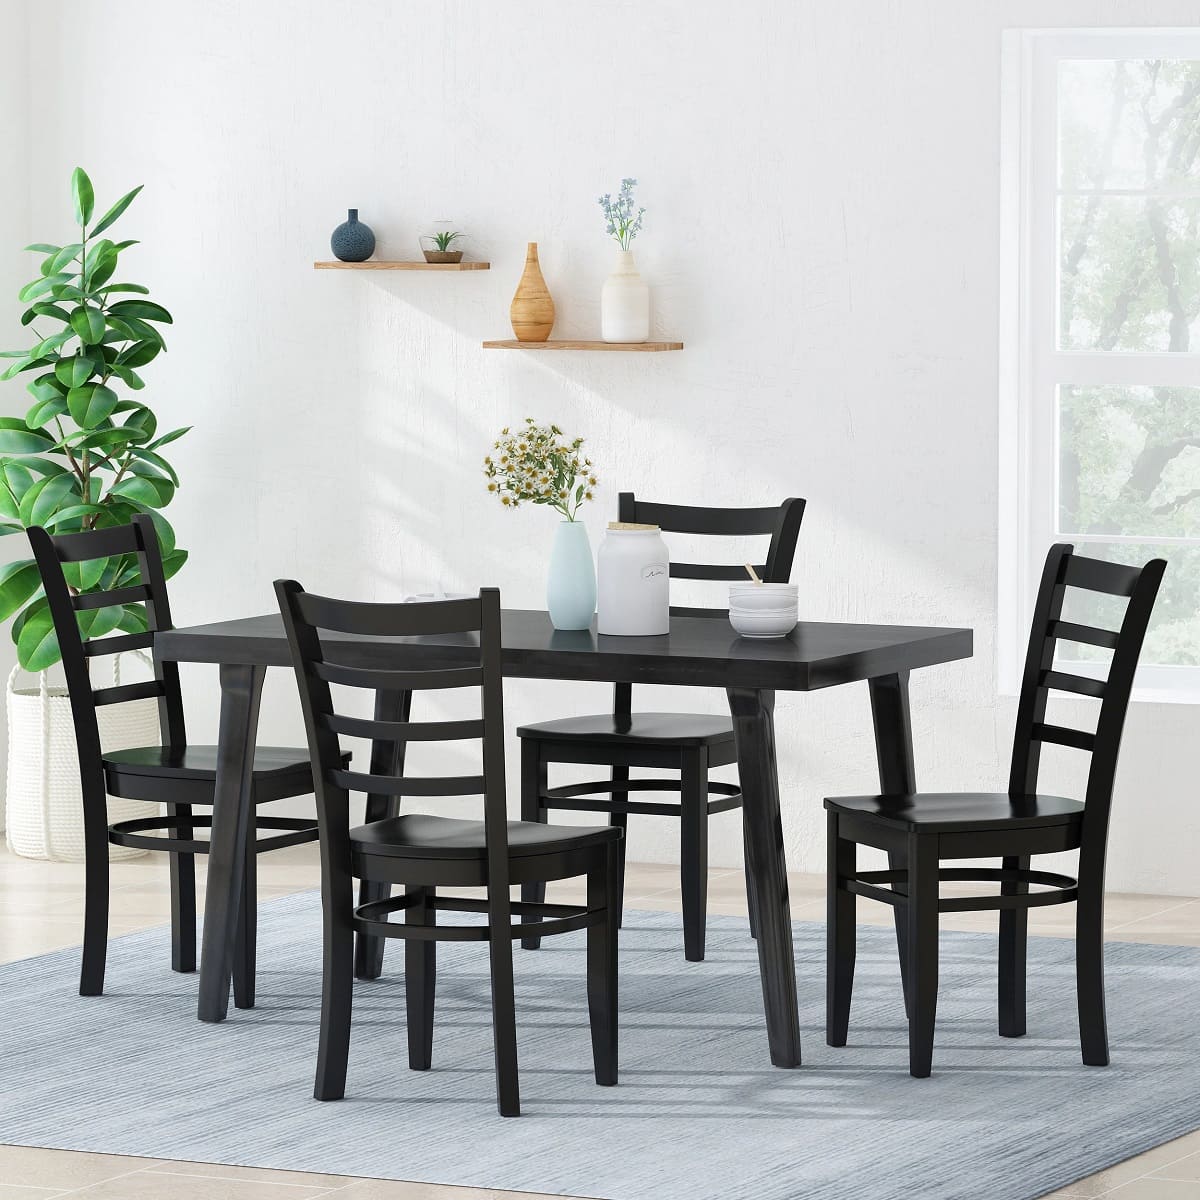
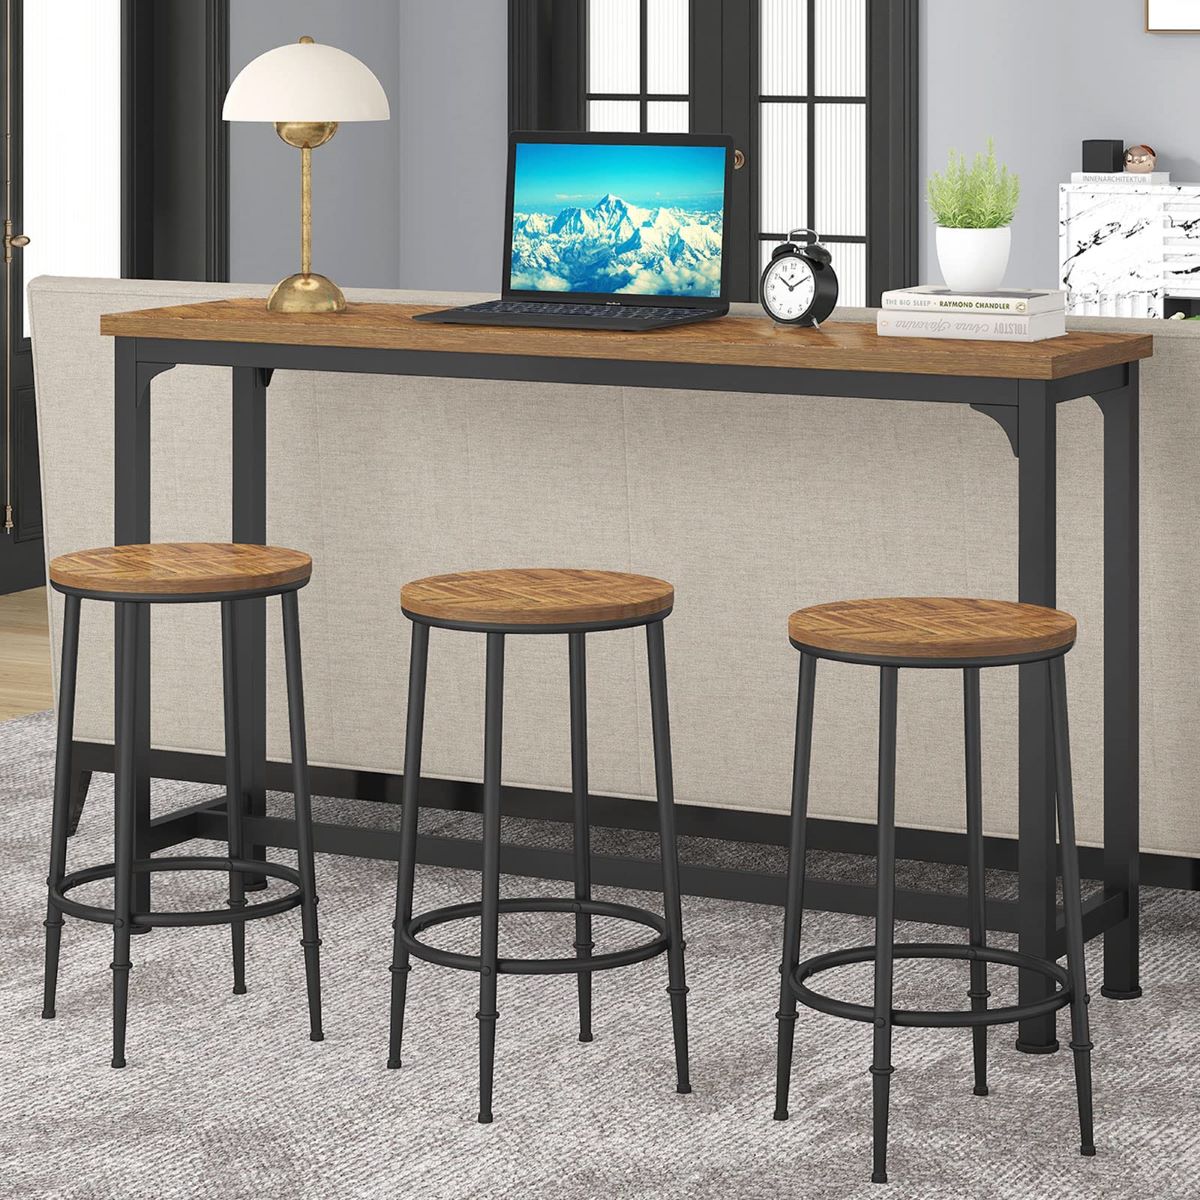
How To Build A Counter Height Dining Table
Modified: August 27, 2024
Learn how to build a stylish and functional counter height dining table for your living room with our expert furniture and design tips. Elevate your space with this DIY project!
(Many of the links in this article redirect to a specific reviewed product. Your purchase of these products through affiliate links helps to generate commission for Storables.com, at no extra cost. Learn more)
Introduction
Welcome to the world of DIY furniture crafting! If you're looking to add a touch of elegance and functionality to your dining space, building a counter height dining table might just be the perfect project for you. Whether you're a seasoned woodworking enthusiast or a novice looking to embark on your first furniture-building adventure, this guide will walk you through the process, step by step.
A counter height dining table is a versatile piece of furniture that can complement various interior design styles. Its elevated stature not only adds a contemporary flair to your dining area but also creates a casual and inviting atmosphere for meals and gatherings. By crafting your own table, you have the freedom to customize its dimensions, finishes, and overall design to perfectly suit your space and personal taste.
Not only is building your own furniture a rewarding and cost-effective endeavor, but it also allows you to imbue your living space with a personalized touch. The sense of accomplishment that comes with creating a functional and aesthetically pleasing piece from scratch is truly unparalleled.
In this guide, we'll delve into the materials and tools you'll need, along with a detailed walkthrough of each construction step. From cutting and assembling the wood to sanding and finishing, you'll gain valuable insights into the art of crafting a beautiful and durable counter height dining table.
So, roll up your sleeves, gather your tools, and let's embark on this woodworking journey together. Whether you're seeking a new weekend project or aiming to hone your carpentry skills, building a counter height dining table is a gratifying and practical undertaking that will leave you with a stunning piece of furniture to cherish for years to come. Let's get started!
Key Takeaways:
- Building a counter height dining table allows you to customize its dimensions, finishes, and design to suit your space and taste, creating a personalized and stylish addition to your home.
- Crafting your own furniture is a rewarding and practical endeavor that not only enhances your living space but also cultivates valuable skills and a deeper connection to your home.
Read more: How To Increase The Height Of A Dining Table
Materials and Tools
Before diving into the construction process, it’s essential to gather all the necessary materials and tools. Here’s a comprehensive list to ensure you’re well-equipped for this DIY project:
Materials:
- 4×4 lumber for the table legs
- 2×4 lumber for the frame and supports
- 1×6 or 1×8 lumber for the tabletop
- Wood screws
- Wood glue
- Wood filler
- Sandpaper (various grits)
- Stain or paint
- Polyurethane or clear coat for finishing
Tools:
- Measuring tape
- Pencil
- Circular saw or miter saw
- Drill/driver
- Wood clamps
- Sanding block or orbital sander
- Paintbrushes or staining pads
- Safety goggles
- Protective gloves
When selecting lumber for your table, opt for high-quality, straight boards that are free of warping and major imperfections. This will ensure a smoother construction process and a more polished final product. Additionally, choose wood screws that are appropriate for the thickness of the lumber you’re using, and consider the weight and stability of the table when selecting the size and type of screws.
Having the right tools at your disposal is crucial for precision and efficiency. If you don’t already own the necessary tools, consider borrowing or renting them to keep costs in check. With your materials and tools in hand, you’re ready to embark on the exciting journey of crafting your own counter height dining table.
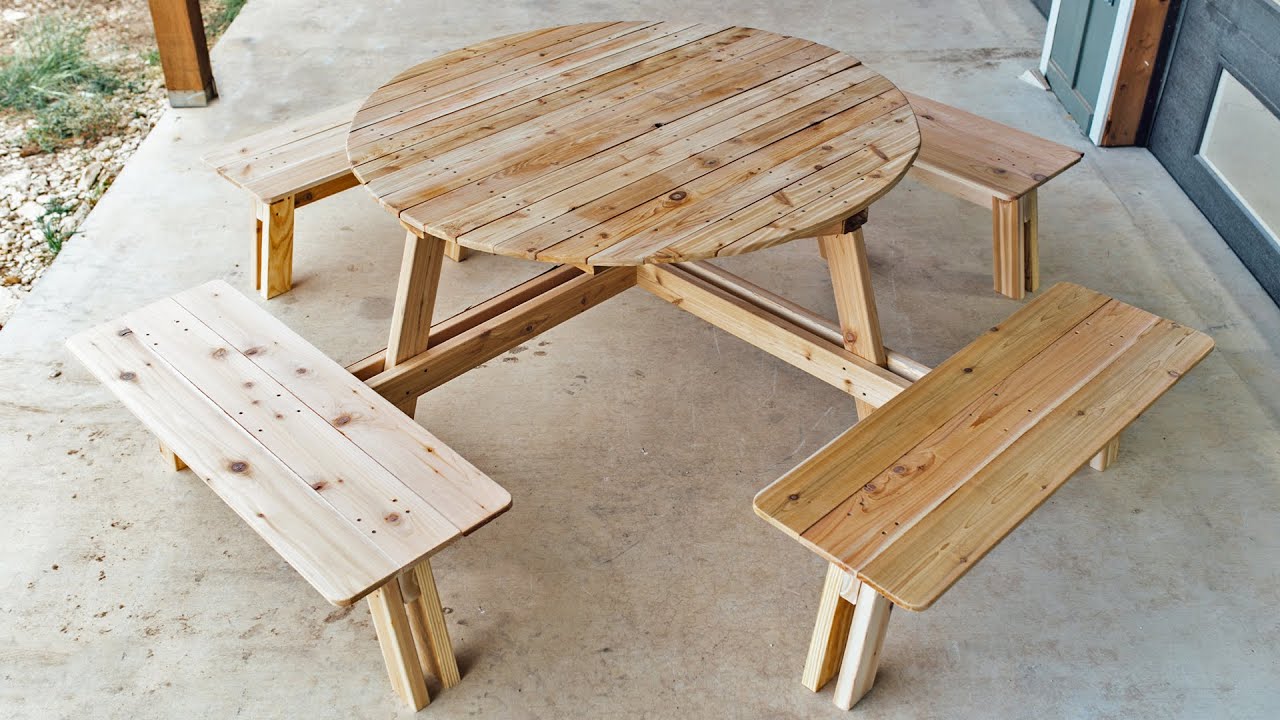
Step 1: Cutting the Wood
As with any woodworking project, accurate and precise measurements are fundamental to the success of your table construction. Begin by measuring and marking the lumber according to your desired table dimensions. The most critical cuts include those for the table legs, frame pieces, and tabletop.
Read more: How To Increase The Height Of Dining Chairs
Cutting the Table Legs:
Using the 4×4 lumber, measure and mark the lengths for the table legs. A standard counter height dining table typically ranges from 34 to 36 inches in height, so tailor the leg lengths to achieve your preferred table height. When cutting the legs, ensure that the ends are squared off for stability and evenness.
Cutting the Frame and Supports:
The 2×4 lumber will be used for constructing the frame and supports. Measure and cut the pieces according to the length and width of your tabletop, accounting for any overhang you desire. The frame will provide structural integrity, while the supports will help bear the weight of the tabletop and enhance stability.
Cutting the Tabletop:
Select the 1×6 or 1×8 lumber for the tabletop, taking into consideration the desired width and length of the table. Carefully measure and cut the tabletop pieces, ensuring that the edges are straight and even for seamless assembly.
When making your cuts, adhere to the principle of “measure twice, cut once” to minimize errors and material wastage. A reliable circular saw or miter saw will be invaluable for achieving clean and accurate cuts. Remember to wear appropriate safety gear, such as safety goggles and gloves, during the cutting process to prioritize your well-being.
By meticulously cutting the wood to the specified dimensions, you set the stage for a well-structured and visually appealing counter height dining table. With the components of your table now taking shape, the next step will involve assembling the legs to form the table’s base.
Step 2: Assembling the Legs
With the wood cut to size, it’s time to assemble the foundational elements of your counter height dining table. The table legs play a pivotal role in providing stability and defining the overall aesthetic of the piece. Follow these steps to expertly assemble the legs:
1. Preparing the Leg Components:
Begin by arranging the four table leg pieces in pairs, ensuring that the ends are flush and the lengths are uniform. This preparation will streamline the assembly process and facilitate consistent leg dimensions.
2. Joining the Leg Pairs:
Apply wood glue to the mating surfaces of the leg pairs, ensuring even coverage. Then, using wood screws, carefully secure the pairs together to form two L-shaped leg assemblies. The use of clamps can help maintain alignment and pressure during this crucial bonding process.
3. Attaching the Frame Supports:
Position the assembled leg pairs on a flat surface, and attach the frame supports to the inner side of each leg assembly. The frame supports will serve as the base for securing the tabletop and will contribute to the table’s overall stability. Utilize a level to confirm that the leg assemblies and frame supports are aligned correctly.
4. Reinforcing the Joints:
For added strength, consider driving additional screws through the frame supports into the legs. This reinforcement will fortify the joints and enhance the durability of the table’s base structure.
As you assemble the legs, prioritize precision and attention to detail to ensure that the table base is sturdy and well-balanced. Once the legs are securely joined and the frame supports are in place, you’re ready to progress to the next phase: attaching the tabletop to complete the construction of your custom counter height dining table.
Step 3: Attaching the Tabletop
As the foundational elements of your table are in place, it’s time to bring the vision of your counter height dining table to fruition by attaching the tabletop. This step requires precision and care to ensure a seamless and secure assembly. Follow these guidelines to expertly affix the tabletop to the base:
1. Positioning the Tabletop:
Lay the tabletop pieces on a flat, stable surface, ensuring that they align perfectly to form a cohesive and uniform surface. Take the time to adjust the positioning as needed to achieve a symmetrical and balanced arrangement.
2. Securing the Tabletop to the Frame:
With the tabletop in place, carefully position the frame and leg assemblies over it, ensuring that the frame supports align with the underside of the tabletop. Using wood screws, secure the frame supports to the tabletop, driving the screws upward through the supports into the tabletop to create a firm connection.
3. Applying Wood Glue (Optional):
For added stability and longevity, consider applying wood glue along the contact points between the frame supports and the tabletop. The adhesive properties of the wood glue will reinforce the bond between these components, contributing to the overall structural integrity of the table.
Read more: How To Build A Dining Table Bench
4. Verifying Stability and Alignment:
Once the tabletop is affixed to the base, verify that the table is stable and level. Use a carpenter’s level to ensure that the tabletop surface is even and free of any noticeable inclines or unevenness. Making any necessary adjustments at this stage will result in a more polished and functional final product.
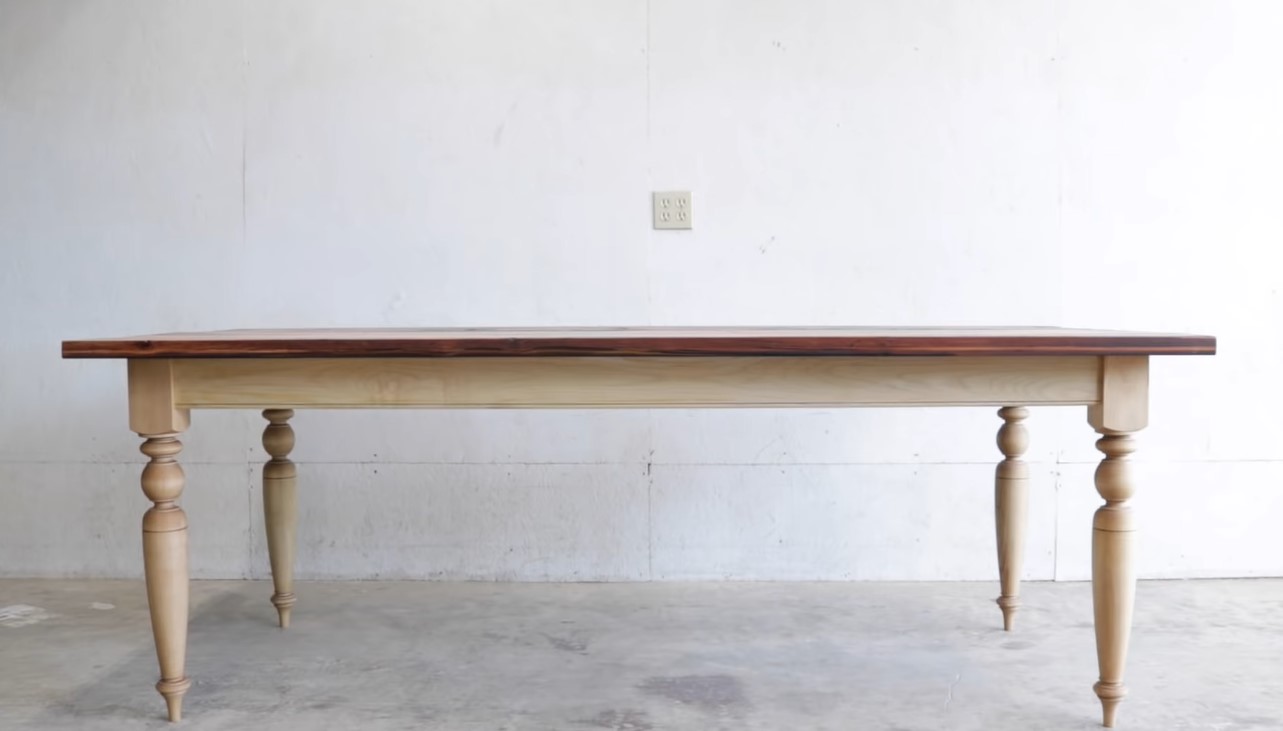
By methodically attaching the tabletop to the base, you’re one step closer to completing your custom counter height dining table. The next phase will involve refining the table’s surface through sanding and applying a finish to achieve a professional and inviting appearance.
Step 4: Sanding and Finishing
As you near the completion of your DIY counter height dining table, the sanding and finishing stage will elevate the visual appeal and tactile experience of the table’s surface. This crucial step involves refining the wood and applying a protective finish to enhance its durability and aesthetic charm. Follow these essential steps to achieve a beautifully finished table:
1. Sanding the Tabletop and Legs:
Begin by sanding the tabletop and legs with progressively finer grits of sandpaper to achieve a smooth and refined surface. Start with a coarser grit to remove any rough spots or irregularities, then progress to finer grits to create a silky-smooth finish. Be thorough in your sanding to ensure a uniform texture across the entire table surface.
2. Smoothing the Edges and Corners:
Pay special attention to the edges and corners of the tabletop and legs, rounding them slightly to remove sharp edges and create a more comfortable and visually appealing profile. This step adds a touch of refinement and safety to the table’s design.
Read more: How To Build An Outdoor Dining Table
3. Applying the Finish:
Once the sanding is complete, carefully wipe away any dust and debris from the table surface. Then, apply your chosen stain or paint to imbue the wood with color and character. Alternatively, if you prefer the natural look of the wood, opt for a clear coat or polyurethane to protect and enhance the wood’s natural beauty.
4. Adding Protective Layers:
Apply multiple coats of the chosen finish, allowing each coat to dry thoroughly before applying the next. This process will build up a protective layer that shields the wood from everyday wear and tear while enriching its appearance. Pay attention to achieving an even application to create a professional and lustrous finish.
5. Final Touches:
After the final coat has dried, lightly sand the surface with a fine grit sandpaper to remove any imperfections and achieve a velvety-smooth finish. Wipe the table down with a clean, dry cloth to reveal the full beauty of your craftsmanship.
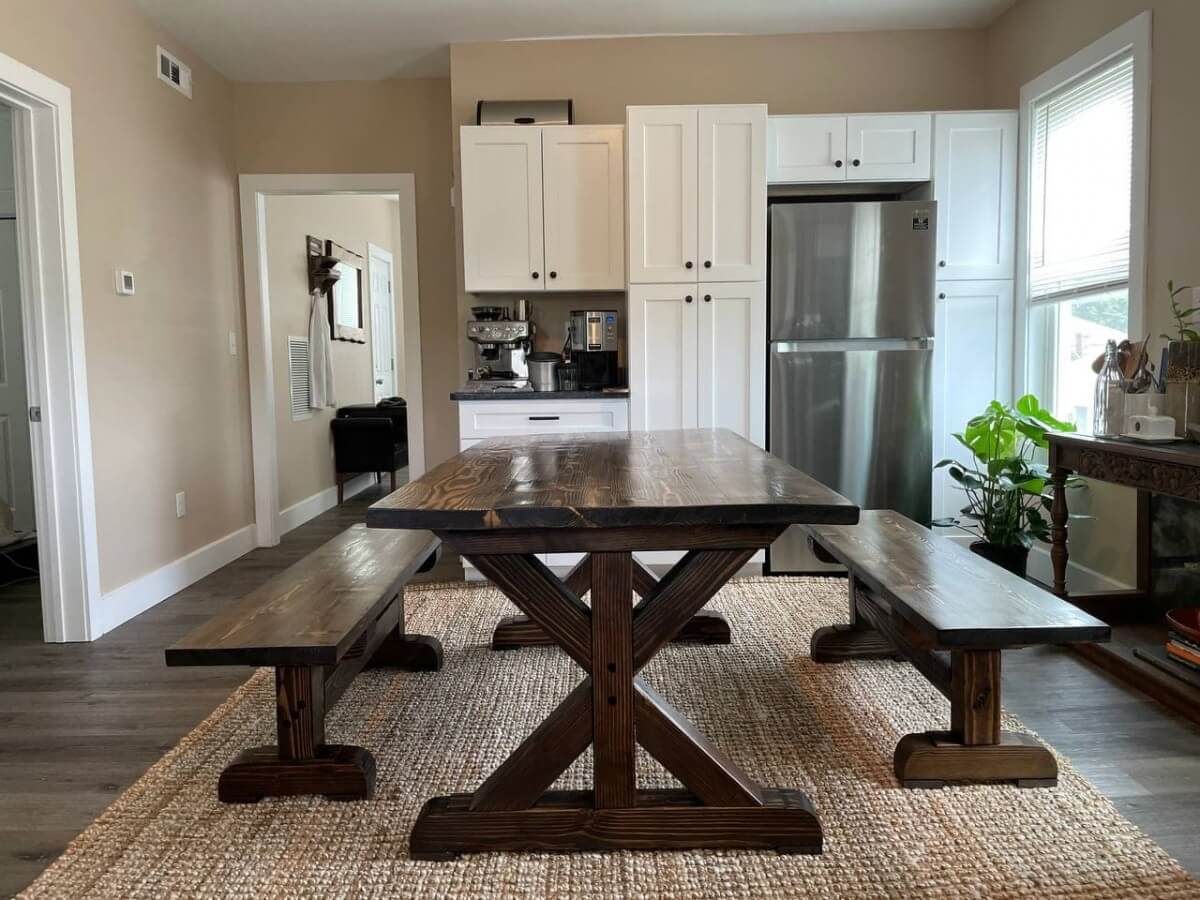
By meticulously sanding and finishing the table, you’ll transform it into a stunning centerpiece for your dining area. The time and care invested in this stage will yield a durable, visually captivating, and inviting piece of furniture that reflects your craftsmanship and attention to detail.
Conclusion
Congratulations on successfully crafting your own counter height dining table! This hands-on woodworking journey has not only resulted in a functional and stylish piece of furniture but has also provided you with a sense of accomplishment and a deeper connection to your living space. As you admire your finished table, consider the invaluable skills and creativity you’ve cultivated throughout this project.
Building furniture from scratch allows you to infuse your personality and preferences into every aspect of the design, from the choice of wood to the final finish. The ability to tailor the table’s dimensions, style, and finish to your exact specifications ensures that it seamlessly integrates into your home and reflects your unique taste.
Furthermore, the knowledge and experience gained from this project serve as a solid foundation for future woodworking endeavors. Whether you’re inspired to tackle more furniture projects or explore other aspects of woodworking, the skills and confidence acquired through this undertaking will undoubtedly propel you forward in your craft.
Moreover, the pride and satisfaction derived from using a piece of furniture that you’ve meticulously crafted with your own hands are immeasurable. Your custom counter height dining table not only serves as a functional surface for meals and gatherings but also stands as a testament to your creativity, dedication, and craftsmanship.
As you integrate your new table into your living space, take pride in the fact that it’s a reflection of your ingenuity and resourcefulness. Whether you’re enjoying a meal with loved ones or simply admiring the beauty of your creation, your custom-built table will continue to enrich your home and inspire conversations for years to come.
So, as you bask in the satisfaction of completing this rewarding project, remember that the journey of woodworking is a continuous evolution of skills, ideas, and creativity. Embrace the joy of crafting, and let your newfound expertise guide you toward even more remarkable creations in the future.
Frequently Asked Questions about How To Build A Counter Height Dining Table
Was this page helpful?
At Storables.com, we guarantee accurate and reliable information. Our content, validated by Expert Board Contributors, is crafted following stringent Editorial Policies. We're committed to providing you with well-researched, expert-backed insights for all your informational needs.


0 thoughts on “How To Build A Counter Height Dining Table”