Tableware
How To Set A Placemat
Modified: October 28, 2024
Discover the easiest way to set a placemat with our step-by-step guide. Enhance your tableware setup and create a stylish dining atmosphere.
(Many of the links in this article redirect to a specific reviewed product. Your purchase of these products through affiliate links helps to generate commission for Storables.com, at no extra cost. Learn more)
Introduction
Welcome to the world of tableware and the art of setting a placemat! Placemats not only provide protection to your dining table but also serve as a stylish and functional addition to your table setting. Whether you’re hosting a formal dinner party or simply enjoying a meal at home, knowing how to set a placemat can elevate the dining experience.
In this article, we will guide you through the step-by-step process of setting a placemat, from choosing the right placemat to adding the final touches. So, let’s dive in and discover how to create a visually appealing and well-organized table setting.
Key Takeaways:
- Elevate your dining experience by choosing the perfect placemat that complements your tableware and personal style, and follow the step-by-step process to create a visually appealing and well-organized table setting.
- Pay attention to details such as alignment, spacing, and symmetry when adjusting the placemat, and add final touches like a centerpiece and name cards to express your creativity and create a welcoming atmosphere for your guests.
Read more: How To Weave A Placemat
Materials Needed
Before we begin, let’s gather all the materials you’ll need to set a placemat:
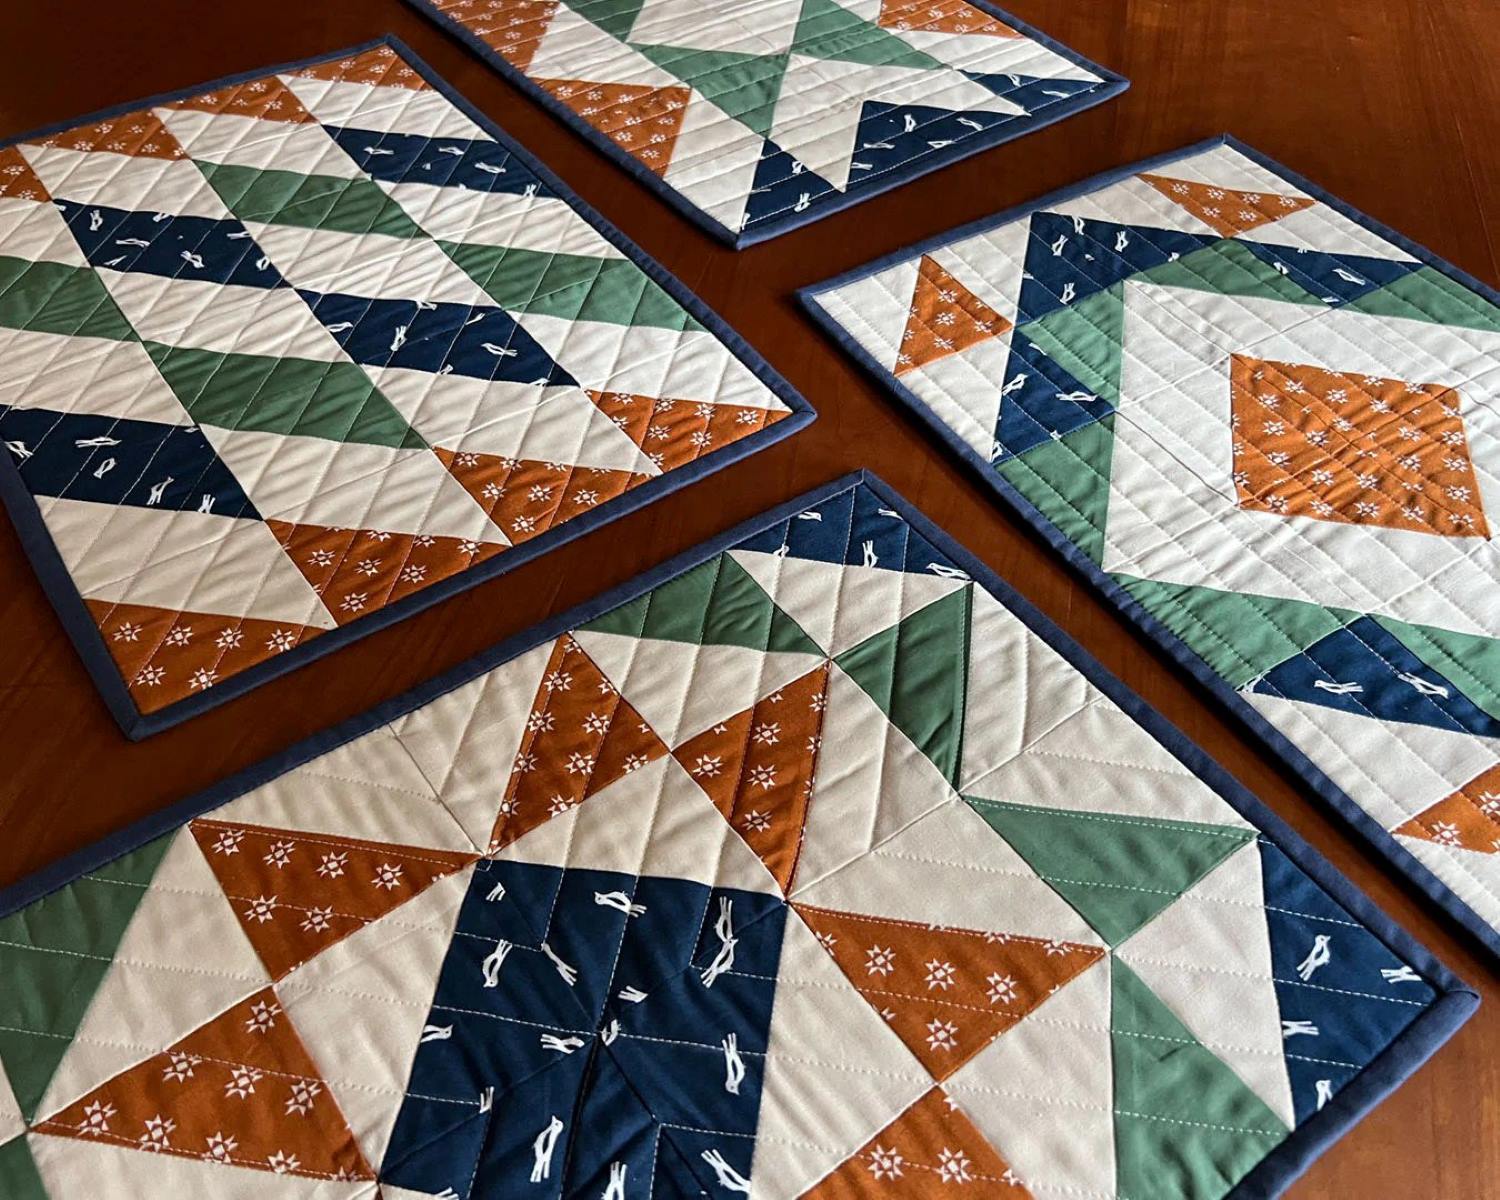
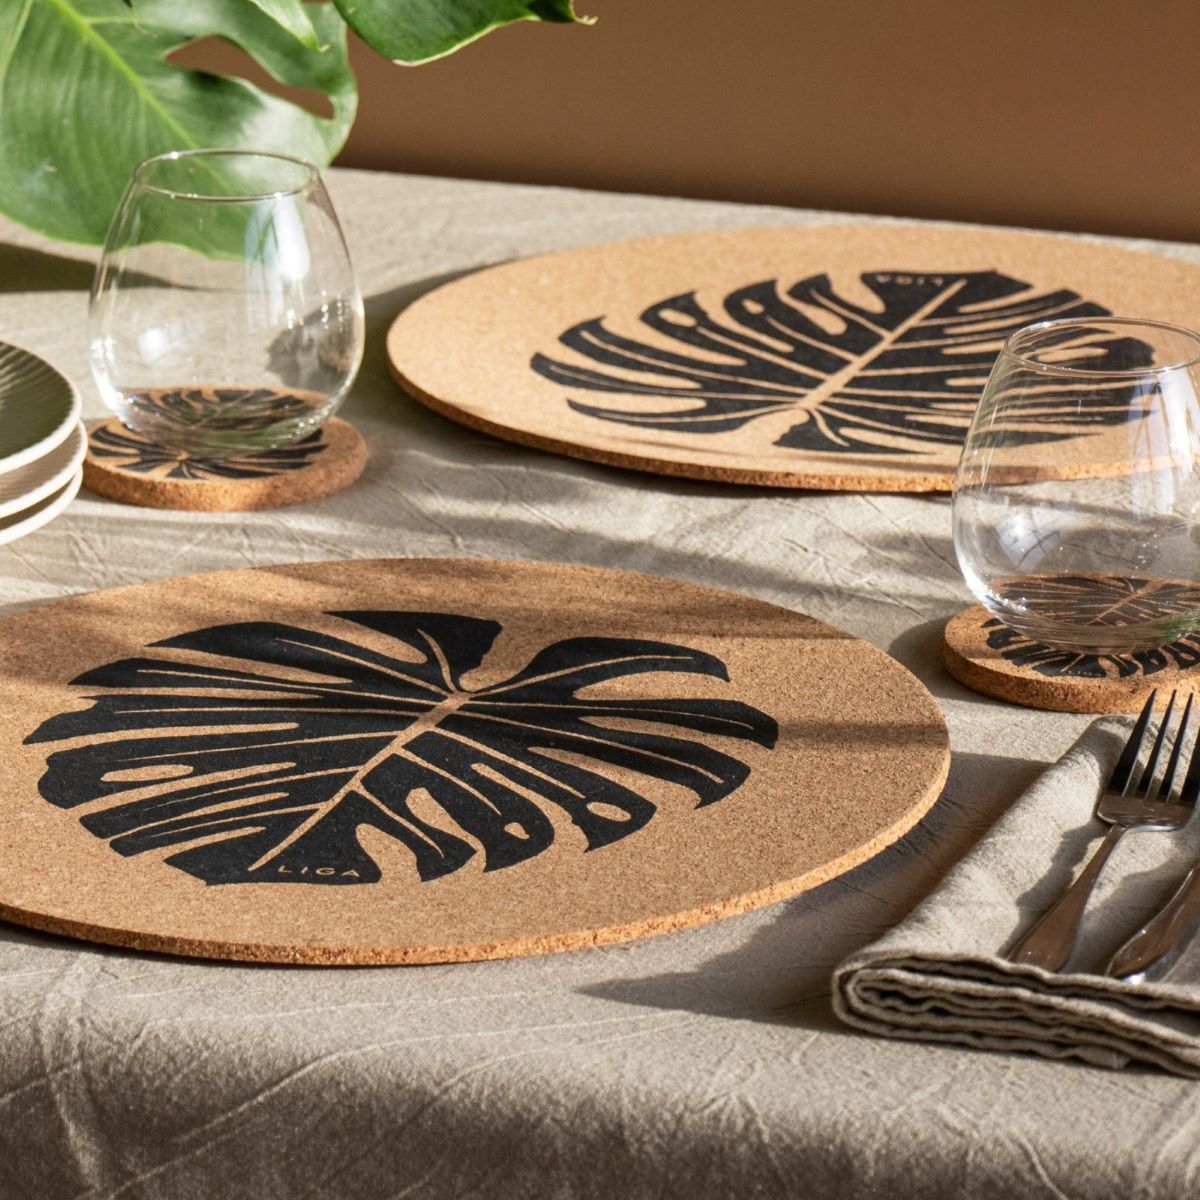
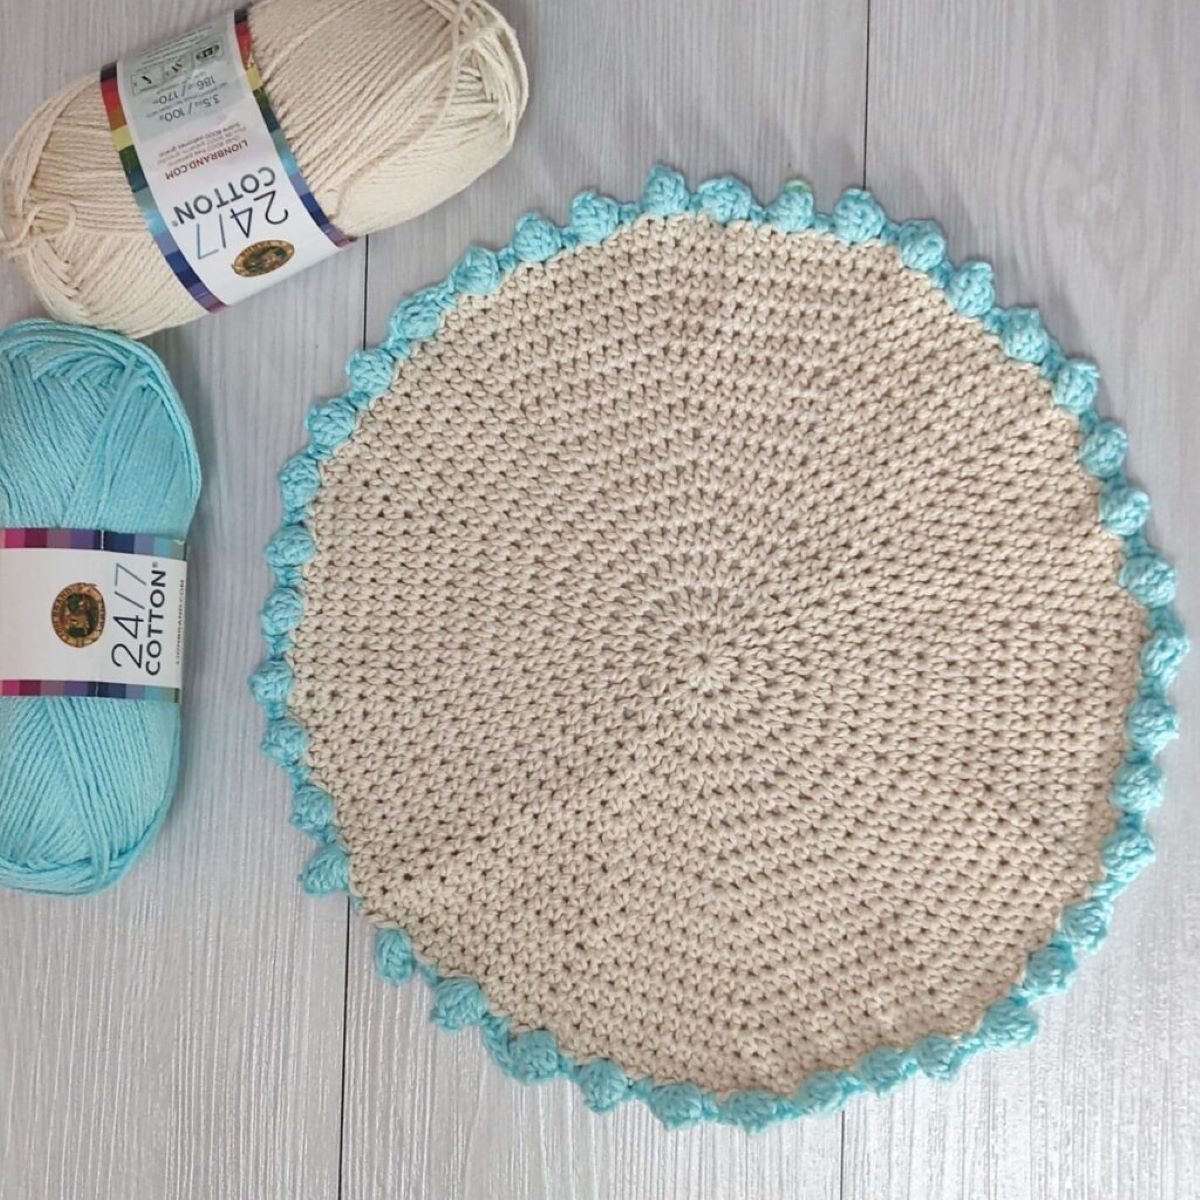
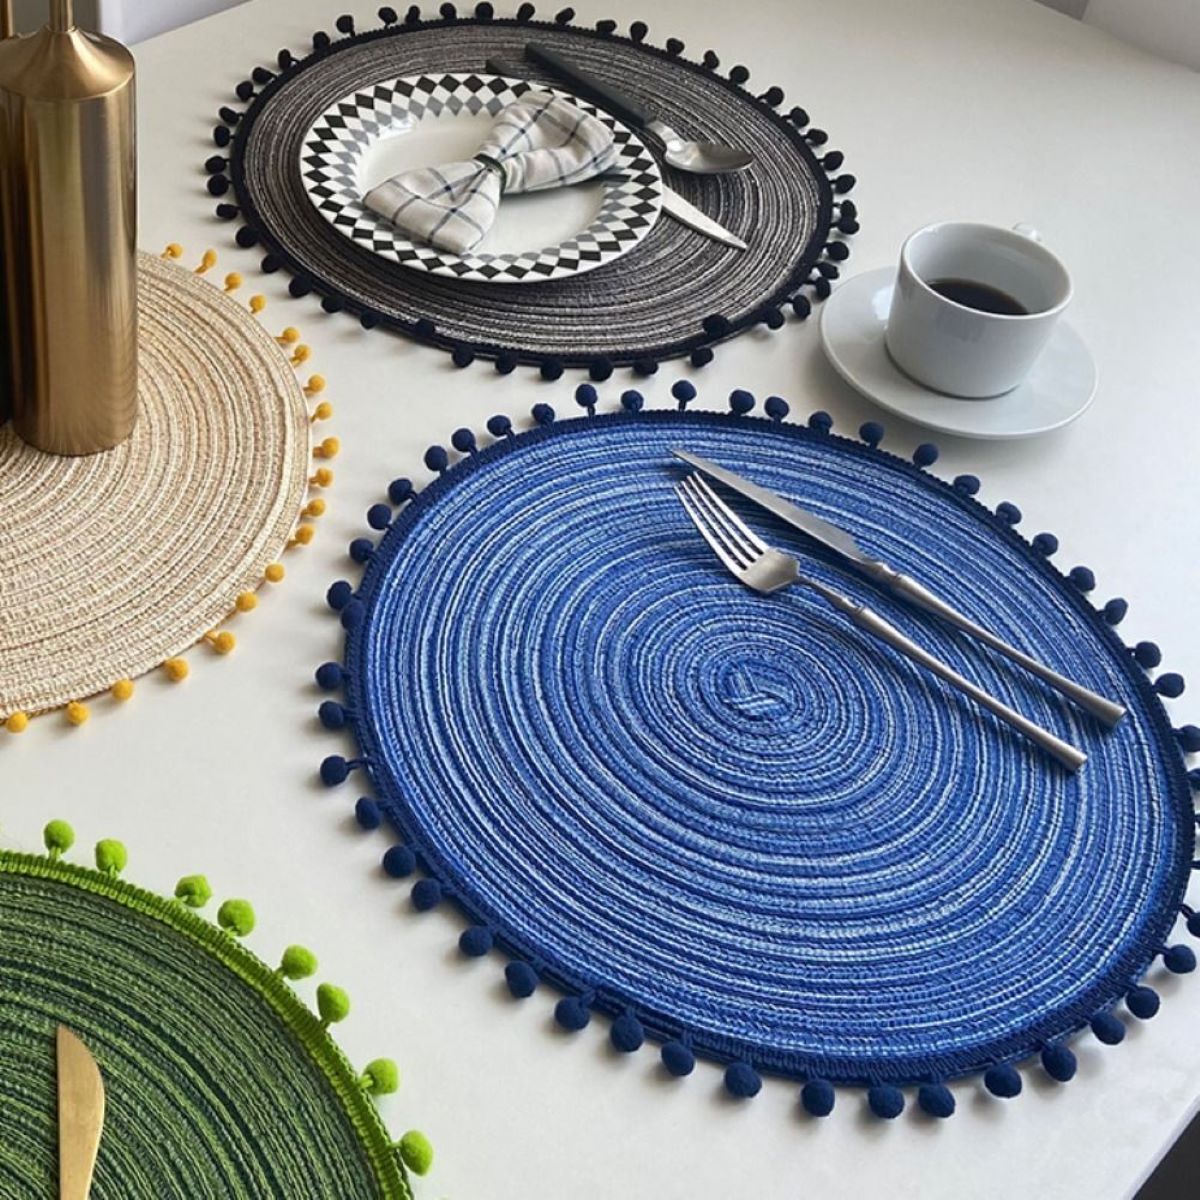
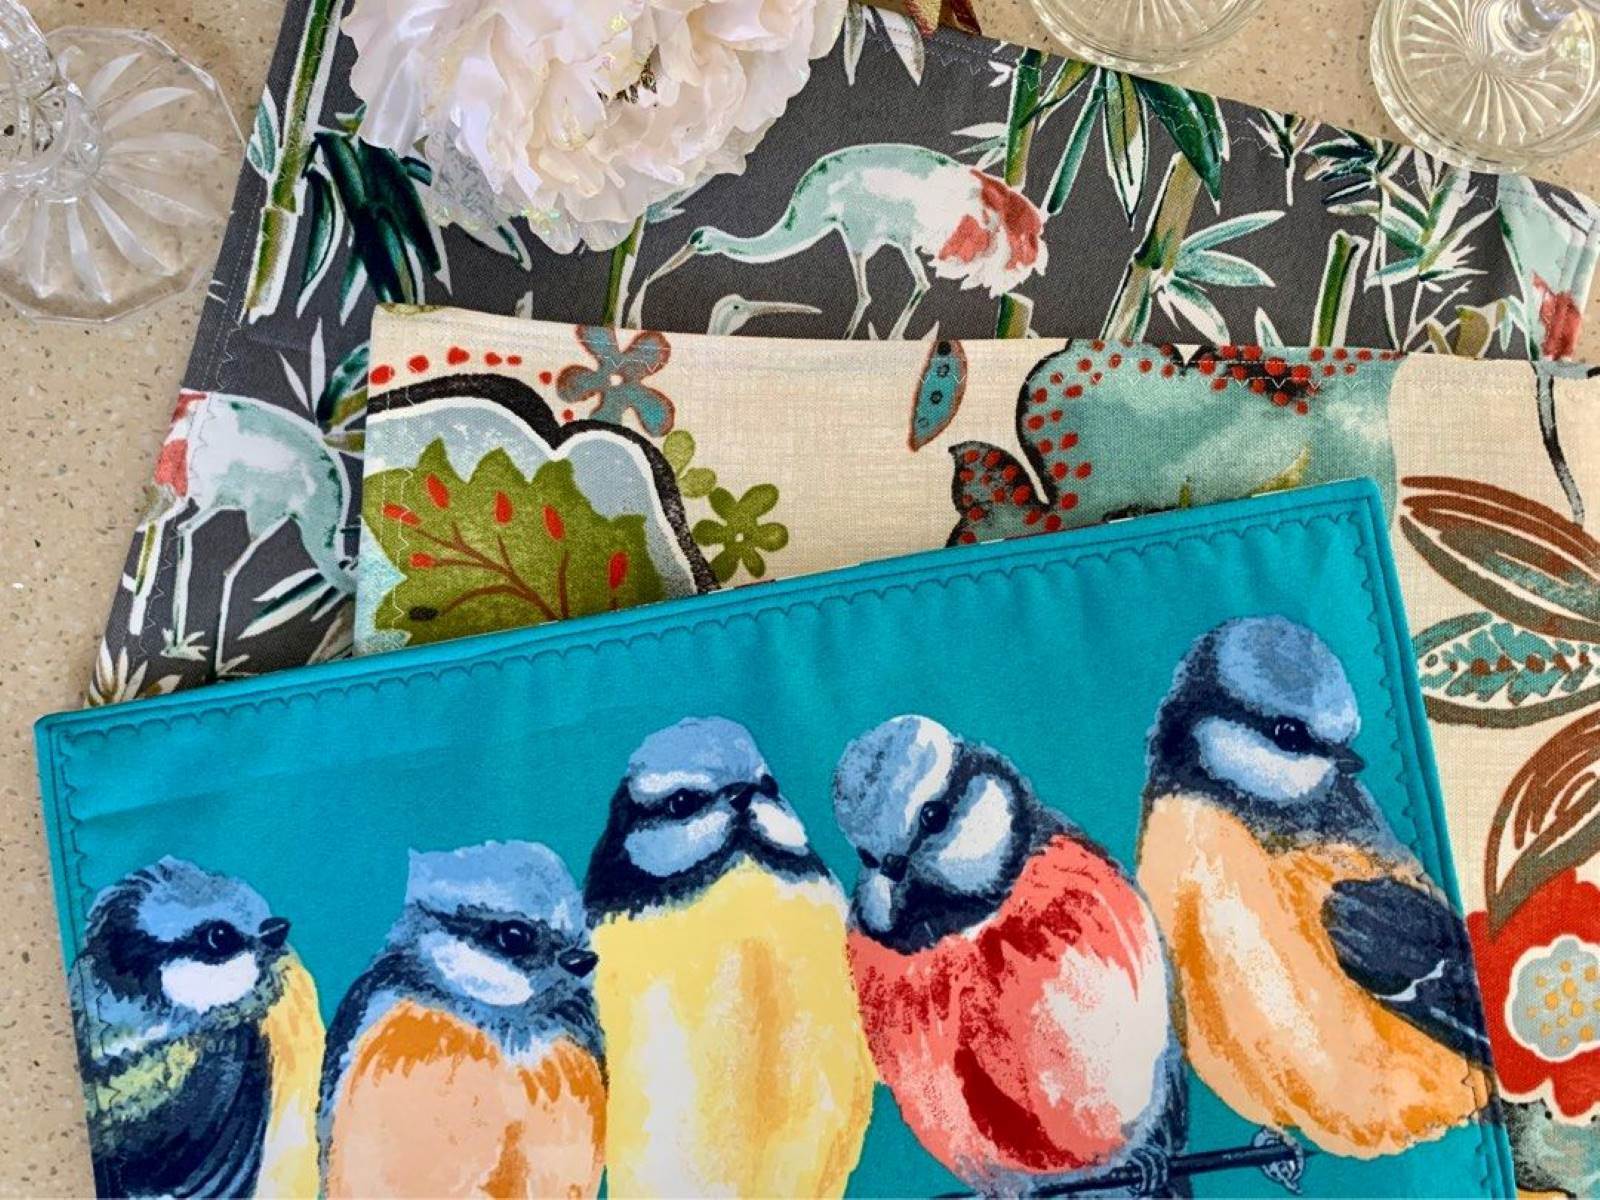
- Placemats: Choose placemats that suit your style and complement your tableware. They can be made of fabric, vinyl, or other materials.
- Tablecloth (optional): If you plan to use a tablecloth, make sure it coordinates well with your placemats.
- Napkins: Cloth or paper napkins that coordinate with your placemats and tableware.
- Flatware: Forks, knives, and spoons for each place setting.
- Plateware: Dinner plates, salad plates, and any other plates you’ll be using.
- Glassware: Water glasses, wine glasses, or any other type of glassware you plan to use.
- Centerpiece (optional): A centerpiece can be a floral arrangement, a candle, or any decorative element you’d like to add to the table.
Now that you have all the materials ready, let’s move on to the next step: choosing the placemat.
Step 1: Choosing the Placemat
When it comes to selecting the perfect placemat, there are a few factors to consider:
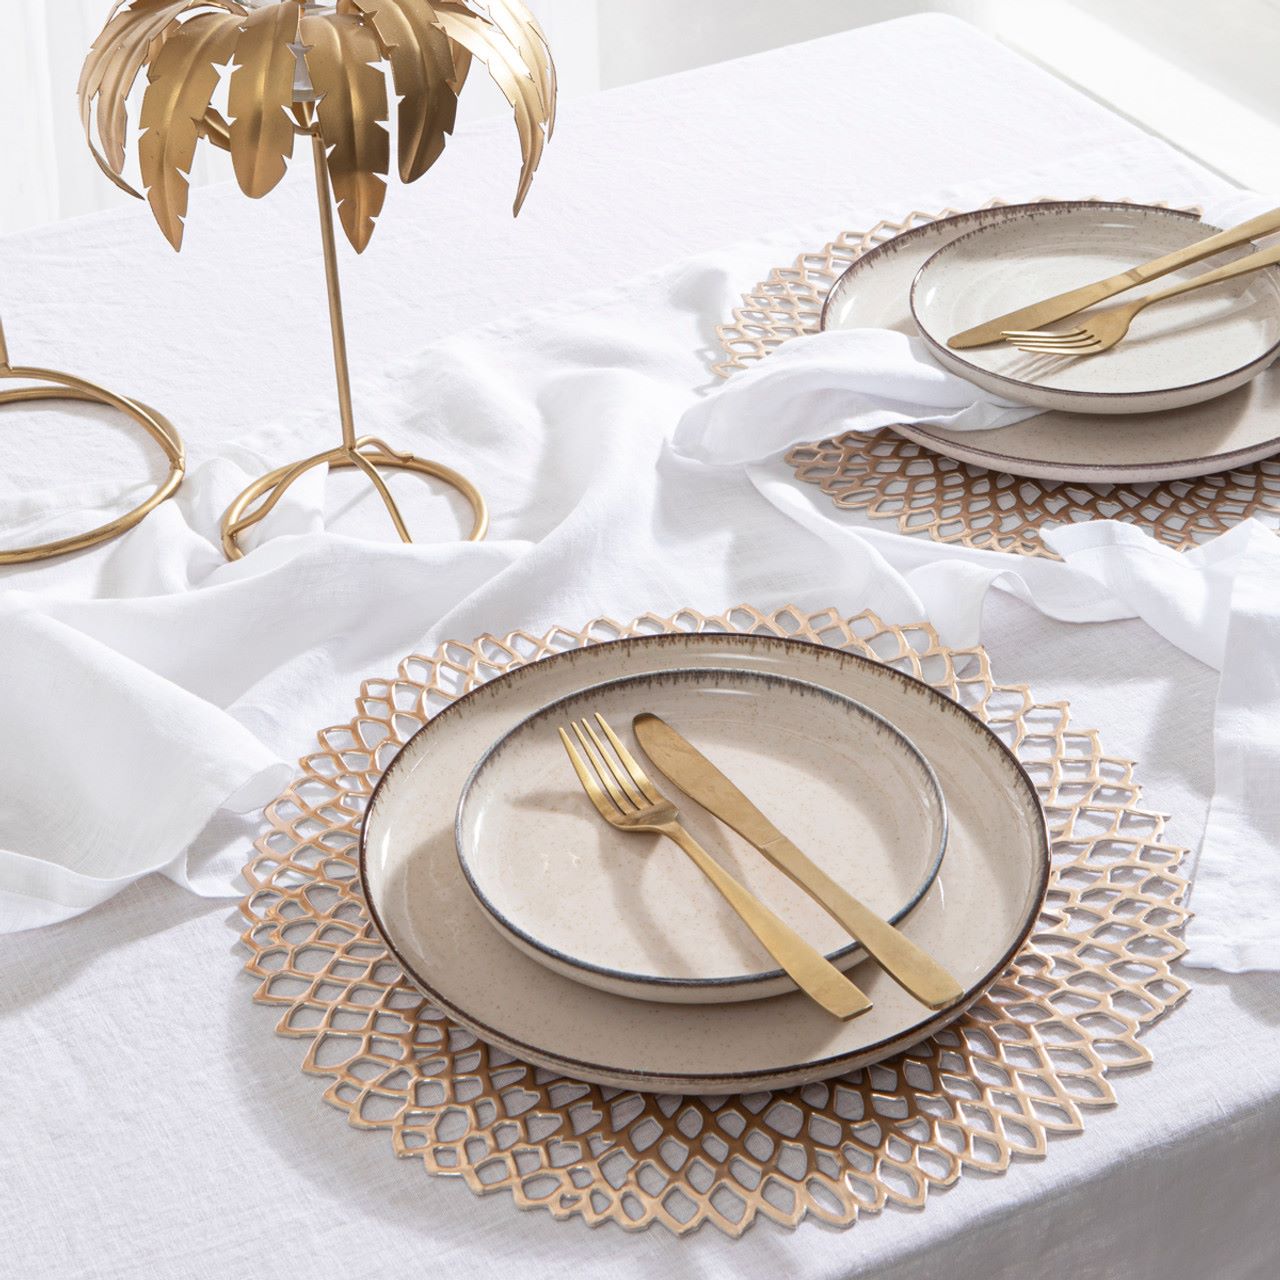
1. Style: Consider the overall style and theme of your table setting. Choose a placemat that complements the aesthetic and enhances the visual appeal. For a formal dining experience, opt for elegant and sophisticated designs. For a more casual or rustic atmosphere, choose placemats with playful prints or natural textures.
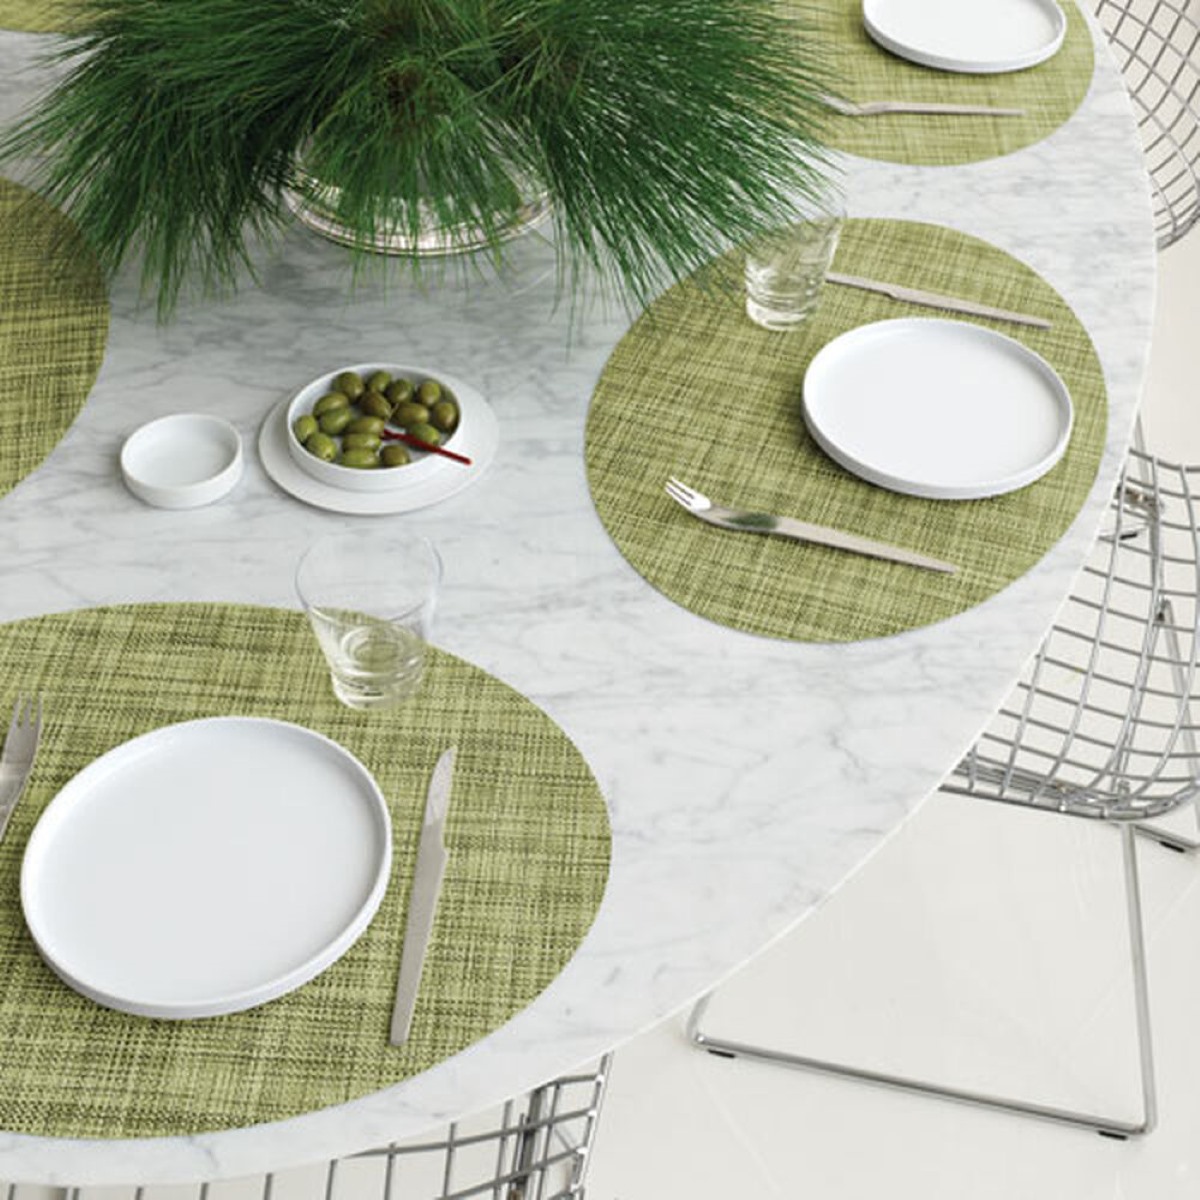
2. Size and Shape: Placemats come in various sizes and shapes. Measure your dining table to ensure the placemats fit well without overcrowding the space. Round, rectangular, or square placemats can be chosen based on your personal preference and the shape of your table.
3. Material: Consider the material of the placemat based on your needs. If you anticipate heavy spills or stains, opt for easy-to-clean materials such as vinyl or laminated placemats. Fabric placemats can add a touch of elegance, but they require more care and maintenance.
4. Color: Choose placemats that complement your tableware and the overall color scheme of the room. Enhance the visual appeal by selecting placemats that either contrast or harmonize with the colors in your dining area.
Once you have chosen the perfect placemat, we can move on to the next step: preparing the table.
Step 2: Preparing the Table
Before you place the placemats, it’s important to prepare the table and create a clean and inviting space for your guests. Follow these steps to ensure a well-prepared table:
1. Clean the Table: Start by clearing the table of any clutter or unnecessary items. Wipe the surface clean to remove dust or debris.
2. Use a Tablecloth (optional): If you prefer to use a tablecloth, lay it evenly on the table before adding the placemats. Make sure the tablecloth has a smooth and wrinkle-free appearance.
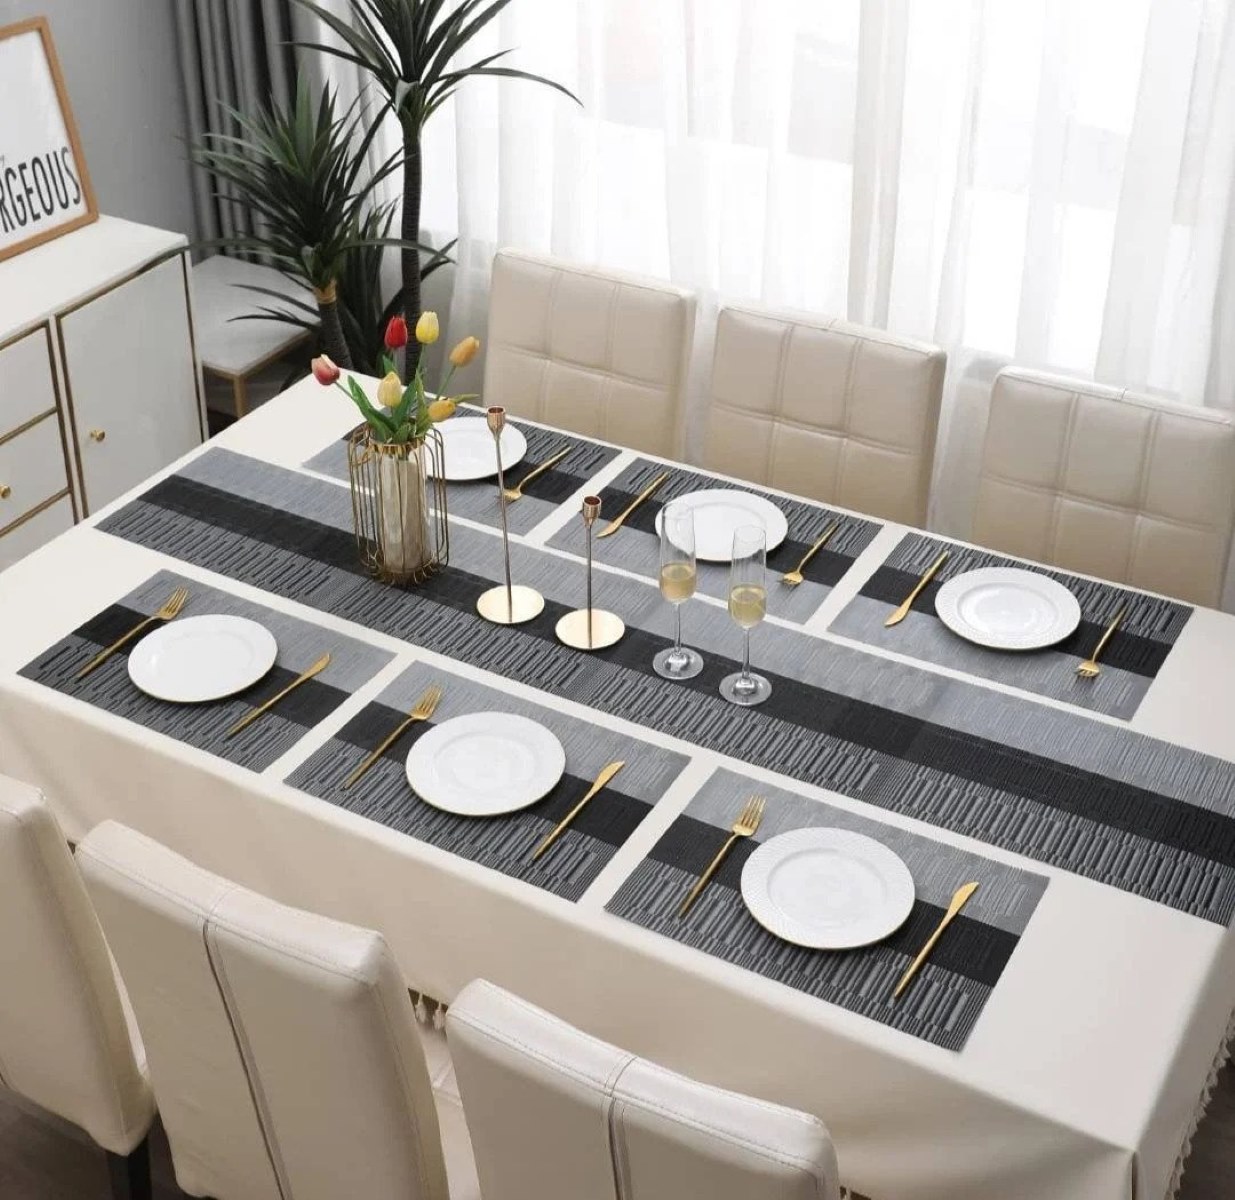
3. Place the Chargers (optional): Chargers are large decorative plates that can be used as a base for the dinner plates. If you decide to use chargers, position one in the center of each place setting.
4. Align the Chairs: Arrange the chairs around the table, ensuring each chair is properly positioned and aligned with the placemats.
5. Adjust the Lighting: Consider the lighting in the room and adjust it accordingly to create the desired ambiance. Whether you prefer dim or bright lighting, make sure it enhances the overall dining experience.
By following these steps, you will have a well-prepared table that serves as the perfect canvas for your placemats and tableware. Now, let’s move on to the next step: placing the placemat.
Step 3: Placing the Placemat
Now that your table is prepared, it’s time to start placing the placemats. Follow these steps to ensure proper placement:
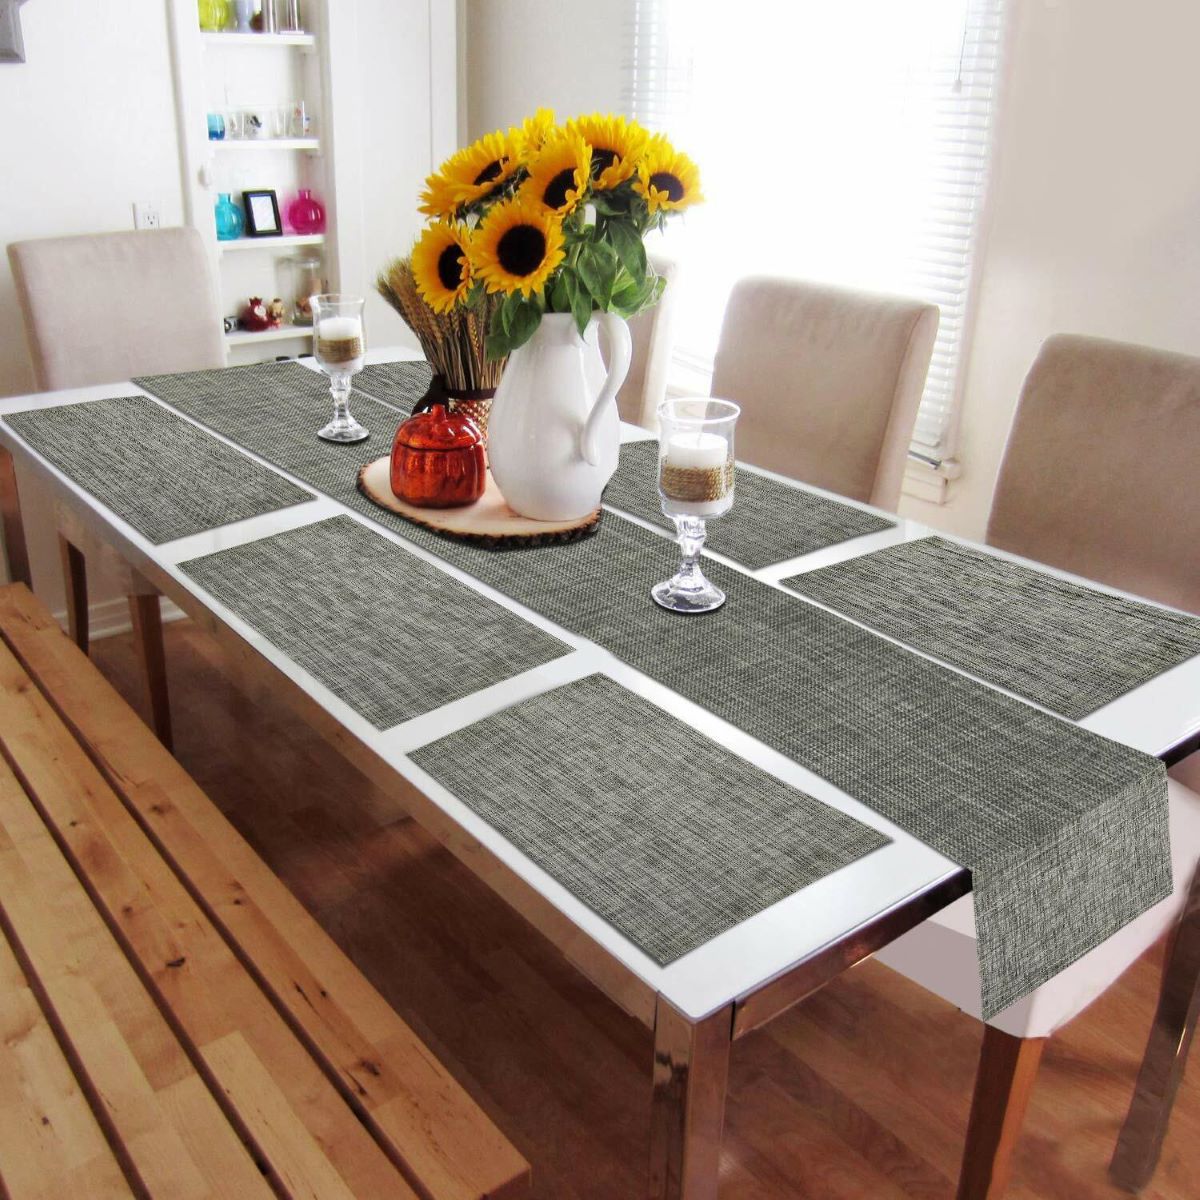
1. Positioning: Start by positioning each placemat in front of each chair, aligning it with the edge of the table. Ensure that the placemats are evenly spaced and centered in relation to the chair and the table.
2. Orientation: Decide on the orientation of the placemat based on its shape. For rectangular or square placemats, position them parallel to the table’s edges. For round placemats, place them at the center of each place setting.
3. Straighten the Placemats: Straighten the placemats to ensure they lie flat and do not overlap with any other items on the table. Adjust their position as needed to create a neat and tidy appearance.
4. Double-Check Alignment: Take a step back and double-check the alignment of the placemats from different angles. Make any necessary adjustments to maintain consistency and balance throughout the table setting.
Placing the placemats in the correct position sets the foundation for the rest of the table setting. Now that the placemats are in place, let’s move on to the next step: adjusting the placemat.
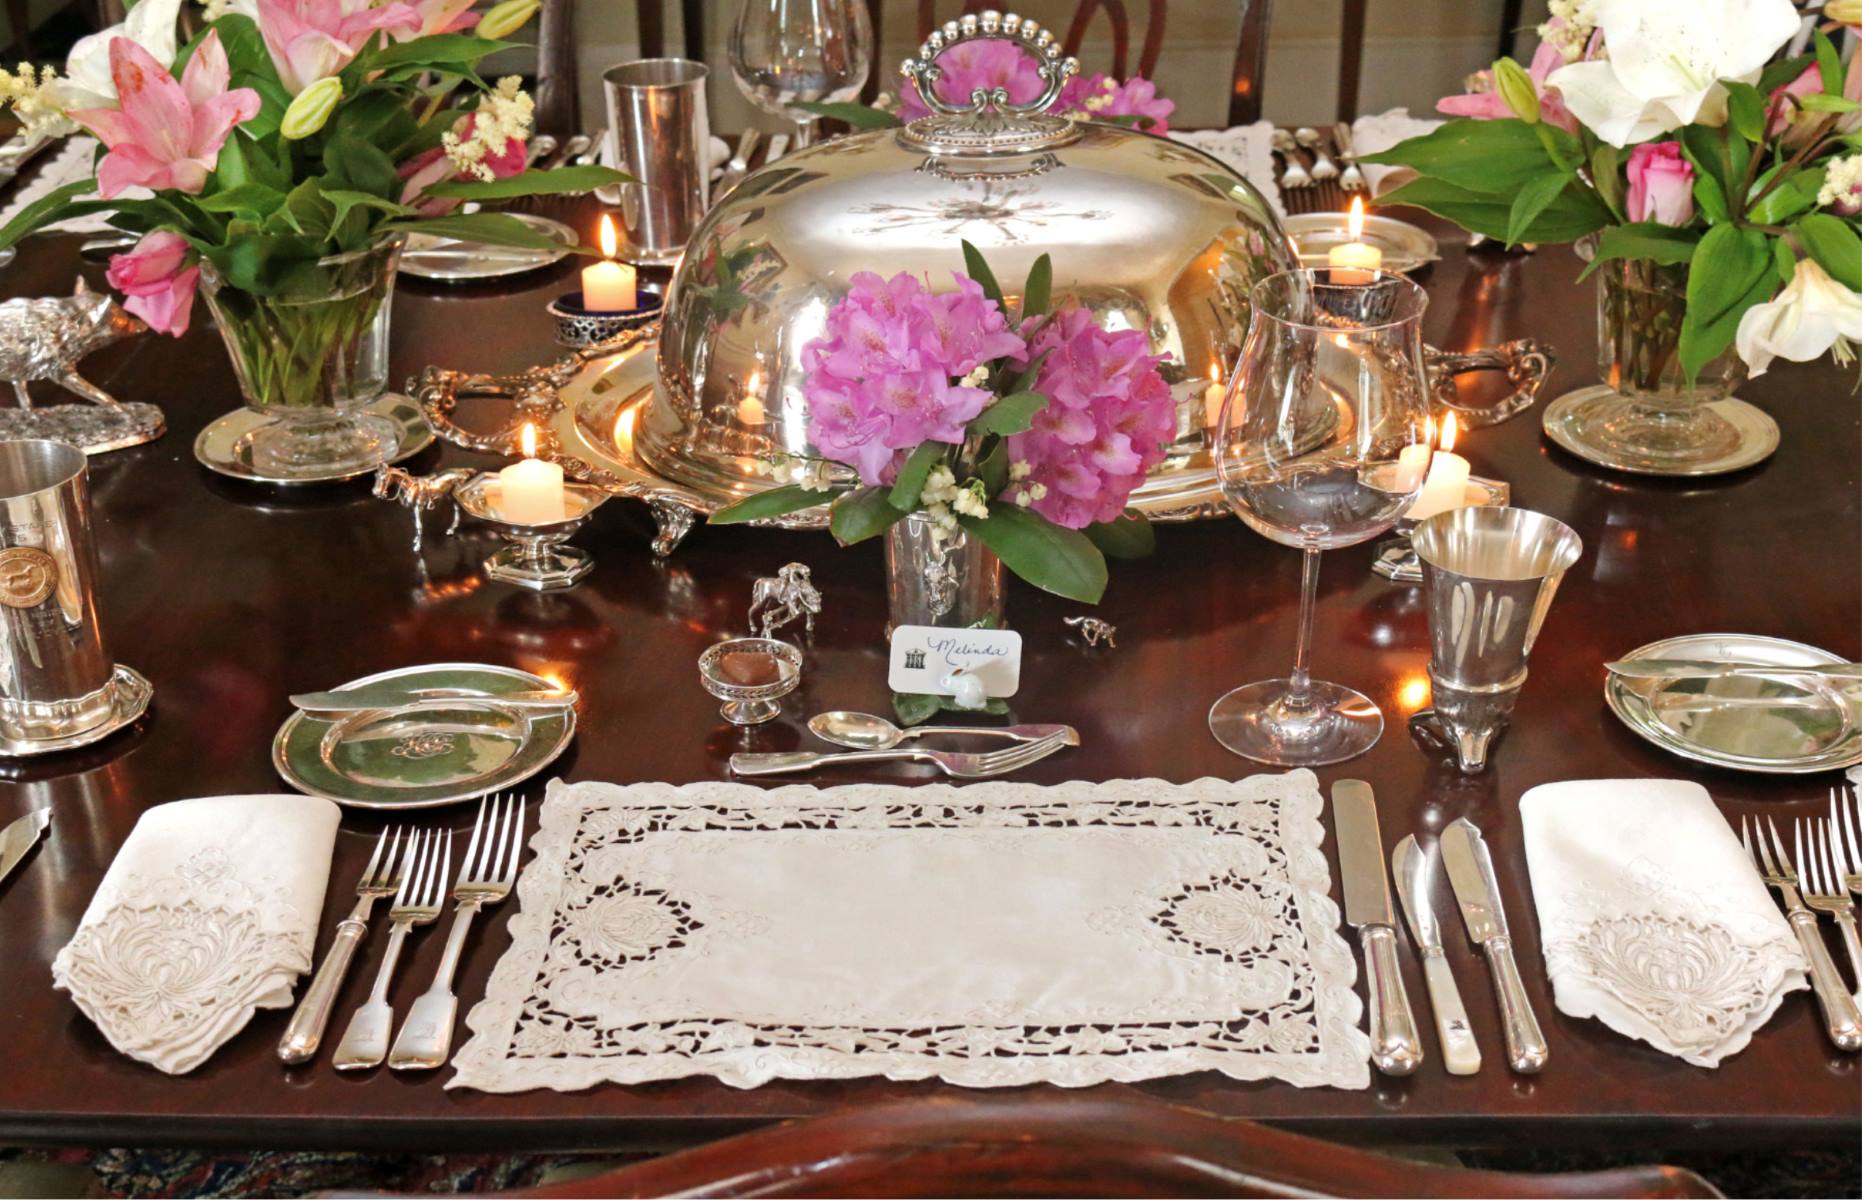
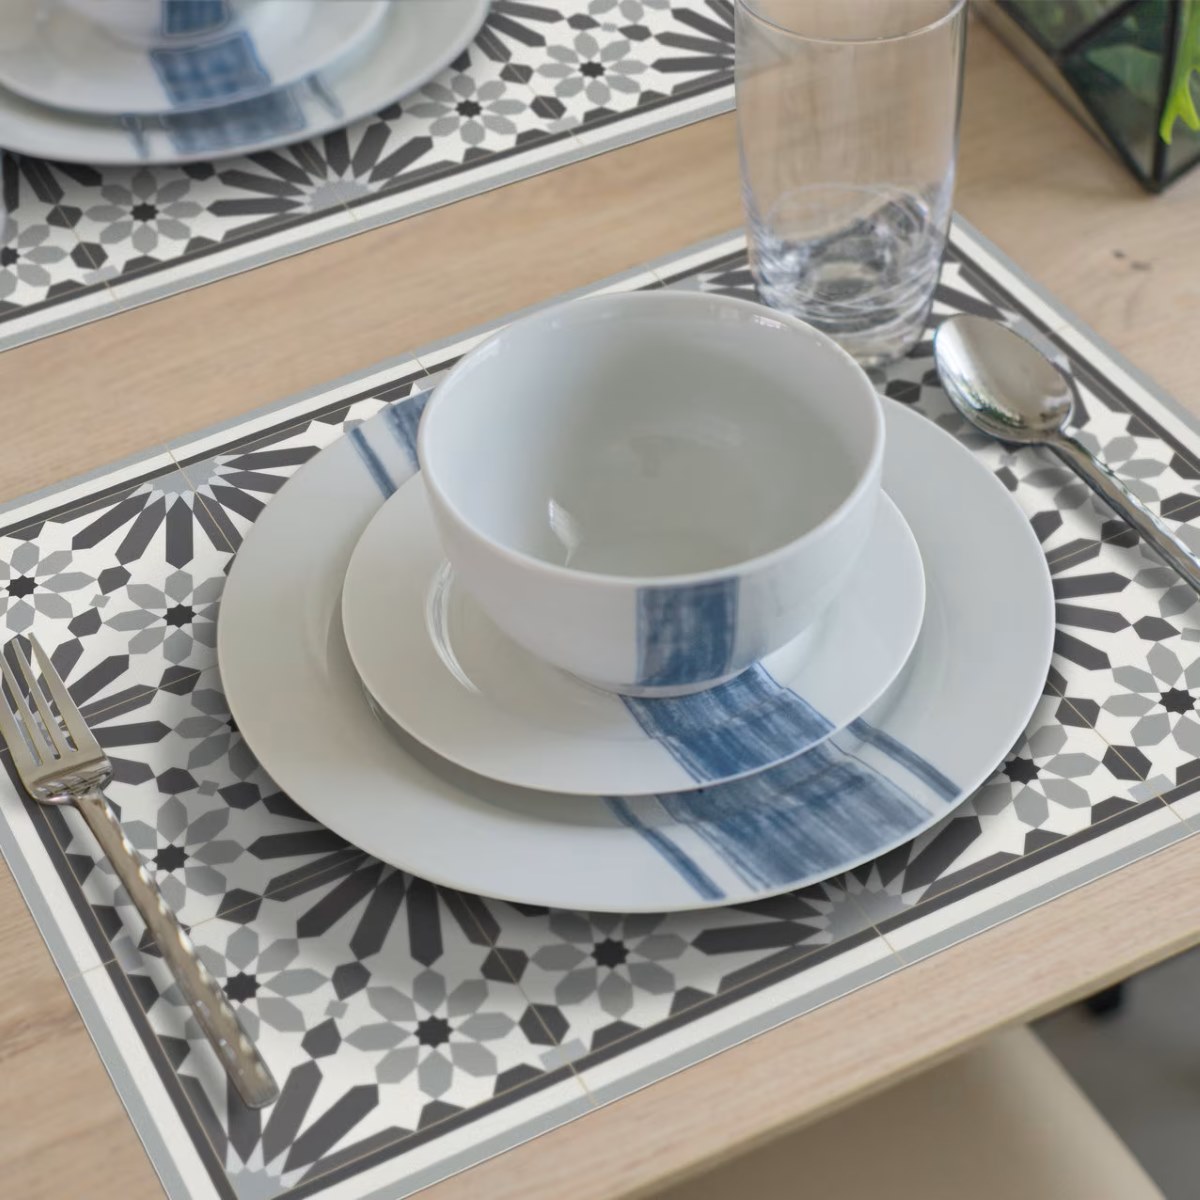
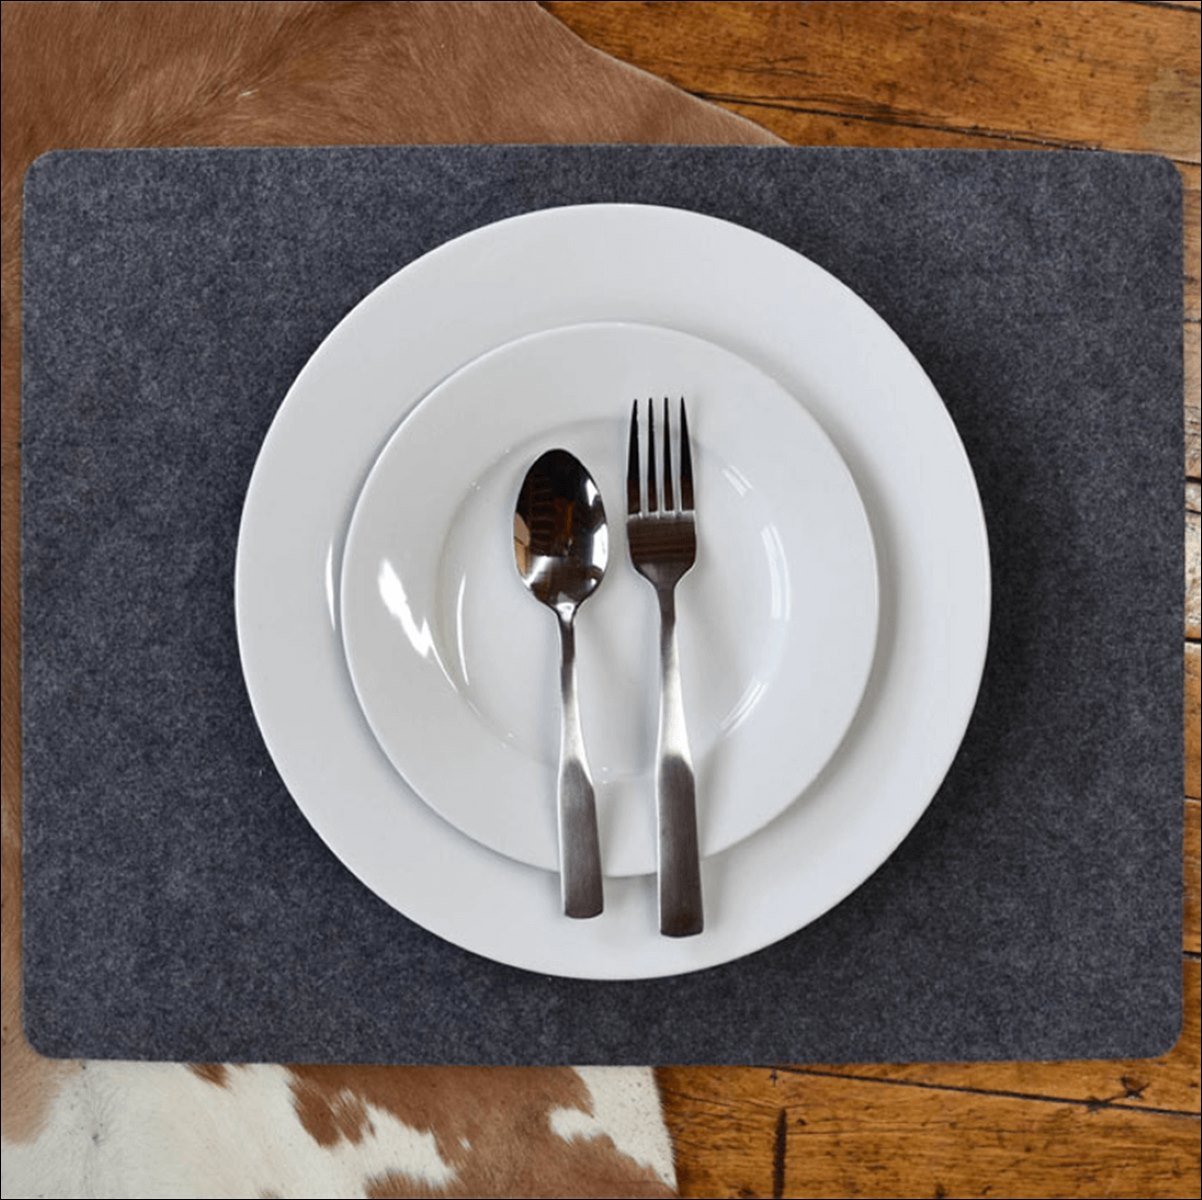
When setting a placemat, make sure it is centered in front of the chair, with an equal amount of overhang on all sides. Place the dinner plate in the center of the placemat, and arrange the utensils on either side of the plate, with the knife blade facing the plate.
Read more: How To Sew Placemats And Napkins
Step 4: Adjusting the Placemat
Now that the placemats are in position, it’s time to make some final adjustments to ensure they are properly aligned and visually pleasing. Follow these steps to adjust the placemats:
1. Centering: Check the placement of each placemat and make sure it is centered in front of the chair. Adjust the position if necessary to maintain symmetry and balance.
2. Equal Spacing: Ensure that there is an equal amount of space between each placemat. This will create a cohesive and uniform appearance across the table.
3. Overhang: If you prefer, you can allow a small amount of overhang on all sides of the placemat. This can add a touch of elegance and create a layered look when combined with the tablecloth or charger.
4. Straighten Edges: Straighten the edges of the placemat to ensure they align with the edges of the table. Adjust any misaligned corners or edges to create a clean and polished look.
5. Smoothness: Smooth out any wrinkles or folds in the placemat to create a sleek and tidy appearance. Press down gently on the placemat to ensure it lies flat against the table surface.
By making these adjustments, you’ll create a visually appealing table setting with perfectly placed and aligned placemats. Now, it’s time to add the tableware!
Step 5: Adding Tableware
With the placemats adjusted to perfection, it’s time to add the tableware and complete the table setting. Follow these steps to add the necessary tableware:
1. Dinner Plates: Place a dinner plate in the center of each placemat. Ensure that the plates are properly aligned and centered within the placemat.
2. Salad Plates: If you’re serving a salad or appetizer, place a smaller salad plate on top of the dinner plate. Align it neatly in the center of the dinner plate.
3. Forks, Knives, and Spoons: Set the utensils on either side of the plates. Place the fork on the left side, the knife on the right (blade facing inward), and the spoon to the right of the knife. Make sure they are aligned parallel to the edges of the placemat.
4. Napkins: Fold the napkins and place them either on the dinner plate or to the left of the forks. If you desire a decorative touch, you can use napkin rings or creatively fold the napkins.
5. Glassware: Position the water glass above the knife, slightly to the right. If you’re serving wine, place the appropriate wine glasses to the right of the water glass.
Take a moment to ensure that all the tableware is properly set and aligned. Adjust any items if necessary to maintain a balanced and visually pleasing table setting.
Now that the tableware is in place, it’s time for the final touches!
Step 6: Final Touches
Now that your table is beautifully set with placemats, tableware, and glassware, it’s time to add some final touches to enhance the overall aesthetic. Follow these steps to give your table setting that extra special finishing touch:
1. Centerpiece: Place a centerpiece on the table to serve as a focal point and add a touch of elegance or personality. It could be a floral arrangement, a candle, or any decorative item that complements the theme or occasion.
2. Name Cards (optional): If you’re hosting a formal event or dinner party, consider adding name cards to each place setting. This personal touch adds a sense of thoughtfulness and helps guests find their assigned seats.
3. Table Decorations: Add additional table decorations such as small vases with flowers, decorative place card holders, or seasonal accents to enhance the overall aesthetic of the table.
4. Lighting: Adjust the lighting in the dining area to create the desired ambiance. Soft, warm lighting can create a cozy and intimate atmosphere, while bright lighting can make the table setting appear more vibrant.
5. Double-Check Everything: Take a step back and visually inspect the table setting from different angles. Make any necessary adjustments to ensure that everything is aligned, symmetrical, and visually appealing.
By adding these final touches, you’ll elevate the ambiance and create a welcoming and memorable dining experience for your guests.
With the final touches complete, your table setting is now ready for a delightful meal and enjoyable moments with friends and family. Enjoy!
Conclusion
Setting a placemat is not just a functional task but also an opportunity to create a visually appealing and inviting table setting. By following the steps outlined in this article, you can ensure that your placemats are placed and adjusted with precision and style.
From choosing the perfect placemat that complements your tableware and personal style, to preparing the table, placing the placemat, and adding the tableware, each step contributes to the overall aesthetic of the dining experience.
Remember to pay attention to details such as alignment, spacing, and symmetry when adjusting the placemat. These small adjustments can make a significant difference in the appearance of your table setting.
Adding the finishing touches, such as a centerpiece, name cards, and other table decorations, allows you to express your creativity and personal style. These elements create a welcoming and memorable atmosphere for your guests.
Whether you’re hosting a formal dinner party or a casual meal at home, setting a placemat demonstrates the thought and care you put into creating a beautiful and well-organized table. It enhances the overall dining experience and makes your guests feel special.
So, the next time you prepare to set the table, remember the steps outlined in this article: choose the right placemat, prepare the table, place and adjust the placemat with precision, add the essential tableware, and add those final touches to complete the look. Your beautifully set placemats will undoubtedly impress your guests and make every meal a memorable occasion.
Now, go ahead and create a stunning table setting with your carefully chosen and perfectly placed placemats!
Frequently Asked Questions about How To Set A Placemat
Was this page helpful?
At Storables.com, we guarantee accurate and reliable information. Our content, validated by Expert Board Contributors, is crafted following stringent Editorial Policies. We're committed to providing you with well-researched, expert-backed insights for all your informational needs.

0 thoughts on “How To Set A Placemat”