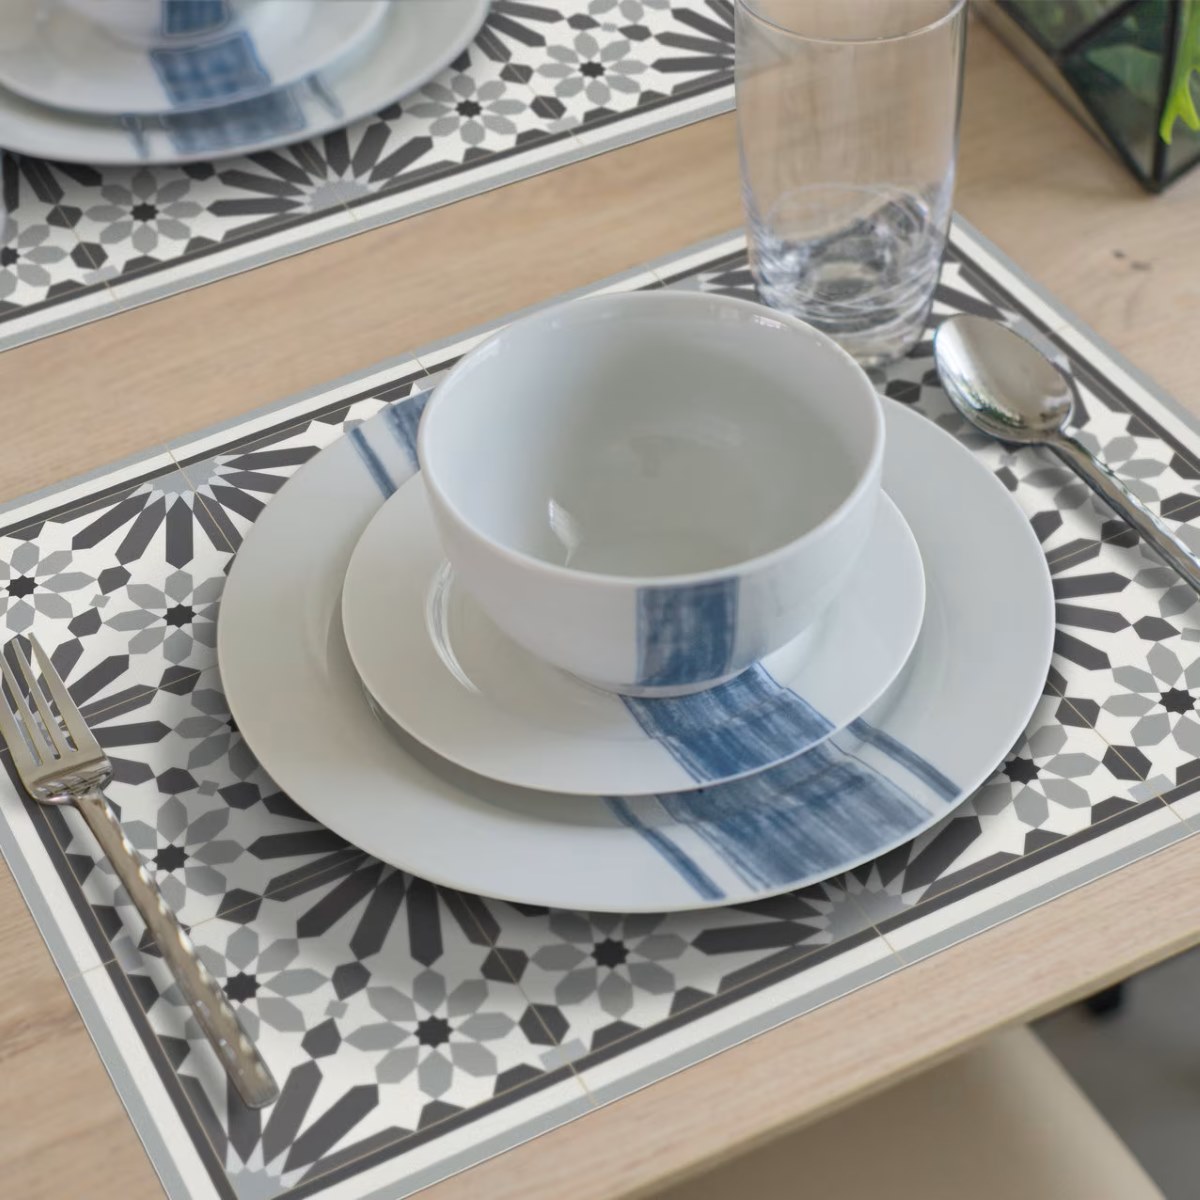
Tableware
How To Make Vinyl Placemats
Modified: January 4, 2024
Discover the step-by-step process of creating stylish vinyl placemats for your tableware collection. Elevate your dining experience with these DIY table accessories.
(Many of the links in this article redirect to a specific reviewed product. Your purchase of these products through affiliate links helps to generate commission for Storables.com, at no extra cost. Learn more)
Introduction
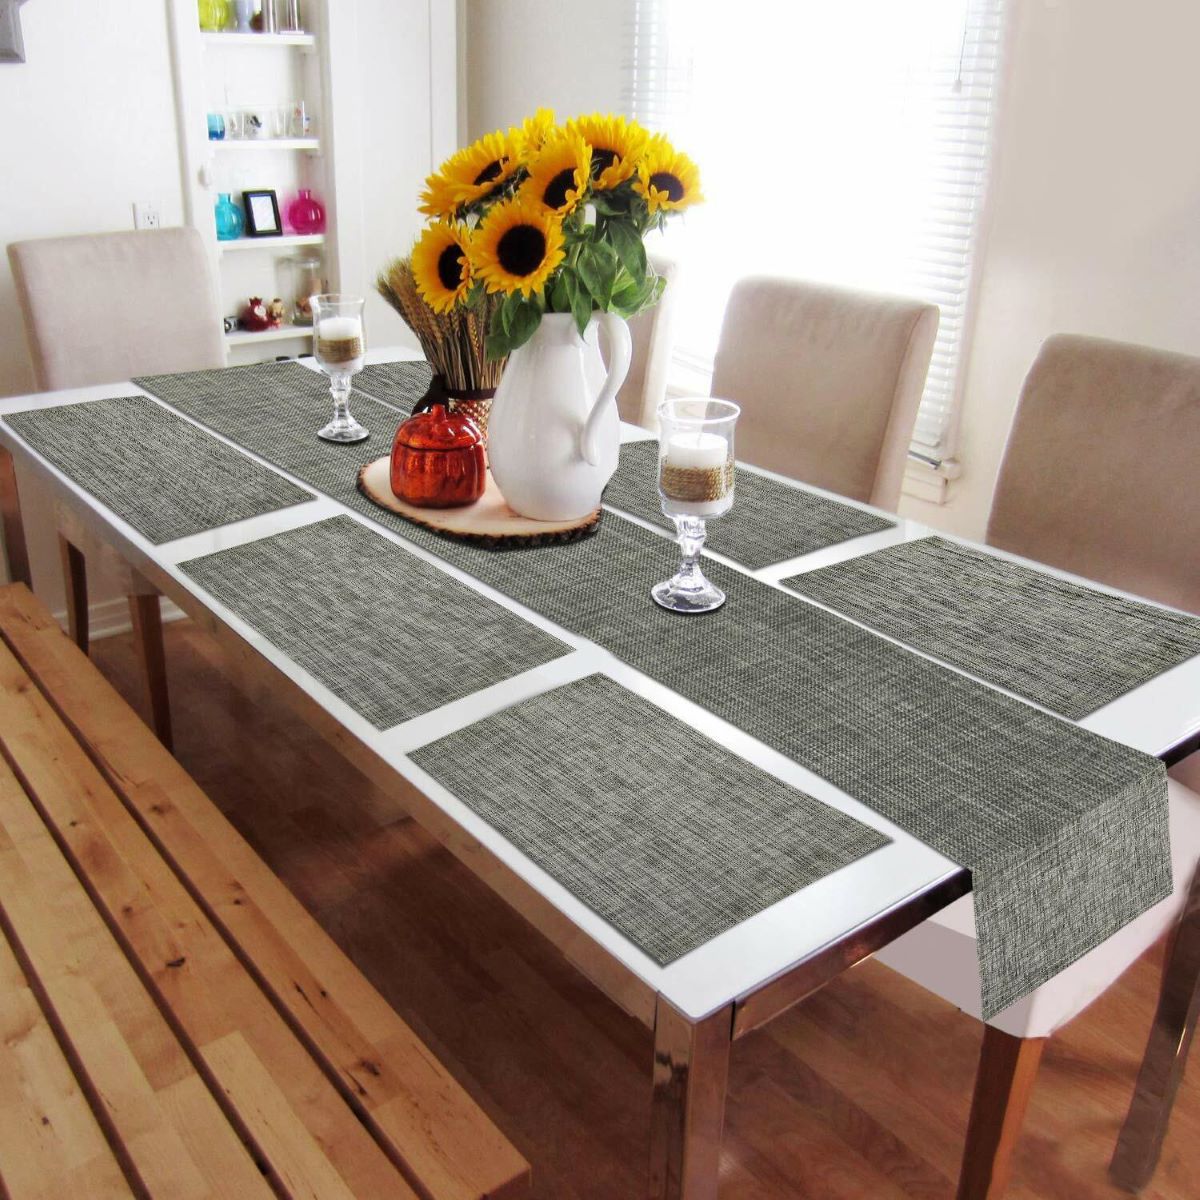
Welcome to the world of vinyl placemats, where design meets functionality in the realm of tableware! Vinyl placemats have become increasingly popular due to their versatility, durability, and ability to elevate any dining experience. Whether you’re looking to add a touch of style to your everyday meals or planning a special event, making your own vinyl placemats allows you to customize and personalize them to suit your taste and decor.
In this article, we will guide you through the process of creating your own vinyl placemats from scratch. From choosing the right vinyl material to adding a design and applying it to the placemat, we’ve got you covered. So, let’s roll up our sleeves and embark on this DIY journey to make stylish and practical vinyl placemats that will impress your guests and make your meals even more enjoyable.
Key Takeaways:
- Elevate your dining experience by creating personalized vinyl placemats that reflect your style and taste. From choosing the right vinyl fabric to adding a design, this DIY project allows for endless creativity and customization.
- Impress your guests and add a personal touch to your dining table with handmade vinyl placemats. With durability, style, and functionality in mind, this DIY project offers a fun and rewarding way to enhance your dining experience.
Read more: How To Make A Quilted Placemat
Materials Needed
To create your own vinyl placemats, you will need the following materials:
- Vinyl fabric: Choose a vinyl fabric that suits your style and preferences. Opt for a durable and easy-to-clean option that is suitable for placemats.
- Scissors: Make sure you have a sharp pair of scissors for cutting the vinyl fabric to the desired size.
- Measuring tape or ruler: You’ll need a measuring tool to accurately measure and cut the vinyl fabric.
- Pencil or fabric marker: Use a pencil or a fabric marker to mark the measurements on the vinyl fabric before cutting.
- Iron-on vinyl: If you want to add a design to your placemat, you’ll need iron-on vinyl in the colors and patterns of your choice.
- Iron: An iron is necessary for adhering the iron-on vinyl to the placemat.
- Ironing board or heat-resistant surface: Use an ironing board or a heat-resistant surface to protect your workspace and ensure a smooth application of the iron-on vinyl.
- Fabric glue (optional): If you want to add any embellishments like trim or lace to your placemat, you may need fabric glue to secure them in place.
Once you have gathered these materials, you’re ready to move on to the next step of the placemat-making process.
Step 1: Choosing the Vinyl
The first step in making your own vinyl placemats is selecting the right vinyl fabric. Consider the following factors when making your choice:
- Style: Choose a vinyl fabric that complements your dining area and matches your personal style. Whether you prefer a bold and vibrant print or a subtle and elegant pattern, there is a wide variety of options available to suit every taste.
- Durability: Since placemats are regularly used and exposed to spills and stains, it’s essential to choose a vinyl fabric that is durable and easy to clean. Look for materials that can withstand frequent use and can be wiped clean with a damp cloth.
- Size: Determine the size of the placemats you want to create. Measure your dining table or consider the standard size of placemats (usually around 12″ x 18″). Ensure that the vinyl fabric you choose is wide enough to accommodate the desired size.
- Heat resistance: If you often place hot dishes or plates on the placemats, select a vinyl fabric that is heat-resistant. This will prevent any damage or discoloration from the heat.
- Texture: Consider the texture of the vinyl fabric. Some vinyls have a smooth and glossy finish, while others have a textured or embossed surface. Choose the texture that appeals to you and fits well with your table decor.
Once you have considered these factors and chosen the vinyl fabric that meets your requirements, you’re ready to move on to the next step of the placemat-making process: measuring and cutting.
Step 2: Measuring and Cutting
Now that you have chosen the perfect vinyl fabric, it’s time to measure and cut it to the desired size for your placemats. Follow these steps:
- Measure the dimensions: Use a measuring tape or ruler to determine the size of each placemat. Standard placemats are typically around 12″ x 18″, but you can customize the dimensions to fit your table or personal preference.
- Mark the measurements: Take a pencil or fabric marker and mark the measurements on the backside of the vinyl fabric. Ensure that the lines are straight and accurate.
- Cut the fabric: Using sharp scissors, carefully cut along the marked lines to create each individual placemat. Take your time to ensure clean and even edges.
Remember to leave a little extra fabric around the edges if you plan to add any trim or embellishments later on. It’s always better to have a slightly larger placemat that can be trimmed down if necessary.
If you want to create rectangular placemats, simply repeat the measuring and cutting process for each placemat. If you prefer a different shape, such as round or oval, use a template or shape to guide your cutting process.
Once you have cut out all the placemats, make sure to double-check the dimensions and trim any uneven edges. Now you’re ready to move on to the next step: adding a design to your vinyl placemats.
When cleaning vinyl placemats, avoid using harsh chemicals or abrasive scrubbers as they can damage the surface. Instead, use a mild soap and water solution and a soft cloth to gently wipe them clean.
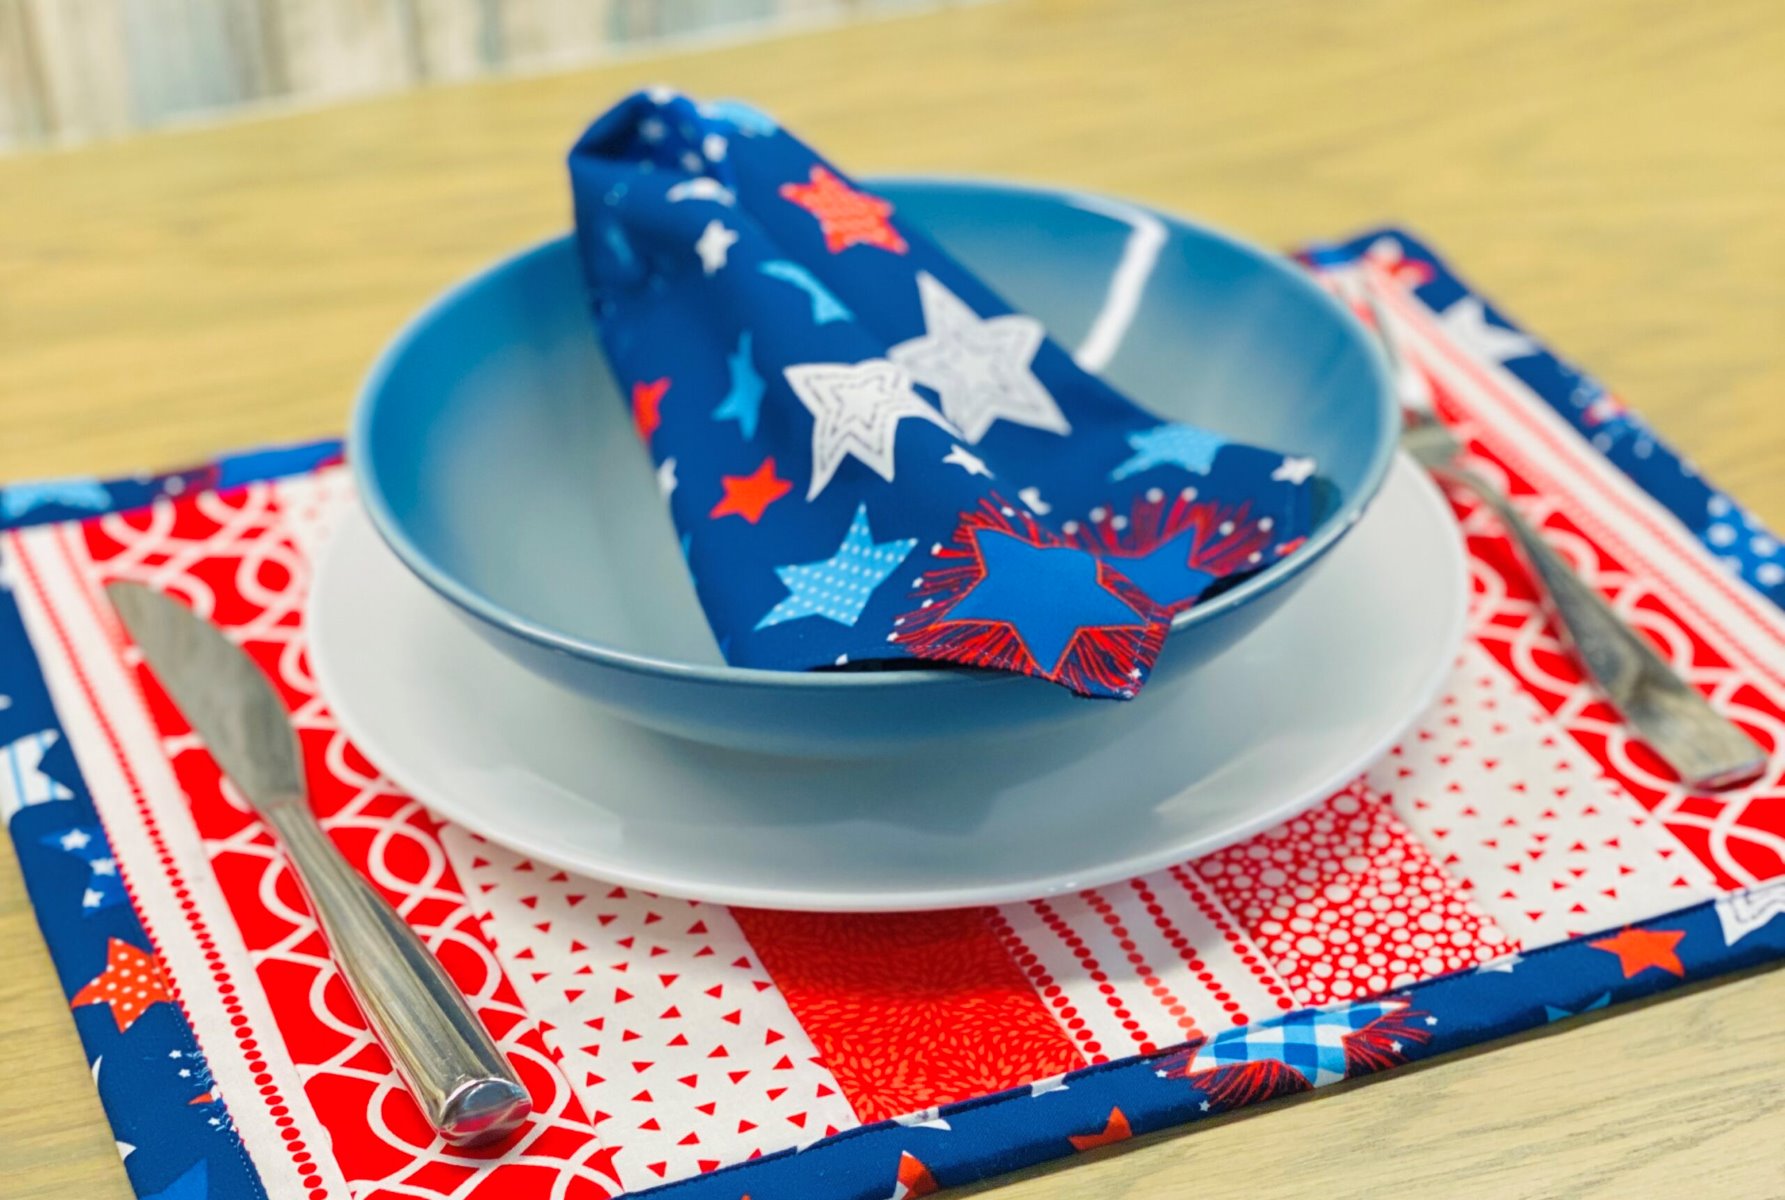
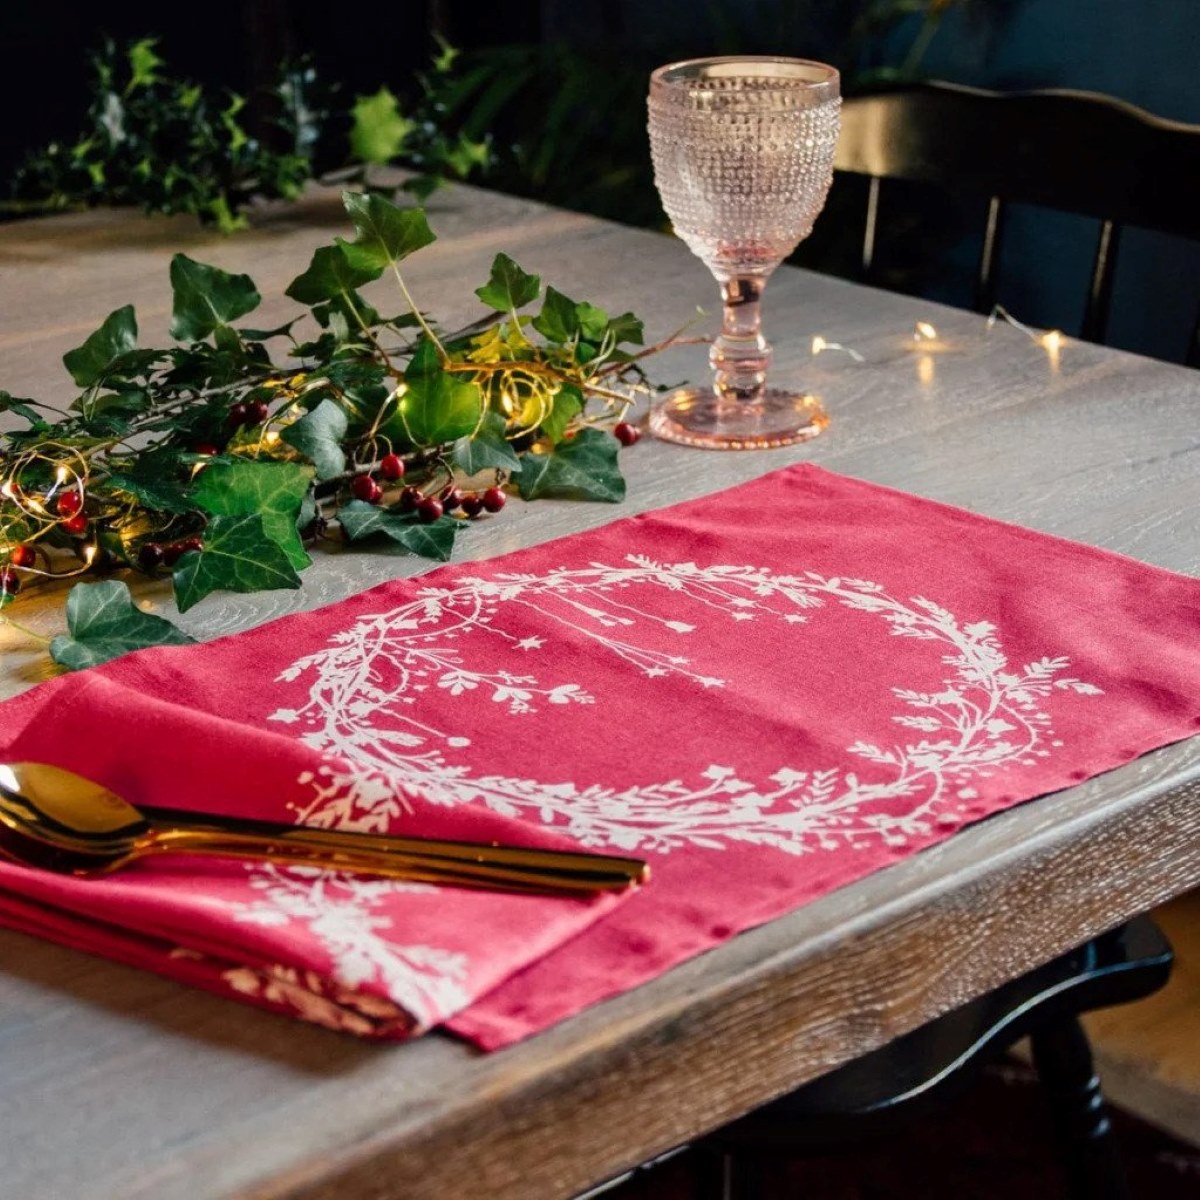
Step 3: Adding the Design
Adding a design to your vinyl placemats can elevate their visual appeal and make them uniquely yours. One popular method to achieve this is by using iron-on vinyl. Follow these steps to add a design:
- Choose your design: Decide on the design you want to incorporate into your placemats. It could be a monogram, a pattern, or any other design you fancy. You can create your own design or find pre-made designs online.
- Prep your iron-on vinyl: If using a cutting machine like a Cricut or Silhouette, upload your design and set the appropriate cutting settings. If hand-cutting your design, trace it onto the iron-on vinyl and carefully cut it out with scissors.
- Position the design: Place your vinyl placemat on a heat-resistant surface or an ironing board. Position the iron-on vinyl design onto the placemat to test its placement and ensure it fits properly.
- Apply the design: Follow the instructions provided by the iron-on vinyl manufacturer to properly apply the design. Generally, this involves using an iron on a medium-high heat setting or a heat press to press the design onto the placemat for a specific duration. Apply even pressure and make sure to cover the entire design area.
- Allow to cool and peel: After applying heat, allow the design to cool down as per the manufacturer’s instructions. Once cooled, carefully peel off the plastic backing, revealing your beautifully design placemat.
Remember to experiment with different colors and designs to create a stunning set of placemats that reflect your personal style.
If you prefer a simpler design, you can skip the iron-on vinyl and use fabric paint or permanent markers to create a freehand design directly on the vinyl fabric. This allows for more creativity and flexibility in your design choices.
Once your design is complete, it’s time to move on to the next step: applying the vinyl to the placemat itself.
Read more: How To Make Woven Placemats
Step 4: Applying the Vinyl to the Placemat
With your design securely in place on the vinyl fabric, it’s time to apply the vinyl to the placemat itself. Follow these steps:
- Lay out the placemat: Lay the vinyl placemat on a clean and flat surface, ensuring there are no wrinkles or bumps.
- Position the vinyl: Carefully place the vinyl design onto the placemat, aligning it with the edges and corners. Take your time to ensure that the design is centered and straight.
- Secure with heat: Use an iron on a medium-low heat setting or a heat press to gently press the vinyl onto the placemat. Apply even pressure and slowly move the iron or heat press across the design, ensuring it adheres to the fabric. Be cautious not to apply too much heat, as it may damage the vinyl or placemat.
- Allow to cool: Once you have pressed the entire design, allow it to cool completely. This will help to set the vinyl and ensure it stays in place.
After applying the vinyl, take a moment to inspect the placemat for any air bubbles or loose edges. If you notice any imperfections, carefully smooth them out with your fingers or lightly reapply heat to fix the issue.
It’s important to follow the manufacturer’s instructions for the specific iron-on vinyl you are using, as different types may require slightly different application techniques.
Now that the vinyl is securely applied, your placemat is almost complete. All that’s left to do is add some finishing touches.
Step 5: Finishing Touches
With the vinyl securely applied to your placemat, it’s time to add some final touches to enhance its appearance and functionality. Consider the following options:
- Trim and Edging: If desired, you can add a decorative trim or edging to your placemat. Measure the length of each side of the placemat and cut your trim to match. Use fabric glue to adhere the trim along the edges, ensuring a neat and finished look.
- Backing: To protect your table from scratches, consider adding a backing to the placemat. Cut a piece of felt or cork fabric slightly smaller than the placemat’s dimensions and glue it to the backside of the placemat. This will provide cushioning and grip, preventing the placemat from sliding around.
- Personalization: Add a personal touch by monogramming or embroidering your name or initials onto the placemat. You can also use fabric markers or paint to create custom designs or messages.
- Care Instructions: Include care instructions for your placemats to ensure they last for a long time. Indicate whether they can be machine washed or if they need to be spot cleaned with a damp cloth.
Once you have added these finishing touches, your vinyl placemats are ready to be displayed and used. Whether for everyday meals or special occasions, these handmade placemats will add style, functionality, and a personal touch to your dining experience.
Remember to periodically clean your placemats according to the recommended care instructions to keep them looking their best.
Congratulations! You have successfully completed all the steps to make your own vinyl placemats. Sit back, admire your handiwork, and get ready to enjoy countless meals with a touch of creativity and style.
Conclusion
Creating your own vinyl placemats is a rewarding and enjoyable DIY project that allows you to add a personal touch to your dining table. With a few materials and some creativity, you can make stylish and functional placemats that are tailored to your taste and home decor.
In this article, we have guided you through the step-by-step process of making vinyl placemats. From choosing the right vinyl fabric to applying the design and securing it to the placemat, each step is essential in creating a finished product that you’ll be proud to showcase.
Remember to consider factors such as style, durability, size, and heat resistance when selecting your vinyl fabric. Take your time to measure and cut the fabric accurately, ensuring that your placemats are the perfect size for your table. Adding a design, whether it’s with iron-on vinyl, fabric paint, or markers, adds a personalized touch to your placemats.
With the vinyl securely applied, don’t forget the finishing touches. Consider adding a decorative trim or edging, a protective backing, or personalization to make your placemats truly unique.
By following these steps and letting your creativity flourish, you can create a set of vinyl placemats that are not only visually appealing, but also practical and easy to clean. Your homemade placemats will undoubtedly impress your guests and enhance your dining experience.
So, why settle for generic placemats when you can showcase your creativity and style with DIY vinyl placemats? Get started on this fun and fulfilling project today and transform your dining table into an inviting and personalized space!
Frequently Asked Questions about How To Make Vinyl Placemats
Was this page helpful?
At Storables.com, we guarantee accurate and reliable information. Our content, validated by Expert Board Contributors, is crafted following stringent Editorial Policies. We're committed to providing you with well-researched, expert-backed insights for all your informational needs.


0 thoughts on “How To Make Vinyl Placemats”