Tableware
How To Make Geode Coasters
Modified: May 23, 2024
Discover how to make stunning geode coasters with our easy step-by-step guide. Elevate your tableware with these unique and eye-catching designs.
(Many of the links in this article redirect to a specific reviewed product. Your purchase of these products through affiliate links helps to generate commission for Storables.com, at no extra cost. Learn more)
Introduction
Have you ever admired the stunning beauty of geodes and wished you could bring that aesthetic into your home decor? Look no further! In this article, we will guide you through the process of making your very own geode coasters. These unique and eye-catching tableware pieces will not only protect your surfaces but also add a touch of natural beauty to your home.
Geode coasters are small, round pieces that mimic the intricate and colorful formations found inside geodes. Geodes are hollow rocks filled with crystals and minerals, resulting in breathtaking patterns and colors. By incorporating these elements into your coasters, you can create stunning pieces that showcase the beauty of nature.
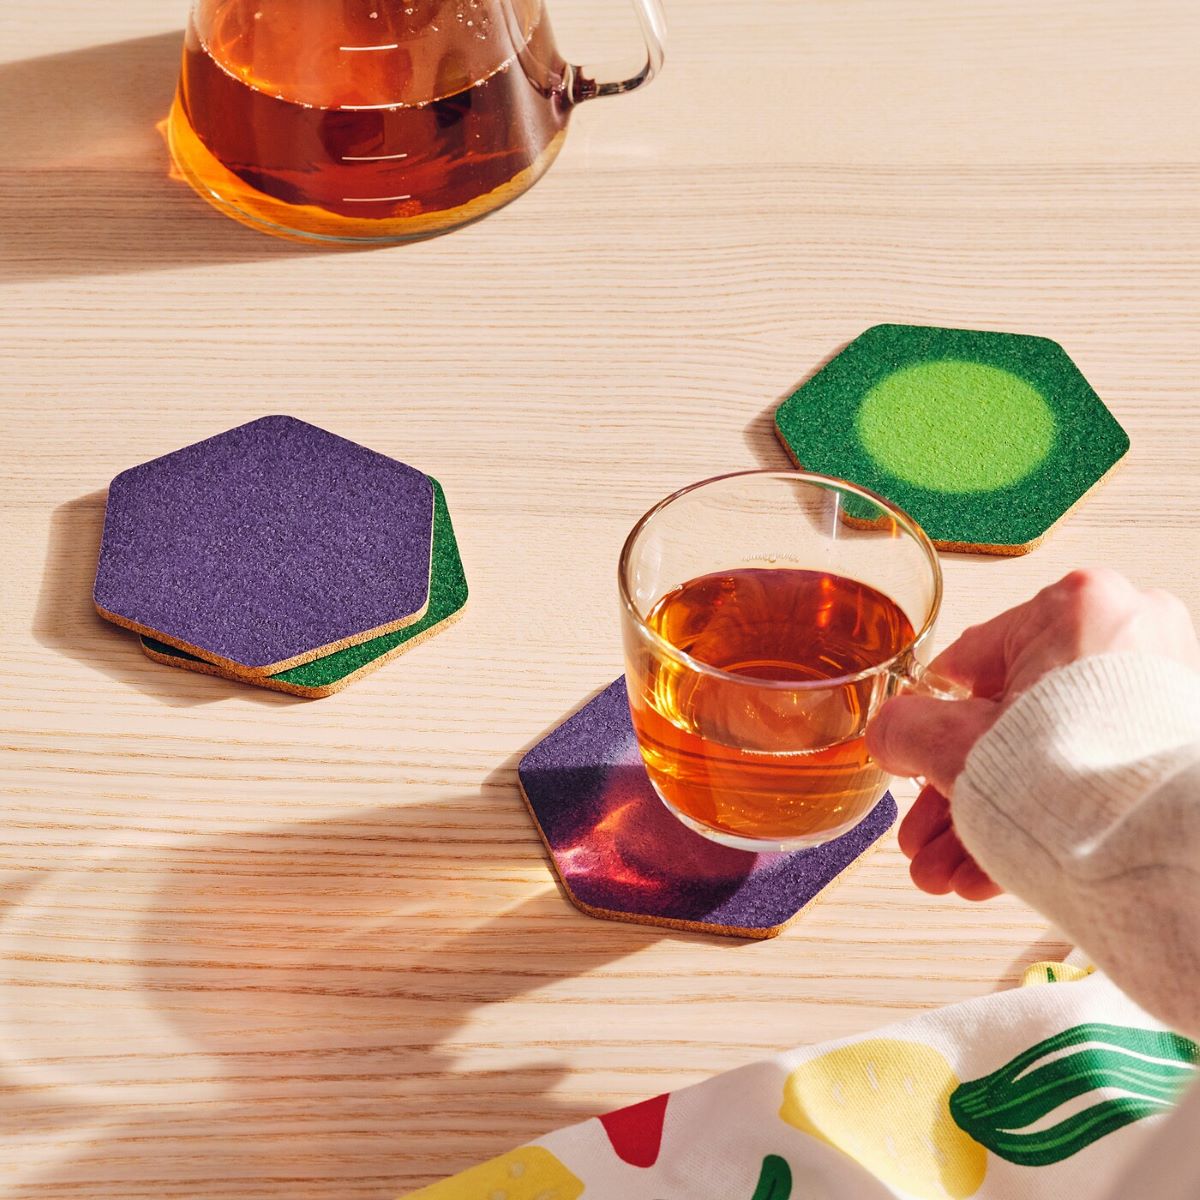
Not only are geode coasters visually appealing, but they also serve a practical purpose. Made with a durable base and sealed with resin, they provide a protective barrier between your surfaces and hot or cold objects. Whether you are enjoying a hot cup of tea or a chilled glass of iced coffee, these coasters will keep your table safe from damage.
The process of making geode coasters is an exciting and creative endeavor. You will have the opportunity to choose your coaster base, mix and pour resin, and create unique geode shapes. Additionally, you will have the freedom to experiment with colors, sparkles, and different finishing techniques to achieve the desired look.
Creating geode coasters is a fantastic DIY project that allows you to unleash your creativity and make personalized pieces that reflect your style. Whether you prefer a more natural and earthy design or want to incorporate vibrant and bold colors, the possibilities are endless.
In the next sections, we will break down each step, providing you with detailed instructions and helpful tips along the way. So, let’s dive into the exciting world of geode coasters and learn how to make these stunning tableware pieces that will surely impress your guests!
Key Takeaways:
- Create stunning geode coasters to protect surfaces and add natural beauty to your home. Unleash your creativity by selecting materials, mixing resin, and crafting unique geode shapes for personalized tableware.
- Transform your home decor with DIY geode coasters. From selecting coaster bases to adding colors and sparkles, follow the step-by-step guide to make eye-catching and practical tableware pieces that impress guests.
Read more: How To Make Concrete Coasters
Materials Needed
Before we begin the process of making geode coasters, let’s gather all the necessary materials. Here’s what you will need:
- Coaster base: You can choose from various options such as wood, ceramic, or silicone. Make sure the base is sturdy and heat-resistant.
- Epoxy resin: Look for a high-quality, self-leveling resin specifically designed for art projects. This will provide a clear and glossy finish.
- Pigments: Acrylic or resin pigments in your desired colors. Opt for metallic or pearl pigments for a stunning iridescent effect.
- Inclusions: You can add various inclusions to your coasters, such as crushed glass, glitter, or small gemstones. These will enhance the geode-like appearance.
- Mixing cups and stirring sticks: Use disposable cups and sturdy sticks for mixing the resin and pigments.
- Measuring tools: A digital scale and measuring syringes are essential to ensure accurate resin and hardener ratios.
- Protective gear: Wear gloves, goggles, and a respirator mask to protect yourself from resin fumes and other potential hazards.
- Heat gun or torch: This will help eliminate air bubbles from the resin surface, ensuring a smooth and professional finish.
Keep in mind that these are the basic materials needed for making geode coasters. However, feel free to get creative and add your own personalized touch by incorporating additional embellishments or materials.
Once you have gathered all the materials, you’re ready to move on to the next step: selecting the coaster base.
Step 1: Selecting the Coaster Base
The coaster base serves as the foundation for your geode coasters, so it’s essential to choose a suitable material that aligns with your aesthetic preferences. Here are some popular options to consider:
- Wood: Wooden coaster bases provide a natural and rustic look. You can find pre-cut wood coasters in various shapes and sizes at craft stores, or you can cut your own from a wooden slab. Make sure to sand the surface to a smooth finish before proceeding.
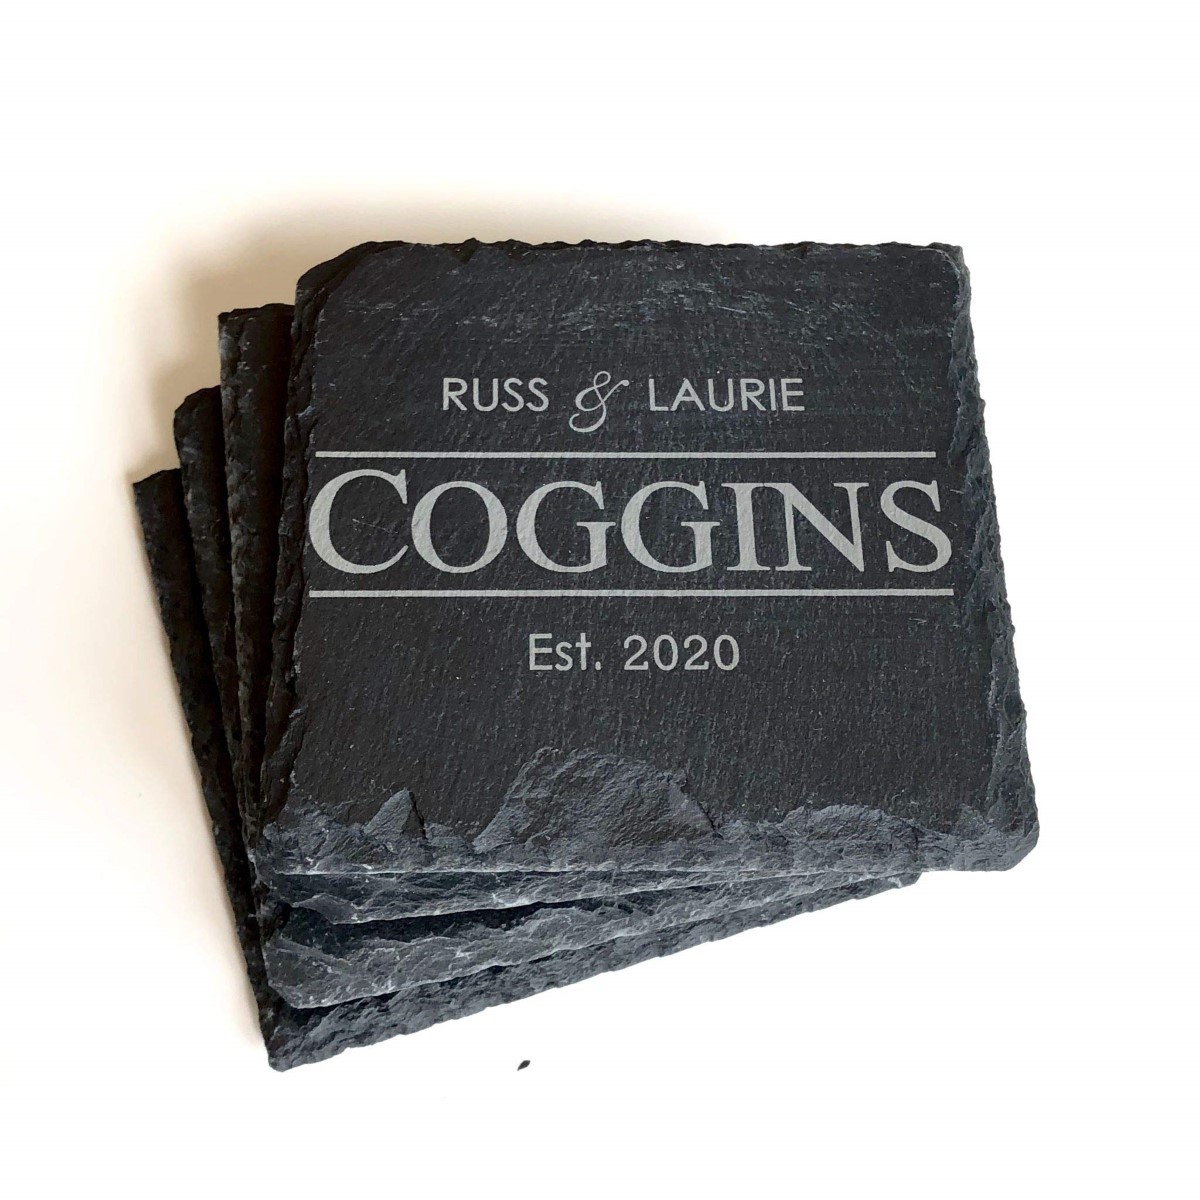
- Ceramic or Stone: Ceramic or stone coasters offer a more polished and elegant appearance. Look for coasters that have a flat and even surface to ensure proper resin adhesion.
- Silicone: Silicone coaster molds are a great option if you want to create custom-shaped coasters. These molds are flexible and easy to demold, allowing you to experiment with unique designs.
Consider the overall theme and style of your home when selecting the coaster base material. Additionally, think about the size and shape that will best suit your needs. Round, square, or hexagonal shapes are commonly used for geode coasters, but feel free to explore other shapes as well.
Once you have chosen your coaster base, make sure it is clean and free from any dust or debris. This will ensure a smooth and flawless finish for your geode coasters.
Now that you have selected your coaster base, let’s move on to the next step: preparing the coaster base.
Step 2: Preparing the Coaster Base
When it comes to creating geode coasters, proper preparation of the coaster base is crucial for achieving a professional and polished look. Follow these steps to prepare your coaster base:
- Clean the coaster base: Before applying any resin or decorations, make sure to clean the coaster base thoroughly. Use a mild soap and water solution to remove any dirt or oils that may affect resin adhesion.
- Seal the coaster base (optional): If you’re working with a porous material like wood or stone, it’s recommended to seal the coaster base to prevent the resin from absorbing into the surface. Apply a thin layer of sealant or primer and allow it to dry completely before proceeding.
- Tape the edges (optional): To create clean and defined edges for your coasters, you can use painter’s tape to mask off the sides of the coaster base. This will prevent the resin from overflowing and ensure a neat finish.
By cleaning and sealing the coaster base, you create a smooth and solid foundation for the resin and geode decorations. It also helps to ensure better adhesion and prevents any unwanted reactions between the resin and the coaster material.
If you choose to use tape to mask the edges, make sure it is securely positioned and pressed against the coaster base to prevent any resin leakage. Take your time to ensure a tight seal, as this will contribute to the overall professional appearance of your geode coasters.
With your coaster base now prepared, it’s time to move on to the next step: mixing the resin.
Step 3: Mixing the Resin
Now that your coaster base is prepared, it’s time to mix the epoxy resin. Follow these guidelines to ensure a successful resin mixture:
- Read the instructions: Different epoxy resin brands may have specific instructions regarding mixing ratios and curing times. It’s crucial to carefully read and follow the manufacturer’s guidelines for the resin you are using.
- Prepare a well-ventilated area: Epoxy resin can produce fumes, so make sure you work in a well-ventilated area. Open windows or use a fan to improve air circulation.
- Wear appropriate protective gear: Put on gloves, goggles, and a respirator mask to protect yourself from potential resin irritation.
- Calculate the required amount: Use a digital scale to measure the resin and hardener accurately. Follow the recommended mixing ratios specified in the resin instructions. Typically, resin mixing ratios are 1:1 (equal parts resin and hardener), but this can vary depending on the brand.
- Pour the resin and hardener: Start by pouring the measured resin into a mixing cup. Then, add the hardener in the correct proportion. Use separate measuring cups for resin and hardener to avoid contamination.
- Mix thoroughly: Stir the resin and hardener mixture for the specified amount of time mentioned in the resin instructions. Use a stir stick and make sure to scrape the sides and bottom of the cup to ensure a thorough mix.
- Avoid introducing air bubbles: Slowly and gently stir the resin to avoid creating bubbles. If bubbles do form, let the mixture sit for a few minutes to allow them to rise to the surface, and then use a heat gun or torch to remove them.
Properly mixing the resin is crucial for achieving a clear and smooth surface on your geode coasters. Take your time and follow the instructions precisely to ensure the best results.
Once the resin is mixed thoroughly, it’s time to move on to the next step: adding the resin to the coaster base.
Read more: How To Make Bottle Cap Coasters
Step 4: Adding the Resin to the Coaster Base
Now that you have your resin mixture ready, it’s time to pour it into the prepared coaster base. Follow these steps to add the resin:
- Place the coaster base on a level surface: Ensure that the coaster base is on a flat and stable surface, as any imbalance can cause the resin to flow unevenly.
- Pour the resin slowly and evenly: Start pouring the resin mixture into the center of the coaster base. Allow the resin to spread naturally towards the edges. Take your time and pour slowly to minimize the formation of air bubbles.
- Use a stirring stick or palette knife: Gently spread the resin toward the edges of the coaster base to ensure complete coverage. Be careful not to disturb the tape if you used it to mask the edges.
- Level the resin: If needed, gently tilt and rotate the coaster base to help level the resin and allow it to spread evenly. This will help avoid any pooling or uneven thickness in the final result.
- Eliminate air bubbles: Use a heat gun or torch to remove any air bubbles that may have formed on the surface of the resin. Move the heat source in a sweeping motion about 6-8 inches away from the surface, heating it evenly. The heat will cause the bubbles to rise and pop.
Take your time with this step to ensure a smooth and even resin surface. If you notice any areas where the resin is not spreading properly, use the stir stick or palette knife to distribute it evenly. Remember to remove any air bubbles to achieve a flawless finish.
Once you have added the resin to the coaster base, it’s time to move on to the next step: creating geode shapes.
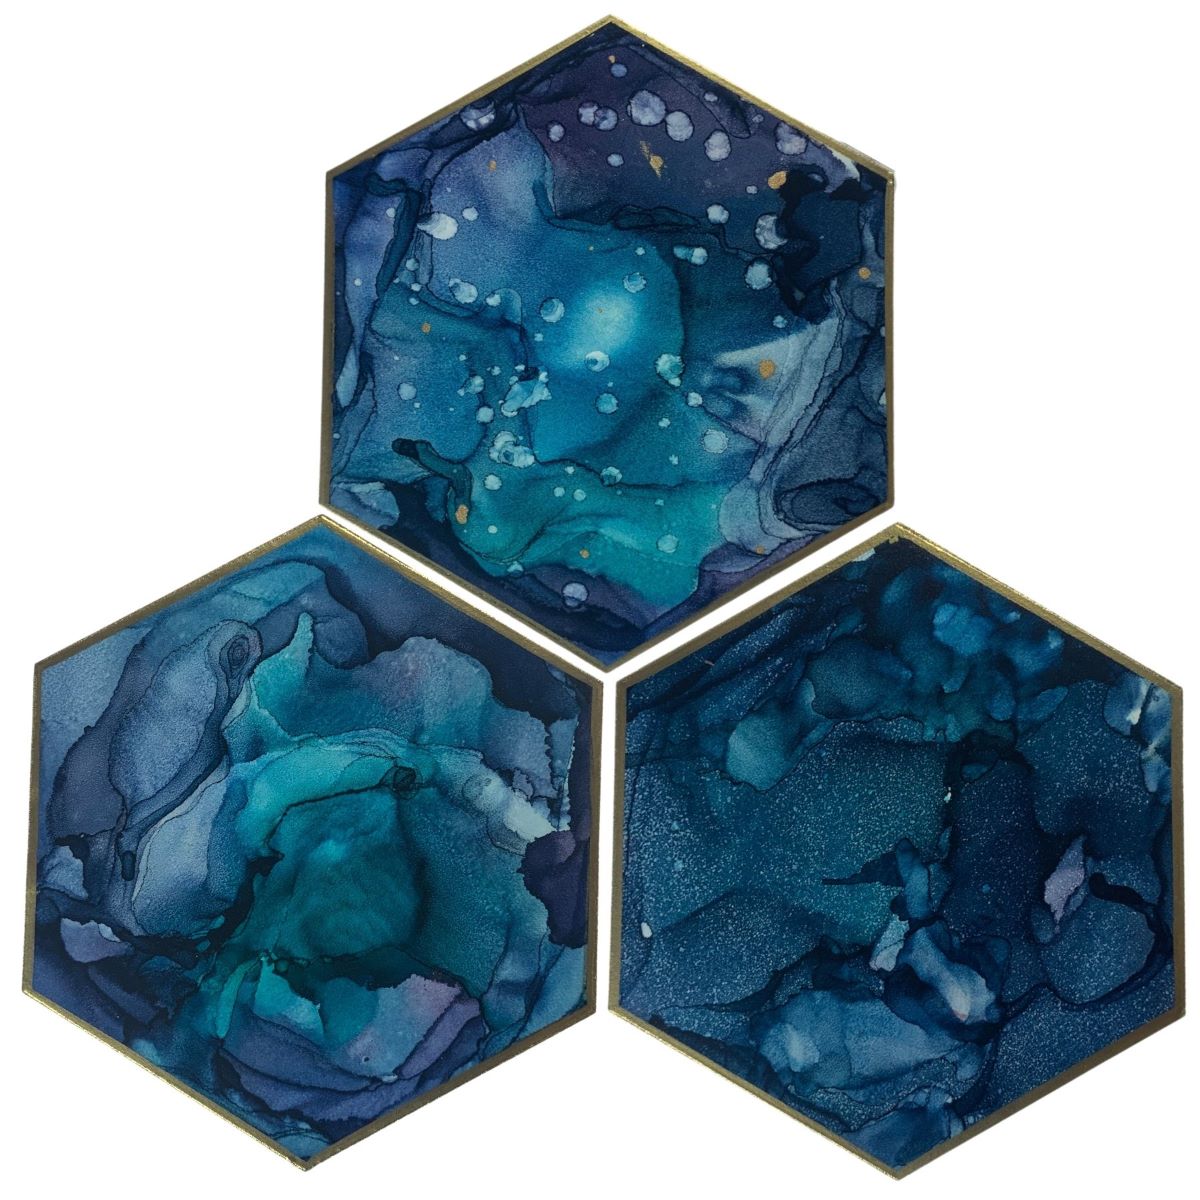
When making geode coasters, be sure to use a clear resin to create the crystal-like effect. Add a variety of colored pigments to achieve the desired geode look.
Step 5: Creating Geode Shapes
Creating the geode shapes is where your creativity can truly shine. You can use a variety of materials and techniques to achieve the desired geode-like appearance. Here are a few methods to consider:
- Natural gemstones: Select small, colorful gemstones that resemble the formations found inside geodes. These can be inserted directly into the resin to mimic the look of crystalline structures.
- Crushed glass: Crushed glass pieces can be mixed with resin and poured into specific areas of the coaster base. The glass will create a stunning sparkle and texture, reminiscent of geode crystals.
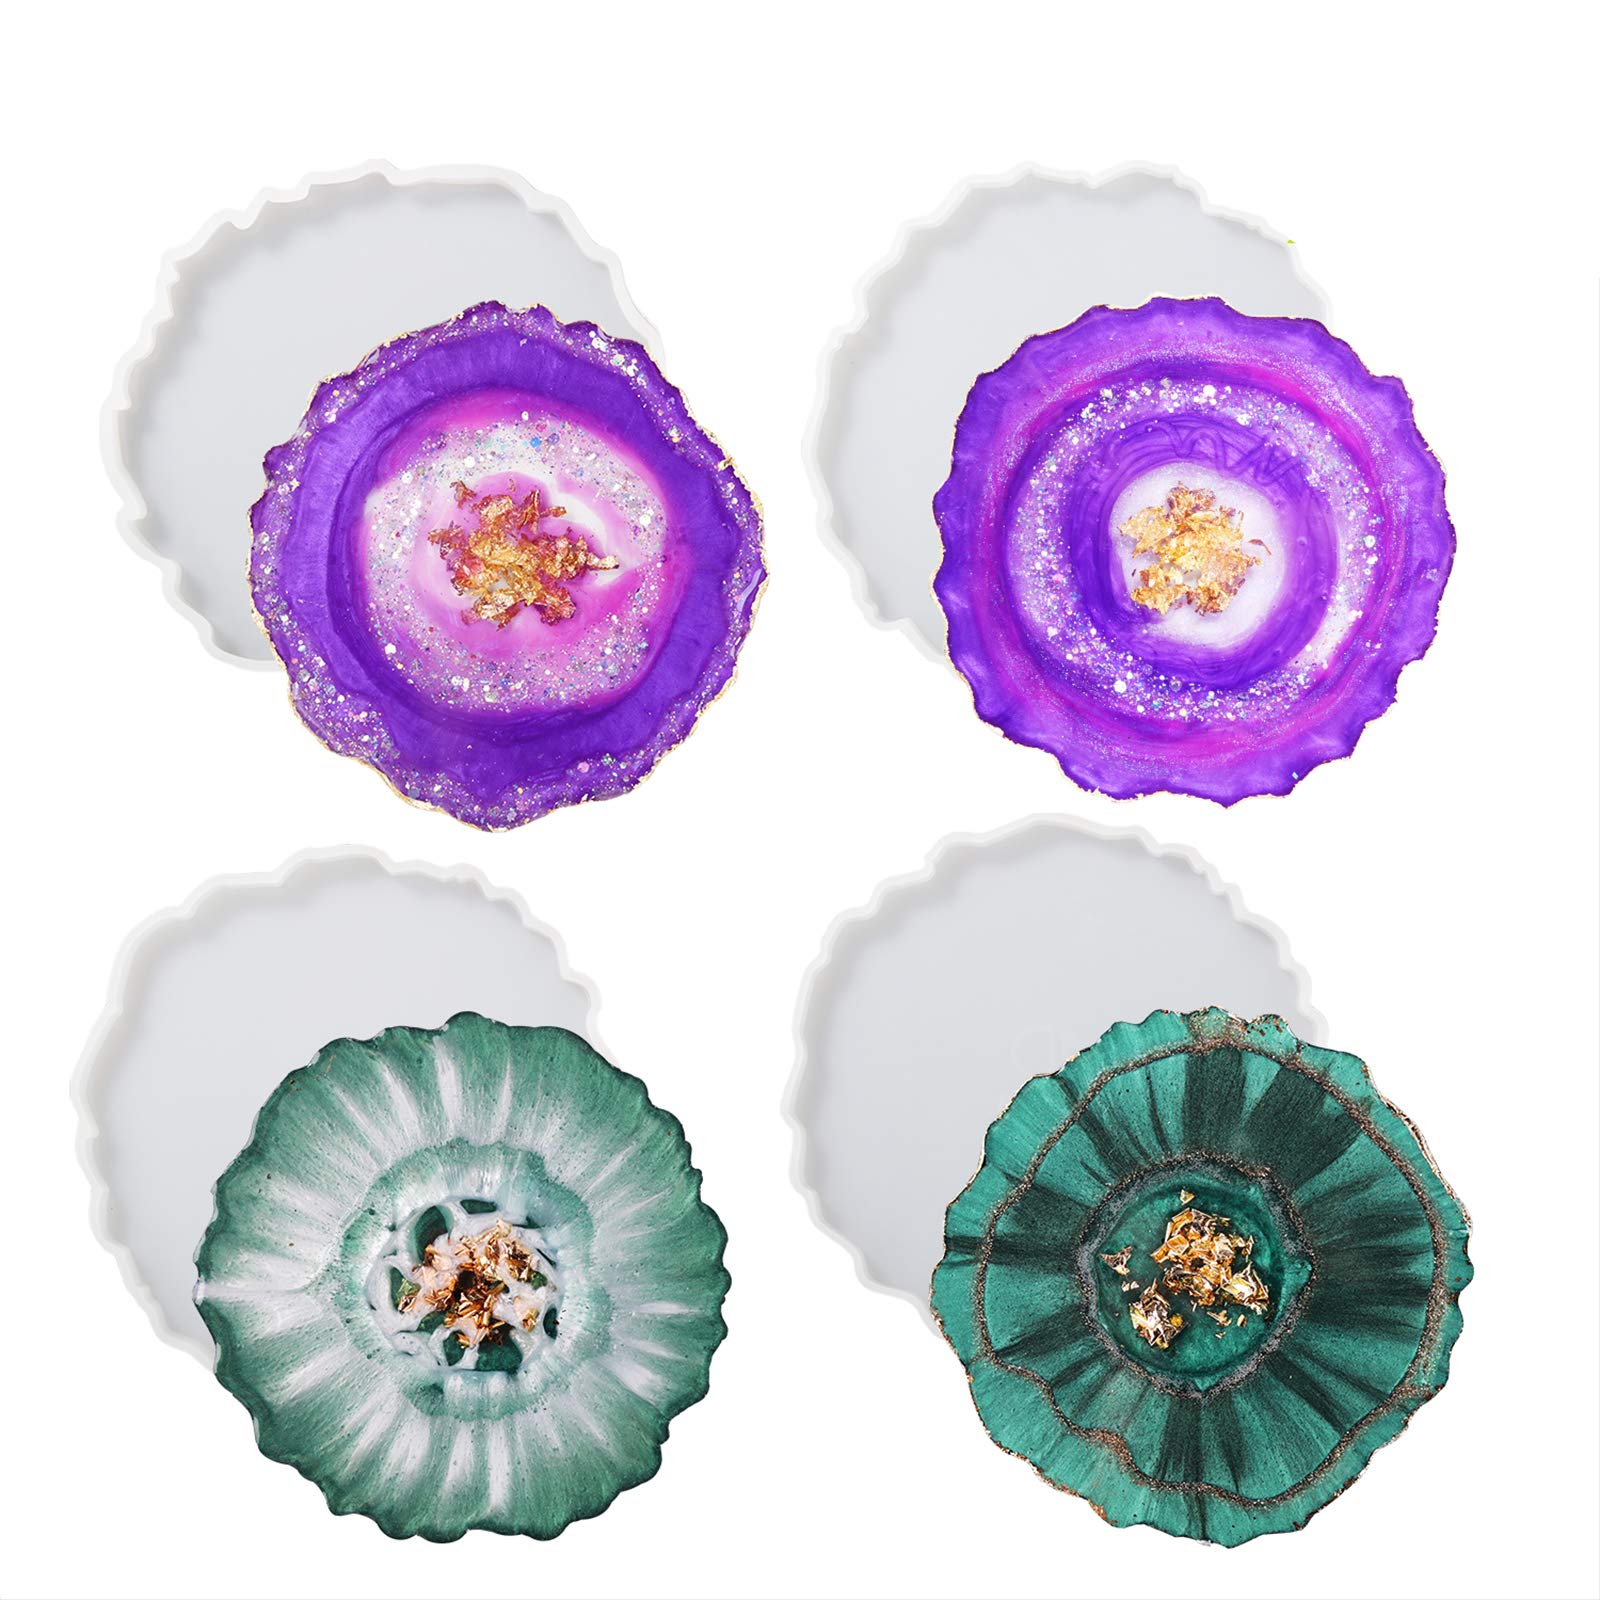
- Resin molds: If you want precise and consistent geode shapes, you can use resin molds. These molds are available in various shapes and sizes and allow you to create uniform geode pieces that can be added to the coaster base.
- Resin geode formations: With some practice, you can create your own geode formations using resin. Pour small amounts of colored resin onto a non-stick surface and allow it to dry partially. Then, shape the resin into the desired geode forms by using your fingers or tools. Once fully cured, these resin shapes can be added to the coaster base.
Experiment with different materials and techniques to achieve unique and eye-catching geode shapes. Feel free to combine multiple methods and mix in various colors and textures to create a visually stunning result.
Remember to consider the size and placement of the geode shapes within the coaster base. Allow room for other design elements and ensure that the shapes are evenly distributed for a balanced and cohesive look.
Once you have created the geode shapes, it’s time to move on to the next step: adding them to the coaster base.
Step 6: Adding Geode Shapes to the Coaster Base
Now that you have your geode shapes ready, it’s time to add them to the coaster base. Follow these steps to incorporate the geode shapes:
- Prepare the resin: If you are adding gemstones or crushed glass, mix a small amount of resin according to the manufacturer’s instructions. This will act as an adhesive to hold the geode shapes in place.
- Place the geode shapes: Carefully position the geode shapes onto the resin-covered base. Arrange them in a way that is visually appealing and ensures proper coverage of the coaster surface.
- Press down gently: Using a gentle but firm touch, press down the geode shapes to make sure they are securely attached to the coaster base and adhered to the resin layer.
- Fill any gaps: If there are any small gaps between the geode shapes, use additional resin or crushed glass to fill them. This will create a seamless and cohesive appearance.
Take your time to arrange the geode shapes in a way that complements the overall design. Play around with different placements and orientations until you achieve a visually appealing arrangement.
Make sure that the geode shapes are securely attached to the coaster base. Press down gently to ensure proper adhesion, but be careful not to dislodge or shift the shapes.
If you’re using resin geode formations that you created earlier, place them onto the coaster base in a way that mimics the natural clustering and arrangement of geodes.
Once the geode shapes are in place, it’s time to move on to the next step: adding colors and sparkles.
Step 7: Adding Colors and Sparkles
To enhance the visual appeal of your geode coasters, you can add colors and sparkles to create a captivating effect. Follow these steps to incorporate colors and sparkles:
- Mix pigments with resin: Select the desired pigments or acrylic colors to achieve the desired hue. Mix these pigments with a small amount of resin in separate mixing cups, following the manufacturer’s instructions for the appropriate ratios.
- Apply pigments strategically: Use a small brush or dropper to apply the pigments onto the coasters. You can drizzle them in patterns or create flowing designs that mimic the natural patterns found in geodes. Be creative and experiment with different color combinations.
- Add sparkles: If you want to add an extra touch of glamour, sprinkle some sparkles or glitter onto the wet resin surface. You can use a fine, iridescent glitter to mimic the shimmering effect of crystals found in geodes.
- Blend and manipulate colors: Use a stir stick or toothpick to gently swirl and blend the pigments to create a marbled or blended effect. This will add depth and dimension to your geode coasters.
Take your time during this step to achieve the desired color and sparkle distribution. The colors and sparkles should complement the geode shapes and enhance the overall aesthetic of the coasters.
Remember, less is often more when it comes to adding colors and sparkles. Aim for a balanced and harmonious design that enhances the natural beauty of the geode shapes.
Once you are satisfied with the color and sparkle placement, it’s time to remove any air bubbles from the resin, which takes us to the next step: removing air bubbles.
Read more: How To Make Beach Resin Coasters
Step 8: Removing Air Bubbles
When working with resin, air bubbles can sometimes form during the pouring and mixing process. Removing these bubbles is important to ensure a smooth and professional finish on your geode coasters. Follow these steps to remove air bubbles:
- Use a heat gun or torch: Pass a heat gun or torch over the surface of the resin. Keep the heat source about 6-8 inches away from the coaster surface and move it in a sweeping motion. The heat will cause the air bubbles to rise and pop.
- Work in a well-ventilated area: Ensure that you are working in a well-ventilated area when using a heat gun or torch, as the process can produce fumes.
- Use a toothpick or skewer: If there are any remaining small air bubbles after using the heat gun or torch, gently stir and poke them with a toothpick or skewer. This will cause the bubbles to rise to the surface.
- Repeat if necessary: If you notice any new air bubbles forming after removing the initial ones, use the heat gun or torch again to get rid of them. Repeat the process until the surface is smooth and bubble-free.
Removing air bubbles is an important step to achieve a professional and polished look on your geode coasters. Take your time and be patient during this process to ensure a flawless finish.
Once you have successfully removed the air bubbles, it’s time to move on to the final step: curing and finishing the coasters.
Step 9: Curing and Finishing the Coasters
After all the hard work and creativity you’ve put into making your geode coasters, it’s time to let them cure and apply the finishing touches. Follow these steps to properly cure and finish your coasters:
- Curing time: Consult the resin manufacturer’s instructions to determine the recommended curing time. Place your coasters in a dust-free and well-ventilated area to allow them to cure undisturbed.
- Covering the coasters: While the coasters are curing, you may choose to cover them with a box or a large container to protect them from dust or insects. Ensure there is enough space above the coasters to prevent any contact with the cover.
- Sanding (optional): If desired, you can lightly sand the edges of the coasters once they have fully cured. This will smooth out any imperfections and create a finished look. Use fine-grit sandpaper and be gentle to avoid scratching the resin surface.
- Remove any tape: If you used tape to mask the edges of the coasters, gently remove it once the resin has fully cured. This will reveal clean and sharp edges.
- Seal the coasters (optional): To provide an extra layer of protection, you can choose to seal the coasters with a clear varnish or resin. This will enhance their durability and give them a shiny and glossy finish.
- Add protective pads: Attach felt or rubber pads to the bottom of the coasters to prevent them from scratching your surfaces and create a stable grip.
Allowing your geode coasters to fully cure is essential for the resin to harden and achieve its maximum strength and durability. Be sure to follow the recommended curing time to ensure the best results.
Once the coasters are fully cured, they are ready to be displayed and used. Place them on your coffee table, dining table, or anywhere you want to add a touch of natural beauty and protection.
Congratulations! You have successfully completed all the steps to make your geode coasters. Now you can enjoy using them and impress your guests with your unique and stunning tableware creations.
Remember to have fun and get creative throughout the process. Don’t be afraid to experiment with different colors, shapes, and techniques to make each coaster truly one-of-a-kind.
Thank you for joining us on this geode coaster-making journey. We hope you have found this guide informative and inspiring. Happy crafting!
Conclusion
Creating your own geode coasters can be a rewarding and enjoyable DIY project. These stunning tableware pieces not only protect your surfaces but also add a touch of natural beauty and elegance to your home decor.
Throughout this article, we have taken you through the step-by-step process of making geode coasters, from selecting the coaster base to finishing the final product. By following these guidelines and using your creativity, you can produce geode coasters that reflect your personal style and preferences.
Remember to choose a coaster base that suits your aesthetic and prepare it properly to ensure a smooth and flawless surface. Mixing the resin accurately is crucial for achieving a professional finish, and adding geode shapes and colors allows you to unleash your creativity and artistic vision.
Don’t forget to take your time and pay attention to detail, especially when removing air bubbles and ensuring proper curing. Adding protective pads and sealing the coasters are the finishing touches that enhance their durability and usability.
Now, it’s time to display your unique geode coasters and enjoy their beauty and functionality. Whether they adorn your coffee table, dining table, or any other surface, these coasters will surely impress your guests and elevate your home decor.
We hope that this guide has provided you with the knowledge and inspiration to create your own geode coasters. The possibilities are endless, so let your imagination run wild and create something truly extraordinary!
Thank you for joining us on this creative journey. Happy crafting!
Frequently Asked Questions about How To Make Geode Coasters
Was this page helpful?
At Storables.com, we guarantee accurate and reliable information. Our content, validated by Expert Board Contributors, is crafted following stringent Editorial Policies. We're committed to providing you with well-researched, expert-backed insights for all your informational needs.


0 thoughts on “How To Make Geode Coasters”