Tableware
How To Make A Trestle Dining Table
Modified: December 7, 2023
Learn how to make a stunning trestle dining table with this step-by-step guide. Transform your tableware with this DIY project.
(Many of the links in this article redirect to a specific reviewed product. Your purchase of these products through affiliate links helps to generate commission for Storables.com, at no extra cost. Learn more)
Introduction
Welcome to the world of tableware, where every mealtime can be transformed into an elegant and memorable experience. In this article, we will explore the art of creating a trestle dining table, a classic piece of furniture that adds sophistication and functionality to any dining area.
Whether you are a seasoned DIY enthusiast or a beginner in the world of woodworking, this step-by-step guide will help you unleash your creativity and bring your vision to life. With the right materials, tools, and a little bit of patience, you can craft a beautiful trestle dining table that will become the centerpiece of your home.
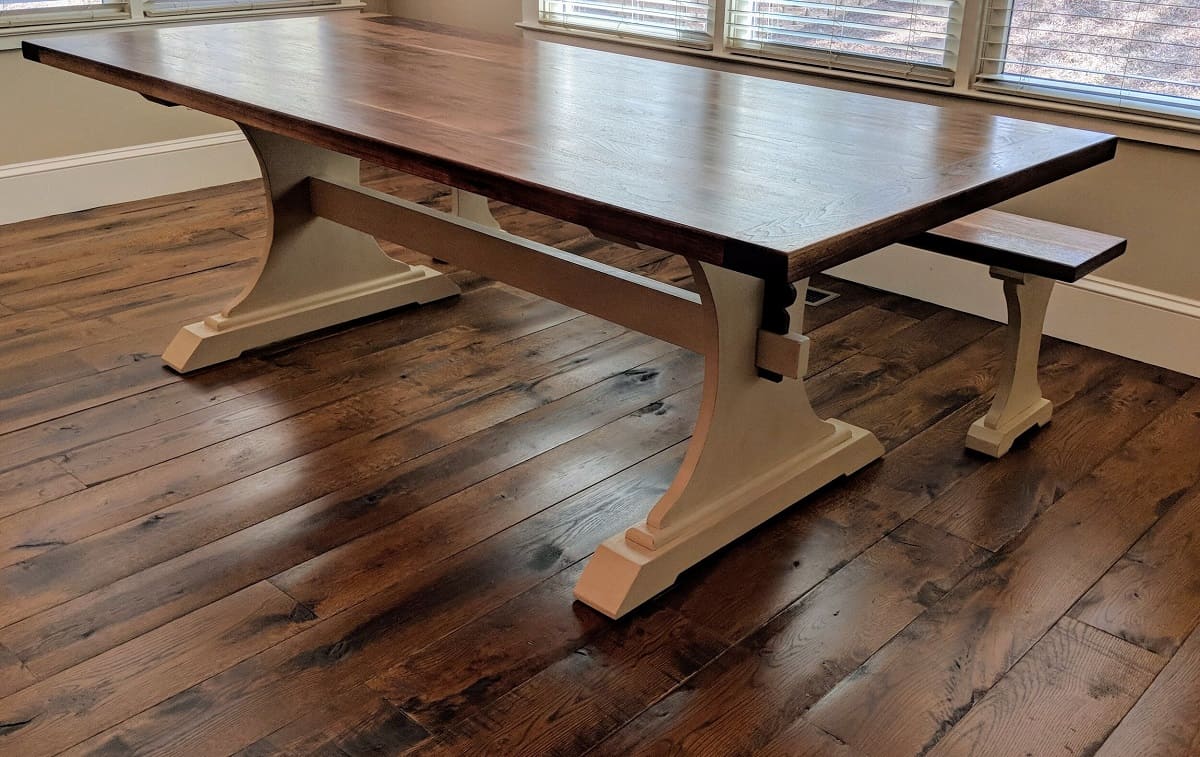
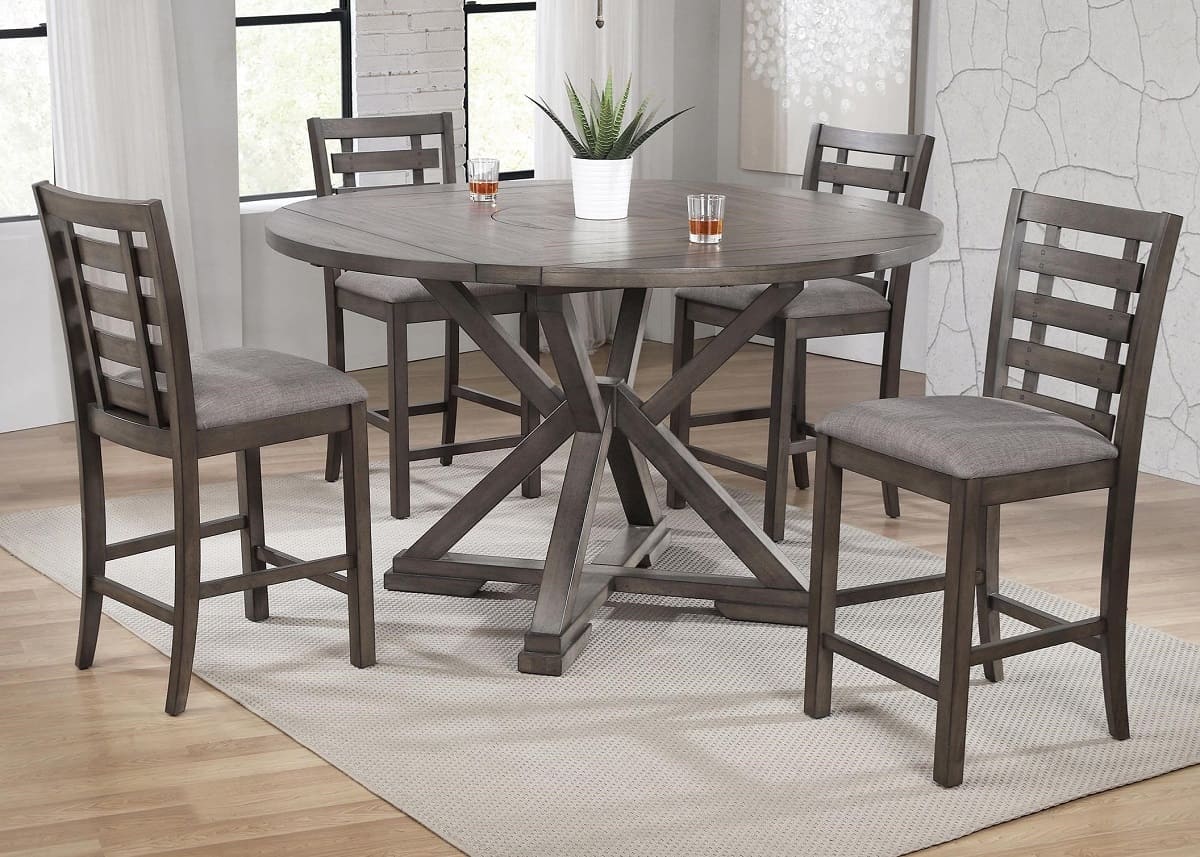
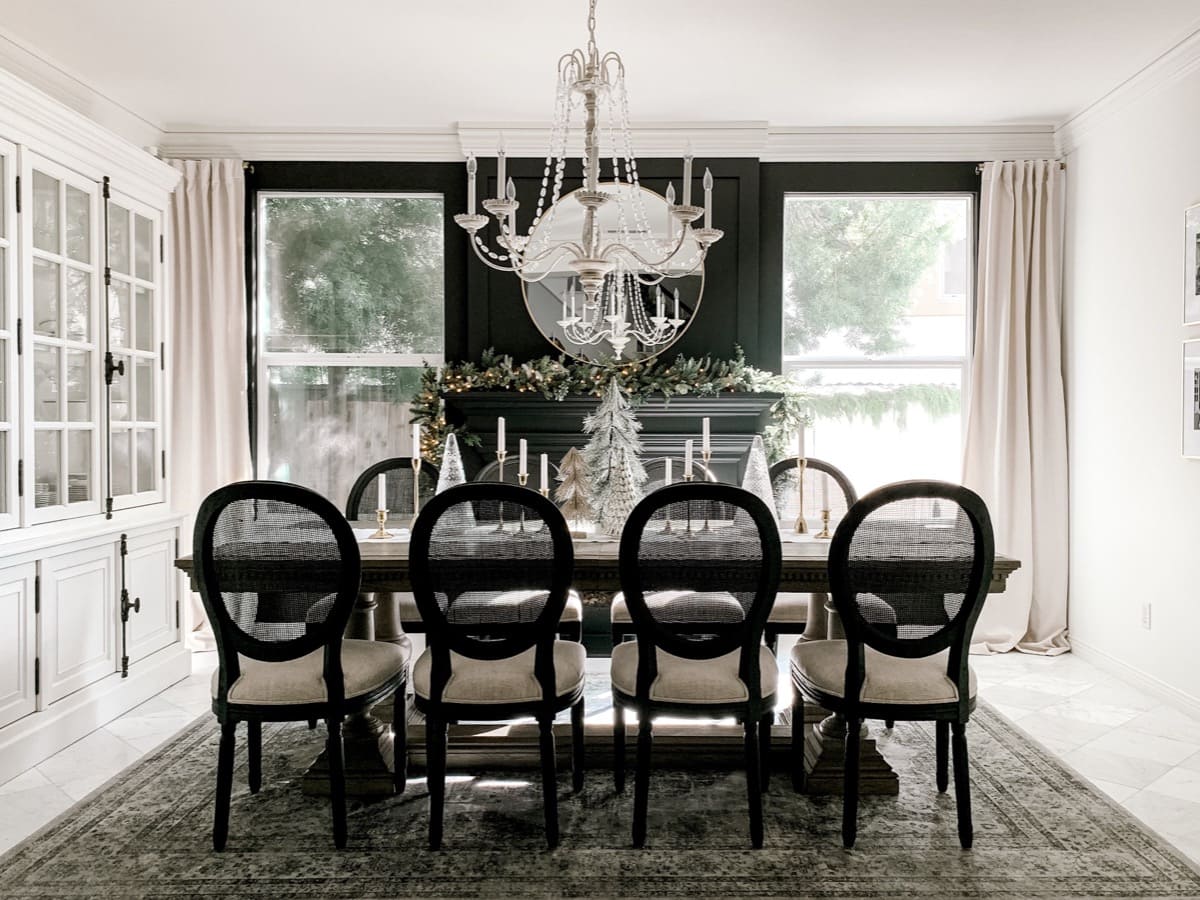
Before we dive into the construction process, let’s take a moment to understand what a trestle dining table is. A trestle table is characterized by its unique support system, comprising two or more trestle legs and a stretcher that connects the legs. This design provides stability and allows for ample legroom, making it ideal for gatherings and feasts.
Now that we have a clear understanding of what we aim to build, let’s gather the materials needed for this exciting project.+
Key Takeaways:
- Crafting a trestle dining table involves gathering quality materials, precise wood preparation, and meticulous assembly. The result is a stunning and functional centerpiece for memorable meals and gatherings.
- Patience, precision, and attention to detail are essential in creating a trestle dining table. From building the legs to adding finishing touches, each step contributes to a beautiful and sturdy piece of furniture.
Read more: What Is A Trestle Dining Table
Materials Needed
Before you embark on building your trestle dining table, it’s important to gather all the necessary materials. Here’s a list of what you’ll need:
- Wood – Choose a high-quality hardwood such as oak, maple, or walnut for the tabletop and legs. The size and quantity of the wood will depend on the desired dimensions of your table.
- Wood glue – Opt for a strong and durable wood glue that can withstand the weight and pressure exerted on the table.
- Screws – Get a variety of screws in different lengths to accommodate various parts of the table.
- Screwdriver or drill – Invest in a reliable screwdriver or drill to make the assembly process easier.
- Saw – Depending on the size and shape of your table, you may need a circular saw or a table saw to cut the wood to the desired dimensions.
- Sandpaper – Smooth out the rough edges and surfaces of the wood using sandpaper of different grits.
- Stain or paint – Select a finish that complements your décor and protects the wood from wear and tear.
- Brushes or rollers – Use brushes or rollers to apply the stain or paint evenly on the wooden surfaces.
- Drop cloth or newspaper – Protect your work area from stains and spills by laying down a drop cloth or newspapers.
- Measuring tape – Accurate measurements are crucial for a well-fitted and balanced table.
These materials will provide you with the foundation to build a sturdy and stylish trestle dining table. It’s always a good practice to gather all the required materials before you start construction, ensuring a smoother and more efficient building process. Now that we have our materials ready, let’s move on to the first step – gathering the materials.
Step 1: Gathering the Materials
The first step in building your trestle dining table is to collect all the materials listed above. Take the time to ensure that you have everything you need before you begin. This will save you from any delays or interruptions during the construction process.
Start by selecting the type of wood you want to use for your table. Hardwoods like oak, maple, or walnut are ideal due to their strength and durability. Consider the size and shape of your table, and purchase enough wood to accommodate the tabletop and legs.
Next, acquire a high-quality wood glue that will provide a strong bond between the different pieces of wood. Look for a glue that is specifically designed for woodworking projects and can withstand heavy use.
When it comes to screws, it’s recommended to have a variety of lengths on hand. This will allow you to attach different parts of the table securely. Additionally, make sure you have a reliable screwdriver or drill that is suitable for the size of the screws you’ve chosen.
If you don’t already have a saw, now is the time to invest in one. The type of saw you’ll need will depend on the specific dimensions and design of your table. A circular saw or a table saw will typically suffice for most DIY projects.
Smooth out any rough edges or surfaces of the wood with sandpaper. Different grits of sandpaper will allow you to achieve a smooth finish. Be sure to have a variety of sandpaper options available.
Once your trestle dining table is built, it’s important to protect the wood and enhance its aesthetic appeal. Choose a stain or paint that complements your existing decor. Brushes or rollers will help you apply the stain or paint evenly on the wooden surfaces.
Prioritize keeping your work area clean by using a drop cloth or newspapers to avoid staining the floor or furniture. This will make the clean-up process much easier.
Lastly, have a measuring tape on hand to ensure precise measurements throughout the construction process. Accuracy is crucial for a well-fitted and balanced trestle dining table.
With all the necessary materials gathered, you’re now ready to move on to the exciting step of preparing the wood. Let’s dive in!
Step 2: Preparing the Wood
Now that you have gathered all the materials needed, it’s time to prepare the wood for your trestle dining table. Properly preparing the wood will ensure a smooth construction process and a beautiful finished product.
Start by laying out all the pieces of wood that will be used for the tabletop and legs. Use a measuring tape to carefully mark and measure the desired dimensions for each component.
Once you have determined the measurements, use a saw to cut the wood accordingly. It’s important to make precise cuts to achieve clean edges and a professional-looking final result. Take your time and double-check the measurements before making any cuts.
After the wood is cut to size, use sandpaper of varying grits to smooth out the surfaces. Begin with a rougher grit to remove any rough spots or imperfections, and gradually work your way up to a finer grit to achieve a polished finish.
Pay close attention to the edges of the wood as well. Smooth them out to create a seamless and comfortable dining surface. Remember, the more time and effort you put into sanding, the better the end result will be.
Once the wood is sanded and smooth, wipe away any dust with a clean cloth. This will ensure a clean surface for the next step – building the legs.
By taking the time to properly prepare the wood, you are setting a strong foundation for your trestle dining table. The precision and care you put into this step will be reflected in the final product. Now that the wood is ready, let’s move on to the exciting task of building the legs.
Step 3: Building the Legs
Building the legs of your trestle dining table is a crucial step in ensuring stability and structural integrity. Follow these steps to create sturdy and stylish legs:
- Begin by determining the desired dimensions for the legs. Measure and mark the length of the legs on the prepared wood.
- Using a saw, carefully cut the wood along the marked lines to create individual leg pieces. Be sure to make clean and accurate cuts for a professional finish.
- Once the leg pieces are cut, it’s time to create the unique trestle design. The traditional trestle design involves two legs connected by a stretcher in the center. Measure and mark the desired placements for the stretcher on each leg.
- Next, use a saw to cut notches along the marked lines on each leg. These notches will serve as the connection points for the stretcher.
- Once the notches are cut, fit the stretcher into the notches on the legs. Ensure a snug and secure fit by adjusting the measurements if necessary.
- Apply wood glue to the joints where the legs and stretcher meet. This will provide additional strength and stability to the legs.
- To further reinforce the connection, insert screws through the legs into the stretcher. Be sure to pre-drill pilot holes to prevent the wood from splitting.
- Repeat these steps for the remaining leg and stretcher combinations until all legs are built.
- Allow the glue to dry completely before moving on to the next step.
By following these steps, you will create well-crafted trestle legs that can support the weight of your dining table and withstand the test of time. With the legs completed, it’s time to move on to assembling the tabletop.
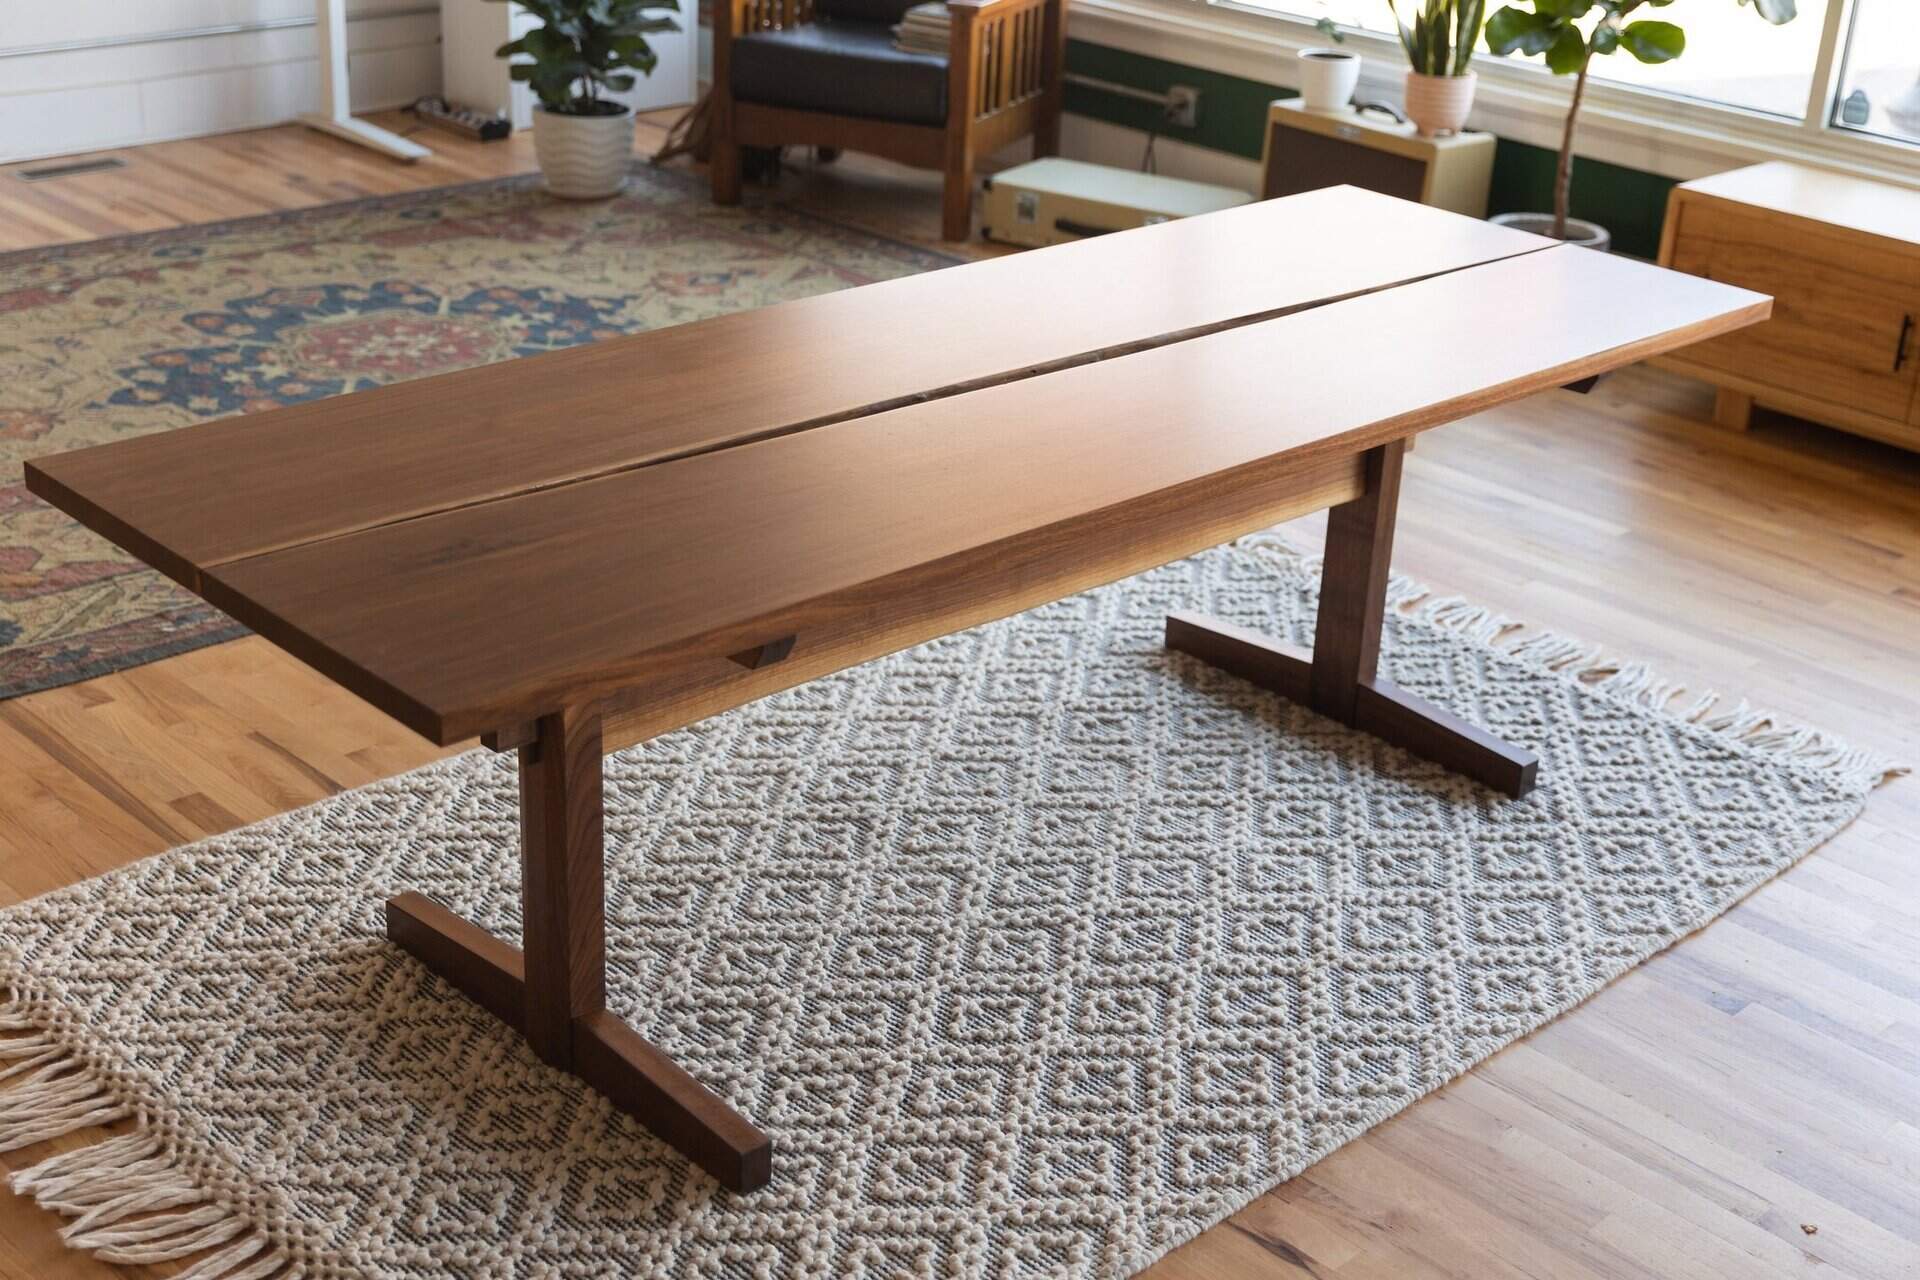
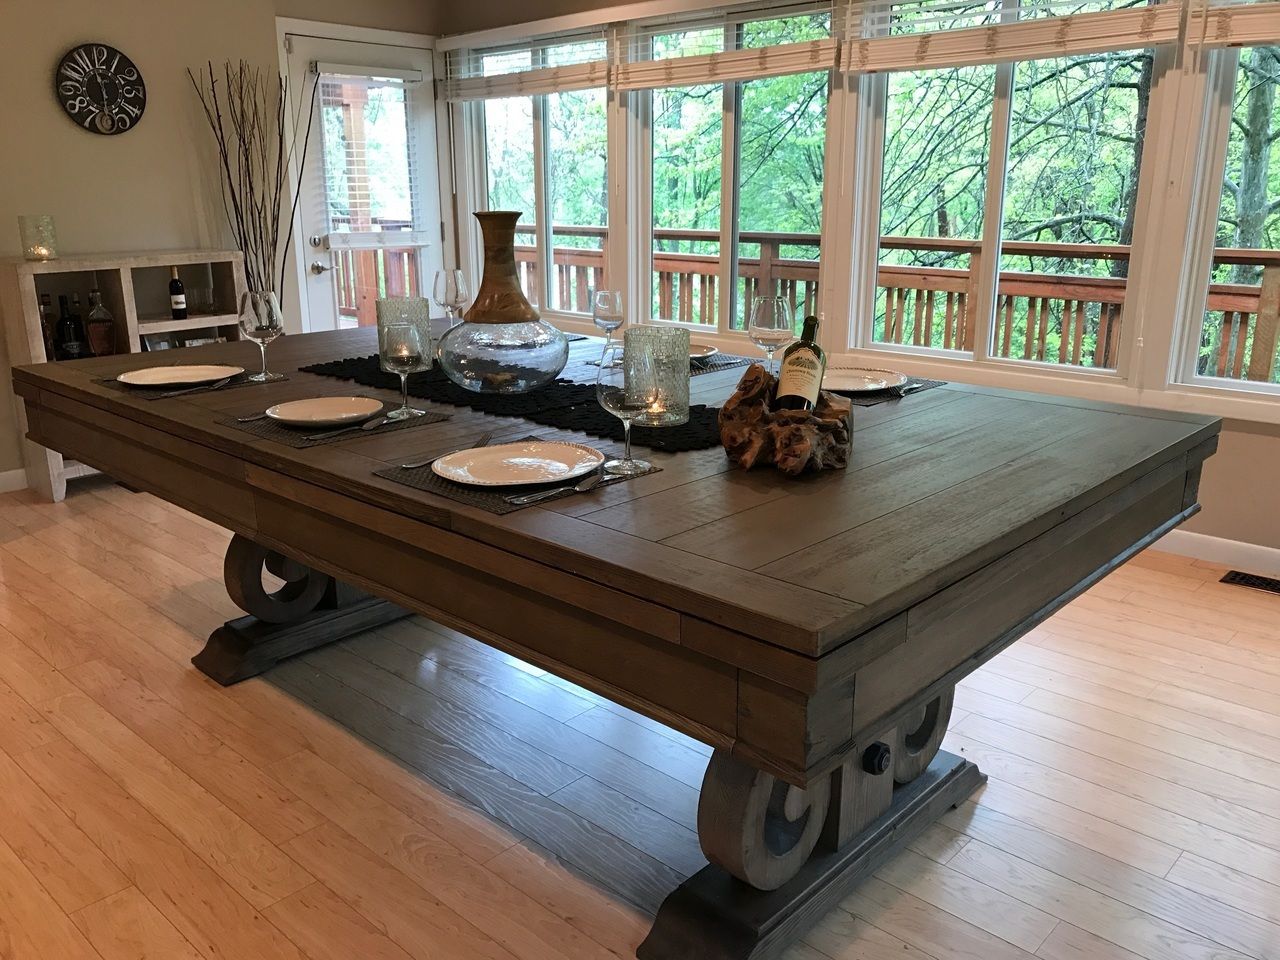
When making a trestle dining table, ensure the trestle legs are sturdy and properly aligned to support the weight of the table. Use high-quality wood and secure all joints tightly for stability.
Read more: How To Make A Resin Dining Table
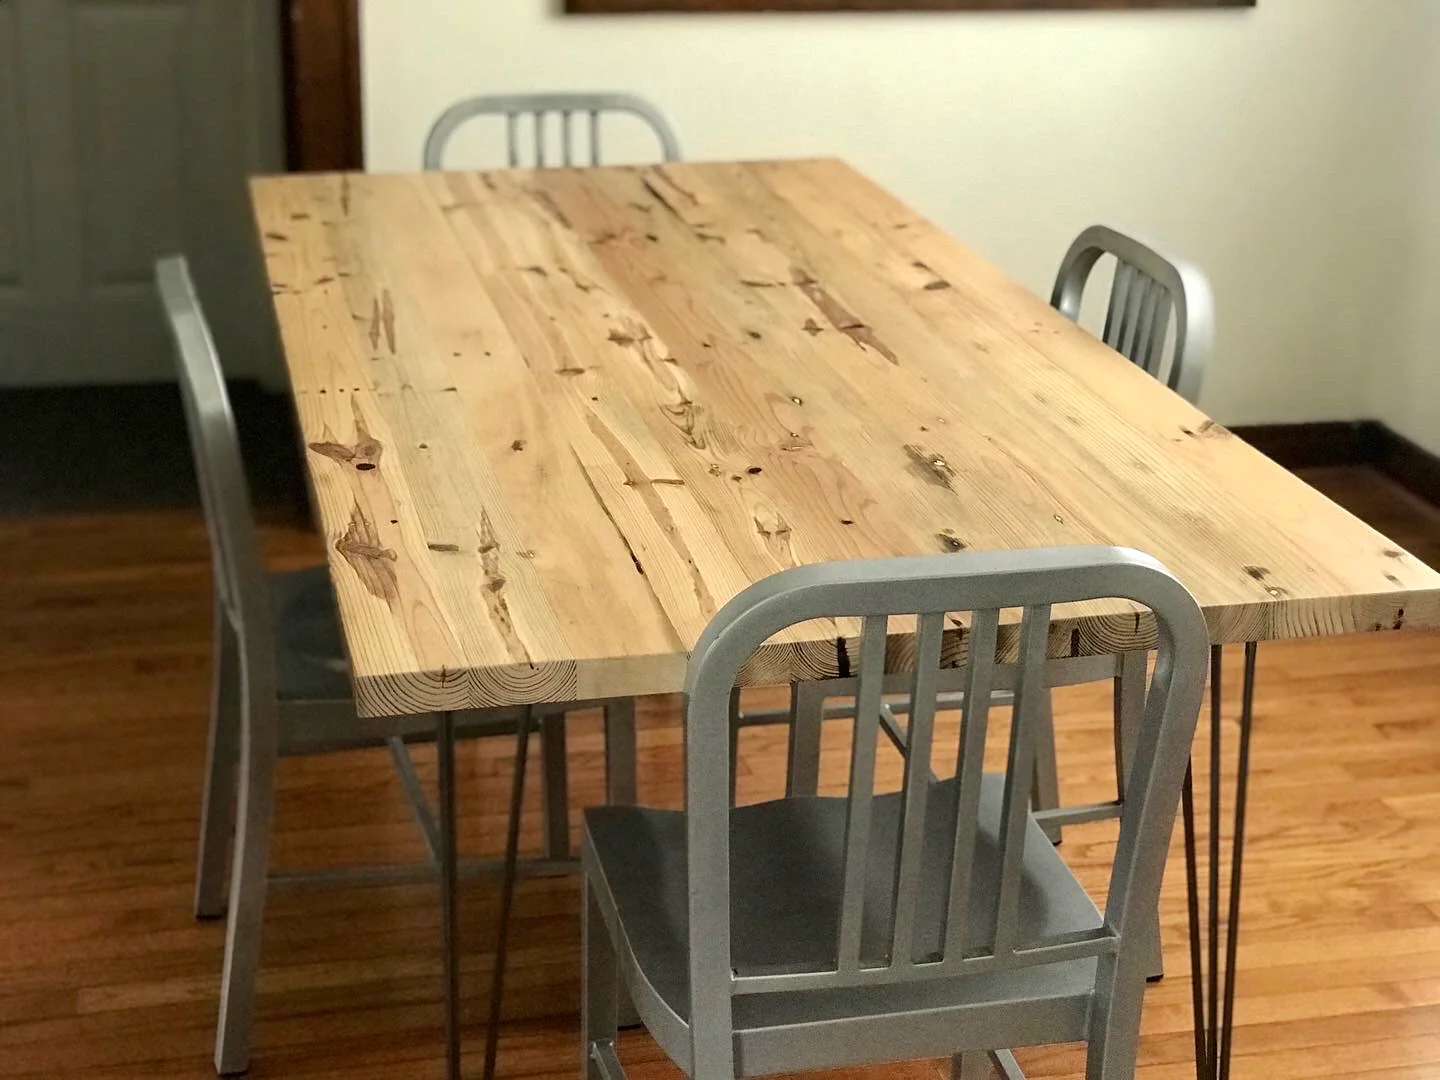
Step 4: Assembling the Tabletop
Assembling the tabletop of your trestle dining table is an exciting step that brings the project closer to completion. Follow these steps to ensure a sturdy and attractive tabletop:
- Lay out the prepared wood pieces for the tabletop on a flat and clean surface.
- Arrange the pieces according to the desired pattern or design. Ensure that the edges and corners align properly.
- Apply a thin layer of wood glue to the edges of each piece that will be joined together.
- Press the glued edges together, applying even pressure, to create a tight and secure bond.
- Once the pieces are joined, reinforce the connection by inserting screws through the bottom of the tabletop. Make sure to pre-drill pilot holes to prevent splitting.
- Continue this process until all the pieces are securely attached and the tabletop is fully assembled.
- Wipe away any excess glue with a damp cloth, ensuring a clean and polished surface.
- Allow the glue to dry completely according to the manufacturer’s instructions before moving on to the next step.
By following these steps, you will have a solid and well-constructed tabletop for your trestle dining table. Take a moment to admire your progress before moving on to the final assembly step – attaching the legs to the tabletop.
Step 5: Attaching the Legs to the Tabletop
Attaching the legs to the tabletop is a crucial step in completing your trestle dining table. Follow these steps to ensure a secure and stable connection:
- Flip the tabletop upside down onto a flat and stable surface.
- Position the legs at the corners of the tabletop, ensuring they are aligned properly.
- Mark the placement of the legs on the tabletop using a pencil or marker.
- Pre-drill pilot holes on the marked spots to guide the screws and prevent the wood from splitting.
- Apply a thin layer of wood glue to the top of each leg where it will make contact with the tabletop.
- Securely attach each leg to the tabletop by driving screws through the pre-drilled pilot holes.
- Double-check the alignment and stability of the legs, making any necessary adjustments.
- Wipe away any excess glue with a damp cloth.
- Allow the glue to dry completely before moving or using the table.
By following these steps, you will create a solid and well-connected trestle dining table. Take a moment to appreciate your craftsmanship and the progress you’ve made so far. Now, let’s move on to the final step – adding the finishing touches.
Step 6: Finishing Touches
Adding the finishing touches to your trestle dining table will not only enhance its aesthetic appeal but also protect the wood and ensure longevity. Follow these steps to give your table its final polish:
- Begin by sanding the entire surface of the table with fine-grit sandpaper. This will smooth out any imperfections and create a nice, even surface.
- After sanding, remove any dust or debris from the table using a clean cloth or brush.
- If you prefer a natural look, you can choose to apply a clear wood varnish or sealant. This will protect the wood while maintaining its natural beauty. Follow the manufacturer’s instructions for application and drying time.
- If you want to add color or a different aesthetic touch to your table, consider applying a wood stain or paint. Make sure to select a stain or paint that complements your overall home decor.
- Before applying the stain or paint, ensure the surface is clean and dry. Use a brush or roller to apply an even coat, following the direction of the wood grain. Allow the stain or paint to dry thoroughly before applying additional coats if desired.
- Once the stain or paint has dried, you can further protect the surface by applying a clear polyurethane finish. This will provide an extra layer of protection against spills and everyday wear and tear.
- Inspect the table for any rough spots or drips. Use fine-grit sandpaper to lightly sand these areas until they are smooth.
- Once the finishing touches are complete, carefully clean the table with a damp cloth to remove any dust or debris.
- Finally, step back and admire your beautifully finished trestle dining table!
By following these steps and adding the finishing touches, your trestle dining table will be transformed into a stunning centerpiece for your home. It will not only provide a functional space for meals but also become a conversation piece that showcases your craftsmanship and creativity. Enjoy your new table and the memories you’ll create around it!
Conclusion
Congratulations! You have successfully built your own trestle dining table from scratch. The process may have involved some hard work and attention to detail, but the end result is a beautiful and functional piece of furniture that you can be proud of.
Throughout this guide, we explored each step of the construction process, from gathering the materials to adding the finishing touches. By following these detailed instructions, you were able to create a trestle dining table that not only serves as a stylish addition to your home but also provides a sturdy and comfortable space for family meals and memorable gatherings.
Remember, the key to a successful DIY project like this is patience and precision. Taking the time to properly prepare the wood, build the legs, assemble the tabletop, and attach the legs, ensured a strong and stable foundation for your dining table. The finishing touches of sanding, staining, and sealing added a touch of elegance and protection to your creation.
Now, it’s time to enjoy your masterpiece. Gather your loved ones around the table and create lasting memories as you share delicious meals and engaging conversations. Embrace the beauty and functionality of your trestle dining table, knowing that it was handcrafted with care and attention to detail.
Thank you for joining us on this woodworking journey. We hope you found this guide helpful and inspiring in your tableware endeavors. Remember, the world of DIY projects is vast and filled with endless possibilities. So, keep exploring, honing your skills, and bringing your creative visions to life. Happy crafting!
Frequently Asked Questions about How To Make A Trestle Dining Table
Was this page helpful?
At Storables.com, we guarantee accurate and reliable information. Our content, validated by Expert Board Contributors, is crafted following stringent Editorial Policies. We're committed to providing you with well-researched, expert-backed insights for all your informational needs.


0 thoughts on “How To Make A Trestle Dining Table”