Home>Furniture & Design>Living Room Furniture>How To Make A Resin Dining Table

Living Room Furniture
How To Make A Resin Dining Table
Published: January 5, 2024
Learn how to create a stunning resin dining table for your living room with our expert furniture and design tips. Transform your space today!
(Many of the links in this article redirect to a specific reviewed product. Your purchase of these products through affiliate links helps to generate commission for Storables.com, at no extra cost. Learn more)
Introduction
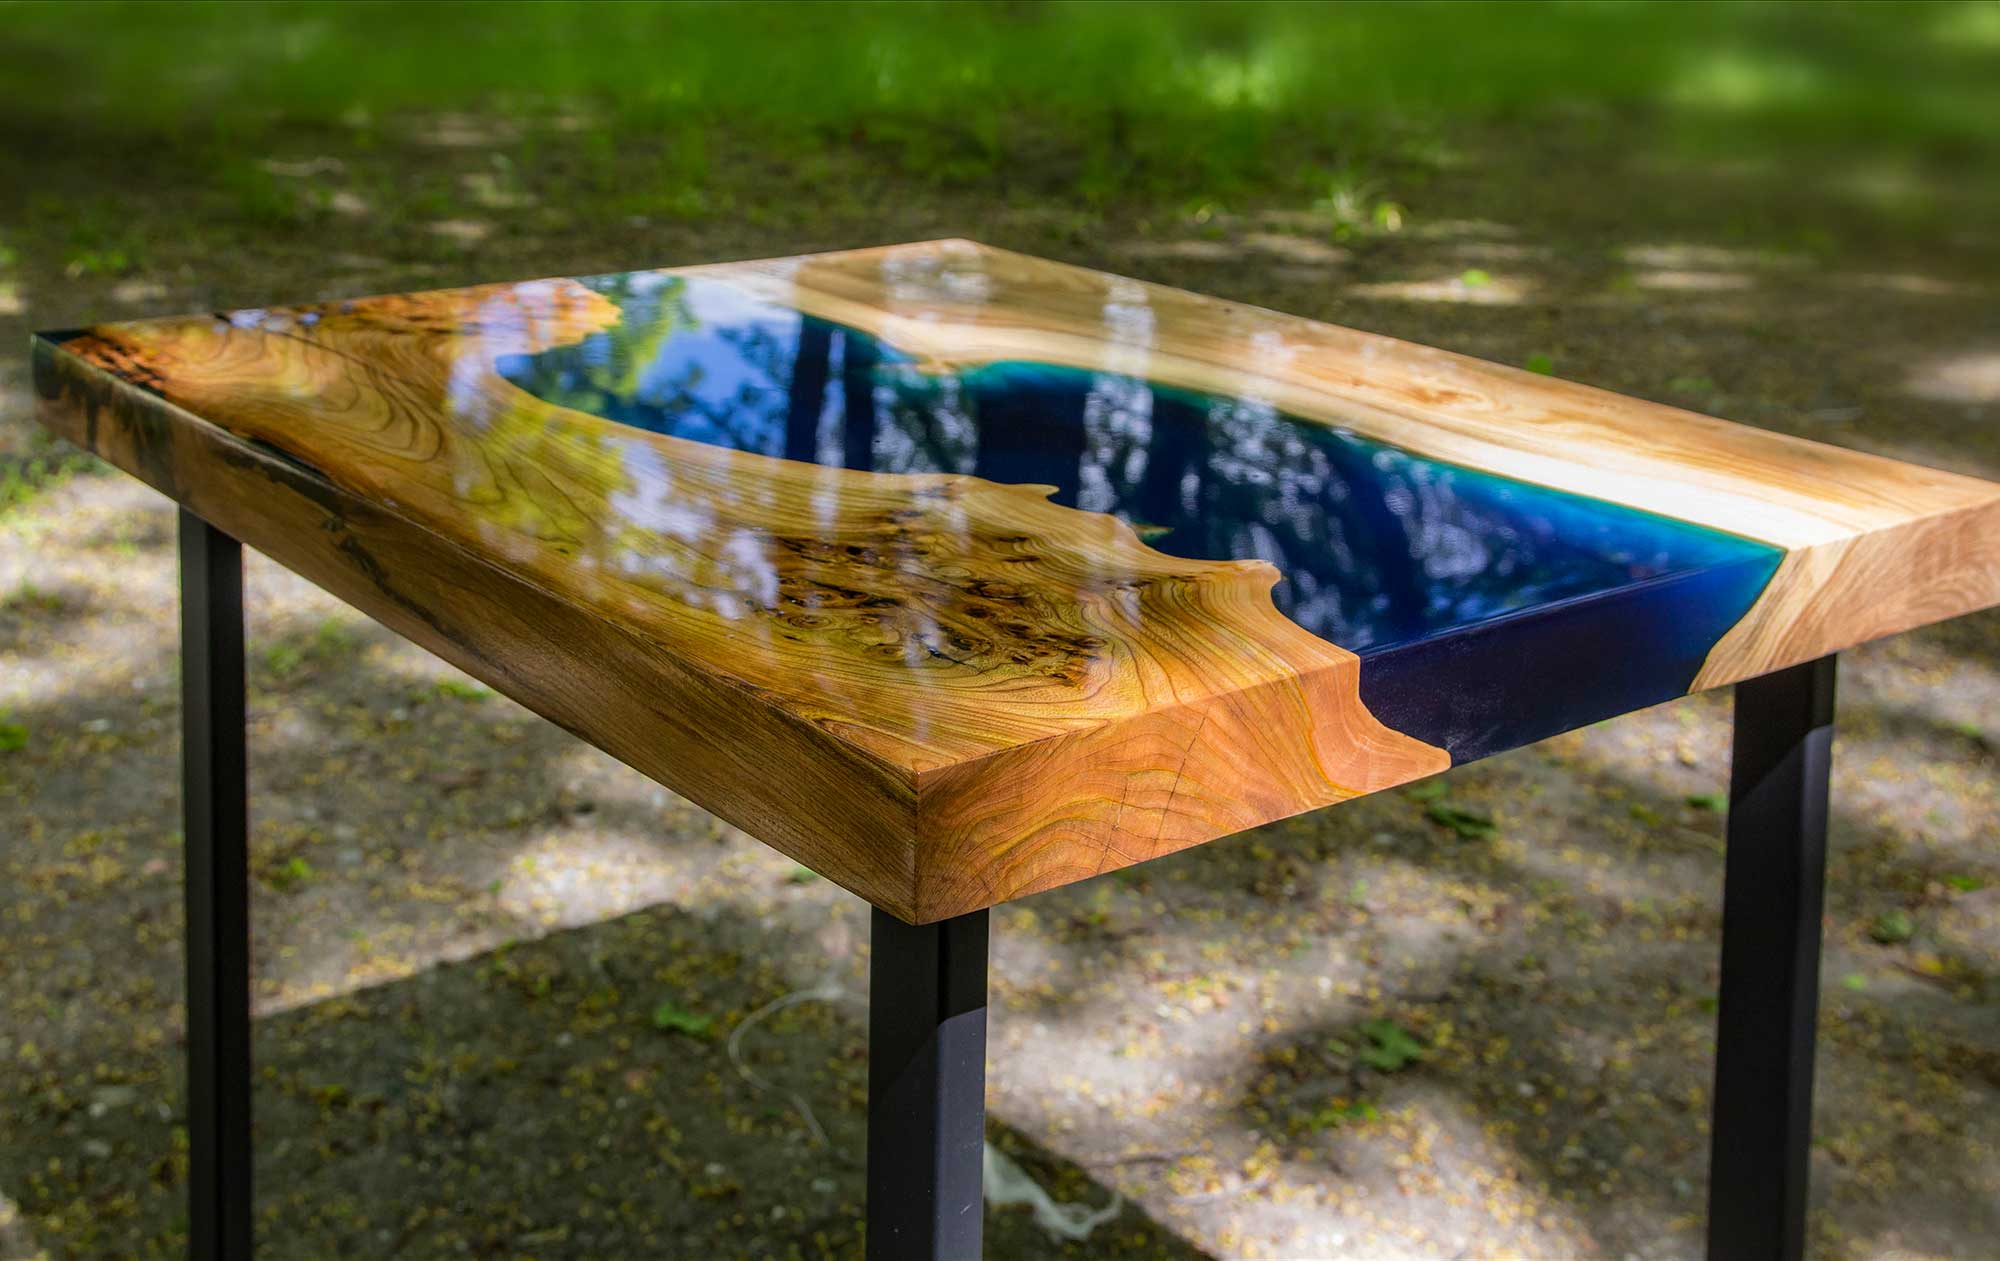
Welcome to the world of resin furniture, where creativity and functionality intertwine to bring unique and stunning pieces into your living space. Among the myriad options available, resin dining tables stand out as versatile, durable, and visually captivating additions to any home. Crafting a resin dining table is an engaging and rewarding endeavor that allows you to unleash your artistic flair while creating a functional piece of furniture. Whether you are a seasoned artisan or a novice DIY enthusiast, this guide will walk you through the step-by-step process of making your own resin dining table, transforming raw materials into a stunning centerpiece for your dining room.
Before embarking on this creative journey, it is essential to gather the necessary materials and prepare a suitable workspace. With careful attention to detail and a touch of artistic finesse, you can craft a resin dining table that reflects your personal style and enhances the aesthetic appeal of your home.
Key Takeaways:
- Crafting a resin dining table involves meticulous preparation, precise mixing, and delicate extraction. Patience, creativity, and attention to detail are essential for creating a stunning and bespoke centerpiece for your home.
- From preparing the workspace to refining the table’s surface, crafting a resin dining table is a journey of creativity and dedication. Embrace the opportunity to experiment with colors and textures, and revel in the unique charm of your finished masterpiece.
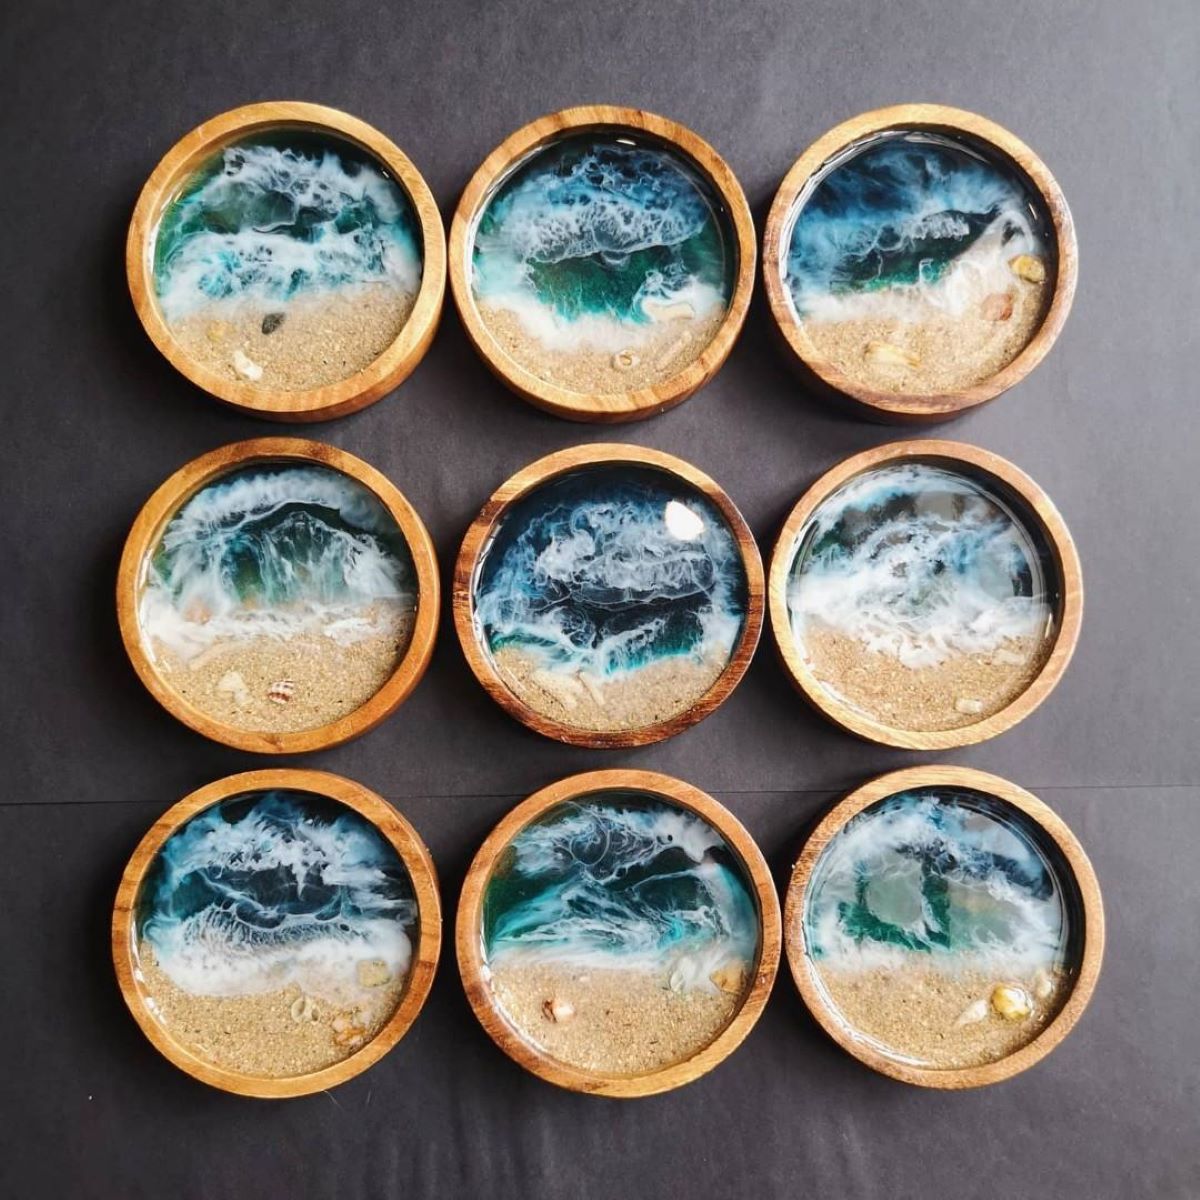
Read more: How To Make A Resin Coffee Table
Materials Needed
To embark on the exciting venture of creating a resin dining table, you will need a range of materials to ensure a smooth and successful crafting process. Here’s a comprehensive list of the essential items required:
- Wood or MDF board for the table surface
- Resin and hardener
- Release agent or wax
- Measuring cups and mixing containers
- Pigments or dyes for coloring the resin
- Protective gloves and a respirator mask
- Sandpaper of varying grits
- Wood or metal table legs
- Mixing sticks or stirring rods
- Leveling feet or adjustable table leg hardware
- Plastic sheeting or drop cloths to protect the workspace
- Masking tape
- Clamps
- Power sander or sanding block
- Polishing compound and buffing pads
- Protective finish or sealant
- Painter’s tape
- Plastic tarp or large garbage bags
These materials will form the foundation for your resin dining table project, providing you with the tools and resources needed to bring your creative vision to life. By ensuring that you have all the necessary items at your disposal, you can approach each step of the crafting process with confidence and enthusiasm.
Preparing the Workspace
Creating a resin dining table requires a well-organized and adequately prepared workspace to ensure a seamless crafting experience. Before delving into the intricacies of the crafting process, it is crucial to set the stage for a productive and safe environment. Here are the key steps to prepare your workspace for crafting a resin dining table:
- Clean and Clear: Begin by clearing the designated workspace of any clutter or obstructions. This will provide you with ample room to maneuver and work comfortably as you embark on your crafting journey.
- Protective Coverings: Lay down plastic sheeting or drop cloths to safeguard the underlying surface from resin spills and drips. This protective layer will prevent any inadvertent damage to your work area.
- Ventilation: Ensure that the workspace is well-ventilated to disperse any fumes generated during the resin mixing and pouring process. If possible, set up a fan or open windows to promote air circulation.
- Organize Tools and Materials: Arrange your tools, materials, and equipment in a systematic manner, making them easily accessible as you progress through each stage of crafting your resin dining table.
- Personal Protective Equipment: Prioritize safety by donning protective gloves and a respirator mask to shield yourself from potential exposure to resin fumes and chemicals.
By meticulously preparing your workspace, you can lay the groundwork for a focused and efficient crafting experience. A well-organized and thoughtfully arranged environment will facilitate a smooth transition from one phase of the crafting process to the next, allowing you to channel your creative energy into the creation of a stunning resin dining table.
Creating the Table Mold
The process of crafting a resin dining table begins with the creation of a sturdy and precise mold that will serve as the foundation for the table’s form. Building a well-constructed mold is essential to achieving a flawless end result. Here’s a step-by-step guide to creating the table mold:
- Design and Measurements: Determine the desired dimensions of your dining table and mark the corresponding measurements on a wood or MDF board, which will serve as the table surface. Ensure that the board is level and free from imperfections to create a smooth tabletop.
- Constructing the Mold Walls: Using additional boards or melamine, build walls around the perimeter of the table surface to contain the resin during the pouring and curing process. Secure the walls firmly to prevent any leaks or seepage.
- Sealing the Edges: Apply a release agent or wax to the inner surfaces of the mold walls to facilitate easy removal of the cured resin table. This crucial step prevents the resin from adhering to the mold, ensuring a clean separation once the table is complete.
- Reinforcement and Support: To reinforce the mold and prevent flexing during the resin pouring stage, add additional support such as braces or clamps to maintain the structural integrity of the mold.
- Leveling and Alignment: Ensure that the table surface within the mold is perfectly level and aligned, as any discrepancies at this stage will be reflected in the final tabletop. Use a spirit level to verify the evenness of the surface.
By meticulously following these steps, you can create a robust and precisely engineered mold that will serve as the canvas for your resin dining table. A well-constructed mold sets the stage for a successful resin pouring and curing process, laying the groundwork for a flawless and visually striking end product.
When making a resin dining table, make sure to properly seal the wood to prevent any air bubbles from forming in the resin. This will result in a smoother and more professional-looking finish.
Mixing and Pouring the Resin
With the mold in place and the workspace prepared, it’s time to delve into the transformative process of mixing and pouring the resin to bring your dining table to life. This pivotal stage requires precision, patience, and a keen eye for detail. Here’s a comprehensive guide to mixing and pouring the resin for your dining table:
- Prepare the Resin: Measure the required amount of resin and hardener according to the manufacturer’s instructions. Use separate, clean mixing containers for the resin and hardener to avoid premature activation.
- Color Customization: If desired, add pigments or dyes to the resin to achieve the desired color for your table. Mix the pigments thoroughly to ensure uniform distribution and a consistent hue.
- Mixing Process: Combine the resin and hardener in a clean container, following the recommended mixing ratio provided by the manufacturer. Utilize mixing sticks or stirring rods to blend the components thoroughly, ensuring that no streaks or unmixed portions remain.
- Debubbling: To eliminate any air bubbles trapped within the resin mixture, use a heat gun or propane torch to carefully and swiftly pass over the surface of the resin. This process will facilitate the release of trapped air, resulting in a smooth and bubble-free pour.
- Pouring the Resin: Gently pour the resin mixture into the prepared mold, starting from the center and allowing it to flow evenly to the edges. Take care to avoid sudden movements or disturbances that could introduce air bubbles into the poured resin.
- Leveling and Smoothing: Utilize a leveling tool to ensure that the resin is distributed evenly across the entire surface of the mold. Smooth out the resin with a gentle touch to achieve a uniform thickness and a flawless finish.
By meticulously following these steps, you can navigate the intricate process of mixing and pouring resin with confidence and precision. This crucial stage sets the foundation for the visual and tactile appeal of your resin dining table, marking a significant step in the realization of your creative vision.
Read more: How To Make Flower Resin Coasters
Removing the Table from the Mold
After the resin has cured and transformed into a solid, gleaming surface, the next step in crafting your resin dining table is the careful and methodical process of removing the table from the mold. This stage demands patience, precision, and a delicate touch to ensure that the table is extracted flawlessly. Here’s a step-by-step guide to removing the table from the mold:
- Assessing the Cure: Verify that the resin has fully cured according to the manufacturer’s recommended timeframe. A thorough cure is essential for the successful removal of the table from the mold without compromising its integrity.
- Detaching the Mold Walls: Carefully dismantle the walls of the mold, ensuring that the edges of the resin table remain untouched and intact. Exercise caution to prevent any accidental chipping or damage to the table surface.
- Release and Extraction: Gently release the cured resin table from the mold by applying gradual and even pressure. If necessary, use a soft mallet or rubber mallet to tap along the edges of the mold, guiding the table’s separation from the mold walls.
- Protective Measures: Prioritize the protection of the table surface by placing it on a soft, padded surface to prevent scratching or marring during the extraction process. Handle the table with care to safeguard its pristine finish.
- Inspecting the Table: Thoroughly examine the extracted table for any imperfections or irregularities. Address any minor flaws or blemishes through sanding and refinishing, ensuring that the table achieves a flawless and polished appearance.
By meticulously following these steps, you can navigate the delicate process of removing the resin table from the mold with precision and finesse. This pivotal stage marks a significant milestone in the crafting journey, bringing you closer to the realization of a stunning and bespoke resin dining table that reflects your creative vision and craftsmanship.
Sanding and Finishing
Once the resin table has been successfully extracted from the mold, the focus shifts to refining its surface and enhancing its visual allure through meticulous sanding and finishing techniques. This transformative stage allows you to elevate the table’s aesthetic appeal and ensure a smooth, lustrous finish that captivates the eye. Here’s a comprehensive guide to the sanding and finishing process:
- Surface Inspection: Carefully examine the table’s surface for any irregularities, imperfections, or rough edges that require attention. Address any visible flaws before proceeding to the sanding stage.
- Initial Sanding: Begin the sanding process with a coarse-grit sandpaper to level the table’s surface and eliminate any protrusions or uneven areas. Work methodically and evenly across the entire tabletop to achieve a uniform texture.
- Progressive Finishing: Gradually transition to finer-grit sandpapers, refining the surface with each successive sanding stage to achieve a silky-smooth texture. This iterative approach ensures a flawless and polished finish that accentuates the inherent beauty of the resin table.
- Edge Detailing: Pay close attention to the edges of the table, refining them with precision to create a seamless and refined profile. Smooth out any sharp or uneven edges to enhance the table’s visual appeal and tactile comfort.
- Buffing and Polishing: Employ a power sander or buffing tool equipped with fine-grit sanding pads to further refine the table’s surface, imparting a luxurious sheen and a mirror-like finish. This meticulous buffing process enhances the resin’s inherent luster, elevating the table to a new level of visual splendor.
- Protective Coating: Apply a protective finish or sealant to safeguard the table’s surface and enhance its longevity. Choose a high-quality sealant that complements the resin’s characteristics, providing durable protection against daily wear and tear.
By meticulously following these steps, you can elevate the resin dining table to a state of refined elegance, characterized by a flawless surface and a captivating sheen. The sanding and finishing process represents the culmination of your meticulous craftsmanship, transforming the resin table into a stunning centerpiece that exudes sophistication and allure.
Conclusion
Embarking on the journey of creating a resin dining table is a testament to your creativity, craftsmanship, and dedication to transforming raw materials into a functional work of art. From the initial stages of preparing the workspace to the transformative process of mixing, pouring, and refining the resin, each step contributes to the evolution of a captivating and bespoke dining table that reflects your unique vision.
As you navigate the intricacies of crafting a resin dining table, remember that patience, precision, and a touch of artistic finesse are essential companions on this creative odyssey. Embrace the opportunity to experiment with colors, textures, and finishes, allowing your imagination to shape the final form of the table. Whether you opt for vibrant hues or opt for a sleek, translucent design, the resin dining table serves as a canvas for your artistic expression.
Upon completing the sanding and finishing process, take a moment to admire the fruits of your labor. Revel in the seamless surface, the lustrous sheen, and the exquisite details that define your resin dining table. With its captivating allure and functional elegance, the table stands as a testament to your ingenuity and craftsmanship, ready to grace your dining space with its unique charm.
As you integrate the resin dining table into your home, it becomes more than just a piece of furniture; it embodies the spirit of creativity and the joy of crafting something truly exceptional. Whether it serves as a gathering place for cherished meals, a focal point for engaging conversations, or a showcase of artistic ingenuity, the resin dining table enriches your living space with its captivating presence.
May your resin dining table stand as a testament to your creativity, craftsmanship, and unwavering dedication to transforming raw materials into a functional work of art. As it takes its place in your home, may it serve as a reminder of the boundless possibilities that unfold when passion and creativity converge.
Frequently Asked Questions about How To Make A Resin Dining Table
Was this page helpful?
At Storables.com, we guarantee accurate and reliable information. Our content, validated by Expert Board Contributors, is crafted following stringent Editorial Policies. We're committed to providing you with well-researched, expert-backed insights for all your informational needs.


0 thoughts on “How To Make A Resin Dining Table”