Home>Dining>Tableware>How To Build A Reclaimed Wood Dining Table
Tableware
How To Build A Reclaimed Wood Dining Table
Modified: August 28, 2024
Learn how to build a stunning reclaimed wood dining table that will elevate your tableware and transform your dining space.
(Many of the links in this article redirect to a specific reviewed product. Your purchase of these products through affiliate links helps to generate commission for Storables.com, at no extra cost. Learn more)
Introduction
Welcome to our comprehensive guide on how to build a reclaimed wood dining table. A reclaimed wood dining table adds a touch of rustic charm and character to any dining space. Not only is it a sustainable choice, but it also offers a unique and one-of-a-kind aesthetic that cannot be replicated by mass-produced furniture.
In this article, we will take you through the step-by-step process of creating your own reclaimed wood dining table, from selecting the materials to finishing and sealing the table. Whether you’re an experienced woodworker or a DIY enthusiast, this guide will provide you with the knowledge and confidence to embark on this rewarding project.
Before we dive into the details, let’s start by gathering the materials and tools you will need for this project.
Key Takeaways:
- Building a reclaimed wood dining table is a rewarding DIY project that adds unique charm and sustainability to your home. From selecting materials to finishing touches, this guide empowers you to create a stunning centerpiece for your dining space.
- Maintaining your reclaimed wood dining table is essential for preserving its beauty and durability. By adding protective measures, conducting regular cleaning, and addressing maintenance needs, you can ensure that your eco-friendly creation remains a timeless gathering place for your loved ones.
Read more: What Wood Is Best For A Dining Table
Materials and Tools
Before you begin building your reclaimed wood dining table, it’s essential to gather all the necessary materials and tools. Here’s a list of what you’ll need:
Materials:
- Reclaimed wood planks
- Plywood
- Wood glue
- Screws
- Sanding paper
- Wood stain
- Sealer
- Paintbrushes
- Rags
- Table legs
- Hardware (such as brackets and screws)
Tools:
- Table saw or circular saw
- Miter saw
- Power drill
- Sander
- Clamps
- Measuring tape
- Pencil
- Safety goggles
- Gloves
Make sure to choose high-quality reclaimed wood planks that are free from rot, moisture, and pests. You can find reclaimed wood from salvage yards, old barns, or even online marketplaces. The type of wood you choose will depend on your preference and the desired look of your dining table.
Additionally, consider the dimensions and shape of the table. Measure the available space in your dining area to determine the ideal size for your table. You may also want to consider the number of people you’ll be accommodating and any specific design elements you want to incorporate.
Once you have all the necessary materials and tools ready, you’re ready to move on to the next step: selecting and preparing the reclaimed wood.
Selecting and Preparing the Reclaimed Wood
Choosing the best wood for dining table is crucial for the success of your project. Here are some steps to guide you through the process:
Read more: What To Clean A Wood Dining Table With
1. Inspect the wood:
Thoroughly examine each reclaimed wood plank for any signs of damage, such as rot, cracks, or insect infestation. Avoid using wood that is compromised, as it may compromise the structural integrity of your table.
2. Remove nails and hardware:
Most reclaimed wood will have nails, screws, or other hardware embedded in it. Carefully remove any protruding nails or screws using a hammer or pry bar. Ensure the wood is free from any metals that could damage your tools or cause injuries during the construction process.
3. Clean the wood:
Reclaimed wood often accumulates dirt, dust, and grime over time. Use a stiff brush or a damp cloth to clean the surfaces of the planks. For stubborn stains, you can lightly sand the wood using sandpaper. Ensure that the wood is dry before proceeding to the next step.
4. Trim and cut:
Once you have cleaned the wood, measure and mark the desired dimensions for your tabletop. Use a table saw or a circular saw to trim the planks to the appropriate length. You may also consider cutting them at an angle for a more interesting design.
Read more: How To Build A Dining Table Bench
5. Sand the wood:
After cutting the planks, it’s essential to sand the surfaces to create a smooth and even finish. Start with a coarse-grit sandpaper to remove any rough spots or imperfections, and gradually move to finer-grit sandpaper for a polished result. Sand in the direction of the wood grain to avoid damaging the fibers.
Remember to wear safety goggles and gloves during the sanding process to protect yourself from flying debris.
Once you have completed these steps, you will have beautifully prepared reclaimed wood pieces ready to be arranged into a stunning dining table. In the next section, we will discuss the process of designing the table.
Designing the Dining Table
Designing your reclaimed wood dining table allows you to personalize the look and feel of the final product. Here are some considerations to keep in mind as you plan your design:
1. Table shape and size:
Decide on the shape and size of your dining table. Common options include rectangular, square, or round tables. Consider the dimensions and layout of your dining area to determine the optimal size that will fit comfortably in the space.
2. Tabletop design:
Think about the arrangement of the reclaimed wood planks for the tabletop. You can arrange them in a herringbone or chevron pattern for a unique look, or simply place them side by side for a more traditional design. Experiment with different layouts to find the one that appeals to you the most.
Read more: How To Build An Outdoor Dining Table
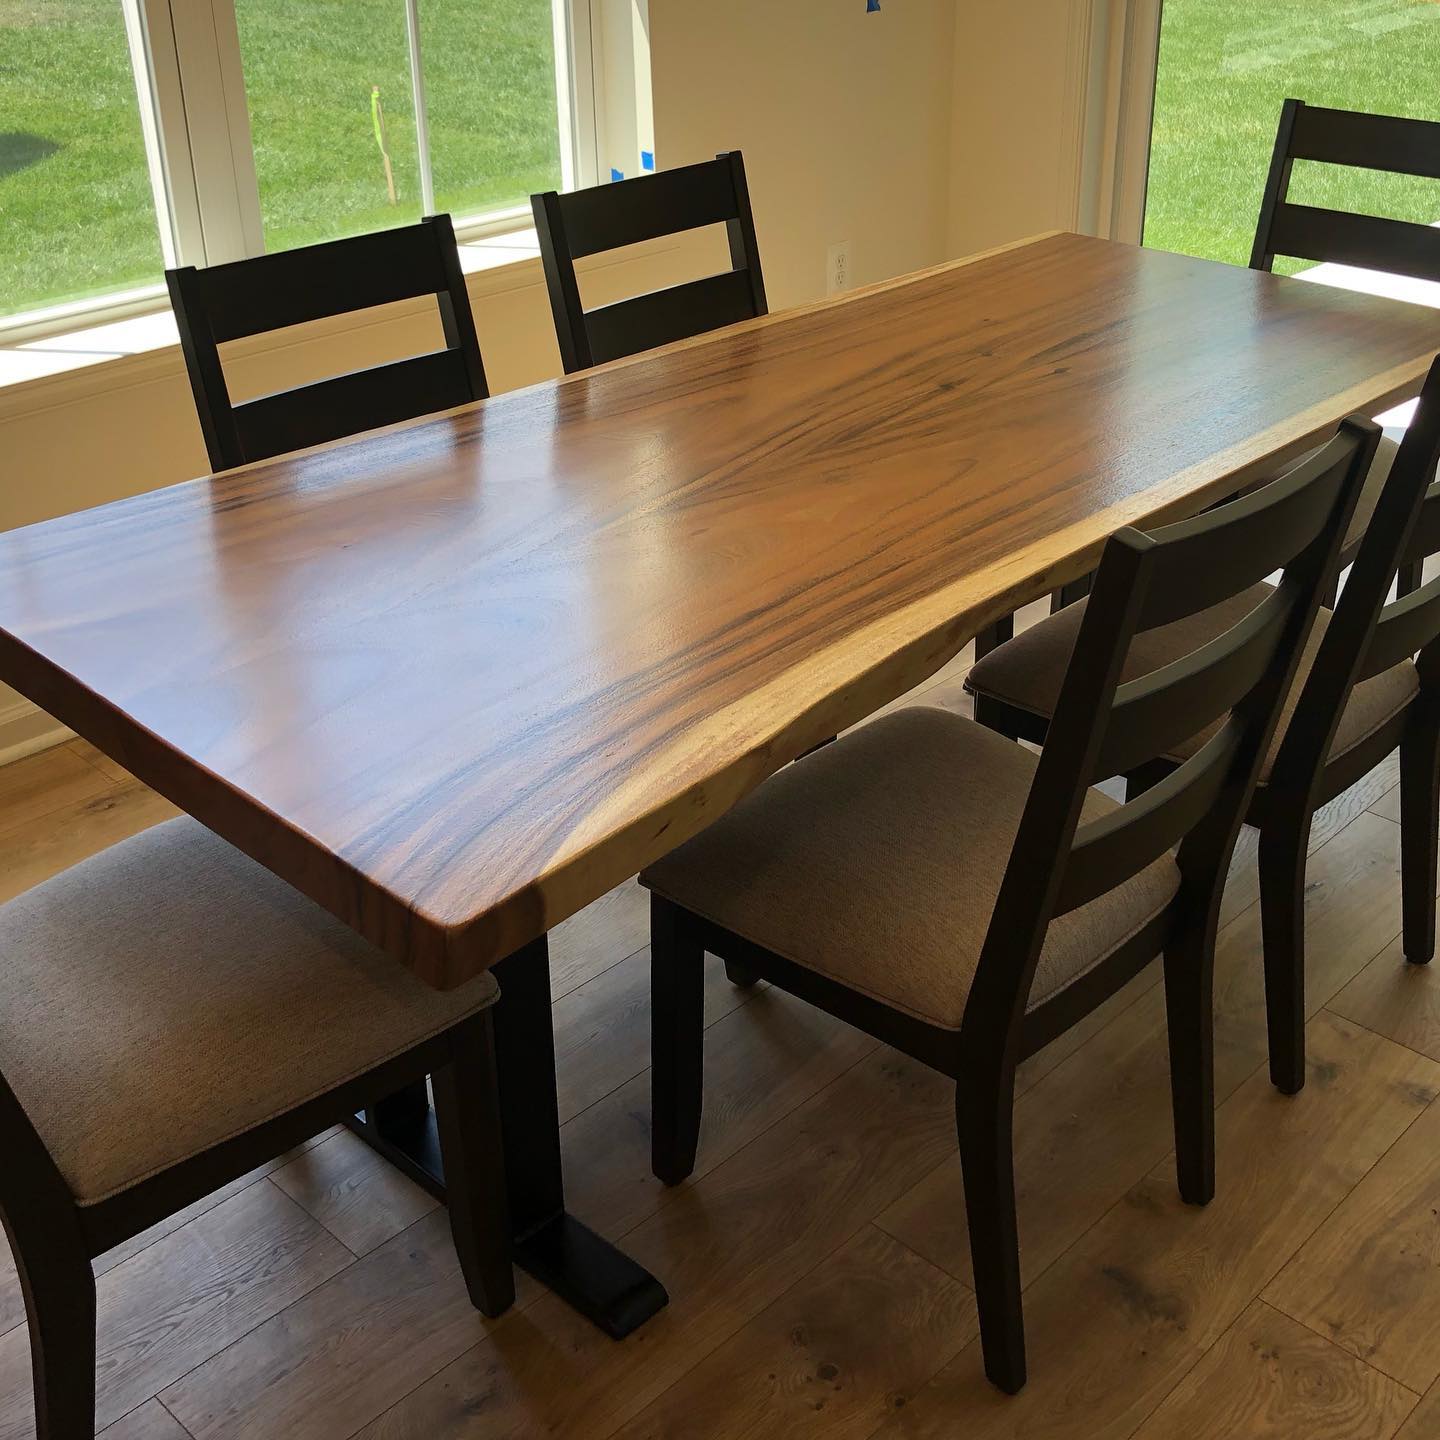
3. Edge profile:
Consider the edge profile of the tabletop. You can opt for a straight, squared-off edge for a modern look, or choose a more rustic and natural live edge for added character. You can achieve different edge profiles by using a router or hand tools.
4. Additional features:
Think about any additional features or details you’d like to incorporate into your dining table design. This could include decorative inlays, metal accents, or even a built-in leaf extension mechanism for added versatility.
5. Finishing touches:
Consider the type of finish you want for your reclaimed wood dining table. You can choose a clear varnish to preserve the natural beauty of the wood, or use a colored stain to add depth and richness to the grain. Experiment with different finishes on scrap pieces of wood to find the one that best complements your design.
Once you have finalized your design, it’s time to move on to the next step: cutting and shaping the wood to bring your vision to life.
Cutting and Shaping the Wood
Now that you have a design in mind for your reclaimed wood dining table, it’s time to start cutting and shaping the wood to bring your vision to life. Here are the steps to follow:
Read more: How To Protect An Acacia Wood Dining Table
1. Prepare the necessary tools:
Gather your table saw or circular saw, miter saw, measuring tape, pencil, and safety equipment including goggles and gloves.
2. Cut the tabletop pieces:
Using your measurements and design plan, use the table saw or circular saw to cut the reclaimed wood planks to the desired length and width for the tabletop. Ensure that the cuts are straight and accurate.
3. Shape the edges (optional):
If you prefer a softer, rounded edge for your tabletop, use a router with a decorative bit to shape the edges of the wood. Take your time and make multiple passes, increasing the depth gradually until you achieve the desired profile.
4. Cut the plywood base:
To provide stability and support to the tabletop, cut a piece of plywood to match the size and shape of the tabletop. This will serve as the base for attaching the reclaimed wood planks.
5. Attach the reclaimed wood:
Apply wood glue to the surface of the plywood base and carefully arrange the reclaimed wood planks on top, ensuring a tight fit and even spacing between them. Use clamps to hold the pieces together and allow the glue to dry completely.
6. Reinforce the tabletop (optional):
If desired, you can reinforce the tabletop by attaching additional supports or brackets underneath. This will help prevent any warping or movement of the wood over time.
Cutting and shaping the wood is an important step in creating a reclaimed wood dining table that not only looks beautiful but also maintains its structural integrity. Once you have completed this step, you can move on to assembling the table legs in the next section.
Assembling the Tabletop
Now that you have cut and shaped the reclaimed wood pieces for your dining table, it’s time to assemble the tabletop. Follow these steps to ensure a secure and stable construction:
1. Prepare the tabletop:
Remove any clamps or supports from the reclaimed wood pieces once the wood glue has fully dried. Ensure that the pieces fit together snugly and are aligned properly.
Read more: What Is The Best Wood For A Dining Table?
2. Mark the position:
Using a pencil, mark the position of the reclaimed wood pieces on the plywood base. This will help you realign them during the assembly process.
3. Apply wood glue:
Apply a generous amount of wood glue to the marked areas on the plywood base. Make sure to spread it evenly with a paintbrush or scraper.
4. Position the reclaimed wood pieces:
Carefully place each reclaimed wood piece on the marked areas of the plywood base, pressing them firmly into the wood glue. Ensure that the pieces are aligned properly according to your design.
5. Secure the pieces:
Use screws to secure the reclaimed wood pieces to the plywood base. Drive the screws through the plywood base and into the reclaimed wood, ensuring a tight and secure connection. Use a countersink bit to create a recess for the screw heads, allowing them to sit flush with the surface.
Read more: How To Build Black Dining Chairs
6. Let it dry:
Allow the table to dry completely before moving on to the next steps. Follow the drying time specified on the wood glue packaging, which is typically 24 hours.
Once the tabletop has fully dried and the reclaimed wood pieces are securely attached to the plywood base, you can proceed to the next step of building the table legs.
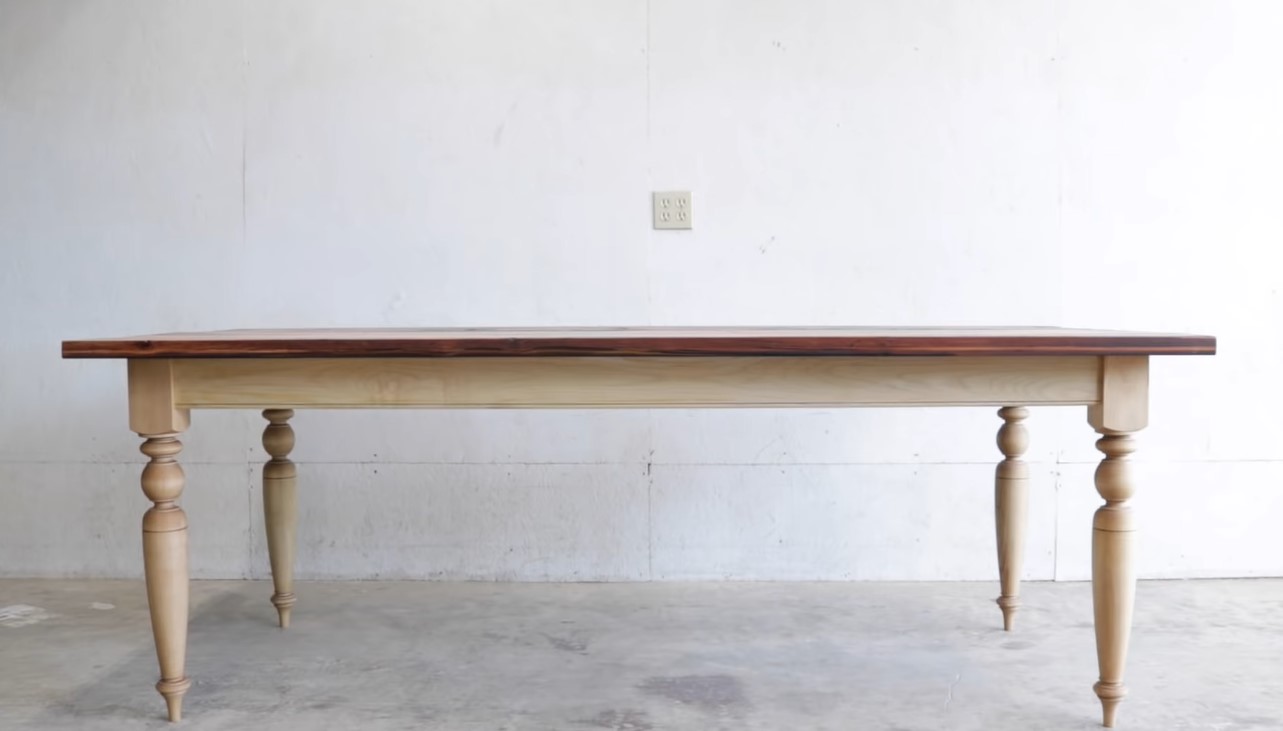
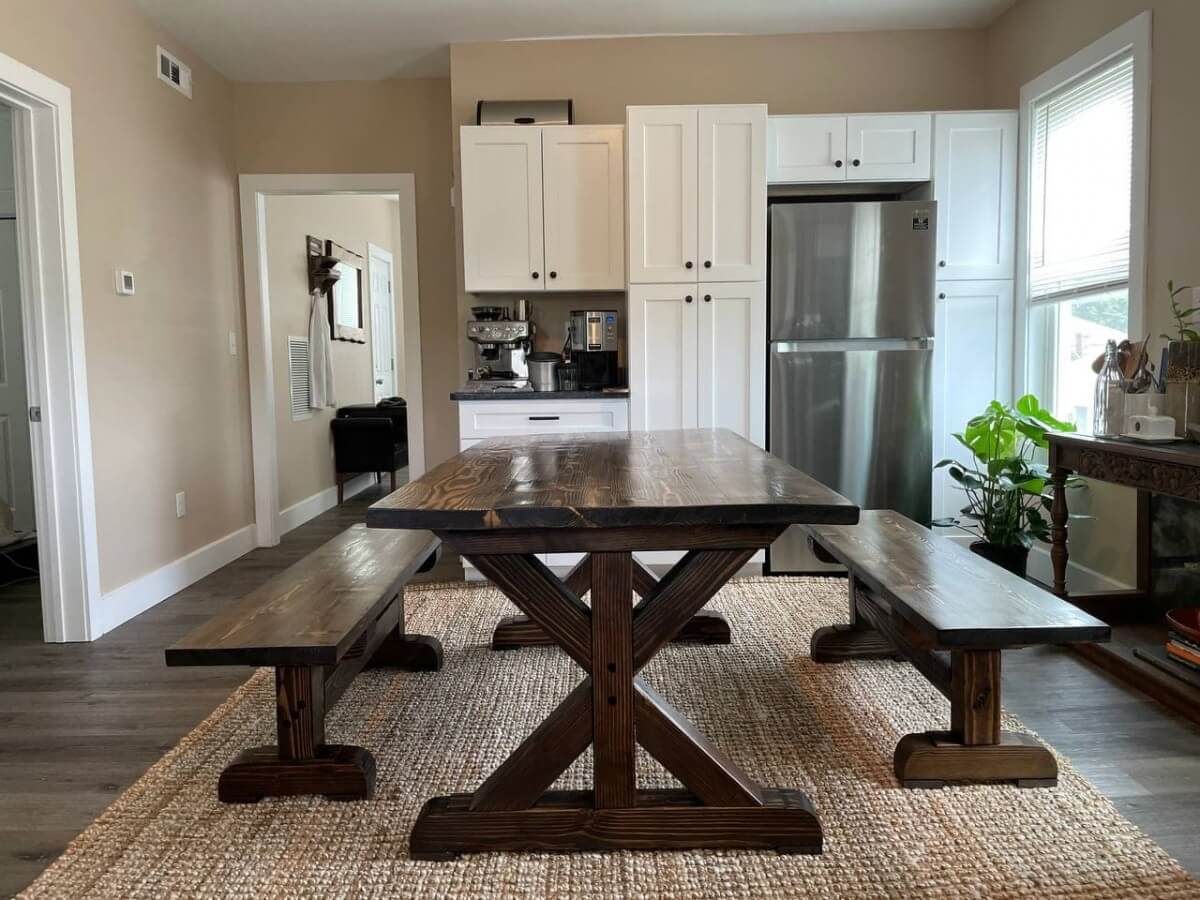
Building the Table Legs
The table legs are not only essential for providing stability, but they also contribute to the overall style and design of your reclaimed wood dining table. Here’s a step-by-step guide on how to build sturdy and stylish table legs:
1. Select the table leg material:
Choose the material for your table legs, such as solid wood, metal, or a combination of both. Consider the desired style and strength when making your selection.
2. Determine the leg design:
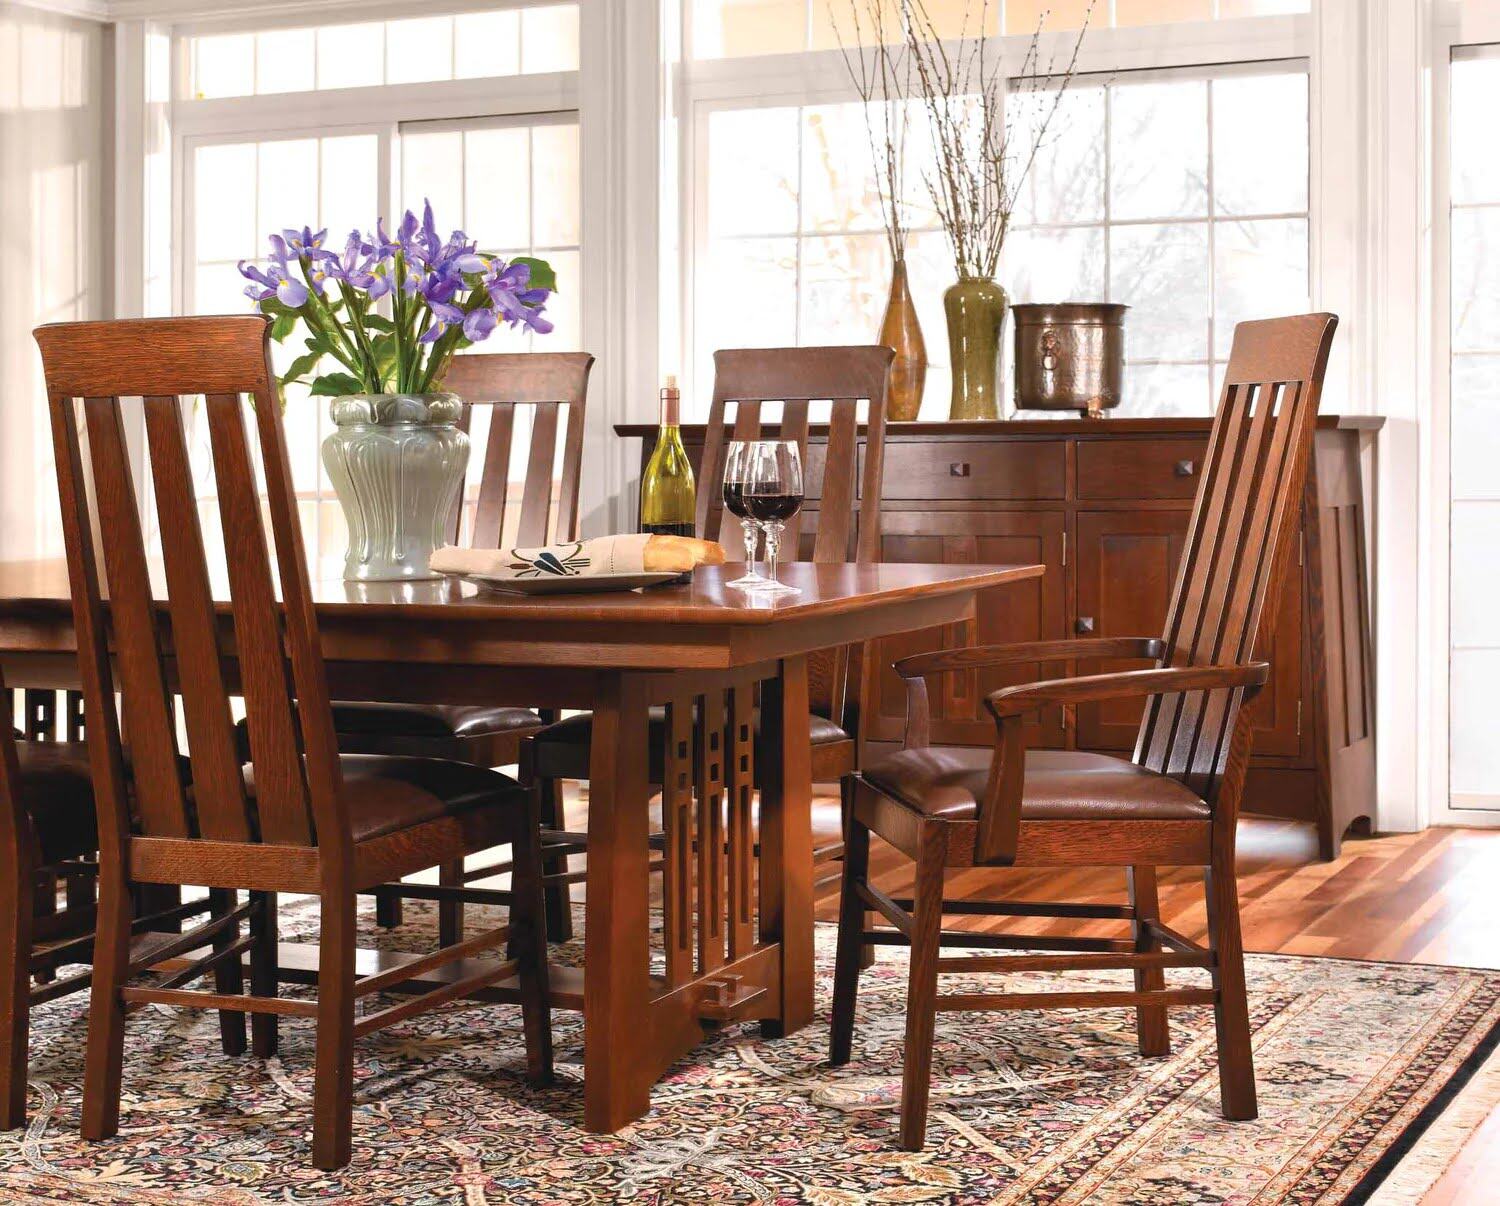
Decide on the design of your table legs. Popular options include straight legs, tapered legs, turned legs, or even hairpin legs. Choose a design that complements the overall aesthetic of your dining table.
Read more: How To Build A Counter Height Dining Table
3. Measure and cut the leg pieces:
Measure the desired height for your table legs. Use a miter saw or a circular saw to cut the leg pieces to the correct length. Ensure that all the legs are cut to the same length for balance and stability.
4. Shape the legs (if necessary):
If you prefer a unique and custom look, consider shaping the table legs. Use a router, chisels, or sandpaper to create decorative details or smooth curves on the legs. Take your time and pay attention to detail to achieve the desired shape.
5. Attach the legs:
There are different methods for attaching table legs depending on the material and design. For wooden legs, you can use metal brackets or mortise and tenon joints. For metal legs, you may need to weld or use specialized brackets for attachment.
6. Check for stability:
Once the legs are attached, check for stability by placing the table on a flat surface. Test for any wobbling or unevenness. If needed, adjust the legs or add additional support to ensure a sturdy and level table.
Building the table legs is an important step in completing your reclaimed wood dining table. Once the legs are securely attached, you can move on to finishing and sealing the table in the next section.
Read more: How To Build A Mid-Century Dining Table
Finishing and Sealing the Table
The finishing and sealing process is crucial to protect and enhance the beauty of your reclaimed wood dining table. Follow these steps to achieve a professional and long-lasting finish:
1. Sand the tabletop:
Begin by lightly sanding the tabletop with fine-grit sandpaper to create a smooth surface. Remove any dust or debris using a tack cloth or a damp cloth.
2. Choose a finish:
Consider the desired look and level of protection for your table. There are several options for finishes, including varnish, oil, or polyurethane. Each option has its own advantages, so choose the one that suits your preferences and needs.
3. Apply the finish:
Follow the instructions on the chosen finish product and carefully apply it to the tabletop. Use a brush or a lint-free cloth to ensure even coverage. Apply multiple thin coats, allowing each coat to dry fully before applying the next one.
Read more: Which Wood Is Good For Dining Table?
4. Sand between coats:
After each coat of finish has dried, lightly sand the tabletop with fine-grit sandpaper. This will help create a smooth finish and remove any imperfections. Wipe away any dust before applying the next coat.
5. Seal the table:
Once the desired number of finish coats has been applied and the tabletop looks smooth and even, it’s time to seal the table. Apply a layer of sealer to protect the wood from moisture and stains. Follow the instructions on the sealer product for the best results.
6. Let it cure:
Allow the finish and sealer to cure according to the manufacturer’s instructions. This will ensure that the table is fully protected and ready for use.
Finishing and sealing your reclaimed wood dining table will not only enhance its appearance but also prolong its lifespan. Once the table has fully cured and the finish is dry, you can move on to adding the final touches and ensuring its long-term maintenance.
Final Touches and Maintenance
Now that you have completed the construction of your reclaimed wood dining table, it’s time to add the final touches and learn about maintenance to keep it looking beautiful for years to come:
Read more: How To Build A Picnic Style Dining Table
1. Add protective pads or coasters:
To prevent scratches or damage to the tabletop, consider adding protective pads or coasters underneath items like plates, glasses, or hot dishes. This will help preserve the surface of the table and minimize wear and tear.
2. Consider table linens:
Using table linens, such as tablecloths or placemats, can provide an extra layer of protection and add a decorative touch to your dining table. Linens can also help absorb spills and make cleanup easier.
3. Regular cleaning:
Keep your table clean by regularly wiping it down with a soft, damp cloth to remove dust and debris. Avoid using harsh cleaners or abrasive materials that can damage the finish or wood surfaces.
4. Touch-up as needed:
Over time, the finish of your reclaimed wood dining table may show signs of wear. Periodically inspect the surface for any scratches or dents and touch them up with a matching stain or wood filler for seamless repairs.
5. Avoid direct sunlight:
Direct sunlight can cause the wood to fade and potentially damage the finish. Consider placing your dining table away from direct sunlight or use curtains or blinds to protect it from excessive exposure.
6. Reapply finish as necessary:
Depending on the type of finish used, you may need to reapply it periodically to maintain its protective properties. Follow the manufacturer’s recommendations for reapplication frequency.
By following these final touches and maintenance guidelines, you can ensure that your reclaimed wood dining table remains a stunning centerpiece in your home for years to come. Enjoy the beauty and character of your creation as you gather with loved ones around your unique and eco-friendly dining table.
Conclusion
Congratulations on successfully building your own reclaimed wood dining table! This project not only allows you to create a unique and sustainable piece of furniture but also gives you the satisfaction of adding your personal touch to your dining space.
Throughout this guide, we have covered the step-by-step process of selecting reclaimed wood, designing the table, cutting and shaping the wood, assembling the tabletop, building the table legs, and finishing and sealing the table. By following these instructions and incorporating your own creativity, you have created a beautiful and functional dining table that will impress your family and friends.
Remember to take care of your table by adding protective measures, conducting regular cleaning, and addressing any maintenance needs. This will help your reclaimed wood dining table maintain its beauty and durability for years to come.
Building a reclaimed wood dining table is not only a satisfying DIY project but also a sustainable choice that brings a unique charm to your home. It serves as a testament to your craftsmanship and your commitment to reducing waste and promoting eco-friendly practices.
Enjoy many memorable meals, conversations, and moments around your reclaimed wood dining table. Let it be a gathering place for your loved ones and a symbol of your dedication to both style and sustainability.
Thank you for joining us on this journey of creating your own reclaimed wood dining table. Stay inspired and continue to explore the world of woodworking and eco-friendly home decor. Happy dining!
Frequently Asked Questions about How To Build A Reclaimed Wood Dining Table
Was this page helpful?
At Storables.com, we guarantee accurate and reliable information. Our content, validated by Expert Board Contributors, is crafted following stringent Editorial Policies. We're committed to providing you with well-researched, expert-backed insights for all your informational needs.
0 thoughts on “How To Build A Reclaimed Wood Dining Table”