Home>diy>Building & Construction>What Are The Steps In Building A House
Building & Construction
What Are The Steps In Building A House
Modified: August 27, 2024
Learn the essential steps in building a house, from start to finish. Discover the key tasks involved in the building construction process.
(Many of the links in this article redirect to a specific reviewed product. Your purchase of these products through affiliate links helps to generate commission for Storables.com, at no extra cost. Learn more)
Introduction
Welcome to the exciting world of building construction! Building a house from scratch is a complex and rewarding endeavor that requires careful planning, attention to detail, and skilled craftsmanship. Whether you’re embarking on this journey as a homeowner or a construction professional, understanding the step-by-step process is essential to ensure a successful project.
In this article, we’ll take a comprehensive look at the steps involved in building a house, from the initial design phase to the final touches. Each step plays a crucial role in the construction process and contributes to the creation of a safe, functional, and visually appealing structure.
Building a house is more than just putting bricks and mortar together; it’s about creating a place that will shelter and inspire for years to come. So, without further ado, let’s dive into the first step: designing the house.
Key Takeaways:
- Building a house involves a comprehensive process, from designing and obtaining permits to landscaping and outdoor features. Each step contributes to creating a safe, functional, and visually appealing home.
- Attention to detail, collaboration with professionals, and adherence to building codes are crucial for a successful house construction project. Embrace the journey and enjoy the process of creating your dream home.
Read more: What Is The First Step To Building A House
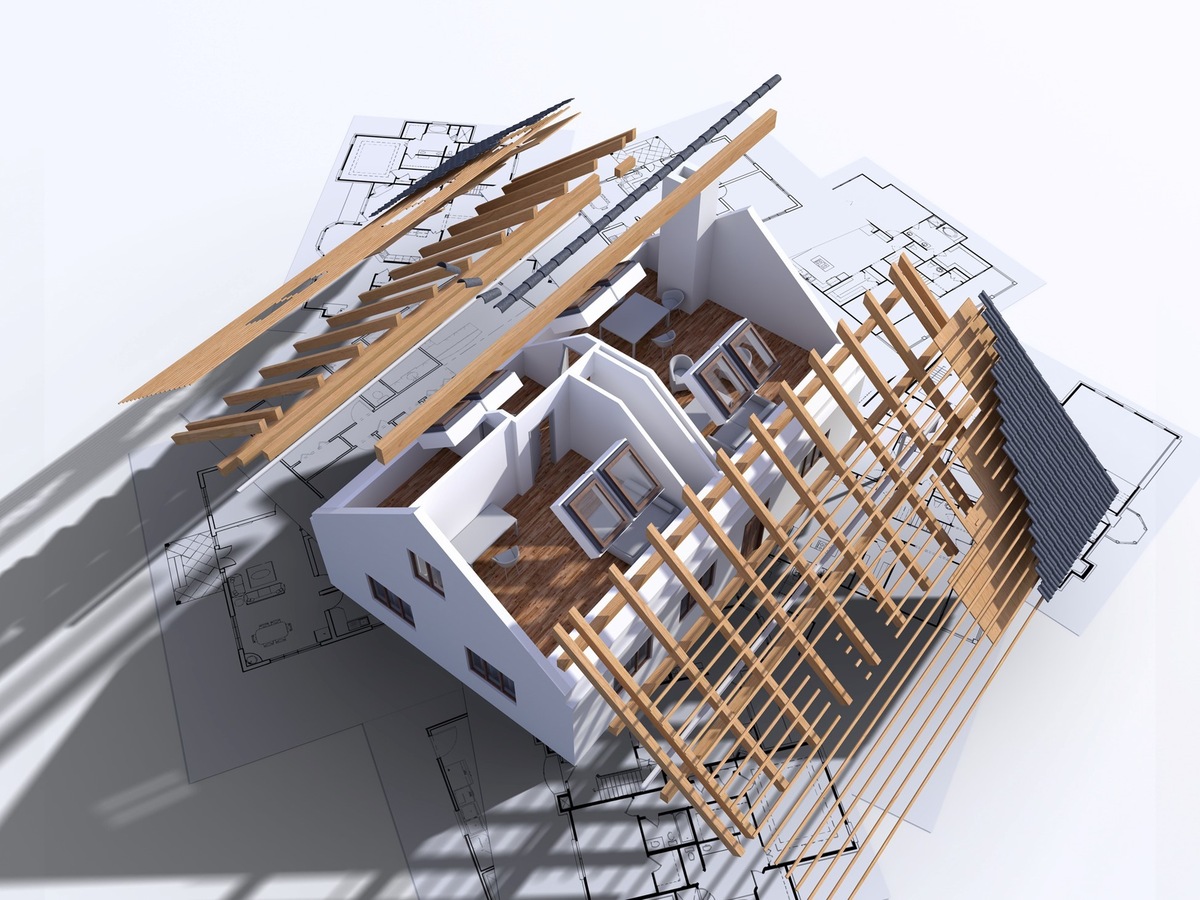
Step 1: Designing the House
The first step in building a house is creating a well-thought-out design that meets your specific needs and preferences. This is a collaborative process between you and an architect or a designer. During this stage, you’ll work together to create a blueprint that outlines the layout, size, and style of your future home.
The design phase involves several key considerations. First, you’ll need to determine the number of bedrooms, bathrooms, and common areas you want in your house. Think about how you want the rooms to be arranged and the flow of the house. Do you prefer open-concept spaces or separate rooms? Consider your lifestyle and how the layout will accommodate your daily activities.
Next, you’ll select the architectural style of your house. From traditional to modern, there are countless design styles to choose from. Consider the overall aesthetic you want to achieve and how it will fit in with the surrounding neighborhood.
Once the basic layout and style are decided, it’s time to focus on the finer details. This includes selecting materials for the flooring, walls, and finishes. You’ll also need to decide on the type and style of windows and doors, as well as any special features or amenities you wish to incorporate, such as a fireplace or a custom-built kitchen.
During the design phase, it’s important to consider energy-efficient features and sustainability. Incorporating green building techniques can not only reduce your carbon footprint but also save you money in the long run through lower energy bills.
Once the design is finalized, the architect or designer will create detailed construction drawings, including floor plans, elevations, and specifications. These drawings will serve as a guide for the construction team and will be submitted for permits and approvals.
Remember, the design phase is the foundation of your house, so take the time to carefully consider your options and collaborate with professionals to create a design that meets your vision and requirements. With the design complete, you’re ready to move on to the next step: obtaining necessary permits and approvals.
Step 2: Obtaining Necessary Permits and Approvals
Before construction can begin, it’s crucial to obtain the necessary permits and approvals from the local authorities. These permits ensure that your house complies with building codes, zoning regulations, and other legal requirements. Securing the proper documentation is essential to avoid fines, delays, or even legal issues down the line.
The process of obtaining permits and approvals varies depending on your location and the complexity of the project. In most cases, you’ll need to submit your construction drawings, along with other supporting documents, to the local building department or planning office. They will review your plans to ensure compliance with safety codes, structural integrity, and land use regulations.
Common permits that you may need to obtain include:
- Building permit: This grants permission to start construction and ensures that your project adheres to the applicable building codes.
- Electrical permit: If you’re installing or modifying electrical systems, you’ll need this permit to ensure safety and compliance with electrical codes.
- Plumbing permit: If you’re installing or modifying plumbing systems, this permit is required to ensure that the work is done properly and meets plumbing codes.
- Mechanical permit: If you’re installing or modifying heating, ventilation, and air conditioning (HVAC) systems, you’ll need this permit to ensure compliance with mechanical codes.
In addition to permits, you may also need to obtain other approvals. For example:
- Homeowners’ association (HOA) approval: If your property is part of an HOA, you may need their permission to proceed with construction.
- Historical preservation approval: If your property is in a designated historical area, you’ll need approval from the local historical preservation commission.
- Environmental permits: Depending on your location and the impact of your project on the environment, you may need to obtain permits related to erosion control, tree removal, or wetland preservation.
It’s important to research and understand the specific permits and approvals required for your area before beginning the application process. Working with a knowledgeable architect or contractor can help streamline this process and ensure that all necessary paperwork is submitted accurately and on time.
Once you have obtained the required permits and approvals, you can move forward with confidence to the next step: site preparation.
Step 3: Site Preparation
With the design finalized and the necessary permits in hand, it’s time to prepare the construction site for building your dream house. Site preparation is a crucial step that involves clearing and leveling the land, as well as making necessary accommodations for utilities and access.
The first task in site preparation is clearing the land of any vegetation, debris, or obstructions. This may involve removing trees, bushes, and rocks from the construction area. It’s important to follow local regulations and obtain permits if tree removal is required.
Once the land is cleared, the site needs to be leveled to ensure a solid foundation for your house. This includes removing any uneven or unstable soil and filling in low-lying areas. The site may need to be graded to ensure proper drainage away from the house.
In addition to clearing and leveling, site preparation also involves making accommodations for utilities and access. This includes bringing in utility lines such as electricity, gas, and water to the construction site. It’s important to work with utility providers to ensure proper connections and compliance with safety regulations.
Access to the construction site is also a consideration during site preparation. This involves creating temporary access roads or paths for vehicles and construction equipment to reach the site. It’s important to plan for efficient and safe access to the site to ensure smooth construction operations.
During site preparation, it’s also a good idea to install erosion control measures to prevent soil erosion and sediment runoff. This may include installing silt fences, erosion blankets, or retaining walls, depending on the slope and terrain of the site.
Site preparation sets the stage for the construction process. It lays the groundwork for the foundation and ensures that the construction site is ready for the next steps. Once the site preparation is complete, you’re ready to move on to step 4: foundation construction.
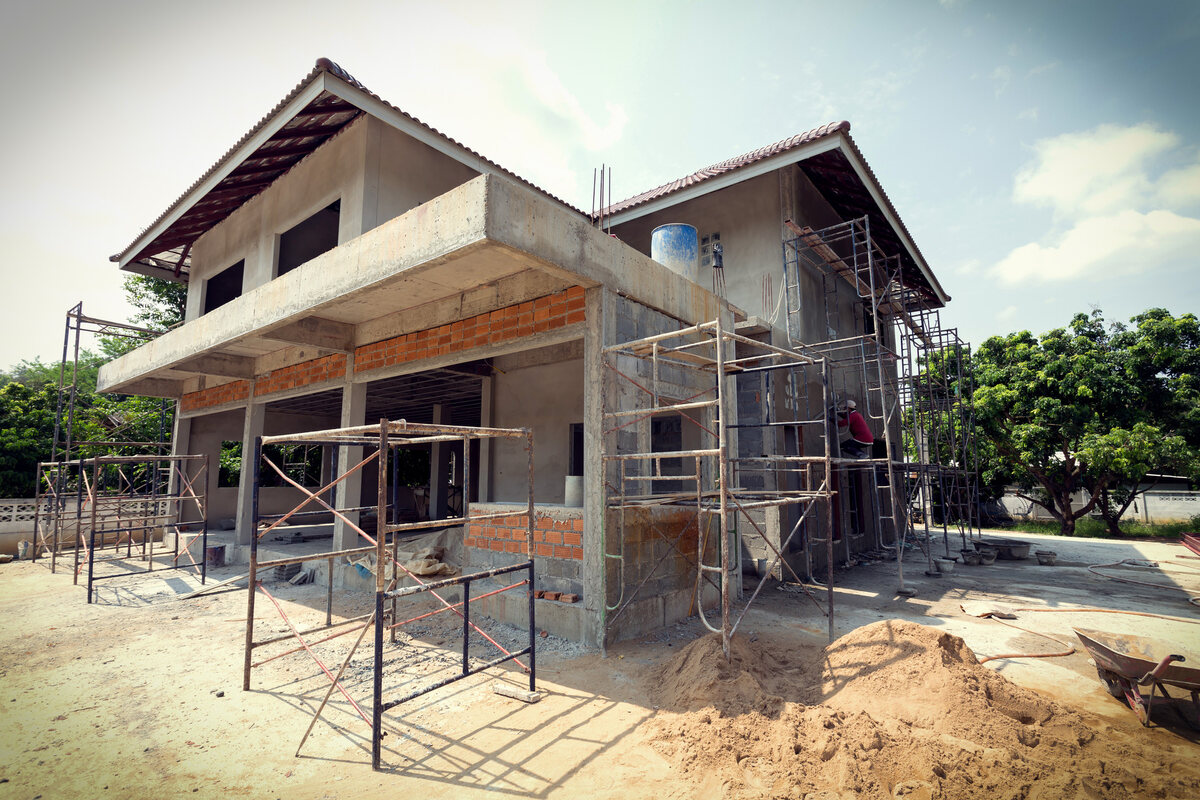
Step 4: Foundation Construction
The foundation of a house is arguably the most important element of the entire structure. It provides stability, strength, and support for the entire building. Foundation construction involves creating a solid base upon which the rest of the house will be built.
The first step in foundation construction is excavating the site. This involves digging trenches or pits where the foundation walls will be constructed. The dimensions and depth of the excavation will depend on the design and structural requirements of the house.
Once the site is excavated, the next step is to lay the foundation footings. Footings are wide, flat concrete structures that help distribute the weight of the house evenly and prevent settling or shifting. They are typically made of reinforced concrete and extend below the frost line to ensure stability.
After the footings are in place, the foundation walls are constructed. Depending on the design and construction method, the walls may be made of poured concrete or concrete blocks. The walls are reinforced with rebar or steel rods to enhance strength and stability.
Once the walls are fully constructed, the next step is to waterproof and damp-proof the foundation. This involves applying a waterproofing membrane or coating to the exterior of the foundation walls to prevent moisture infiltration. Additionally, a damp-proofing layer is applied on the interior side of the walls to prevent moisture from seeping into the house.
After the foundation walls are finished, the next crucial stage is the installation of the foundation slab. The slab is a thick, flat layer of concrete that forms the floor of the house. It is typically reinforced with steel mesh or rebar to enhance strength and minimize cracking.
During the foundation construction process, it’s important to ensure proper drainage around the foundation. This is achieved by installing a perimeter drainage system, which includes foundation drains and gravel to direct water away from the foundation walls.
Foundation construction requires precise planning and skilled craftsmanship to ensure a solid and durable foundation. It’s important to work with experienced contractors and follow local building codes and regulations to ensure the integrity of the foundation. With the foundation complete, you’re ready to move on to step 5: framing the structure.
Read more: What Is A Passive House Building
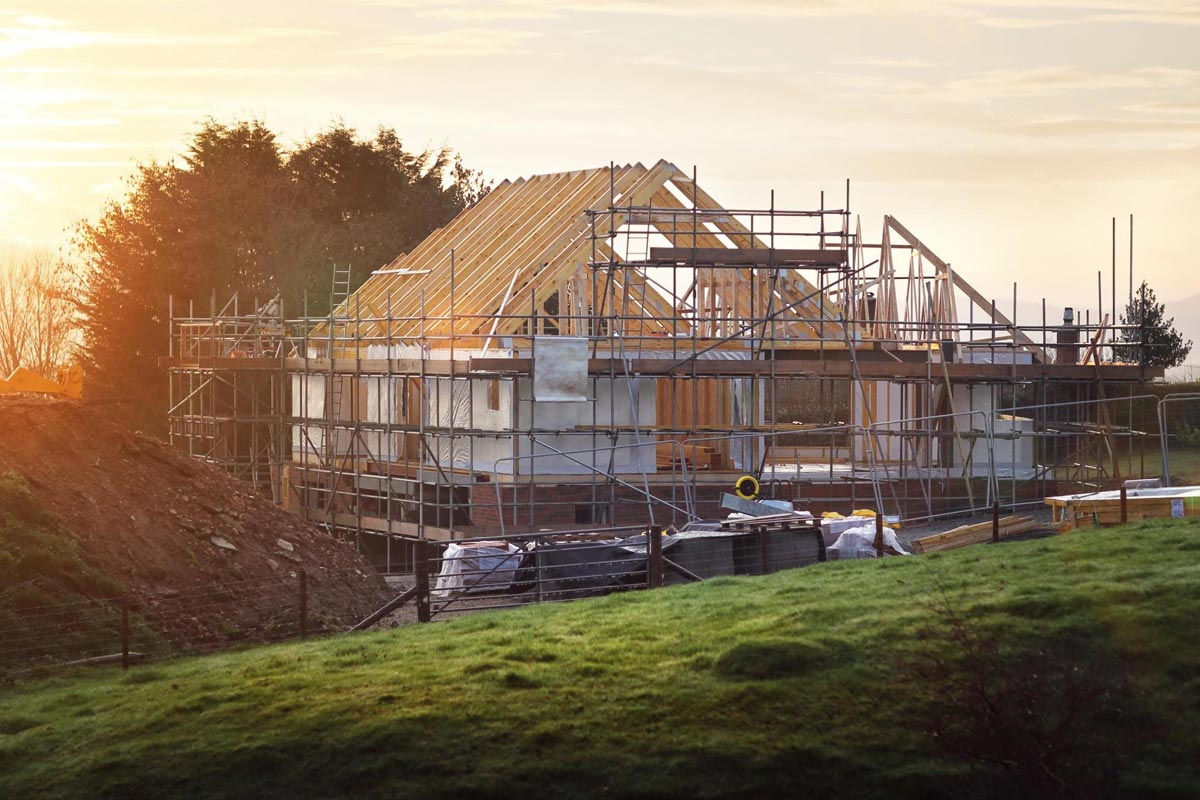
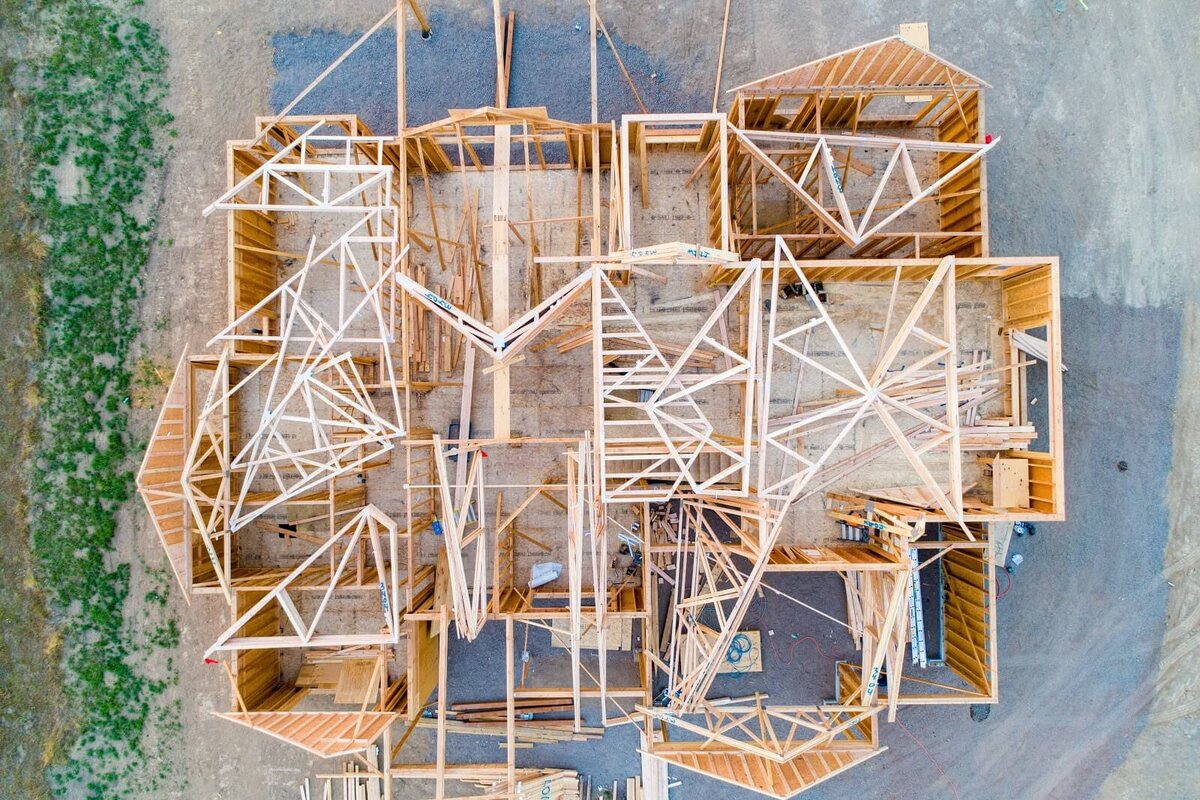
Step 5: Framing the Structure
The framing stage is where the skeletal structure of the house begins to take shape. It involves constructing the framework that will support the floors, walls, and roof of the house. Framing is a critical step that requires precision and attention to detail to ensure a solid and stable structure.
The process of framing typically starts with the installation of the floor joists. These horizontal beams run parallel to each other and provide support for the floors. The joists are secured to the foundation walls or beams and are spaced according to the floor plan and structural requirements.
Once the floor joists are in place, the next step is to construct the exterior walls. This involves framing the walls with vertical studs and horizontal plates. The studs are typically made of wood or steel and are spaced according to the design and building codes. The walls are then raised into position and secured to the floor joists and the foundation walls.
After the exterior walls are framed, interior walls are constructed to define the layout of the rooms and provide additional structural support. Interior walls are framed in a similar manner to the exterior walls, using vertical studs and horizontal plates.
Once the walls are framed, the next step is to install the roof trusses or rafters. These are pre-fabricated triangular structures that form the skeleton of the roof. They are installed at regular intervals along the top of the walls and are secured with hardware and connectors. The roof trusses or rafters provide support for the roof covering and help distribute the weight to the walls and foundation.
In addition to the floor, walls, and roof, framing also includes the installation of windows and doors. Openings are framed to accommodate the size and style of the windows and doors. Headers and sills are added to provide structural support and ensure proper installation.
Throughout the framing process, it’s important to ensure that all components are properly aligned, level, and plumb. This will contribute to the overall structural integrity and stability of the house. Working with skilled carpenters and following building codes and regulations are crucial to ensure a safe and reliable frame.
Once the framing is complete, the basic structure of the house is established. It’s time to move on to step 6: installing windows and doors.
Step 6: Installing Windows and Doors
Installing windows and doors is a crucial step in the construction process as it brings light, ventilation, and access to the house. Windows and doors not only serve functional purposes but also contribute to the aesthetic appeal and overall design of the home.
The first step in this process is to measure and order the windows and doors. It’s important to choose high-quality, energy-efficient windows and doors that meet your design preferences and budget. Consider factors such as style, material, insulation, and security features.
Once the windows and doors have been delivered to the construction site, the installation process begins. For windows, the first step is to prepare the window openings by ensuring they are clean, dry, and free from debris. The window is then placed into the opening, leveled, and secured with screws or nails. Weatherproofing measures, such as caulking and sealants, are applied to prevent air and water infiltration.
For doors, the process is similar. The door openings are prepared by ensuring they are level and plumb. The door frame is then installed, ensuring it is properly aligned and secured. The door is hung on the frame using hinges, and the hardware, such as handles and locks, is installed.
During the installation process, it’s important to ensure that the windows and doors are properly sealed and insulated to prevent drafts and energy loss. This can be achieved by using weatherstripping, insulation materials, and appropriate sealants. Proper insulation around windows and doors helps maintain a comfortable indoor environment and improves energy efficiency.
In addition to insulation, it’s important to consider safety measures for windows and doors. This may include installing window locks, reinforced glass, or security features for doors. These measures enhance the security and peace of mind for homeowners.
Once all the windows and doors are installed, a thorough inspection should be conducted to ensure they operate smoothly and meet the required standards. Any necessary adjustments or corrections should be made at this stage.
With the windows and doors in place, the house starts to take on its final form. Natural light fills the rooms, and access points are established. You’re now ready to move onto step 7: roofing.
Before starting to build a house, make sure to carefully plan and design the layout, obtain all necessary permits, and hire reputable contractors and suppliers. This will help ensure a smooth and successful construction process.
Step 7: Roofing
The roofing stage is a crucial step in building a house as it provides protection from the elements and completes the overall structure. A well-installed roof ensures durability, energy efficiency, and aesthetic appeal. Roofing involves the installation of materials that will shield the house from rain, snow, wind, and other environmental factors.
The first step in the roofing process is to prepare the roof deck. The roof deck is the structural layer of the roof that provides a stable base for the roofing materials. It is typically made of plywood or oriented strand board (OSB) and is attached securely to the roof framing.
Once the roof deck is in place, the next step is to install the underlayment. The underlayment acts as a secondary barrier against water penetration and helps protect the roof deck from moisture. It is typically made of asphalt-saturated felt or synthetic materials.
After the underlayment is installed, it’s time to lay the roofing materials. The choice of roofing materials depends on factors such as climate, budget, and design preferences. Some common roofing materials include asphalt shingles, metal roofing, clay or concrete tiles, and slate.
If using asphalt shingles, individual shingles are laid on top of the underlayment in overlapping rows. They are secured with nails or staples and often have adhesive strips to ensure a tight seal. Metal roofing is installed in large panels or sheets, while clay or concrete tiles and slate are laid in a overlapping pattern.
During the roofing installation, it’s crucial to pay attention to proper ventilation. Adequate ventilation helps remove excess heat and moisture from the attic, promoting energy efficiency and preventing structural damage. This may include ridge vents, soffit vents, or mechanical vents.
In addition to the main roof, other roof components are installed during this stage. This includes flashing, which is used to seal and protect areas where the roof meets walls, chimneys, or other protrusions. Gutters and downspouts are also installed to manage rainwater runoff and protect the foundation of the house.
Roofing requires skilled labor and attention to detail to ensure a watertight and long-lasting roof. It’s recommended to work with experienced roofing contractors who can guide you through the material selection, installation process, and any necessary maintenance or repairs.
With the completion of the roof, your house is now protected from the elements, allowing you to move on to the next step: electrical and plumbing systems installation.
Step 8: Electrical and Plumbing Systems
Step 8 of building a house involves the installation of electrical and plumbing systems. These systems are essential for the functioning and comfort of your home, providing power, water, and sanitation.
Electrical System:
The electrical system involves the installation of wiring, outlets, switches, and fixtures that will provide electricity to various areas of your house. It’s important to work with a licensed electrician who can ensure compliance with safety codes and regulations.
The process begins with designing the electrical layout, determining the location of outlets, switches, and light fixtures. This is based on the floor plan and the specific needs and preferences of the homeowner.
Next, the electrician will install the main electrical panel, which is the control center for the electrical system. The panel distributes electricity to different circuits throughout the house, each protected by circuit breakers or fuses. Wiring is then installed in the walls and ceilings, connecting the outlets and switches to the electrical panel.
Once the wiring is in place, the electrician will install light fixtures, outlets, and switches throughout the house according to the design plan. This includes installing ceiling lights, wall sconces, and outlets in each room, as well as specialized electrical features like kitchen appliances, bathroom fans, and exterior lighting.
Plumbing System:
The plumbing system involves the installation of pipes, valves, fixtures, and fittings that supply water and remove waste from your house. A licensed plumber should be hired to ensure proper installation and compliance with plumbing codes.
The plumbing installation begins with running the main water supply line into the house, typically from a municipal water source or a well. From there, the plumber will install pipes to supply water to various areas of the house, including sinks, toilets, showers, and appliances like dishwashers and washing machines.
In addition to the water supply, the plumber will install a drainage system to remove wastewater from the house. This includes installing pipes and drains that connect to the main sewer line or a septic tank, depending on your location and local regulations.
Throughout the installation process, the plumber will also install fixtures such as sinks, toilets, bathtubs, and showers. These fixtures are connected to the water supply and drainage systems, ensuring proper functionality and convenience.
It’s important to have regular inspections of the electrical and plumbing systems to ensure they meet safety standards and operate efficiently. Working with experienced professionals and obtaining necessary permits will ensure that your electrical and plumbing systems are installed properly and provide reliable service for years to come.
With the electrical and plumbing systems in place, you’re one step closer to completing your dream home. The next step is Step 9: insulation and drywall installation.
Step 9: Insulation and Drywall
Step 9 of building a house involves the installation of insulation and drywall. These components are essential for ensuring energy efficiency, temperature control, soundproofing, and providing a finished look to the interior of your home.
Insulation:
Insulation plays a critical role in maintaining a comfortable living environment and reducing energy consumption. It helps to keep the heat in during the colder months and cool air in during the hotter months. Insulation is typically installed in the walls, ceilings, and floors to provide thermal resistance and improve energy efficiency.
The type and amount of insulation required will depend on factors such as climate, building codes, and personal preferences. Common insulation materials include fiberglass batts, blown-in cellulose or fiberglass, foam board, and spray foam insulation. The installation process involves cutting the insulation to fit the wall cavities, ceilings, and floors, ensuring proper coverage and minimizing any gaps or voids.
Drywall:
Drywall, also known as plasterboard or sheetrock, is a material used to create smooth, finished walls and ceilings. It provides a clean surface that can be painted or finished with wallpapers or textured materials. Drywall installation is typically done after the insulation is in place.
The first step in drywall installation is measuring and cutting the drywall panels to fit the walls and ceilings. The panels are then attached to the framing using screws or nails, ensuring a secure and even placement. Joints between the panels are filled with joint compound and covered with drywall tape to create a seamless appearance.
Once the joints are sealed and the compound is dry, the drywall is sanded smooth to create a uniform surface. This prepares the walls and ceilings for painting or other finishing techniques.
In addition to insulation and drywall, other materials and finishes may be installed during this stage. This includes baseboards, moldings, and trims that provide a polished look and cover the joints between the walls and floors, as well as around windows and doors.
Insulation and drywall installation are crucial for creating a comfortable and aesthetically pleasing living space. Proper insulation ensures energy efficiency, while drywall provides a blank canvas for interior design. Working with skilled contractors and adhering to building codes will ensure the quality and performance of these components.
With insulation and drywall installed, your house is starting to look and feel like a home. The next step is Step 10: interior finishing.
Step 10: Interior Finishing
Step 10 of building a house involves the exciting phase of interior finishing. This is where your vision for the interior design and aesthetics of your home comes to life. The interior finishing stage focuses on adding the final touches and details that enhance the visual appeal and functionality of each room.
Flooring:
The first aspect of interior finishing is selecting and installing the flooring. There are a variety of flooring options available, including hardwood, laminate, tile, carpet, and vinyl. The choice of flooring depends on personal preference, budget, and the function of each room. Working with a flooring specialist can help you choose the right material and ensure proper installation.
Walls and Ceilings:
The walls and ceilings are another crucial part of the interior finishing. They can be painted in your chosen colors or adorned with wallpaper or textured finishes to create your desired ambiance. Crown moldings, baseboards, and trims are installed to add depth and character to the room. Decorative features, such as wainscoting or shiplap, can be added to enhance the overall look of the space.
Lighting Fixtures:
Lighting plays a significant role in creating the right atmosphere and functionality in each room of your house. Installing a variety of lighting fixtures, such as chandeliers, pendant lights, recessed lighting, and wall sconces, can provide both ambient and task lighting. It’s important to consider the placement and type of lighting fixtures to optimize functionality and enhance the design aesthetic.
Cabinetry and Built-ins:
Cabinetry and built-ins are essential for storage and organization in the kitchen, bathroom, and other areas of the house. Custom or pre-made cabinetry can be installed, offering options for storing kitchen supplies, clothing, or personal items. Built-in shelving and bookcases can be integrated into various rooms to provide additional storage and display space.
Countertops and Fixtures:
Countertops in the kitchen and bathroom add both beauty and functionality to these spaces. Options include materials like granite, quartz, marble, or laminate. Bathroom fixtures, such as sinks, faucets, and showers, are also installed during this stage. These fixtures are available in a variety of styles and finishes to suit your design preferences.
Window Treatments:
Window treatments like blinds, curtains, or shades add privacy, light control, and a finishing touch to the interior spaces. They can be customized to complement the overall design theme and color scheme of the room.
Throughout the interior finishing stage, attention to detail is essential. Working with professional contractors and interior designers can help ensure a cohesive and well-executed interior design that meets your aesthetic and functional goals.
With the completion of interior finishing, your house is almost ready for you to move in and make it a home. The next step is Step 11: exterior finishing.
Step 11: Exterior Finishing
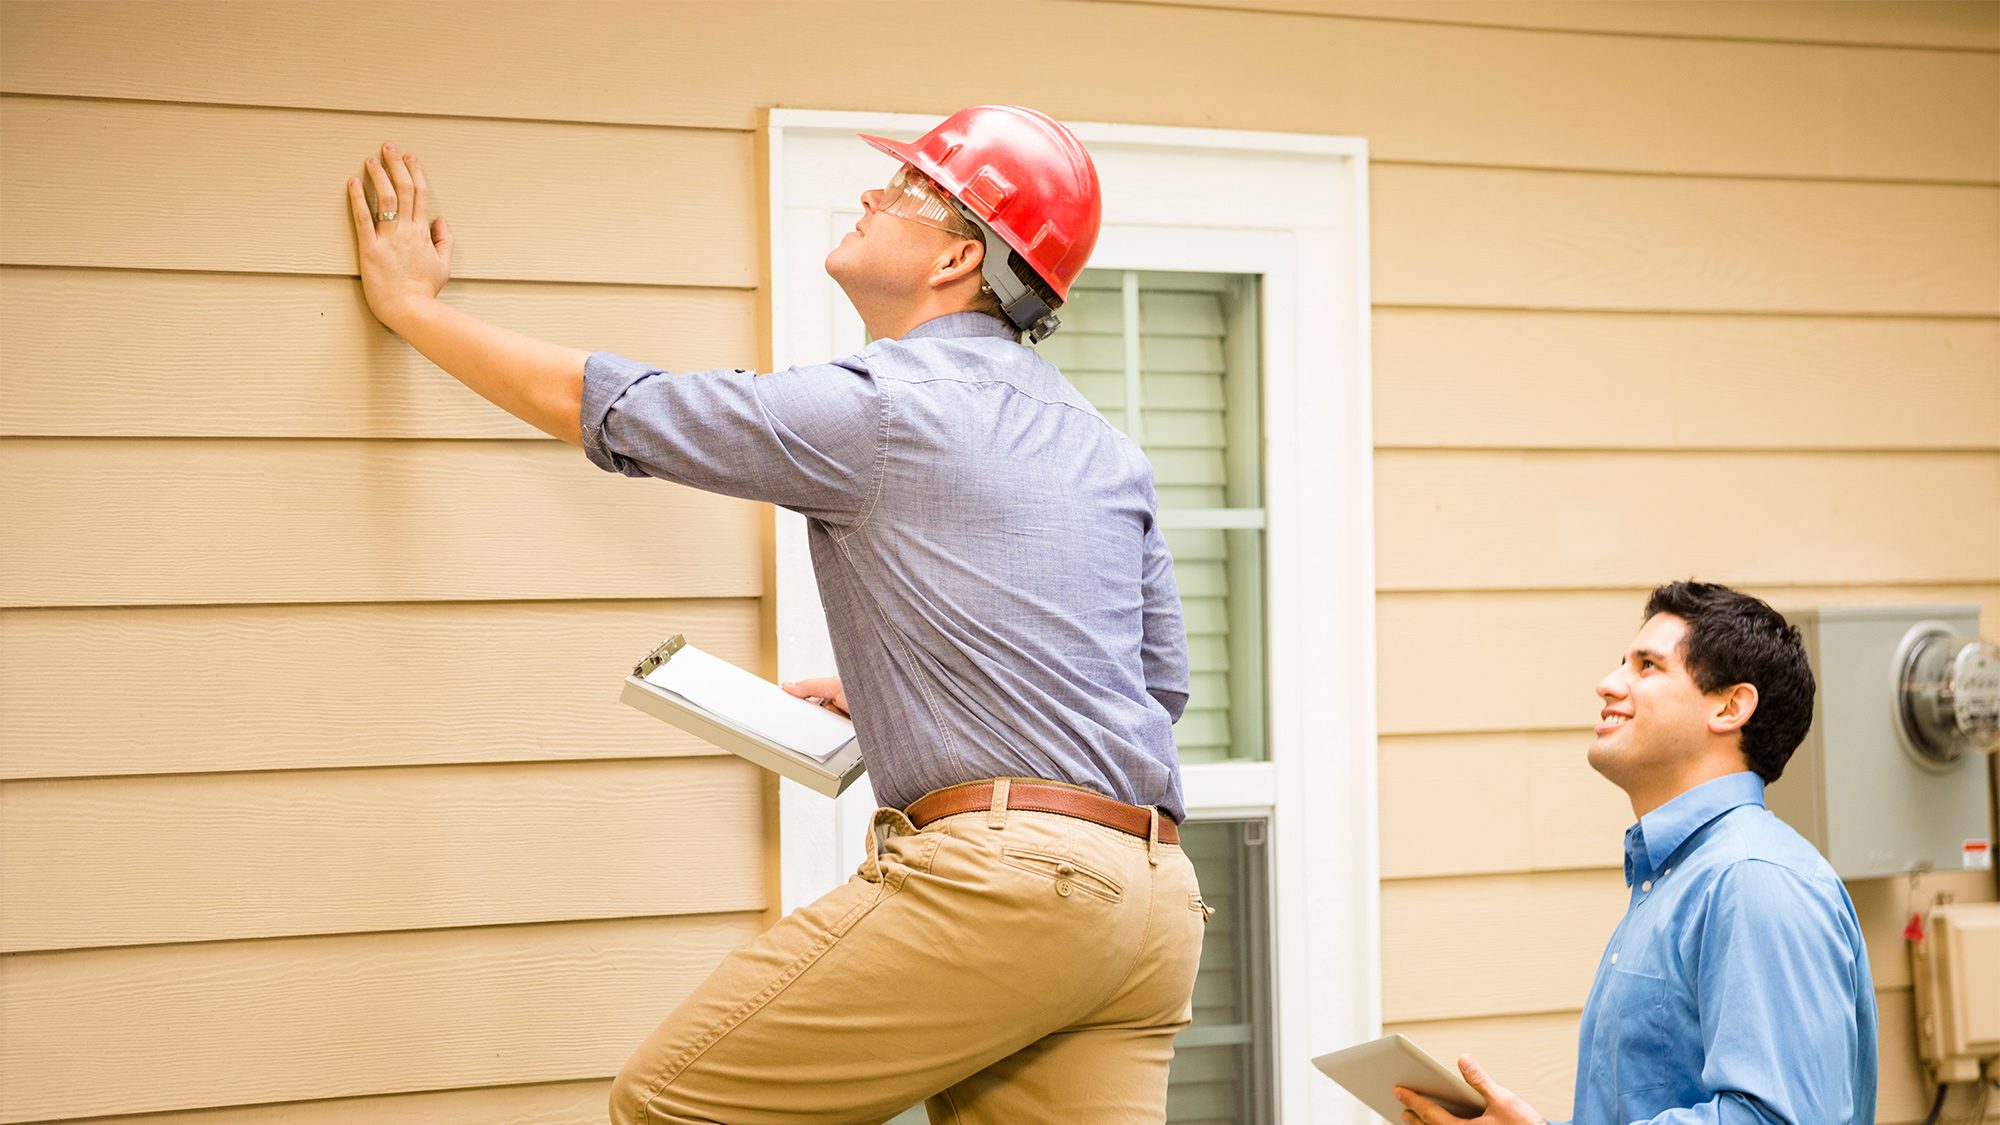
Step 11 of building a house focuses on the exterior finishing, which is essential for enhancing the curb appeal, protecting the structure, and completing the overall look of your home. Exterior finishing includes a variety of elements such as siding, roofing, windows, doors, and landscaping.
Siding:
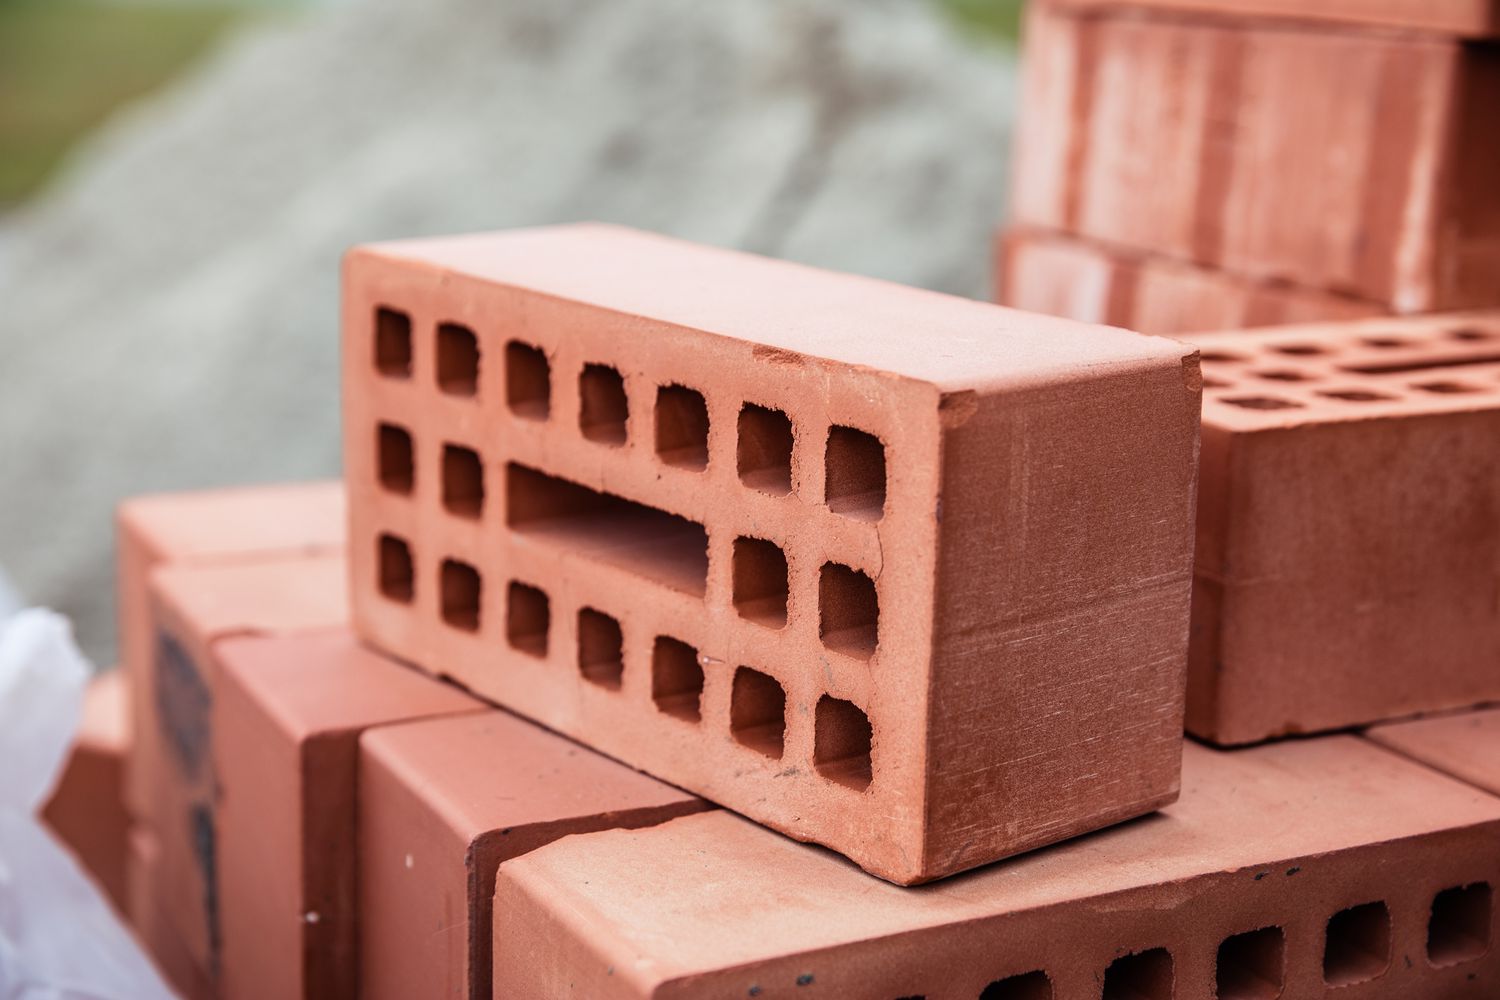
The siding is one of the most prominent exterior finishing components. There are various options available, including vinyl, wood, fiber cement, or brick. The choice of siding material depends on factors like climate, durability, maintenance requirements, and architectural style. The siding is installed to protect the exterior walls from weather elements and adds aesthetic value to the house.
Roofing:
The roofing material chosen during Step 7 is now completed with the installation of any final components. The roof’s shingles, tiles, or metal panels are secured and checked for any necessary repairs or adjustments to ensure proper protection from the elements.
Windows and Doors:
During this stage, the exterior components of windows and doors are further finished to ensure they compliment the overall design. This may involve the application of paint or staining to the frames and trims to achieve a cohesive and appealing appearance.
Exterior Trim:
Exterior trim elements such as fascia boards, soffits, and corner boards are installed during this stage. This adds visual interest, protects the edges of the siding, and provides a finished look to the exterior of your home.
Landscaping:
Landscaping is an integral part of the exterior finishing process. This includes the design and installation of features such as lawns, trees, shrubs, flower beds, walkways, and outdoor living spaces. The goal is to create an inviting and visually appealing outdoor environment that complements the architectural style of the house.
Exterior Finishes:
Exterior finishes, such as paint or stain, are applied to the siding, trim, doors, and other exterior surfaces. These finishes protect the materials from weather damage and give your home a cohesive and finished look. The colors chosen can create a sense of warmth, elegance, or uniqueness that reflects your personal style.
During the exterior finishing stage, attention to detail is crucial to ensure quality and longevity. Hiring professionals, such as painters, landscapers, or siding installers, can help achieve a polished and harmonious look.
With the completion of the exterior finishing, your house is now transformed into a beautiful and inviting home from the outside. The final step is Step 12: landscaping and outdoor features.
Step 12: Landscaping and Outdoor Features
Step 12 of building a house focuses on the final touches to enhance the exterior space and create a beautiful outdoor environment. Landscaping and outdoor features play a crucial role in transforming your property into a welcoming and functional outdoor living space.
Designing the Landscape:
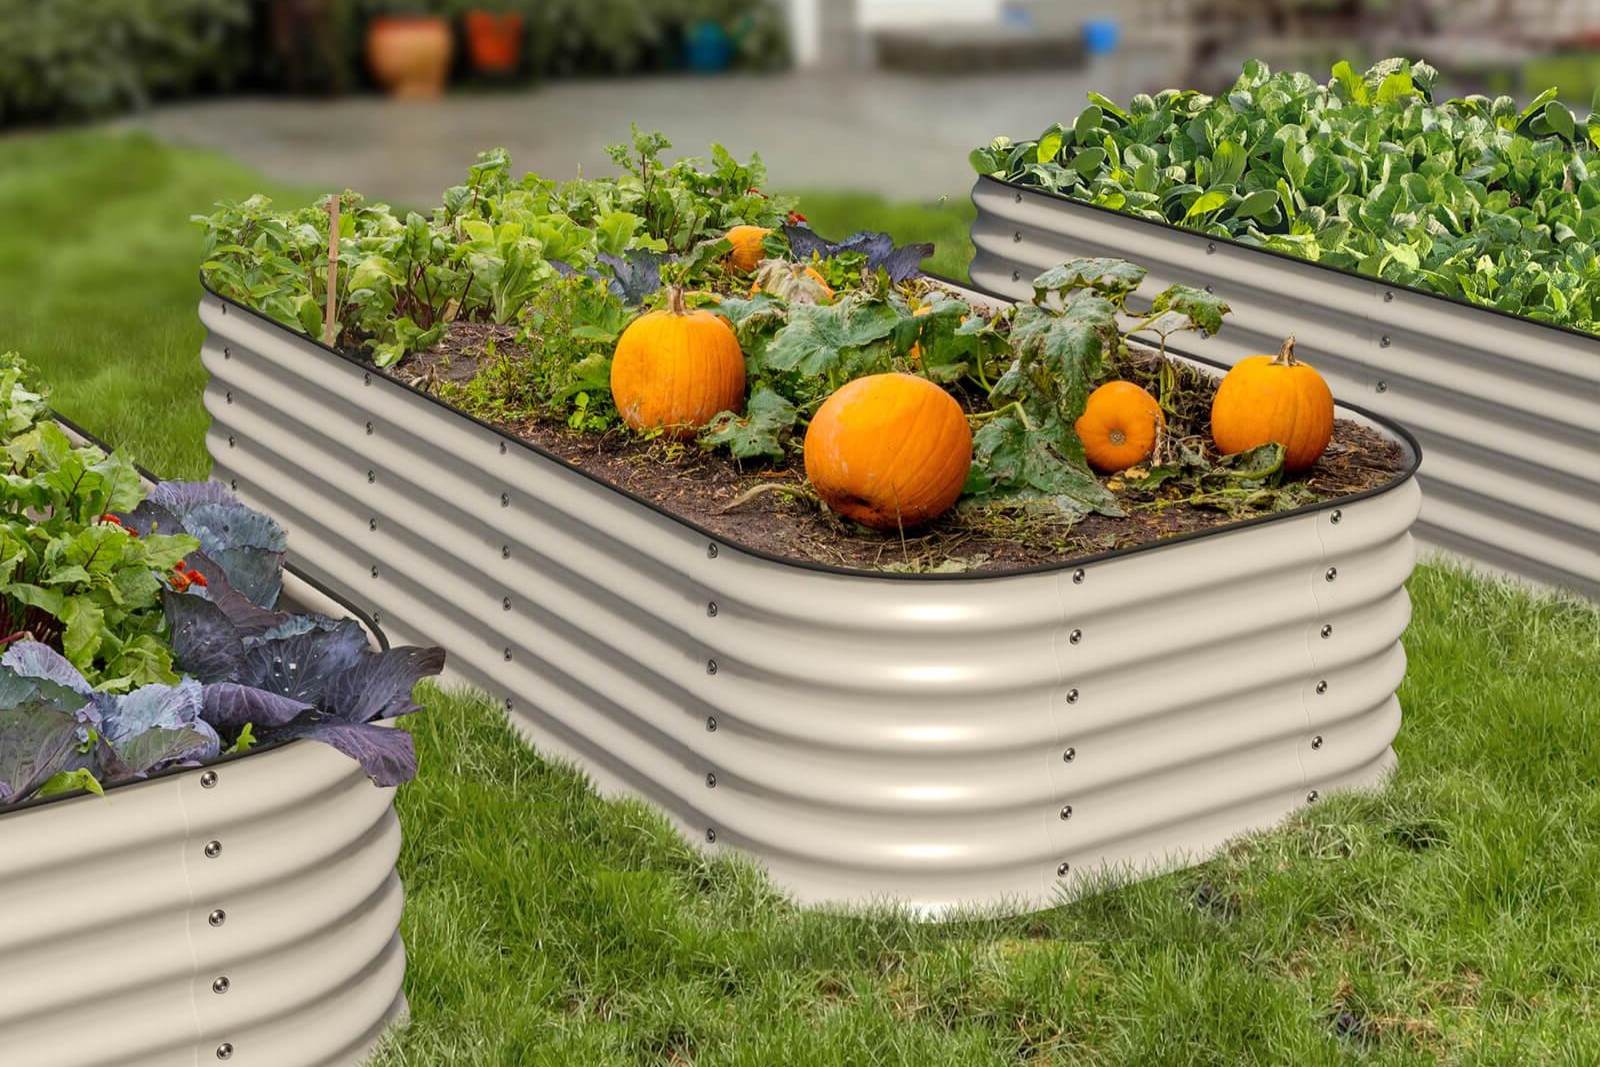
The first step in landscaping is to design the outdoor space based on your preferences, needs, and the local climate. This may involve creating a layout for the lawn, garden beds, walkways, and outdoor living areas. Consider elements like trees, shrubs, flowers, and hardscapes to add beauty and functionality to your outdoor space.
Lawn and Garden:
The lawn acts as a foundation for the landscape and is typically seeded or sodded to create a lush green area. Garden beds can be designed with various plant selections to add color, texture, and visual interest. It’s important to choose plants that are suitable for the local climate and consider factors like sun exposure and water requirements.
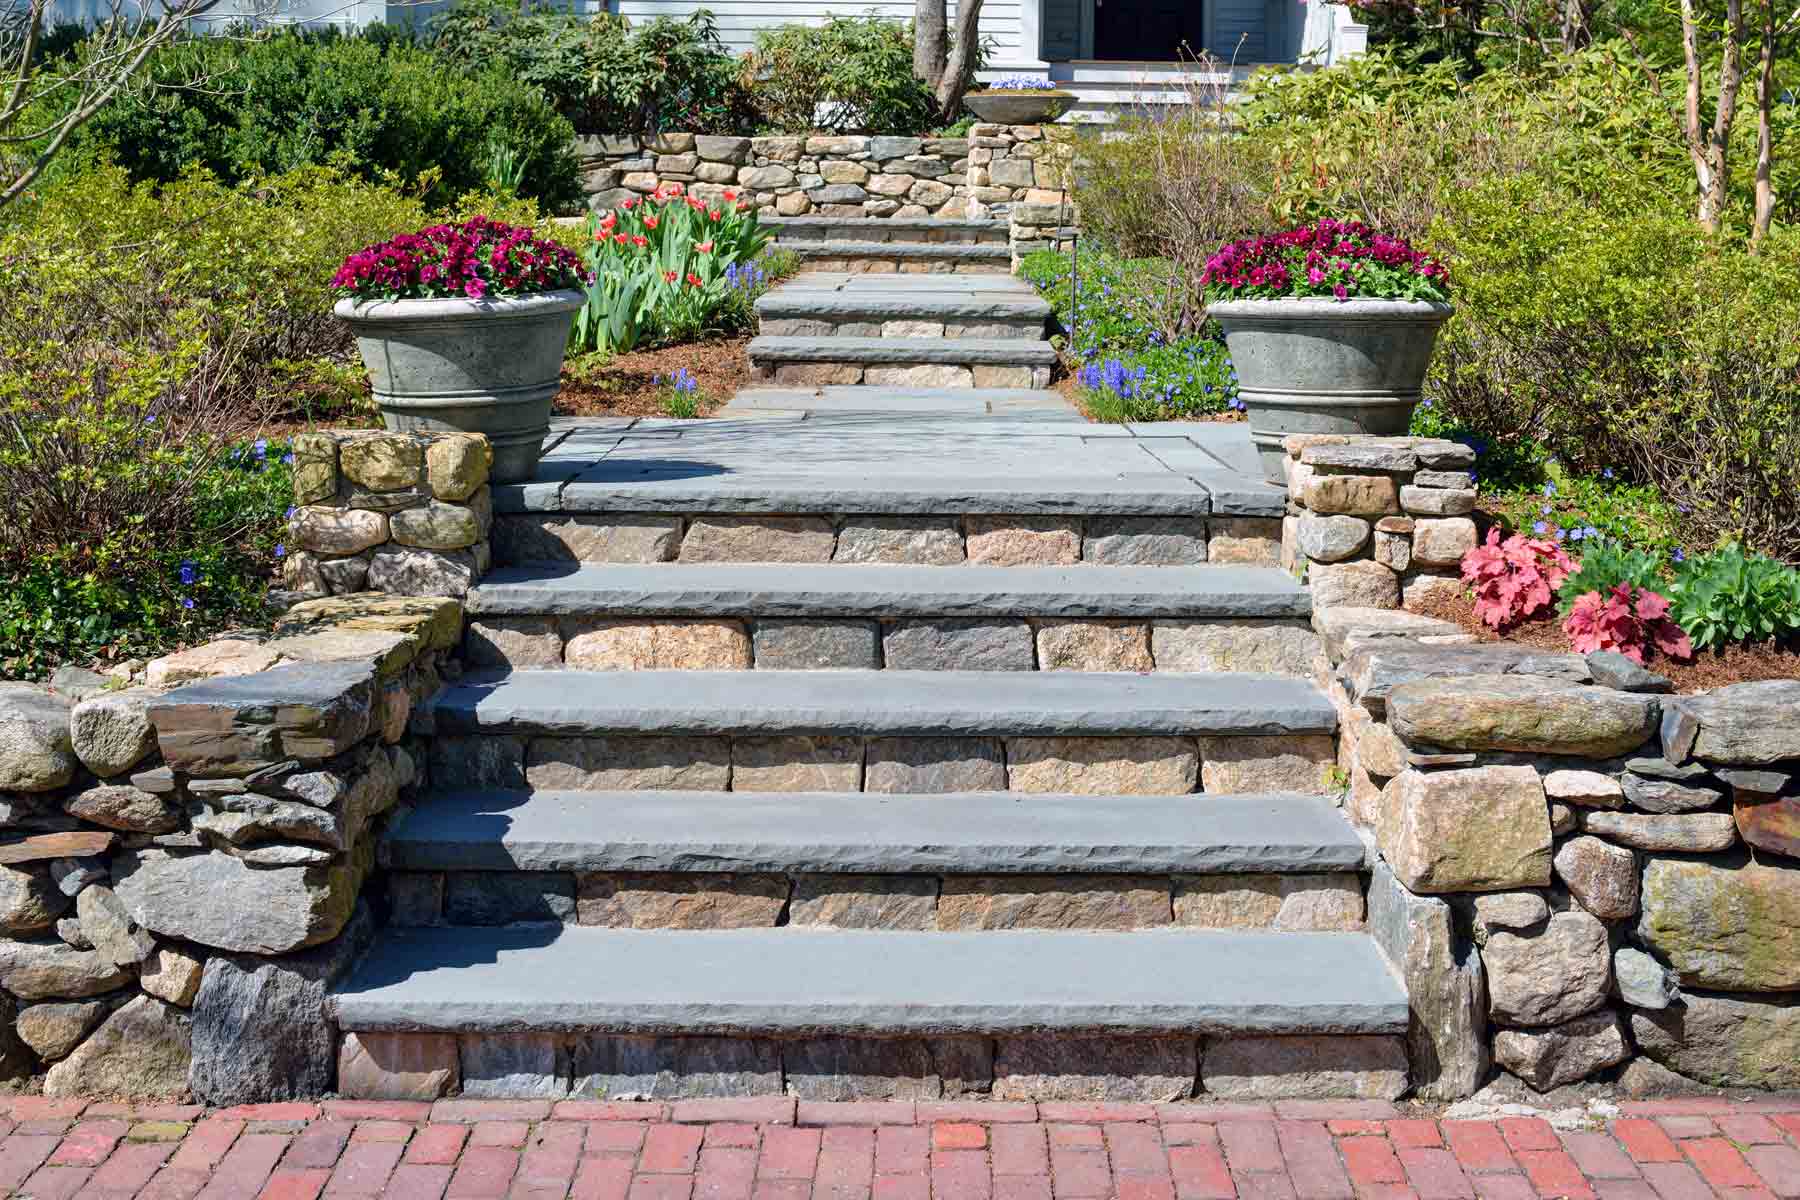
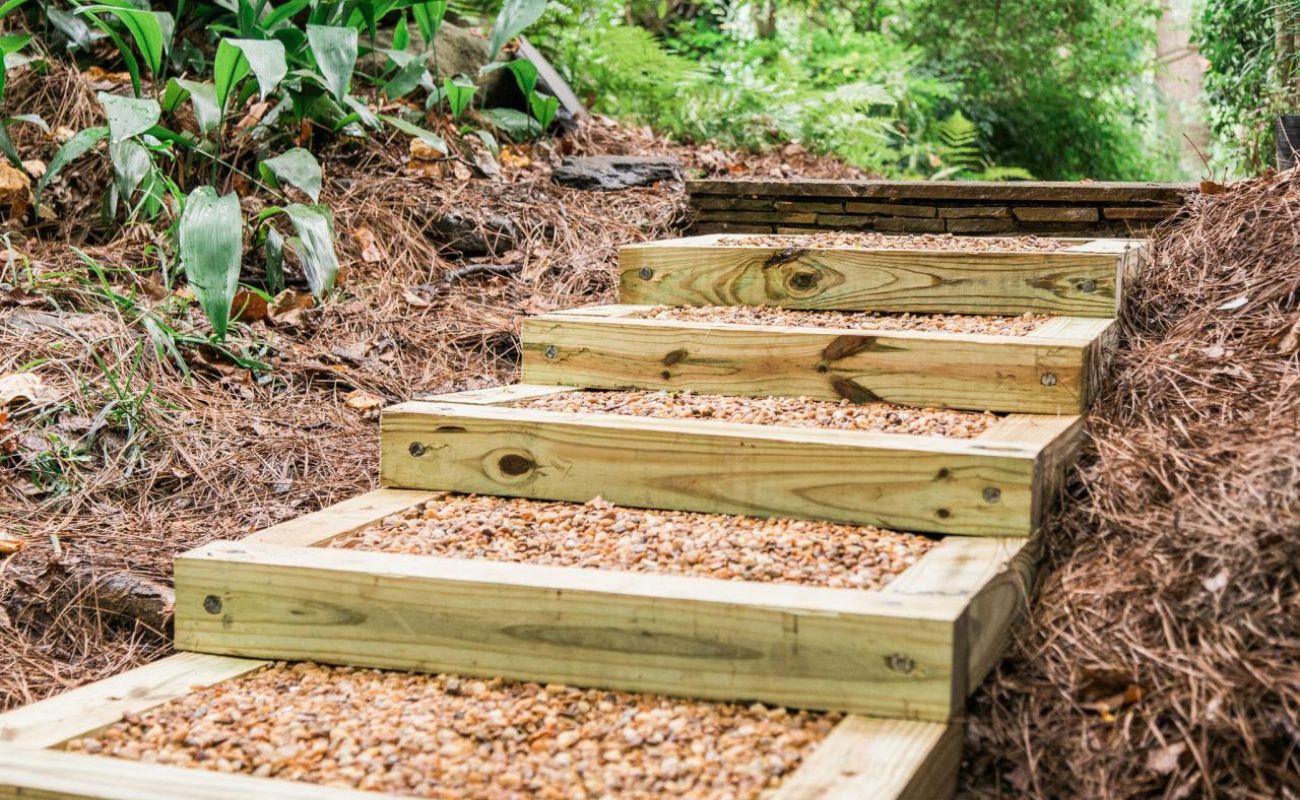
Hardscaping:
Incorporating hardscaping features can add structure and organization to your outdoor space. This includes walkways, patios, decks, retaining walls, and decorative elements like fountains, pergolas, or arbors. Hardscaping not only enhances the aesthetic appeal but also provides functional areas for relaxation, entertaining, or dining outdoors.
Outdoor Lighting:
Outdoor lighting is essential to create ambiance, add security, and extend the use of your outdoor space into the evening hours. Installing landscape lighting along walkways, highlighting architectural features, and accenting garden areas can create a warm and inviting atmosphere. Consider energy-efficient options such as LED lights or solar-powered fixtures.
Outdoor Living Features:
To further enhance your outdoor living experience, you may consider adding features like an outdoor kitchen, fire pit, swimming pool, or a play area for children. These features can provide additional functionality, entertainment opportunities, and enjoyment for family and friends.
Irrigation and Drainage:
Proper irrigation and drainage systems are vital to maintaining a healthy and flourishing landscape. Designing an efficient irrigation system that ensures plants receive adequate water while minimizing waste is crucial. Incorporating proper drainage solutions, such as French drains or rain gardens, helps prevent water accumulation and potential damage to your property.
Maintenance:
Once your landscaping and outdoor features are installed, regular maintenance is essential to keep them looking their best. This includes lawn care, pruning plants, fertilizing, and monitoring irrigation systems. Regular upkeep helps preserve the beauty and longevity of your landscape.
Working with professional landscapers and designers can help turn your outdoor vision into a reality. They can provide expert advice on plant selection, hardscaping design, and irrigation systems to ensure a well-planned and cohesive outdoor space.
With the completion of landscaping and outdoor features, your house is fully transformed into a beautiful and functional home inside and out. Enjoy the fruits of your hard work and embrace the joys of outdoor living!
Read more: How To Build An Angled Deck Step-by-Step
Conclusion
Building a house is a complex and rewarding journey that involves careful planning, attention to detail, and skilled craftsmanship. Each step of the construction process, from designing the house to landscaping the outdoor space, contributes to the creation of a safe, functional, and visually appealing structure that you can call home.
By following the steps outlined in this article, you can navigate the building process with confidence and achieve your dream home. Designing the house allows you to create a layout and style that suits your lifestyle and preferences. Obtaining the necessary permits and approvals ensures that your project complies with building codes and regulations.
Site preparation and foundation construction lay the groundwork, providing a stable and solid base for your home. Framing the structure brings the skeletal framework to life, providing support for walls, floors, and roofs. Installing windows and doors brings light, ventilation, and access to the house while roofing protects the structure from the elements.
Electrical and plumbing systems provide the necessary utilities and features for a comfortable living environment. Insulation and drywall enhance energy efficiency, temperature control, and add a finished look to the interior of your home. The interior finishing stage offers the opportunity to design every detail, from flooring and lighting to cabinetry and fixtures.
Exterior finishing adds curb appeal and protects the exterior of your home, while landscaping and outdoor features create a beautiful and inviting outdoor space. The combination of a well-designed landscape, functional hardscaping, and strategic outdoor lighting allows you to enjoy and maximize your outdoor living.
Throughout the building process, it’s important to work with experienced professionals, adhere to building codes, and pay attention to details. Regular inspections, maintenance, and upkeep will help ensure a durable, safe, and comfortable living environment for years to come.
Building a house is a significant endeavor that requires time, effort, and resources, but the end result is a place you and your loved ones can call home. Embrace the process, enjoy watching your vision come to life, and create lasting memories in your dream house!
Frequently Asked Questions about What Are The Steps In Building A House
Was this page helpful?
At Storables.com, we guarantee accurate and reliable information. Our content, validated by Expert Board Contributors, is crafted following stringent Editorial Policies. We're committed to providing you with well-researched, expert-backed insights for all your informational needs.


0 thoughts on “What Are The Steps In Building A House”