Home>Construction & Tools>Building Materials>How To Build Brick Steps

Building Materials
How To Build Brick Steps
Modified: April 22, 2024
Learn how to build brick steps using high-quality building materials. Our step-by-step guide will help you create durable and attractive steps for your home. Discover the best materials and techniques for a successful project.
(Many of the links in this article redirect to a specific reviewed product. Your purchase of these products through affiliate links helps to generate commission for Storables.com, at no extra cost. Learn more)
Introduction
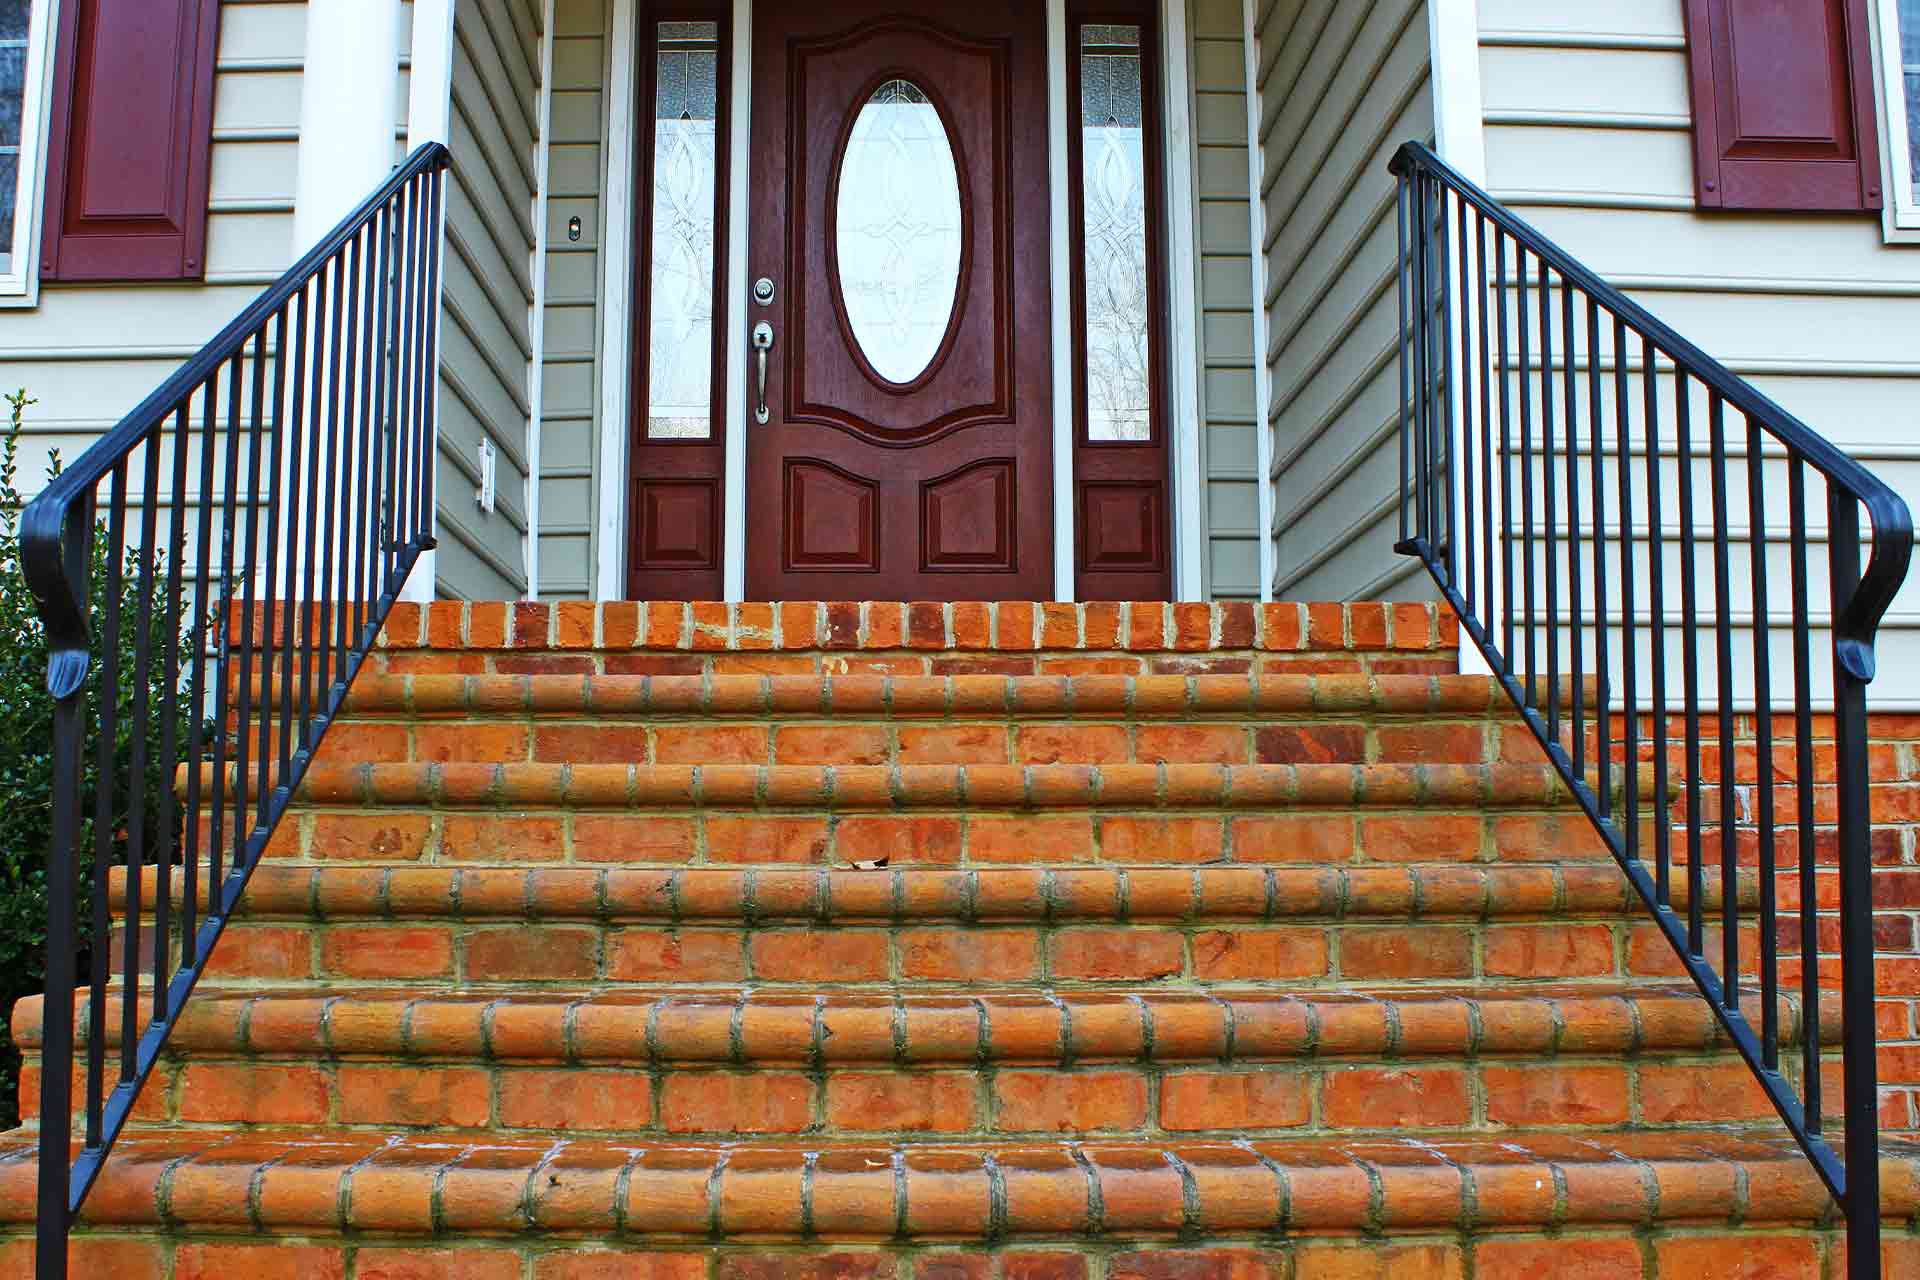
Welcome to the complete guide on how to build brick steps! Whether you’re enhancing the entrance to your home, creating a pathway in your garden, or adding a charming feature to your outdoor space, brick steps are a timeless and durable option. In this comprehensive guide, we’ll walk you through the step-by-step process of building brick steps, from gathering materials and tools to adding the finishing touches. By the end of this article, you’ll have the knowledge and confidence to embark on this rewarding DIY project.
Brick steps not only serve a functional purpose by providing a safe and stable way to navigate changes in elevation, but they also add aesthetic value to your property. The classic appeal of brick, combined with its strength and longevity, makes it a popular choice for constructing steps. Whether you’re a seasoned DIY enthusiast or a novice looking to expand your skills, building brick steps can be a fulfilling and achievable endeavor.
As we delve into each step of the process, we’ll provide valuable insights, tips, and considerations to ensure that your brick steps are not only structurally sound but also visually appealing. From selecting the right materials to mastering the art of laying bricks, this guide covers everything you need to know to create stunning and enduring brick steps.
So, roll up your sleeves, gather your tools, and let’s embark on this journey to elevate your outdoor space with the timeless elegance of brick steps.
Key Takeaways:
- Building brick steps is a rewarding DIY project that adds timeless charm and durability to your outdoor space. From gathering materials to adding finishing touches, each step contributes to a lasting and impactful addition.
- By meticulously preparing the site, laying a solid foundation, and adding thoughtful finishing touches, you can create safe, visually appealing, and enduring brick steps that elevate your outdoor environment.
Read more: How To Build Brick Steps On A Hill
Step 1: Gather Materials and Tools
Before you begin the construction of brick steps, it’s essential to gather all the necessary materials and tools. Having everything at hand will streamline the building process and ensure that you can work efficiently. Here’s a comprehensive list of what you’ll need:
Materials:
- Bricks: Choose high-quality bricks that are suitable for outdoor use. Opt for a quantity that matches the dimensions of your intended steps.
- Mortar: Select a durable mortar mix designed for bricklaying. Ensure that it is appropriate for the intended application, such as outdoor use and load-bearing structures.
- Gravel: This will be used as a base material for the foundation of the steps, providing stability and drainage.
- Sand: High-quality sand is essential for mixing with the mortar to create a strong and workable bonding agent.
- Landscape Fabric: Use landscape fabric to prevent weed growth and maintain the integrity of the foundation.
- Concrete Adhesive (optional): Depending on the design and structure of your steps, you may need concrete adhesive to enhance the bond between the bricks and the foundation.
Tools:
- Shovel: For excavation and moving materials.
- Tape Measure: Essential for accurate dimensions and layout planning.
- Level: To ensure that the steps are even and well-aligned during construction.
- Trowel: A vital tool for applying mortar to the bricks and the foundation.
- Masonry Saw: If adjustments to the size of the bricks are necessary, a masonry saw will be indispensable.
- Protective Gear: Safety glasses, work gloves, and a dust mask are essential for personal protection during construction.
By gathering these materials and tools, you’ll be well-prepared to commence the construction of your brick steps. In the next step, we’ll explore the crucial process of preparing the site for the installation of the steps.
Step 2: Prepare the Site
Proper site preparation is fundamental to the successful construction of brick steps. Before laying the first brick, it’s essential to ensure that the site is ready to support the structure and withstand the test of time. Here’s a detailed guide on how to prepare the site for your brick steps:
Read more: How To Build An Angled Deck Step-by-Step
1. Clear the Area:
Begin by clearing the designated area where the steps will be constructed. Remove any vegetation, debris, or obstacles that may impede the installation process. It’s crucial to create a clean and level surface for the foundation.
2. Mark the Layout:
Use a tape measure and marking tools to outline the dimensions and layout of the steps. Pay close attention to the rise and run of each step, ensuring that the dimensions adhere to building codes and safety standards. Additionally, use a level to confirm that the layout is even and properly aligned.
3. Excavate the Foundation:
With the layout marked, commence the excavation of the foundation for the steps. Dig to the required depth, accounting for the thickness of the base material, sand, and bricks. It’s essential to create a stable and level foundation to support the weight of the steps and withstand external forces.
4. Add Base Material:
Once the excavation is complete, add a layer of gravel to the bottom of the foundation. This will provide drainage and stability, preventing moisture-related issues and ensuring the longevity of the steps. Compact the gravel to create a solid base.
Read more: How To Build An Outdoor Step
5. Install Landscape Fabric:
To deter weed growth and maintain the integrity of the foundation, lay landscape fabric over the gravel. This will serve as a barrier, preventing soil and weed intrusion while allowing for proper drainage.
6. Pour and Level Sand:
Following the installation of landscape fabric, pour a layer of sand over the fabric. Use a screed or straight board to level the sand, creating a smooth and even surface for the placement of the bricks.
By meticulously preparing the site for the construction of your brick steps, you’ll establish a solid foundation that ensures the structural integrity and longevity of the finished product. With the site prepared, you’re now ready to move on to the next crucial step: laying the foundation for the steps.
Step 3: Lay the Foundation
With the site meticulously prepared, it’s time to lay the foundation for your brick steps. The foundation serves as the base upon which the steps will rest, providing stability and support. Here’s a detailed guide on how to lay the foundation for your brick steps:
1. Mix and Apply Mortar:
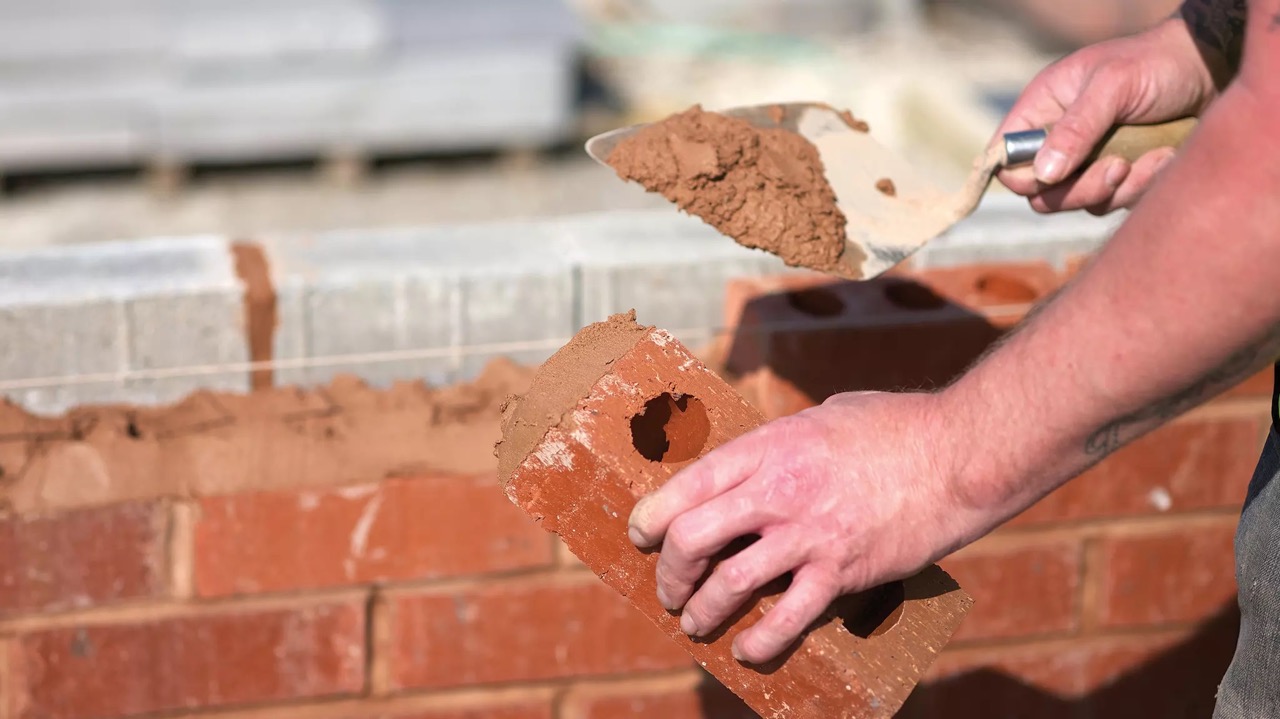
Prepare the mortar according to the manufacturer’s instructions. Consistency is key, so ensure that the mortar is well-mixed and workable. Using a trowel, apply a layer of mortar along the prepared base, following the outlined dimensions for the first step.
Read more: How To Build Porch Steps
2. Set the First Course of Bricks:
Carefully place the first course of bricks on top of the mortar, ensuring that they are evenly spaced and aligned with the layout. Use a level to confirm that the bricks are flat and even. The first course is crucial, as it establishes the alignment and stability of the entire structure.
3. Check for Evenness:
As you lay the bricks, periodically check for evenness and alignment. Adjust the position of the bricks as needed, tapping them gently with a rubber mallet to ensure a snug fit and uniform surface.
4. Secure the Bricks:
Once the first course is in place, secure the bricks by pressing them firmly into the mortar. This will create a strong bond and ensure the stability of the steps. Remove any excess mortar that seeps out from the joints.
5. Allow for Setting Time:
After laying the first course of bricks, allow sufficient time for the mortar to set and cure. This is essential for the structural integrity of the foundation. Follow the manufacturer’s recommendations for the curing time of the mortar.
Read more: How To Build Landscaping Steps
6. Repeat for Subsequent Steps:
If your design includes multiple steps, repeat the process for each subsequent step, ensuring that the foundation is laid meticulously for each course of bricks. Pay close attention to alignment, evenness, and stability as you progress.
By laying a solid and well-crafted foundation, you’re setting the stage for the construction of durable and visually appealing brick steps. With the foundation in place, you’re ready to move on to the next step: laying the first course of bricks to establish the structure of the steps.
Step 4: Lay the First Course of Bricks
With the foundation securely in place, it’s time to lay the first course of bricks to establish the structure of your brick steps. This step is pivotal in setting the tone for the overall design and functionality of the steps. Here’s a detailed guide on how to lay the first course of bricks:
1. Apply Mortar:
Using a trowel, apply a layer of mortar on top of the foundation where the first course of bricks will be laid. The mortar should be evenly distributed to ensure a strong bond between the bricks and the foundation.
2. Position the Bricks:
Carefully place the bricks on top of the mortar, ensuring that they are aligned with the layout and evenly spaced. Pay close attention to the rise and run of each step, confirming that the dimensions adhere to building codes and safety standards.
Read more: How To Build A Step On A Patio
3. Use a Level:
As you position each brick, use a level to ensure that they are flat and even. This is crucial for creating a stable and safe set of steps. Adjust the position of the bricks as needed to maintain evenness and alignment.
4. Secure the Bricks:
Once the bricks are in position, press them firmly into the mortar to create a strong bond. Check for uniformity and alignment, making any necessary adjustments to ensure that the first course is well-constructed and stable.
5. Fill the Joints:
After laying the bricks, fill the joints with mortar to secure the connections and create a cohesive structure. Use a trowel to pack the mortar firmly into the joints, ensuring that they are completely filled.
6. Allow for Setting Time:
After laying the first course of bricks and filling the joints, allow sufficient time for the mortar to set and cure. This is essential for the structural integrity of the steps. Follow the manufacturer’s recommendations for the curing time of the mortar.
By meticulously laying the first course of bricks, you’re establishing the foundation for a durable and visually appealing set of steps. With the first course in place, you’re ready to move on to the next step: continuing to build the remaining courses of bricks to complete the steps.
Read more: How To Repair Broken Brick Steps
Step 5: Continue Building the Steps
As you continue to build the steps, you’ll progress through the subsequent courses of bricks, gradually shaping the structure and creating a functional and visually appealing set of steps. Here’s a comprehensive guide on how to continue building the steps:
1. Lay Additional Courses:
Build upon the first course of bricks by laying subsequent courses to form the risers and treads of the steps. Apply mortar to the top surface of the previous course before positioning the next layer of bricks. Ensure that each course is securely bonded to the one below it.
2. Maintain Alignment:
As you lay each additional course, maintain alignment and evenness to create a uniform and stable set of steps. Use a level to confirm that the bricks are flat and well-positioned, making adjustments as necessary to uphold the integrity of the structure.
3. Create a Sturdy Structure:
With each course of bricks, focus on creating a sturdy and well-constructed set of steps. Press the bricks firmly into the mortar, ensuring that they are securely bonded and that the joints are filled to reinforce the structure.
Read more: What Are The Steps In Building A House
4. Consider Design Elements:
If your design incorporates turns, landings, or other architectural features, carefully plan and execute each element as you progress through the construction. Pay attention to the overall aesthetics and functionality of the steps, ensuring that they harmonize with the surrounding environment.
5. Check for Stability:
Periodically assess the stability and evenness of the steps as you build. Confirm that each course is securely bonded, and that the overall structure is solid and well-balanced. Make any necessary adjustments to maintain the integrity of the steps.
6. Allow for Setting Time:
After completing each course of bricks, allow ample time for the mortar to set and cure. This is essential for the strength and durability of the steps. Adhere to the recommended curing time to ensure a robust and enduring structure.
By meticulously building upon the initial foundation and first course of bricks, you’re shaping a set of steps that are not only functional but also visually striking. As you continue to build the steps, you’re one step closer to completing this rewarding DIY project. With the steps taking form, you’re ready to move on to the final step: adding the finishing touches to perfect the appearance and functionality of the steps.
Step 6: Finishing Touches
As you near the completion of building your brick steps, it’s time to add the finishing touches that will enhance the appearance, durability, and safety of the structure. Here’s a detailed guide on how to perfect the steps with thoughtful finishing touches:
Read more: How To Build Stone Porch Steps
1. Clean the Surface:
Thoroughly clean the surface of the steps, removing any excess mortar, debris, or marks. A clean surface not only improves the appearance but also ensures that the steps are safe to use.
2. Apply Sealant (Optional):
Consider applying a sealant to the bricks to protect them from the elements and enhance their longevity. Choose a high-quality sealant that is suitable for outdoor masonry, providing a protective barrier against moisture and wear.
3. Add Non-Slip Treads (Optional):
If safety is a primary concern, consider adding non-slip treads to the surface of the steps. These can be made of various materials, such as rubber or textured metal, and provide additional traction, especially in wet or icy conditions.
4. Incorporate Lighting (Optional):
To enhance both the aesthetics and safety of the steps, consider incorporating lighting elements. This could include low-voltage LED step lights or strategically placed outdoor lighting to illuminate the path and accentuate the steps at night.
Read more: How To Fix Stair Step Cracks In Brick
5. Landscaping and Surroundings:
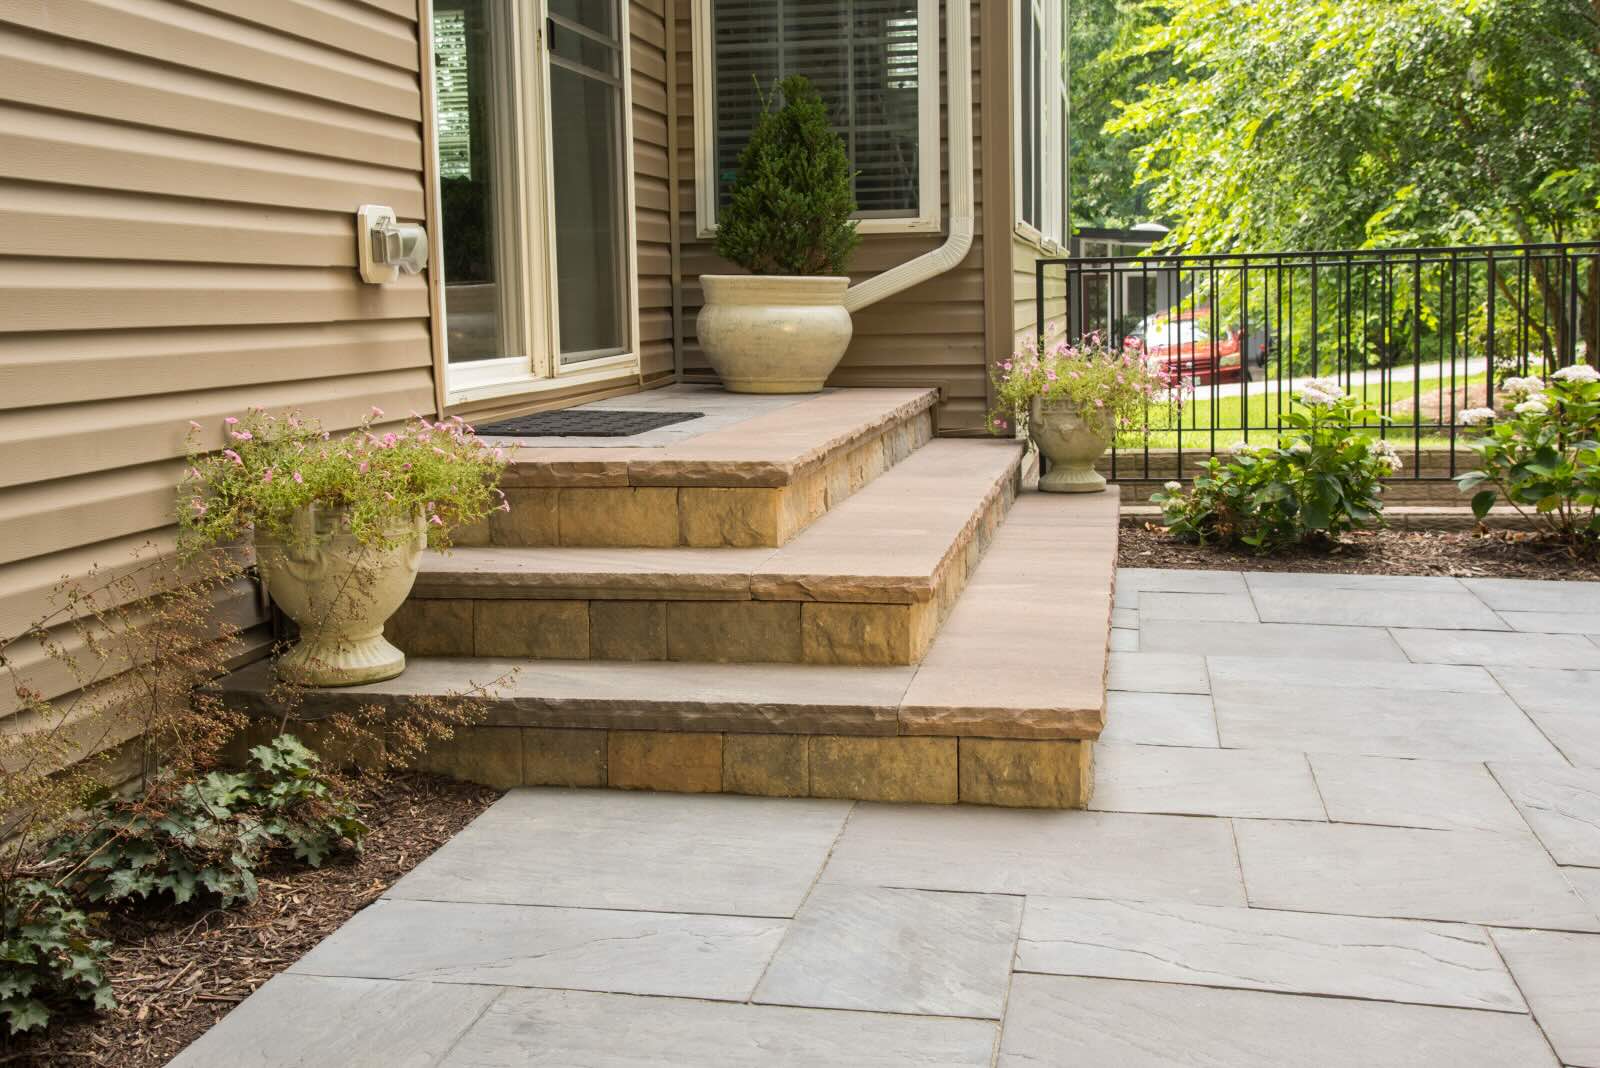
Evaluate the landscaping and surroundings of the steps, ensuring that they seamlessly integrate with the overall outdoor environment. Consider adding planters, potted plants, or landscaping features to complement the steps and create a cohesive and inviting space.
6. Final Inspection:
Conduct a final inspection of the steps, checking for any irregularities, loose bricks, or potential safety hazards. Confirm that the steps are structurally sound, aesthetically pleasing, and ready for regular use.
7. Celebrate Your Achievement:
Take a moment to appreciate the hard work and dedication that went into building your brick steps. Whether you tackled the project solo or with the help of others, the completion of this endeavor is a testament to your skills and creativity.
By adding these finishing touches, you’re elevating the functionality, safety, and visual appeal of your brick steps. With the finishing touches in place, you’ve successfully brought this project to fruition, creating a lasting and impactful addition to your outdoor space.
Conclusion
Congratulations on completing the comprehensive guide on building brick steps! Throughout this journey, you’ve gained valuable insights and skills that have empowered you to create a durable, functional, and visually appealing set of steps using the timeless elegance of brick. From gathering materials and tools to adding the finishing touches, each step has contributed to the successful realization of this rewarding DIY project.
Building brick steps is not only a practical endeavor but also an opportunity to infuse your outdoor space with character and charm. The classic allure of brick, coupled with the structural integrity it provides, ensures that your steps will stand the test of time while enhancing the aesthetic appeal of your property.
As you embarked on this project, you delved into the intricacies of site preparation, foundation laying, brick placement, and the thoughtful incorporation of finishing touches. Each stage required attention to detail, precision, and a creative vision to bring the steps to life.
Whether you’ve transformed the entrance to your home, created a captivating pathway, or added a distinctive feature to your outdoor landscape, the completion of your brick steps marks a significant achievement. Your dedication and craftsmanship have culminated in a lasting addition that will be enjoyed for years to come.
As you admire the finished steps, take pride in the skills you’ve honed and the transformation you’ve accomplished. Your commitment to this project has not only resulted in a functional structure but has also enriched your DIY repertoire and expanded your ability to shape your surroundings according to your vision.
So, as you bask in the satisfaction of a job well done, may your brick steps serve as a testament to your creativity, perseverance, and the joy of bringing your ideas to fruition through hands-on craftsmanship. Whether you embark on future projects or simply relish the beauty of your completed steps, this journey has undoubtedly left an indelible mark on your DIY endeavors.
Frequently Asked Questions about How To Build Brick Steps
Was this page helpful?
At Storables.com, we guarantee accurate and reliable information. Our content, validated by Expert Board Contributors, is crafted following stringent Editorial Policies. We're committed to providing you with well-researched, expert-backed insights for all your informational needs.

0 thoughts on “How To Build Brick Steps”