Home>Furniture & Design>Living Room Furniture>How To Build A Wall Wine Rack

Living Room Furniture
How To Build A Wall Wine Rack
Modified: February 24, 2024
Discover how to build a stylish wall wine rack for your living room with our expert furniture and design tips. Transform your space today!
(Many of the links in this article redirect to a specific reviewed product. Your purchase of these products through affiliate links helps to generate commission for Storables.com, at no extra cost. Learn more)
Introduction
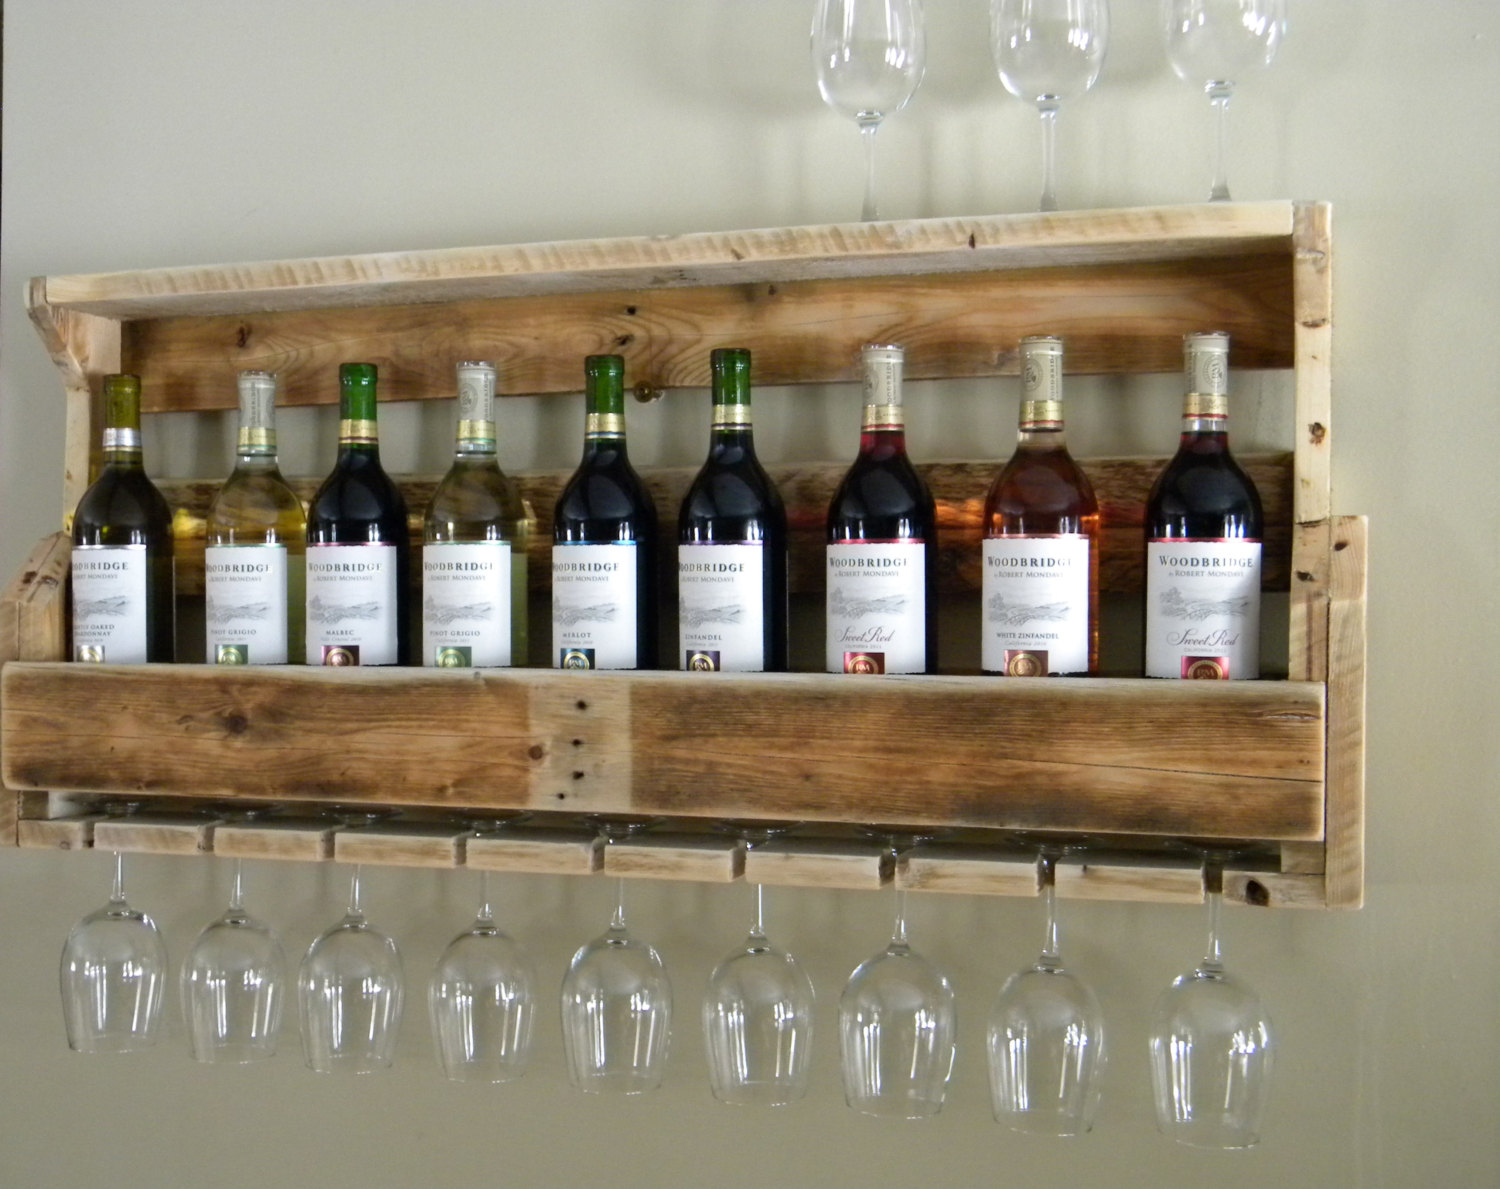
Welcome to the world of DIY wine racks! Building a wall wine rack is not only a rewarding and practical project, but it also adds a touch of elegance and sophistication to your living space. Whether you are a wine enthusiast or simply looking for a stylish way to showcase your stemware, creating your own wall wine rack allows you to customize the design to perfectly complement your decor.
In this guide, we will walk you through the step-by-step process of crafting a beautiful and functional wall wine rack. From gathering the necessary materials and tools to assembling and mounting the rack, you will learn everything you need to know to bring this project to life.
So, roll up your sleeves, unleash your creativity, and get ready to embark on a woodworking adventure that will not only elevate the aesthetic appeal of your home but also provide a practical solution for storing and displaying your favorite bottles of wine and glasses.
Key Takeaways:
- Crafting a wall wine rack involves measuring, cutting, sanding, staining, assembling, and mounting. It’s a fun woodworking adventure that adds elegance and practicality to your living space.
- Building your own wine rack allows for customization to match your decor. It’s a creative and rewarding project that combines functionality with visual appeal, showcasing your craftsmanship and style.
Read more: How To Build A Wine Rack In A Cabinet
Materials and Tools
Before diving into the construction of your wall wine rack, it’s crucial to gather all the necessary materials and tools. Here’s what you’ll need:
Materials:
- 1×4 pine boards
- Wood glue
- Wood screws
- Stain or paint
- Polyurethane (optional for added protection)
- Hanging hardware (wall anchors and screws)
Tools:
- Measuring tape
- Saw (circular saw or miter saw)
- Sandpaper (medium and fine grit)
- Drill/driver with drill bits and screwdriver bits
- Wood stain/paint brush or cloth
- Safety goggles and ear protection
- Stud finder
- Level
These materials and tools are essential for creating a sturdy and visually appealing wall wine rack. Once you have everything on hand, you’re ready to move on to the first step of the construction process.
Step 1: Measure and Cut Wood
The first step in building a wall wine rack is to measure and cut the wood to the desired dimensions. Start by determining the overall size of your rack based on the available wall space and the number of wine bottles and glasses you intend to store. Keep in mind that the rack should be proportionate to the wall and provide enough clearance for the wine bottles and glasses.
Once you have the measurements in mind, use a measuring tape to mark the lengths for the 1×4 pine boards. A miter saw or circular saw can then be employed to make precise cuts according to the measurements. It’s crucial to ensure that the cuts are straight and accurate to guarantee a seamless assembly later on.
Remember to measure twice and cut once, as accuracy at this stage is paramount to the overall stability and aesthetics of the wine rack. Additionally, consider sanding the cut edges of the wood to smoothen any rough surfaces and eliminate splinters, setting the stage for the next phase of the project.
By taking the time to meticulously measure and cut the wood, you are laying the foundation for a well-crafted and visually appealing wall wine rack that will serve as a stunning focal point in your living space.
Read more: How To Build A Lattice Wine Rack
Step 2: Sand and Stain Wood
After cutting the wood to the appropriate dimensions, the next crucial step in the construction of your wall wine rack is to sand and stain the wood. Sanding serves to smoothen the surfaces, remove any imperfections, and prepare the wood for the application of stain or paint.
Begin by using medium-grit sandpaper to gently sand the cut edges and surfaces of the 1×4 pine boards. This process helps create a uniform and polished appearance while ensuring that the wood is free of any rough spots or splinters. Once the initial sanding is complete, switch to a fine-grit sandpaper to further refine the surfaces, resulting in a velvety-smooth texture.
With the wood now impeccably sanded, it’s time to infuse it with character and depth through the application of stain. Choose a stain that complements your existing decor and personal preferences. Whether you opt for a rich, dark stain to imbue the rack with a sense of warmth or a lighter stain to accentuate the natural grain of the wood, the staining process is where the true personality of the rack begins to emerge.
Apply the stain evenly using a brush or cloth, ensuring complete coverage and allowing the wood to absorb the rich hues. Once the stain has been applied, allow the wood to dry thoroughly before considering the option of adding a protective layer of polyurethane for enhanced durability and a lustrous finish.
By meticulously sanding and staining the wood, you are not only enhancing its visual allure but also fortifying it against the test of time. This step sets the stage for the assembly of the rack, bringing you one step closer to showcasing your favorite wines and stemware in style.
Step 3: Assemble the Frame
With the wood cut to size, sanded, and stained, it’s time to bring the components together and assemble the frame of your wall wine rack. The assembly process is where the individual pieces seamlessly unite to form a cohesive and robust structure that will elegantly display your wine collection and glasses.
Begin by laying out the 1×4 pine boards according to the design of your wine rack. Whether you envision a simple linear design or a more intricate pattern, ensure that the pieces are aligned and ready for assembly. Utilize wood glue to bond the joints, creating a secure and durable framework for the rack.
Once the wood glue has been applied, reinforce the joints by driving wood screws through the boards. This additional measure ensures the structural integrity of the frame, providing stability and peace of mind as you prepare to mount the rack on the wall.
As the frame takes shape, take a moment to admire the craftsmanship and attention to detail that has gone into its creation. The seamless fusion of the individual components marks a significant milestone in the construction process, setting the stage for the final touches that will transform the frame into a functional and visually captivating wine rack.
By methodically assembling the frame, you are not only constructing a practical storage solution but also crafting a piece of functional art that will undoubtedly become a focal point in your living space. With the frame now complete, it’s time to add the finishing touches that will elevate it to its full potential.
When building a wall wine rack, make sure to use sturdy materials such as wood or metal to support the weight of the wine bottles. Additionally, secure the rack to the wall studs for added stability and safety.
Step 4: Attach the Wine Glass Holder
As you progress with the construction of your wall wine rack, it’s essential to incorporate a dedicated space for displaying and storing your wine glasses. This step involves attaching the wine glass holder to the frame, ensuring that your stemware is not only accessible but also seamlessly integrated into the overall design of the rack.
Begin by determining the placement of the wine glass holder on the frame. This can be achieved by measuring and marking the precise location where the holder will be attached. Whether you opt for a traditional under-cabinet wine glass rack or a custom-designed holder that complements the aesthetics of the frame, ensure that it is strategically positioned to allow easy access to your stemware.
Once the placement has been determined, secure the wine glass holder to the frame using screws or mounting brackets. Pay close attention to the alignment and stability of the holder, as it will play a pivotal role in showcasing your wine glasses while adding a touch of sophistication to the overall presentation.
As the wine glass holder becomes an integral part of the rack, take a moment to envision the visual impact it will have once adorned with your favorite stemware. The seamless integration of the holder not only enhances the functionality of the rack but also elevates its aesthetic appeal, creating a harmonious display that is sure to impress.
With the wine glass holder securely attached, the rack is now poised to fulfill its purpose of showcasing your wine collection and stemware in a manner that is both practical and visually captivating. The addition of the wine glass holder marks a significant stride towards the completion of your wall wine rack, bringing you one step closer to enjoying the fruits of your labor.
Step 5: Mount the Rack on the Wall
With the frame assembled and the wine glass holder securely attached, the final step in bringing your wall wine rack to life is to mount it on the wall. This pivotal stage not only completes the construction process but also transforms the rack into a functional and visually striking addition to your living space.
Begin by identifying the ideal location for the rack on the wall. Use a stud finder to locate the wall studs, which will provide the necessary support for the weight of the rack and its contents. Once the studs have been located, mark the positions where the rack will be mounted, ensuring that it is level and aligned with the surrounding decor.
Next, employ wall anchors and screws to securely fasten the rack to the wall. It’s crucial to use the appropriate hardware and installation techniques to guarantee that the rack is firmly affixed and capable of safely supporting the weight of the wine bottles and glasses. Take care to double-check the levelness and stability of the rack before fully securing it in place.
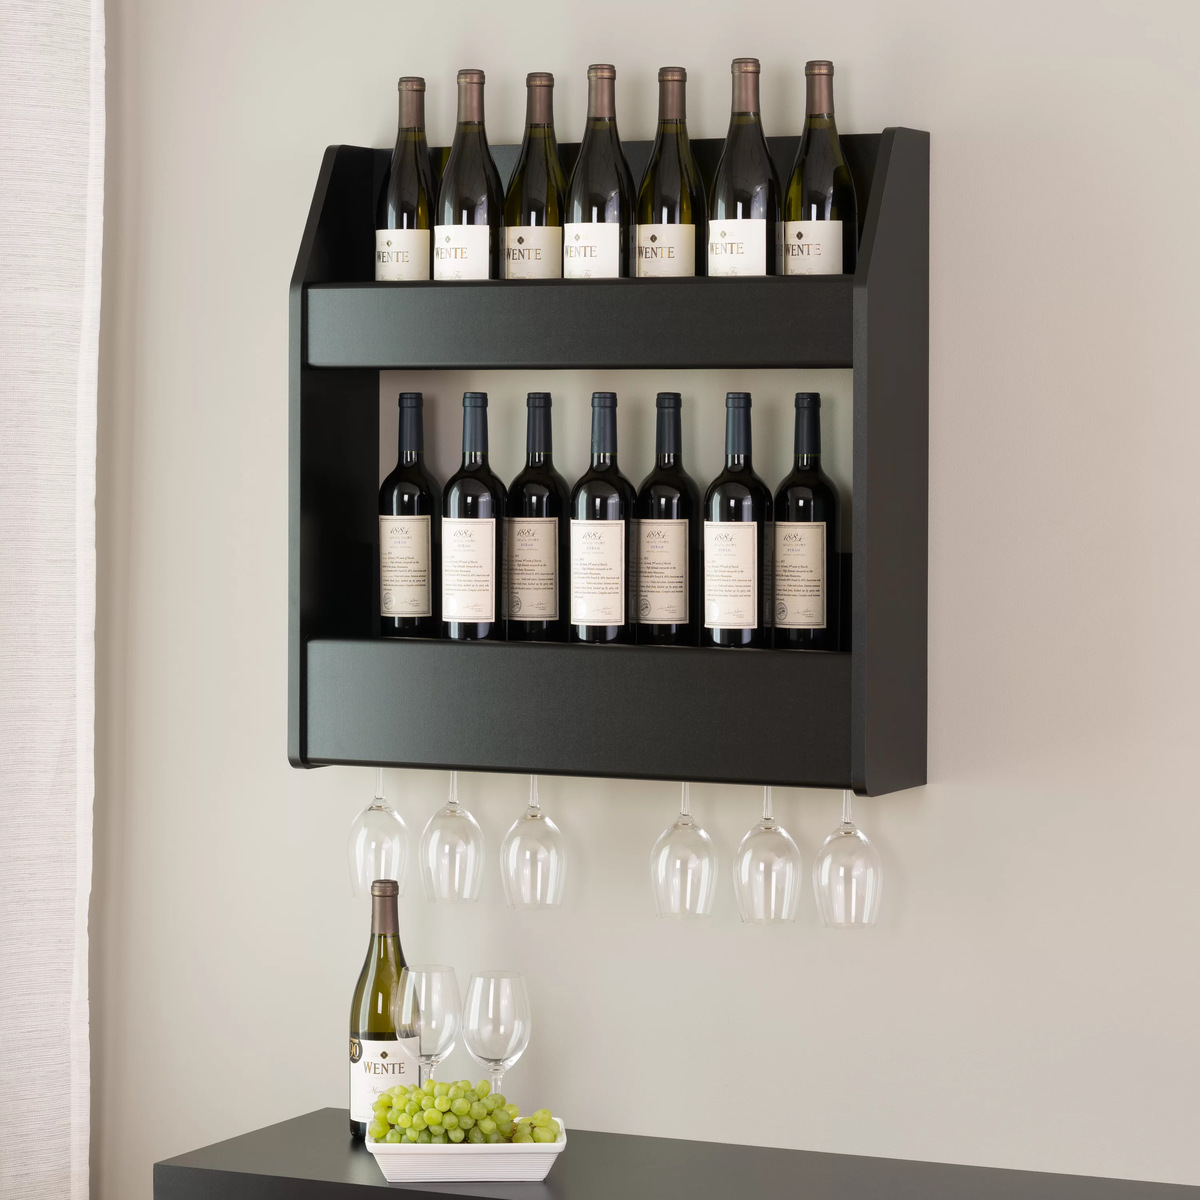
As the rack finds its place on the wall, step back and appreciate the transformation it brings to the room. The juxtaposition of the richly stained wood, the elegant wine glass holder, and the allure of your favorite bottles of wine creates a captivating focal point that exudes sophistication and charm.
With the rack now securely mounted, take a moment to envision the joy of selecting a fine bottle of wine and savoring the experience of pouring it into a gleaming glass, all against the backdrop of your meticulously crafted wall wine rack. The completion of this step marks the culmination of your efforts and the realization of a functional and aesthetically pleasing addition to your home.
Read more: How To Mount A Wine Rack To The Wall
Conclusion
Congratulations on successfully completing the construction of your very own wall wine rack! Through meticulous planning, precise craftsmanship, and a touch of creativity, you have transformed a collection of raw materials into a functional and visually captivating piece that will undoubtedly enrich your living space.
As you stand back and admire the finished rack, take pride in the craftsmanship and attention to detail that have gone into its creation. Each step of the process, from measuring and cutting the wood to mounting the rack on the wall, has been a testament to your dedication and ingenuity.
Not only does your wall wine rack provide a practical solution for storing and displaying your favorite bottles of wine and stemware, but it also serves as a statement piece that adds a touch of elegance and sophistication to your home. The seamless fusion of form and function is a testament to your ability to marry practicality with aesthetic appeal, resulting in a creation that is as visually stunning as it is utilitarian.
Furthermore, the customization and personalization inherent in crafting your own wine rack have allowed you to tailor the design to perfectly complement your decor and reflect your individual style. Whether you opted for a rich, dark stain to exude warmth or a lighter finish to accentuate the natural beauty of the wood, your rack stands as a reflection of your unique taste and creativity.
As you prepare to populate the rack with your cherished bottles of wine and stemware, take a moment to appreciate the journey that has led to this beautiful culmination. Your wall wine rack is not merely a storage solution; it is a testament to your ability to transform raw materials into a functional work of art that enriches the ambiance of your living space.
So, raise a glass to your craftsmanship, creativity, and the joy of bringing this project to fruition. Your wall wine rack stands as a testament to your passion for woodworking and your commitment to infusing your living space with both practicality and beauty. Cheers to the memories you will create and the delightful moments you will savor, all against the backdrop of your meticulously crafted wall wine rack.
Frequently Asked Questions about How To Build A Wall Wine Rack
Was this page helpful?
At Storables.com, we guarantee accurate and reliable information. Our content, validated by Expert Board Contributors, is crafted following stringent Editorial Policies. We're committed to providing you with well-researched, expert-backed insights for all your informational needs.
0 thoughts on “How To Build A Wall Wine Rack”