Articles
How To Frame An Interior Wall With Wood Studs
Modified: October 18, 2024
Learn how to frame an interior wall with wood studs in this comprehensive article. Discover step-by-step instructions and expert tips for a successful wall installation.
(Many of the links in this article redirect to a specific reviewed product. Your purchase of these products through affiliate links helps to generate commission for Storables.com, at no extra cost. Learn more)
Introduction
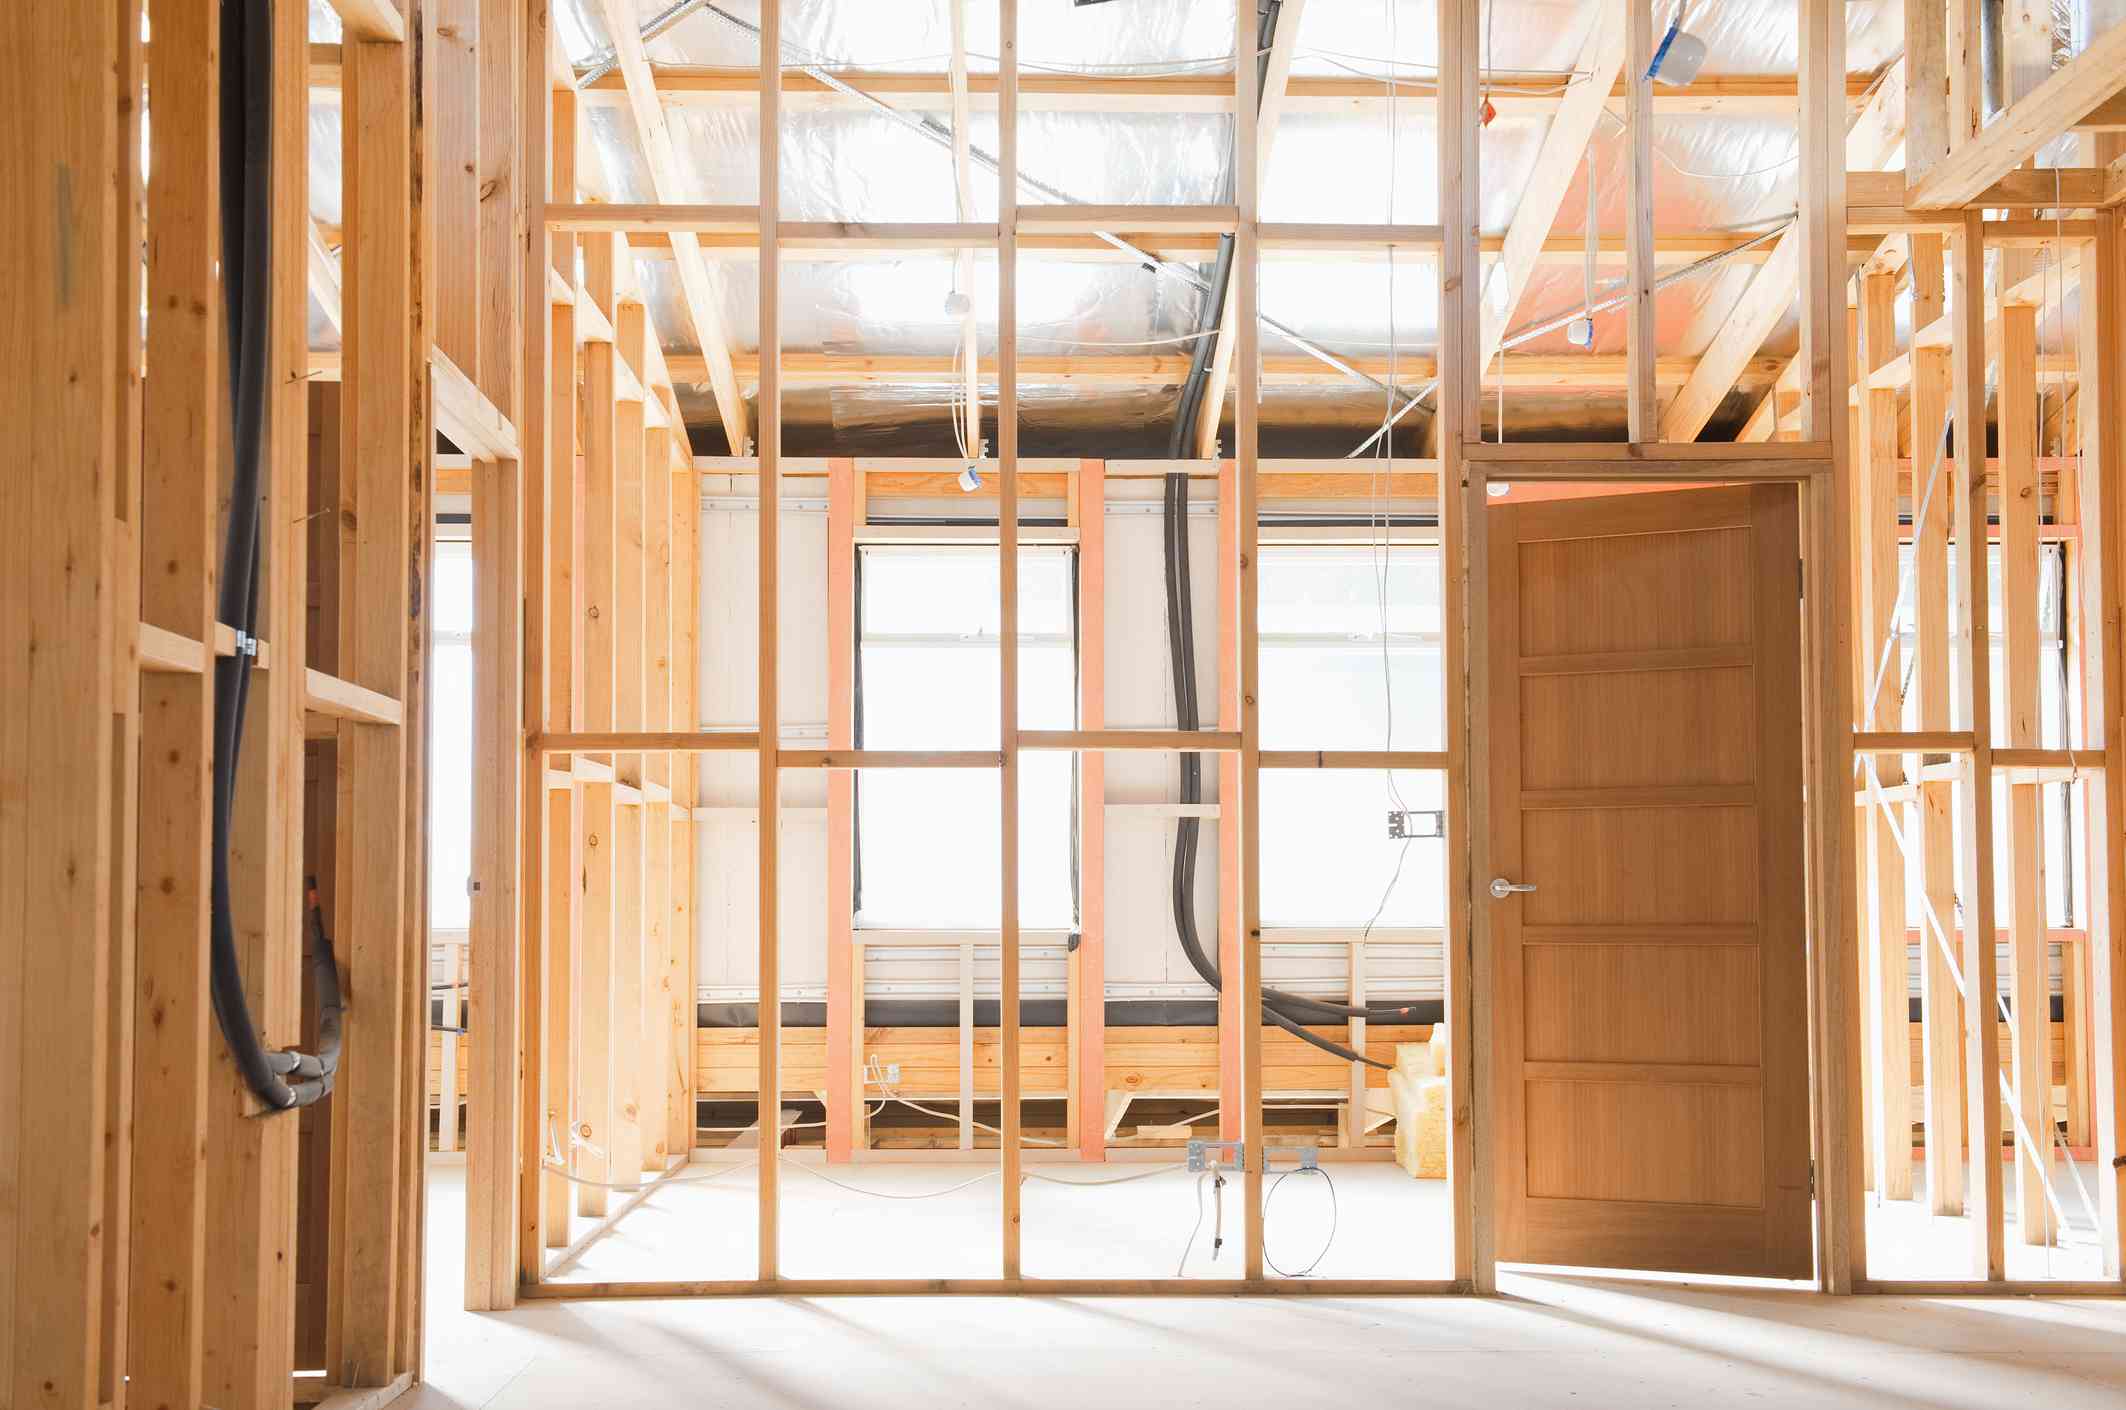
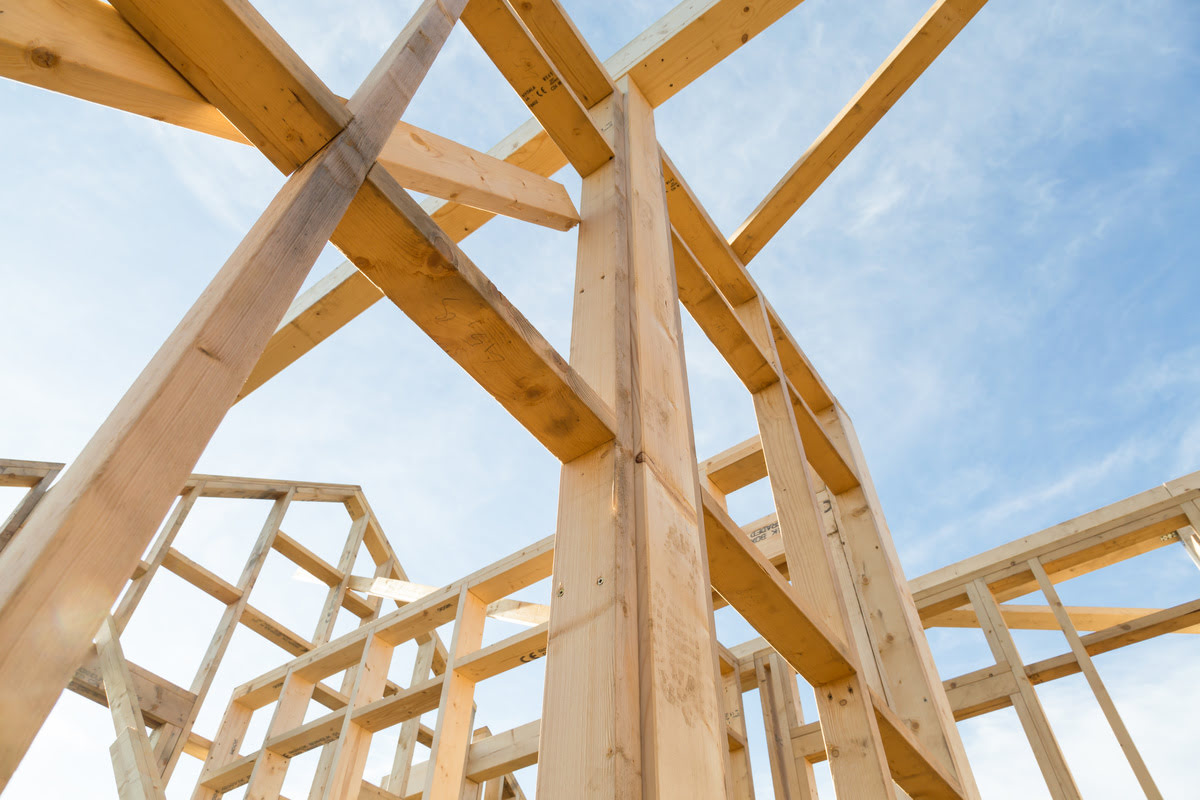
Building an interior wall with wood studs is a fundamental skill that anyone with a knack for DIY projects can learn. Whether you are remodeling a room, dividing a large space, or creating a new partition, framing an interior wall provides structure and defines the layout of your space.
In this guide, we will walk you through the step-by-step process of framing an interior wall using wood studs. From gathering the necessary materials and tools to the final touches of installing drywall or other wall coverings, we will cover everything you need to know to successfully complete this project.
So, if you are ready to roll up your sleeves and dive into a rewarding home improvement project, let’s get started!
Key Takeaways:
- Framing an interior wall with wood studs involves gathering materials, measuring and marking the wall location, installing bottom and top plates, cutting and installing studs, and adding insulation and vapor barrier for a sturdy and energy-efficient result.
- The process also includes framing door or window openings, securing the wall to existing structures, and finishing with drywall or other coverings. Following local building codes and consulting professionals ensures a safe and successful project.
Read more: What Size Studs For Interior Walls
Step 1: Gather Materials and Tools
Before you begin framing the interior wall, it is crucial to gather all the necessary materials and tools. Here is a list of what you will need:
- 2×4-inch wood studs
- Measuring tape
- Pencil
- Level
- Circular saw or handsaw
- Hammer
- Nails or screws
- Stud finder
- Reciprocating saw (for cutting door or window openings)
- Blocking material (if needed)
- Vapor barrier and insulation (optional)
- Drywall or other wall covering material
Once you have gathered all the necessary materials and tools, you are ready to move on to the next step: measuring and marking the wall location.
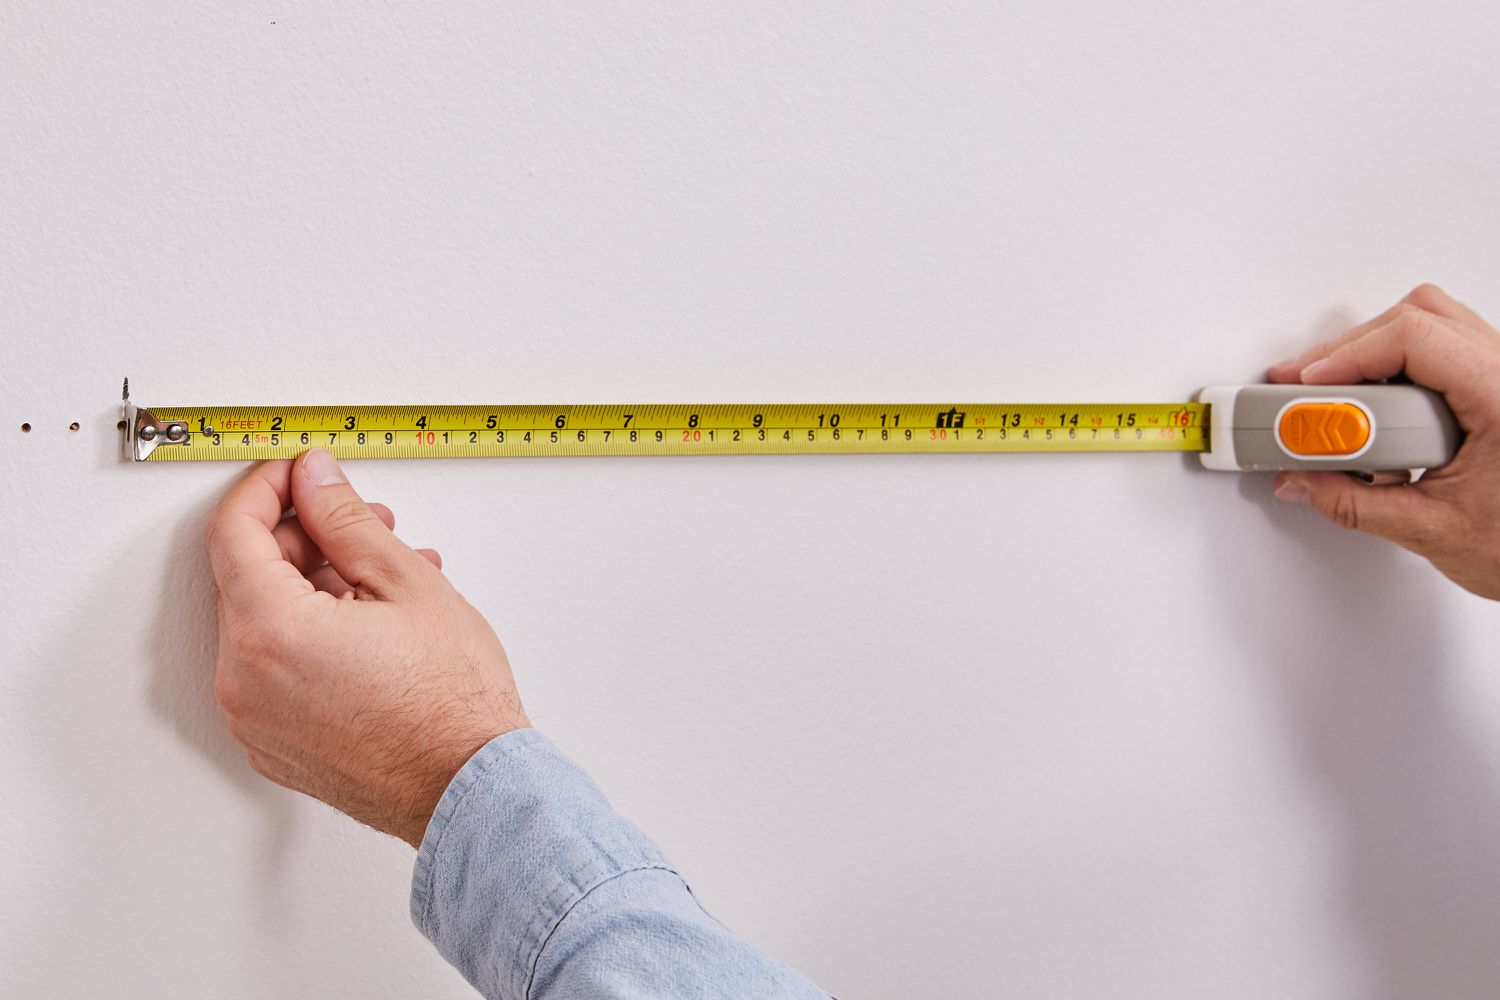
Step 2: Measure and Mark Wall Location
Before you start framing the interior wall, you need to determine the location and dimensions of the wall. This step is crucial as it ensures that the wall is properly aligned and fits seamlessly into your space.
Here’s how to measure and mark the wall location:
- Start by identifying where you want the wall to be positioned. Use a measuring tape to measure the length of the wall from one end to the other.
- Using a pencil and a level, mark the bottom and top plate positions on the floor and ceiling respectively. Make sure the marks are aligned and straight.
- If you are working with existing walls, use a stud finder to locate the studs. Mark their positions on the floor and ceiling as reference points for the wall placement.
- Measure the height of the wall by measuring from the floor to the desired height of the top plate. Mark this measurement on the wall studs.
- Using a level, draw vertical lines on the floor and ceiling, connecting the marked positions. This will serve as a guide for the wall frame.
Once you have measured and marked the wall location, you are ready to move on to the next step: installing the bottom plate.
Step 3: Install Bottom Plate
Now that you have measured and marked the wall location, it’s time to install the bottom plate. The bottom plate serves as the base of the wall and provides stability and support for the studs.
Follow these steps to install the bottom plate:
- Using a circular saw or handsaw, cut a 2×4-inch wood stud to the length of the wall. This will be your bottom plate.
- Position the bottom plate on the floor, aligning it with the marked lines from step 2.
- Use a level to ensure the bottom plate is straight and level. Make any necessary adjustments by adding shims or sanding down uneven areas.
- Once the bottom plate is properly aligned, secure it to the floor using nails or screws. Place nails or screws approximately every 16 inches along the length of the plate.
Installing the bottom plate provides a solid foundation for the wall. It is important to ensure that the bottom plate is securely fastened to the floor, as it will bear the weight of the wall and any structures connected to it.
With the bottom plate in place, you are now ready to move on to the next step: cutting and installing the studs.
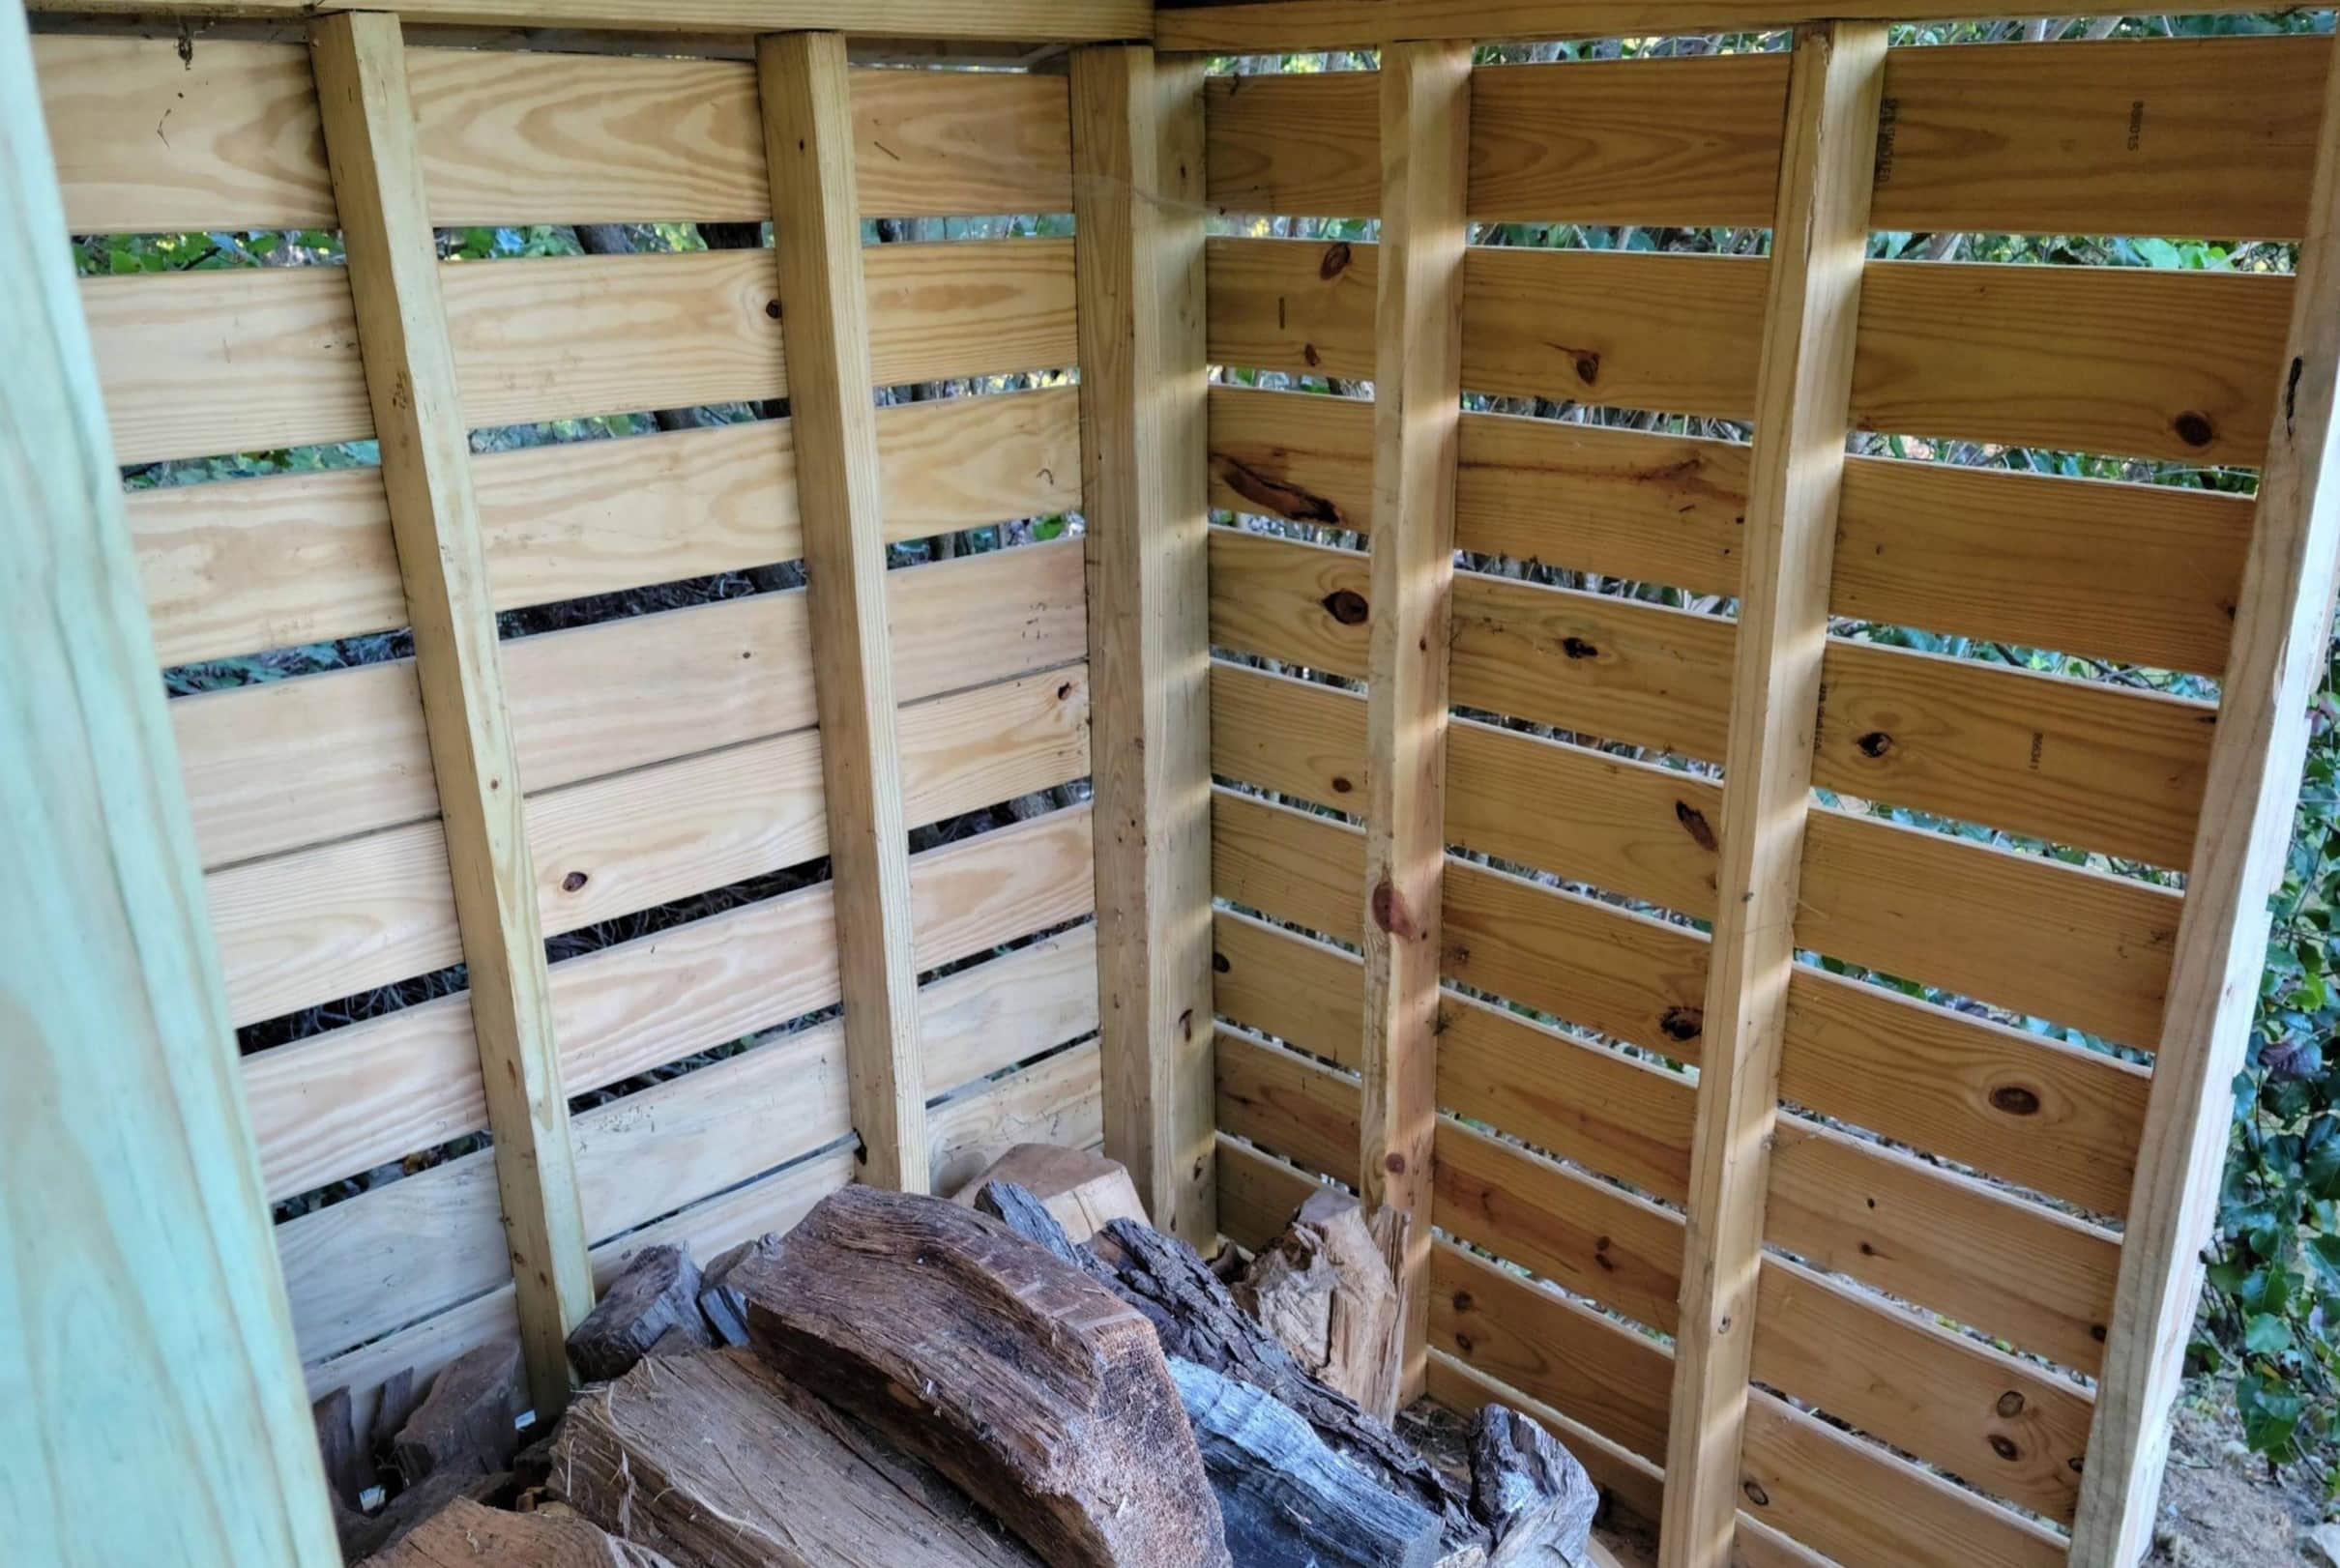
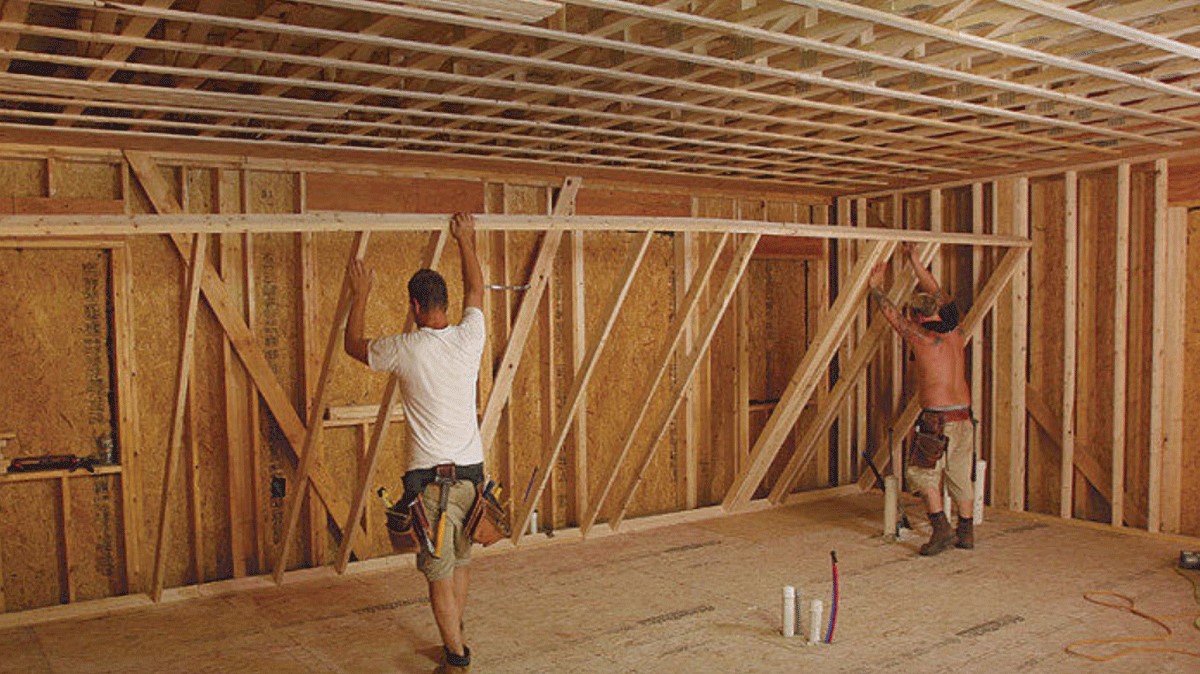
Step 4: Cut and Install Studs
With the bottom plate securely in place, it’s time to cut and install the studs, which will form the vertical framework of the wall. The spacing and alignment of the studs are crucial for the structural integrity of the wall.
Follow these steps to cut and install the studs:
- Measure the distance between the top and bottom plates, subtracting the width of a stud. This will give you the length for each individual stud.
- Using a circular saw or handsaw, cut the 2×4-inch wood studs to the appropriate length.
- Place each stud vertically, aligning them with the marks on the bottom and top plates.
- Using a level, ensure that each stud is plumb (vertically straight). Make any necessary adjustments by tapping the studs with a hammer.
- Once the studs are properly aligned, secure them to the plates using nails or screws. Place nails or screws at an angle, driving them through the studs and into the plates.
- Continue installing the studs, leaving appropriate spaces for doors and windows.
It is important to space the studs evenly, typically at 16-inch intervals, though local building codes may vary. This spacing provides structural support and enables the proper installation of wall coverings, such as drywall.
With the studs installed, you have completed a major part of the wall framing process. Next, we will move on to installing the top plate.
Step 5: Install Top Plate
Now that the studs are securely in place, it’s time to install the top plate. The top plate provides additional support and stability to the wall structure.
Follow these steps to install the top plate:
- Cut a 2×4-inch wood stud to the length of the wall. This will be your top plate.
- Position the top plate horizontally on top of the studs, aligning it with the marks on the studs.
- Use a level to ensure that the top plate is straight and level. Make any necessary adjustments by tapping the studs or the top plate with a hammer.
- Once the top plate is properly aligned, secure it to the studs by driving nails or screws through the top plate and into the studs.
Installing the top plate completes the framing of the interior wall. It creates a sturdy and secure structure that is ready for the next steps in the construction process.
Next, we will move on to framing door or window openings, which can be incorporated into the interior wall if needed.
When framing an interior wall with wood studs, make sure to measure and mark the layout on the floor and ceiling before installing the studs. This will ensure that the wall is straight and properly aligned.
Step 6: Frame Door or Window Openings
If you need to incorporate a door or window into your interior wall, you will need to frame the openings accordingly. Framing door and window openings ensures that they fit securely and provides support for the surrounding structure.
Follow these steps to frame door or window openings:
- Measure and mark the desired location and dimensions of the door or window on the wall studs.
- Using a circular saw or handsaw, cut through the studs along the marked lines. Make sure to create a header beam for support.
- Install the header beam above the opening to provide structural support. The size and construction of the header beam will depend on the size and weight of the door or window.
- Install king studs on either side of the opening, extending from the bottom plate to the header beam, to provide support for the sides of the door or window.
- Install cripple studs above the header beam and below the top plate, filling the space between the header beam and top plate.
- Secure all the framing components together using nails or screws, ensuring that everything is level and plumb.
By framing door and window openings, you ensure that they are structurally sound and ready for the installation of doors or windows. The framing creates a sturdy and secure framework that will support the weight of the opening and any necessary casings.
With the door or window openings framed, you are ready to move on to the next step: installing blocking and nailing plates.
Step 7: Install Blocking and Nailing Plates
Installing blocking and nailing plates adds additional strength and stability to your interior wall. Blocking refers to the installation of horizontal pieces of wood between the vertical studs, while nailing plates provide reinforcement at the top and bottom of the wall.
Follow these steps to install blocking and nailing plates:
- Cut pieces of 2×4-inch wood to the appropriate length for the blocking.
- Install blocking between the studs at certain intervals, typically every four feet or as required by building codes. This helps to prevent the studs from twisting or warping.
- Secure the blocking in place by nailing or screwing them to the studs.
- Install nailing plates at the top and bottom of the wall by attaching shorter pieces of 2×4-inch wood horizontally. These plates add strength to the overall structure of the wall.
- Secure the nailing plates in place by nailing or screwing them into the studs and plates.
Installing blocking and nailing plates ensures that your interior wall is sturdy and capable of withstanding the test of time. These additions provide extra support and reinforcement, making your wall more durable and stable.
Next, we will move on to securing the wall to the existing structure, if applicable.
Step 8: Secure Wall to Existing Structure
If you are building an interior wall that will connect to an existing structure, such as a ceiling or another wall, it is important to securely fasten the new wall to the existing structure. This ensures stability and prevents any unnecessary movement or shifting.
Follow these steps to secure the wall to the existing structure:
- Position the newly framed wall in its desired location next to the existing structure.
- Use a level to ensure that the new wall is plumb (vertically straight) and flush with the existing structure.
- Once aligned, secure the new wall to the existing structure by driving nails or screws through the studs and into the existing structure.
- Place nails or screws approximately every 16 inches along the length of the wall to ensure a secure attachment.
Securing the wall to the existing structure is crucial for stability and durability. It ensures that the new wall is properly integrated with the surrounding environment and minimizes the risk of any unwanted movement or shifting over time.
With the wall securely attached to the existing structure, you can now proceed to the optional steps of insulating and adding a vapor barrier, depending on your needs and preferences.
Read more: How To Frame A Door In An Interior Wall
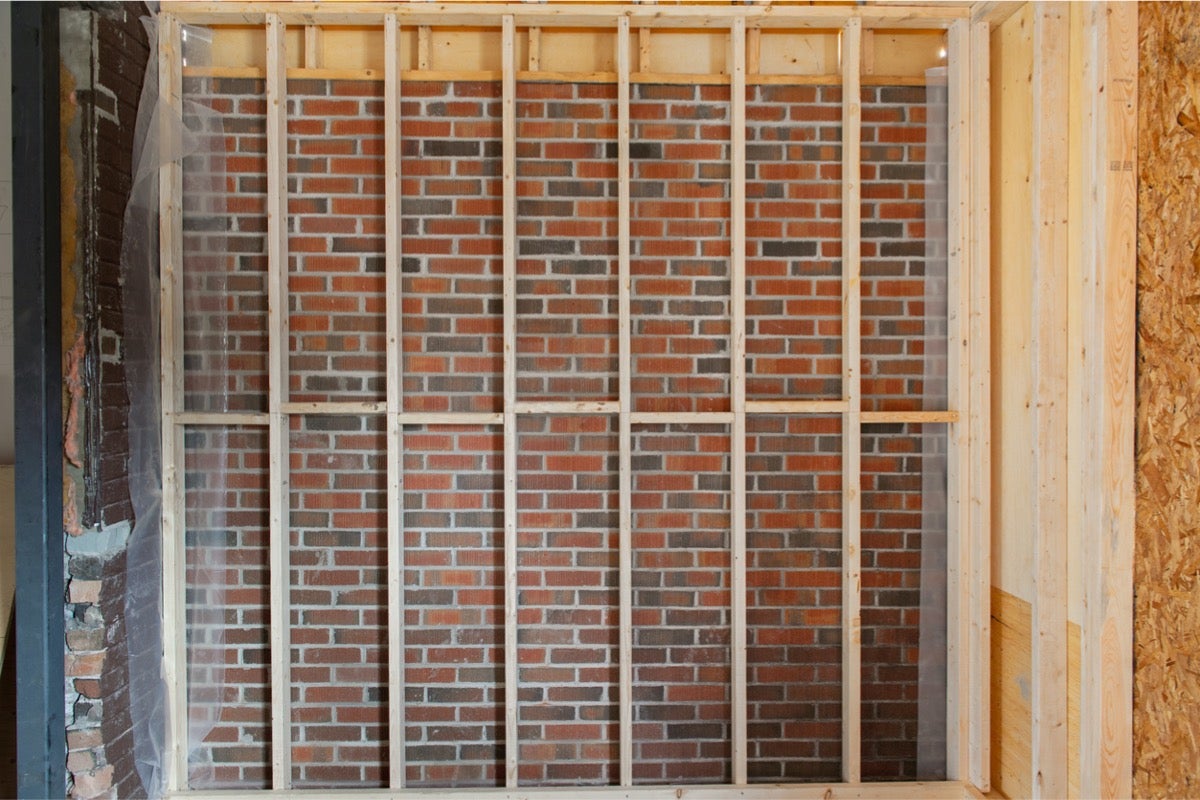
Step 9: Insulate and Add Vapor Barrier (Optional)
Insulating your interior wall can provide numerous benefits, such as improving energy efficiency, soundproofing the space, and enhancing thermal comfort. Adding a vapor barrier can also help prevent moisture buildup and protect the wall from potential damage.
Follow these steps to insulate and add a vapor barrier to your interior wall:
- Determine the type of insulation you want to use. Common options include fiberglass batts, spray foam insulation, or rigid foam boards.
- Measure the space between the studs and cut the insulation to the appropriate size.
- Fit the insulation between the studs, ensuring a snug and tight fit. Make sure to avoid compressing the insulation, as this can reduce its effectiveness.
- If desired, install a vapor barrier over the insulation. A vapor barrier is typically a plastic sheet or membrane that helps prevent moisture from penetrating the wall assembly.
- Cut the vapor barrier to the appropriate size, allowing for a slight overlap between sheets.
- Attach the vapor barrier to the studs using staples or adhesive, ensuring a tight seal. Make sure to seal any seams or edges with tape to prevent any air or moisture leaks.
Insulating and adding a vapor barrier to your interior wall can help create a more comfortable and energy-efficient space. It helps to regulate temperature, reduce noise transmission, and protect against moisture-related issues.
Once you have completed the insulation and vapor barrier installation, you can move on to the final step: installing drywall or other wall coverings.
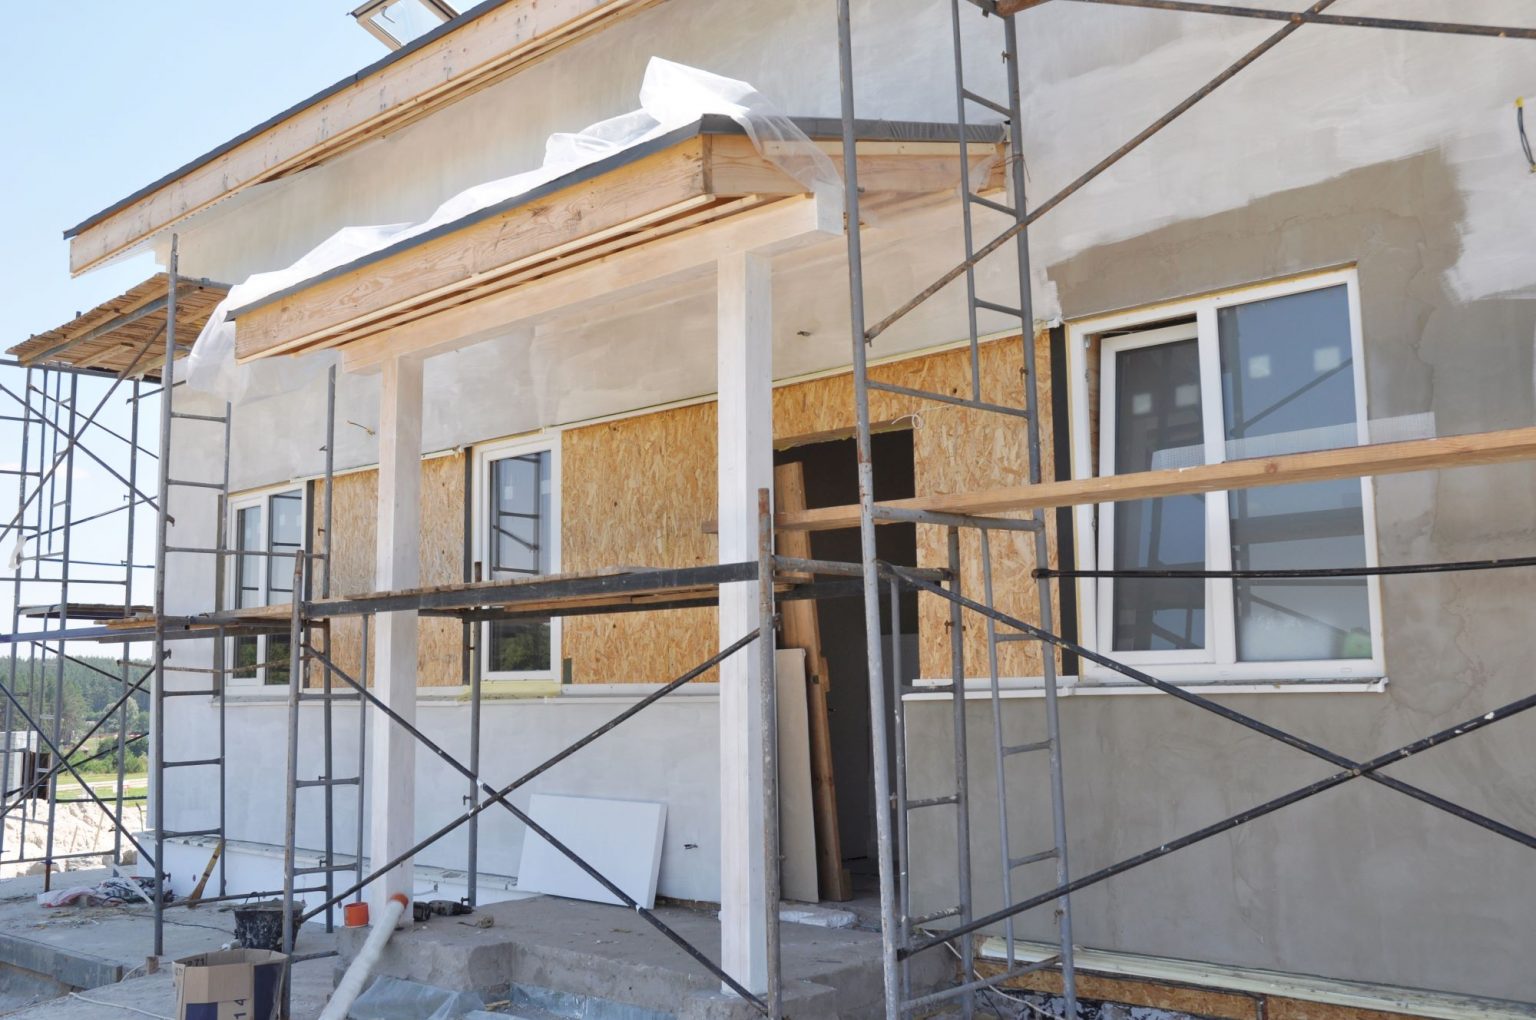
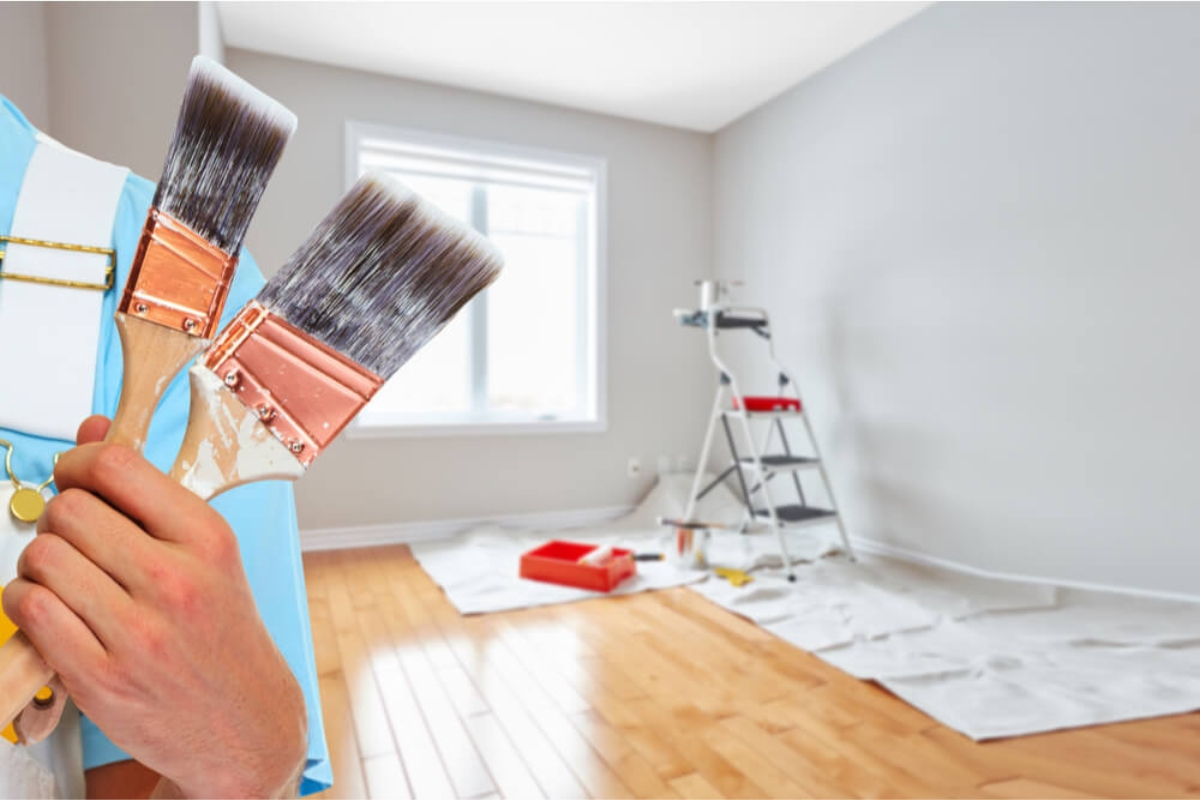
Step 10: Install Drywall or Other Wall Coverings
The final step in framing an interior wall is installing the wall coverings, typically drywall. This step adds a polished and finished look to your wall, ready for painting or other decorative treatments.
Follow these steps to install drywall or other wall coverings:
- Measure the dimensions of the wall and cut the drywall panels to fit. Use a utility knife to score the front surface of the drywall along the cut line, then snap it along the scored line.
- Position the drywall panels against the studs, starting from one corner and working your way across the wall.
- Secure the drywall panels to the studs by driving drywall screws into the panels and through the studs. Place screws approximately every 12 to 16 inches along the edges and every 16 to 24 inches in the field.
- Repeat this process until all the drywall panels are installed and cover the entire wall surface.
- Once the drywall is installed, use joint compound and drywall tape to cover and smooth out the seams between the panels.
- Allow the joint compound to dry completely, then sand it down to create a smooth surface.
- Apply a primer coat and paint or other desired finishes to achieve the final look for your wall.
Installing drywall or other wall coverings completes the framing process, giving your interior wall a finished appearance. It also provides an opportunity to personalize your space by selecting colors, textures, or other decorative treatments.
Congratulations! You have successfully framed an interior wall with wood studs. Now you can enjoy your newly defined space and the satisfaction of completing a rewarding DIY project.
It’s important to note that local building codes and regulations may vary, so be sure to consult with a professional or your local building department as necessary to ensure compliance and safety throughout the construction process.
Thank you for following this guide, and we hope your interior wall framing project is a success!
Conclusion
Framing an interior wall with wood studs is a valuable skill that allows you to transform your living space, create divisions, and add structural integrity to your home. By following the step-by-step process outlined in this guide, you can confidently tackle this DIY project and achieve professional-looking results.
Throughout the framing process, gathering the necessary materials and tools, measuring and marking the wall location, installing the bottom and top plates, cutting and installing the studs, framing door or window openings, installing blocking and nailing plates, securing the wall to the existing structure, and optionally adding insulation and a vapor barrier, all contribute to creating a solid and functional interior wall.
By completing the final step of installing drywall or other wall coverings, you can achieve a finished look that not only enhances your space aesthetically but also improves its energy efficiency and soundproofing capabilities.
Remember to always adhere to local building codes and regulations, and consult with professionals or building authorities when necessary. Safety should always be a top priority during any construction project.
We hope this guide has provided you with the knowledge and confidence to successfully frame an interior wall with wood studs. Enjoy the process and the satisfaction of creating a space that suits your needs and reflects your personal style.
Happy framing!
Frequently Asked Questions about How To Frame An Interior Wall With Wood Studs
Was this page helpful?
At Storables.com, we guarantee accurate and reliable information. Our content, validated by Expert Board Contributors, is crafted following stringent Editorial Policies. We're committed to providing you with well-researched, expert-backed insights for all your informational needs.
0 thoughts on “How To Frame An Interior Wall With Wood Studs”