Home>Furniture & Design>Bathroom Accessories>How To Make A Portable Bathtub
Bathroom Accessories
How To Make A Portable Bathtub
Modified: August 29, 2024
Learn how to create a portable bathtub for your bathroom with our innovative bathroom accessories. Enjoy convenience and comfort on the go!
(Many of the links in this article redirect to a specific reviewed product. Your purchase of these products through affiliate links helps to generate commission for Storables.com, at no extra cost. Learn more)
Introduction
Creating a portable bathtub can be a game-changer for those who crave a relaxing soak but lack a traditional tub. Whether you're a renter, a frequent traveler, or simply seeking a unique bathing experience, a portable bathtub offers the flexibility to enjoy a luxurious bath wherever you desire. In this guide, we will walk through the process of crafting your own portable bathtub, providing a cost-effective and innovative solution to meet your bathing needs.
The beauty of a portable bathtub lies in its versatility. You can set it up in your backyard for a tranquil soak amidst nature, bring it along for a camping trip to elevate your outdoor experience, or even use it indoors when space is limited. By following the steps outlined in this guide, you can customize the design and size of your portable bathtub to suit your preferences, ensuring a personalized and comfortable bathing experience every time.
Not only does the creation of a portable bathtub offer practical benefits, but it also presents an opportunity for creativity and resourcefulness. By sourcing materials and constructing the bathtub yourself, you can take pride in a DIY project that reflects your ingenuity and craftsmanship. Additionally, the process of assembling a portable bathtub provides an avenue for exploration and experimentation, allowing you to tailor the design to align with your aesthetic and functional requirements.
As we delve into the details of crafting a portable bathtub, you will discover the satisfaction of transforming basic materials into a functional and enjoyable bathing solution. With a bit of effort and creativity, you can embark on a rewarding journey to construct a portable bathtub that enhances your lifestyle and brings a touch of luxury to your daily routine. So, roll up your sleeves and get ready to embark on this exciting endeavor to create your very own portable bathtub.
Key Takeaways:
- Crafting a portable bathtub using PVC pipes, waterproof fabric, and insulation boards offers a customizable and luxurious bathing experience, perfect for renters, travelers, and outdoor enthusiasts.
- By following simple steps to create and test your portable bathtub, you can enjoy a personalized and indulgent bathing solution that reflects your creativity and enhances your daily routine.
Read more: How To Make A Portable Sink
Materials Needed
To embark on the journey of creating your own portable bathtub, you will need a selection of materials that are readily available and relatively easy to procure. The following list outlines the essential components required to construct a functional and durable portable bathtub:
-
Frame Materials:
- PVC pipes: These versatile and lightweight pipes will form the structure of the bathtub frame, providing stability and support.
- Connectors: PVC connectors, such as elbows, tees, and couplings, are essential for joining the pipes securely and forming the desired shape of the bathtub frame.
-
Liner:
- Heavy-duty tarp or waterproof fabric: This will serve as the liner for the bathtub, ensuring that it holds water effectively without leakage. Look for a durable and waterproof material that can withstand the weight of water and provide a comfortable bathing surface.
-
Insulation:
- Foam insulation boards: These boards will contribute to the thermal efficiency of the portable bathtub, helping to retain heat and create a more comfortable bathing experience. Opt for insulation boards that are lightweight yet effective in maintaining warmth.
-
Drainage Components:
- Drain plug or valve: To facilitate easy draining of the bathtub after use, a reliable drain plug or valve is essential. Choose a component that is compatible with the size and design of your portable bathtub.
-
Additional Tools and Supplies:
- PVC pipe cutter: This tool will enable precise cutting of the PVC pipes to achieve the desired dimensions for the bathtub frame.
- Waterproof adhesive or sealant: To reinforce the connections and seams of the bathtub liner, a waterproof adhesive or sealant will ensure a watertight enclosure.
- Measuring tape and marker: These basic tools are indispensable for accurately measuring and marking the dimensions of the frame and liner, ensuring a precise fit during assembly.
By gathering these materials and tools, you will be well-equipped to commence the construction of your portable bathtub. With careful selection and attention to detail, you can ensure that each component contributes to the functionality and durability of the final product. As you prepare the materials and envision the finished bathtub, you are taking the first step towards realizing a unique and personalized bathing solution that aligns with your lifestyle and preferences.
Step 1: Prepare the Frame
The initial phase of constructing a portable bathtub involves preparing the frame, which forms the structural foundation of the bathing enclosure. The frame serves as the framework on which the liner will be secured, providing stability and shape to the portable bathtub. To commence this pivotal step, gather the PVC pipes and connectors, along with a PVC pipe cutter, measuring tape, and marker for precise assembly.
Begin by determining the dimensions of the portable bathtub, considering the desired length, width, and depth to accommodate comfortable bathing. Using the measuring tape and marker, mark the PVC pipes according to the specified measurements, ensuring accuracy and uniformity. Subsequently, utilize the PVC pipe cutter to make precise cuts along the marked lines, creating the individual segments that will compose the frame.
Once the PVC pipes are cut to the appropriate lengths, assemble the segments using the PVC connectors to form the outline of the bathtub frame. Depending on the chosen design, elbows, tees, and couplings can be employed to create corners, angles, and joints, allowing for customization of the frame shape. It is essential to secure the connections tightly to maintain the structural integrity of the frame.
As the frame takes shape, verify that the dimensions align with the intended size of the portable bathtub, making adjustments as necessary to achieve a uniform and stable structure. The frame should exhibit robustness and rigidity, capable of supporting the weight of the water and accommodating the bathing experience comfortably. Attention to detail during this stage is crucial, as it lays the groundwork for the successful assembly of the portable bathtub.
By meticulously preparing the frame with precision and care, you are establishing a solid framework that will serve as the basis for the subsequent steps in creating the portable bathtub. The completion of this phase marks a significant milestone in the construction process, setting the stage for the attachment of the liner and the realization of a functional and personalized bathing solution. With the frame prepared, you are poised to advance to the next stage of assembling the portable bathtub, bringing you one step closer to enjoying the luxury of a custom-crafted bathing experience.
Step 2: Attach the Liner
With the frame of the portable bathtub meticulously prepared, the next crucial step involves attaching the liner, which forms the waterproof enclosure for the bathing area. The liner plays a pivotal role in containing the water effectively, ensuring a secure and leak-free environment for a relaxing soak. To proceed with this phase, gather the heavy-duty tarp or waterproof fabric chosen for the liner, along with waterproof adhesive or sealant, and prepare to secure the liner to the frame with precision and care.
Lay out the selected liner material in a clean and spacious area, ensuring that it is free from any wrinkles or folds that may compromise the integrity of the enclosure. Position the frame of the portable bathtub adjacent to the liner, allowing for easy access and seamless attachment. Begin by draping the liner over the frame, ensuring that it extends generously to cover the interior and sides of the bathtub, with ample excess material for secure fastening.
Using the waterproof adhesive or sealant, apply a uniform and thorough layer along the top edges of the frame, where the liner will be affixed. This step is crucial in creating a watertight seal between the frame and the liner, preventing any potential leakage during use. Carefully press the liner onto the adhesive-coated edges, smoothing out any air pockets or creases to achieve a snug and secure fit.
As the liner adheres to the frame, pay close attention to the corners and curves, ensuring that the material conforms seamlessly to the contours of the bathtub structure. Trim any excess material as needed, maintaining a neat and tailored finish that enhances the overall appearance and functionality of the portable bathtub. The goal is to create a durable and resilient enclosure that can withstand the weight of water and provide a comfortable bathing surface.
Upon completing the attachment of the liner, inspect the seams and edges to verify the integrity of the enclosure, confirming that it is securely fastened to the frame and devoid of any potential weak points. This meticulous approach ensures that the liner is effectively affixed, ready to contain the water and facilitate a rejuvenating bathing experience. With the liner successfully attached, the portable bathtub takes a significant stride towards completion, bringing you closer to enjoying the luxury of a personalized and versatile bathing solution.
This phase marks a pivotal juncture in the construction process, as the attachment of the liner transforms the frame into a functional and inviting bathing enclosure. With the liner securely in place, the portable bathtub begins to take shape, embodying the vision of a customized and portable bathing solution that aligns with your preferences and lifestyle. As you progress through this step, you are one step closer to realizing the satisfaction of crafting your very own portable bathtub, tailored to elevate your bathing experience and bring a touch of luxury to your daily routine.
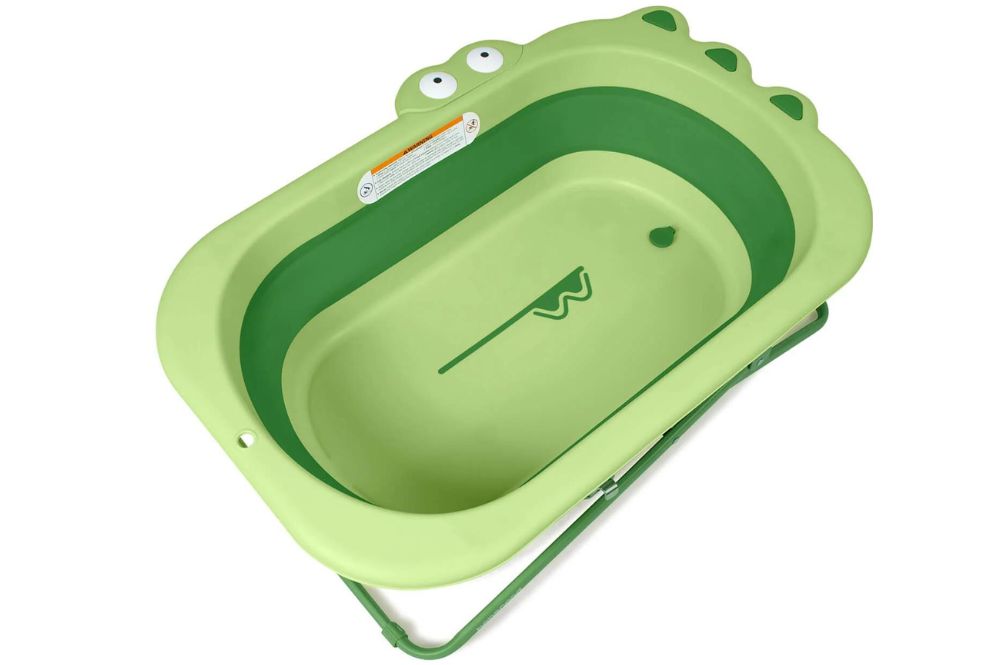
Consider using a large plastic storage container as the base for your portable bathtub. Make sure it’s sturdy and big enough for you to comfortably sit in. Add a drain plug and cushioned lining for comfort.
Step 3: Add Insulation
As the construction of the portable bathtub progresses, the addition of insulation stands as a pivotal step in enhancing the functionality and comfort of the bathing experience. Insulation plays a crucial role in retaining heat, ensuring that the water maintains a comfortable temperature for an extended period, allowing for a more indulgent and relaxing soak. To embark on this essential phase, gather the foam insulation boards selected for their lightweight yet effective thermal properties, along with the necessary tools for precise installation.
Commence the insulation process by measuring and cutting the foam insulation boards to fit the interior dimensions of the portable bathtub. Carefully mark the boards to align with the contours of the bathtub, ensuring a precise and snug fit that maximizes the insulating properties. Utilize a sharp utility knife or insulation cutting tool to achieve clean and accurate cuts, maintaining the integrity of the insulation material.
Once the insulation boards are tailored to the appropriate size, position them within the interior of the bathtub, ensuring complete coverage of the base and sides. The insulation boards should snugly fit against the liner, creating a thermal barrier that minimizes heat loss and optimizes the temperature retention within the bathing enclosure. Pay particular attention to the corners and edges, ensuring that the insulation seamlessly conforms to the contours of the bathtub.
As the insulation boards are positioned, assess the overall fit and alignment to guarantee comprehensive coverage and uniform insulation throughout the bathtub. The goal is to create a cocoon of warmth that envelops the bathing area, enhancing the comfort and luxury of the portable bathtub. With the insulation in place, the bathing experience is elevated, allowing for extended relaxation and rejuvenation without the concern of rapid heat dissipation.
The addition of insulation not only contributes to the thermal efficiency of the portable bathtub but also reinforces the structural integrity of the enclosure. The insulation boards provide an additional layer of support, enhancing the stability and robustness of the bathtub while creating a more comfortable and inviting environment for bathing. By incorporating insulation into the construction, you are elevating the functionality and comfort of the portable bathtub, ensuring a luxurious and indulgent bathing experience that aligns with your preferences and desires.
With the insulation seamlessly integrated into the construction, the portable bathtub takes a significant stride towards completion, embodying the vision of a personalized and versatile bathing solution. As you progress through this phase, you are one step closer to realizing the satisfaction of crafting your very own portable bathtub, tailored to elevate your bathing experience and bring a touch of luxury to your daily routine.
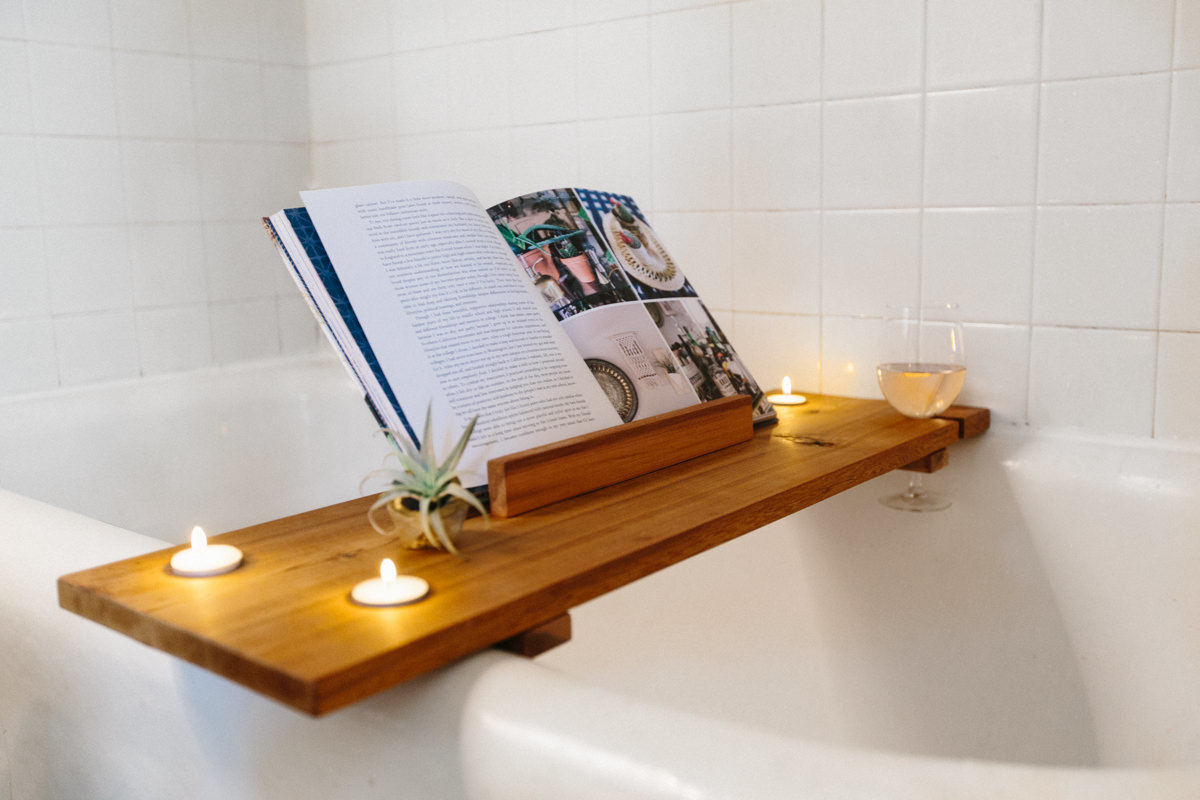
Read more: How To Make A Bathtub Caddy
Step 4: Install the Drain
The installation of the drain is a pivotal step in the construction of a portable bathtub, as it facilitates the efficient draining of water after a rejuvenating soak. This phase ensures that the portable bathtub is equipped with a reliable and functional drainage system, enhancing the convenience and usability of the bathing solution. To embark on this essential step, gather the drain plug or valve selected for compatibility with the size and design of the portable bathtub, along with the necessary tools for precise installation.
Commence the installation process by identifying the designated location for the drain within the bathtub. This strategic placement should allow for optimal water drainage while ensuring that the drain component does not impede the comfort and functionality of the bathing area. Once the ideal position is determined, mark the precise spot for the drain, taking into account the dimensions and configuration of the bathtub.
With the location marked, proceed to create an opening in the liner and insulation, if applicable, to accommodate the installation of the drain. Utilize a sharp utility knife or appropriate cutting tool to carefully cut through the liner and insulation, ensuring a clean and accurate incision that aligns with the dimensions of the chosen drain component. Attention to detail during this phase is crucial to ensure a seamless and secure fit for the drain.
Once the opening is prepared, proceed to install the drain plug or valve, securing it firmly in place to create a watertight seal. Depending on the type of drain component selected, follow the manufacturer's instructions to ensure proper installation and functionality. Verify that the drain is securely fastened and aligned with the contours of the bathtub, minimizing the risk of leaks and ensuring efficient water drainage.
As the drain is installed, conduct a thorough inspection to confirm its integrity and functionality. Test the drain by filling the portable bathtub with water and observing the drainage process to ensure that it operates smoothly and effectively. Address any potential issues or adjustments to guarantee that the drain functions optimally, providing a hassle-free and convenient means of emptying the bathtub after each use.
With the drain successfully installed, the portable bathtub is equipped with a reliable and efficient drainage system, enhancing the overall usability and convenience of the bathing solution. This pivotal phase marks a significant stride towards the completion of the portable bathtub, bringing you closer to enjoying the luxury of a personalized and versatile bathing experience.
Step 5: Test and Enjoy!
With the construction of the portable bathtub nearing completion, the final step involves testing the functionality and indulging in the luxury of a rejuvenating soak. This pivotal phase marks the culmination of your efforts, as you prepare to immerse yourself in a personalized and versatile bathing experience that reflects your ingenuity and creativity.
To initiate the testing process, fill the portable bathtub with water, ensuring that the liner and insulation effectively contain the water without any signs of leakage. As the bathtub gradually fills, observe the structural integrity and stability of the frame, confirming that it adequately supports the weight of the water. This critical assessment ensures that the portable bathtub is capable of delivering a secure and comfortable bathing environment.
Once the bathtub is filled to the desired level, immerse yourself in the soothing warmth of the water, relishing the comfort and relaxation that the portable bathtub offers. Take a moment to appreciate the fruits of your labor as you bask in the indulgent experience, savoring the freedom and flexibility that the portable bathtub provides. Whether positioned in your backyard, within the confines of your home, or amidst the tranquility of nature, the portable bathtub offers a sanctuary for unwinding and rejuvenation.
As you revel in the luxury of the portable bathtub, take note of the insulation's effectiveness in maintaining the water temperature, allowing for an extended and pleasurable soak. The thoughtful integration of insulation ensures that the bathing experience is enhanced, providing a cocoon of warmth that envelops you in comfort and relaxation. This attention to detail underscores the meticulous construction of the portable bathtub, reflecting your dedication to creating a functional and inviting bathing solution.
Following the immersive test, drain the portable bathtub to evaluate the efficiency and reliability of the drainage system. Observe the seamless emptying of the bathtub, confirming that the drain effectively expels the water without any complications or delays. This assessment ensures that the portable bathtub is equipped with a dependable drainage mechanism, enhancing the convenience and usability of the bathing solution.
As you conclude the testing phase, take pride in the successful construction of your very own portable bathtub, tailored to elevate your bathing experience and bring a touch of luxury to your daily routine. The satisfaction of crafting a personalized and versatile bathing solution is a testament to your resourcefulness and creativity, offering a unique and rewarding endeavor that enhances your lifestyle and well-being.
In embracing the luxury and convenience of the portable bathtub, you have embarked on a journey of innovation and self-expression, culminating in a functional and indulgent bathing experience that reflects your individuality and vision. As you savor the comfort and relaxation that the portable bathtub provides, you are reminded of the endless possibilities that creativity and ingenuity can unlock, enriching your daily life with a touch of luxury and personalization.
Frequently Asked Questions about How To Make A Portable Bathtub
Was this page helpful?
At Storables.com, we guarantee accurate and reliable information. Our content, validated by Expert Board Contributors, is crafted following stringent Editorial Policies. We're committed to providing you with well-researched, expert-backed insights for all your informational needs.


0 thoughts on “How To Make A Portable Bathtub”