Articles
How To Make Curtains With Rings
Modified: October 20, 2024
Learn how to make curtains with rings using these step-by-step articles. Create beautiful window treatments easily and effortlessly with our helpful guides.
(Many of the links in this article redirect to a specific reviewed product. Your purchase of these products through affiliate links helps to generate commission for Storables.com, at no extra cost. Learn more)
Introduction
Welcome to the wonderful world of curtains! Curtains are not just functional but also serve as a stylish element in any home. They add a touch of elegance to a room and can completely transform the look and feel of a space. If you’ve been wanting to update your window coverings, making your own curtains with rings is a fantastic DIY project to tackle. Not only will you have curtains that perfectly suit your taste, but you’ll also feel a sense of accomplishment in creating something with your own two hands.
In this article, we will guide you through the step-by-step process of making curtains with rings. From choosing the right fabric to hanging the finished curtains, we will cover all the necessary details to help you create beautiful curtains that will enhance your home decor.
Before we dive into the nitty-gritty of curtain-making, let’s talk about the importance of choosing the right fabric for your curtains.
Key Takeaways:
- Transform your windows into stunning focal points by making your own curtains with rings. Choose the right fabric, measure accurately, and add rings and header tape for a professional finish.
- Enjoy the satisfaction of creating personalized curtains that enhance your home decor. Experiment with different fabrics, colors, and patterns to make a statement in every room.
Read more: How To Dry Curtains With Metal Rings
Choosing the Right Fabric
When it comes to making curtains, the fabric you choose plays a crucial role in the overall look and functionality of your window coverings. Here are some factors to consider when selecting the fabric:
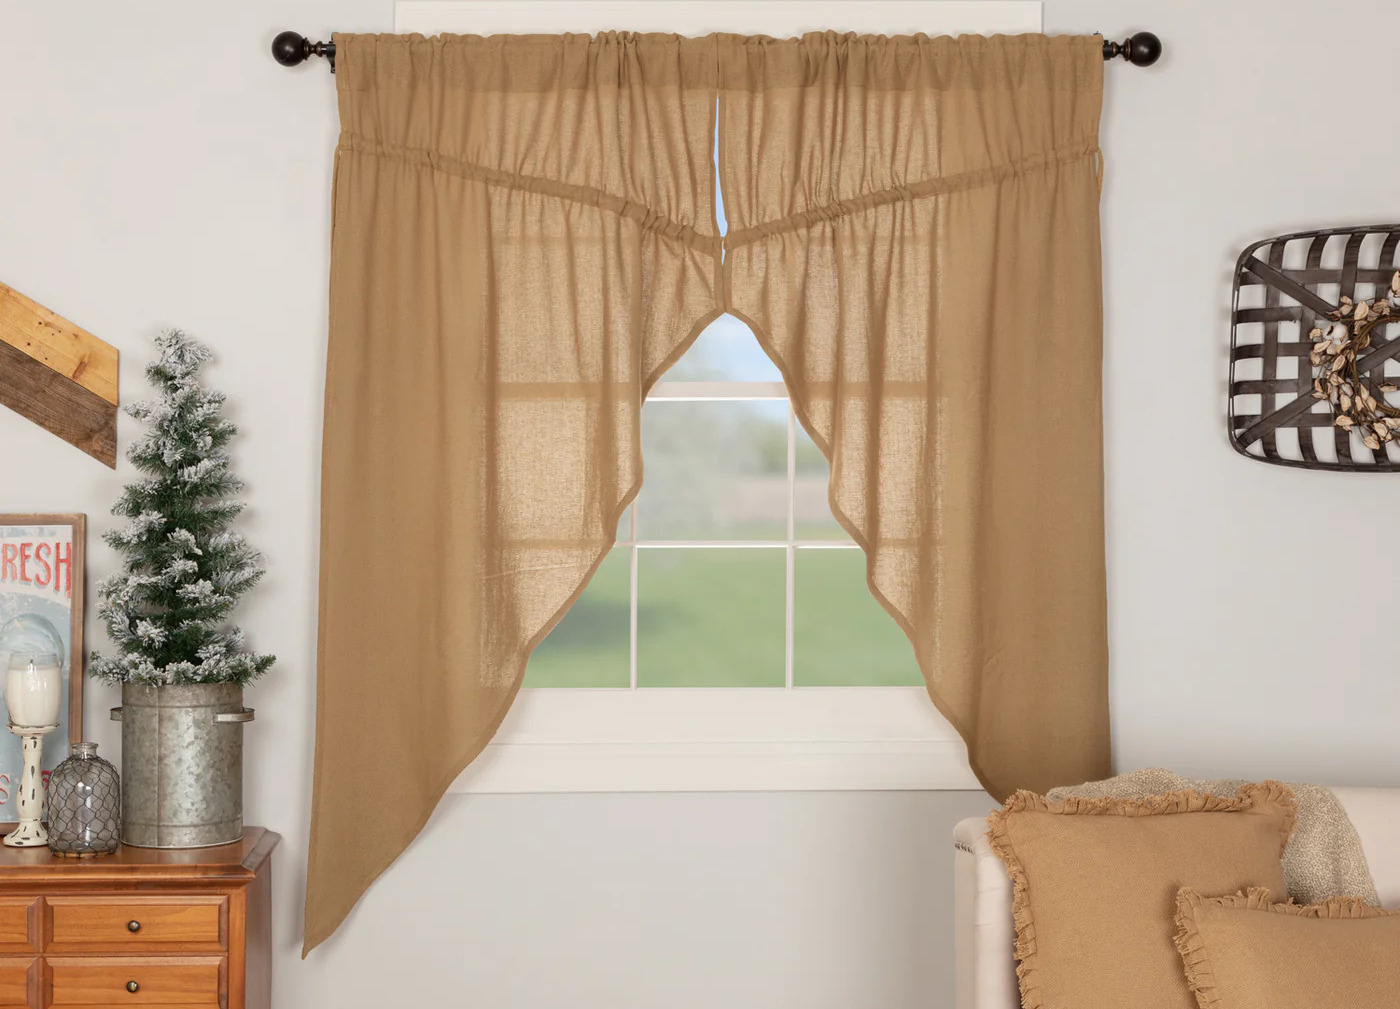
- Weight: The weight of the fabric will determine how the curtains hang and drape. Lighter fabrics like chiffon or sheer voile create an airy and ethereal look, perfect for letting in soft light. On the other hand, heavier fabrics like velvet or brocade add a touch of opulence and provide better privacy.
- Opacity: Consider how much light you want to let in through your curtains. Sheer or semi-sheer fabrics allow more light to filter through, while opaque fabrics provide maximum privacy. If you want to strike a balance between natural light and privacy, choose a fabric with a mid-level opacity.
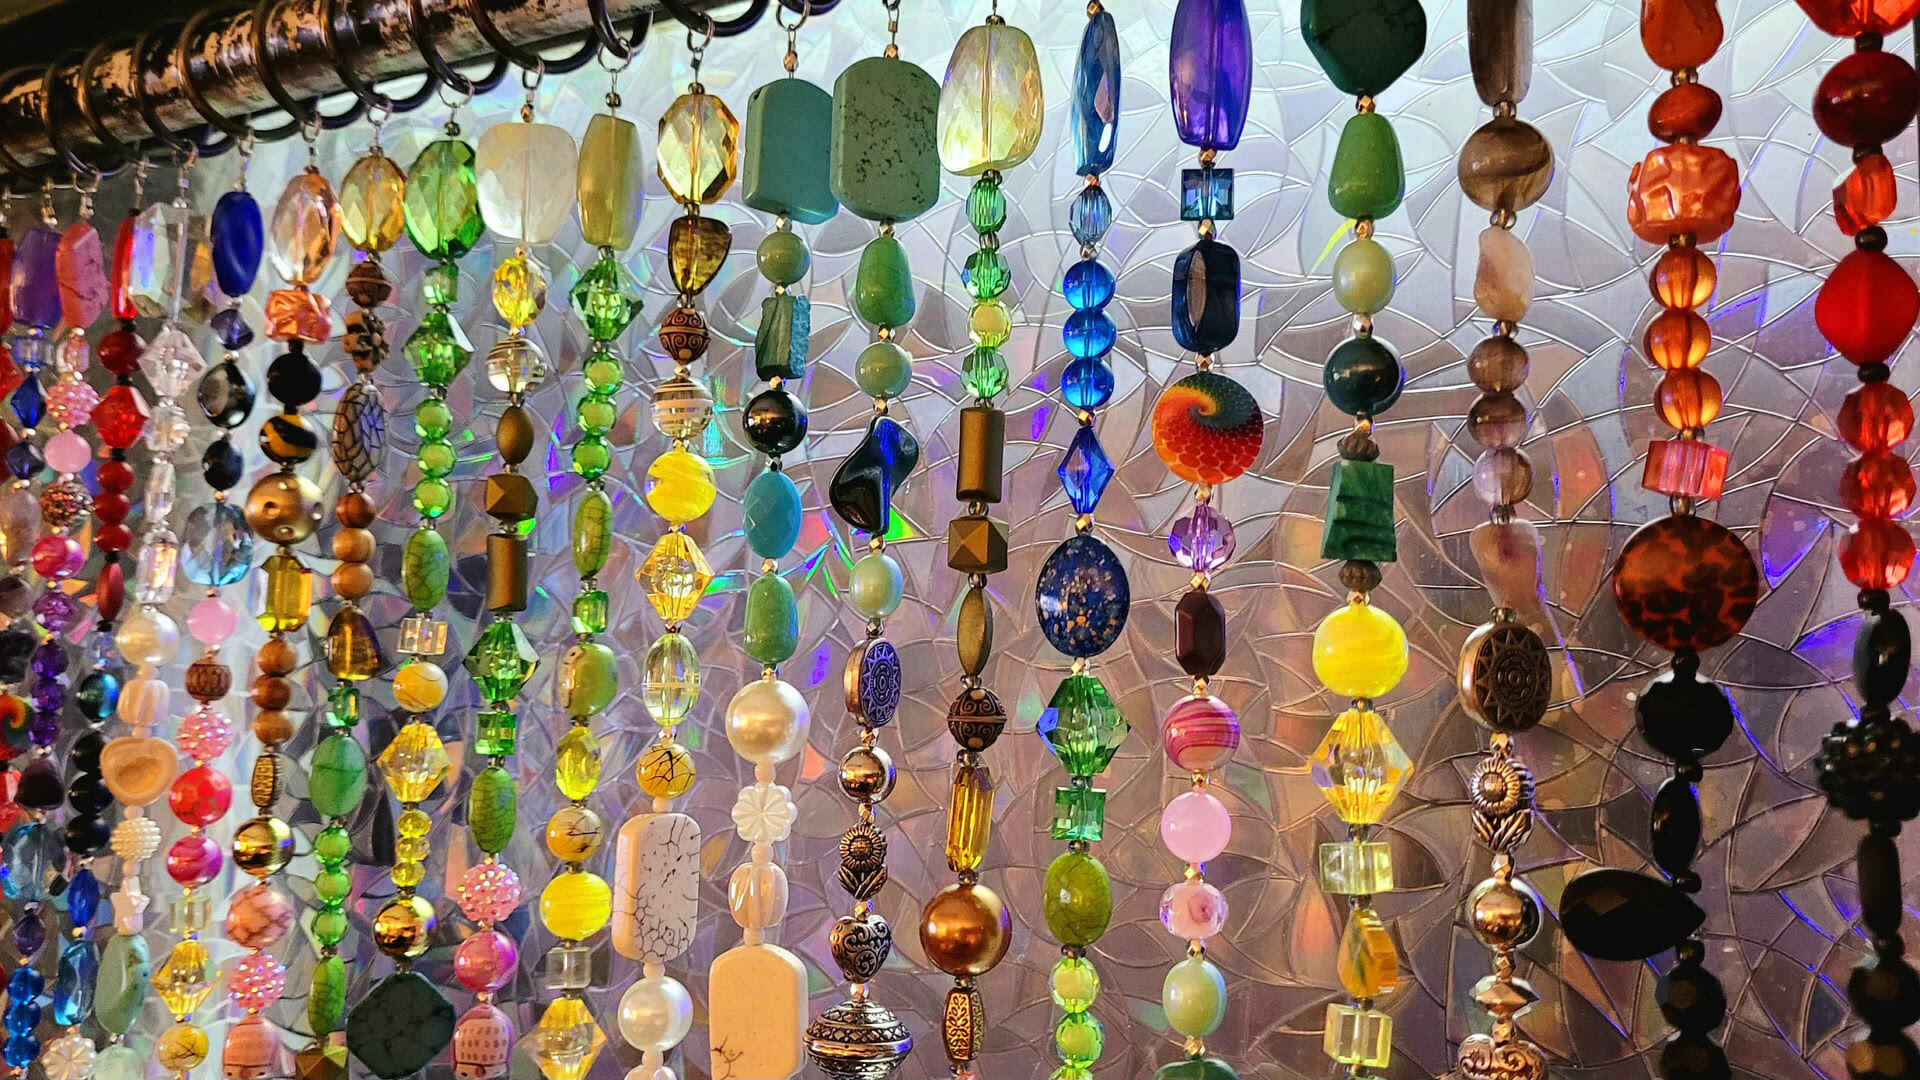
- Pattern and Color: The pattern and color of the fabric can significantly impact the overall aesthetic of the room. Solid color fabrics in neutral or pastel tones create a calming and timeless atmosphere, while bold patterns and vibrant colors make a bold statement.
- Care and Maintenance: Consider the care instructions of the fabric. Some fabrics may require delicate washing or professional dry cleaning, while others can be easily machine-washed. Choose a fabric that aligns with your preferred level of maintenance.
- Durability: If your curtains will be exposed to direct sunlight or frequent use, opt for a durable fabric that can withstand these conditions. Fabrics made from natural fibers like cotton or linen are generally more durable, while synthetic blends offer increased resistance to fading and wear.
It’s always a good idea to request fabric samples before making a final decision. This allows you to see and feel the fabric in person, ensuring that it meets your expectations in terms of texture, color, and overall quality.
Now that you have a better understanding of how to choose the right fabric for your curtains, let’s move on to the next step: measuring and cutting.
Measuring and Cutting
Accurate measurements are essential when it comes to making curtains that fit perfectly. Follow these steps to ensure you get the right measurements:
- Measure the Window: Start by measuring the width and height of your window. For the width, measure from the outer edge of the window frame or the area where the curtain rod will be installed. Add extra width to allow for fullness and proper draping. For the height, measure from the top of the window frame to where you want the curtains to fall.
- Add Seam Allowance: Next, add seam allowance to your measurements. This additional fabric will be used for hemming, attaching the rings, and creating a header. A common seam allowance for curtains is around 1 to 2 inches on each side and 4 to 6 inches for the header.
- Cut the Fabric: Once you have your final measurements, layout your chosen fabric on a clean and flat surface. Use a measuring tape and a straight edge, such as a ruler or yardstick, to mark and cut the fabric according to your measurements. Make sure to cut the fabric as straight as possible for clean and even edges.
Remember to double-check your measurements before cutting the fabric to avoid any costly mistakes. It’s always better to measure twice and cut once!
Now that you have your fabric cut to the desired size, it’s time to move on to the next step: adding the rings.
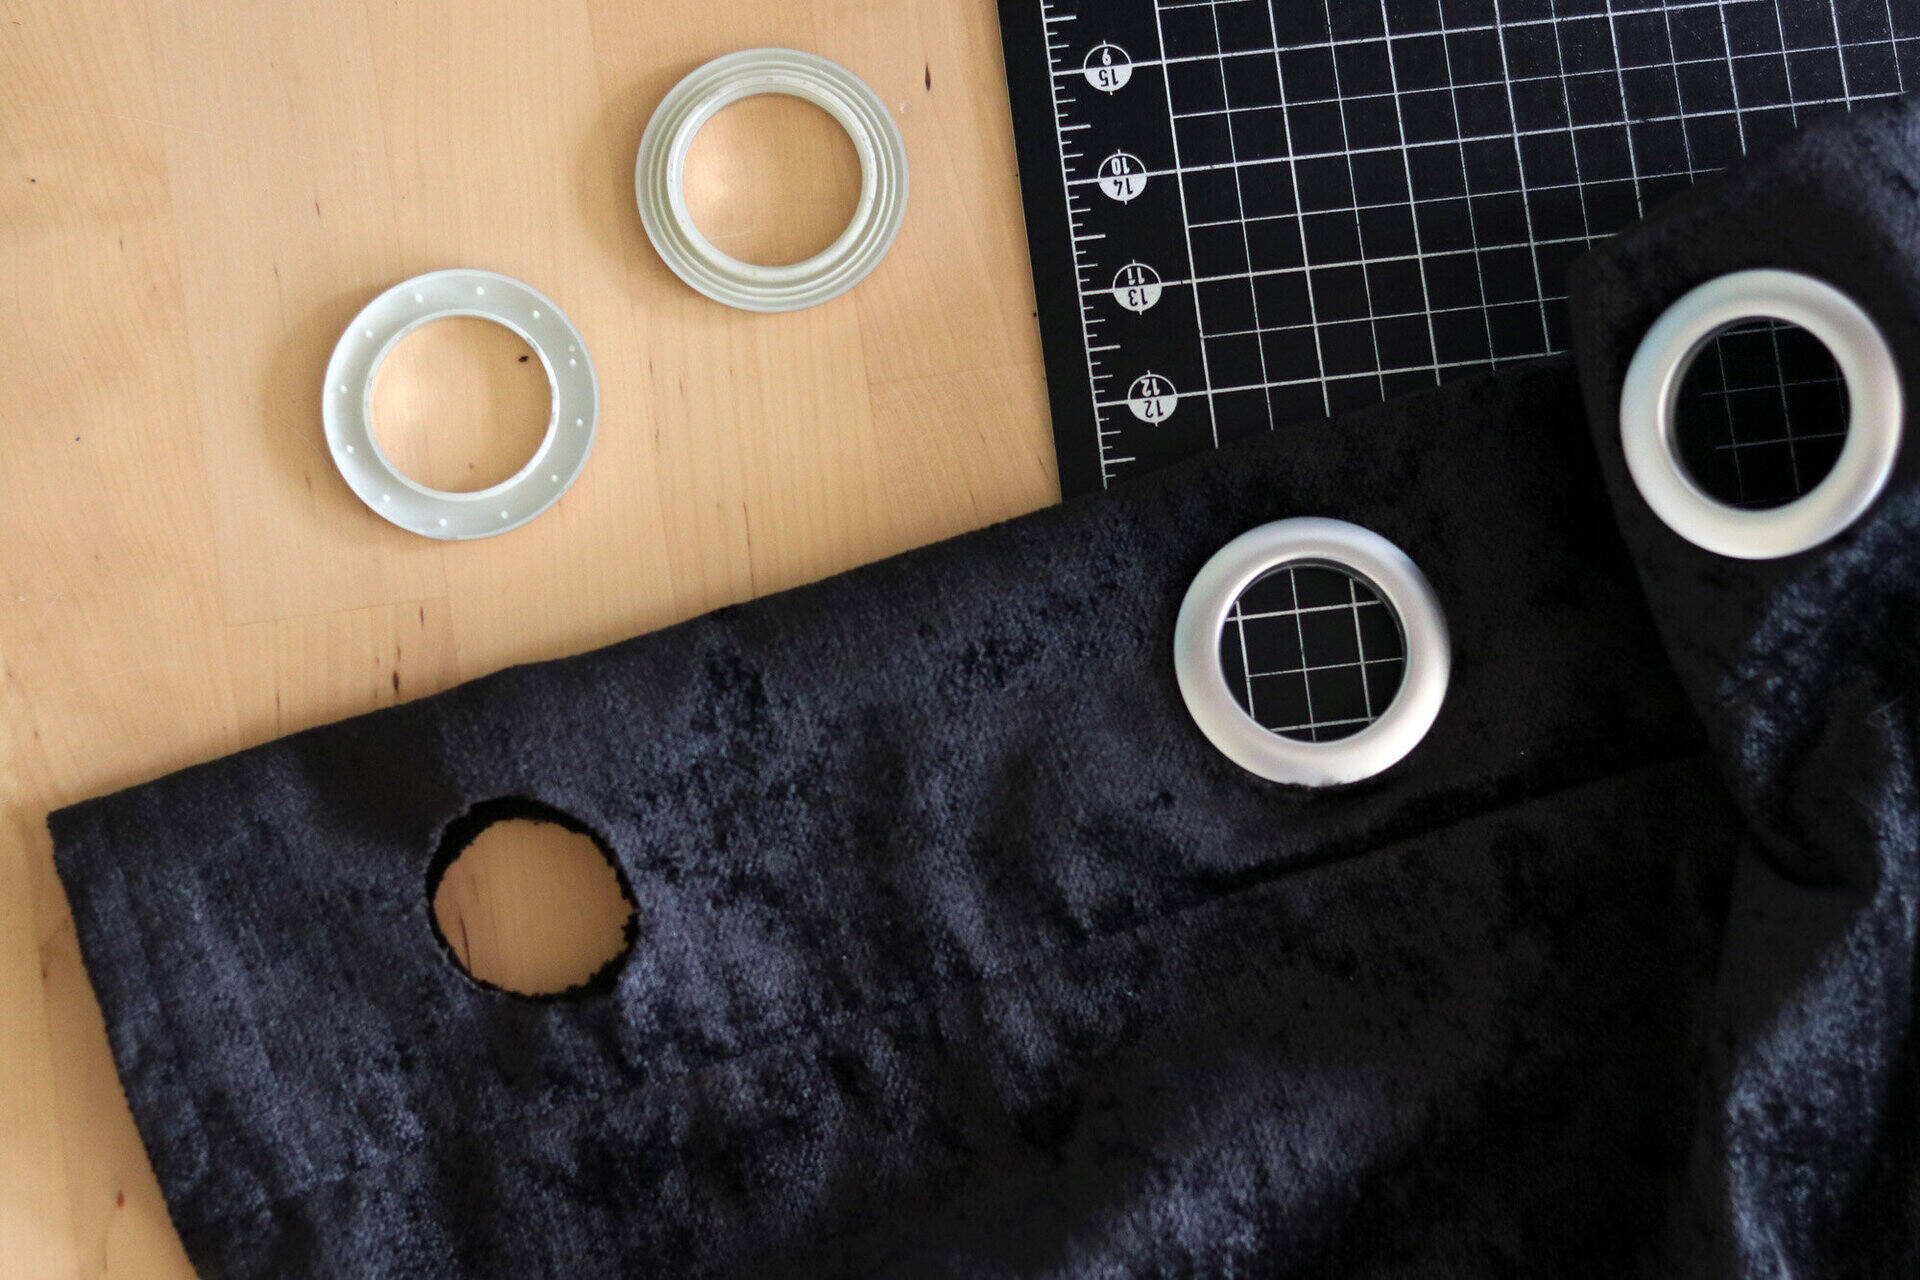
Adding the Rings
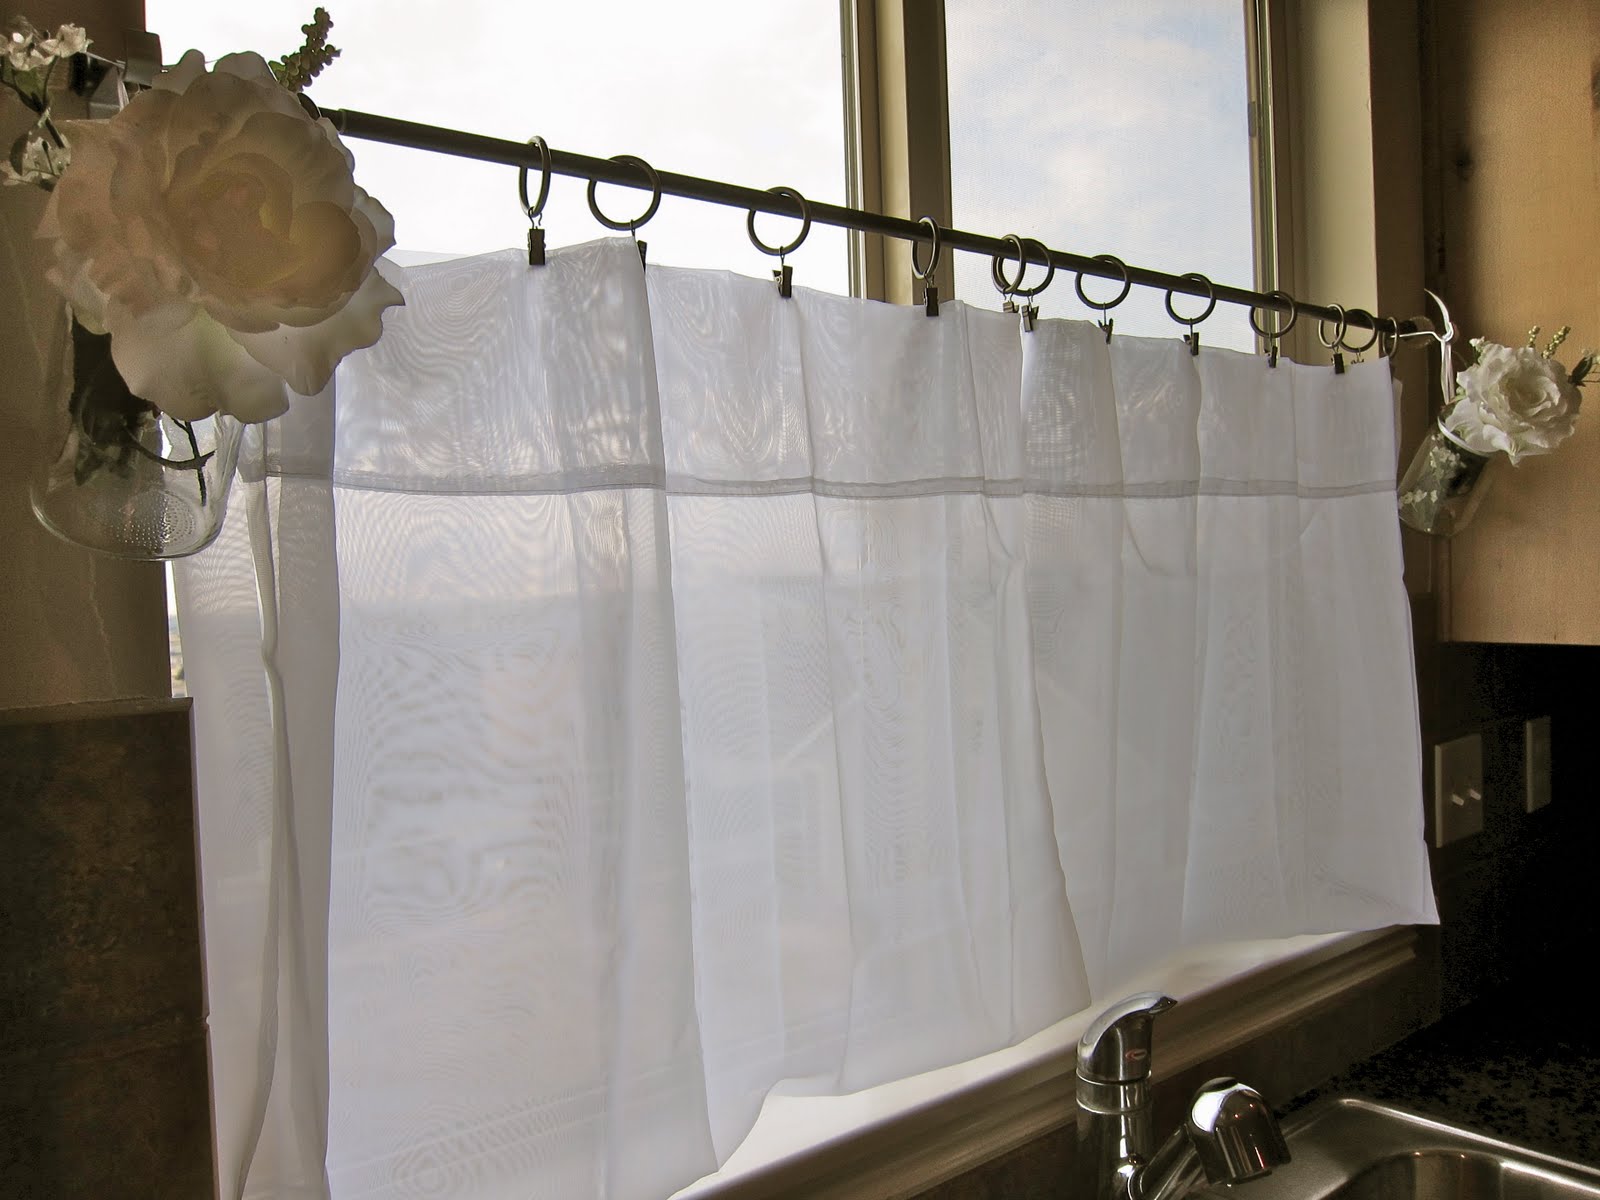
The rings not only serve as a decorative element but also provide a practical way to hang your curtains. Here’s how you can add the rings:
- Determine Placement: Decide how many rings you want to attach to each curtain panel. A general rule of thumb is to place a ring every 4 to 6 inches along the top edge of the curtain. This will ensure that the curtains hang evenly and allow for smooth opening and closing.
- Mark the Placement: Use a fabric marker or pins to mark the spots where you will attach the rings. Make sure the marks are evenly spaced and align with your desired placement. If you’re using a patterned fabric, consider how the pattern will be affected by the ring placement.
- Attach the Rings: Take your curtain rings and open them by pulling apart the two sides. Slip the rings onto the fabric at the marked spots, making sure they are securely attached. Continue adding rings until you have reached your desired placement.
- Space the Rings: Once the rings are attached, evenly space them along the width of the curtain panel. This will ensure that the fabric drapes evenly when the curtains are hung.
Remember to repeat these steps for each curtain panel. It’s important to maintain consistency in ring placement for a cohesive and professional look.
Now that you have added the rings, let’s move on to the next step: attaching the header tape.
When making curtains with rings, make sure to measure the distance between each ring evenly to ensure the curtains hang properly and look uniform.
Attaching the Header Tape
Header tape is a fabric strip with evenly spaced loops or pockets that allow you to easily attach the curtains to the curtain rod. By adding header tape, you can achieve a clean and polished look. Follow these steps to attach the header tape:
- Measure and Cut: Measure the width of your curtain panel and cut a piece of header tape that matches the width. Make sure to add a little extra length to allow for attaching the ends.
- Position the Tape: Place the header tape along the top edge of the curtain panel, aligning it with the top raw edge. Pin it in place to keep it secure for sewing.
- Sew the Tape: Use a sewing machine or hand stitch to secure the header tape to the curtain panel. Sew along the top and bottom edge of the tape, as well as along any additional rows in between the loops or pockets. Make sure the stitches are straight and secure to ensure the durability of the header tape.
- Attach the Curtain Rings: Slip the curtain rings through the loops or pockets of the header tape. Make sure the rings are evenly spaced and securely attached.
- Secure the Ends: Fold the ends of the header tape to create a clean finish. Stitch the ends securely to prevent them from unraveling.
Once the header tape is attached and the rings are in place, your curtains are almost ready to hang! But before we move on to that final step, let’s discuss how to hem the curtains.
Read more: How To Make Rings For A Ring Toss Game
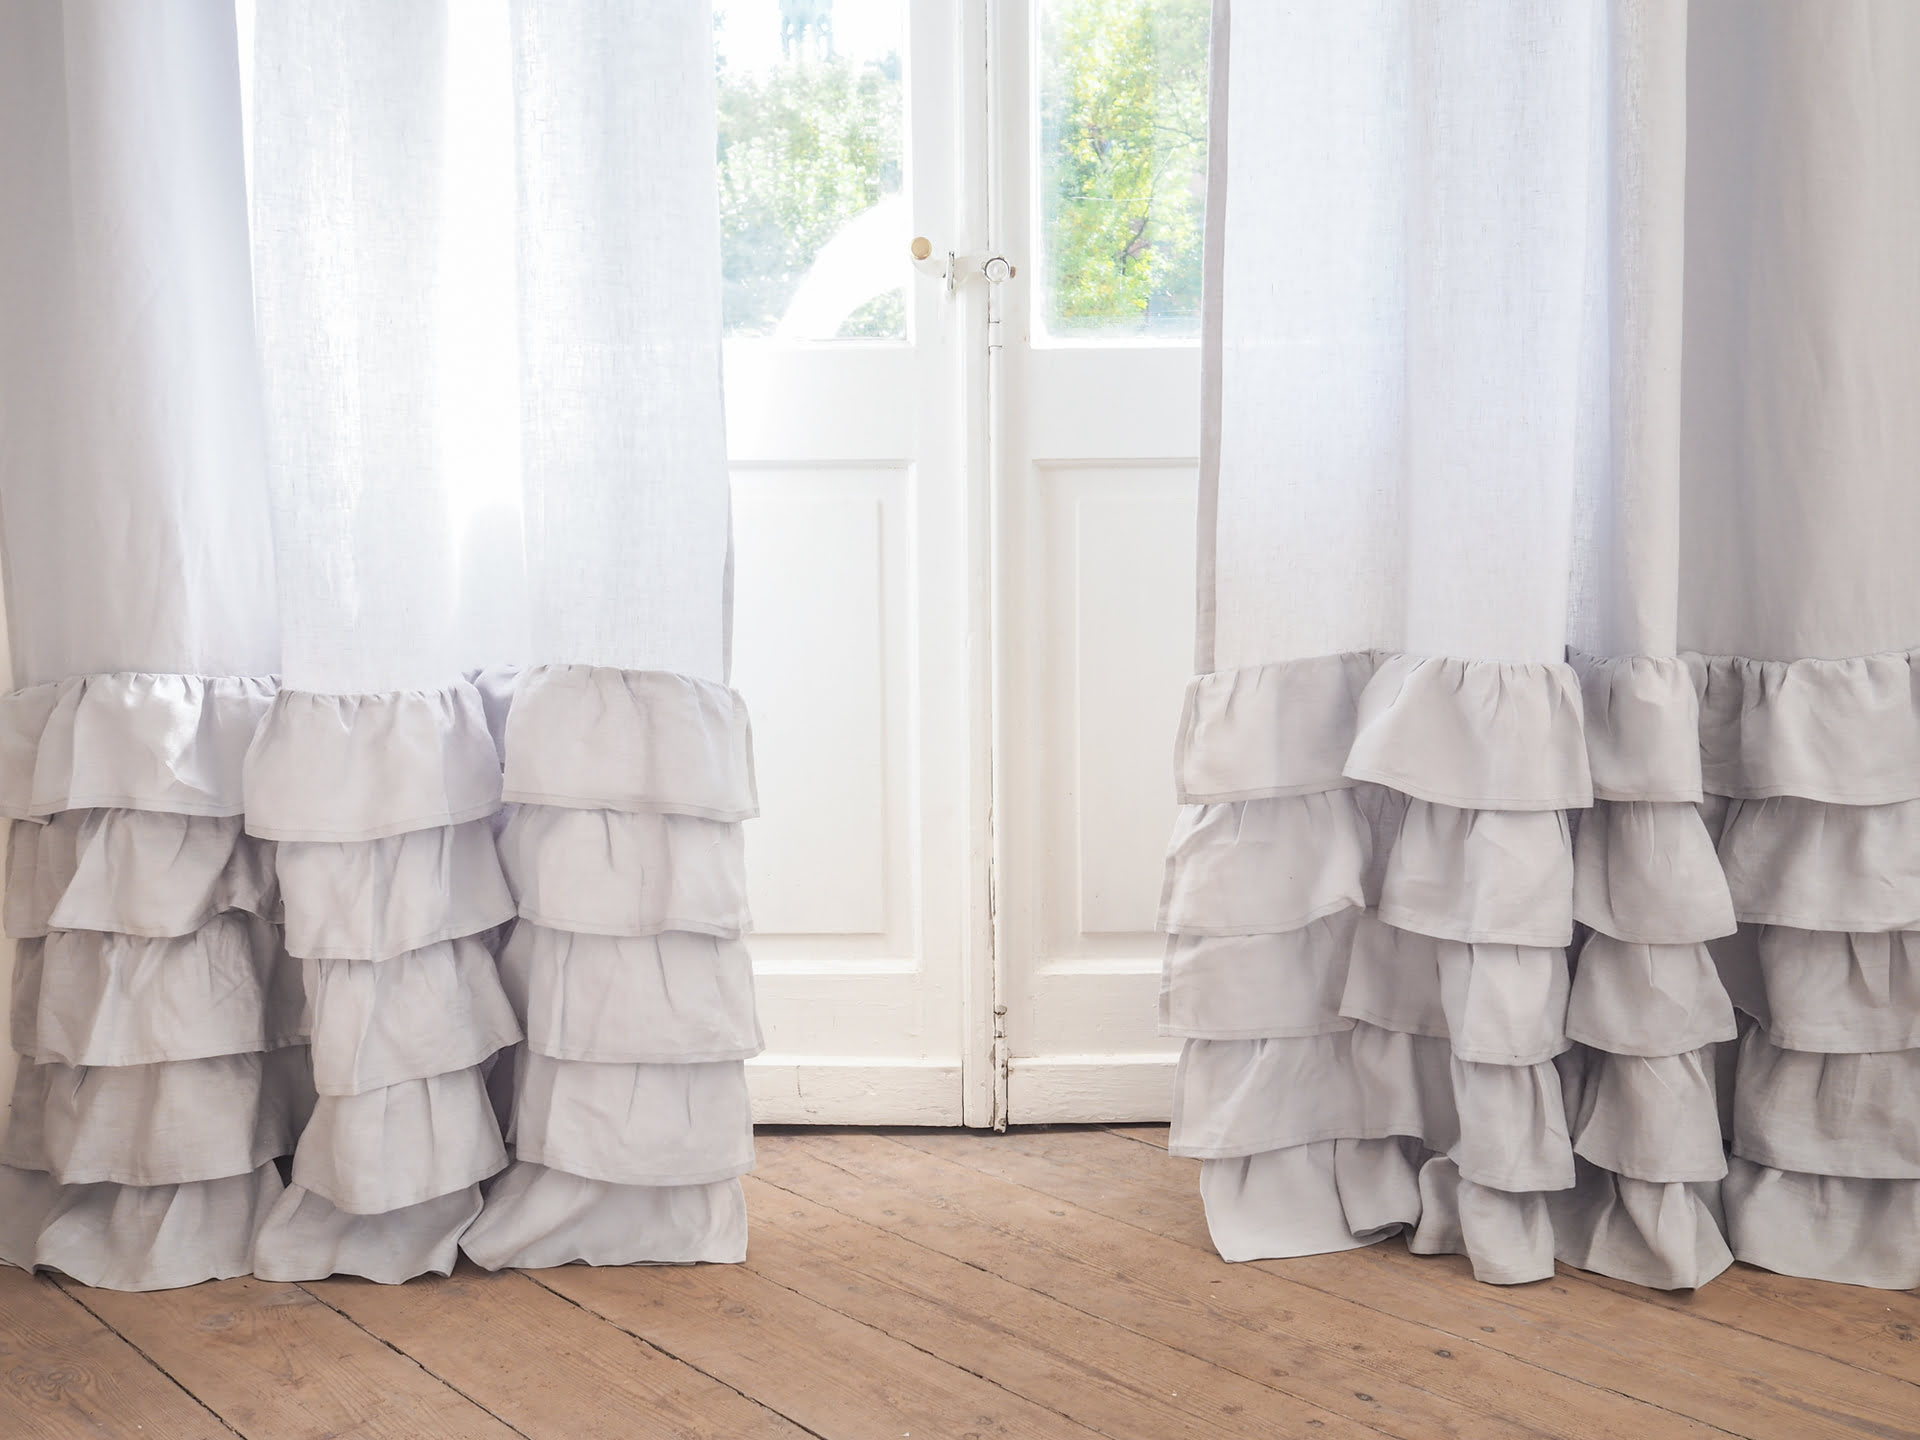
Hemming the Curtains
Hemming the curtains is an essential step in creating a finished and professional look. Here’s how you can hem your curtains:
- Measure and Mark: Decide on the desired length of your curtains. Measure and mark this length evenly along the bottom edge of the curtain panel. Consider adding a few extra inches to create a pooling effect if desired.
- Fold the Hem: Fold the fabric up along the marked line, towards the backside of the curtain panel. The fold should be about an inch wide. Use pins to secure the folded hem in place.
- Press and Sew: Use a hot iron to press the folded hem, creating a crisp line. Remove the pins as you go. Once the hem is pressed, stitch it in place using a sewing machine or by hand. Ensure that the stitches are neat and even.
It’s important to note that if you’re working with fabrics that tend to fray, such as silk or chiffon, you may want to use a zigzag stitch or a serger to finish the raw edges of the hem.
With the curtains hemmed and looking fabulous, it’s time for the final step: hanging the curtains!
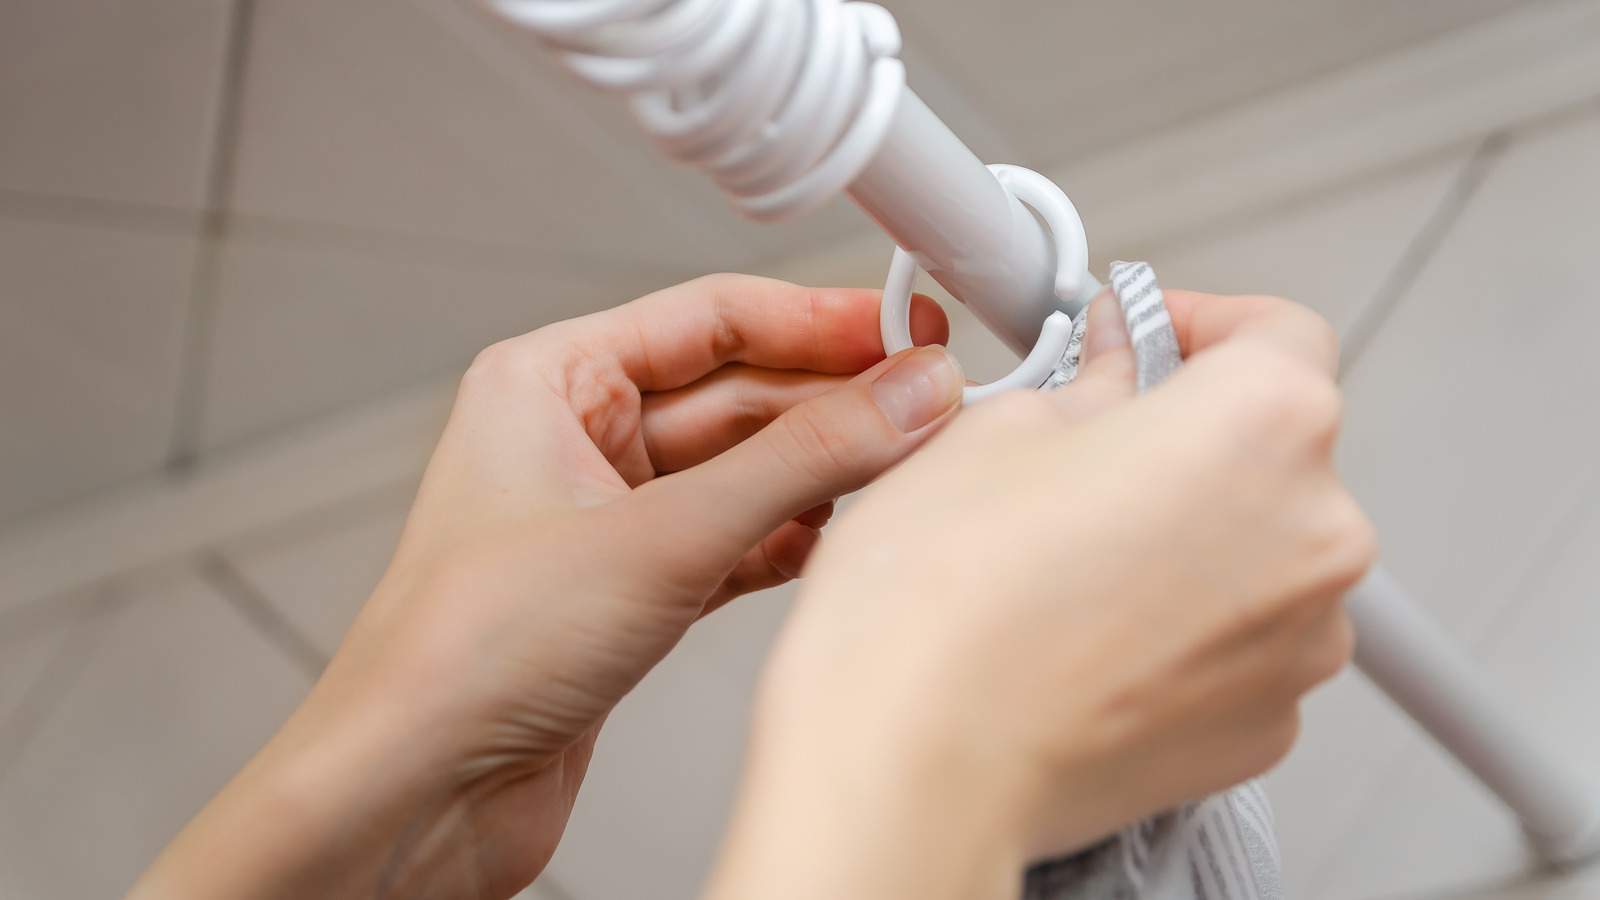
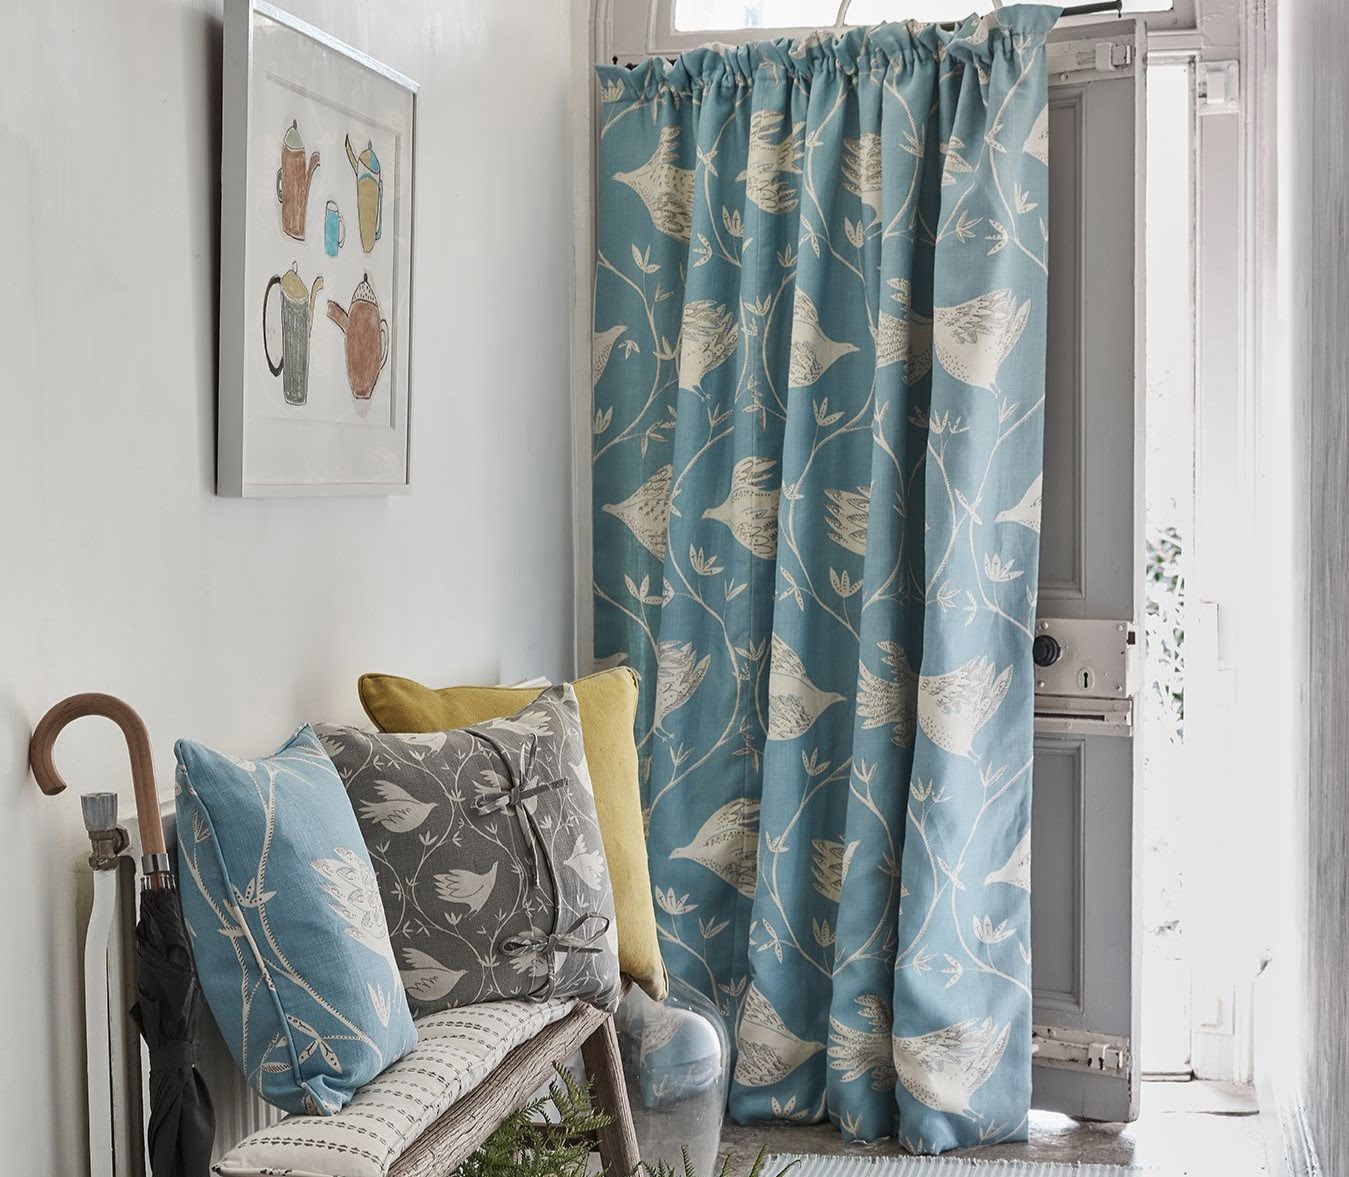
Hanging the Curtains
Now that your curtains are complete, it’s time to hang them and enjoy the fruits of your labor. Here’s how to hang your curtains with rings:
- Install the Curtain Rod: Start by installing the curtain rod according to the manufacturer’s instructions. Ensure that the rod is level and securely attached to the wall.
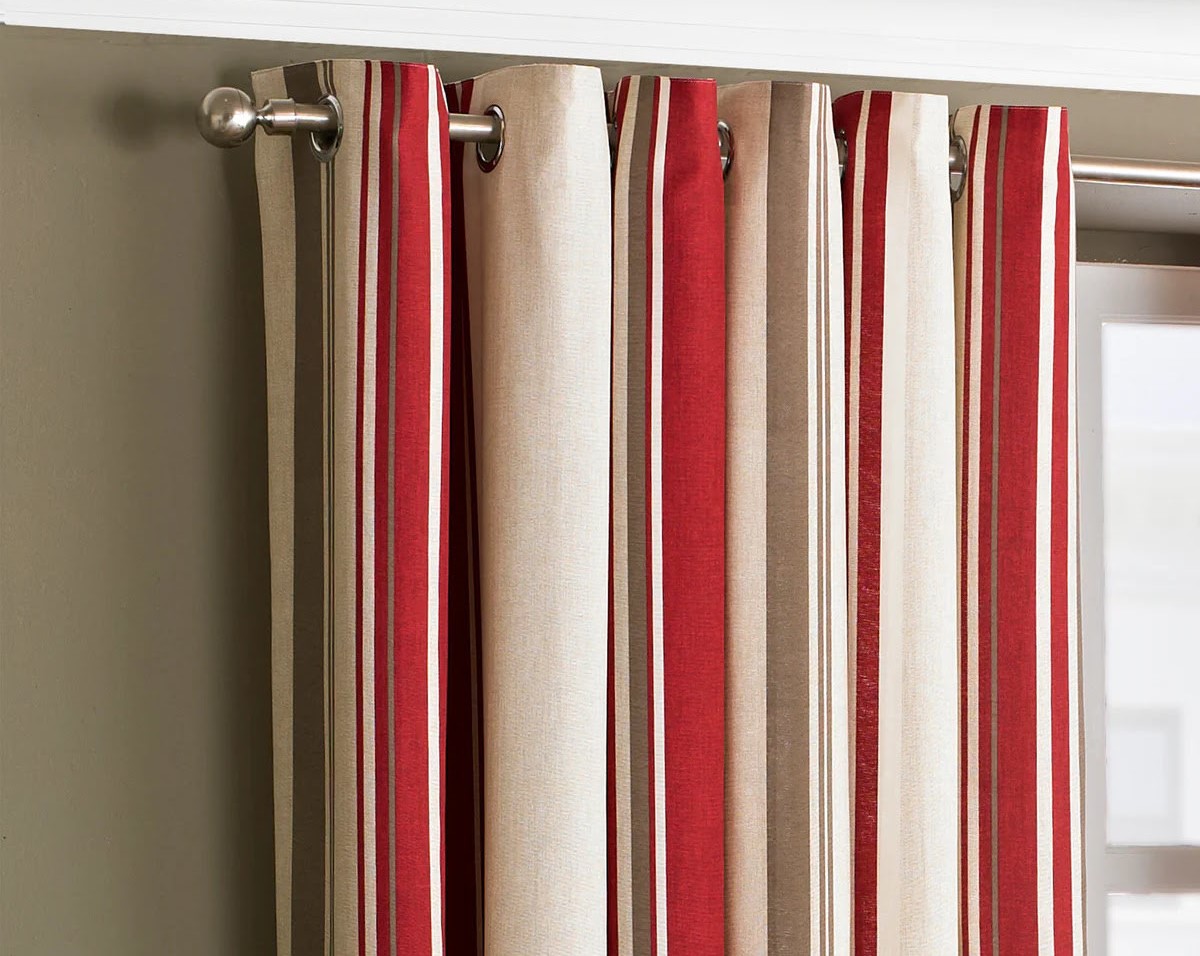
- Attach the Rings to the Rod: Take each curtain panel and gather it in your hands. Slide each curtain ring onto the curtain rod, ensuring that they are evenly spaced along the length of the rod.
- Arrange the Curtains: After the rings are attached, arrange the fabric of the curtains so that they fall evenly and hang in a pleasing manner. Adjust the spacing of the rings if necessary to achieve a balanced look.
- Smooth out Any Wrinkles: If the curtains have any wrinkles or creases, gently smooth them out with your hands or use a steamer to remove any stubborn folds. This will help the curtains drape nicely and create a polished appearance.
- Step Back and Admire: Finally, take a step back and admire your handiwork. Your curtains are now beautifully hung and ready to enhance the look of your windows and complete the overall aesthetic of the room.
Remember that the height at which you hang the curtains can impact the visual appeal of the room. For an illusion of height, consider installing the curtain rod closer to the ceiling. Conversely, if you want to visually widen the window, extend the curtain rod beyond the window frame.
Congratulations! You have successfully made and hung your curtains with rings. Your hard work and attention to detail have paid off, and now you can sit back and enjoy the beauty and functionality of your DIY curtains.
Now that you have learned the process of making curtains with rings, feel free to get creative and experiment with different fabrics, colors, and patterns to personalize your window coverings and make a statement in your home.
Conclusion
Congratulations on completing your journey to create beautiful curtains with rings! By following the step-by-step process outlined in this article, you have successfully transformed your windows into stunning focal points that add elegance and style to your home.
We began by discussing the importance of choosing the right fabric for your curtains, considering factors such as weight, opacity, pattern, color, care, and durability. We then moved on to the crucial step of measuring and cutting the fabric, ensuring accuracy and a perfect fit for your windows.
Next, we explored the process of adding the rings, creating an opportunity for both functionality and aesthetics. Proper placement, marking, and attaching of the rings ensure that your curtains hang evenly and open and close smoothly.
We then delved into attaching the header tape, a key element in providing a clean and polished look to your curtains. The proper positioning, sewing, and attachment of the rings to the header tape help achieve a professional finish.
Hemming the curtains added that final touch of finesse, ensuring a neat and tailored appearance to the bottom edge of your curtains. By carefully folding, pressing, and sewing the hem, you have created curtains that are both functional and visually appealing.
Finally, we covered the last step of hanging the curtains. Installing the curtain rod securely and arranging the curtains with care completes the process, resulting in a stunning window treatment that enhances the overall ambiance of your space.
Thank you for joining us on this DIY curtain-making adventure. We hope you have found this article helpful and inspiring as you embarked on creating your own curtains with rings. Enjoy the satisfaction of seeing your handcrafted curtains beautifying your home and adding your unique personal touch to each room.
Remember, the possibilities are endless when it comes to curtain-making. Don’t hesitate to explore different fabrics, patterns, and styles to continuously update and refresh your space. Happy curtain-making!
Frequently Asked Questions about How To Make Curtains With Rings
Was this page helpful?
At Storables.com, we guarantee accurate and reliable information. Our content, validated by Expert Board Contributors, is crafted following stringent Editorial Policies. We're committed to providing you with well-researched, expert-backed insights for all your informational needs.


0 thoughts on “How To Make Curtains With Rings”