Home>Furniture & Design>Bathroom Accessories>How To Paint A Medicine Cabinet
Bathroom Accessories
How To Paint A Medicine Cabinet
Published: February 10, 2024
Learn how to paint a medicine cabinet to give your bathroom accessories a fresh new look. Follow our step-by-step guide for a quick and easy update.
(Many of the links in this article redirect to a specific reviewed product. Your purchase of these products through affiliate links helps to generate commission for Storables.com, at no extra cost. Learn more)
Introduction
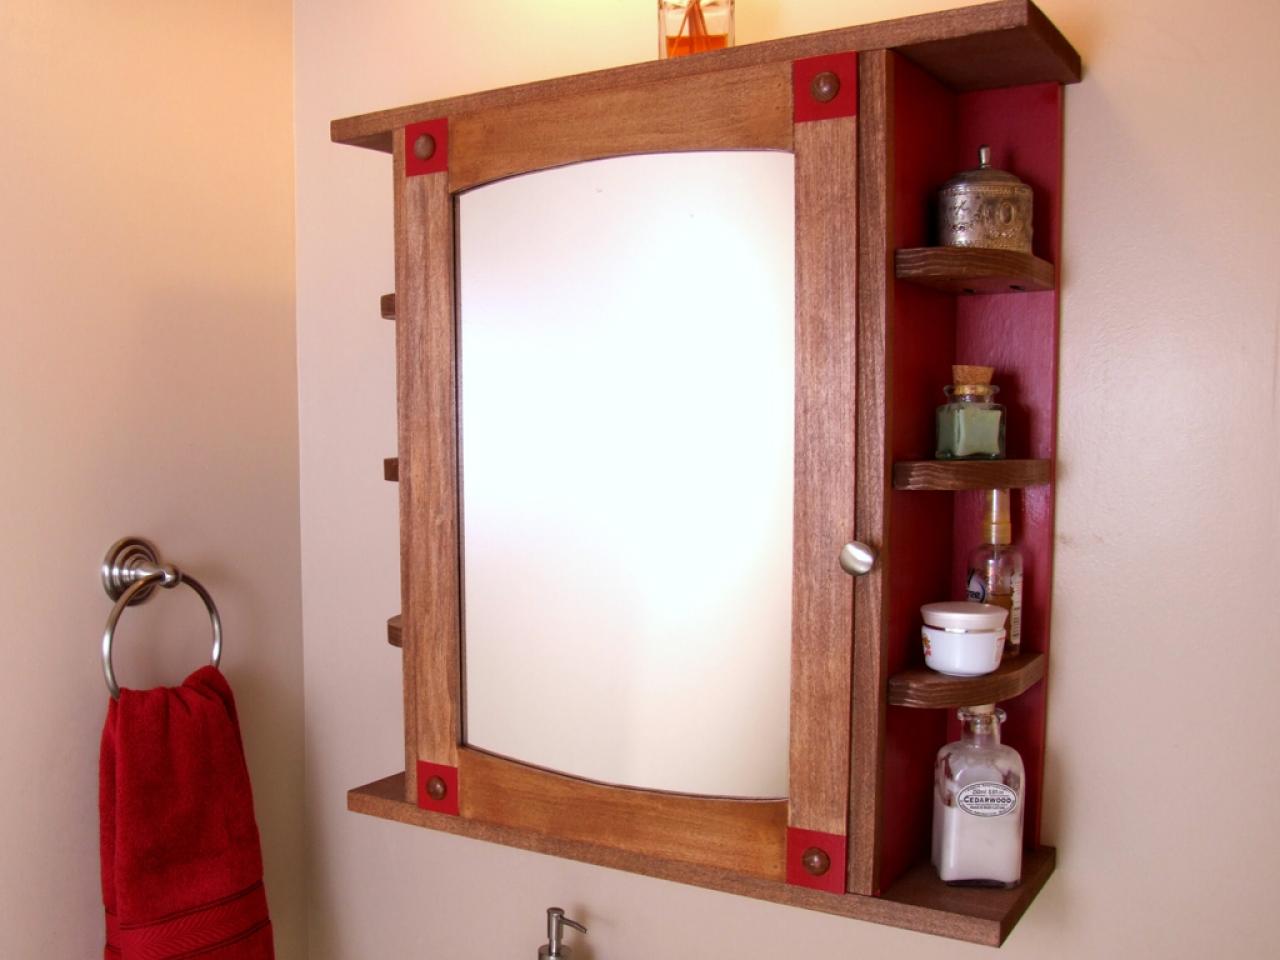
Painting a medicine cabinet is a fantastic way to breathe new life into your bathroom space. Whether you're looking to update the cabinet to match a new color scheme or simply want to give it a fresh and modern look, this DIY project can make a significant impact with minimal effort. By following a few simple steps, you can transform your medicine cabinet into a stylish and personalized element of your bathroom decor.
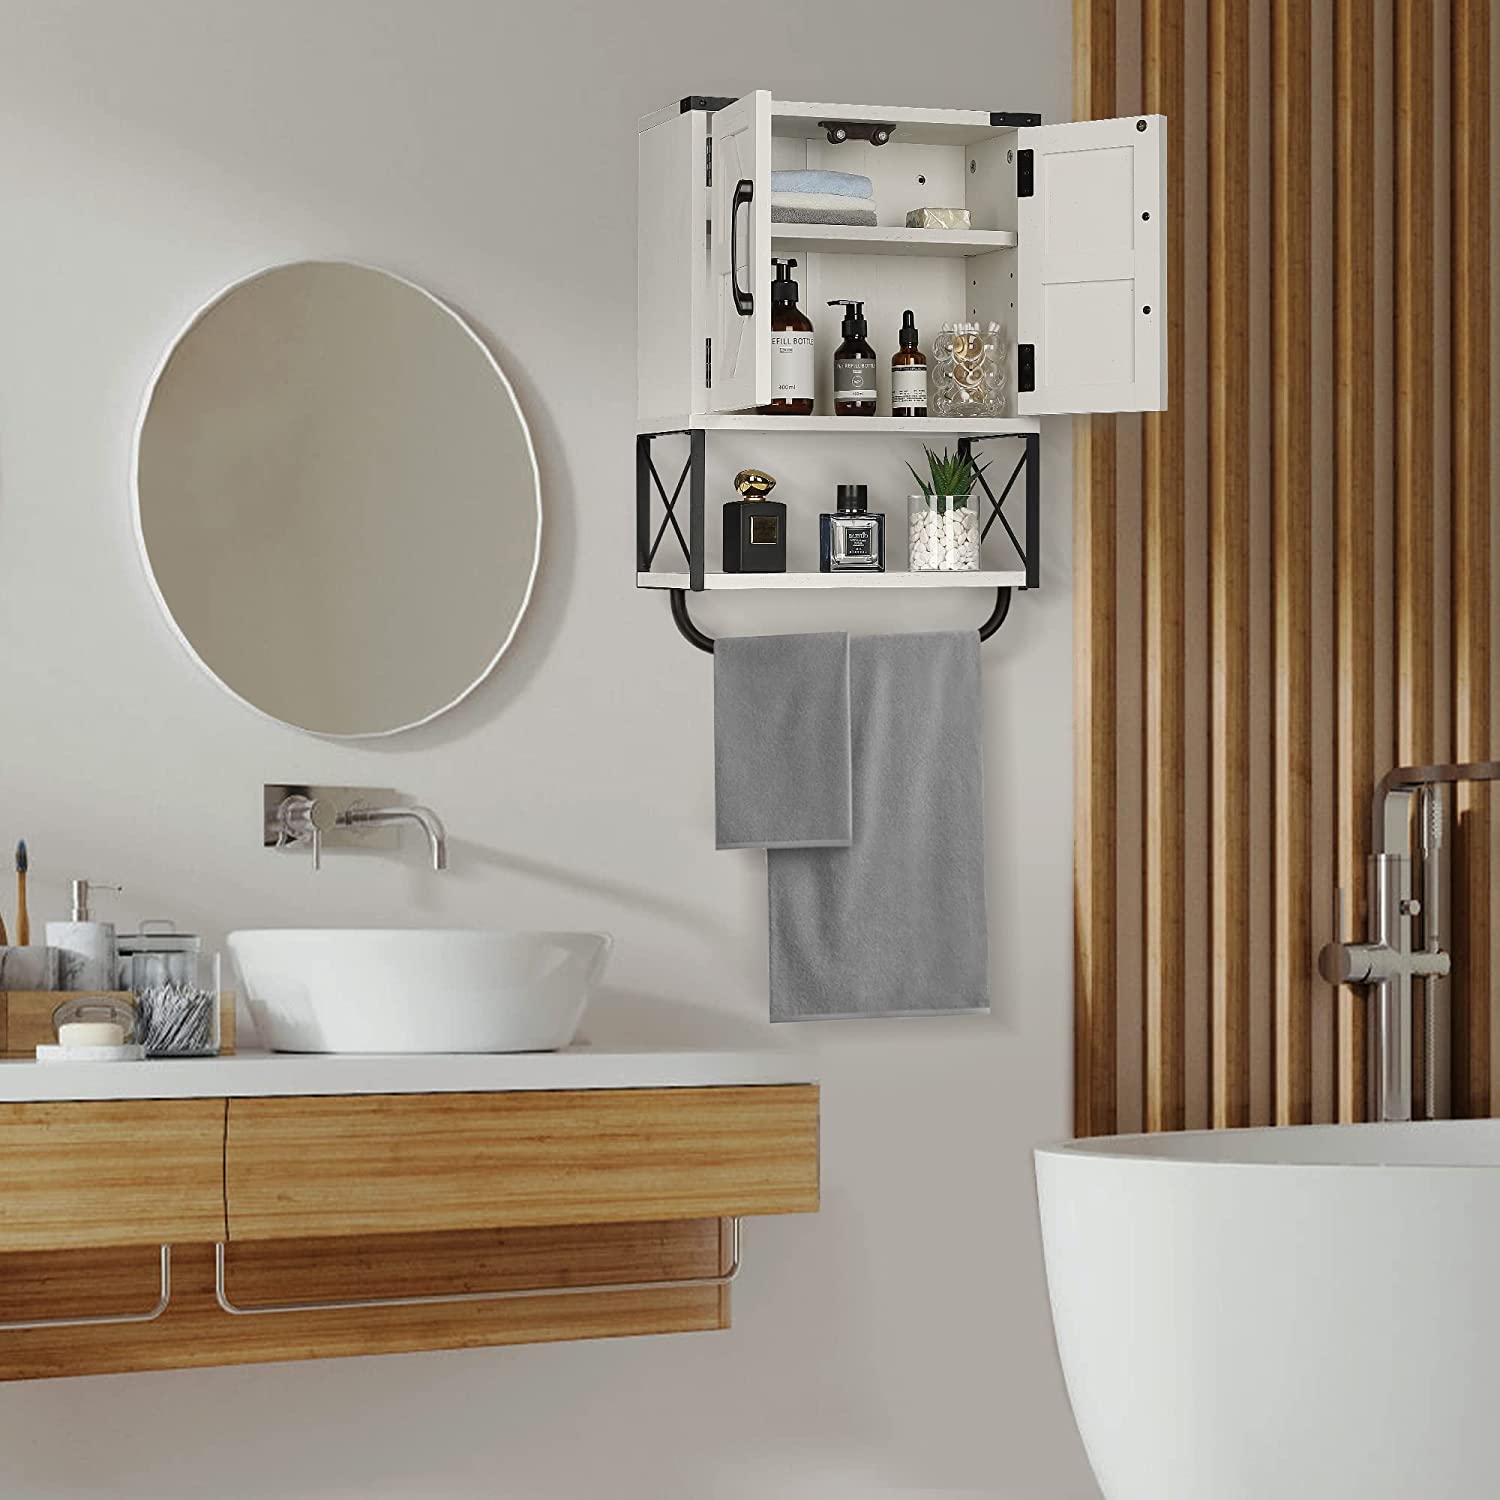
A fresh coat of paint can revitalize the entire look and feel of your bathroom, making it a more inviting and aesthetically pleasing space. Whether you prefer a classic white finish, a bold pop of color, or a trendy metallic sheen, painting your medicine cabinet allows you to customize it to suit your personal style and complement the overall design of your bathroom.
Not only does painting a medicine cabinet offer aesthetic benefits, but it also provides a cost-effective alternative to replacing the entire unit. With a bit of creativity and the right materials, you can achieve a stunning transformation without breaking the bank. Additionally, this project allows you to unleash your creativity and express your individuality by adding a personal touch to an often overlooked element of the bathroom.
As you embark on this DIY journey, you'll discover the satisfaction of breathing new life into an existing fixture, all while honing your skills and unleashing your inner decorator. So, roll up your sleeves, gather your materials, and get ready to embark on a rewarding and transformative painting project that will elevate the ambiance of your bathroom. Let's dive into the step-by-step process of painting a medicine cabinet and unleash your creativity in the heart of your home.
Key Takeaways:
- Transform your bathroom with a fresh coat of paint on your medicine cabinet. It’s a cost-effective way to express your style and revitalize your space, while also being environmentally friendly.
- By following simple steps to prepare, prime, paint, and seal your cabinet, you can achieve a professional finish and enjoy the satisfaction of a DIY project that reflects your creativity and resourcefulness.
Step 1: Gather Materials
Before diving into the process of painting your medicine cabinet, it's essential to gather all the necessary materials. Having the right tools and supplies at hand will streamline the painting process and ensure a professional-looking finish. Here's a comprehensive list of materials you'll need for this project:
Materials:
- Screwdriver: To remove the cabinet from the wall, if necessary.
- Drop Cloth or Newspaper: To protect the surrounding area from paint splatters.
- Sandpaper (Fine Grit): For smoothing the cabinet surface and creating a suitable base for the paint.
- Tack Cloth: To remove dust and debris after sanding.
- Painter's Tape: For masking off any areas you don't want to paint, such as hinges or mirrors.
- Primer: Choose a high-quality primer suitable for the cabinet's material (wood, metal, etc.).
- Paint: Opt for a durable, high-quality paint suitable for the cabinet material and the humid bathroom environment.
- Paintbrushes and/or Rollers: Select brushes and rollers appropriate for the size and detail of your cabinet.
- Sealant: A clear, protective sealant to safeguard the painted surface and enhance durability.
- Safety Gear: Gloves, safety goggles, and a mask to protect yourself during the painting process.
By ensuring you have all the necessary materials on hand, you'll be well-prepared to tackle each step of the painting process with confidence and efficiency. With these materials at your disposal, you're ready to move on to the next step: preparing the surface for painting.
Step 2: Prepare the Surface
Before applying a fresh coat of paint to your medicine cabinet, it's crucial to prepare the surface properly. This step is essential for achieving a smooth and long-lasting finish. Here's a detailed guide on how to prepare the surface of your medicine cabinet for painting:
-
Remove the Cabinet: If your medicine cabinet is removable, carefully take it down from the wall using a screwdriver. Place it on a flat, stable surface where you can work on it comfortably.
-
Protect the Surrounding Area: Lay down a drop cloth or spread out newspapers to safeguard the surrounding area from paint splatters and dust.
-
Clean the Surface: Thoroughly clean the cabinet surface with a mild detergent and water to remove any dirt, grime, or residue. Ensure that the surface is completely dry before proceeding to the next step.
-
Sand the Surface: Use fine-grit sandpaper to gently sand the entire cabinet surface. This step helps to create a slightly rough texture, allowing the primer and paint to adhere more effectively. Pay close attention to any glossy or uneven areas, and aim to achieve a smooth and uniform surface.
-
Remove Dust and Debris: After sanding, use a tack cloth to wipe away any dust and debris from the cabinet surface. This ensures that the surface is clean and ready for the next steps.
-
Mask Off Areas: Use painter's tape to mask off any areas of the cabinet that you don't want to paint, such as hinges, handles, or mirrors. This step helps to achieve clean and precise lines, preventing accidental paint smudges on unwanted areas.
By meticulously preparing the surface of your medicine cabinet, you set the stage for a successful painting process. Taking the time to complete these preparatory steps will contribute to a professional-looking finish and ensure the longevity of your newly painted cabinet. With the surface properly prepped, you're now ready to move on to the next exciting phase: priming the cabinet for painting.
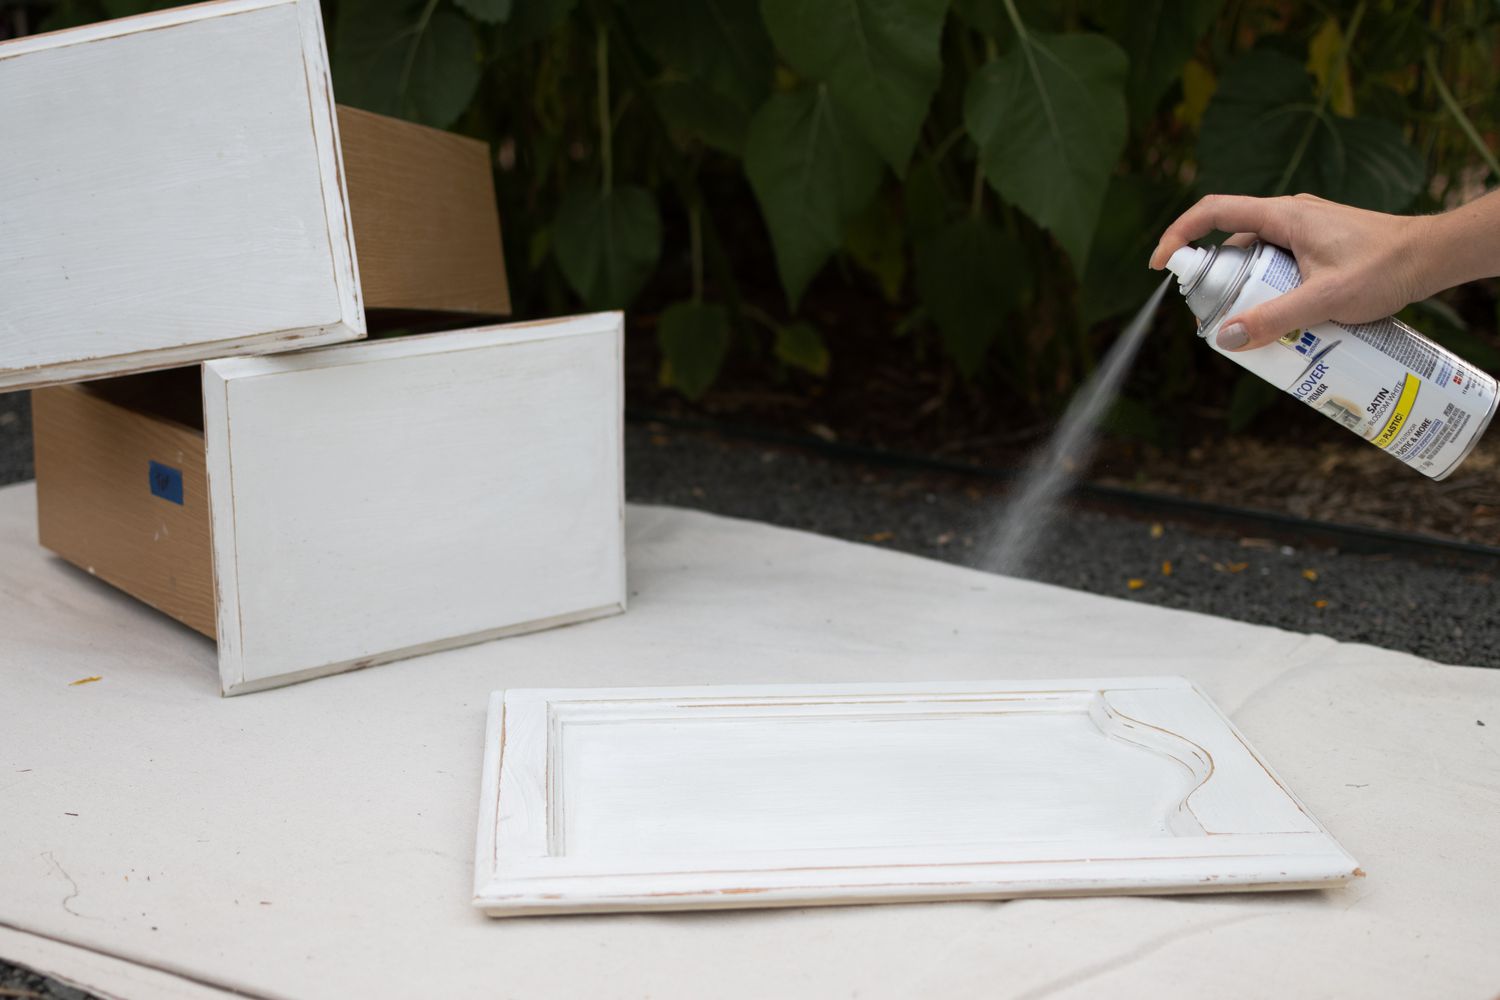
Step 3: Prime the Cabinet
Priming the cabinet is a crucial step in the painting process, as it sets the foundation for the paint to adhere effectively and ensures a durable and professional-looking finish. The primer acts as a bonding agent, creating a uniform surface that enhances the adhesion and coverage of the paint. Here's a detailed guide on how to prime your medicine cabinet for painting:
-
Select the Right Primer: Choose a high-quality primer that is suitable for the material of your cabinet, whether it's wood, metal, or another surface. Additionally, consider using a primer specifically designed for use in high-moisture environments, such as bathrooms, to provide extra protection against humidity and moisture-related issues.
-
Prepare the Primer: Before applying the primer, thoroughly stir it to ensure that the components are well mixed. If the primer requires thinning, follow the manufacturer's instructions for the correct ratio of thinning agent to primer.
-
Apply the Primer: Using a high-quality brush or roller, apply a thin and even coat of primer to the entire cabinet surface. Work in smooth, overlapping strokes to achieve comprehensive coverage. Pay attention to any intricate details or recessed areas, ensuring that the primer reaches all surfaces that will be painted.
-
Allow for Drying Time: Once the primer is applied, allow it to dry completely according to the manufacturer's recommended drying time. This step is crucial for the primer to bond effectively with the cabinet surface and create a strong base for the paint.
-
Inspect for Uniformity: After the primer has dried, inspect the cabinet surface to ensure that the primer has created a uniform and smooth base. Look for any areas that may require additional priming or touch-ups before proceeding to the next step.
By priming the cabinet, you create an optimal surface for the paint to adhere, ensuring a flawless and long-lasting finish. The primer not only enhances the adhesion of the paint but also provides an additional layer of protection for the cabinet, making it more resistant to moisture and wear. With the cabinet properly primed, you're now ready to embark on the exciting phase of painting the cabinet to achieve your desired look and style.
Read more: How To Measure A Medicine Cabinet
Step 4: Paint the Cabinet
With the cabinet properly prepared and primed, it's time to infuse your personal style and creativity by applying the paint. This step allows you to transform the cabinet into a stunning focal point that complements your bathroom decor. Here's a comprehensive guide on how to paint your medicine cabinet to achieve a flawless and professional finish:
Choose the Right Paint:
Select a high-quality paint that is specifically formulated for the material of your cabinet and is suitable for use in high-moisture environments. Consider opting for a paint with a semi-gloss or satin finish, as these options are not only visually appealing but also provide durability and ease of cleaning. Additionally, ensure that the chosen paint complements the overall color scheme and style of your bathroom.
Prepare the Paint:
Before applying the paint, thoroughly stir it to achieve a consistent texture and ensure that any pigments are evenly distributed. If the paint requires thinning, follow the manufacturer's instructions to achieve the correct consistency for smooth application.
Apply the Paint:
Using a high-quality brush or roller, apply the paint to the cabinet surface in smooth and even strokes. Begin with the inner areas and intricate details before moving on to the larger surfaces. Aim for comprehensive coverage while maintaining a consistent finish throughout. If necessary, apply a second coat of paint after allowing the first coat to dry completely, following the manufacturer's recommended drying time.
Read more: How To Remove A Medicine Cabinet
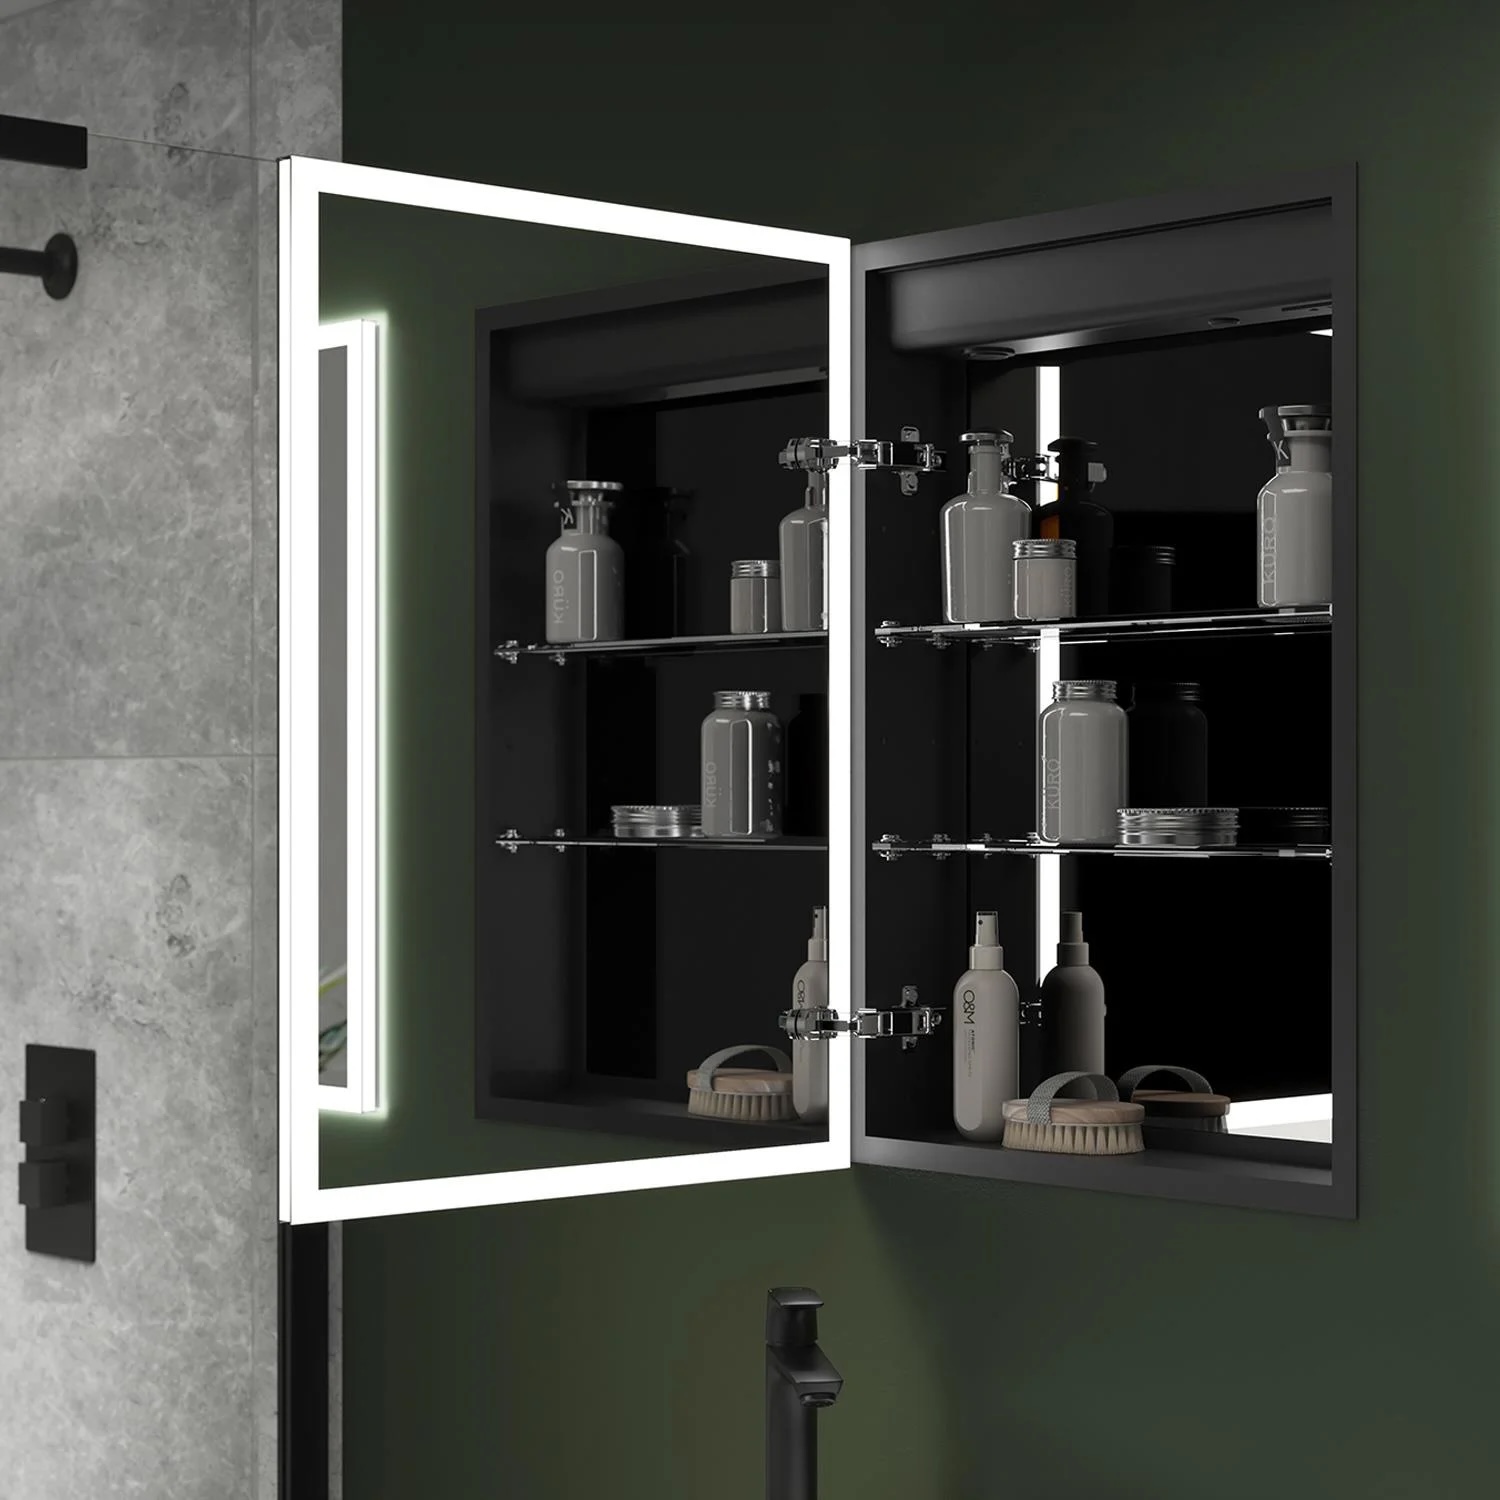
Pay Attention to Detail:
Take care to paint any visible edges, corners, and recessed areas to ensure a uniform and professional finish. If your cabinet features multiple shelves or compartments, paint each section meticulously, ensuring that the paint reaches all exposed surfaces.
Allow for Proper Drying:
After applying the paint, allow it to dry thoroughly according to the manufacturer's instructions. Ensure that the cabinet is placed in a well-ventilated area during the drying process to promote even drying and prevent the accumulation of fumes.
Remove Masking and Inspect:
Once the paint has dried completely, carefully remove any painter's tape and inspect the cabinet for any touch-ups or imperfections. Address any areas that may require additional attention, ensuring that the painted surface is flawless and visually appealing.
By following these detailed steps, you can achieve a beautifully painted medicine cabinet that enhances the aesthetic appeal of your bathroom. The painting process allows you to express your personal style and elevate the visual impact of the cabinet, creating a cohesive and inviting atmosphere in your bathroom space. With the cabinet painted to perfection, you're one step closer to enjoying a revitalized and stylish bathroom ambiance.
Step 5: Apply a Sealant
Applying a sealant is the final crucial step in the process of painting a medicine cabinet. The sealant serves as a protective barrier, enhancing the durability of the painted surface and safeguarding it against moisture, stains, and daily wear and tear. By sealing the painted cabinet, you ensure that your hard work results in a long-lasting and resilient finish that maintains its visual appeal for years to come.
Read more: How To Replace Medicine Cabinet
Choose the Right Sealant:
Select a clear, high-quality sealant that is specifically formulated for use on painted surfaces. Look for a sealant that offers protection against moisture and is suitable for application in high-humidity environments, such as bathrooms. Additionally, consider a sealant with a non-yellowing formula to preserve the color and vibrancy of the paint over time.
Prepare the Sealant:
Before applying the sealant, carefully read and follow the manufacturer's instructions to ensure proper application. Thoroughly stir the sealant to achieve a consistent texture and ensure that any protective additives are evenly distributed. If the sealant requires thinning or mixing with a catalyst, adhere to the recommended ratios and procedures provided by the manufacturer.
Apply the Sealant:
Using a clean brush or roller, apply a thin and even coat of sealant to the entire painted surface of the cabinet. Work methodically to ensure comprehensive coverage, paying attention to any intricate details, edges, and corners. Avoid over-applying the sealant, as this can lead to uneven drying and a cloudy finish. If necessary, apply a second coat of sealant after allowing the first coat to dry completely, following the manufacturer's recommended drying time.
Allow for Proper Drying:
After applying the sealant, allow it to dry thoroughly according to the manufacturer's instructions. Ensure that the cabinet is placed in a well-ventilated area during the drying process to promote even drying and prevent the accumulation of fumes. Proper drying is essential for the sealant to form a strong and protective layer over the painted surface.
Read more: How To Update A Medicine Cabinet
Inspect the Sealed Surface:
Once the sealant has dried completely, inspect the cabinet to ensure that the sealed surface is uniform, smooth, and free from imperfections. Look for any areas that may require additional sealing or touch-ups, ensuring that the entire painted surface is effectively protected and enhanced by the sealant.
By applying a high-quality sealant, you fortify the painted cabinet against the challenges of daily use and the humid bathroom environment. The sealant not only enhances the longevity of the painted surface but also facilitates easy cleaning and maintenance, allowing you to enjoy a beautifully refreshed medicine cabinet for years to come. With the sealant applied, your painting project is complete, and you can revel in the transformative impact it has brought to your bathroom space.
Conclusion
Congratulations on successfully completing the transformative journey of painting your medicine cabinet! By embarking on this DIY project, you've not only revitalized a functional fixture in your bathroom but also infused your personal style and creativity into the heart of your home. As you stand back and admire the freshly painted cabinet, you can take pride in the significant impact it has made on the overall ambiance and visual appeal of your bathroom space.
Through meticulous preparation, precise priming, and skillful painting, you've achieved a flawless and professional finish that reflects your unique taste and attention to detail. The carefully selected paint color and finish have harmonized with your bathroom decor, creating a cohesive and inviting atmosphere that resonates with your personal style.
The application of a high-quality sealant serves as the final touch, ensuring that your hard work endures the test of time. The sealed surface not only boasts enhanced durability and resistance to moisture but also promises effortless maintenance, allowing you to enjoy the beauty of your newly painted cabinet for years to come.
As you revel in the success of this DIY endeavor, take a moment to appreciate the cost-effective and environmentally friendly nature of this project. By choosing to paint and revitalize your existing medicine cabinet, you've contributed to sustainable living practices and minimized unnecessary waste, all while achieving a stunning transformation.
Furthermore, the satisfaction derived from breathing new life into a familiar fixture is a testament to your creativity and resourcefulness. This project has allowed you to unleash your inner decorator, honing your skills and expressing your individuality through a hands-on and rewarding process.
Beyond the aesthetic enhancements, the painted medicine cabinet now stands as a reflection of your dedication to creating a welcoming and personalized bathroom space. It serves as a testament to your ability to transform everyday elements into captivating focal points that elevate the ambiance of your home.
As you continue to enjoy the revitalized atmosphere of your bathroom, take pride in the accomplishment of this DIY painting project. Your newly painted medicine cabinet stands as a symbol of your creativity, resourcefulness, and commitment to enhancing your living environment. Embrace the sense of fulfillment that comes with a successful DIY endeavor, and let it inspire future creative projects that enrich your home and reflect your unique personality.
Frequently Asked Questions about How To Paint A Medicine Cabinet
Was this page helpful?
At Storables.com, we guarantee accurate and reliable information. Our content, validated by Expert Board Contributors, is crafted following stringent Editorial Policies. We're committed to providing you with well-researched, expert-backed insights for all your informational needs.
0 thoughts on “How To Paint A Medicine Cabinet”